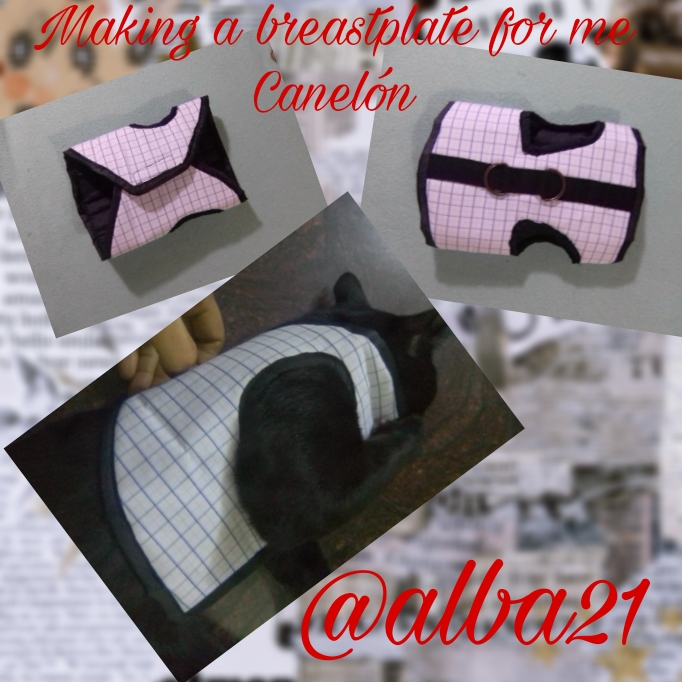

It is a pleasure to greet you and wish you a wonderful and productive day. I am very excited with the breastplate I made for my darling, my cat Canelón, so I can take him for a walk. I invite you to read on, to know the details of how I made them.

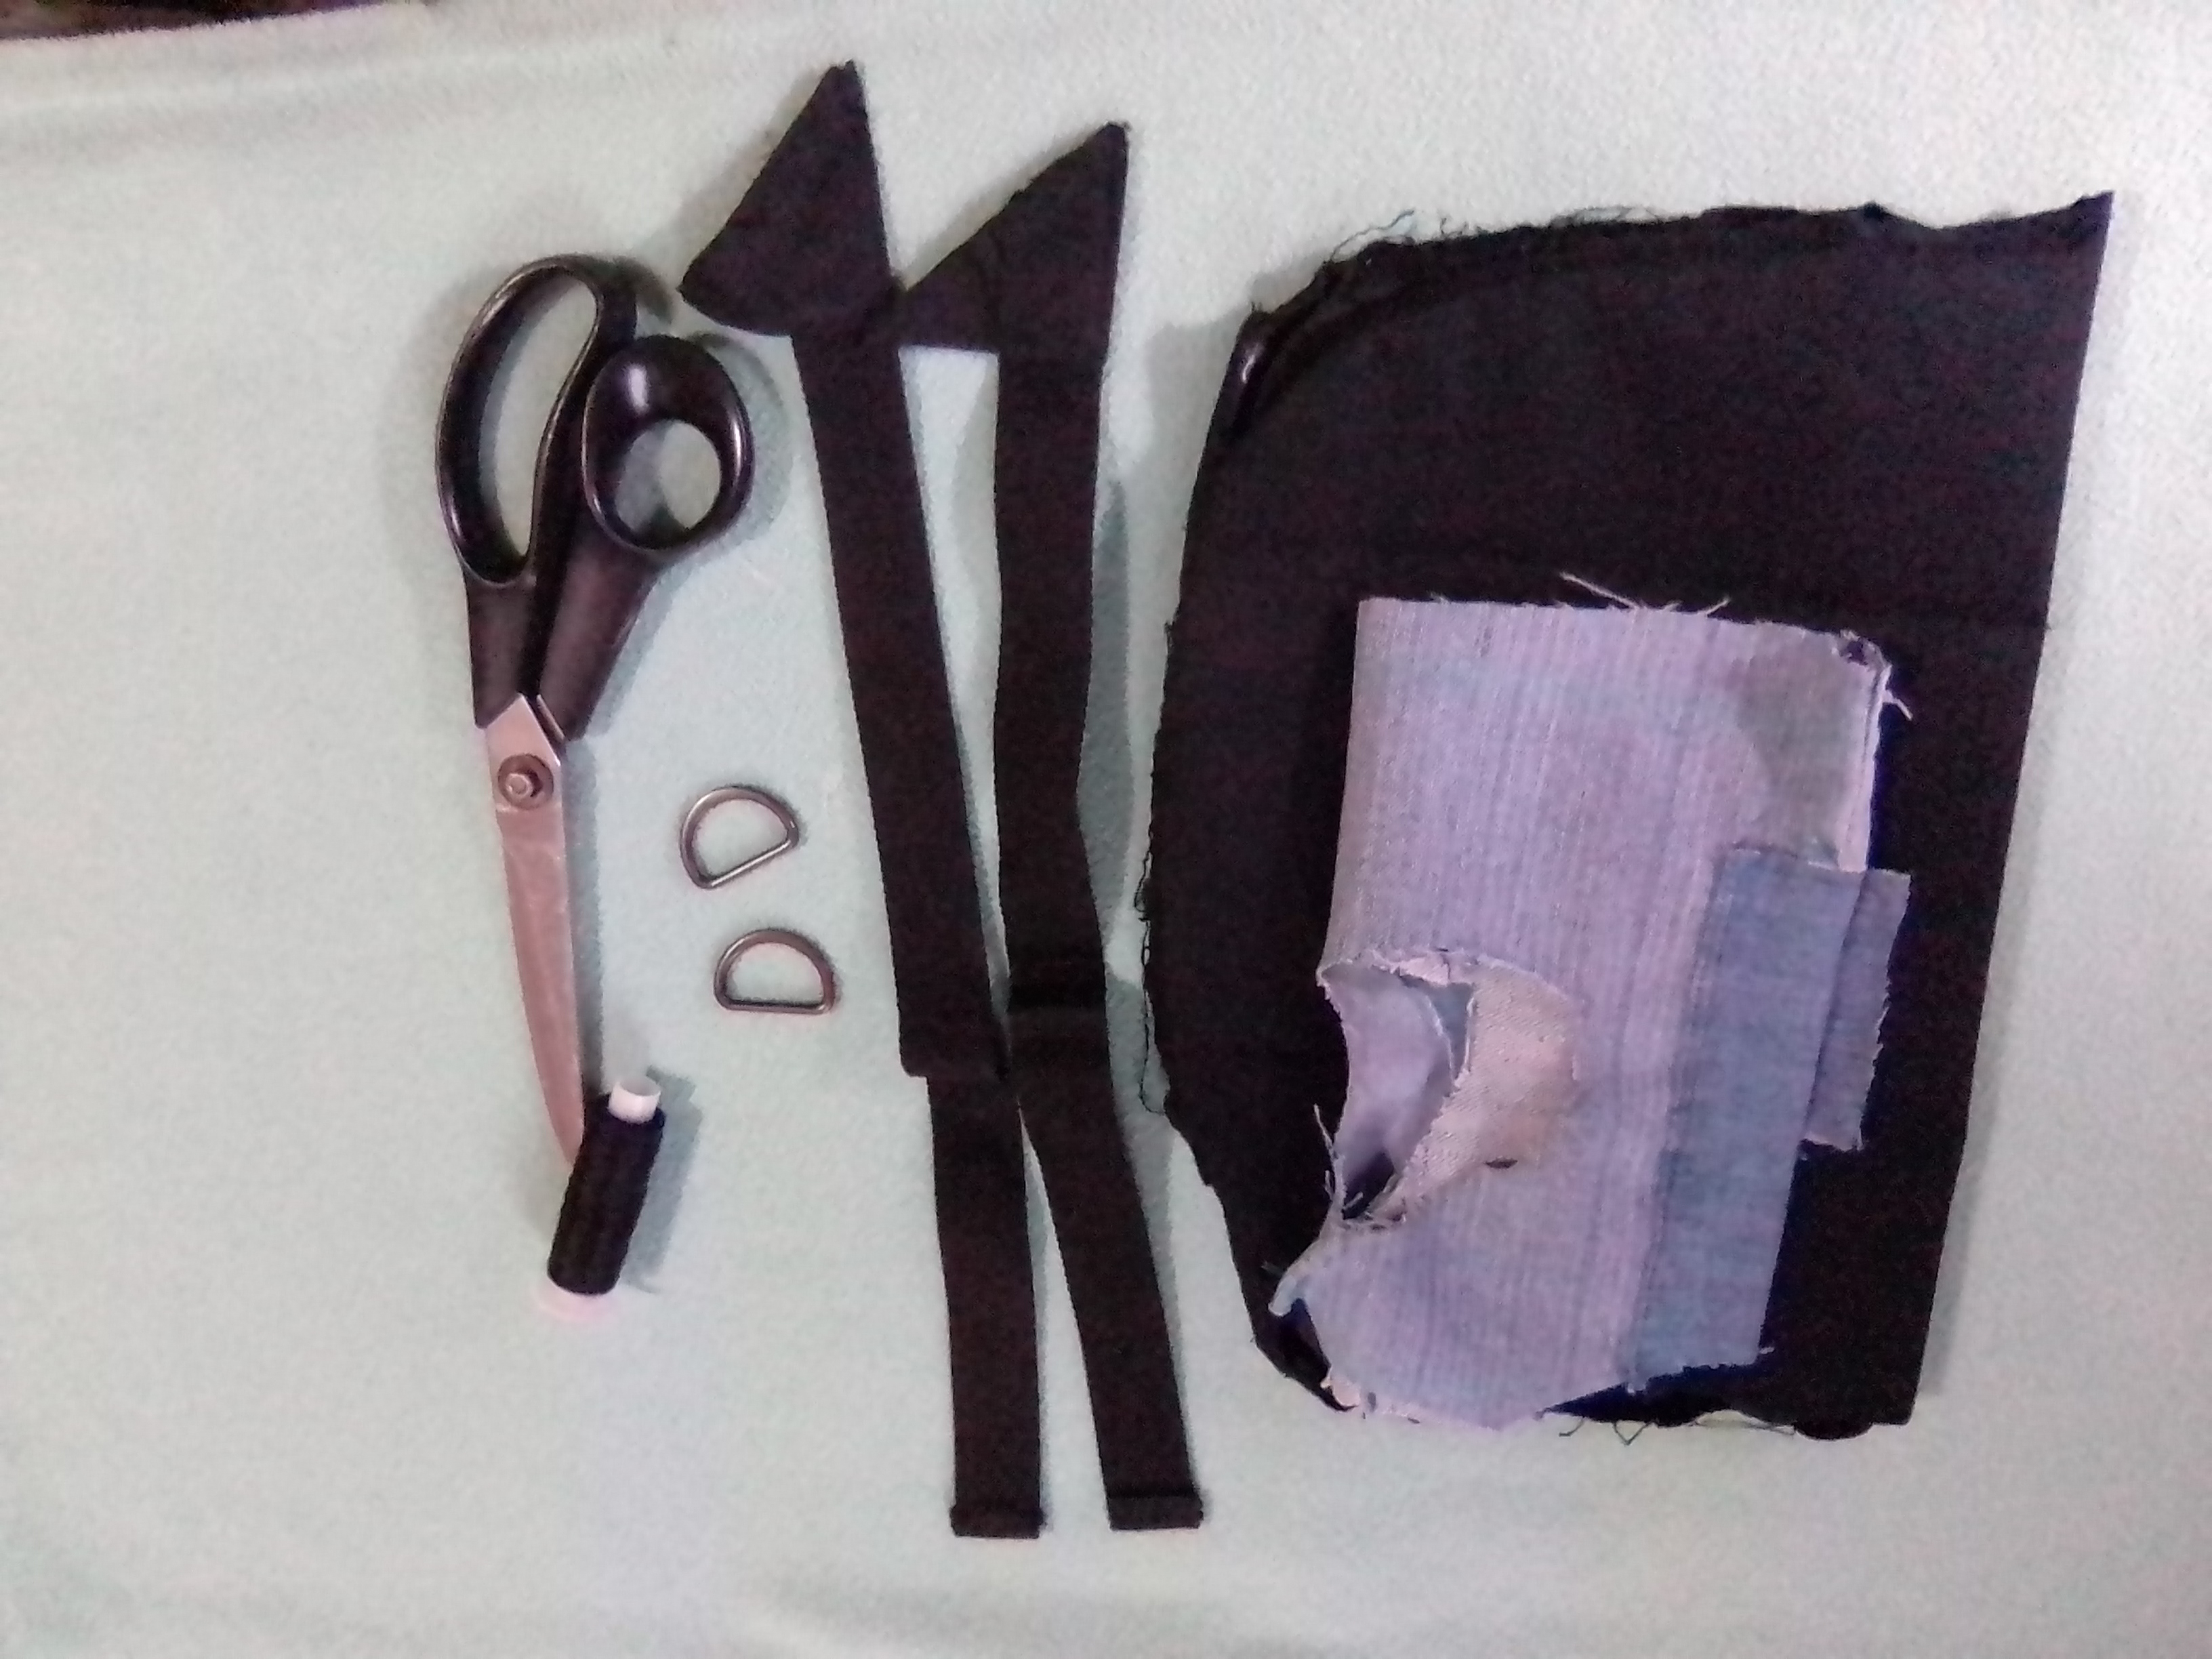
Materials
😽 Black fabric
😽 Printed fabric
😽 Sewing machine
😽 Velcro
😽 Scissors
😽 Blue thread.
😽 Black webbing tape
😽 Hoops
Process
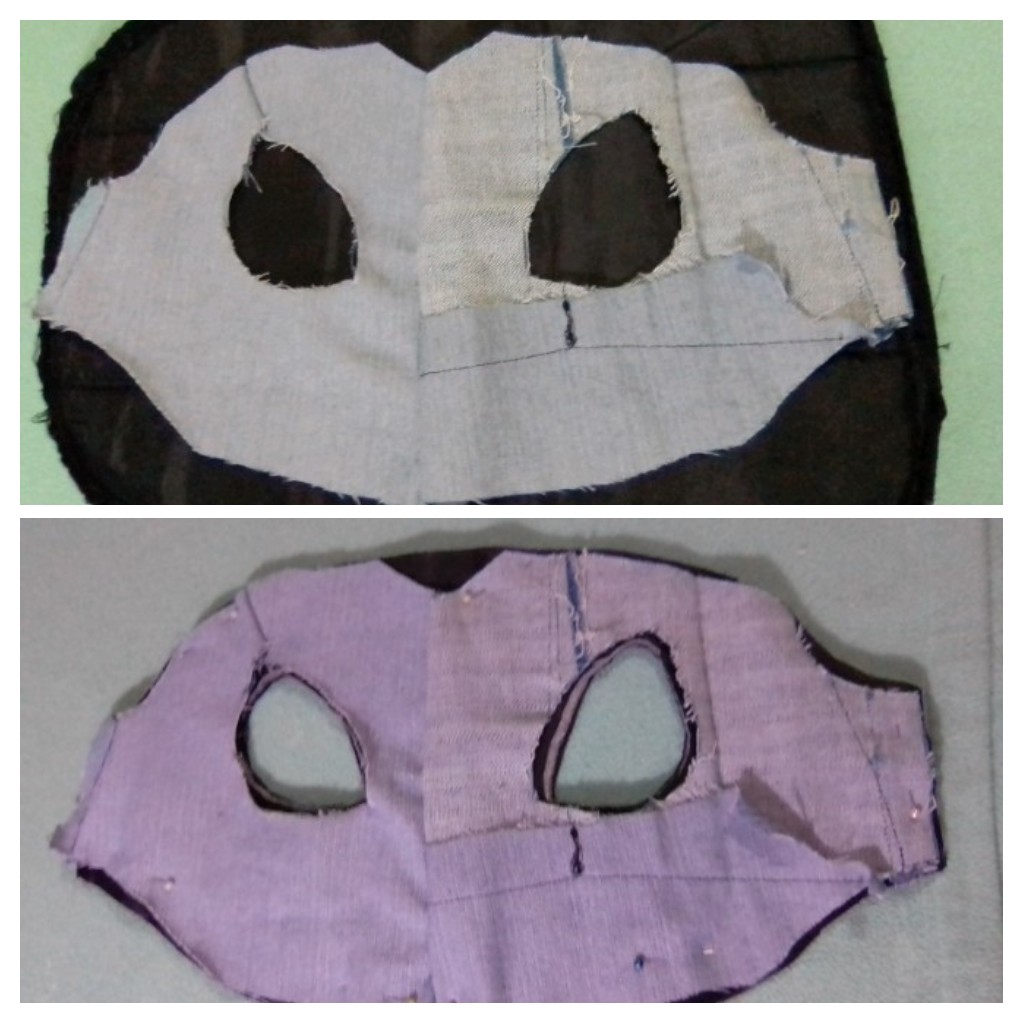
To make this breastplate, the first thing was to make a fabric pattern and measure it to my cat and so I was adjusting the pattern until it fit Canelon. I transferred this pattern to the black fabric and cut the breastplate.
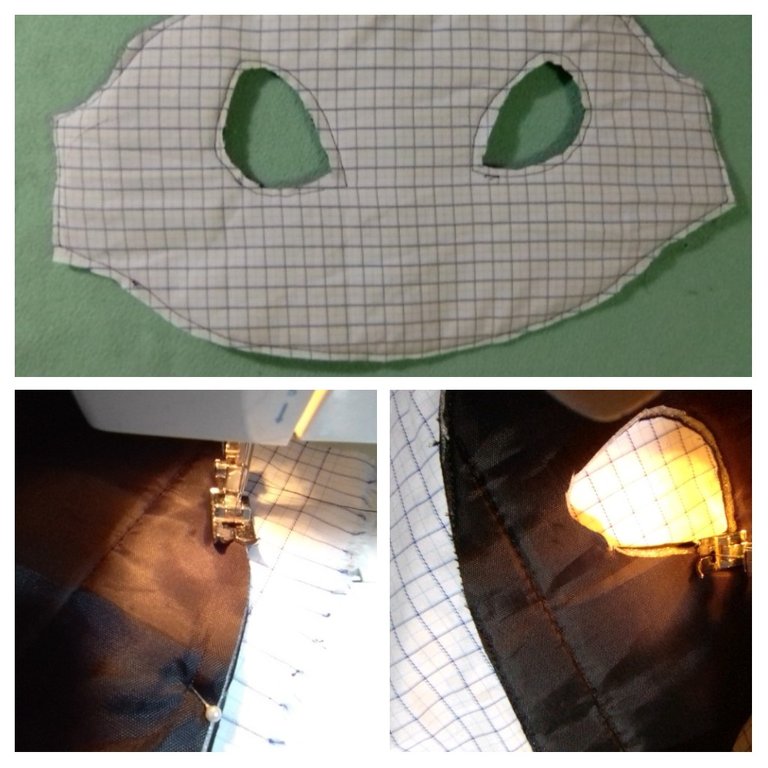
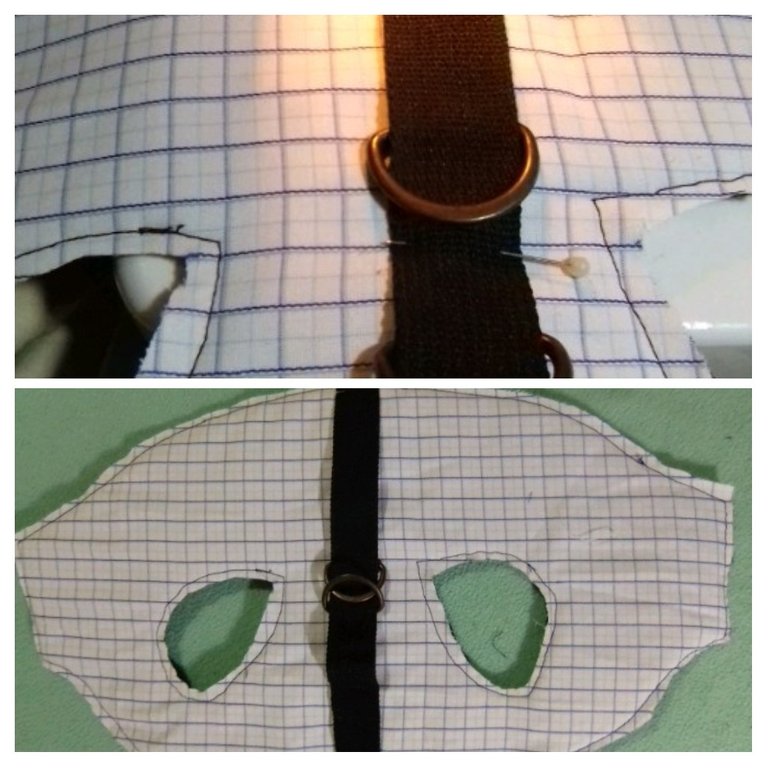
The next step was to place the breastplate on the patterned fabric, pin it in place and machine stitch what will be the cover of the breastplate. Then cut off the excess fabric and remove the fabric from the leg hole as well.
Once the breastplate with its cover was ready, I cut a 19-centimeter piece of ribbon and attached the two rings, which I sewed on each side, leaving a separation of 2 centimeters between them.
Then cut a strip of black fabric 2 centimeters wide, to cover all the seams of the breastplate, including those of the leg holes, and at the same time this bias serves as an ornament.
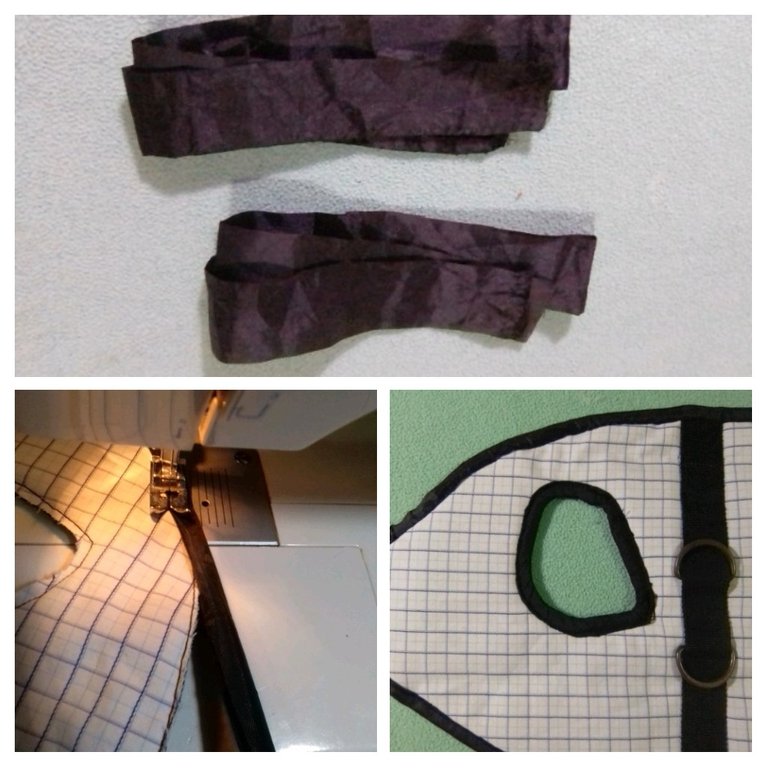
To finish the breastplate of the pampered Canelon, just attach the Velcro to the ends and it is ready. Once the breastplate is finished, it is very easy to make, and you already have the idea to decorate the breastplates for your pets.
Final result
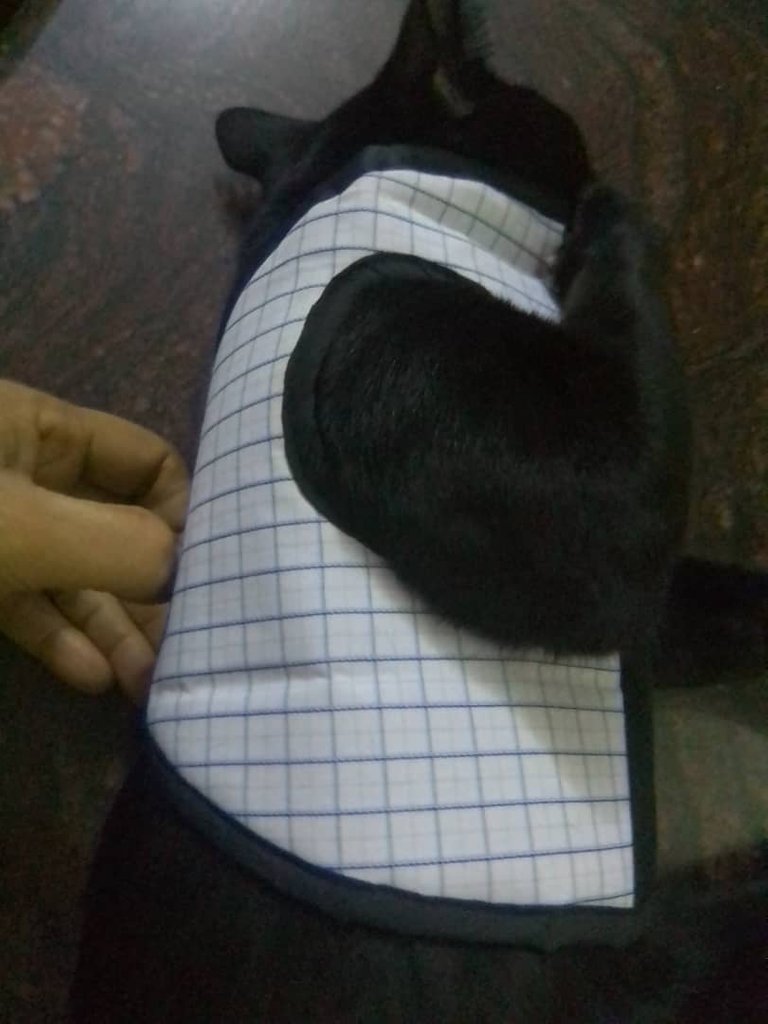
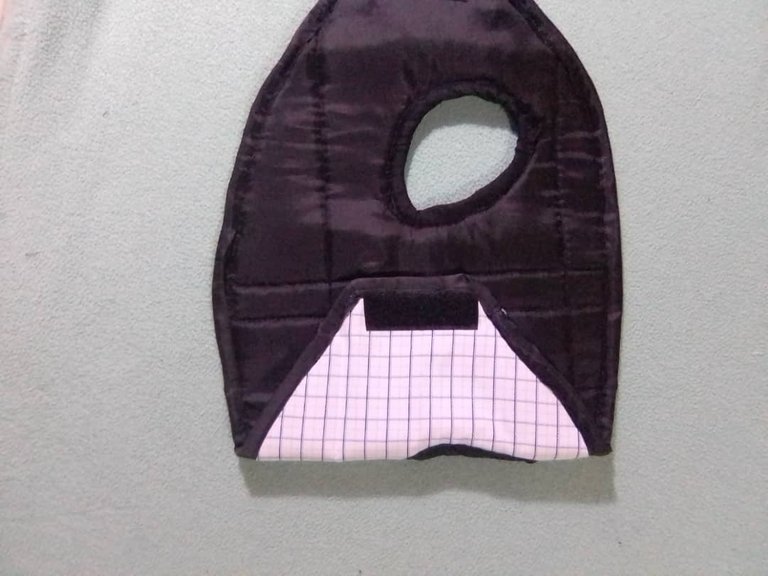
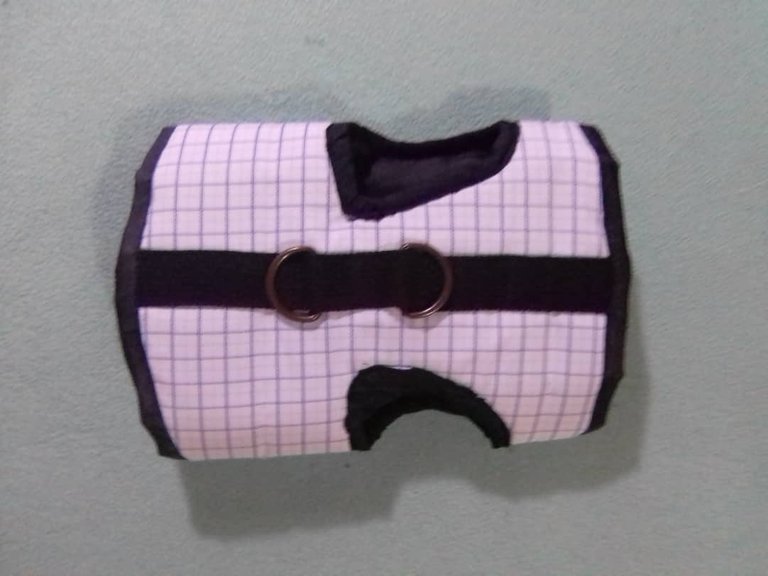
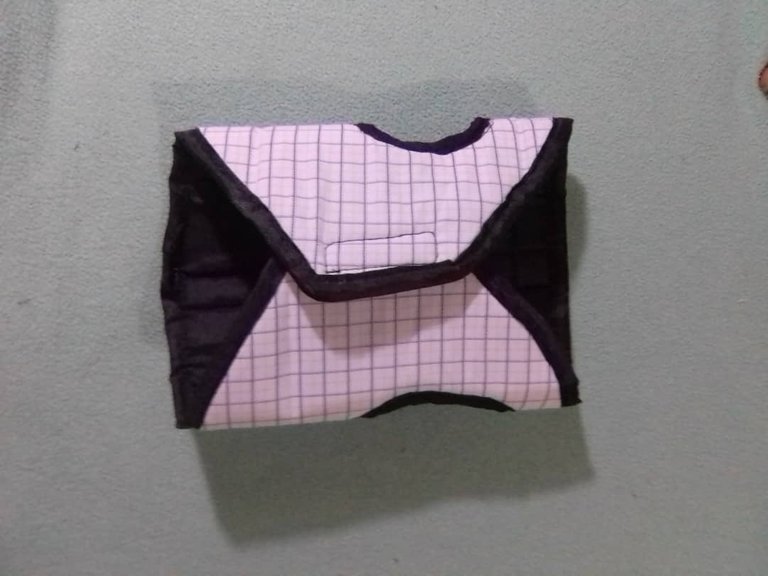

- The pictures belong to me and were taken with my Blu C7.
- The translation was done with the help of DeepL.
- The separators and banners were edited in Canva.


Es muy grato saludarles, y desearles un maravilloso y productivo día, yo muy animada con la pechera que le hice a mi consentido, mi gato Canelón, para poder sacarlo a pasear. Los invito a seguir leyendo, para conocer los detalles de como los hice.


Materiales
😽 Tela negra
😽 Tela estampada
😽 Máquina de coser
😽 Velcro
😽 Tijera
😽 Hilo azul.
😽 Cinta de correa negra
😽 Argollas

Proceso
Para realizar esta pechera, lo primero fue elaborar un patrón de tela y medirselo a mi gato y así fui ajustando el patrón hasta que le quedó bien a Canelón. Este patrón lo pase a la tela negra y corte la pechera.

El próximo paso, fue colocar la pechera sobre la tela estampada, fijarla con los alfileres y coser directamente a máquina lo que será la cubierta de la pechera. Luego corte el excedente de tela y retire también la tela del orificio de las patas.

Al tener lista la pechera con su cubierta, corte un trozo de cinta de correa de 19 centímetros y le coloque las dos argollas, las que cosi a cada lado, y dejé una separación entre ambas de 2 centímetros.

Luego corte una tira de tela negra de 2 centímetros de ancho, para cubrir todas las costuras de la pechera, incluyendo las de los orificios de las patas, y a la vez este sesgo sirve de adorno.

Para terminar la pechera del consentido Canelón, solo hay que colocar el Velcro a los extremos y ya está listo . Terminada la pechera , es muy fácil de hacer , y ya tienen la idea paraelsborar las pecheras para vuestras mascotas.
Resultado Final


- Las fotos me pertenecen y fueron tomadas con mi Blu C7.
- La traducción la realice con ayuda de DeepL.
- Los separadores y el banners los edite en Canva.

Yo intentè hacer algo asi para mi gata Mara cuando la esterilizaron, era para proteger su herida, los puntos de la cirugía, pero nunca se lo dejo poner. fue un proyecto que terminó en todo un desastre, jejejje. el tuyo esta muy bonito, felicidades.
Thank you for sharing this amazing post on HIVE!
non-profit curation initiative!Your content got selected by our fellow curator @rezoanulvibes & you just received a little thank you via an upvote from our
You will be featured in one of our recurring curation compilations and on our pinterest boards! Both are aiming to offer you a stage to widen your audience within and outside of the DIY scene of hive.
Join the official DIYHub community on HIVE and show us more of your amazing work and feel free to connect with us and other DIYers via our discord server: https://discord.gg/mY5uCfQ !
If you want to support our goal to motivate other DIY/art/music/homesteading/... creators just delegate to us and earn 100% of your curation rewards!
Stay creative & hive on!
Congratulations @alba21! You have completed the following achievement on the Hive blockchain and have been rewarded with new badge(s):
Your next target is to reach 100 comments.
You can view your badges on your board and compare yourself to others in the Ranking
If you no longer want to receive notifications, reply to this comment with the word
STOPCheck out the last post from @hivebuzz:
Support the HiveBuzz project. Vote for our proposal!