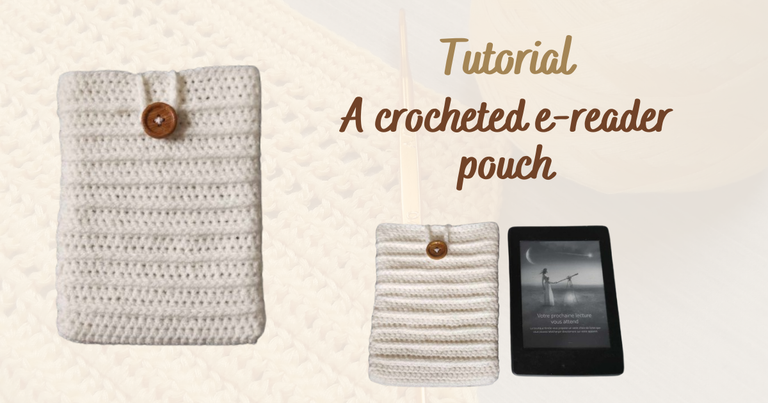
Hello friends and crochet enthusiasts! 👋
I hope you are all doing very well.
I haven’t posted a crochet tutorial for a few months now, and to tell the truth I was starting to miss it.
This doesn’t mean that I haven’t crocheted during these few months, I just started projects and didn’t finish them all. So I didn’t have any quality content to share with you.
But a few weeks ago, I was looking for a new idea for a quick project to start and @genesisledger told me “I would really like to have a cover to protect my e-reader”. Without further ado, I started thinking about the future cover.
It’s a fairly simple and quick project, very accessible to beginners. And I thought that it might interest some of you. So, I made you a tutorial!
Here we go! 👇
The material I used
- A ball of white acrylic yarn
- A 4mm crochet hook
- A yarn needle
- A sewing needle
- White sewing thread
- A wooden button
The different steps
Steps 1 and 2: the starting chain and the first row
I started by making a slip knot, then by making a chain of a length corresponding to the width of the e-reader. Here, I made 25 chain stitches. I made one more chain to start my first row.
I then started a first row of half double crochets, all along my chain.
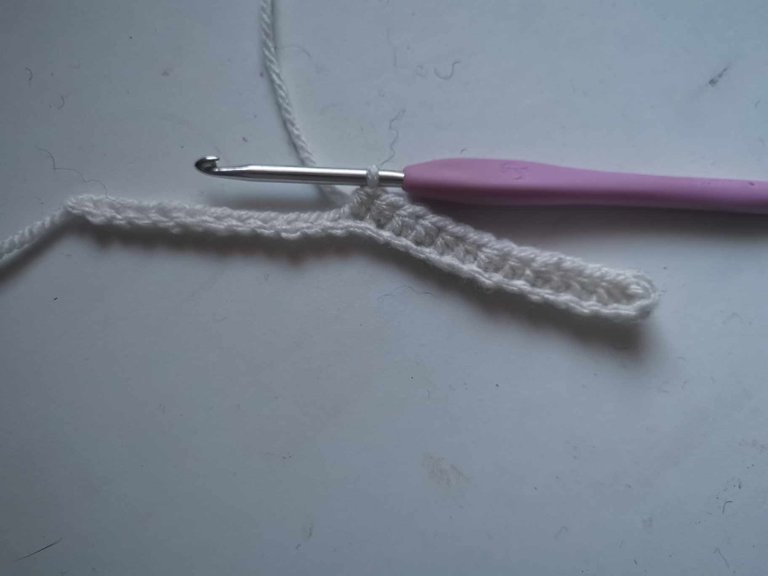
And when I got to the end, at the last stitch of my chain, I made 2 half double crochets instead of making only one.
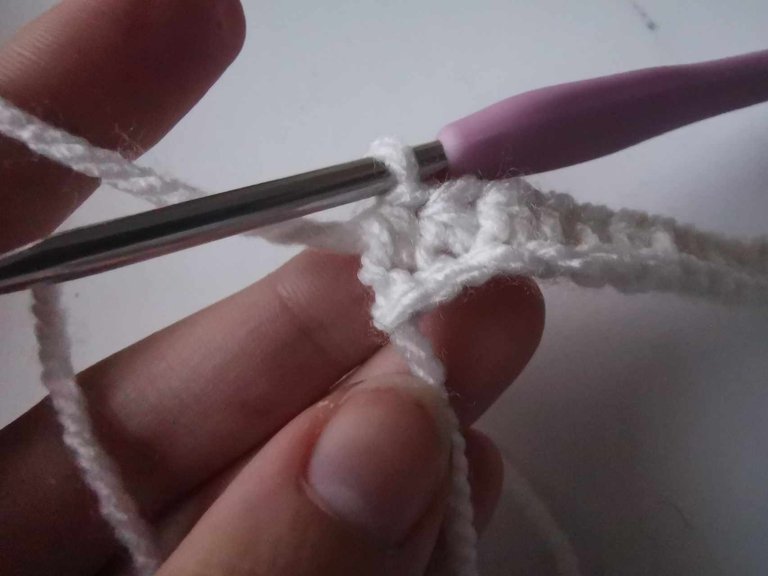
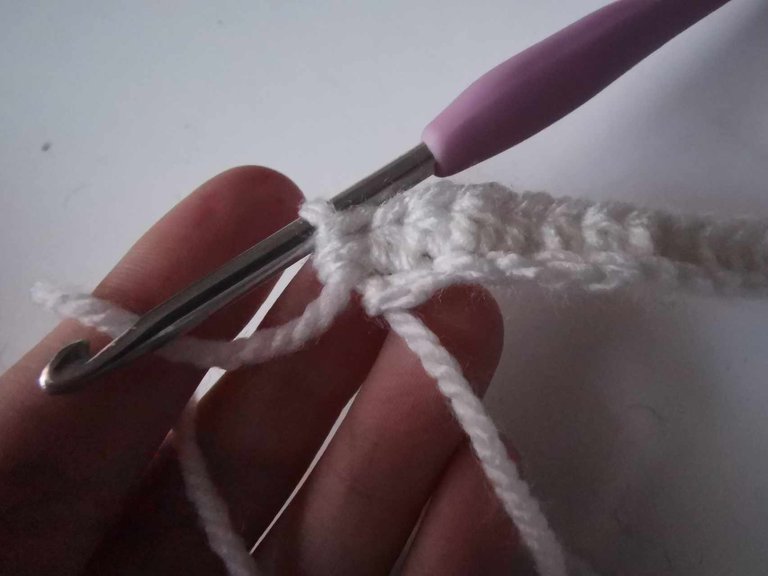
In this way, I was able to continue my first row. Indeed, the two half double crochets allowed me to go to the other side of the chain. And then I made a half double crochet in each stitch of the chain.
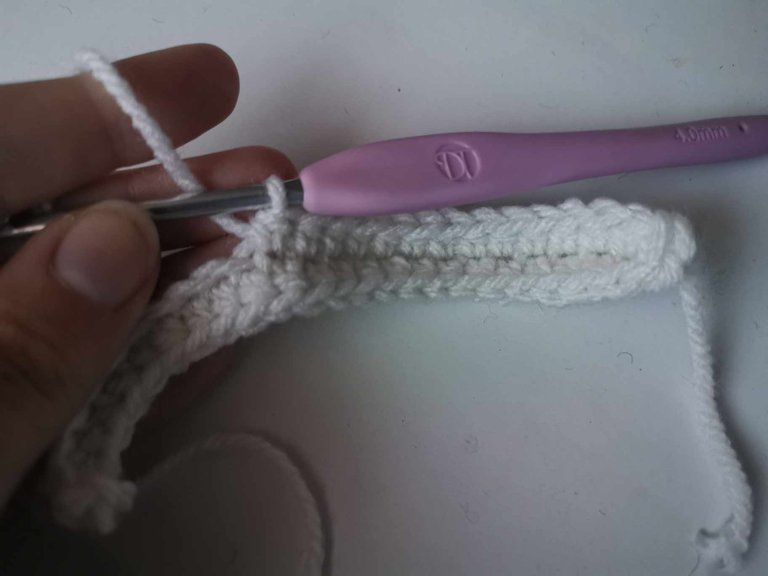
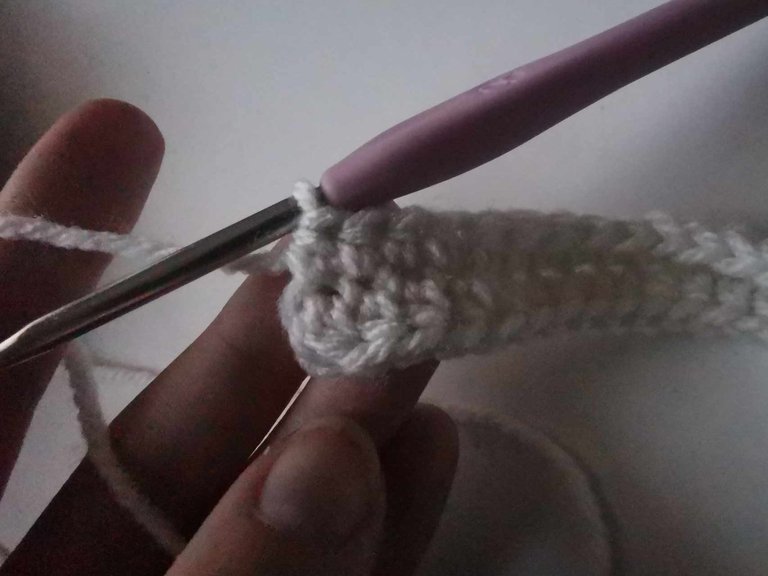
So I crocheted on both sides of my chain to form the bottom of the pouch.
When I reached the end of the row, I closed my first row with a slip stitch in the first stitch opposite and a chain stitch. I also placed a stitch marker (personally, I use a safety pin).
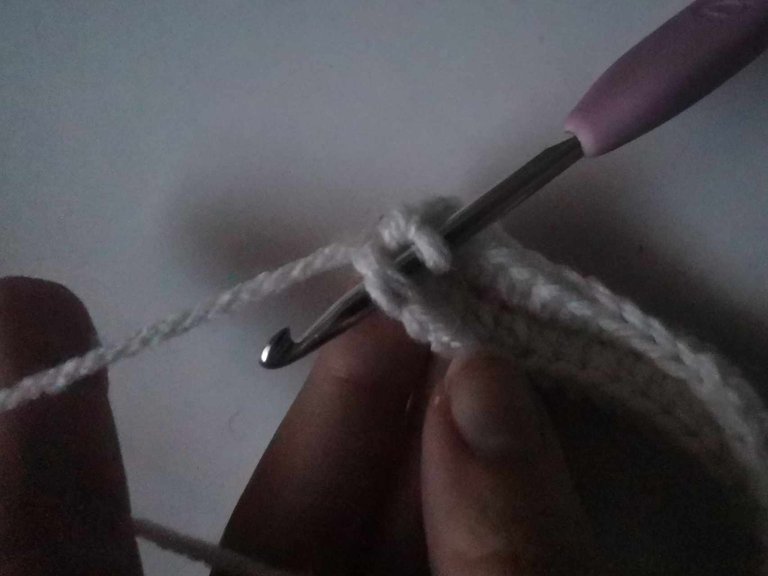
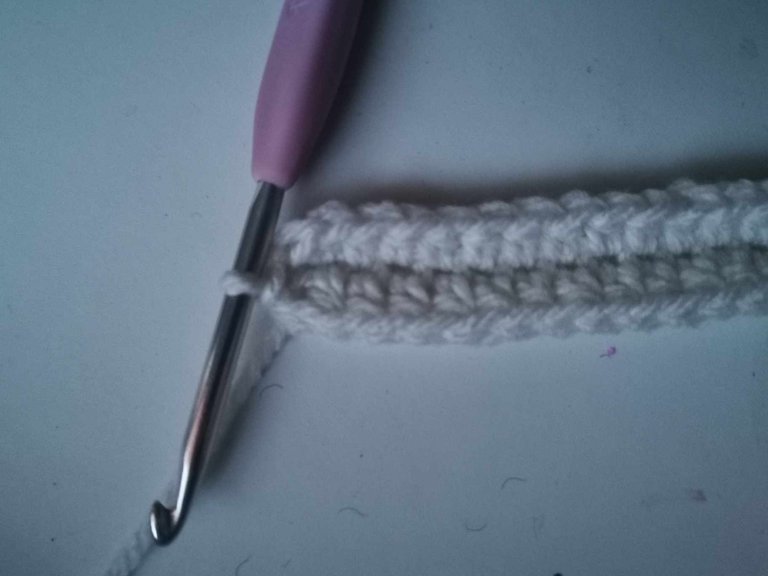
Step 3: The second and third row
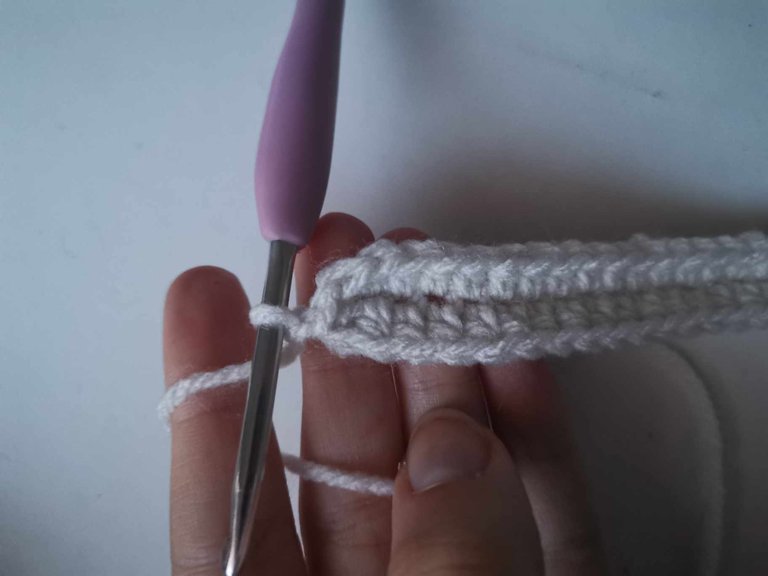
For the second and third row, I simply made half double crochets in both loops all the way. And at the end of each row, don't forget to close it with a slip stitch and a chain stitch.
Step 4: The fourth row
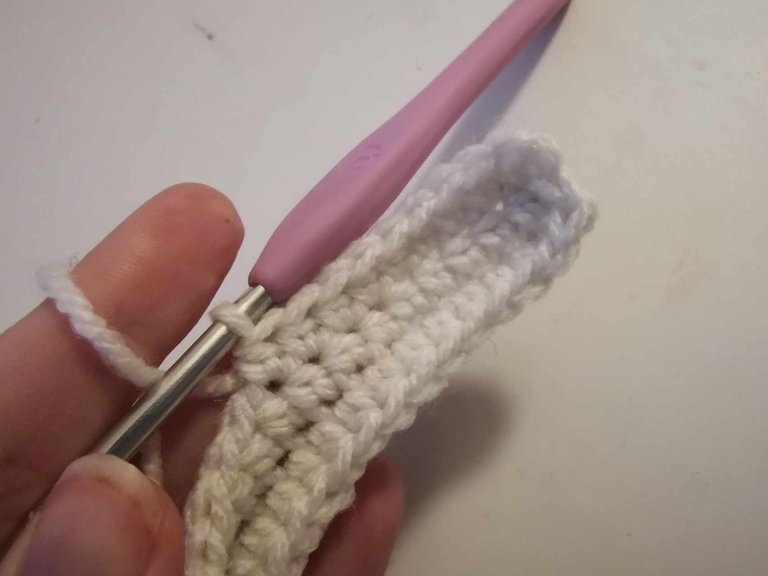
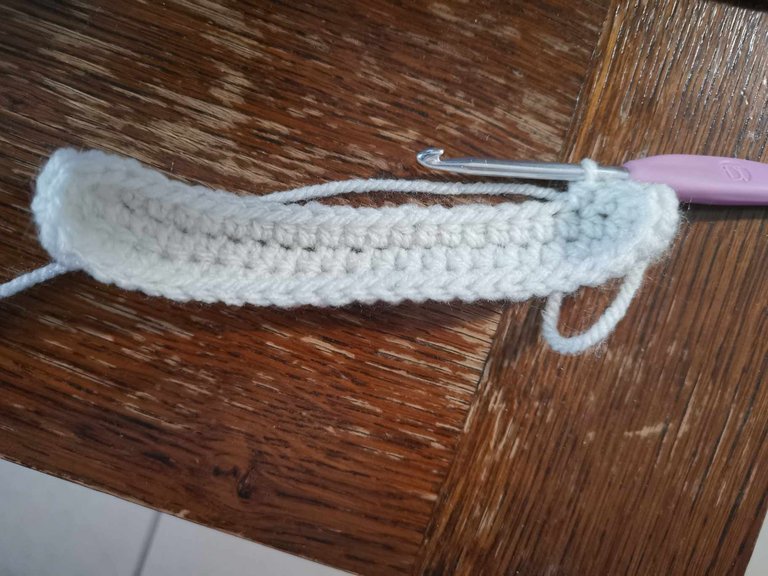
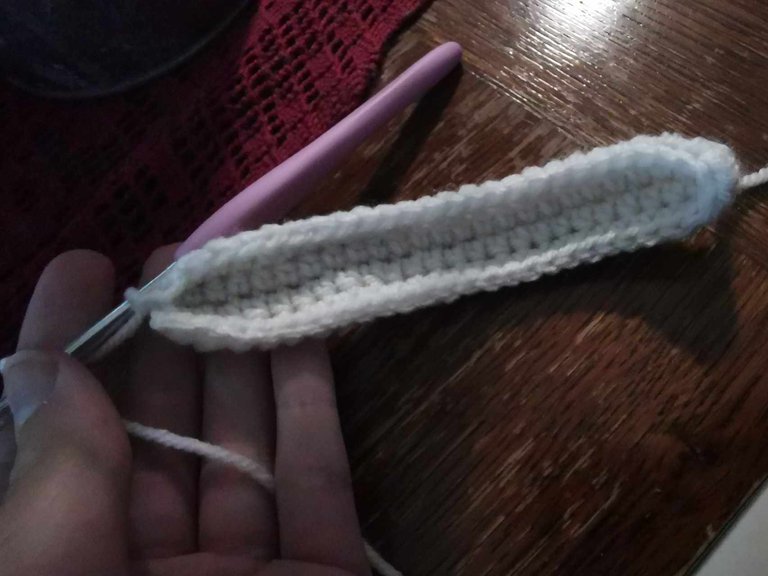
For the fourth row, I decided to change stitches so that it would form a raised pattern.
So I continued to make half double crochets all the way, only here, I made half double crochets in the third loop. And at the end of the row, I closed it with a slip stitch and a chain stitch.
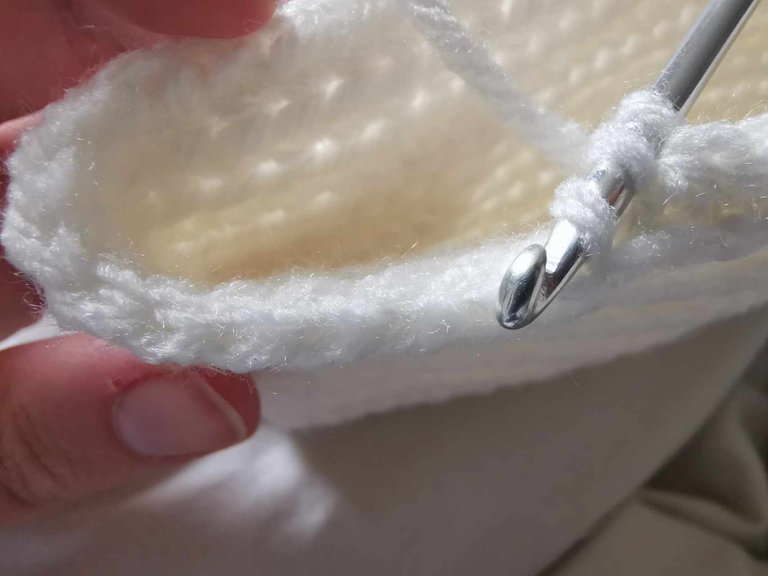
Step 5: Alternate rows and test
To make the pattern look nice, I alternated the rows. I decided to do 2 rows of half double crochets in both loops and 1 row of half double crochets in the third loop.
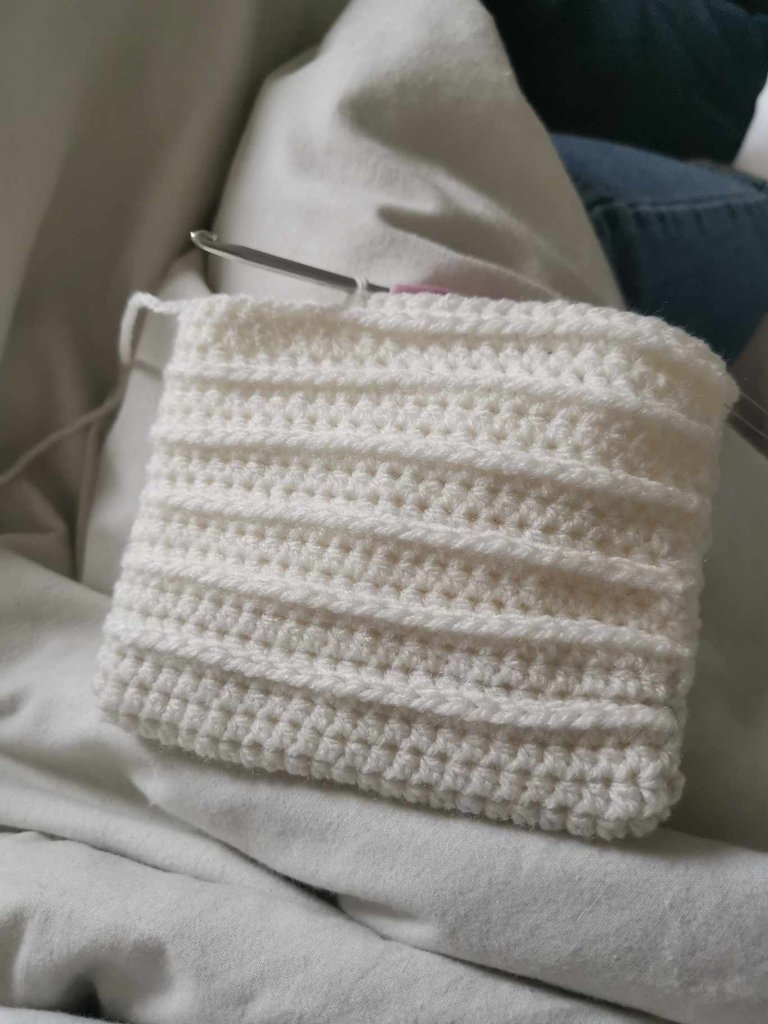
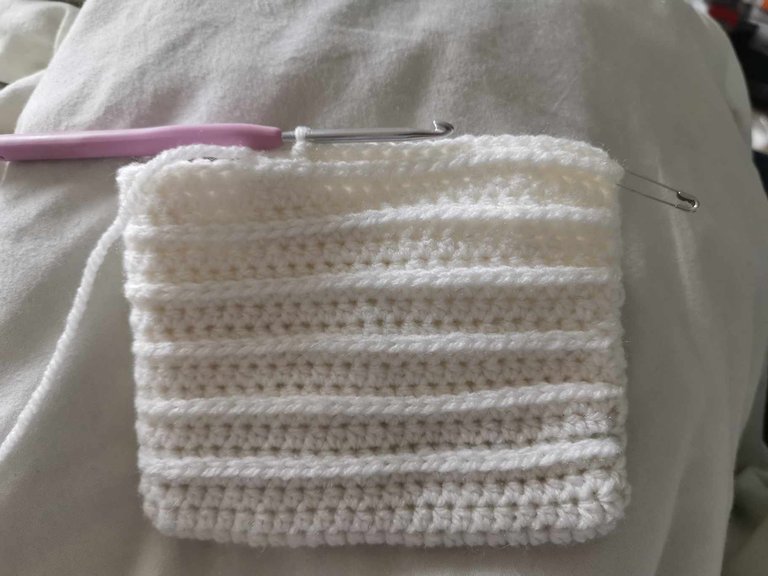
And to get a feel for how many rows to do, I simply placed the kindle inside the pouch.
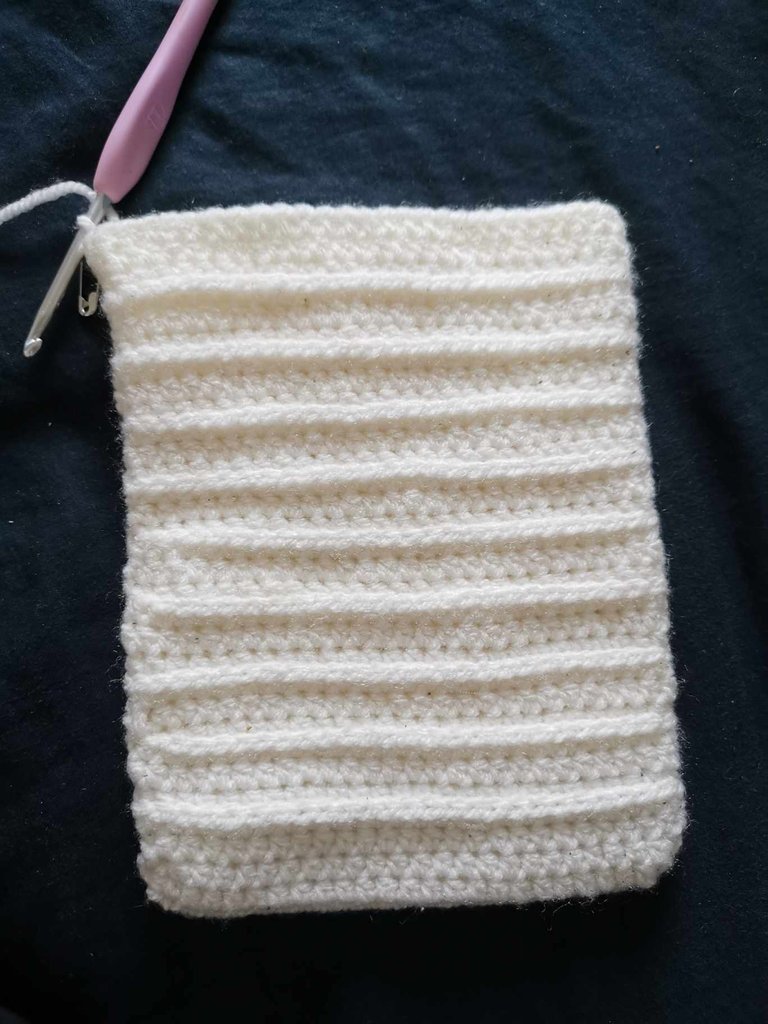
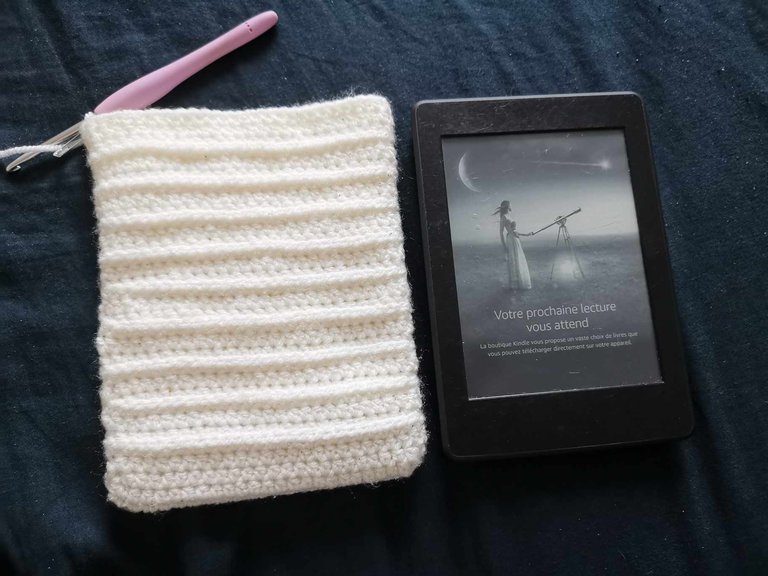
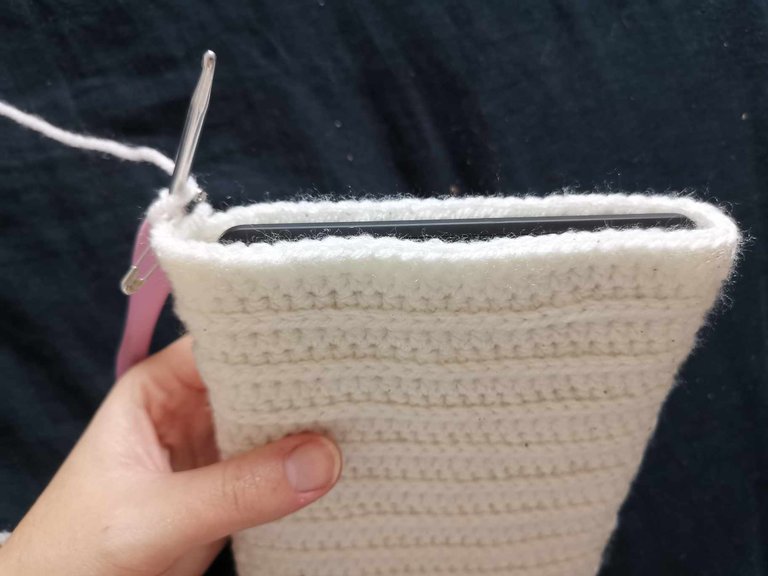
Once the size was correct, I was able to move on to the last row.
Step 6: The last row
For this one, I placed my stitch marker in the middle of my front of the pouch. It helped me to locate the middle and place my chain (which will be used to close the pouch).
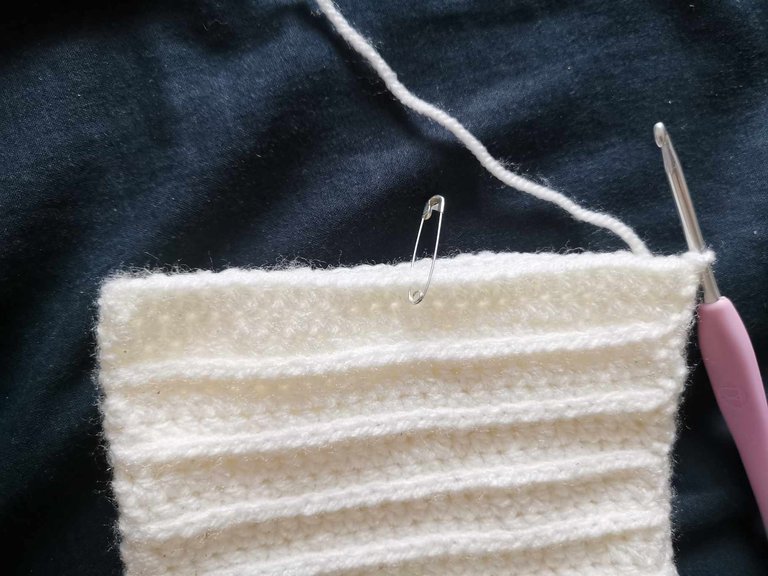
So I started my last row of half double crochets in both loops. And two stitches before reaching my marker, I started to crochet a chain. I made 20 chain stitches.
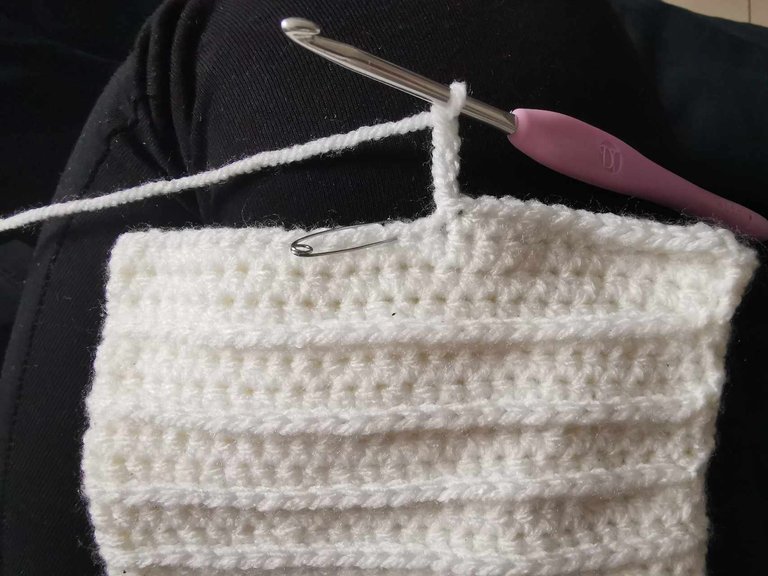
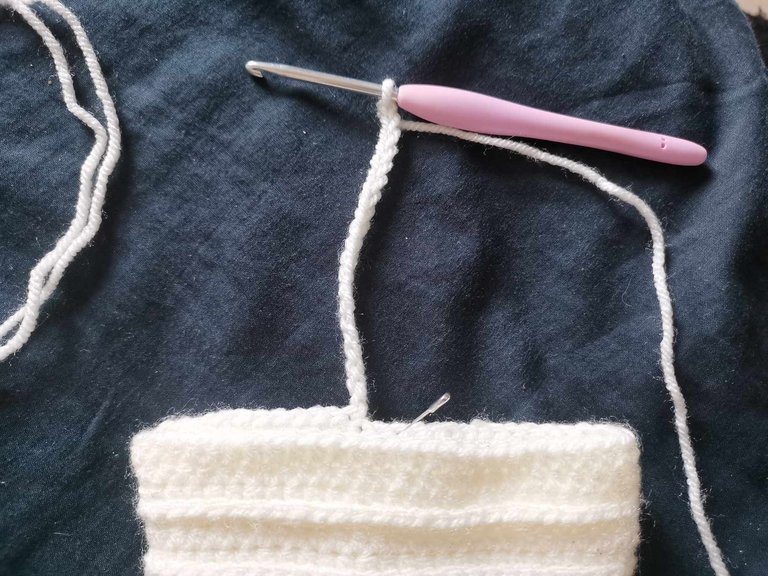
I then attached this chain two stitches after my marker. To attach it, I simply made a slip stitch.
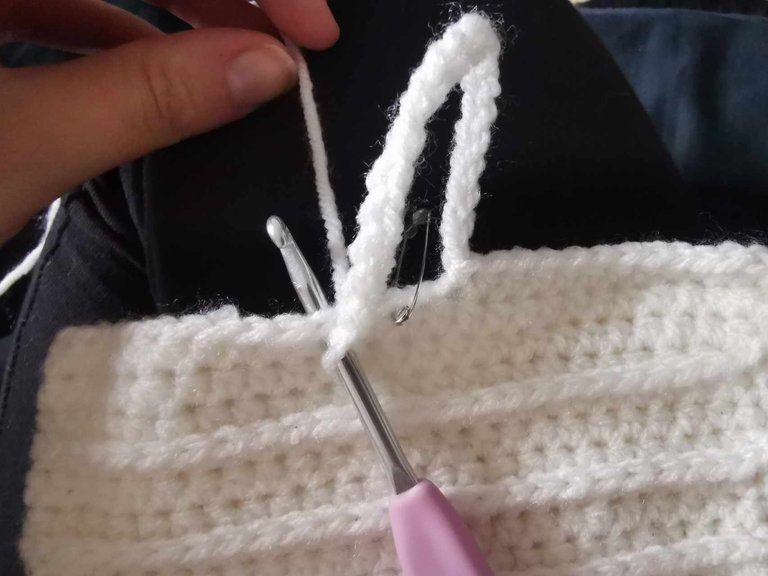
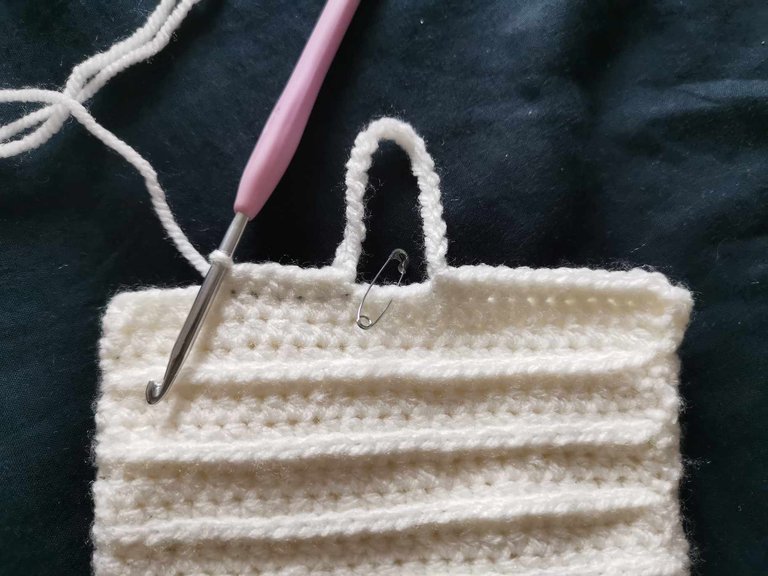
Then I continued my row of half double crochets in both loops until the end of the round. And I finished my last row with a slip stitch.
I then cut my yarn, made several knots and pulled my yarn through with my yarn needle.
Step 7: Place and sew the button
To close my pouch, I chose a wooden button, because I think it went together quite well, what do you think? 😁
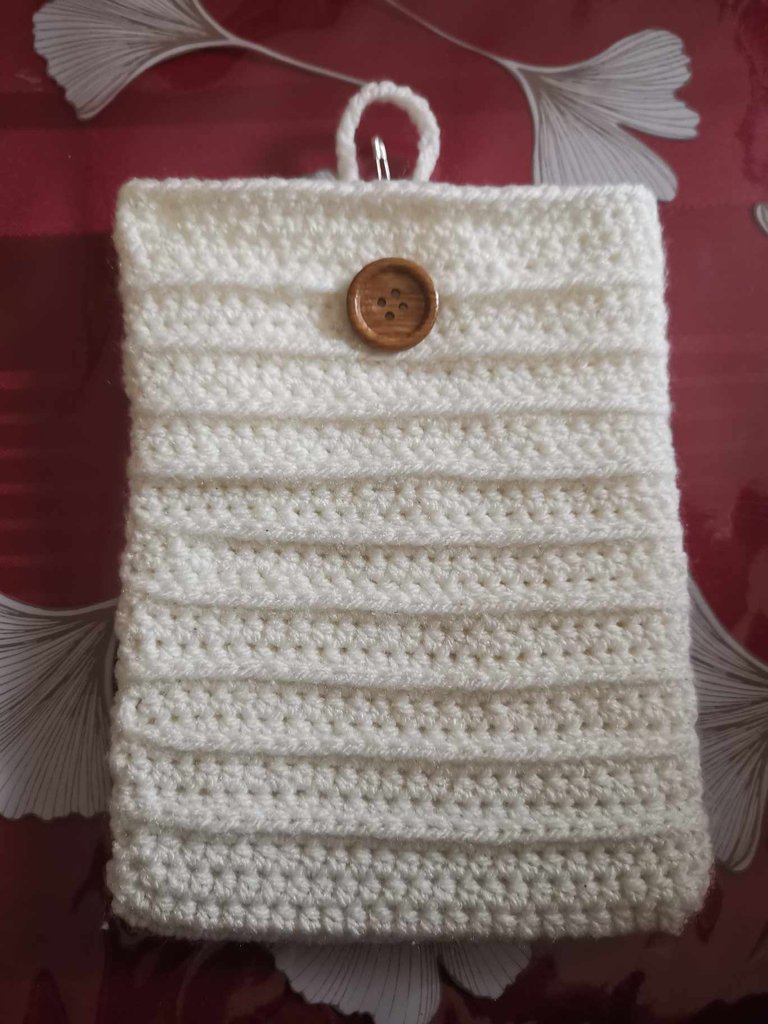
I took a sewing needle and white thread. Then I threaded my thread through the needle and made several knots.
Then, I placed my button. And I started to sew my button by crossing my thread for more style!
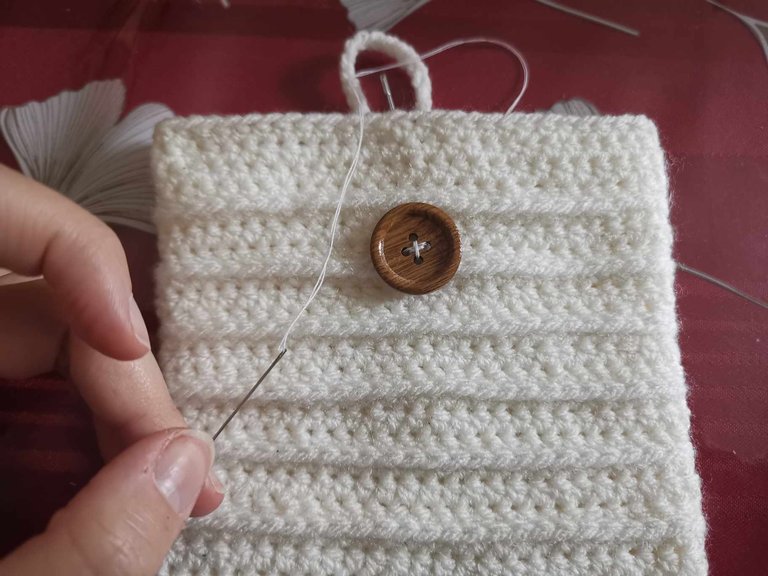
After a few needle strokes, my button was placed and sewn.
And my pouch was finished!
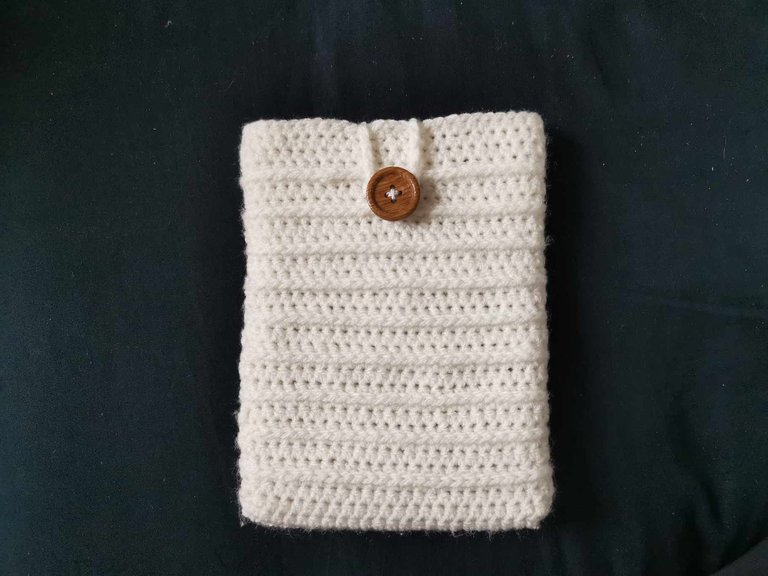
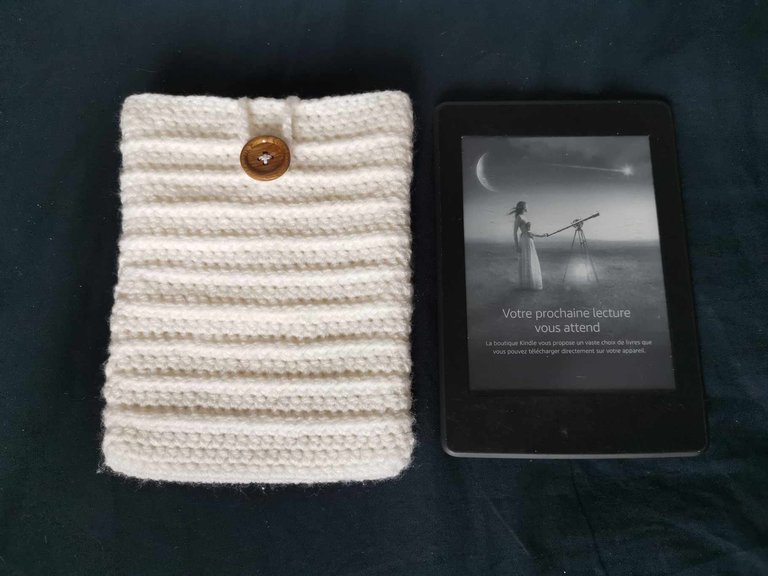
This little project took me about 3 or 4 hours, well, I don't know exactly since I didn't do it all at once. I continued it a little in the evening after work, on the train to Strasbourg, on the weekend, etc.
I had a little trouble with closing the rows, but I didn't see how else to do it. The cover isn’t perfect, but @genesisledger likes it so I’m glad I did it! And it’s a good workout. 😊
I hope this little tutorial can inspire you for your next projects. In fact, it could very well be a Christmas gift idea for a loved one who has an e-reader! 🎁
I realize that it’s really not easy to explain how I made my cover in writing. So, if my explanations aren’t clear enough, don’t hesitate to ask me for more details in the comments.
See you soon,
Johanna
PS: I used Google Translate to translate the English part.
Hello les amis et les passionnés de crochet ! 👋
J’espère que vous allez tous très bien.
Je n’ai pas posté de tuto crochet depuis quelques mois déjà, et à vrai dire cela commençait à me manquer.
Cela ne veut pas dire que je n’ai pas pratiqué le crochet durant ces quelques mois, simplement, j’ai commencé des projets et je ne les ai pas tous terminés. Je n’avais donc pas de contenu de qualité à partager avec vous.
Mais il y a quelques semaines, je cherchais une nouvelle idée de projet rapide à commencer et @genesisledger m’a dit “j’aimerais beaucoup avoir une pochette pour protéger ma liseuse”. Ni une ni deux, j’ai commencé à réfléchir à la future pochette.
C’est un projet assez simple et rapide, très accessible aux débutants. Et je me suis dit que cela pourrait intéresser certains d’entre vous. Alors, je vous en ai fait un tutoriel !
C’est parti ! 👇
Le matériel que j’ai utilisé
- Une pelote de laine acrylique blanche
- Un crochet 4mm
- Une aiguille à laine
- Une aiguille à coudre
- Du fil à coudre blanc
- Un bouton en bois
Les différentes étapes
Étape 1 et 2 : la chaînette de départ et le premier rang
J’ai commencé par faire un nœud coulant, puis par faire une chaînette d’une longueur correspondant à la largeur de la liseuse. Ici, j’ai fait 25 mailles en l’air. J’ai fait une maille en l’air de plus pour débuter mon premier rang.
J’ai ensuite commencé un premier rang de demi-brides, tout le long de ma chaînette.

Et arrivé au bout, à la dernière maille de ma chaînette, j’ai fait 2 demi-brides à la place d’en faire seulement une seule.


De cette manière, j’ai pu continuer mon premier rang. En effet, les deux demi-brides m’ont permis de passer de l’autre côté de la chaînette. Et j’ai ensuite fait une demi-bride dans chaque maille de la chaînette.


J’ai donc crocheté des deux côtés de ma chaînette pour former le fond de la pochette.
Arrivé au bout du rang, j’ai fermé mon premier rang avec une maille coulée dans la première maille d’en face et une maille en l’air. J’ai également placé un marqueur de maille (moi personnellement, j’utilise une épingle à nourrice).


Étape 3 : le deuxième et troisième rang
Pour le deuxième et troisième rang, j’ai simplement fait des demi-brides dans les deux brins tout le long. Et à chaque fin de rang, il ne faut pas oublier de le fermer par une maille coulée et une maille en l’air.


Étape 4 : le quatrième rang
Pour le quatrième rang, j’ai décidé de changer de point pour que cela forme un dessin en relief.
J’ai donc continué de faire des demi-brides tout le long, seulement ici, j’ai fait des demi-brides dans la troisième boucle/brin (third loop en anglais). Et à la fin du rang, je l’ai fermé avec une maille coulée et une maille en l’air.

Étape 5 : alterner les rangs et tester
Pour que le dessin soit joli, j’ai alterné les rangs. J’ai décidé de faire 2 rangs de demi-brides dans les deux brins et 1 rang de demi-brides dans le troisième brin.


Et pour me rendre compte du nombre de rangs à faire, j’ai simplement placé la kindle à l’intérieur de la pochette.


Une fois que la taille était correcte, j’ai pu passer au dernier rang.
Étape 6 : le dernier rang
Pour celui-ci, j’ai placé mon marqueur de maille au milieu de ma face avant de la pochette. Il m’a servi à repérer le milieu et à placer ma chaînette (qui servira à fermer la pochette).

J’ai donc commencé mon dernier rang de demi-brides dans les deux brins. Et deux mailles avant d’arriver à mon marqueur, j’ai commencé à crocheter une chaînette. J’ai fait 20 mailles en l’air.


J’ai ensuite attaché cette chaînette deux mailles après mon marqueur. Pour l'attacher, j’ai simplement fait une maille coulée.


Puis j’ai continué mon rang de demi-brides dans les deux brins jusqu’à la fin du tour. Et j’ai terminé mon dernier rang par une maille coulée.
J’ai ensuite coupé mon fil, fait plusieurs nœuds et rentré mon fil avec mon aiguille à laine.
Étape 7 : placer et coudre le bouton
Pour fermer ma pochette, j’ai choisi un bouton en bois, car je trouvais que cela allait plutôt bien ensemble, qu’en pensez-vous ? 😁

J’ai pris une aiguille à coudre et du fil blanc. Puis j’ai enfilé mon fil dans l’aiguille et j’ai fait plusieurs nœuds.
Ensuite, j’ai placé mon bouton. Et j’ai commencé à coudre mon bouton en croisant mon fil pour plus de style !

Après quelques coups d’aiguilles, mon bouton était placé et cousu.
Et ma pochette était terminée !


Ce petit projet m’a pris environ 3 ou 4 heures, enfin, je ne sais pas exactement puisque je ne l'ai pas fait d’un seul coup. Je l’ai continué un peu le soir après le boulot, dans le train pour Strasbourg, le week-end, etc.
J’ai eu un peu de mal avec le fait de fermer les rangs, mais je ne voyais pas comment faire autrement. La pochette n’est pas parfaite, mais elle plaît à @genesisledger alors je suis heureuse de l’avoir faite ! Et puis c’est un bon entraînement. 😊
J’espère que ce petit tuto pourra vous inspirer pour vos prochains projets. D’ailleurs, ça peut très bien être une idée de cadeau de Noël pour un proche qui a une liseuse ! 🎁
Je me rends compte que ce n’est vraiment pas simple d’expliquer comment j’ai réalisé ma pochette par écrit. Alors, si jamais mes explications ne sont pas assez claires, n’hésitez pas à me demander plus de détails en commentaire.
À bientôt,
Johanna
PS : J’ai utilisé Google traduction pour traduire la partie en anglais.
!LOLZ
lolztoken.com
I decided to go for a wok.
Credit: reddit
$LOLZ on behalf of invest-time
(4/10)
Delegate Hive Tokens to Farm $LOLZ and earn 110% Rewards. Learn more.@altheana, I sent you an
Thanks !
This is really beautiful and awesome
Thanks a lot 🙏
The final result is really impressive. It is elegant, beautiful, and charming. Love its design. You did a great job! 😊
Thanks for your comment, it makes me really happy! 😁
You did it very nice, I love it, at least it will be of help to you, good work 👍👍
Thank you so much 🙏🙏
This is pretty and will be super useful too for your friend thanks for sharing dear.
Indeed it is very useful, my companion like it ! Thanks a lot 🙏😁
!HUG
Your post has been manually reviewed for curation by the Principality of Bastion.
Check the Trail of posts we voted
Principality of Bastion - Our Leit Motiv? Let's Grow Together.
Principality's site | Minava NFT Market | Discord | Our Twitch Channel
You may TRAIL this account if you like the curation we do, or join our discord to know more about what we do.

!LOLZ
lolztoken.com
Mountain Dooby Doo
Credit: reddit
$LOLZ on behalf of invest-time
(5/10)
NEW: Join LOLZ's Daily Earn and Burn Contest and win $LOLZ@itharagaian, I sent you an
Congratulations @altheana! You have completed the following achievement on the Hive blockchain And have been rewarded with New badge(s)
Your next target is to reach 1750 upvotes.
You can view your badges on your board and compare yourself to others in the Ranking
If you no longer want to receive notifications, reply to this comment with the word
STOPCheck out our last posts: