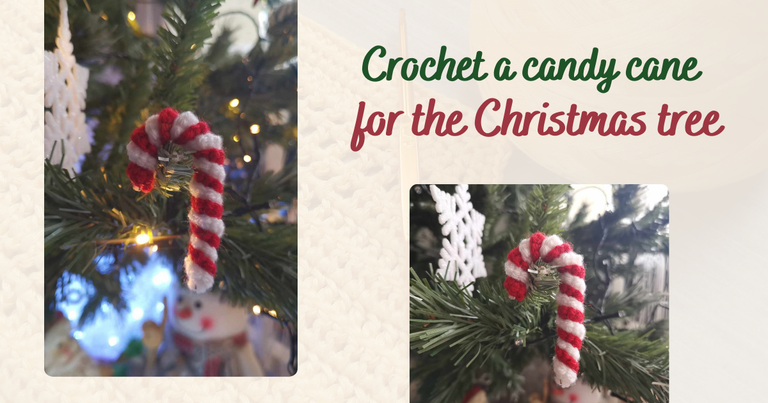
Hello friends and crochet enthusiasts! 👋
I hope you are all doing very well and having a wonderful holiday season.
A few weeks before Christmas, we put up our Christmas tree with its decorations. And I found that it lacked a bit of different decoration, so I decided to create some with my crochet hook! 🎄
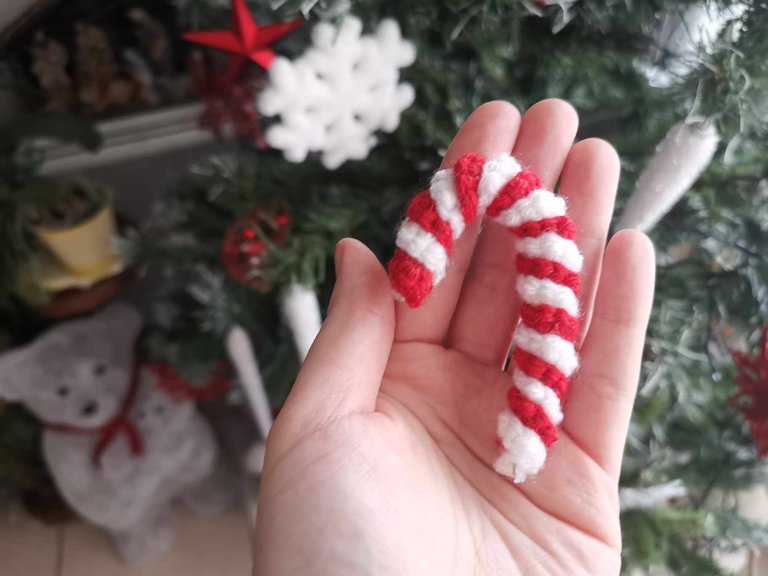
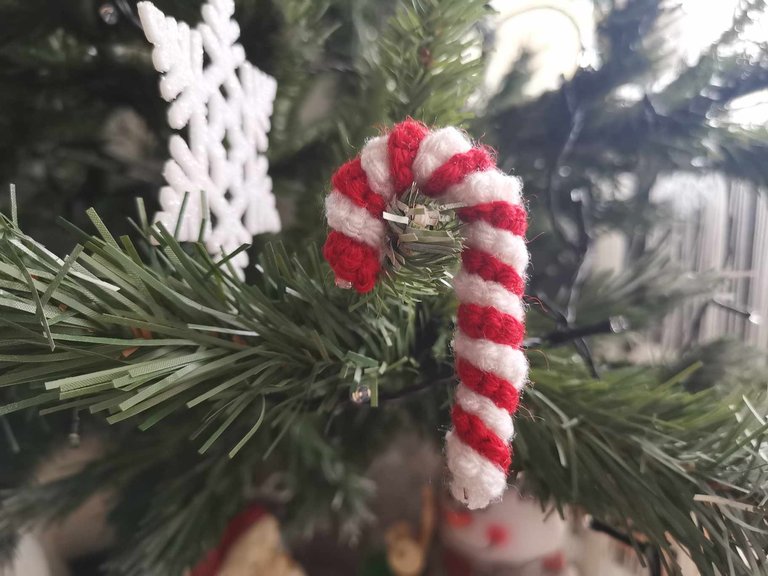
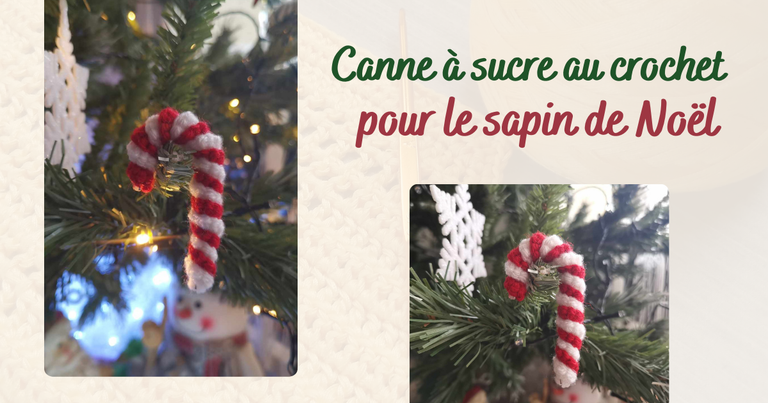
I made 6 candy canes, red and white, to put on the tree!
It is super easy and quick to do. It takes me about 15 minutes to make one. And above all, it decorates the tree wonderfully! 👍
So, here is a very quick tutorial:
The material I used
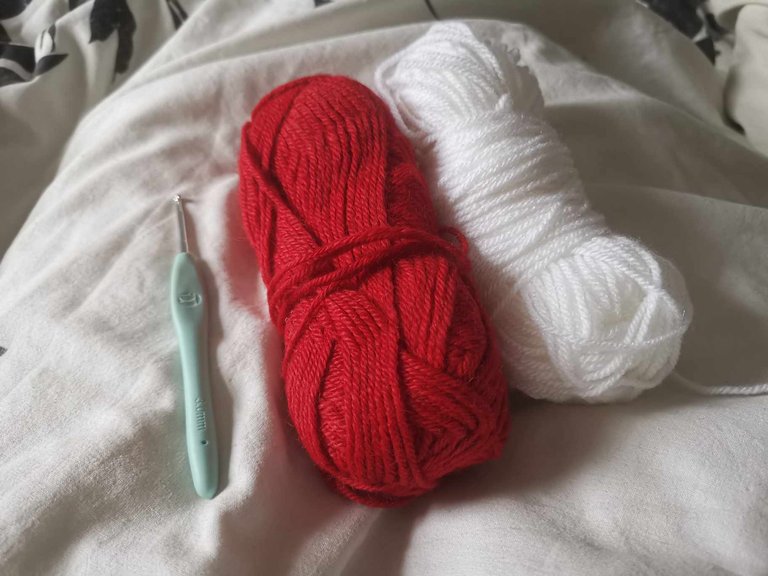
- A ball of 100% red acrylic
- A ball of 100% white acrylic
- A 3mm crochet hook
- Aluminium wire
- Glue
The steps
Step 1: Make a chain
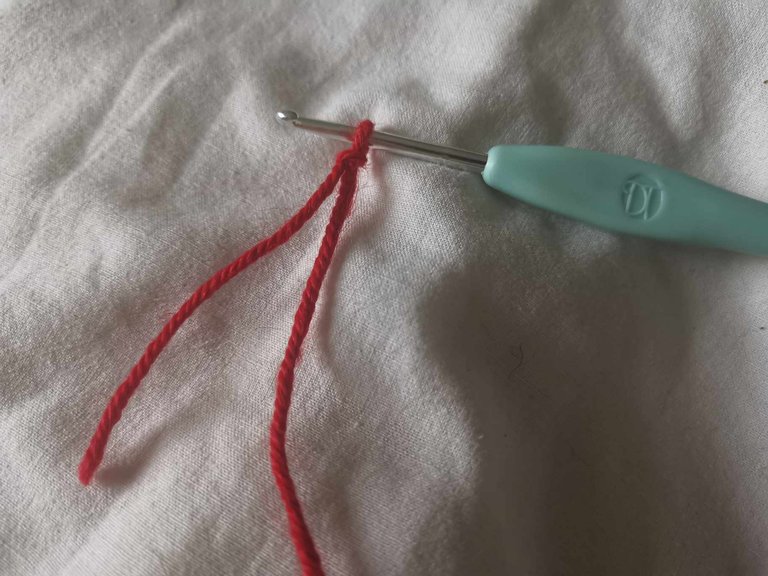
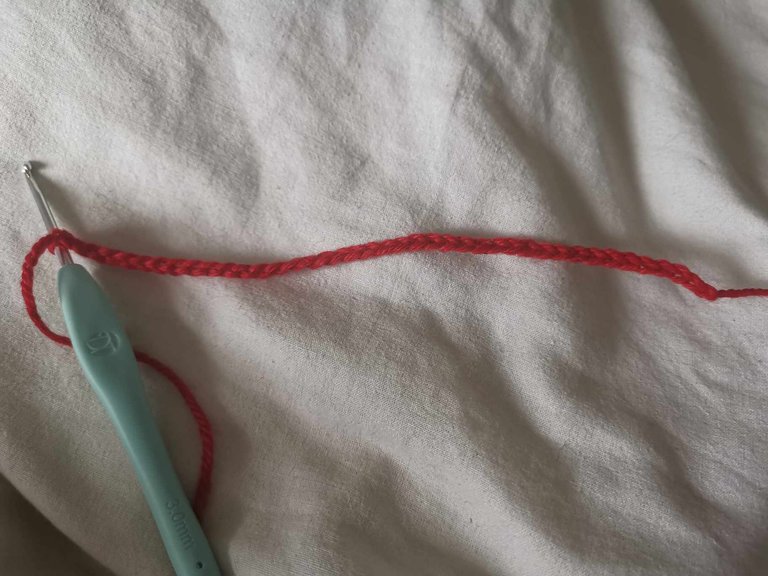
To start, I took my first color and made a slip knot. Then I made a chain of 40 chain stitches.
Step 2: Create the cables
To create the cables, I will make 2 single crochets in each chain stitch of my chain.
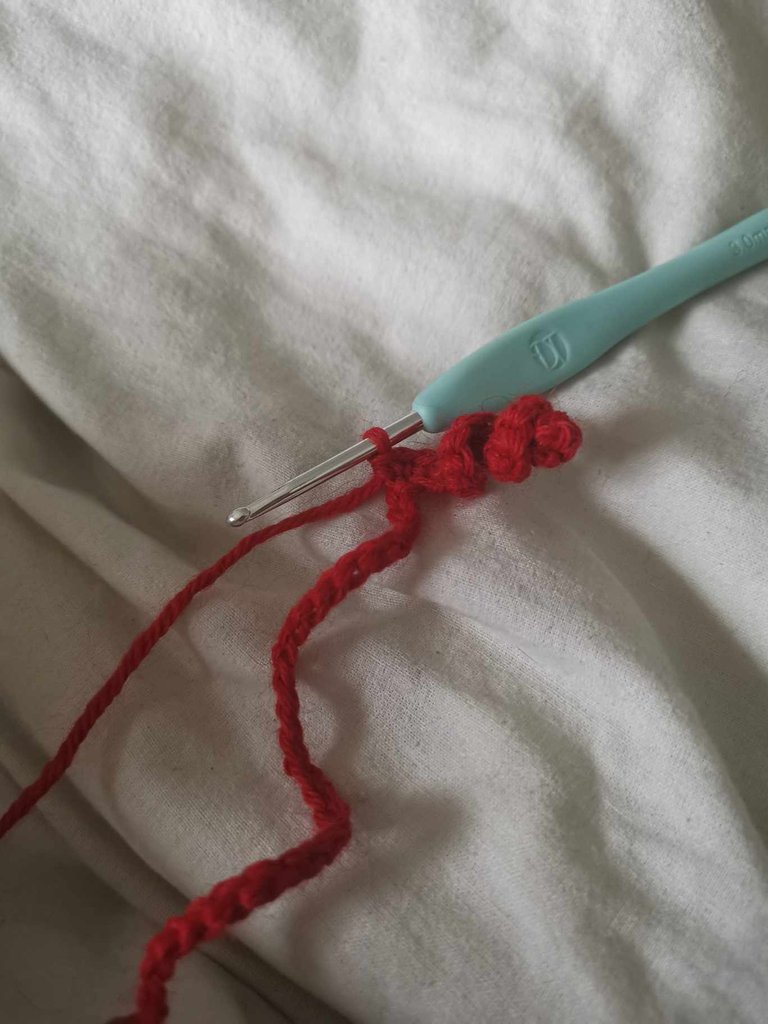
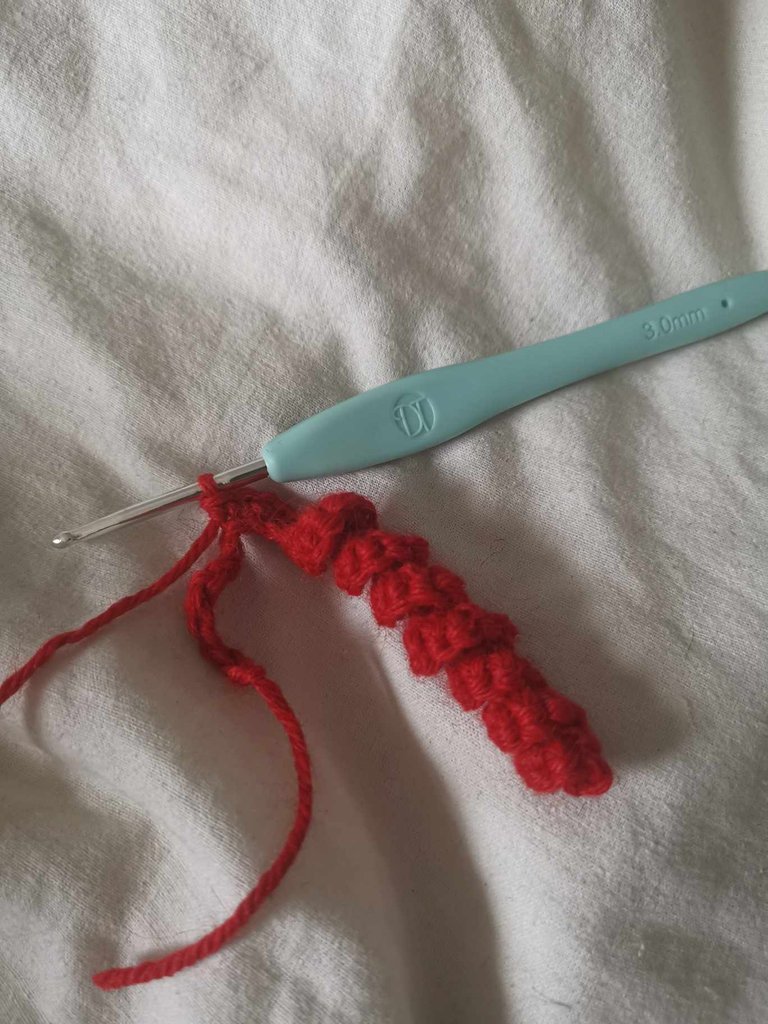
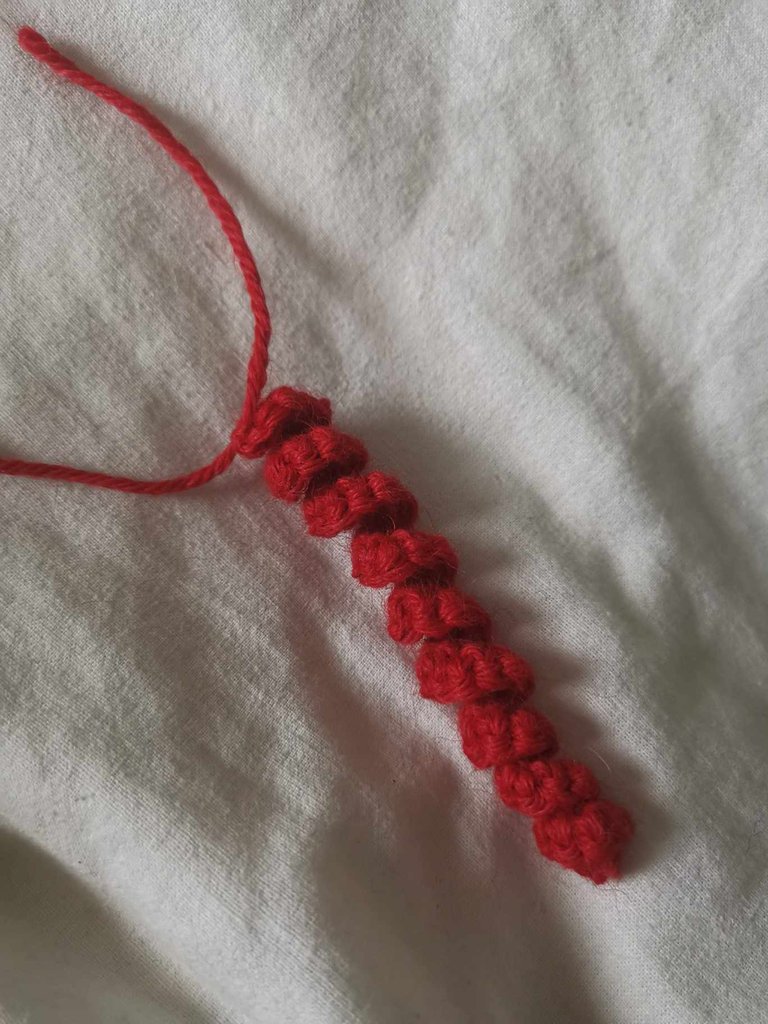
Once I reach the end of my chain, the cables are there and the first piece is finished. You have to close it by making one or more knots.
Step 3: Do the same thing with another color
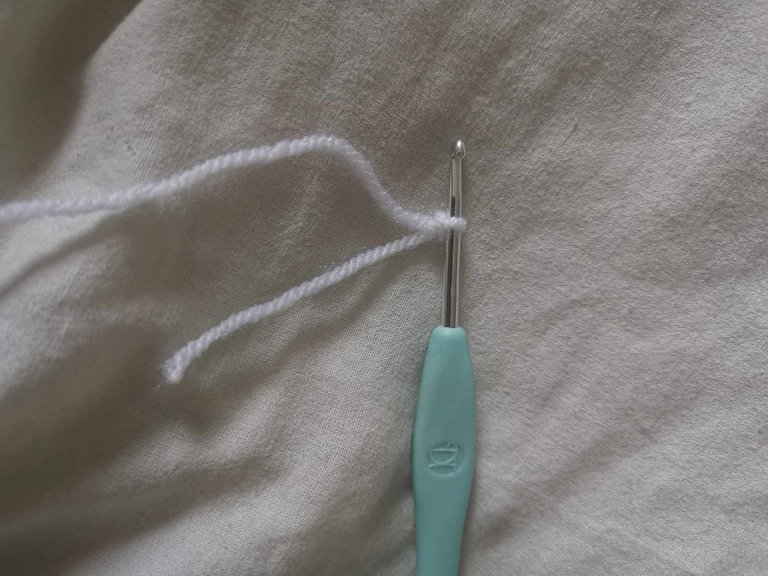
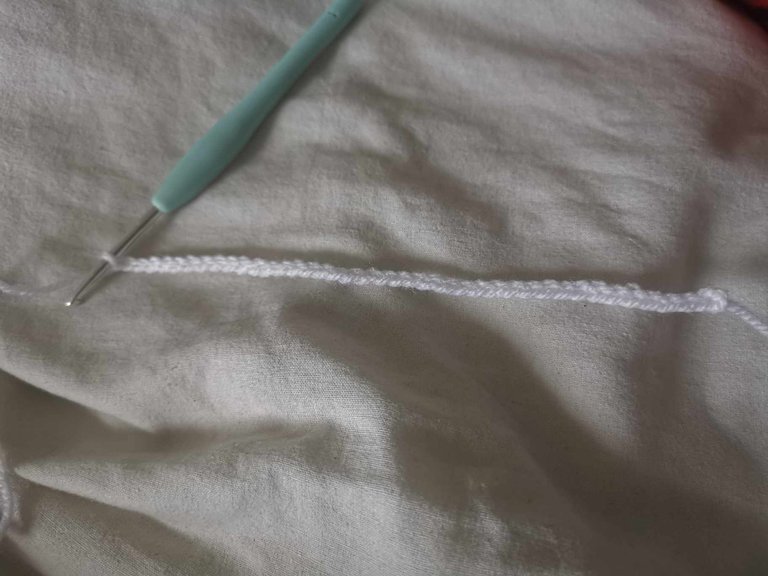
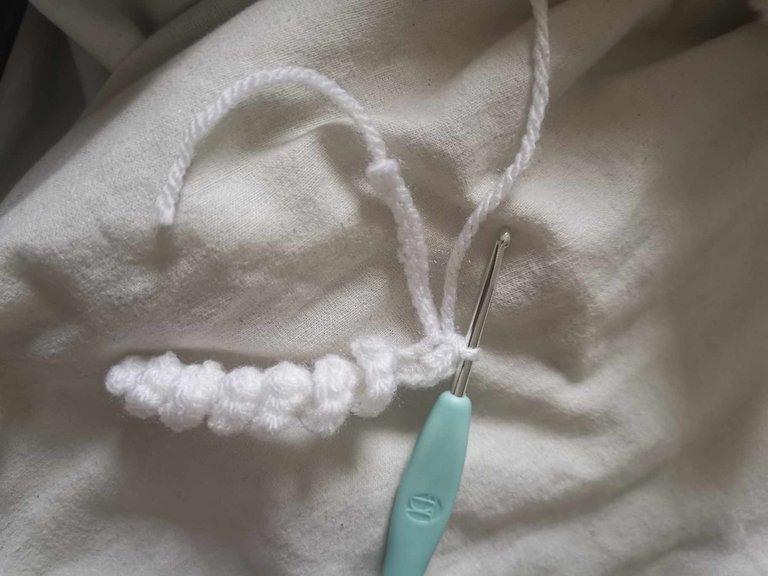
To continue my candy cane, I need to do exactly the same thing, but this time with the other color: a chain of 40 chain stitches, then 2 single crochets in each of the chain stitches of my chain.
Step 4: Wrap the two parts
To create the two-tone effect, simply wrap the two parts together.
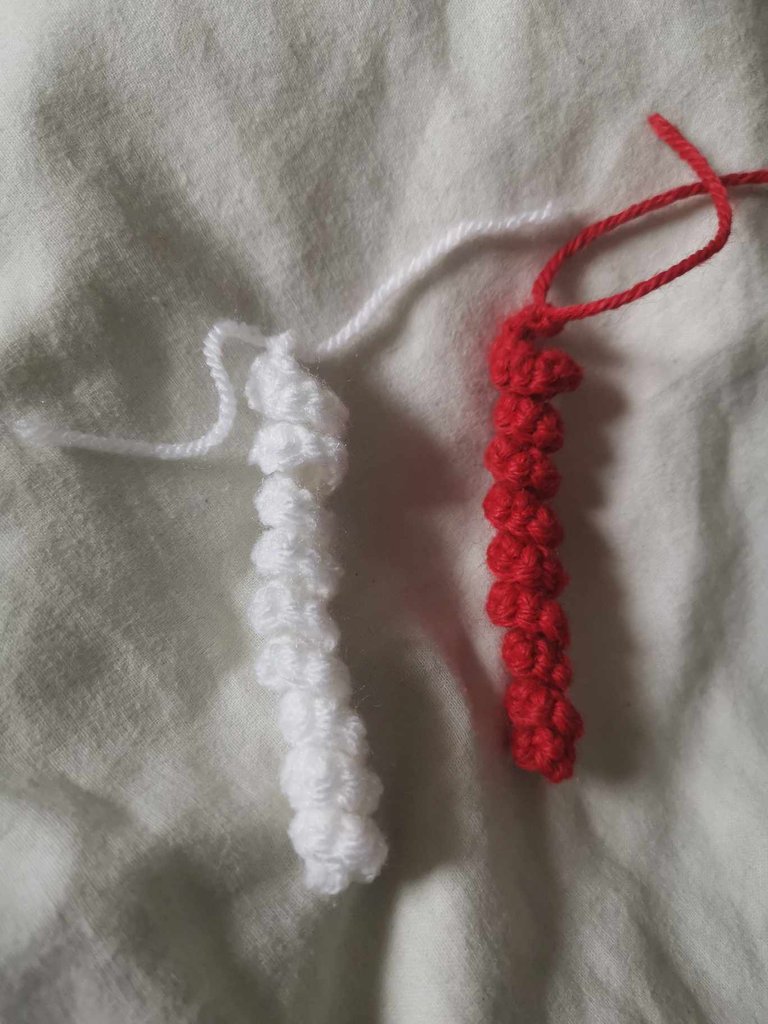
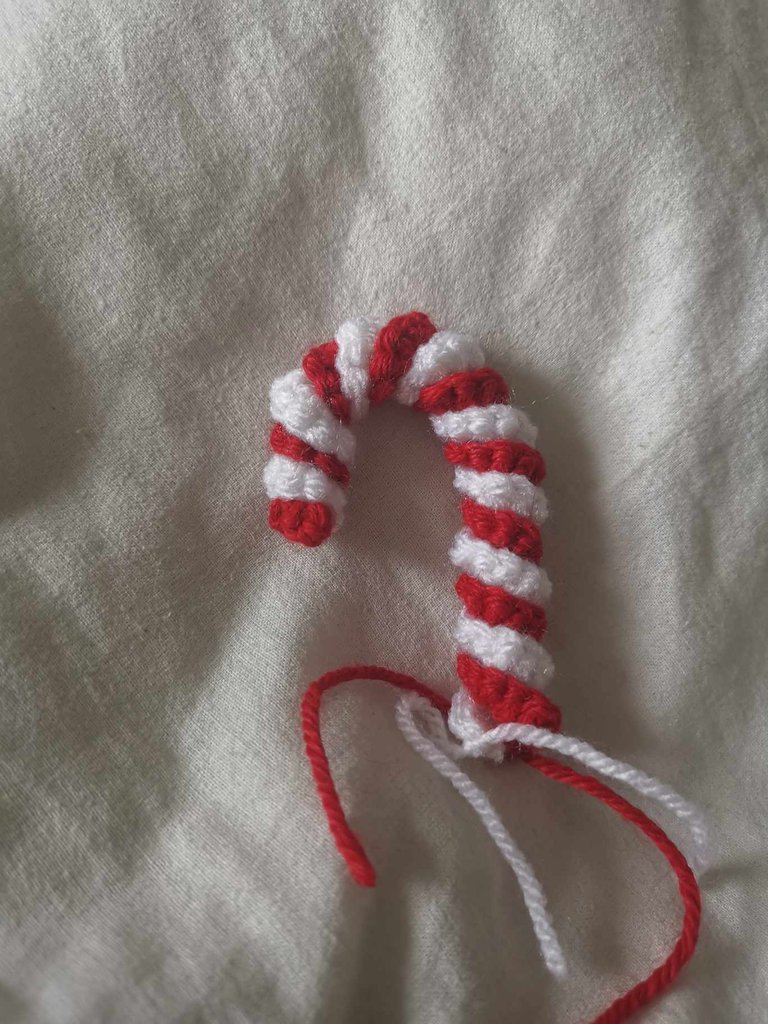
And cut the excess wires (or tuck them in with a wool needle)
Step 5: Add the aluminum wire
To be able to give a candy cane shape to your creation, you have to take the aluminum wire and pass it through it.
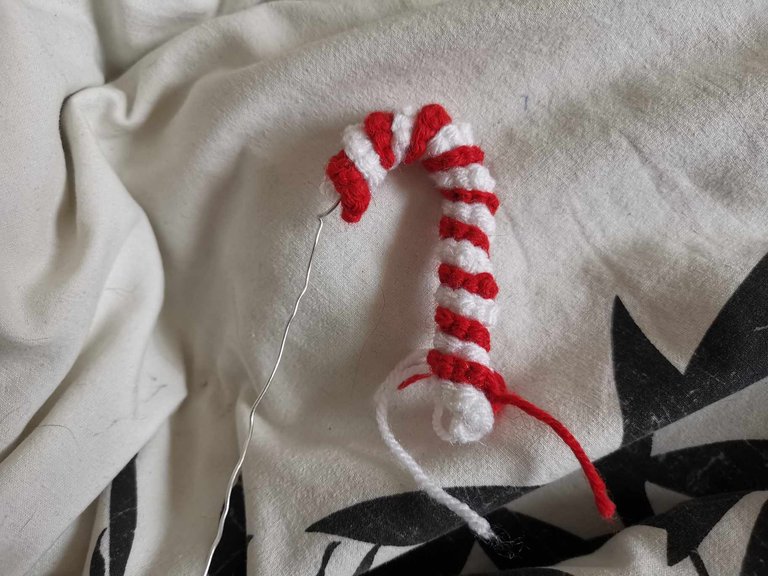
You then have to cut it so that it does not stick out.
Step 6: Put a dot of glue
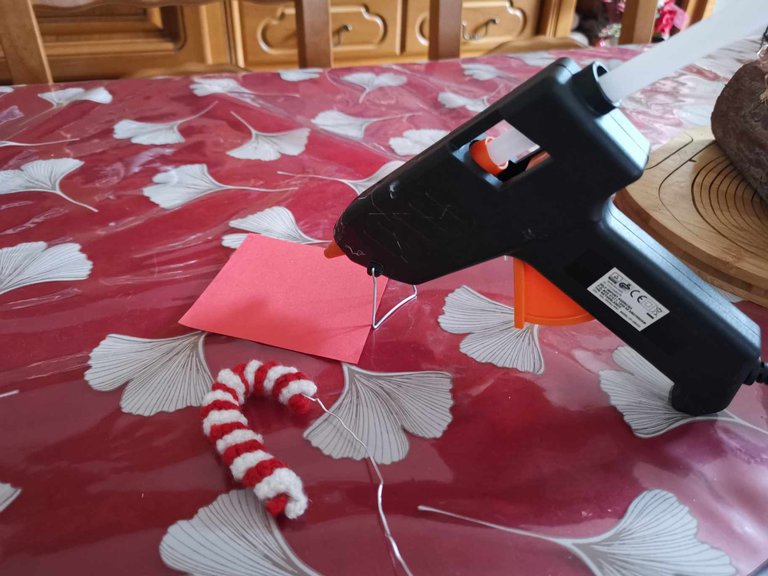
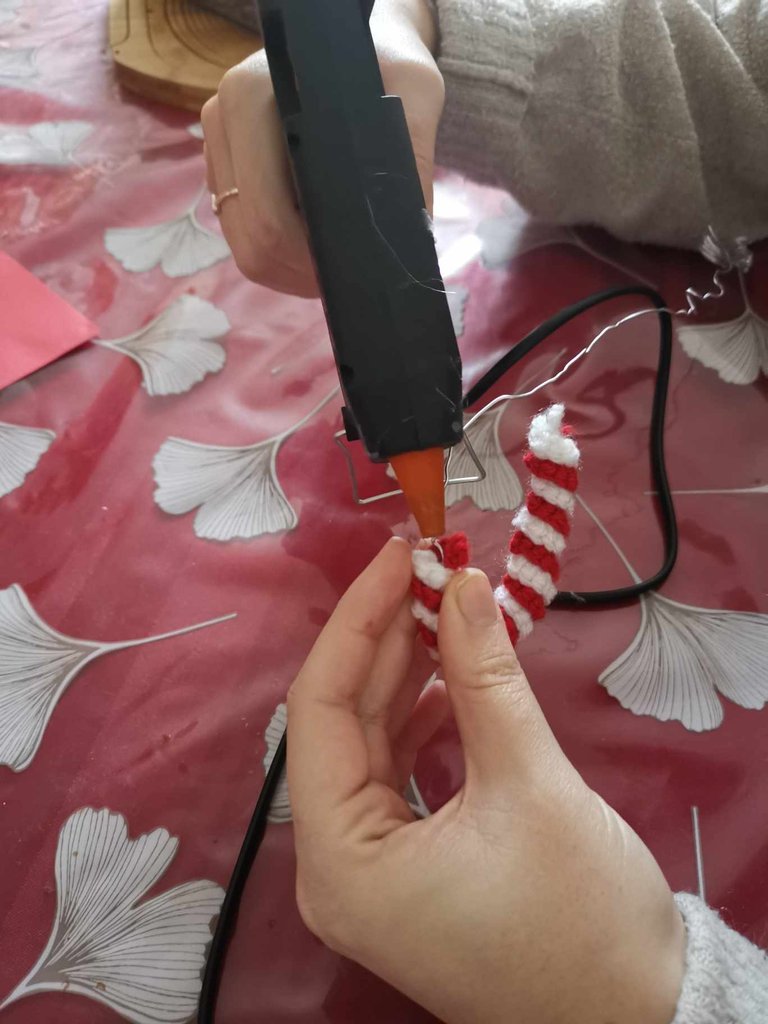
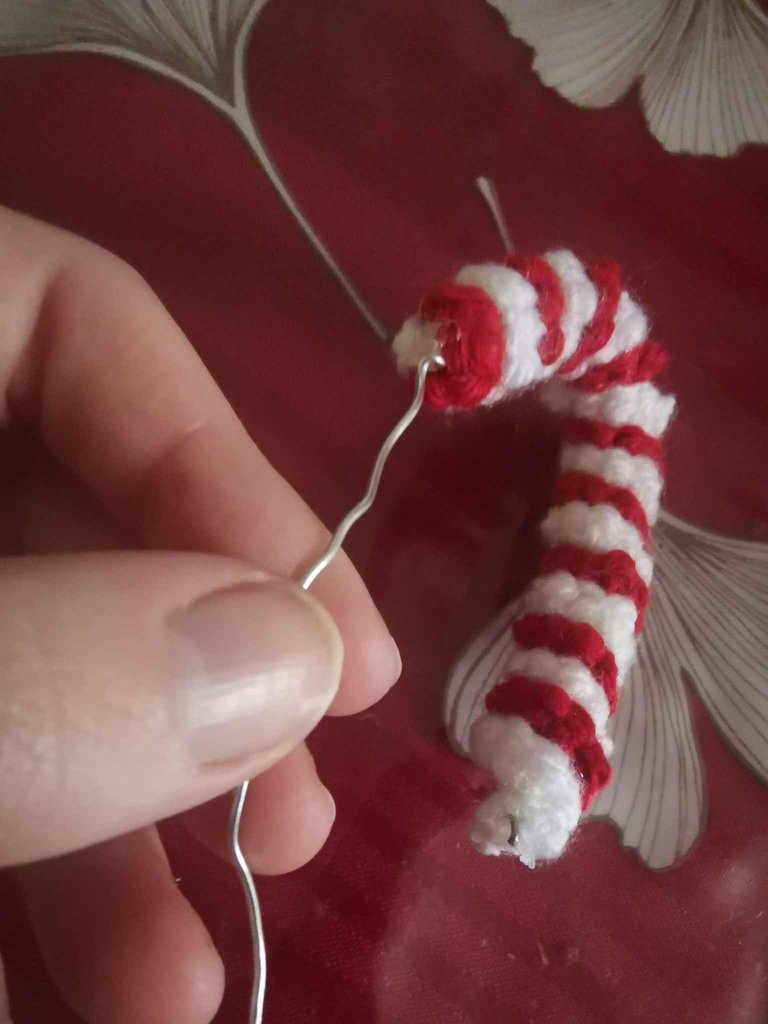
To finish the candy cane, I simply put a dot of glue on both ends.
Step 7: Hang it on the tree
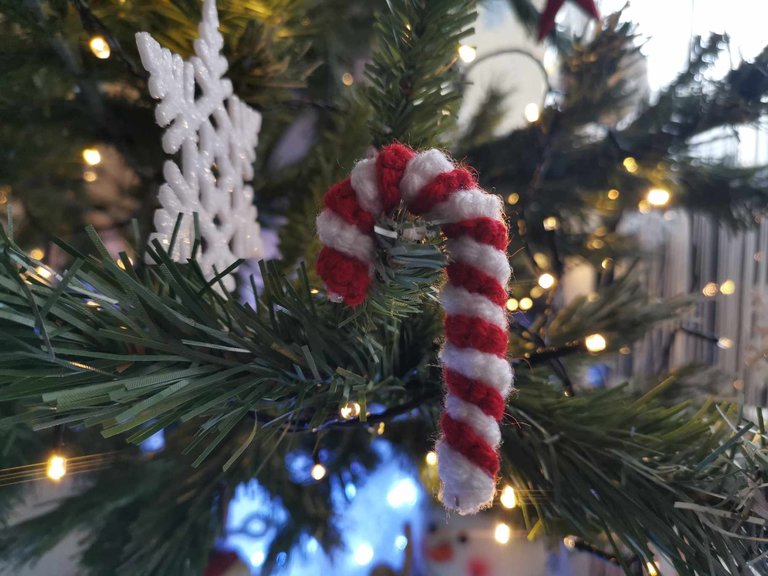
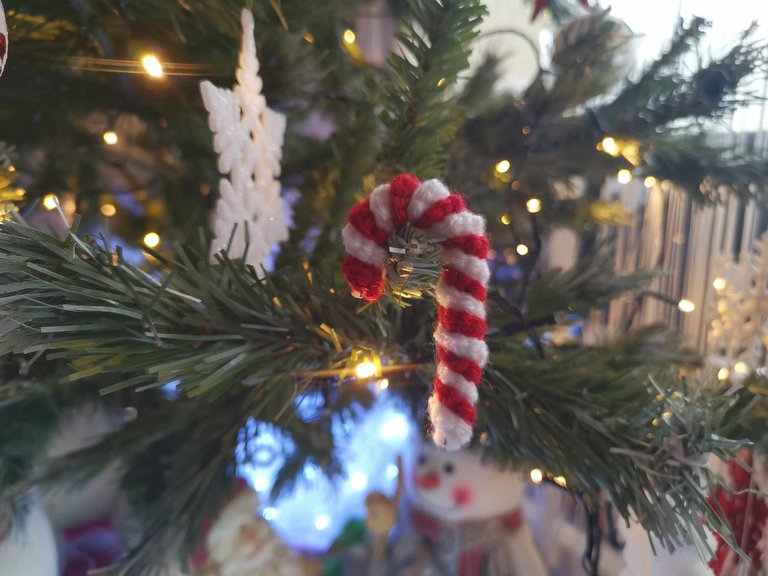
And there you have it, it's time to hang it on the tree!
I love the result, and you? 😍
I think I'll make even more next year!
I hope you enjoyed this little tutorial and that it will allow you to create your own Christmas decoration in a few minutes.
See you soon,
Johanna
PS: I used Google Translate to translate the English part.
Hello les amis et les passionnés de crochet ! 👋
J’espère que vous allez tous très bien et que vous passez de très belles fêtes de fin d’année.
Quelques semaines avant Noël, nous avons installé notre sapin de Noël avec ses décorations. Et je trouvais que cela manquait un peu de décoration différente, alors j’ai décidé d’en créer avec mon crochet ! 🎄
J’ai réalisé 6 cannes à sucre, rouge et blanche, pour mettre dans le sapin !
C’est ultra facile et rapide à faire. Je mets à peu près 15 mins à en faire une. Et surtout, cela décore merveilleusement bien le sapin ! 👍
Donc, voici un petit tuto ultra rapide :
Le matériel que j’ai utilisé

- Une pelote 100% acrylique rouge
- Une pelote 100% acrylique blanche
- Un crochet 3mm
- Du fil d’aluminium
- De la colle
Les étapes
Étape 1 : Faire une chaînette


Pour commencer, j’ai pris ma première couleur et j’ai fait un nœud coulant. Puis j’ai fait une chaînette de 40 mailles en l’air.
Étape 2 : Créer les torsades
Pour créer les torsades, je vais faire 2 mailles serrées dans chaque maille en l’air de ma chaînette.


Une fois arrivé au bout de ma chaînette, les torsades sont là et le premier morceau est terminé. Il faut le fermer en faisant un ou plusieurs nœuds.
Étape 3 : Refaire la même chose d’une autre couleur


Pour continuer ma canne à sucre, j’ai besoin de faire exactement la même chose, mais cette fois-ci avec l’autre couleur : une chaînette de 40 mailles en l’air, puis 2 mailles serrées dans chacune des mailles en l’air de ma chaînette.
Étape 4 : Enrouler les deux parties
Pour créer l’effet bi-colore, il faut simplement enrouler les deux parties ensemble.


Et couper les fils qui dépassent (ou les rentrer à l’aide d’une aiguille à laine)
Étape 5 : Ajouter le fil d’aluminium
Pour pouvoir donner une forme de canne à sucre à notre création, il faut prendre le fil d’aluminium et le passer dedans.

Il faut ensuite le couper pour qu’il ne dépasse pas.
Étape 6 : Mettre un point de colle


Pour terminer la canne à sucre, j’ai simplement mis un point de colle aux deux extrémités.
Étape 7 : L’accrocher dans le sapin
Et voilà, il est temps de l’accrocher dans le sapin !


J’adore le résultat et vous ? 😍
Je pense que l’année prochaine, je vais en faire encore plus !
J’espère que ce petit tutoriel vous a plu et qu’il vous permettra de créer votre propre décoration de Noël en quelques minutes.
À bientôt,
Johanna
PS : J’ai utilisé Google Traduction pour traduire la partie en anglais.
!PIZZA
Your post has been manually reviewed for curation by the Principality of Bastion.
Check the Trail of posts we voted
Principality of Bastion - Our Leit Motiv? Let's Grow Together.
Principality's site | Minava NFT Market | Discord | Our Twitch Channel
You may TRAIL this account if you like the curation we do, or join our discord to know more about what we do.

🙏🙏
Awwnn this is beautiful, I like the stitch type you have used here. Merry Christmas in arrears
Thank you very much! Merry Christmas with a little delay and Happy New Year! 🥰
!LOLZ
!INDEED
!PIZZA
lolztoken.com
A naughty frog.
Credit: fallingforward
$LOLZ on behalf of benefice-net
(8/10)
Delegate Hive Tokens to Farm $LOLZ and earn 110% Rewards. Learn more.@altheana, I sent you an
Nice Christmas tree
Thank you 🙏
This is beautiful, I love it. merry Christmas in arrears
Thanks a lot ! Merry Christmas and Happy New Year 😊
Looks just like a real candy cane, who would have thought it's yarn in all its glory 😍... Well done and good job.
Thank you very much for the compliment! I'm glad you like it! 😊
You are welcome 🤗
$PIZZA slices delivered:
itharagaian tipped altheana
(8/10) @benefice-net tipped @altheana