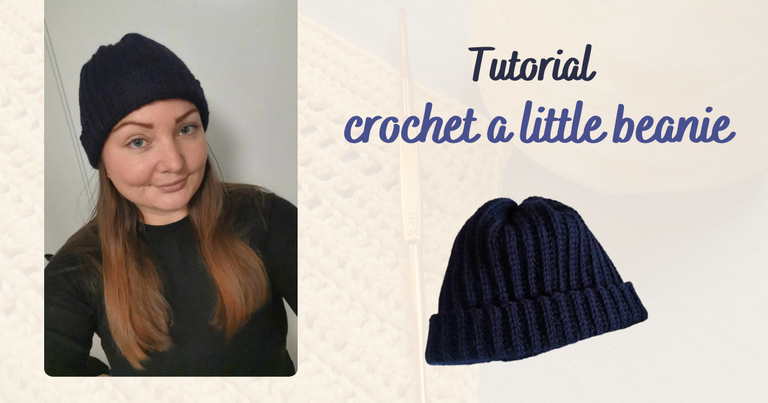
Hello friends and crochet lovers! 👋 I hope you are all doing very well.
The cold is here in France, we even had the first snow. ❄️ So it's time to make some warm accessories to survive the winter!
Two weeks ago, I finished my ear warmer headband. I love it, but I wear it mostly when I tie my hair up. So, I told myself that I also needed a nice beanie! 🧶
So I got to work and made a nice warm beanie!
By the way, if you are starting crochet, beanies are very easy to make and accessible to beginners! It's a quick little project, I would say between 4 and 5 hours, and even less when you have gained a little confidence.
That's why I decided to share the tutorial with you. 😁
The material I used
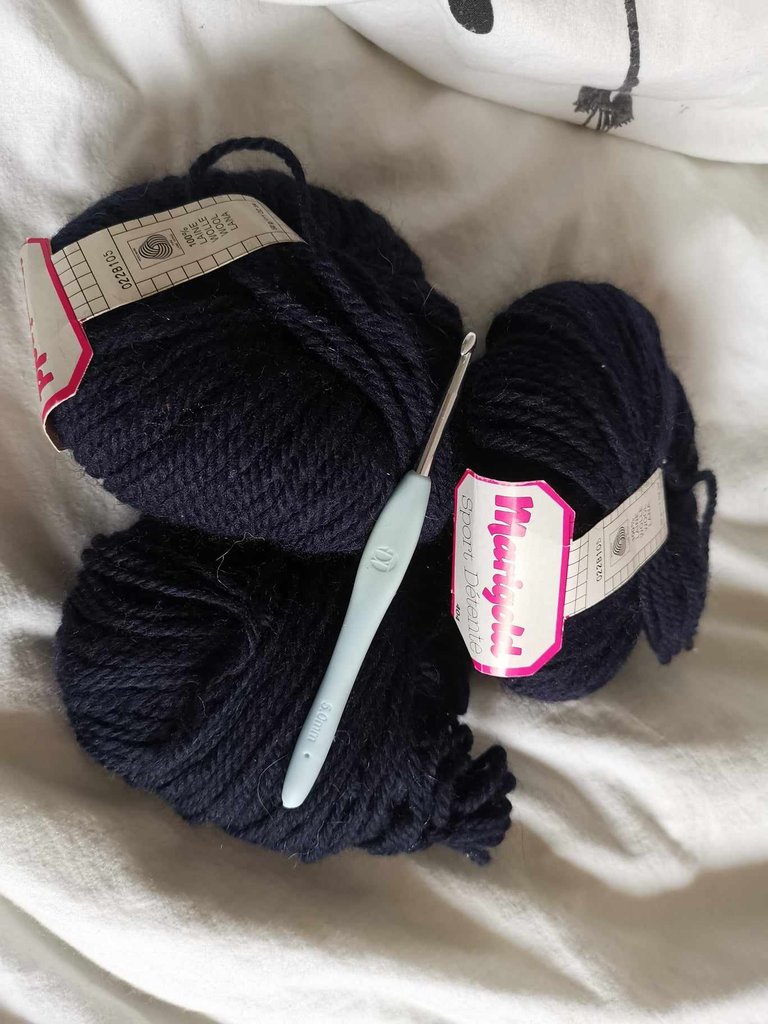
To make my little hat, I used:
- 2 and a half balls of 100% navy blue wool,
- A 5mm crochet hook,
- A wool needle.
The steps
1st step: starting chain
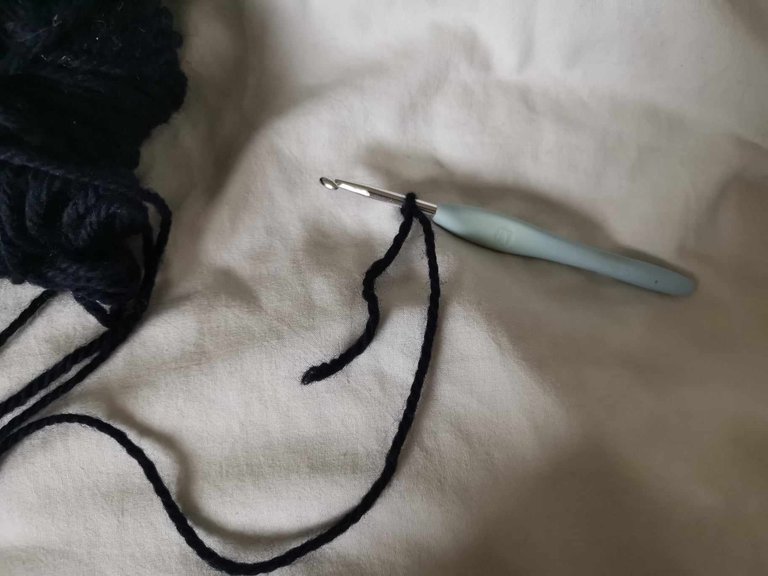
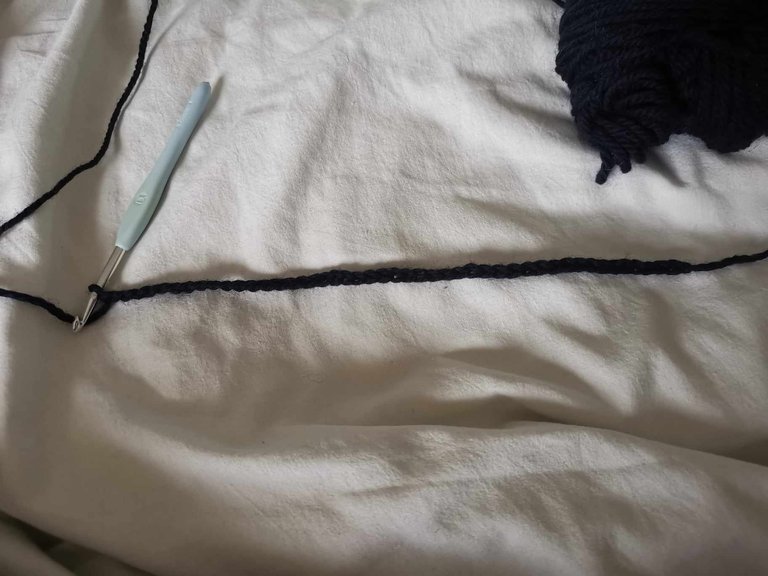
To start my beanie, I first made a slip knot, then I cast on 45 chain stitches (about 27 cm). Obviously, you have to adapt your chain to your head. It must be equal to the height between the top of the skull and the middle of the nose.
For an adult hat, your chain will probably be between 26 and 28 cm.
1st row
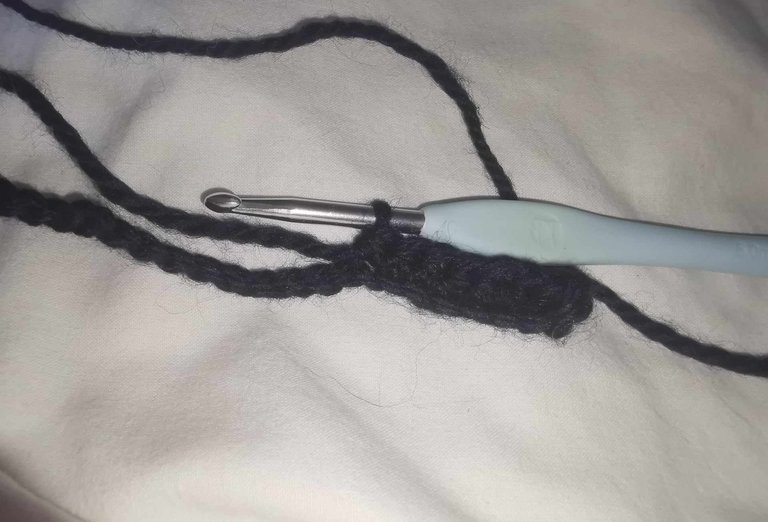
Once the chain is finished, you have to move on to the first row. For this beanie, I chose to work in half double crochets. So I made my first row of half double crochets. And when I reached the end of the row, I chained 2 before turning my work.
2nd and following rows
For the following rows, I simply made half double crochets in the back loop, followed by 2 chain stitches before turning my work. I really like the ribbed design that the half double crochets in the back loop give, it adds relief.
I continued like this:
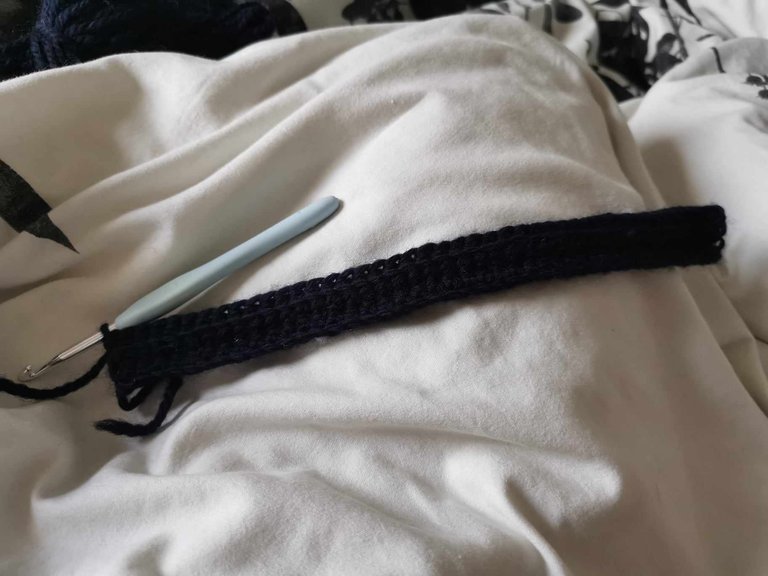
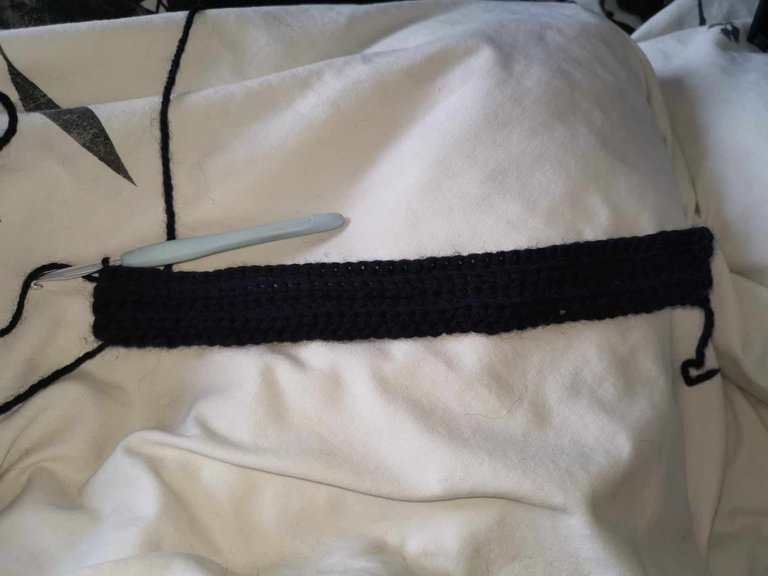
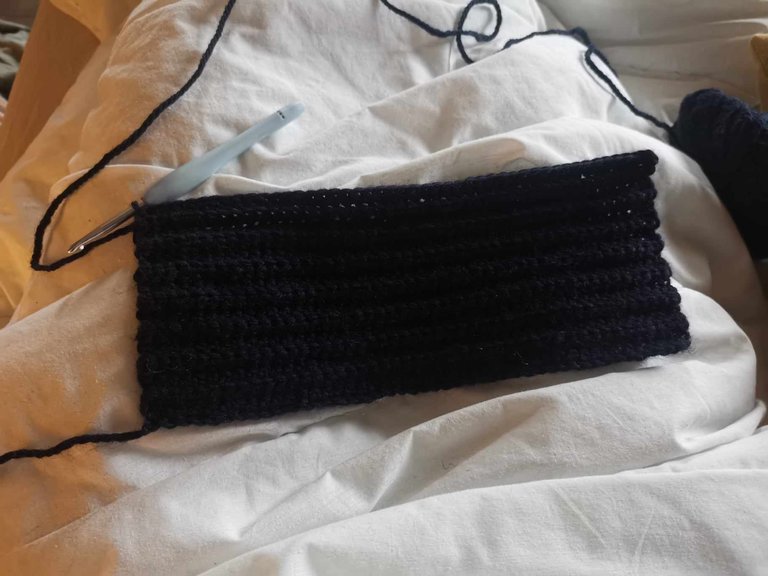
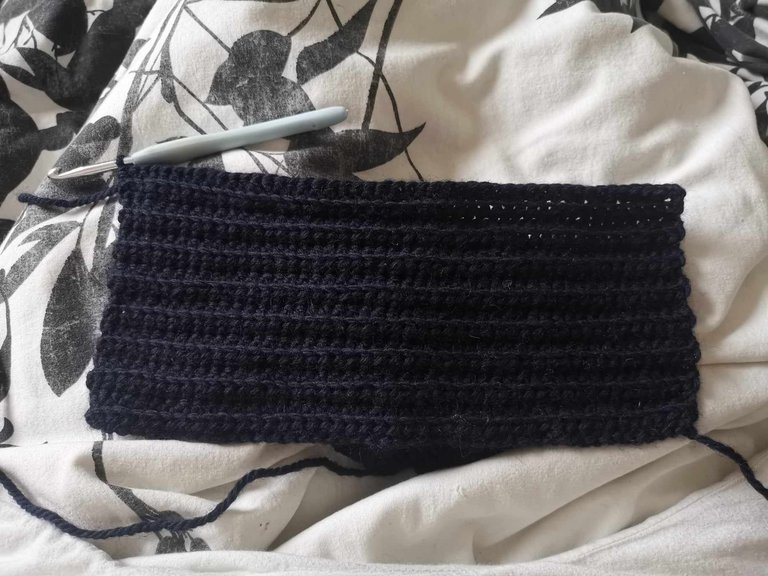
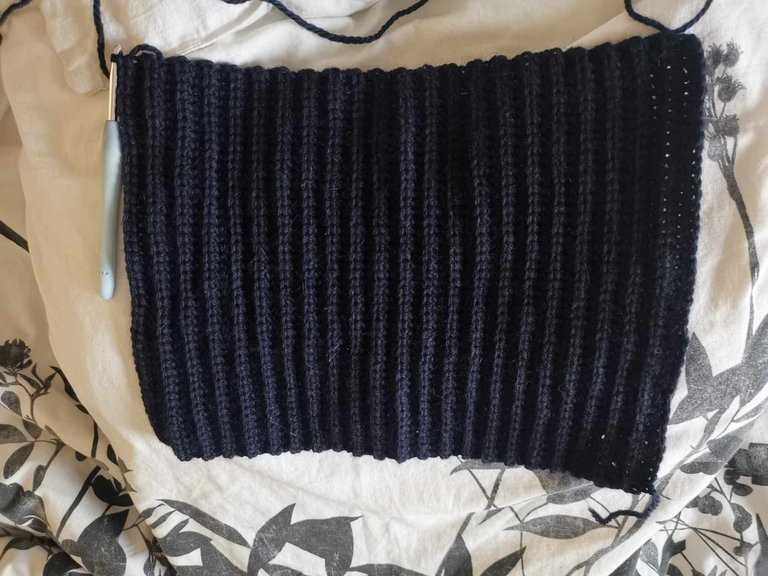
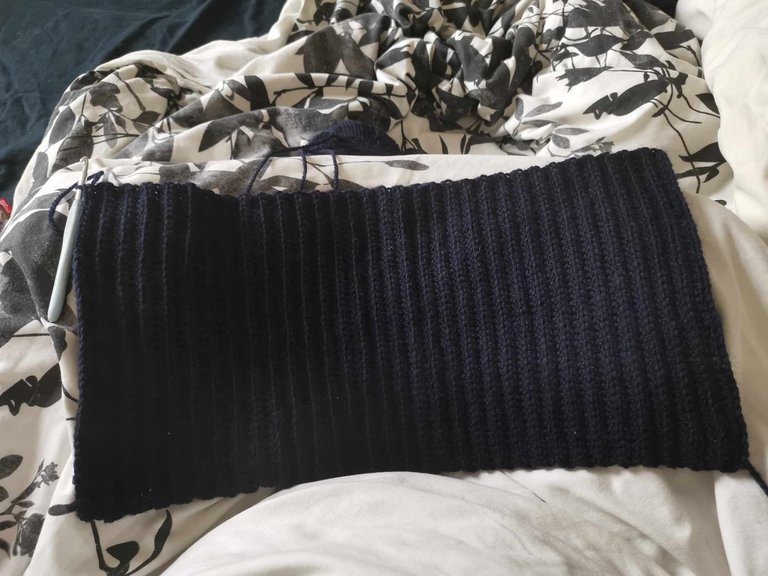
Until I got a rectangle that goes around my head. Here, I made 64 rows, which corresponds to about 50cm. Obviously, the number of rows depends on your head size, but also on the yarn and the hook used.
For an adult hat, the rectangle is often between 40 and 50cm.
I needed to change balls of yarn twice, so I made 2 invisible knots (but I didn't think to take a picture of it). In total, I used about 2 and a half balls of yarn.
Closing the beanie
To close the beanie, I simply folded the sides together.
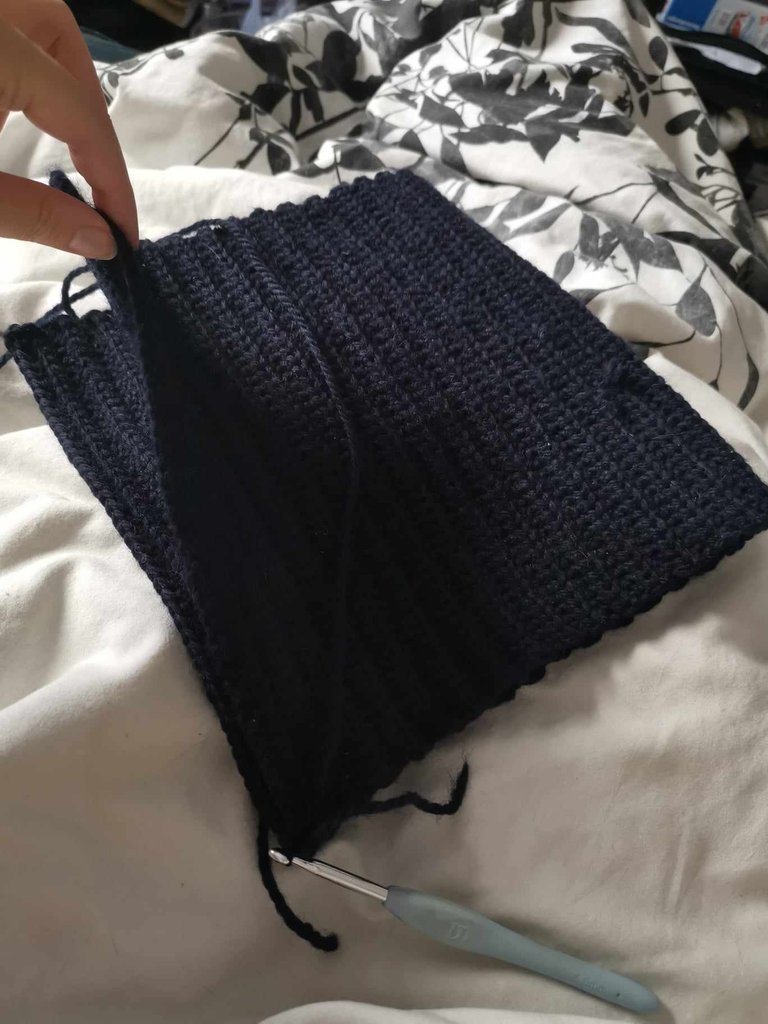
Then, I made slip stitches in the two strands on each side.
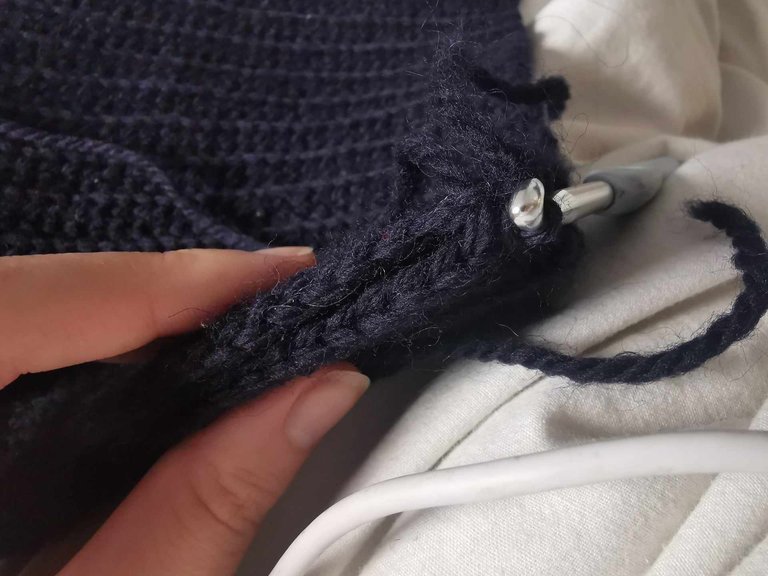
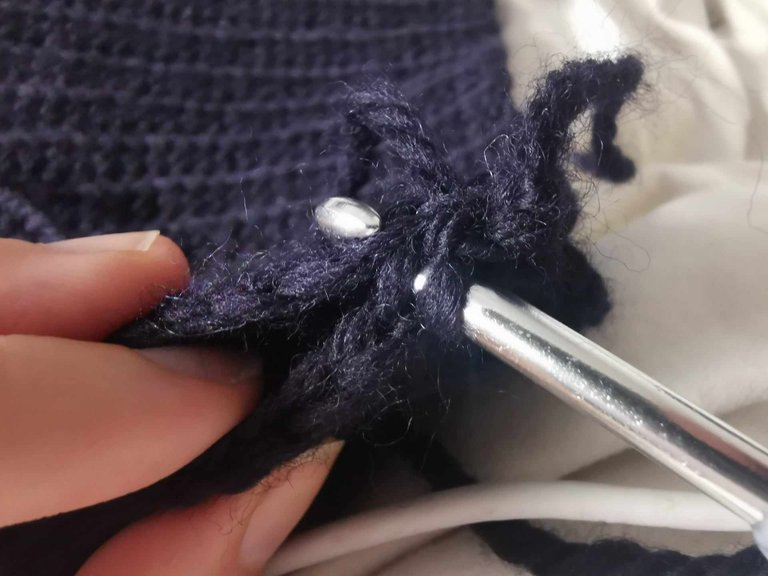
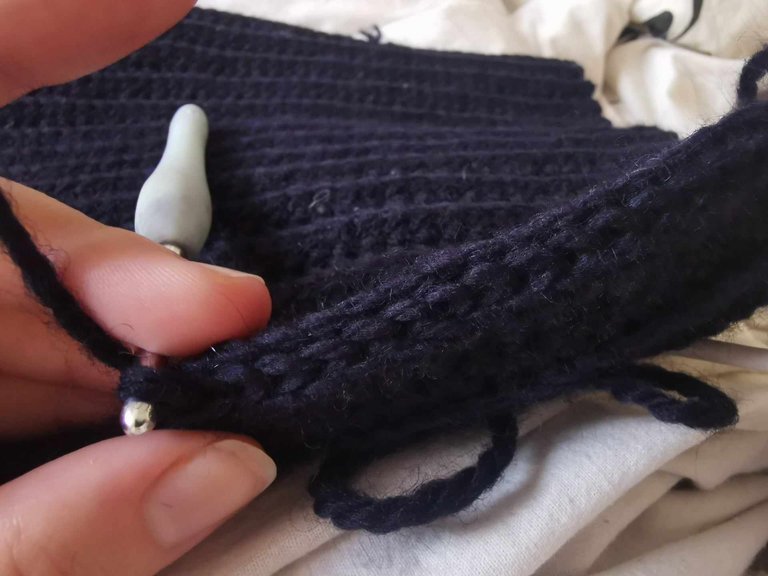
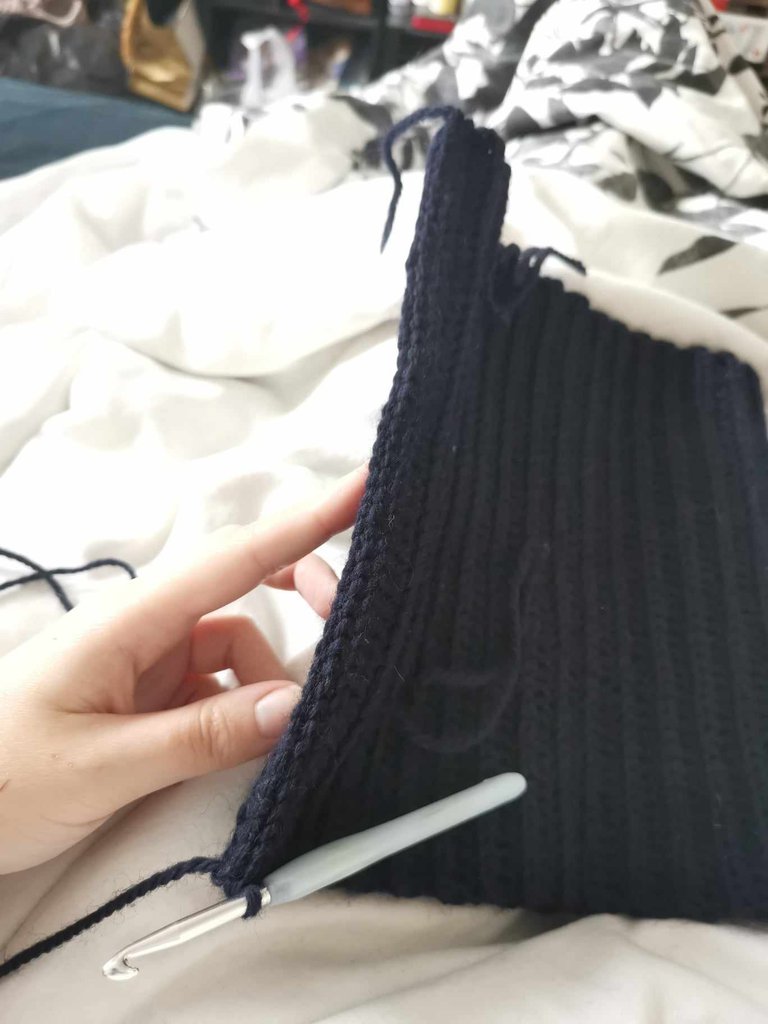
Once the rectangle is closed, I made one or more knots and closed the work while making sure to keep a small length of yarn (between 15 and 30 cm).
Sewing the top of the beanie
The beanie is almost finished, but you still have to close the top of the hat. To do this, I took the yarn needle and started to insert it regularly into the stitches at the top.
A picture is worth a thousand words:
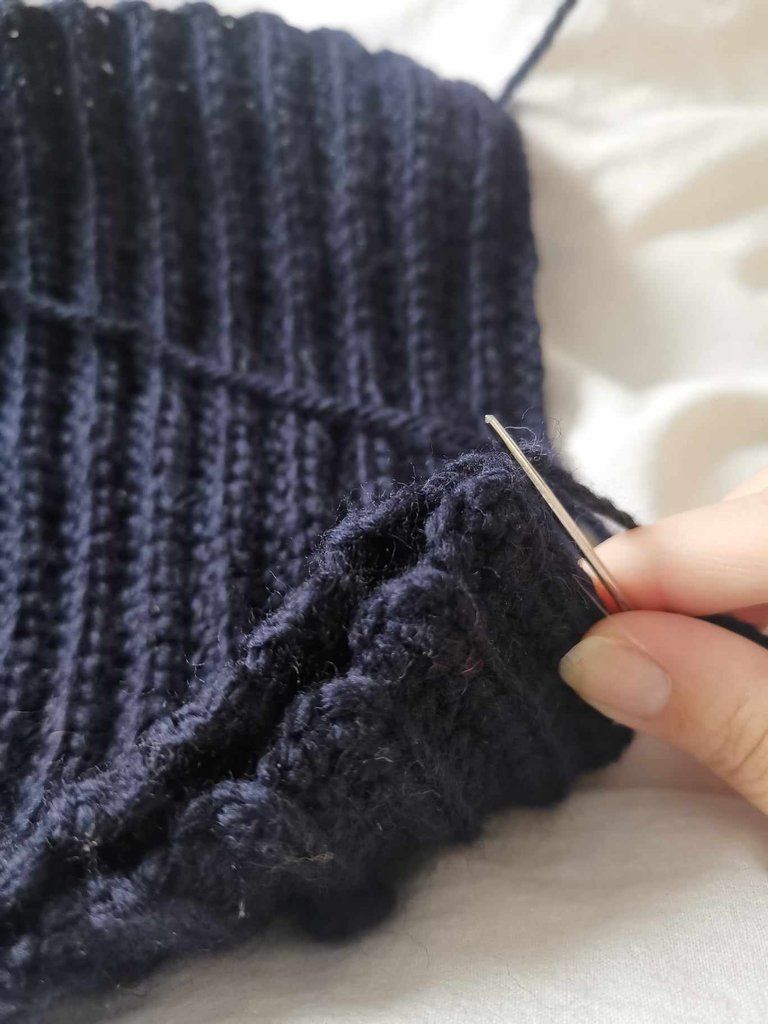
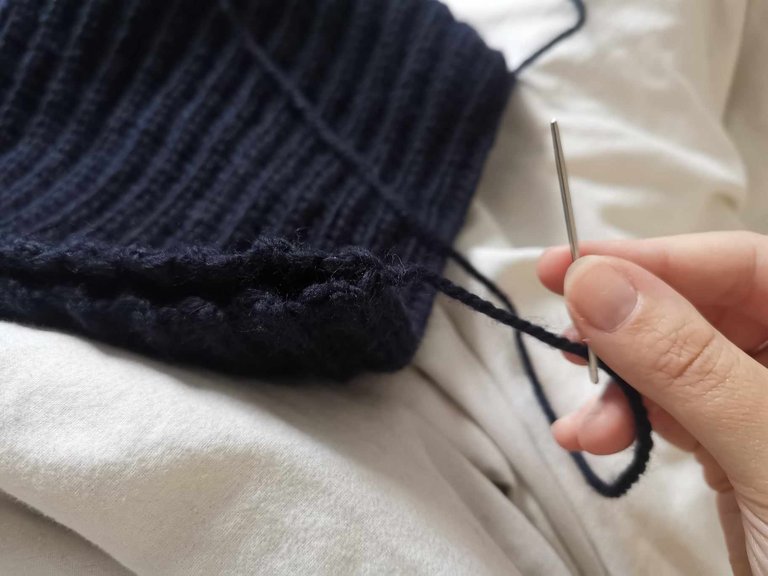
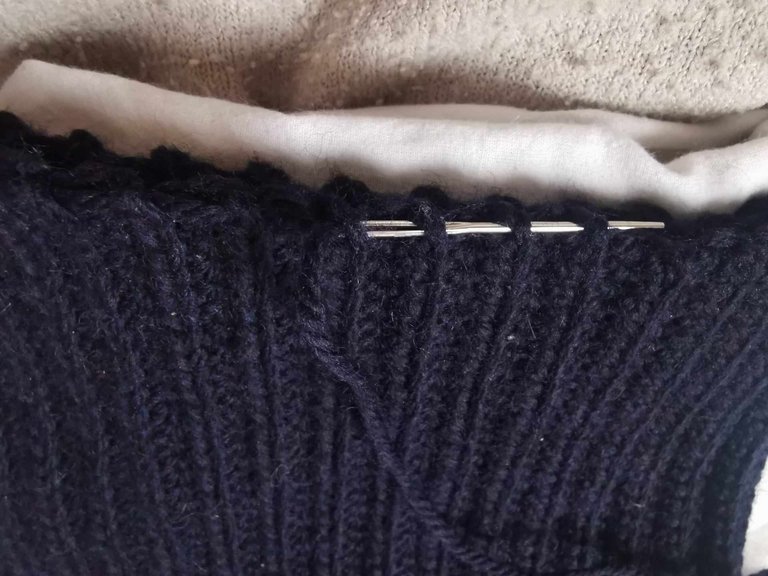
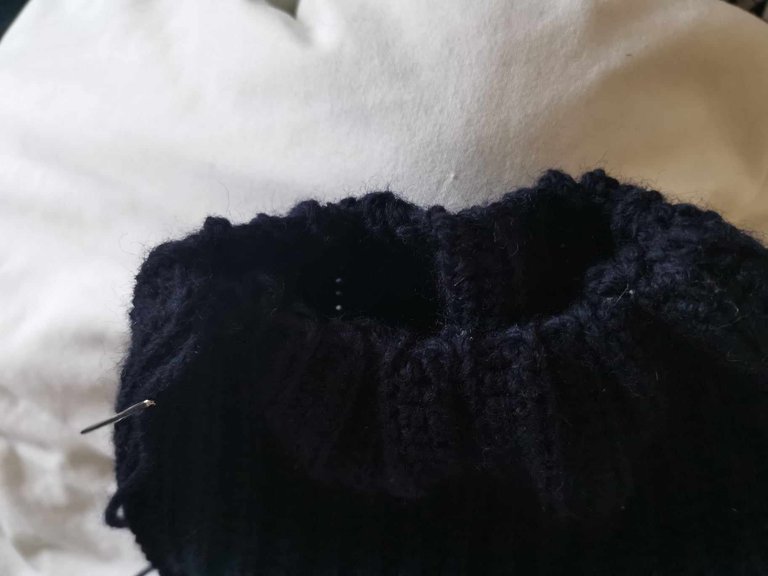
You have to pull regularly (I do 4 stitches by 4 stitches) to start closing the top of the hat.
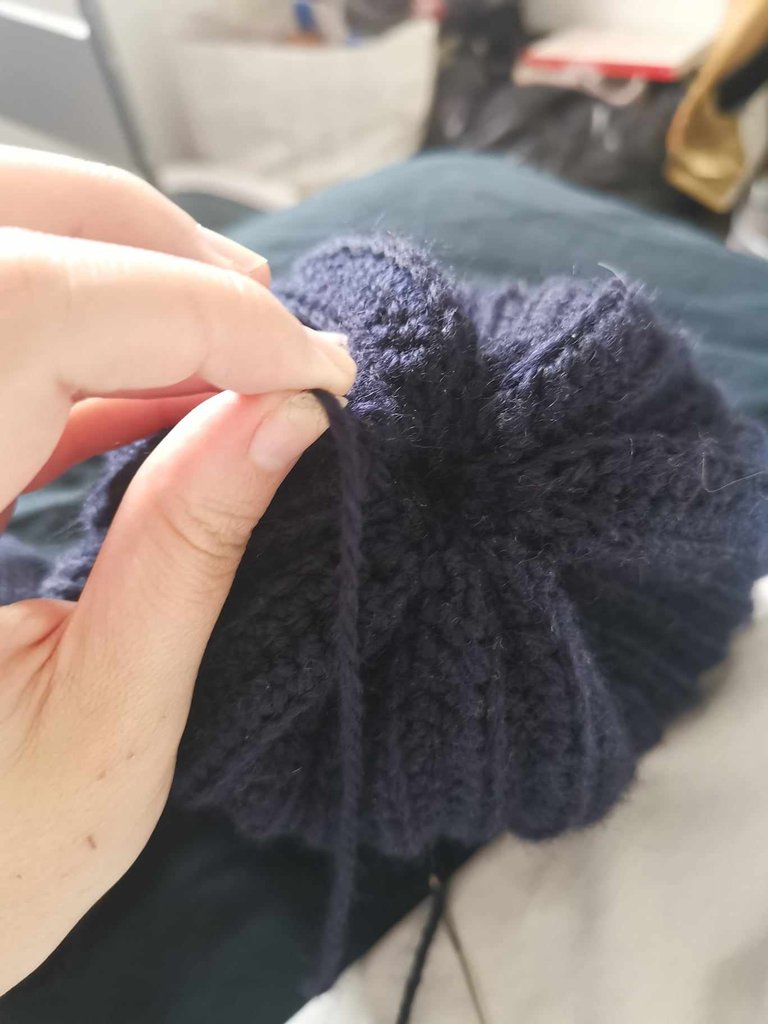
And at the end, you have to pull (without breaking the thread) to finish closing the beanie.
It is possible that there will be a "hole" but don't panic. With the yarn needle, you just have to go back and forth a few times on the top to completely close the hat.
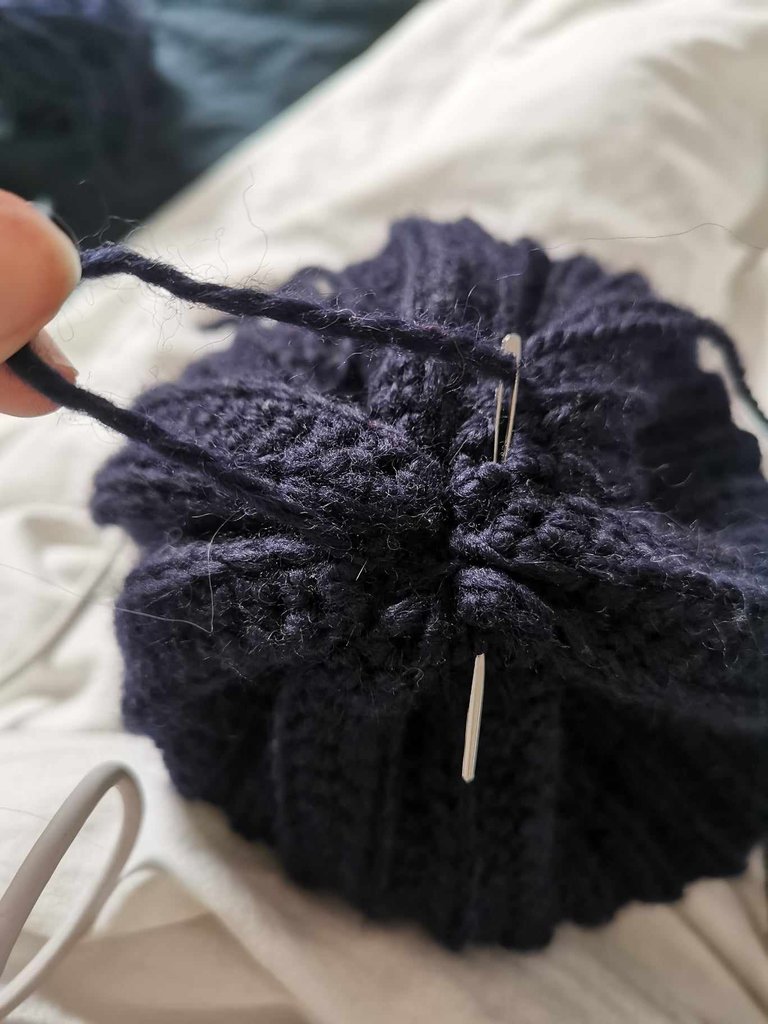
Weave in the ends
All that's left to do is finish the hat, and to do that, I had to weave in my ends. With my yarn needle, I went back and forth a few times in some of the stitches of the hat, making sure to do it inside the hat.
I was finally able to turn my hat inside out and see the final result!
Wear your creation proudly


And there you have it, the little beanie is finished! After a few hours of work (a little every evening), my super beanie is ready to be worn and to face the cold. ❄️
And since my mom loves it and it goes really well with her coat, I finally decided to give it to her. She was so happy! 🫶
I'll make one later for myself. There's nothing better than making your loved ones happy with your own creations!
By the way, it's a great Christmas gift idea for your loved ones! 🎁
Anyway, I hope you enjoyed this little tutorial. If some steps are not clear, don't hesitate to ask me your questions.
Are you going to start making a little beanie for this winter? 🧶
See you soon,
Johanna
PS: I used Google Translate to translate the english part.
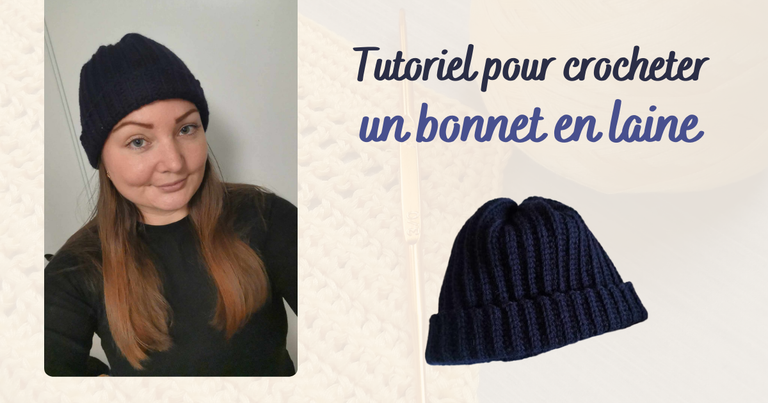
Hello les amis et les crochets lovers ! 👋 J’espère que vous allez tous très bien.
Ça y est le froid arrive en France, nous avons même eu les premières neiges. ❄️ C’est donc le moment de se confectionner des accessoires bien chauds pour survivre à l’hiver !
Il y a deux semaines, j’ai terminé mon bandeau cache oreilles. Je l’adore, mais je le porte surtout lorsque je m’attache les cheveux. Alors, je me suis dit que j’avais également besoin d’un joli bonnet ! 🧶
Je me suis donc mise au travail et j’ai confectionné un petit bonnet bien chaud !
D’ailleurs, si vous commencez le crochet, sachez que les bonnets sont très faciles à faire et accessibles aux débutants ! C’est un petit projet rapide, je dirais entre 4h et 5h, et même moins lorsque vous avez pris un peu d’assurance.
C’est pour cela que j’ai décidé de partager le tuto avec vous. 😁
Le matériel que j’ai utilisé

Pour confectionner mon petit bonnet, j’ai utilisé :
- 2 pelotes et demie 100% laine bleu marine,
- Un crochet de 5mm,
- Une aiguille à laine.
Les étapes
1ère étape : chaînette de départ


Pour commencer mon bonnet, j’ai d’abord fait un nœud coulant, puis j’ai monté 45 mailles en l’air (environ 27 cm). Évidemment, vous devez adapter votre chaînette à votre tête. Il faut que celle-ci soit égale à la hauteur entre le sommet du crâne et le milieu du nez.
Pour un bonnet adulte, votre chaînette fera sûrement entre 26 et 28 cm.
1er rang

Une fois que la chaînette est terminée, il faut passer au premier rang. Pour ce bonnet, j’ai choisi de travailler en demi-brides. J’ai donc fait mon premier rang de demi-brides. Et arrivé à la fin du rang, j’ai monté 2 mailles en l’air avant de tourner mon travail.
2ème rangs et les suivants
Pour les rangs suivants, j’ai simplement effectué des demi-brides dans le brin arrière, suivi de 2 mailles en l’air avant de tourner mon travail. J’aime beaucoup le dessin côtelé que donnent les demi-brides dans le brin arrière, cela apporte du relief.
J’ai continué ainsi :


Jusqu’à obtenir un rectangle qui fait le tour de ma tête. Ici, j’ai effectué 64 rangs, ce qui correspond à environ 50cm. Évidemment, le nombre de rangs dépend de votre tour de tête, mais également de la laine et du crochet utilisé.
Pour un bonnet adulte, le rectangle fait souvent entre 40 et 50cm.
J’ai eu besoin de changer de pelote 2 fois, j’ai donc fait 2 nœuds invisibles (mais je n’ai pas pensé à le prendre en photo). Au total, j’ai utilisé environ 2 pelotes et demie.
Fermeture du bonnet
Pour fermer le bonnet, j’ai simplement rabattu les côtés l’un sur l’autre.

Puis, j’ai fait des mailles coulées dans les deux brins de chaque côté.


Une fois que le rectangle est fermé, j'ai fait un ou plusieurs nœuds et j’ai fermé le travail tout en veillant à garder une petite longueur de fil (entre 15 et 30 cm).
Couture du haut du bonnet
Le bonnet est presque terminé, mais il faut encore fermer le haut du bonnet. Pour cela, j’ai pris l’aiguille à laine et j’ai commencé à l’insérer de manière régulière dans les mailles en haut.
Une image vaut mieux que mille mots :


Il faut tirer régulièrement (moi, je fais 4 mailles par 4 mailles) pour commencer à refermer le haut du bonnet.
Et à la fin, il faut tirer (sans casser le fil) pour finir de fermer le bonnet.

Il est possible qu’il reste un “trou” mais pas de panique. Avec l’aiguille à laine, il suffit de faire quelques aller-retours sur le haut pour fermer complètement le bonnet.

Rentrer les fils
Il ne reste plus qu’à finaliser le bonnet, et pour cela, j’ai dû rentrer mes fils. Avec mon aiguille à laine, j’ai fait quelques aller-retours dans certaines mailles du bonnet, en veillant bien à le faire à l’intérieur du bonnet.
J’ai enfin pu retourner mon bonnet et voir le résultat final !
Porter fièrement sa création


Et voilà, le bonnet est terminé ! Après quelques heures de travail (un peu chaque soir), mon super bonnet est prêt à être porté et à affronter le froid. ❄️
Et comme ma maman l’adore et qu’il va super bien avec son manteau, j’ai finalement décidé de lui donner. Ça lui a fait tellement plaisir ! 🫶
Je m’en referai un plus tard pour moi. Il n’y a rien de mieux que de faire plaisir à ses proches avec ses propres créations !
D’ailleurs, c’est une super idée de cadeau de Noël pour vos proches ! 🎁
Bref, j’espère que vous avez aimé ce petit tutoriel. Si jamais certaines étapes ne sont pas claires, n’hésitez pas à me poser vos questions.
Allez-vous vous lancer dans la confection d’un bonnet pour cet hiver ? 🧶
À bientôt,
Johanna
PS : J’ai utilisé Google Traduction pour traduire la partie en anglais.
This look nice on you. I love it, if I was staying close to you I will love to request for one. Thanks for sharing
Oh, thank you! It really makes me happy what you say! 😁
Toujours sympa de faire ses objets soi-même :)
!PIZZA
Your post has been manually reviewed for curation by the Principality of Bastion.
Check the Trail of posts we voted
Principality of Bastion - Our Leit Motiv? Let's Grow Together.
Principality's site | Minava NFT Market | Discord | Our Twitch Channel
You may TRAIL this account if you like the curation we do, or join our discord to know more about what we do.

Absolument ! 😁
I love the big yarn size, it makes it very thick and would be useful against the cold. It fits you well, stay warm.
In fact, it provides really good protection from the cold - tested and approved by my mom! Thank you very much. 😁
This beanie will act like a savior from the cold. It is stylish and beautiful. You look amazing wearing this. Love it.
Thanks a lot for all your compliments ! 🙏
Interesting approach, I've never seen a beanie crocheted like this. My simple mind would have gone round 😁
Very nice though, I love it, it looks great and suits you as well.
Thanks for your comment! Indeed, it is possible to crochet a bonnet in the round, but it seems more complicated to me because you have to be more diligent about counting rows and increases. Thank you so much for your compliments, it really makes my day! 😁
The pleasure is all mine! ❤️ Looking forward to the next one!
Hello @erikah I noticed that you have been constantly downvoting my posts, my comments recently.
I messaged you on discord to ask what might be the reason, you didn't replied and I have also tagged you on hive also, you still didn't reply.
I will be happy if I can know the reason because the downvotes are causing damage more than you can imagine.
If there is any reason you have for the downvotes, let me know
If there is anything you wish you want to call my attention to which is causing the downvotes, let me know and I will find a way of sorting it out.
I will be happy if the downvotes can stop
Thank you for your response.
@erikah @erikah
!LOLZ
lolztoken.com
Subterfudge.
Credit: reddit
$LOLZ on behalf of hive-103505
(1/10)
PLAY & EARN $DOOM
@altheana, I sent you anWow it beautiful and comfortable, it worth it hypes keep it up