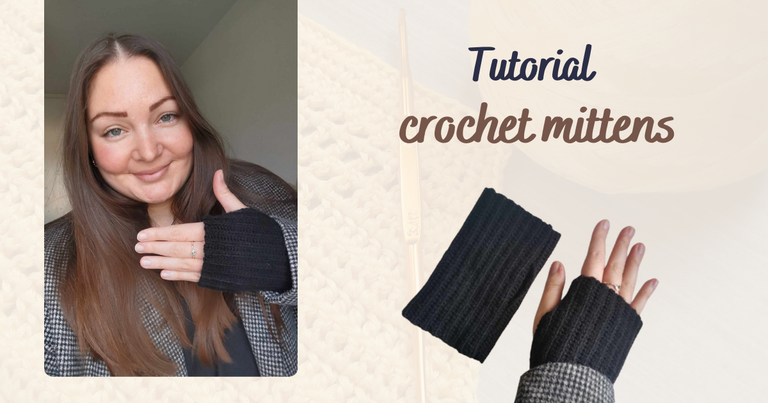
Hello friends and crochet fans! I hope you are all doing great at the beginning of December!
I am still crocheting accessories for winter, I have already made an ear warmer headband and a hat. But this time, I made mittens! 🧤
Actually, before crocheting mittens, I didn't really understand the principle. I thought they didn't serve much purpose, except to make something pretty.
Indeed, they are an excellent fashion accessory, but they are also an accessory that keeps you warm (for real). 😁
And then, they are really super easy to make and super fast!
Here is a short tutorial:
The materials I used:
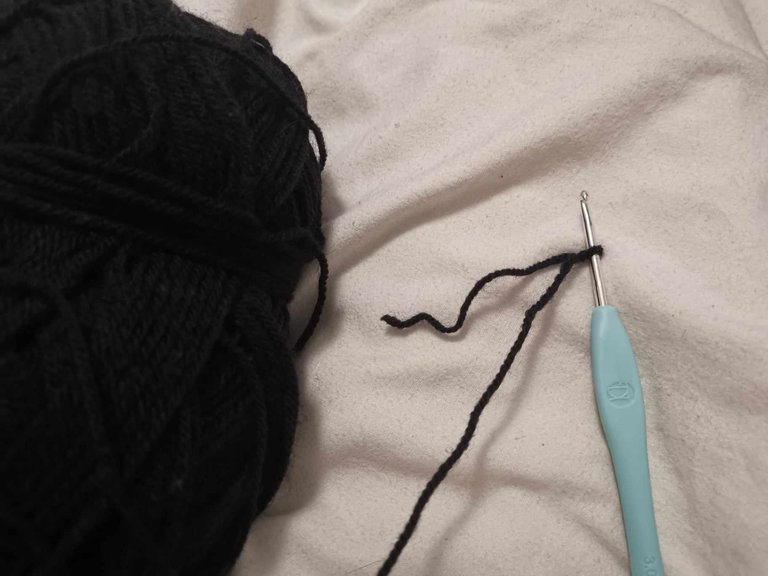
- A ball of black acrylic yarn
- A 3mm crochet hook
- A yarn needle
The steps
Chain
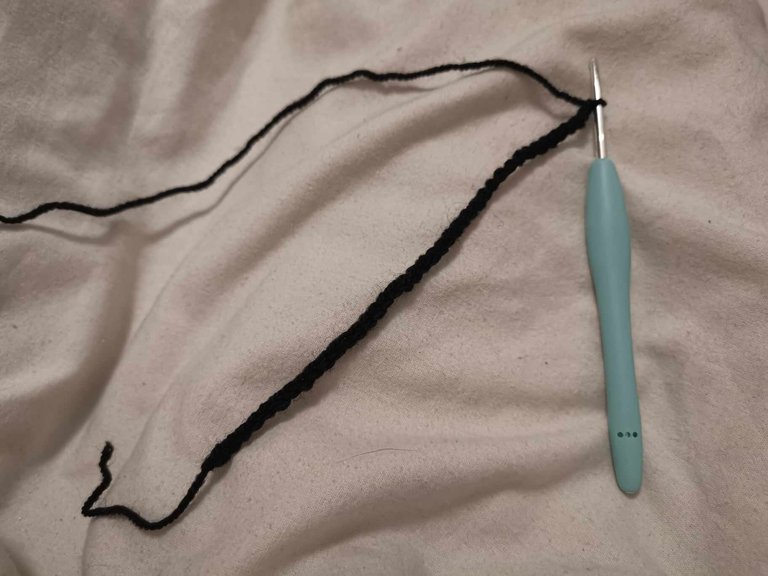
As with any crochet project, I started by making a slip knot. Then, I simply cast on 40 chain stitches to form my starting chain.
First row
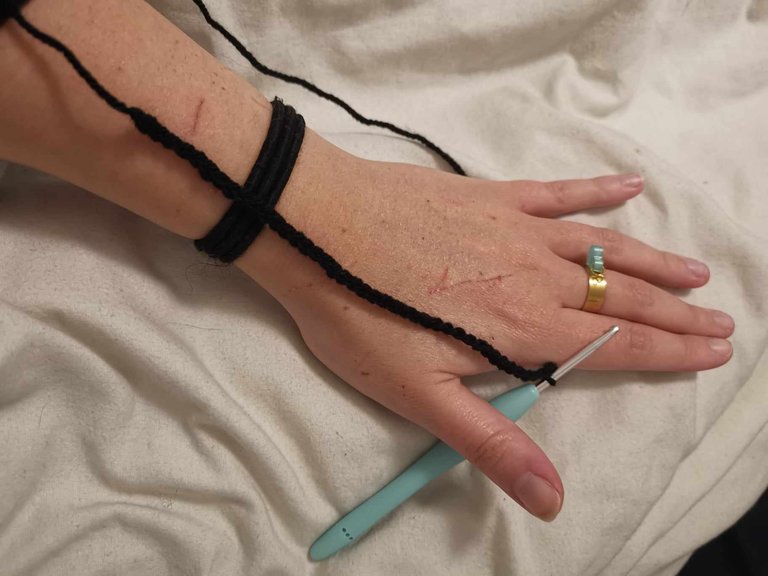
For the first row, I simply made half double crochets all along my chain. Once I reached the end of my row, I cast on 2 chain stitches before turning my project.
Next rows
For the following rows, I made half double crochets in the back loop (to give a ribbed side to my mittens) all along, then 2 chain stitches before turning my project.
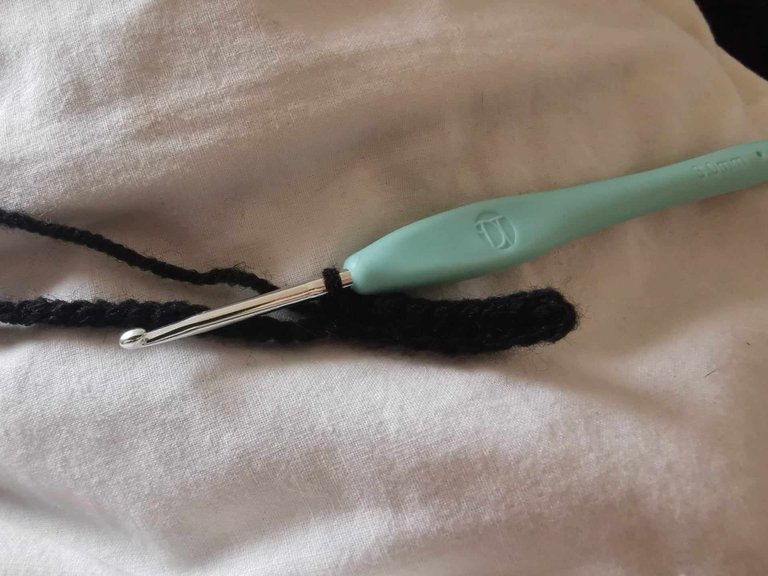
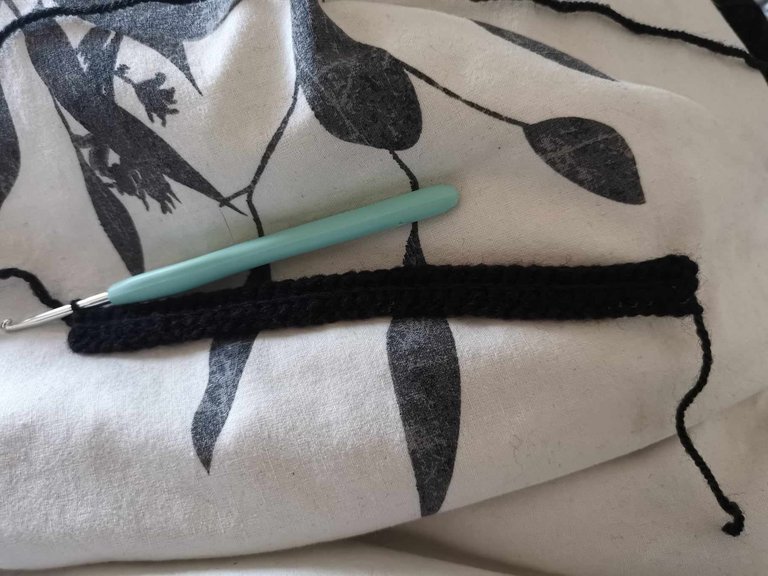
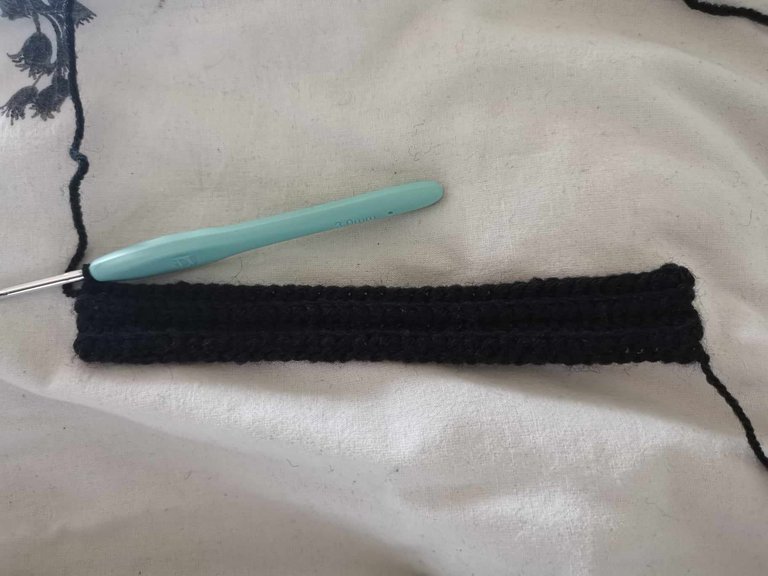
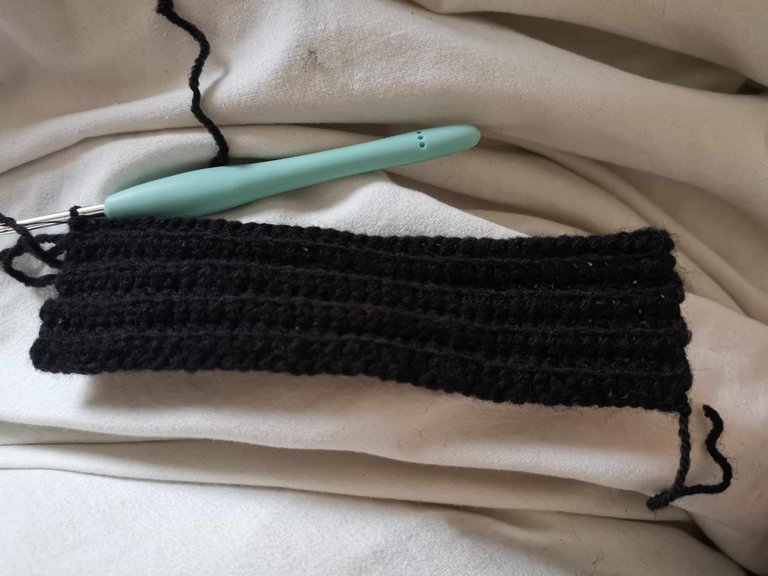
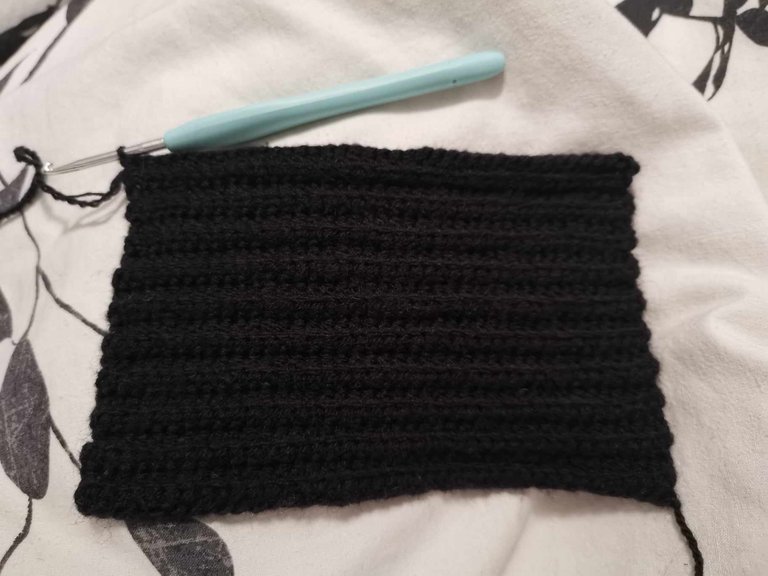
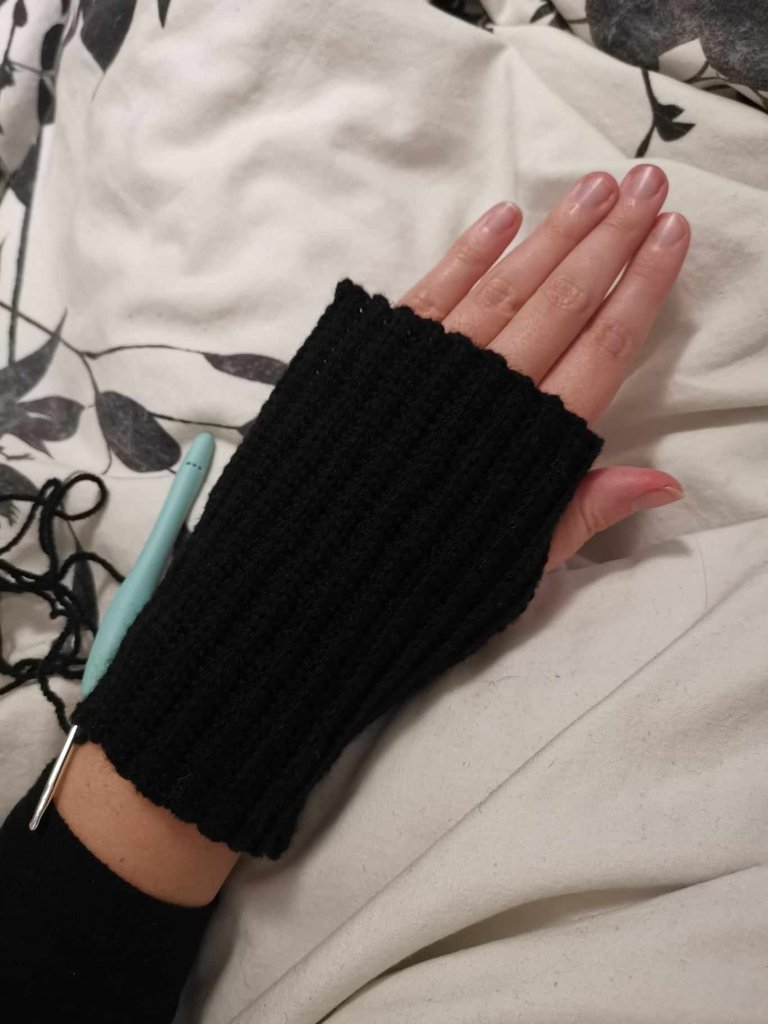
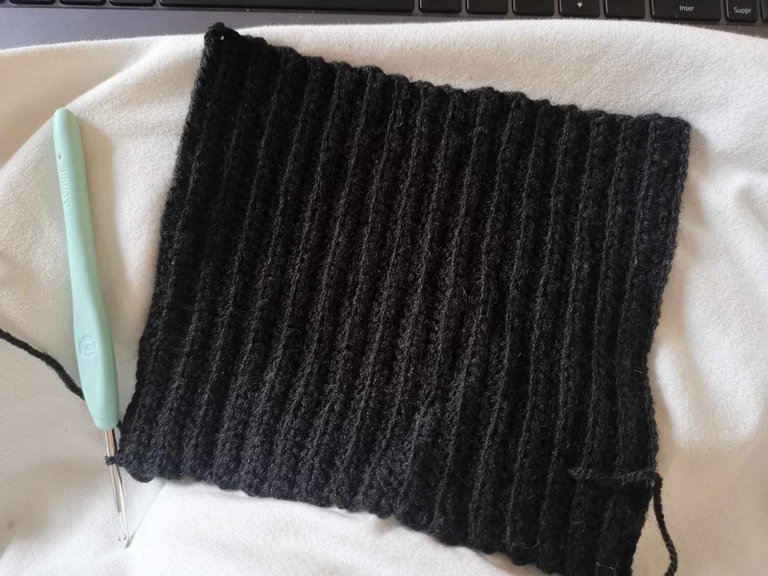
In total, I made 37 rows (including the first row). When you fold one side over the other, it should cover your hand.
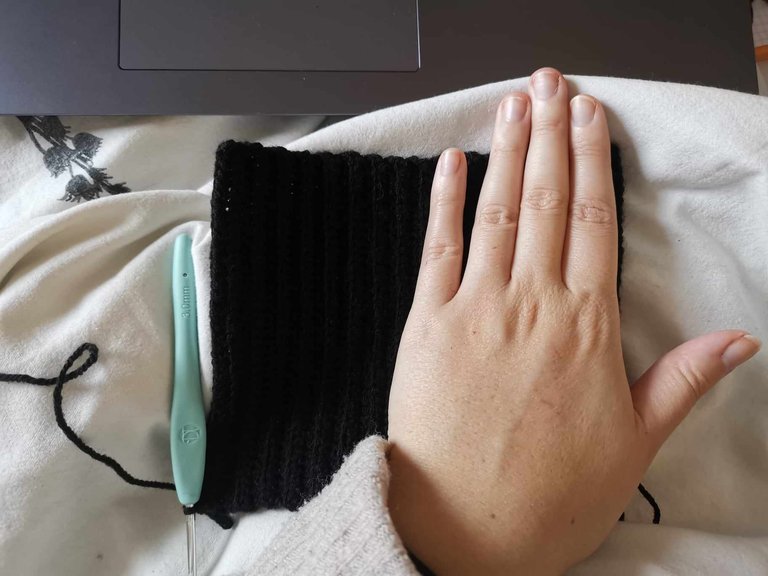
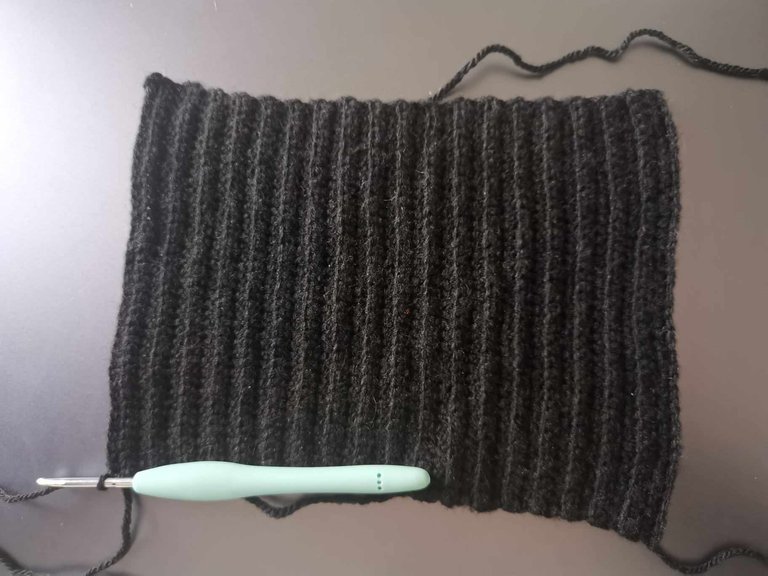
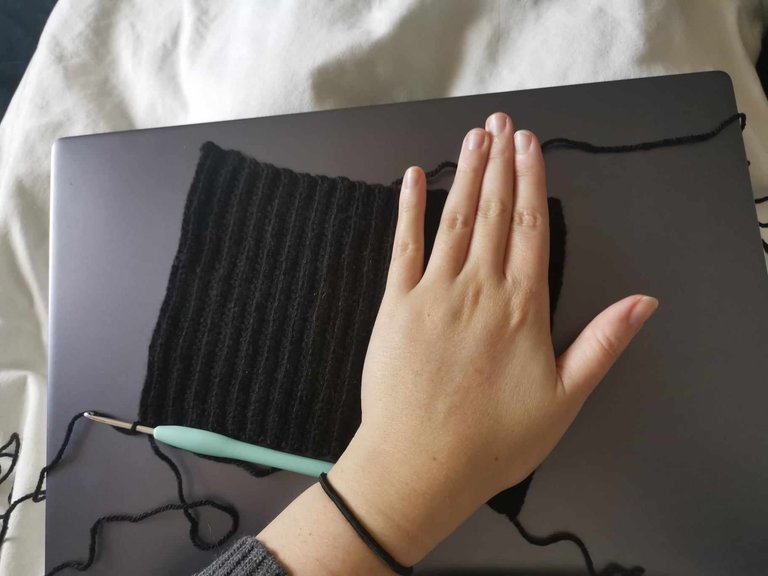
Closing the mitten
Now that my rectangle is ready, all I have to do is close it. To do this, I started by folding my rectangle in two.
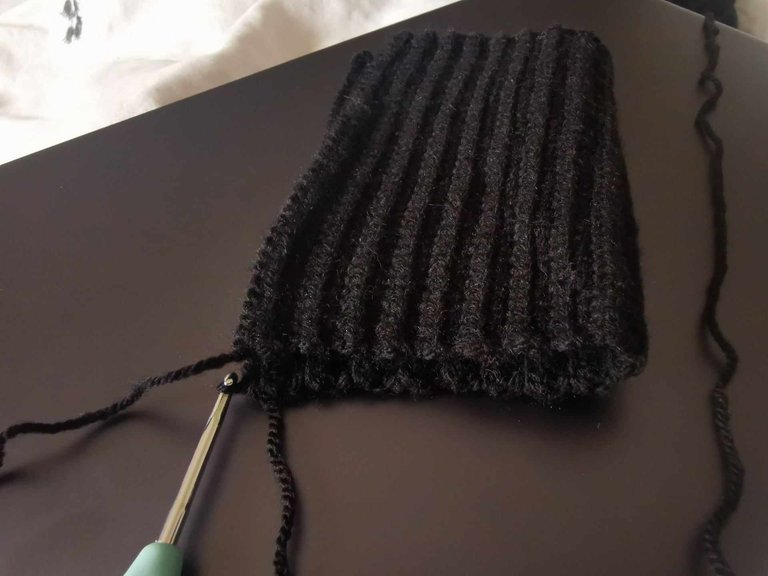
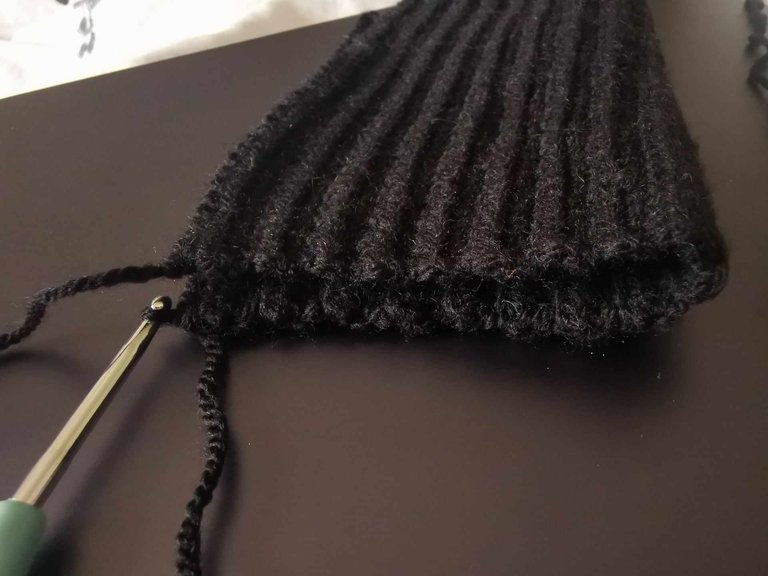
Then I made slip stitches by taking the two strands of the stitch on the first side and the two strands of the stitch on the second side. By making a slip stitch, it allows you to close without having a visible seam.
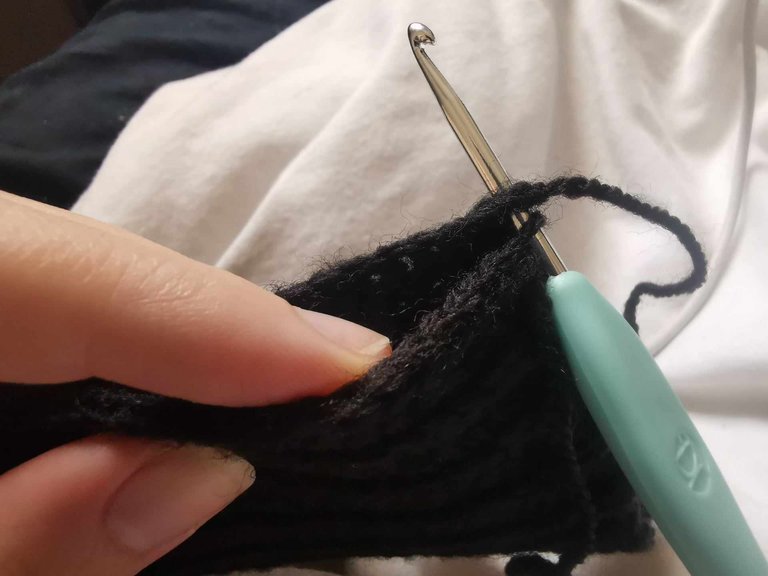
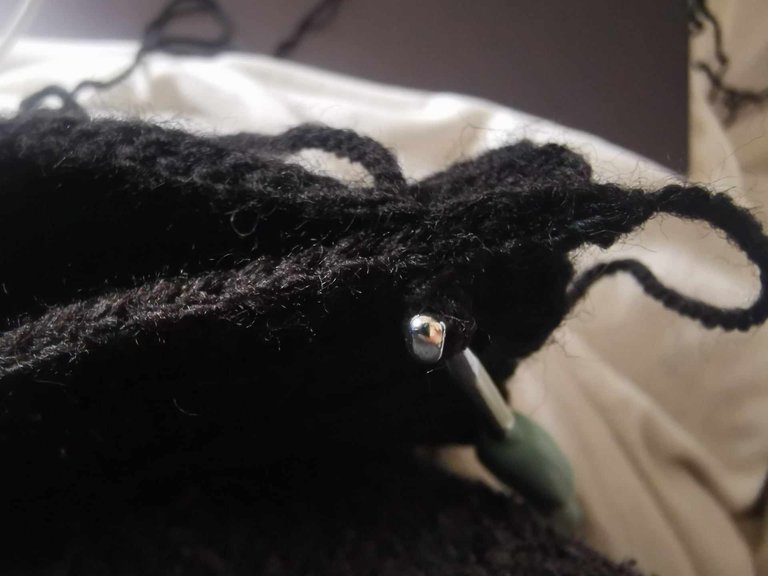
I made a slip stitch in the first 6 stitches. Then I tested by putting my hand inside to determine where to leave the opening for the thumb.
Once I found the ideal place and marked it with markers (I use a safety pin), I made other slip stitches until I reached my first marker.
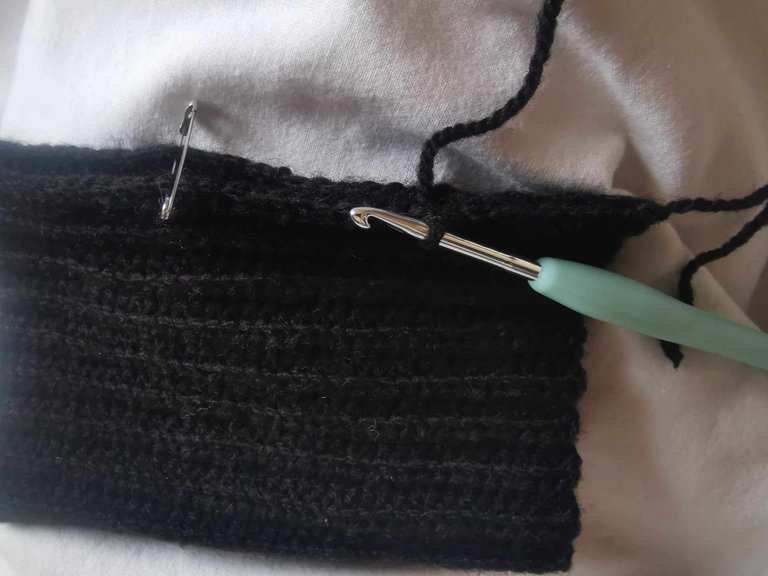
Then, to form the hole, I simply continued to make slip stitches in only one of my two faces.
And once I reached my second marker, I started making slip stitches in both faces to connect them.
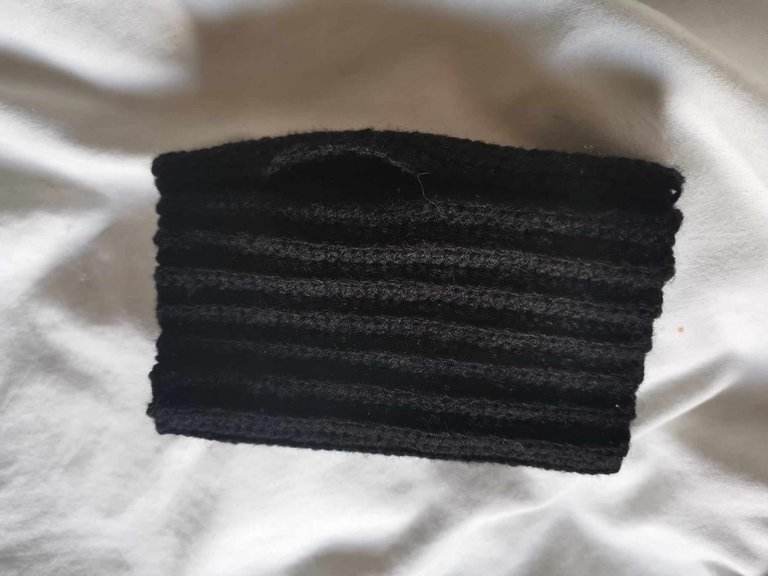
Once I reached the end of the stitches, I cut the yarn and made several knots to close my project.
Weaving in the ends
And to finish my first mitten properly, I moved on to my least favorite step, weaving in the ends. To do this, I simply threaded my yarn into a yarn needle and passed my end neatly through a few stitches. I made one last knot and cut off what was left of the yarn.
For an even neater finish, I turned the mitten inside out.
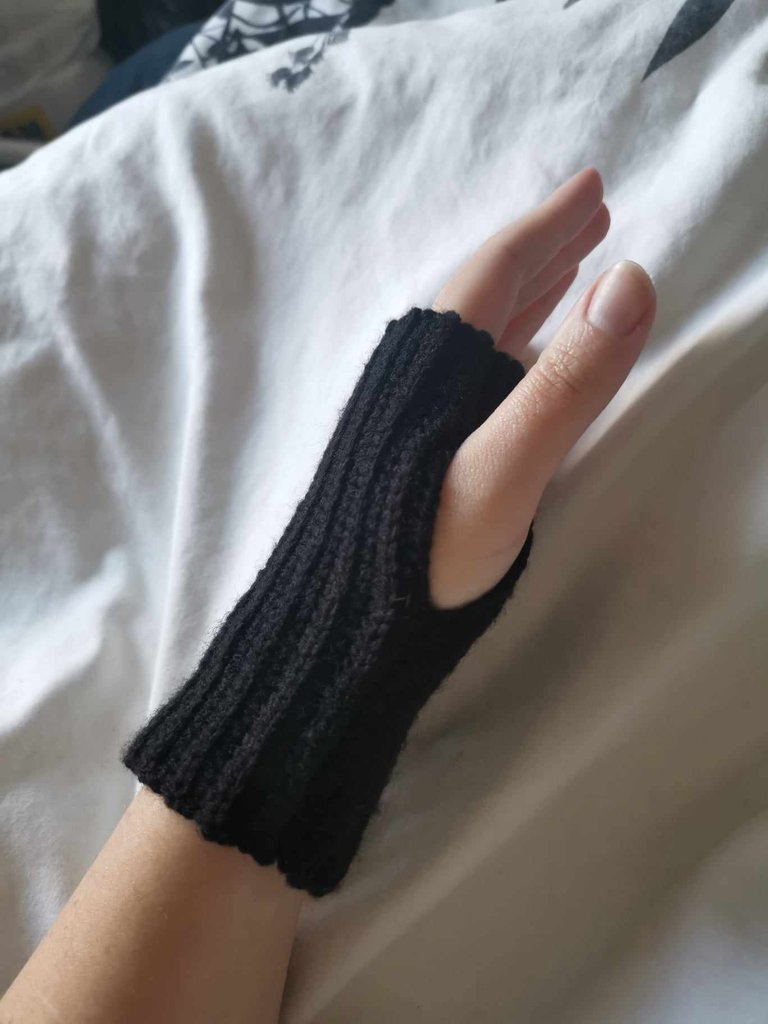
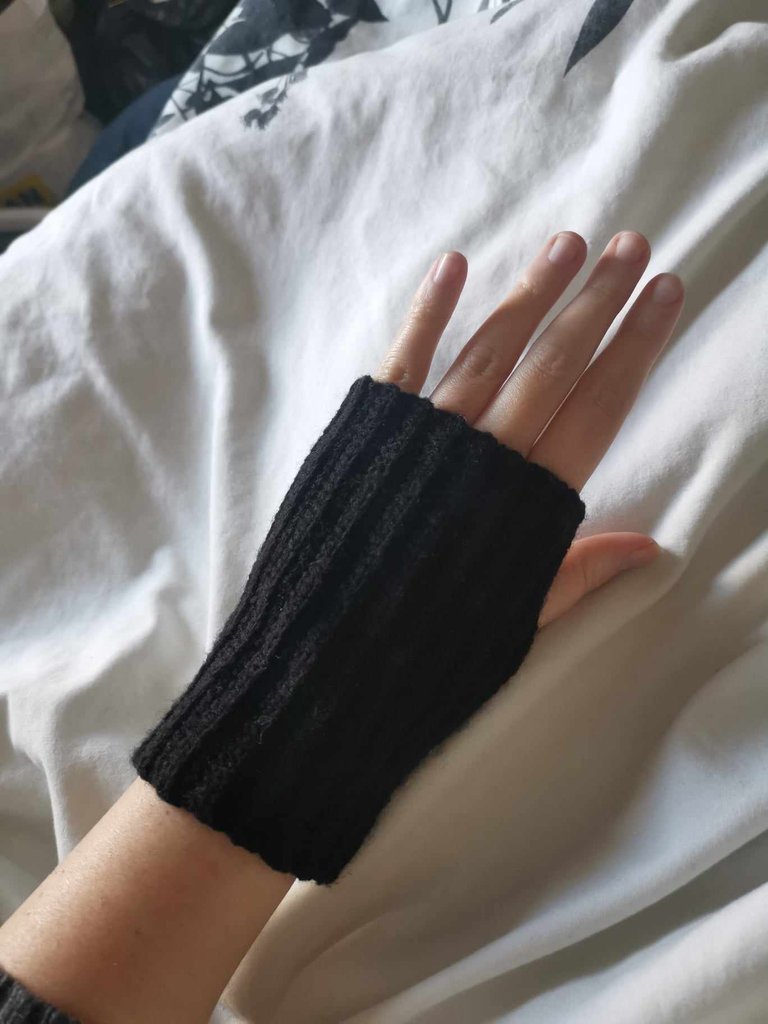
And since I have two hands, I made a second one that was identical! 😂
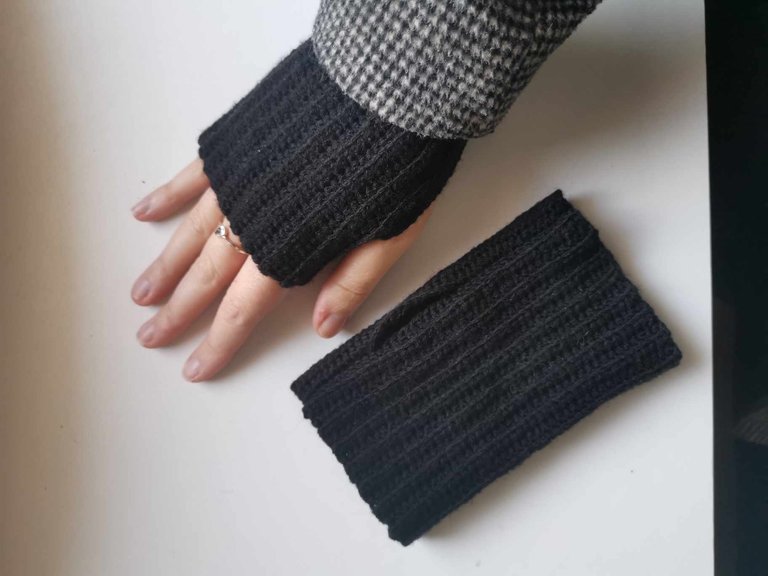
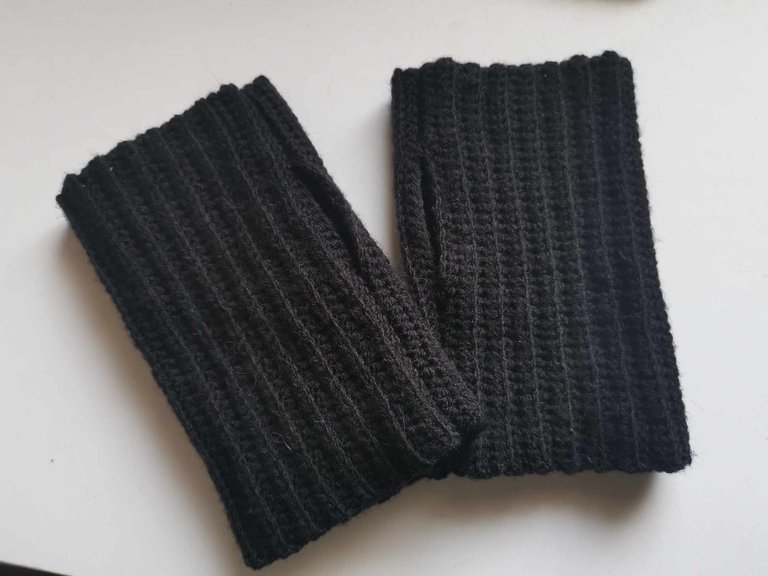
In short, it's really a project that I loved to make, it was pretty quick. I think it took me between 2 and 2.5 hours, it's hard to know exactly, because I never crochet my projects in one go, I do a little bit every evening.
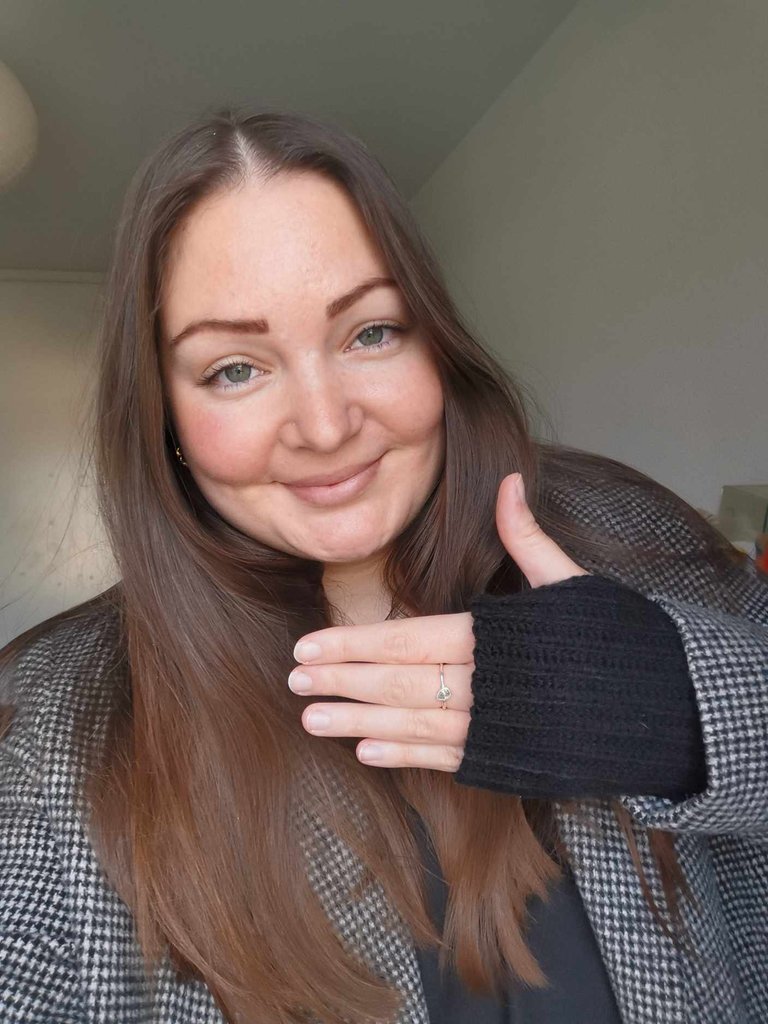
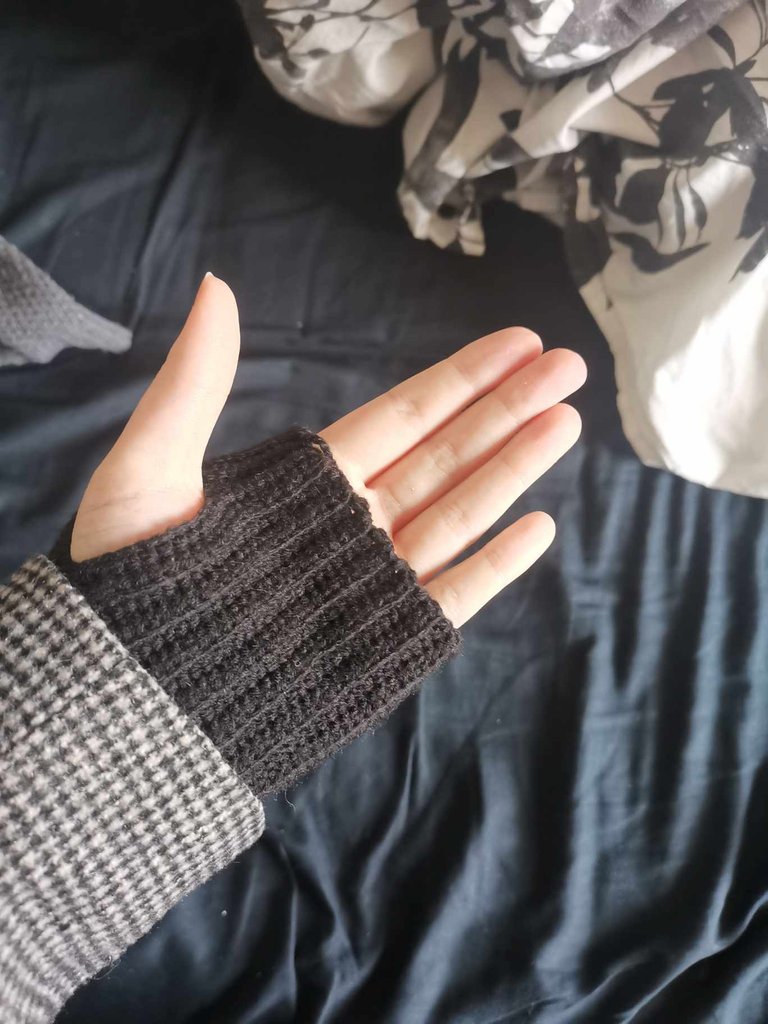
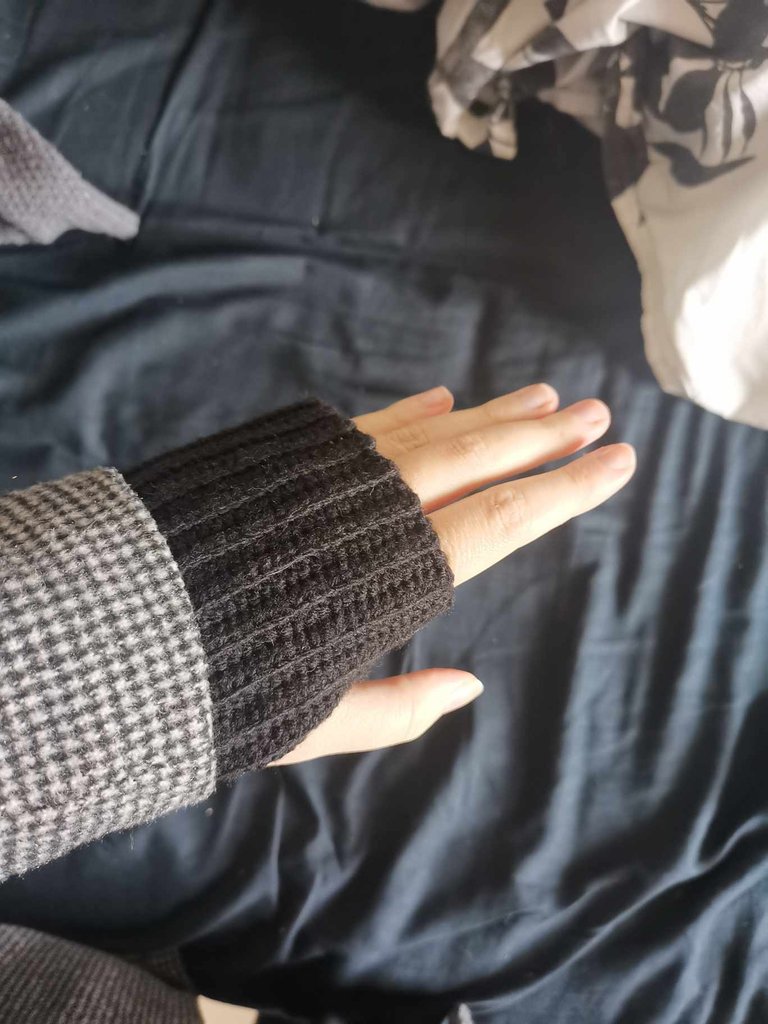
To improve them, I think I could sew an elastic at the wrist so that it can be adjusted better. But they fit me well like this. 👍
So, did this make you want to make your own mittens for this winter? ❄️
See you soon,
Johanna
PS: I used Google Translate to translate the English part.
Hello les amis et les fans de crochet ! J’espère que vous allez tous très bien en ce début du mois de décembre !
Je suis toujours en train de me crocheter des accessoires pour l’hiver, j’ai déjà fait un bandeau cache-oreilles et un bonnet. Mais cette fois-ci, j’ai fait des mitaines ! 🧤
En réalité, avant de me crocheter des mitaines, je ne comprenais pas bien le principe. Je pensais que cela ne servait pas à grand-chose, si ce n’est à faire joli.
En effet, c’est un excellent accessoire de mode, mais c’est aussi un accessoire qui tient chaud (pour de vrai). 😁
Et puis, c’est vraiment super simple à faire et ultra rapide !
Voici un petit tutoriel :
Le matériel que j’ai utilisé :

- Une pelote de laine acrylique noir
- Un crochet de 3mm
- Une aiguille à laine
Les étapes
Chaînette

Comme pour tout projet crochet, j’ai commencé par faire un nœud coulant. Ensuite, j’ai simplement monté 40 mailles en l’air pour former ma chaînette de départ.
Premier rang

Pour le premier rang, j’ai simplement fait des demi-brides tout le long de ma chaînette. Une fois arrivé au bout de mon rang, j’ai monté 2 mailles en l’air avant de tourner mon projet.
Rangs suivants
Pour les rangs suivants, j’ai fait des demi-brides dans le brin arrière (pour donner un côté côtelé à mes mitaines) tout le long, puis 2 mailles en l’air avant de tourner mon projet.


En tout, j’ai fait 37 rangs (en comptant le premier rang). Il faut que quand on replie un côté sur l’autre, cela recouvre la main.


Fermeture de la mitaine
Maintenant que mon rectangle est prêt, il ne me reste plus qu’à le fermer. Pour cela, j’ai commencé par plié mon rectangle en deux.


J’ai ensuite fait des mailles coulées en prenant les deux brins de la maille de la première face et les deux brins de la maille de la deuxième face. En faisant une maille coulée, cela permet de fermer sans avoir de couture apparente.


J’ai fait une maille coulée dans les 6 premières mailles. Puis j’ai testé en mettant ma main dedans pour déterminer où laisser l’ouverture pour le pouce.
Une fois que j’ai repéré l’endroit idéal et que je l’ai marqué avec des marqueurs (j’utilise une épingle à nourrice), j’ai fait d’autres mailles coulées jusqu’à atteindre mon premier marqueur.

Ensuite, pour former le trou, j’ai simplement continué de faire des mailles coulées dans une seule de mes deux faces.
Et une fois que j’ai atteint mon deuxième marqueur, j’ai recommencé à faire des mailles coulées dans les deux faces pour les relier.

Une fois arrivé à la fin des mailles, j’ai coupé le fil et fait plusieurs nœuds pour fermer mon projet.
Rentrer les fils
Et pour terminer proprement ma première mitaine, je suis passé à l’étape que j’aime le moins, rentrer les fils. Pour cela, j’ai simplement enfilé mon fil dans une aiguille à laine et j’ai passé mon bout proprement dans quelques mailles. J’ai fait un dernier nœud et j’ai coupé ce qui restait de fil.
Pour un rendu encore plus net, j’ai retourné la mitaine.


Et comme j’ai deux mains, j’en ai fait une deuxième identique ! 😂


Bref, c’est vraiment un projet que j’ai adoré réalisé, c’était plutôt rapide. Je pense avoir mis entre 2h et 2h30, c’est difficile de savoir exactement, car je crochète jamais mes projets en une seule fois, j’en fais un peu chaque soir.


Pour les améliorer, je pense que je pourrais coudre un élastique au niveau du poignet pour que cela puisse être mieux ajusté. Mais elles me conviennent bien ainsi. 👍
Alors, est-ce que cela vous a donné envie de fabriquer vos propres mitaines pour cet hiver ? ❄️
À bientôt,
Johanna
PS : J’ai utilisé Google traduction pour traduire la partie en anglais.
This is so creative. Weldone and thanks for sharing.
Thank you very much for the compliment! 🙏
Oh wow! This is so beautiful and unexpected especially the space for the thumb. Here I was thinking you had to crochet something extra for it till I saw the tutorial 😃
It's a pretty simple version of mittens indeed! Thanks a lot! 😊
You are welcome 🤗
!PIZZA
Your post has been manually reviewed for curation by the Principality of Bastion.
Check the Trail of posts we voted
Principality of Bastion - Our Leit Motiv? Let's Grow Together.
Principality's site | Minava NFT Market | Discord | Our Twitch Channel
You may TRAIL this account if you like the curation we do, or join our discord to know more about what we do.

They are really useful and a perfect match with a head warmer.
I love the colors you chose and I wish I can get some crochet piece from you if only you were closer.
Oh thank you, I'm really touched by your compliment! I really would have loved to crochet accessories for you 😊
It is comfortable to wear and it looks pretty good. This is perfect for cold weather. Thank you for sharing this. Keep it up!
Yes, it's the perfect winter accessory! Thanks a lot! 🙏
This is look so nice and it will be so useful in this weather, you did a nice work, well-done
Thanks a lot for your compliments ! 😊
$PIZZA slices delivered:
@itharagaian(4/10) tipped @altheana
Congratulations @altheana! You have completed the following achievement on the Hive blockchain And have been rewarded with New badge(s)
Your next target is to reach 30000 upvotes.
You can view your badges on your board and compare yourself to others in the Ranking
If you no longer want to receive notifications, reply to this comment with the word
STOP