Hello friends and crochetlovers! I hope you are all doing very well at the beginning of this week. 😊
Last Monday, I told you about my desire to create crochet flowers to create a pretty bouquet to put on the dining room table. 💐
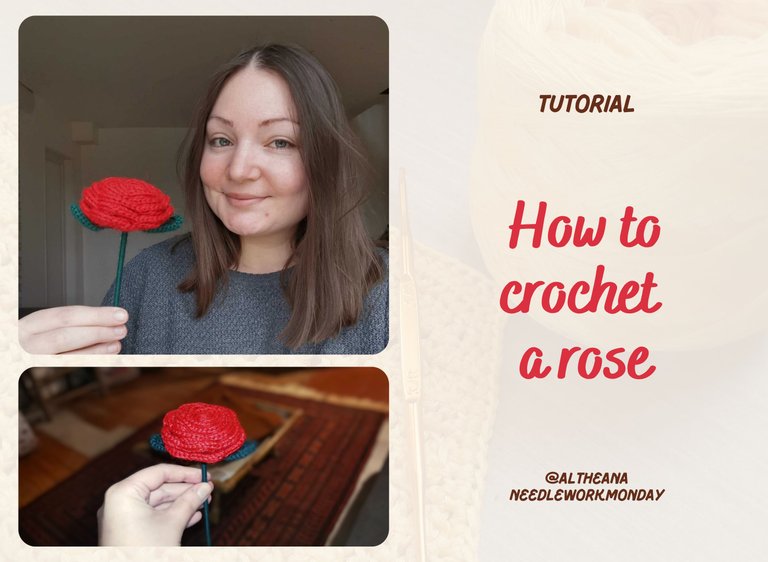
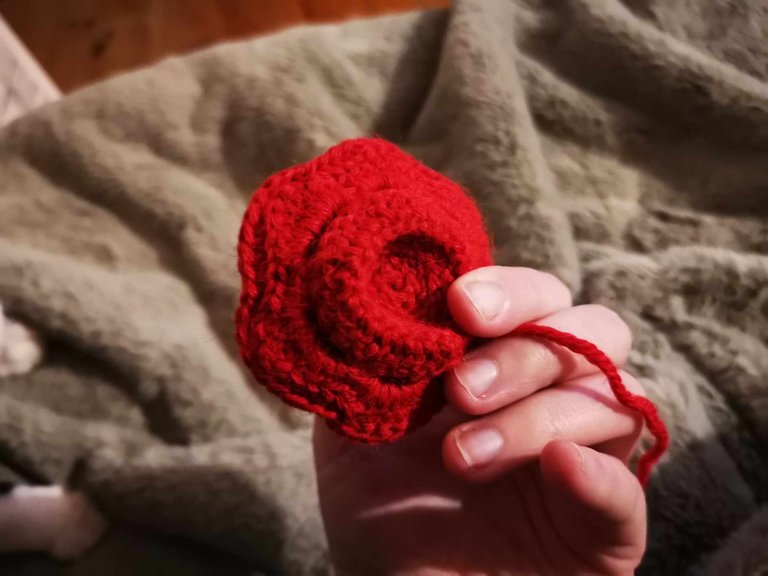
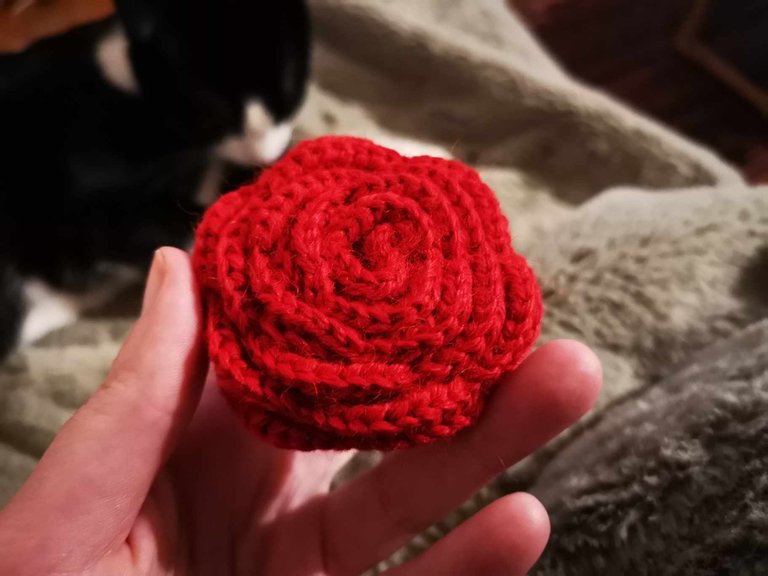
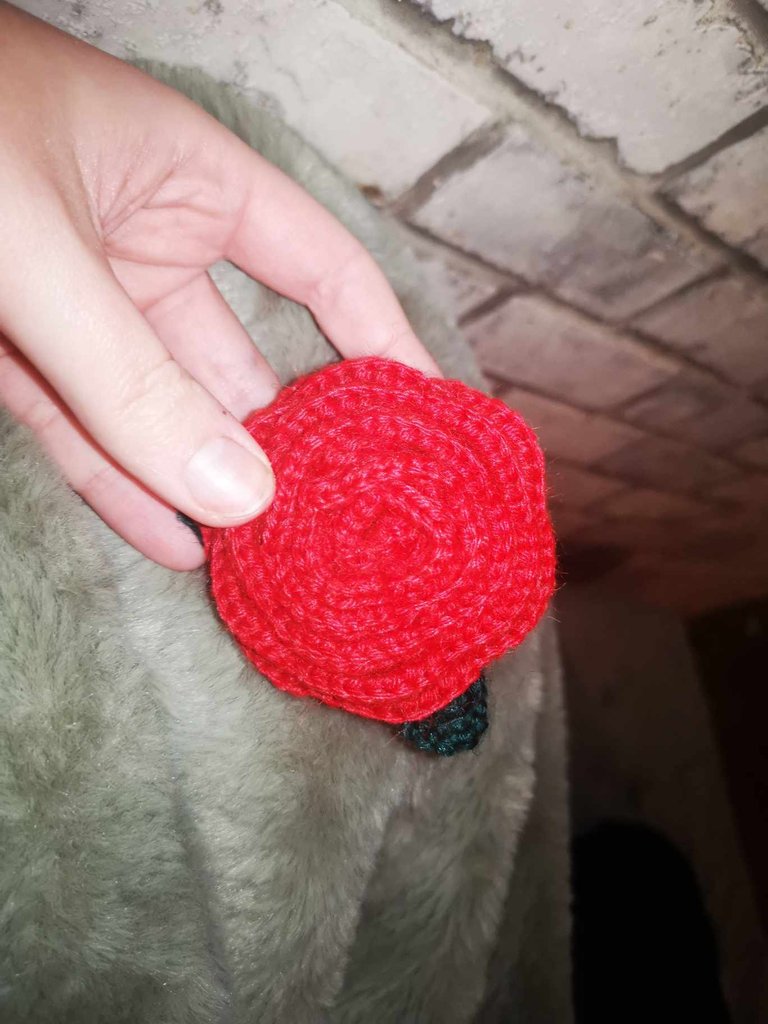
And this week, I created a new flower: a red rose!
In fact, there are a lot of ways to make crochet roses: by assembling circles, by doing everything in 1 block with blocks of double crochets, with leaves on the stem, with the sepal, with several colors,...
I decided to test several techniques to find the one that would suit me best! And this week, I started with the free tutorial available on the Hobbii.fr website 🌹
The material
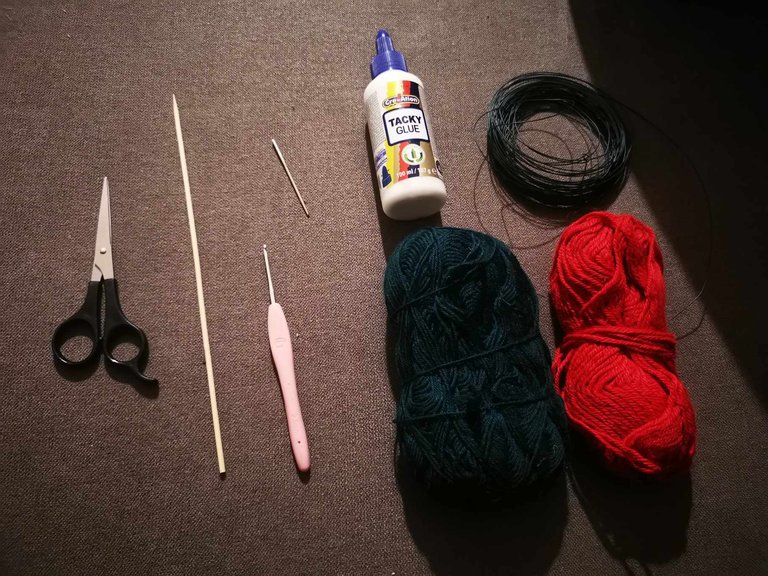
- A wire for the rose (I chose red),
- A wire for the stem and leaves (I chose dark green),
- A 2.5mm crochet hook,
- A skewer for the stem,
- Glue,
- A yarn needle,
- Scissors
(In the photo, you see wire, but ultimately, it is not needed in this tutorial).
The steps
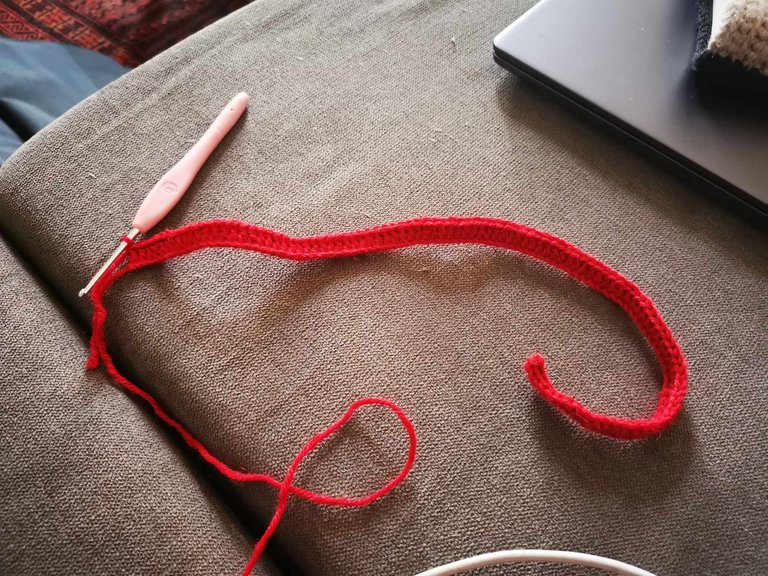
Starting chain
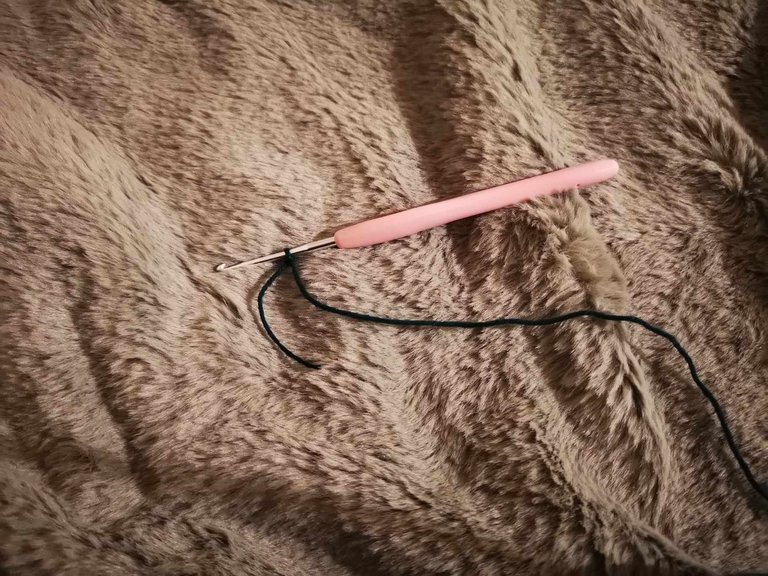
You must start by making a slip knot with the color chosen to make the rose.
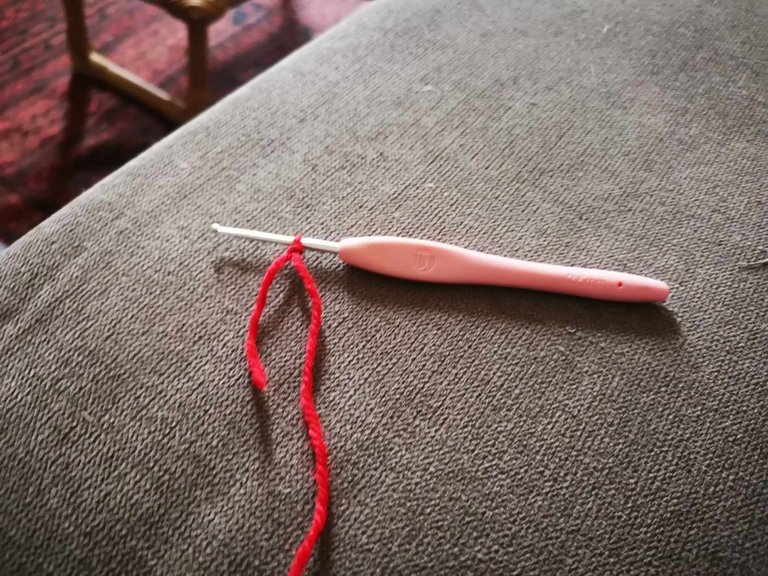
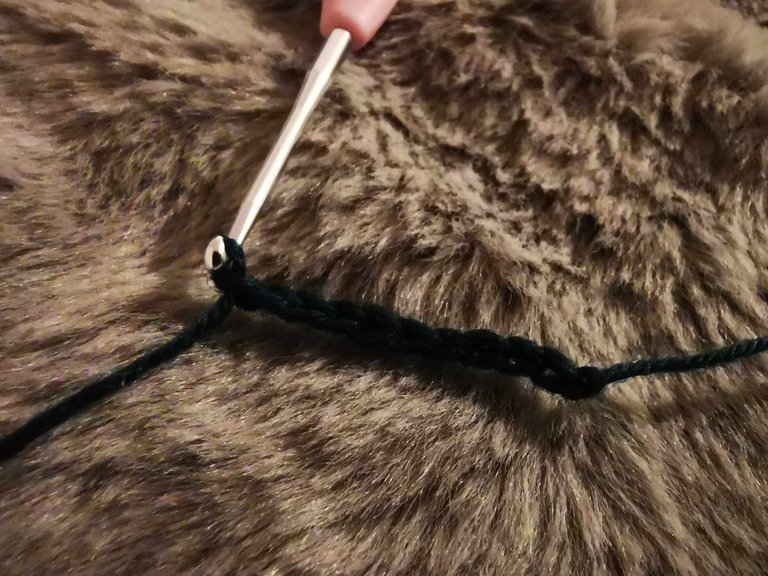
Then, you must make a chain of 102 chain stitches.
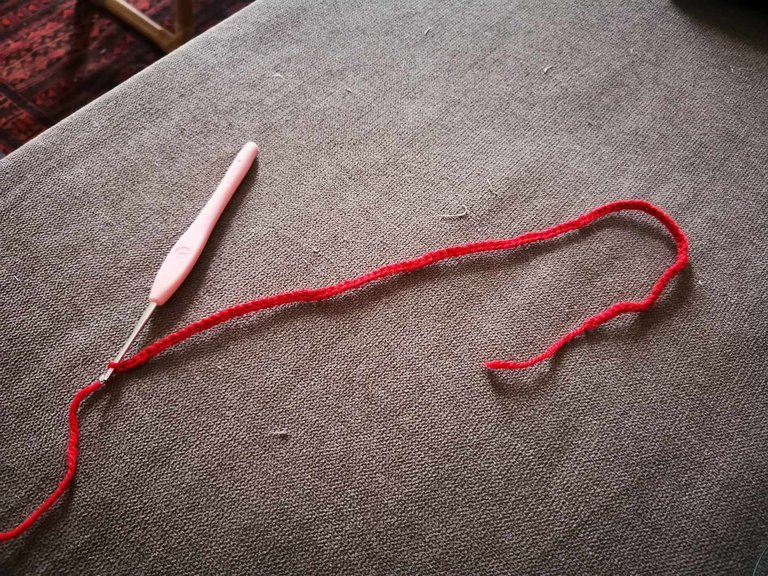
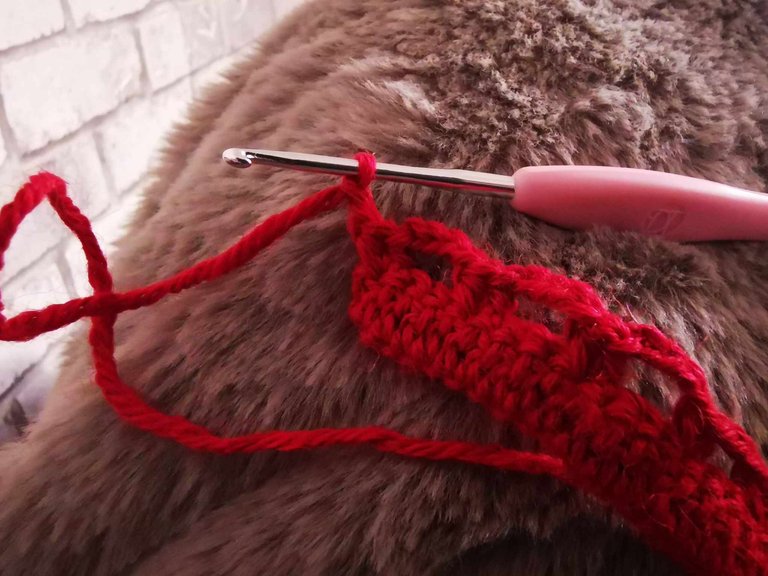
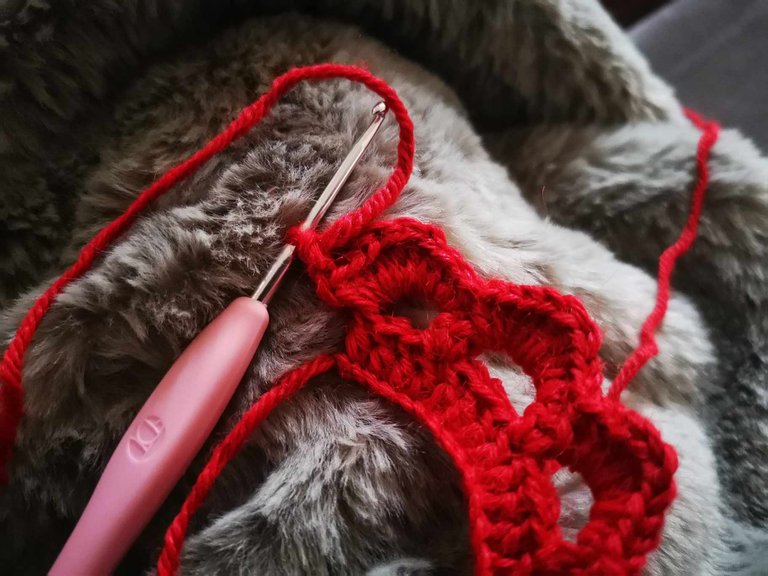
1st row
Then, you must start in the third chain stitch from the hook. For this row, you must make 100 individual double crochets.
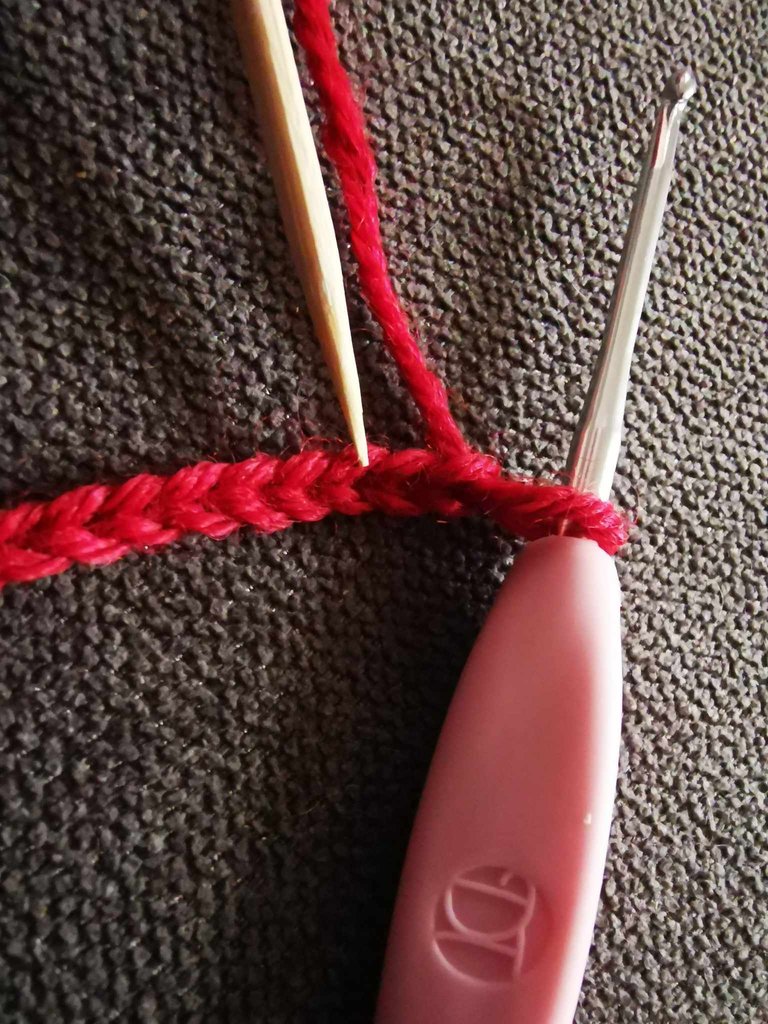


And once you reach the end of the row, you simply have to turn the project without making any chain stitches.
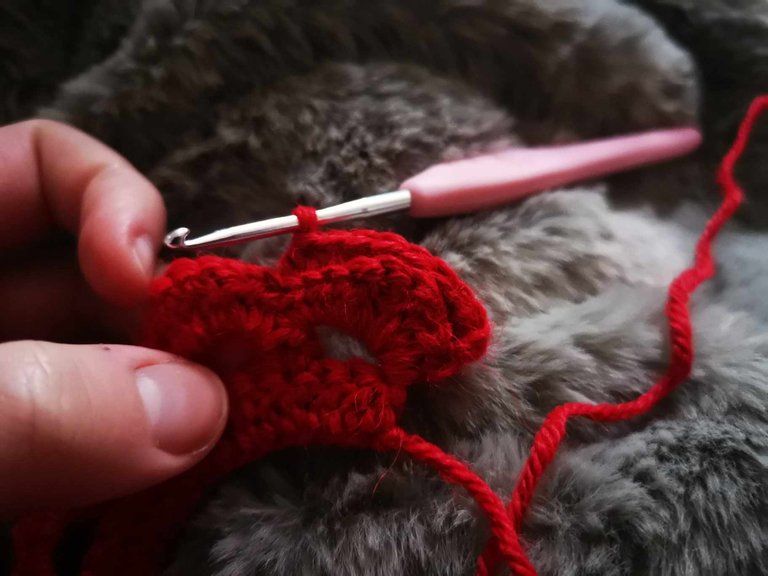
2nd row
For this second row, you must start by casting on 4 chain stitches, then skip 3 stitches and make 2 half-double crochets in the same next stitch (the 4th from the hook). You must start again 25 times, until you reach the end of the row.
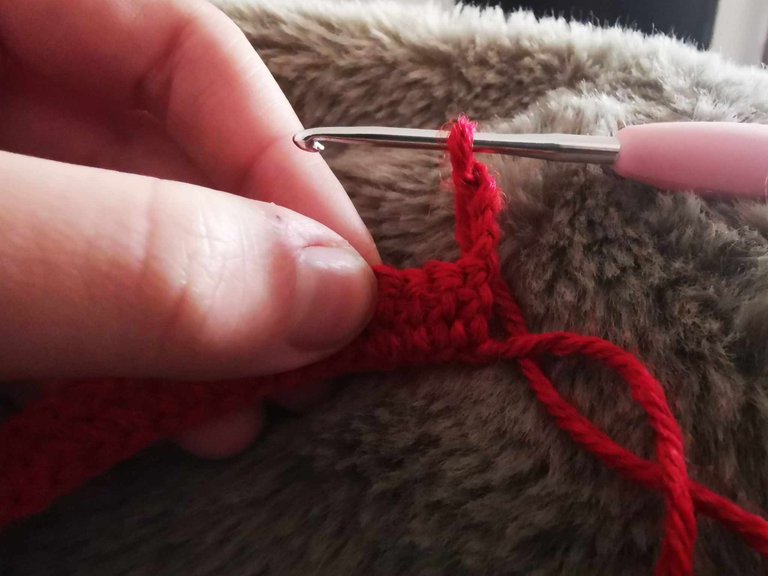
So you must do:
- 4 chain stitches,
- Skip 3 stitches,
- 2 half-double crochets in the same stitch
All x25.
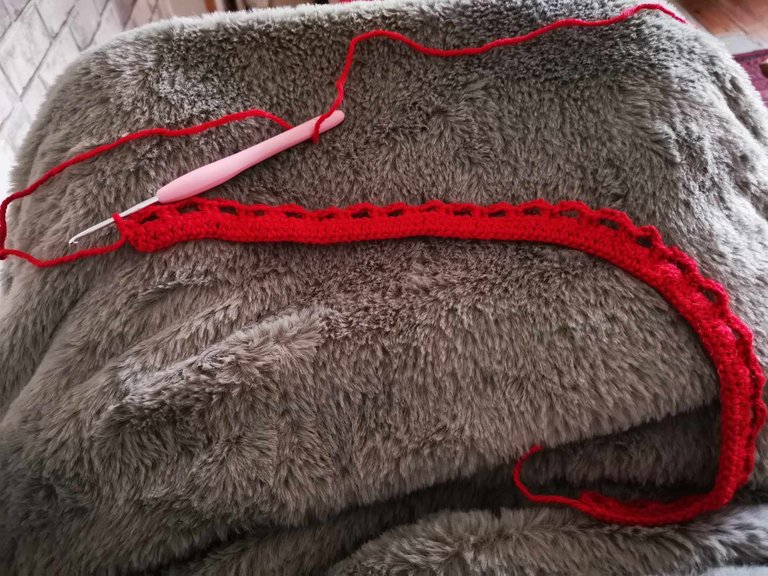
And once you reach the end of the row, you must cast on 2 chain stitches before turning the project.
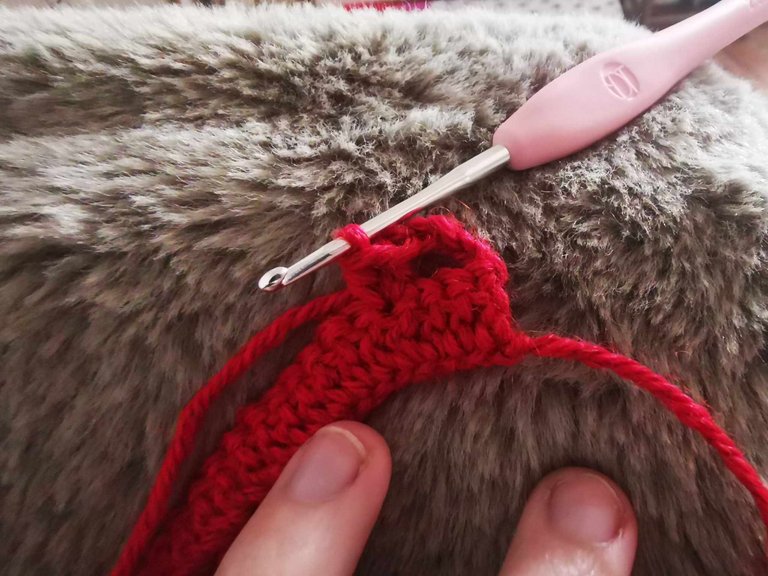
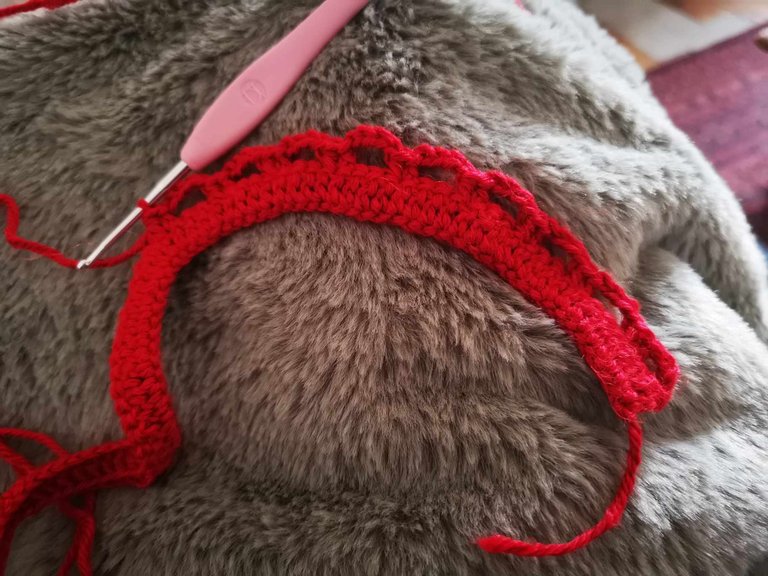
3rd row
For this third row, you will work in the arc formed by the chain stitches of the previous row.
You will do:
- 3 half double crochets,
- then 3 double crochets,
- then 3 half double crochets.
All in each arch.
And you will repeat this combination 25 times.
At the end of the row, you must make 2 chain stitches before turning the project.
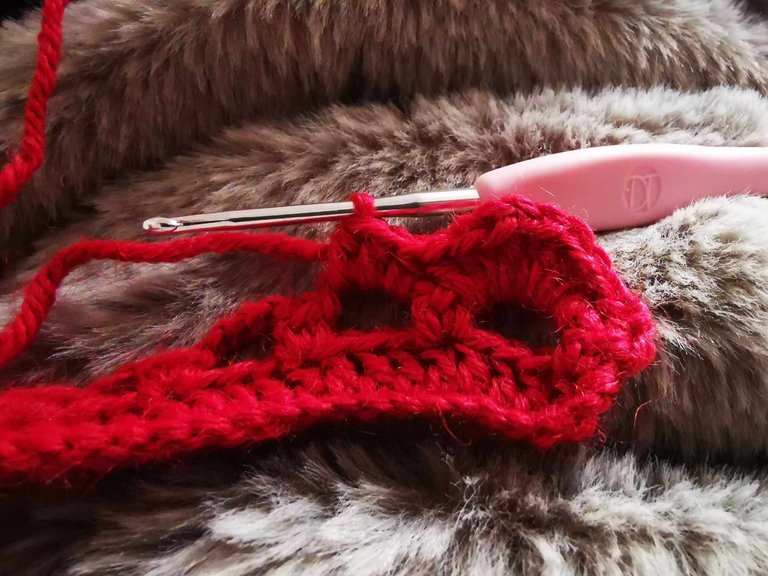
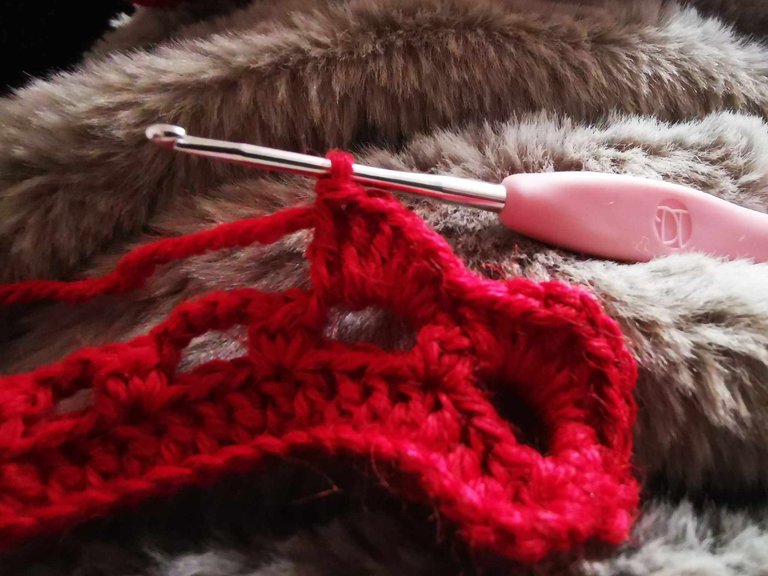
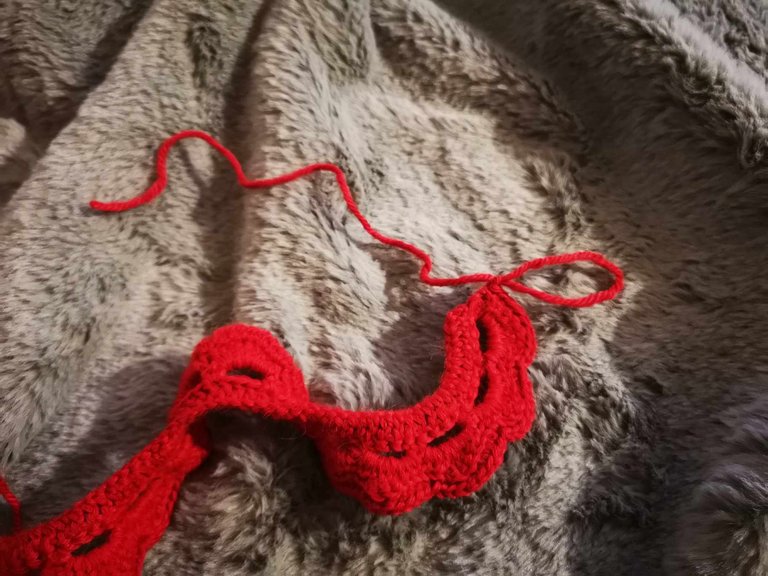
4th row
For this fourth row, you will work around the arch, in the stitches that form the arch.
You will do:
- 8 individual half double crochets (one in each stitch of the arch) in the back loop,
- then 1 slip stitch in the back loop, in the last stitch of each arch.
And you will repeat this combination 25 times, until you reach the end of the row.
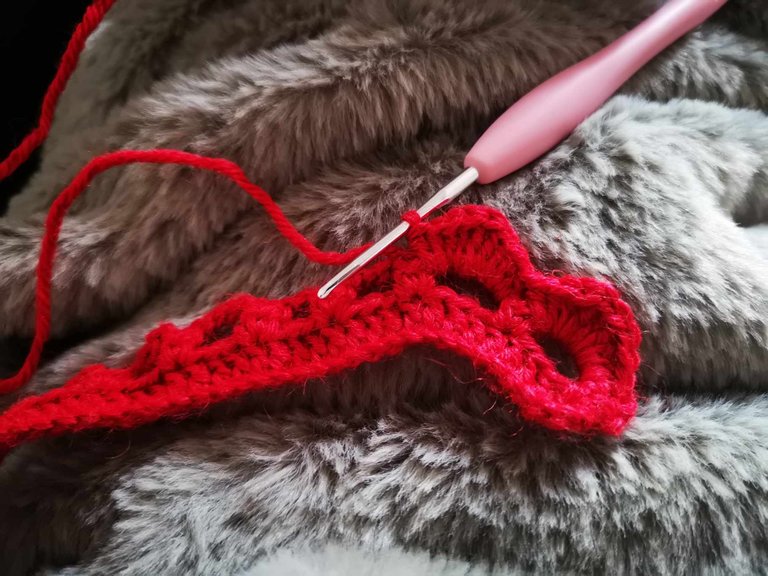
Once you reach the end of the row, you can make a chain stitch and cut the yarn. Be sure to leave a little yarn: between 10 and 15 cm for sewing.
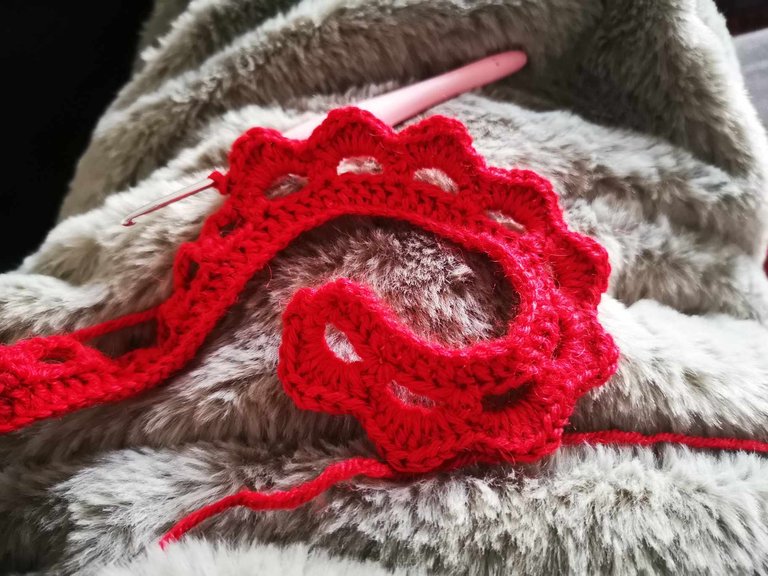
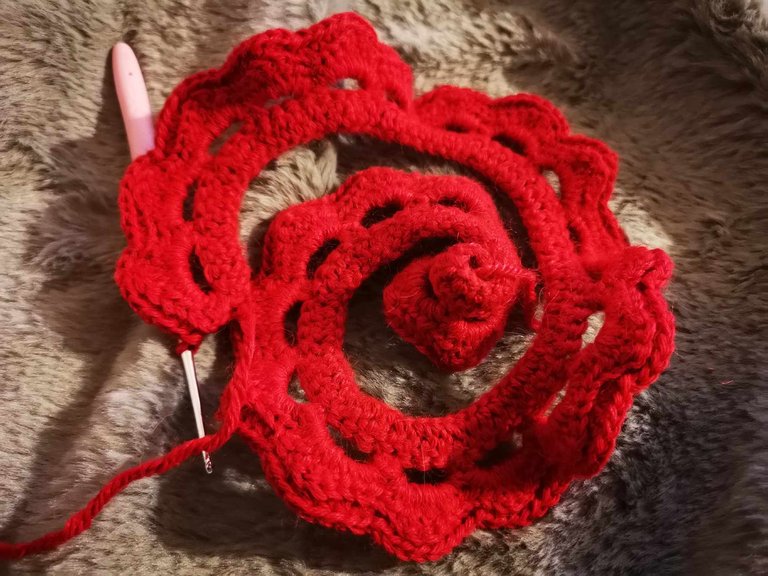
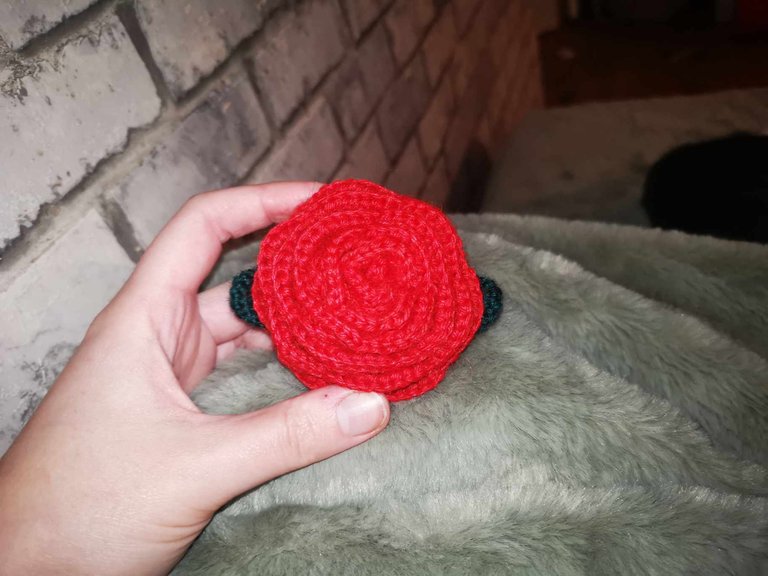
Sewing the rose
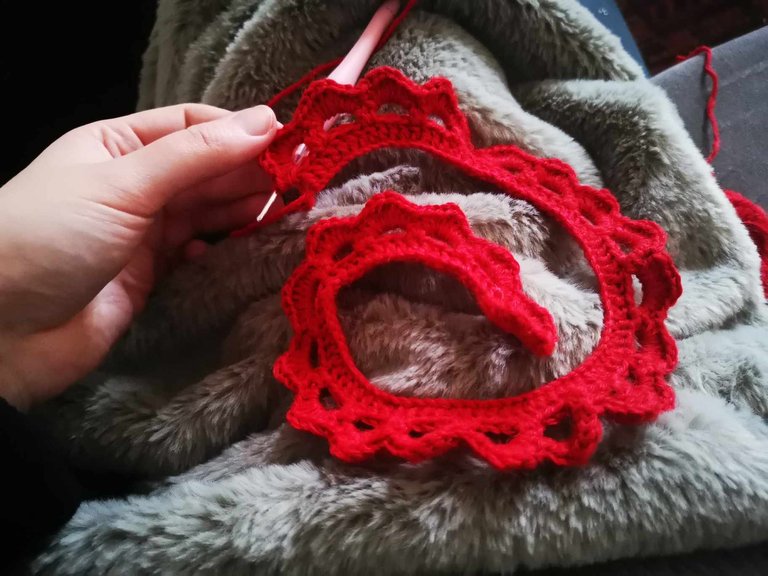
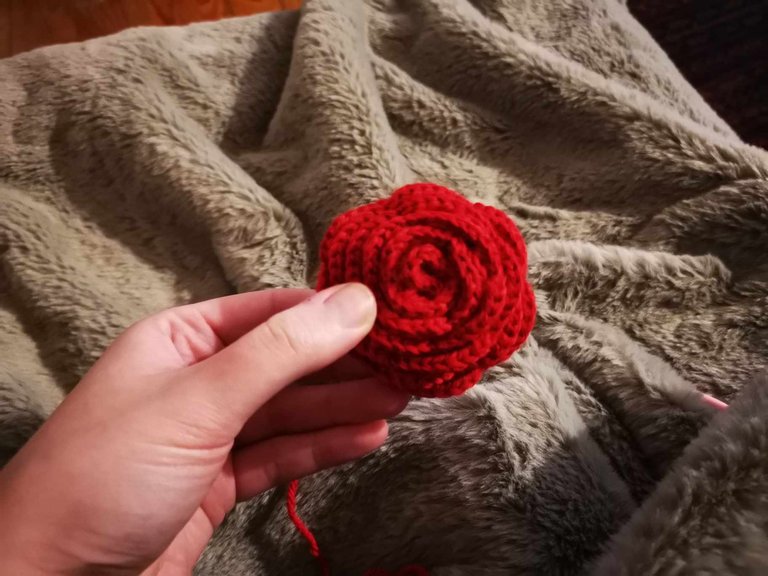
It's time to form the rose! To do this, you simply need to roll your project up on itself. You can try several directions, and tighten more or less. It's up to you to give it the shape you like best.
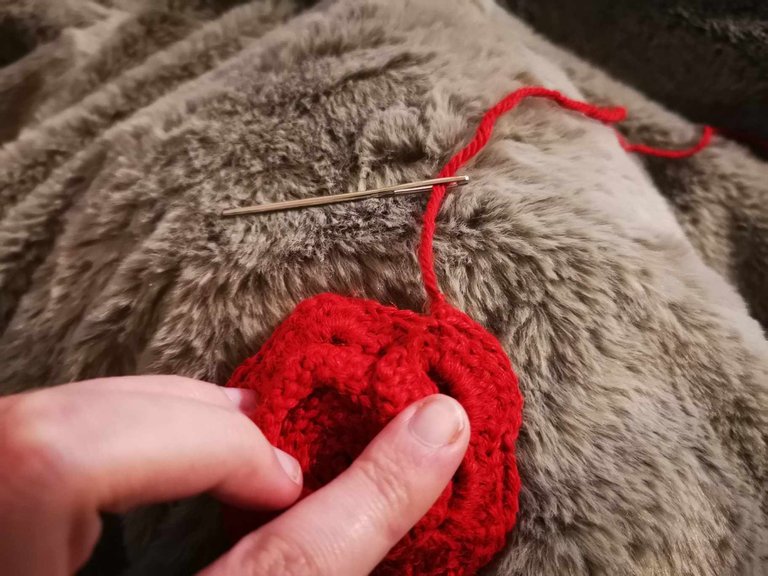
Once you have rolled up your rose, you can move on to sewing it.
To do this, you will take your wool needle and you will sew your project in several places so that the rose cannot unroll.
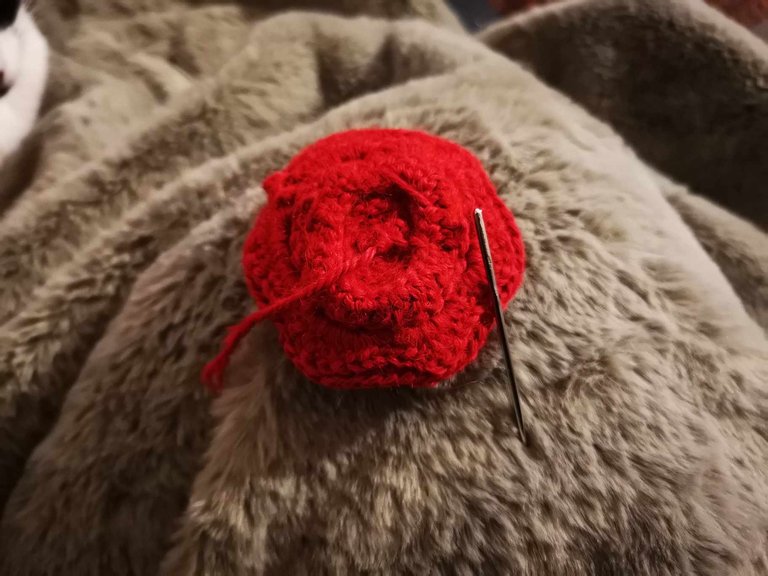
Once the project is secure, you can cut the thread!
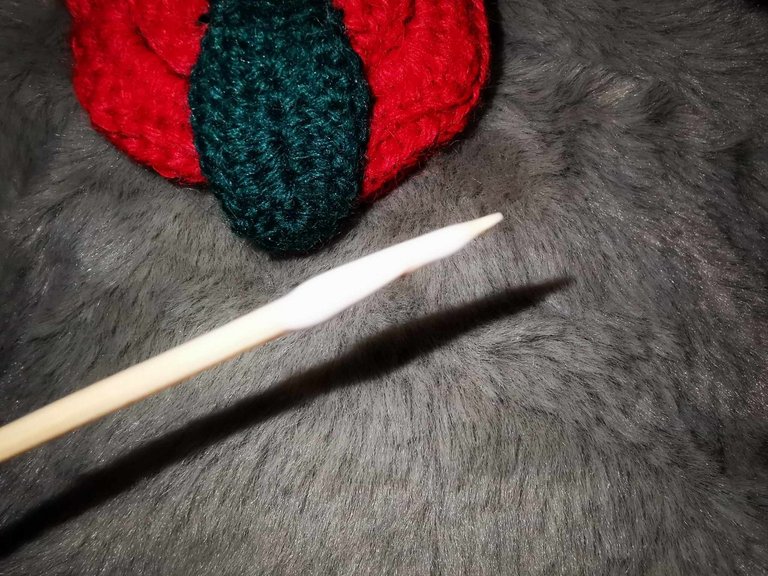
The leaves
You can then move on to making the leaves.
For the leaves, you take your other color and you start by making a slip knot.
Then, you have to mount a chain of 10 chain stitches.
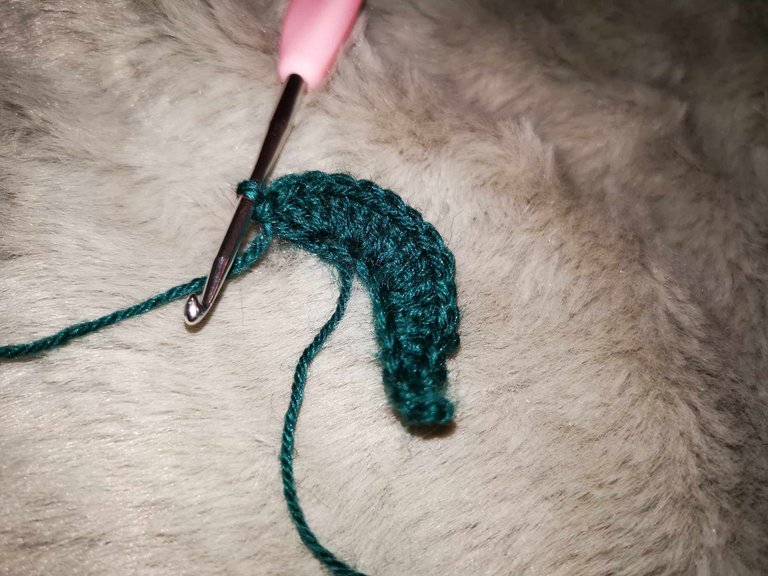
Then, you have to insert the hook in the 2nd chain stitch starting from the hook and do:
- 2 single crochet stitches,
- 2 single half double crochet stitches,
- 2 double crochet stitches in the same stitch x 4 (i.e. 2 double crochet stitches in the next 4 stitches),
- 4 double crochet stitches in the last stitch (to get to the other side of the chain).
Then, on the other side of the chain, you have to do:
- 2 double crochet stitches in the same stitch x 4 (i.e. 2 double crochet stitches in the next 4 stitches),
- 2 single half double crochet stitches,
- 2 single crochet stitches.
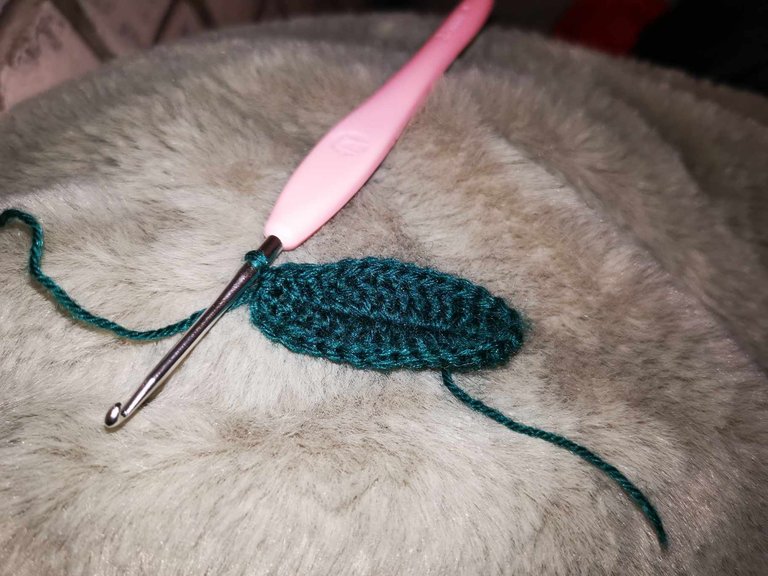
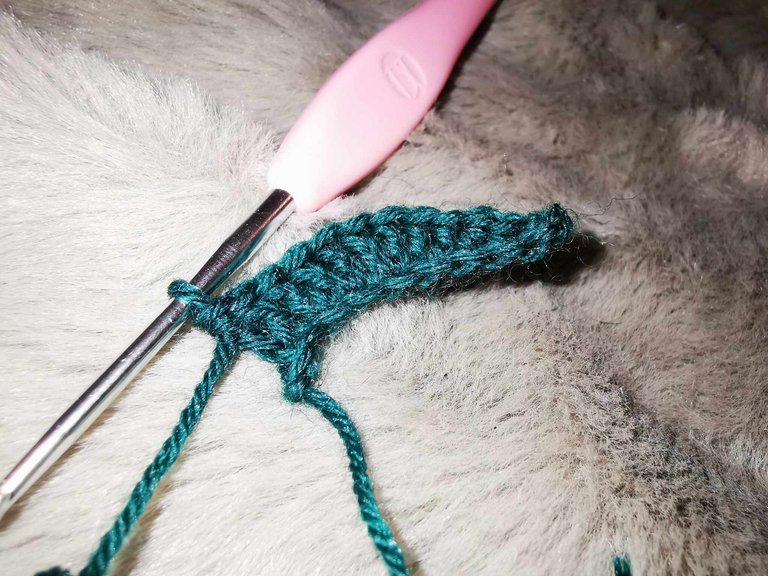
And for the second row of the leaf, you simply have to do 28 single crochet stitches: one in each stitch.
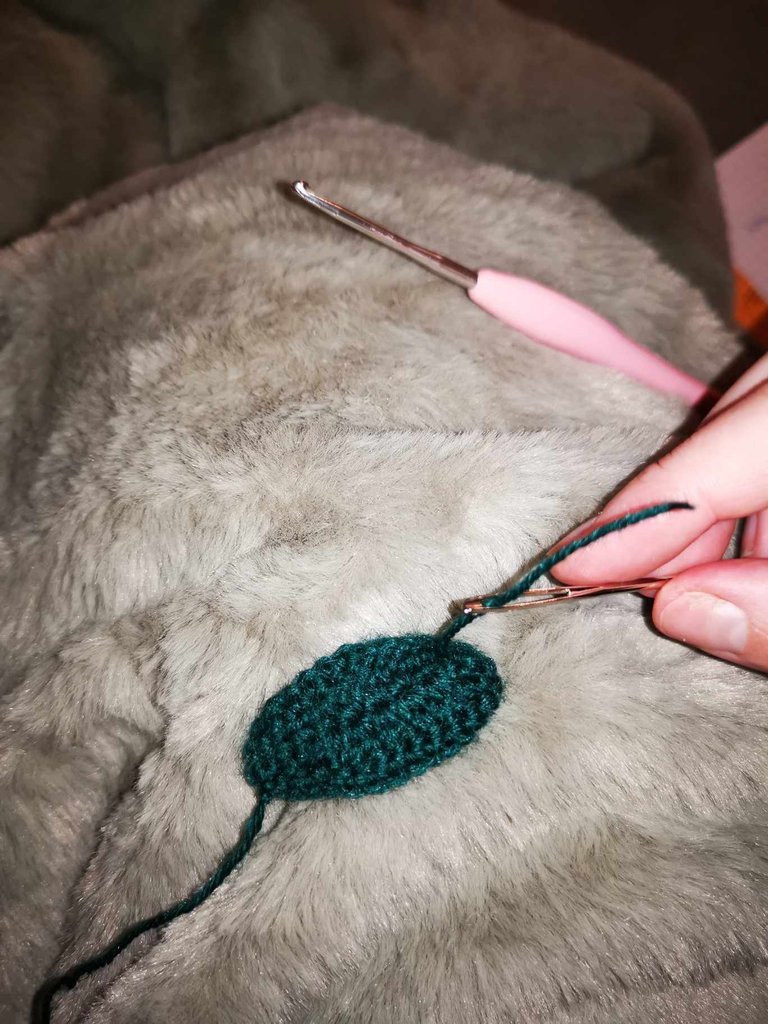
Once you reach the end of the row, you can make a slip stitch. Then a chain stitch to cut the thread (but make sure to keep a little thread, between 10 and 15 cm for sewing). Don't forget to retract the wires with the with the wool needle.
You can do 2 leaves (or more if you want it).
Sewing the leaves
It's time to sew the leaves under the rose.
To do this, you must first decide where you are going to place them. Then, with the wool needle, you must try to sew the leaves neatly, one by one, under the rose.
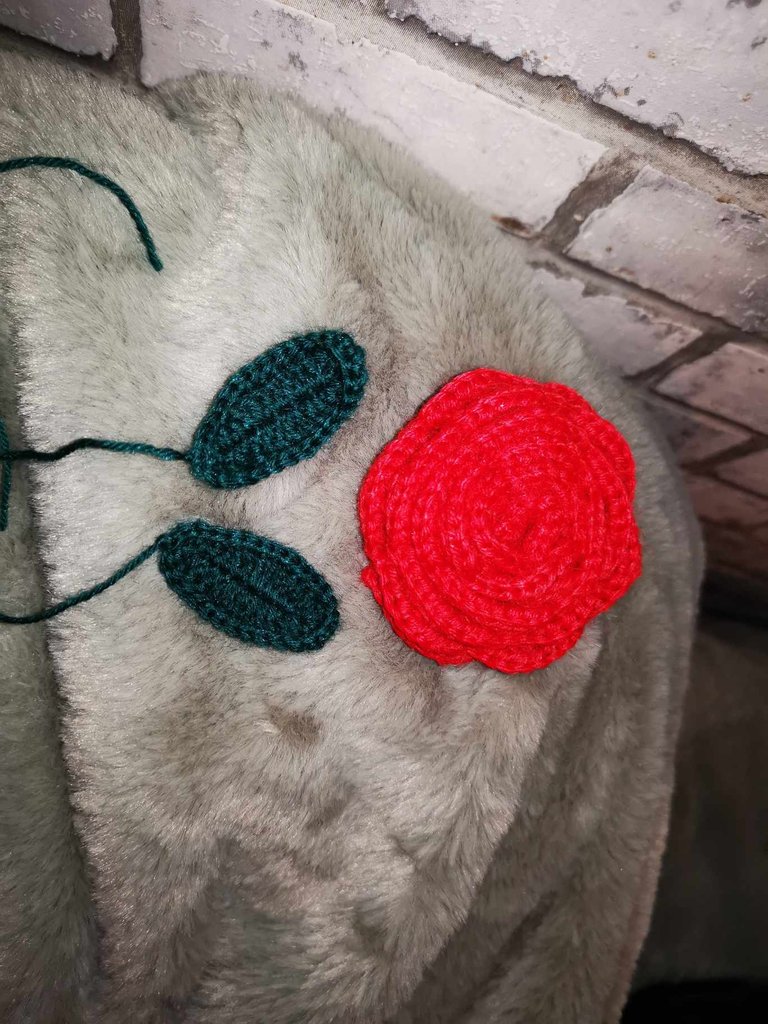
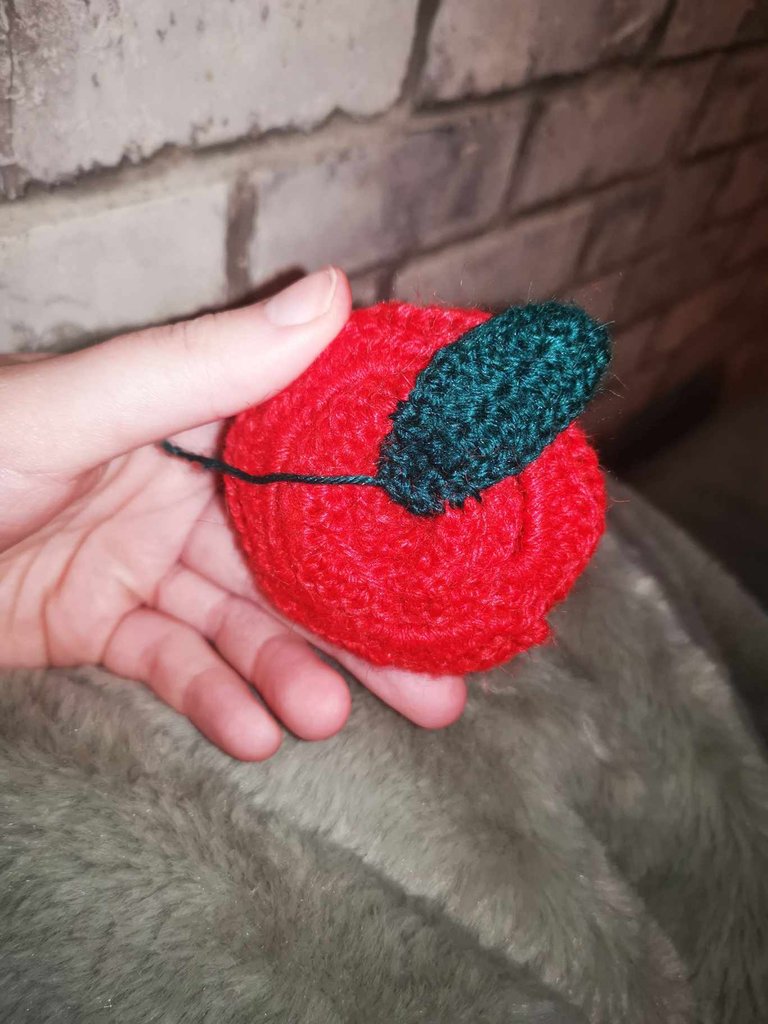
Sewing is not my strong point, here is what it looks like:

I attached my leaves together at the end, before cutting the thread.
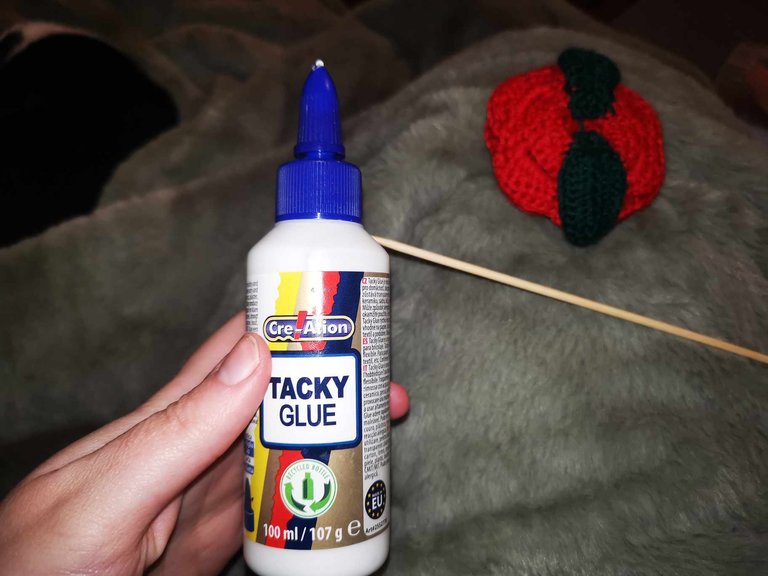
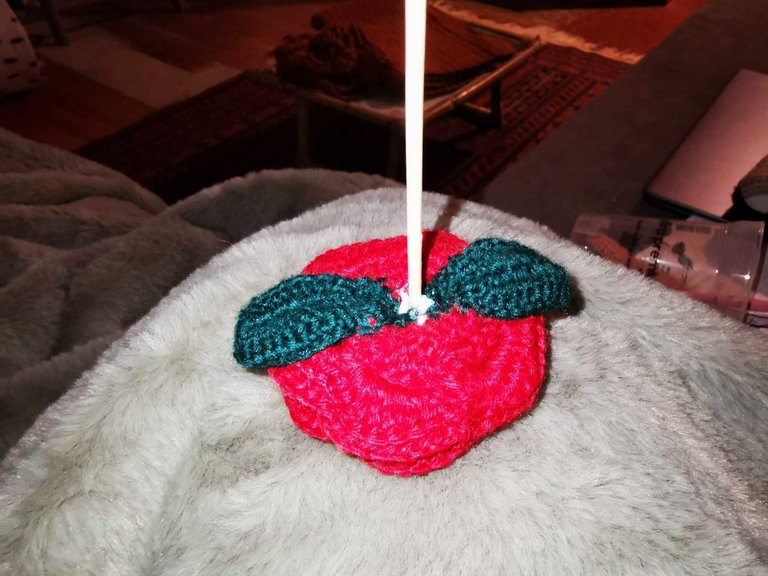
Final assembly
For the assembly final step, you need:
- the skewer,
- glue,
- green thread.
First, you need to apply glue to the skewer and place it in the center of the rose and push it in a little.
Then, you need to place the green thread at the edge of the rose and apply a little glue. Then, you can wrap the thread all around the skewer.
This part is quite long, I find.
When you get to the bottom of the skewer, you can apply a little glue and continue to wrap the thread on it. Then, you need to hold the thread in the glue for a few moments with your fingers.
And there you have it, the rose is finished!

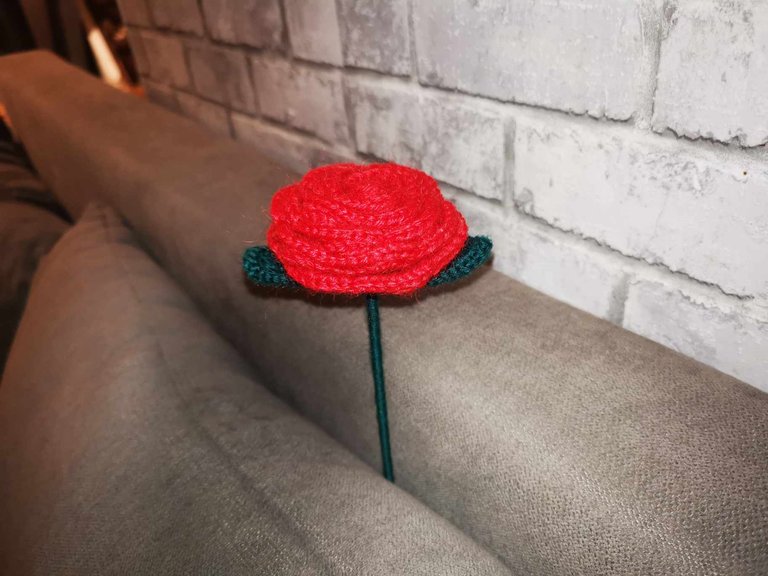

Finally, it is not very complicated to make. If you know the basic crochet stitches, you can make it very easily, in a short time.
For me, the longest part is the assembly and sewing. I quite enjoyed making this rose! 🌹
It's quite pretty, it looks good!
I hope this little tutorial is clear enough and that it will make you want to create your own crochet roses. If not, don't hesitate to ask your questions, I will be happy to answer them! 😊
See you soon,
Johanna
PS: I used Google Translate to translate the English part.
Hello les amis et les crochetlovers ! J’espère que vous allez tous très bien en ce début de semaine. 😊
Lundi dernier, je vous ai parlé de mon envie de créer des fleurs en crochet pour créer un joli bouquet pour mettre sur la table de la salle à manger. 💐
Et cette semaine, j’ai créé une nouvelle fleur : une rose rouge !
En fait, il existe énormément de façon de faire les roses au crochet : en assemblant des cercles, en faisant tout en 1 seul bloc avec des blocs de brides, avec des feuilles sur la tige, avec le sépale, avec plusieurs couleurs,...
J’ai décidé de tester plusieurs techniques pour trouver celle qui me conviendrait le mieux ! Et cette semaine, j’ai commencé par le tutoriel gratuit disponible sur le site Hobbii.fr 🌹
Le matériel
- Un fil pour la rose (j’ai choisi du rouge),
- Un fil pour la tige et les feuilles (j’ai choisi du vert foncé),
- Un crochet 2.5mm,
- Un pique à brochette pour la tige,
- De la colle,
- Une aiguille à laine,
- Des ciseaux
(Sur la photo, vous voyez du fil de fer, mais finalement, il n’y en a pas besoin dans ce tutoriel).
Les étapes
Chaînette de départ
Il faut commencer par faire un nœud coulant avec la couleur choisie pour faire la rose.
Puis, il faut faire une chaînette de 102 mailles en l’air.
1 er rang
Ensuite, il faut commencer dans la troisième maille en l’air en partant du crochet. Pour ce rang, vous devez faire 100 brides individuelles.
Et une fois arrivé au bout du rang, il faut simplement tourner le projet sans faire de maille en l’air.
2 ème rang
Pour ce deuxième rang, vous devez commencer par monter 4 mailles en l’air, puis sauter 3 mailles et faire 2 demi-brides dans la même maille suivante (la 4ème en partant du crochet). Il faut recommencer 25 fois, jusqu’à atteindre la fin du rang.
Vous devez donc faire :
- 4 mailles en l’air,
- Sauter 3 mailles,
- 2 demi-brides dans la même maille
Le tout x25.
Et une fois arrivé à la fin du rang, il faut monter 2 mailles en l’air avant de tourner le projet.
3 ème rang
Pour ce troisième rang, vous allez travailler dans l’arc formé par les mailles en l’air du rang précédent.
Vous allez faire :
- 3 demi-brides,
- puis 3 brides,
- puis 3 demi-brides.
Le tout dans chaque arc.
Et vous allez donc répéter cette combinaison 25 fois.
À la fin du rang, vous devez faire 2 mailles en l’air avant de tourner le projet.
4 ème rang
Pour ce quatrième rang, vous allez travailler autour de l’arc, dans les mailles qui forment l’arc.
Vous allez faire :
- 8 demi-brides individuelles (un dans chaque maille de l’arc) dans le brin arrière,
- puis 1 maille coulée dans le brin arrière, dans la dernière maille de chaque arc.
Et vous allez répéter cette combinaison 25 fois, jusqu’à arriver à la fin du rang.
Une fois arrivé à la fin du rang, vous pouvez faire une maille en l’air et couper le fil. Veillez à laisser un peu de fil : entre 10 et 15 cm pour la couture.
Couture de la rose
C’est le moment de former la rose ! Pour cela, vous devez simplement enrouler votre projet sur lui-même. Vous pouvez tester plusieurs sens, et serrer plus ou moins. C’est à vous de donner la forme qui vous plaît le plus.
Une fois que vous avez enroulé votre rose, vous allez pouvoir passer à la couture de celle-ci.
Pour cela, vous allez prendre votre aiguille à laine et vous allez coudre à plusieurs endroits votre projet pour que la rose ne puisse pas se dérouler.
Une fois que le projet est sécurisé, vous pouvez couper le fil !
Les feuilles
Vous pouvez ensuite passer à la réalisation des feuilles.
Pour les feuilles, vous prenez votre autre couleur et vous commencez par faire un nœud coulant.
Ensuite, il faut monter une chaînette de 10 mailles en l’air.
Puis, il faut insérer le crochet dans la 2 ème maille en l’air en partant du crochet et faire :
- 2 mailles serrées individuelles,
- 2 demi-brides individuelles,
- 2 brides dans une même maille x 4 (c’est-à-dire 2 brides dans les 4 mailles suivantes),
- 4 brides dans la dernière maille (pour arriver de l’autre côté de la chaînette).
Puis, de l’autre côté de la chaînette, il faut faire :
- 2 brides dans une même maille x 4 (c’est-à-dire 2 brides dans les 4 mailles suivantes),
- 2 demi-brides individuelles,
- 2 mailles serrées individuelles.
Et pour le deuxième rang de la feuille, vous devez simplement faire 28 mailles serrées : une dans chaque maille.
Une fois arrivé à la fin du rang, vous pouvez faire une maille coulée. Puis une maille en l’air pour couper le fil (mais veillez à garder un peu de fil, entre 10 et 15 cm pour la couture).
Vous pouvez faire 2 feuilles (ou plus.
Couture des feuilles
Il est temps de coudre les feuilles sous la rose.
Pour cela, vous devez d’abord décider de l’endroit où vous allez les placer. Puis, avec l’aiguille à laine, il faut essayer de coudre proprement les feuilles, une par une, sous la rose.
La couture n’est pas mon fort, voici ce que cela donne :
J’ai attaché mes feuilles ensemble à la fin, avant de couper le fil.
Assemblage final
Pour l’assemblage final, il faut :
- le pique à brochette,
- de la colle,
- du fil vert.
Tout d’abord, il faut appliquer de la colle sur le pique à brochette et le placer au centre de la rose et l’enfoncer un peu.
Ensuite, il faut placer le fil vert au bord de la rose et appliquer un peu de colle. Puis, vous pouvez enrouler le fil tout autour du pique.
Cette partie est assez longue, je trouve.
Arrivé au bas du pique à brochette, vous pouvez appliquer un peu de colle et continuer d’enrouler le fil dessus. Puis, il faut maintenir le fil dans la colle quelques instants avec ses doigts.
Et voilà, la rose est terminée !
Finalement, elle n’est pas très compliquée à faire. Si vous connaissez les points basiques au crochet, vous pouvez la réaliser très facilement, en peu de temps.
Pour moi, la partie la plus longue, c’est l’assemblage et la couture. J’ai plutôt bien apprécié réaliser cette rose ! 🌹
Elle est assez jolie, cela donne bien !
J’espère que ce petit tutoriel est assez clair et qu’il vous donnera envie de créer vos propres roses au crochet. Sinon, n’hésitez pas à poser vos questions, j’y répondrais avec plaisir ! 😊
À bientôt,
Johanna
PS : J’ai utilisé Google Traduction pour traduire la partie en anglais.
Absolutely beautiful, I find it very easy to understand the steps you provided, even as a non-crocheter, the outcome is stunning.
your skills are extraordinary. the flowers look awesome.
!PIZZA
Your post has been manually reviewed for curation by the Principality of Bastion.
Check the Trail of posts we voted
Principality of Bastion - Our Leit Motiv? Let's Grow Together.
Principality's site | Minava NFT Market | Discord | Our Twitch Channel
You may TRAIL this account if you like the curation we do, or join our discord to know more about what we do.

$PIZZA slices delivered:
(1/10) @itharagaian tipped @altheana