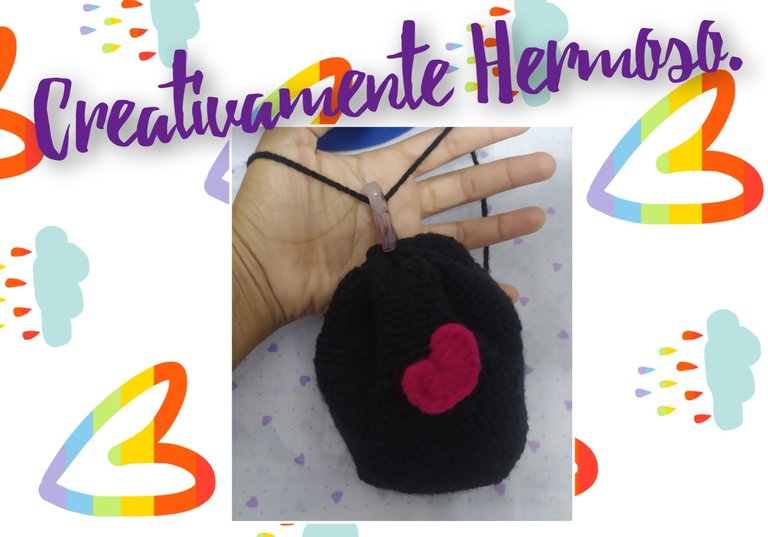
Blessed day ❤️ for all my friends of this community again I am here to leave you this beautiful and creative idea that I was making to share with you hoping as always that you like it and are encouraged to make it, it is a small crochet knitted backpack type bag and decorated with a mini heart also crochet, which I share my tutorial with you in one of my past publications.
As any flirtatious lady we always like to look beautiful from our attire to our accessories and that includes from a purse to our wallet.
For that reason I decided to bring you this wonderful idea, so let's not wait any longer I show you below my step by step.

Materials
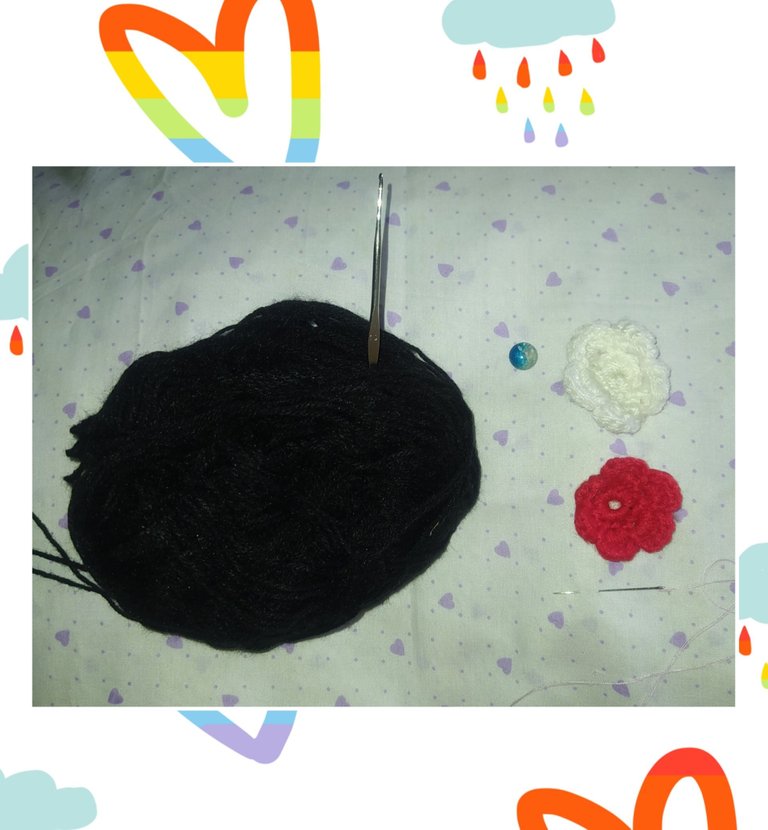
🌈 Estambre del color deseado.
🌈 Aguja de tejer
🌈 Aguja e hilo de cocer
🌈 Aplicación para decorar
🌈 Piedra o abalorio para pasar y
ajustar nuestro cierre del bolso.
🌈 Yarn of the desired color.
🌈 Knitting needle
🌈 Knitting needle and thread
🌈 Application for decorating
🌈 Stone or bead to pass through and
adjust our bag closur.

Step by Step.
We start knitting our base by making a chain of 4 stitches and close it to obtain a small circle on which we are going to make our knitted circle of the desired size.
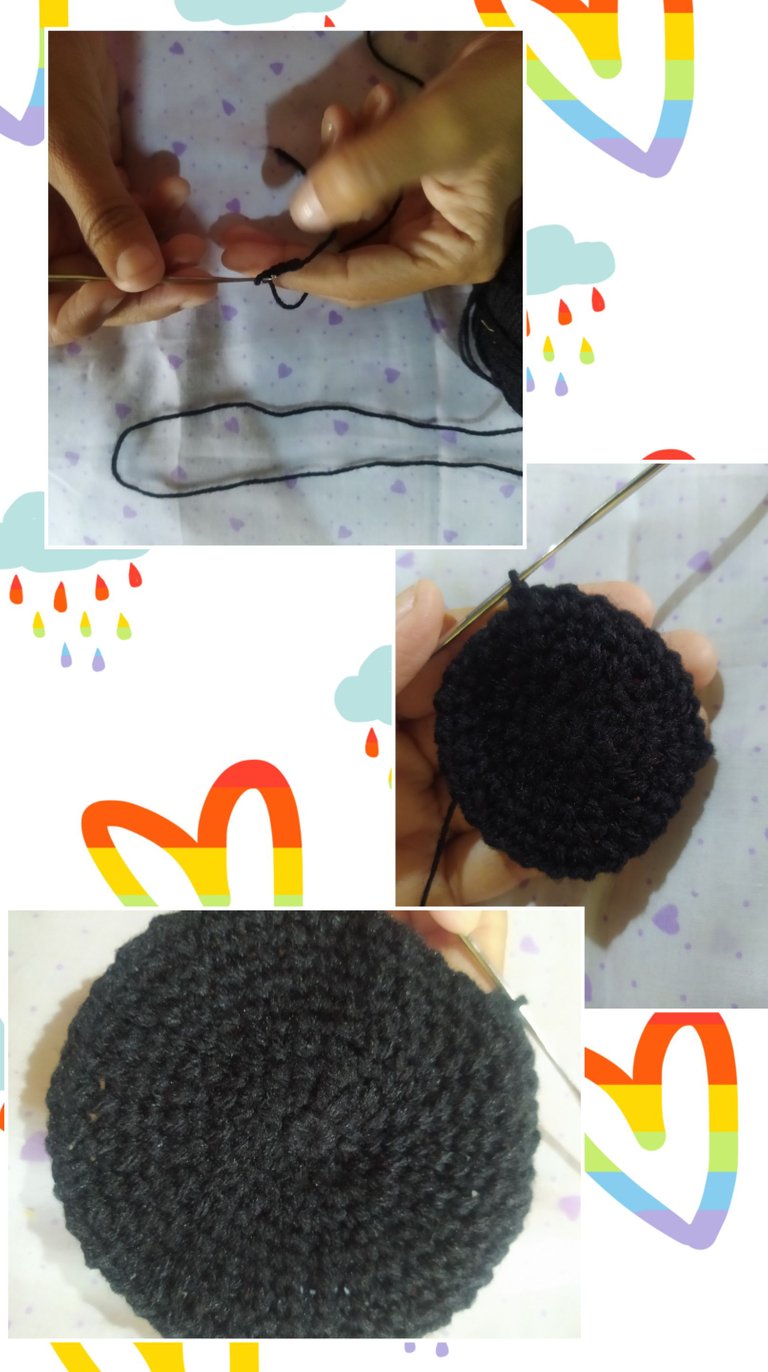
Once our circle is finished, we continue knitting on it what would be the body of our bag,to achieve this we reduce some stitches so that a little bag is formed as shown in the photo.
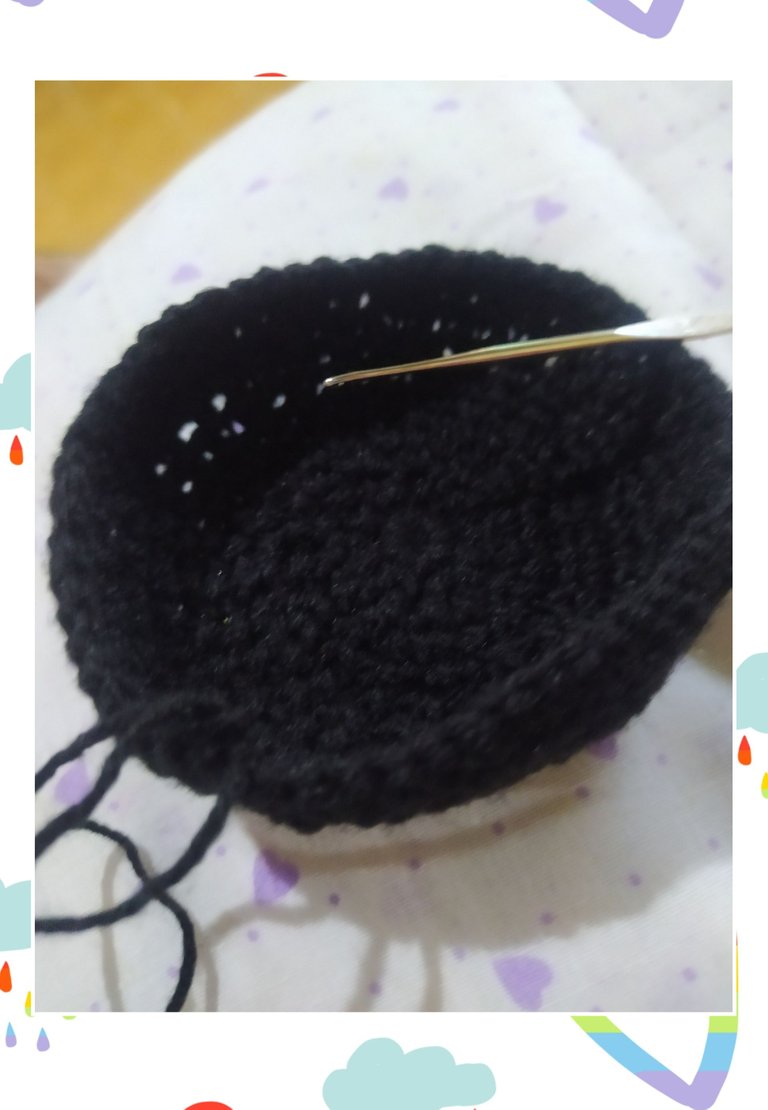
We continue knitting, here I knit the fabric with half stitch or single crochet and in the middle of the bag I combine the knitting with several loops knitted with high stitches or rods until I reach the desired size that I want my bag to be. I made it with the purpose of using it as a cosmetic purse, something small where I can carry my daily makeup routine.
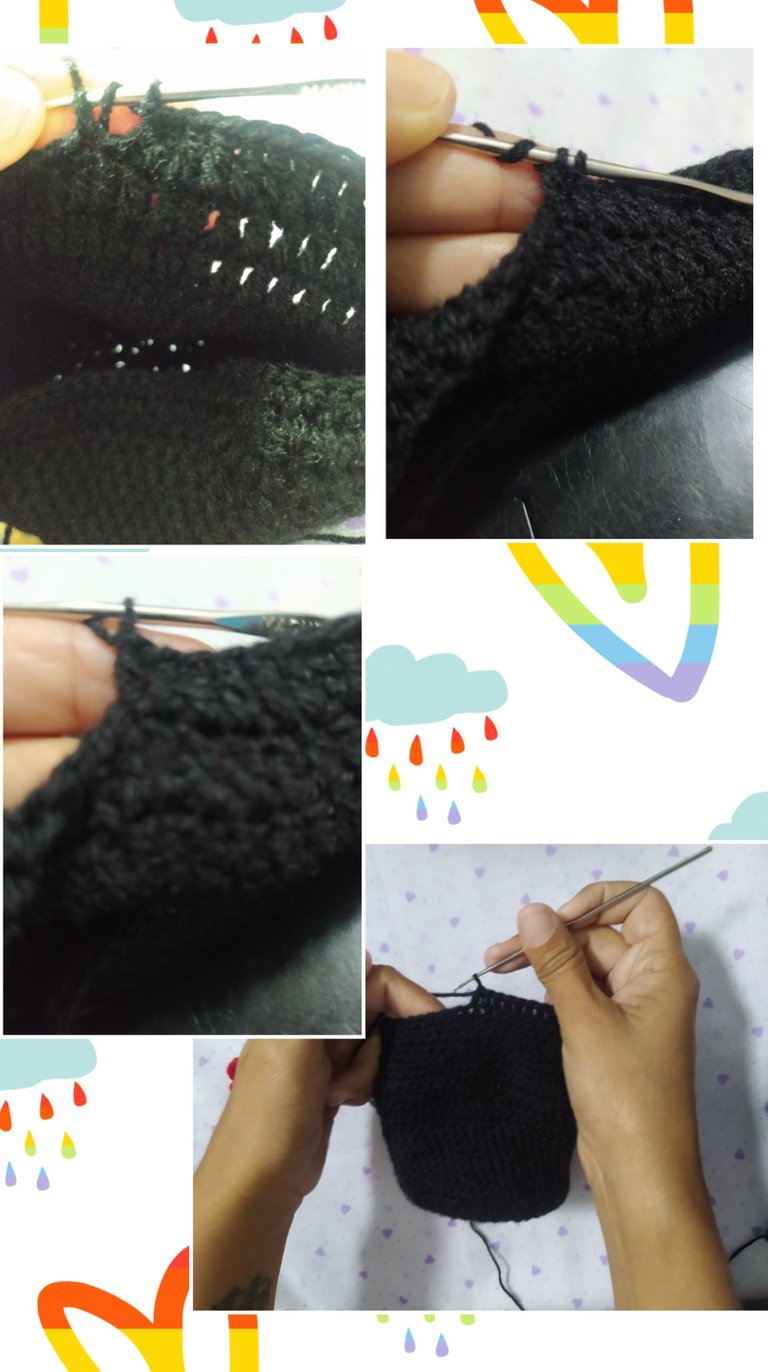
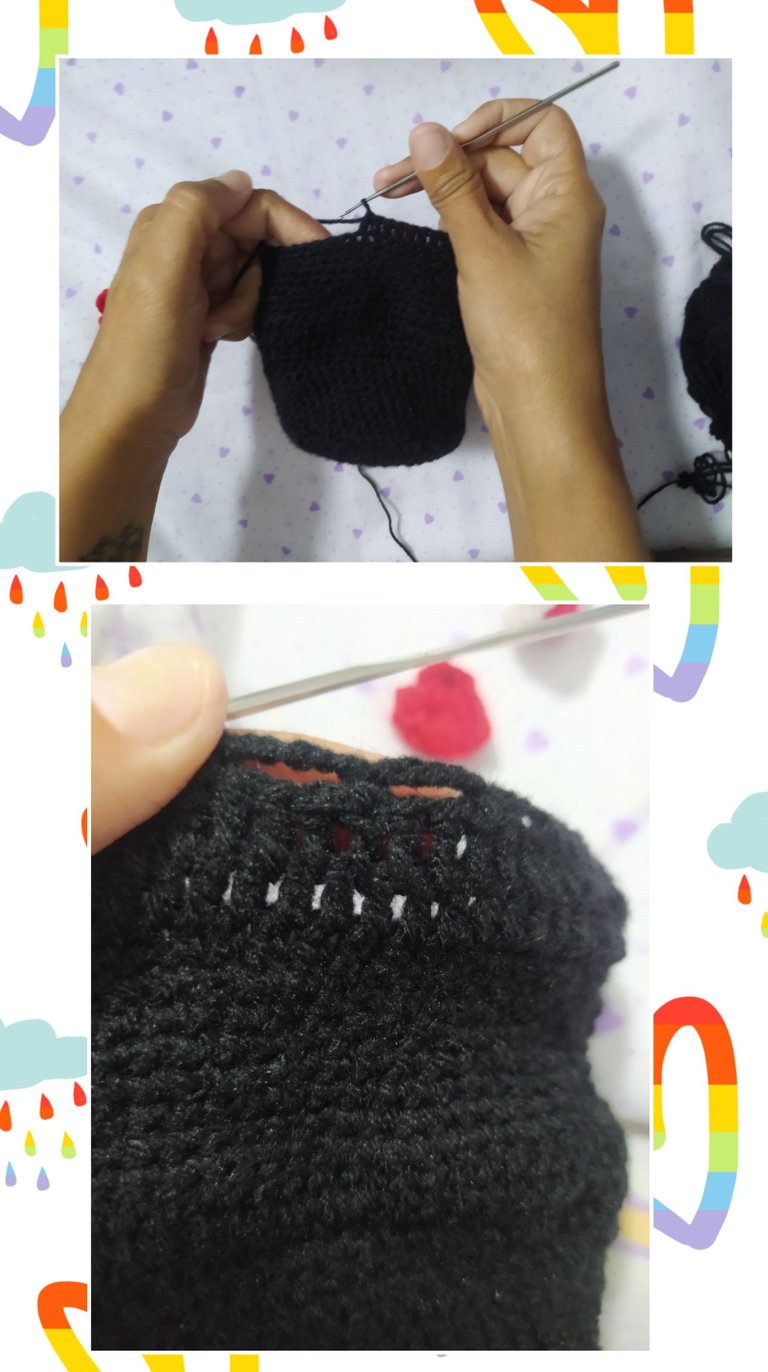
Ready this step we make in the edge of our bag an open weave for it we make a high stitch 5 chains another high stitch 5 chains more and so on until we finish our circle. In this way we have the holes to introduce the long chain stitch that will be our cord of the bag.
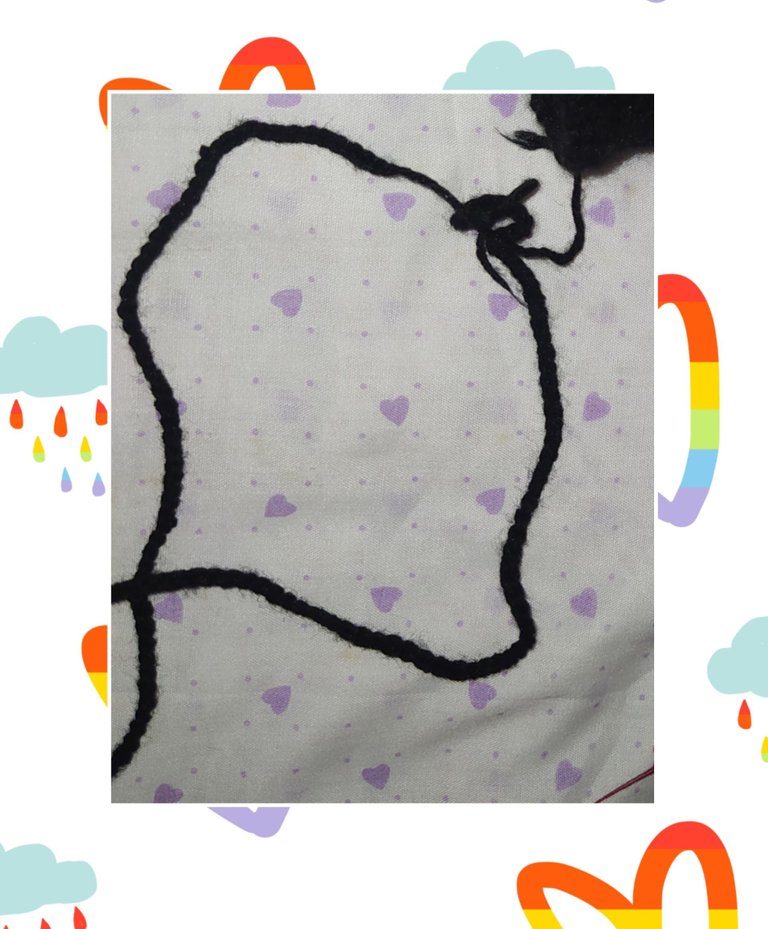
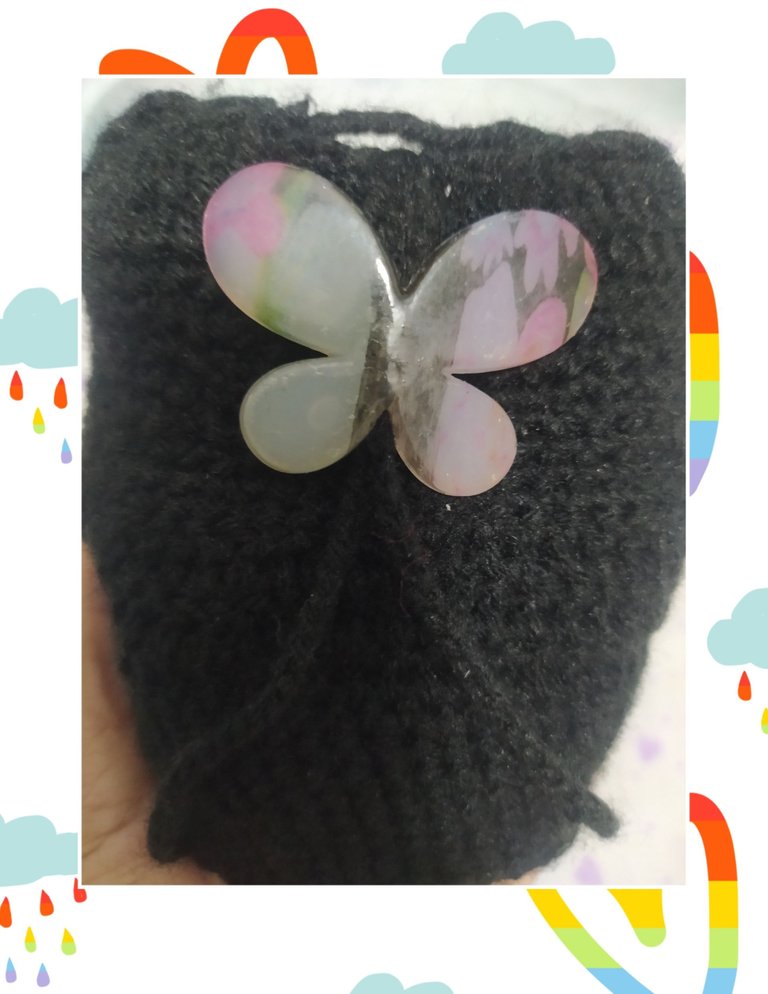
Once the woven cord has been passed, we proceed to introduce the stone or the bead, which must have a hole I use a butterfly through which the cord is introduced.
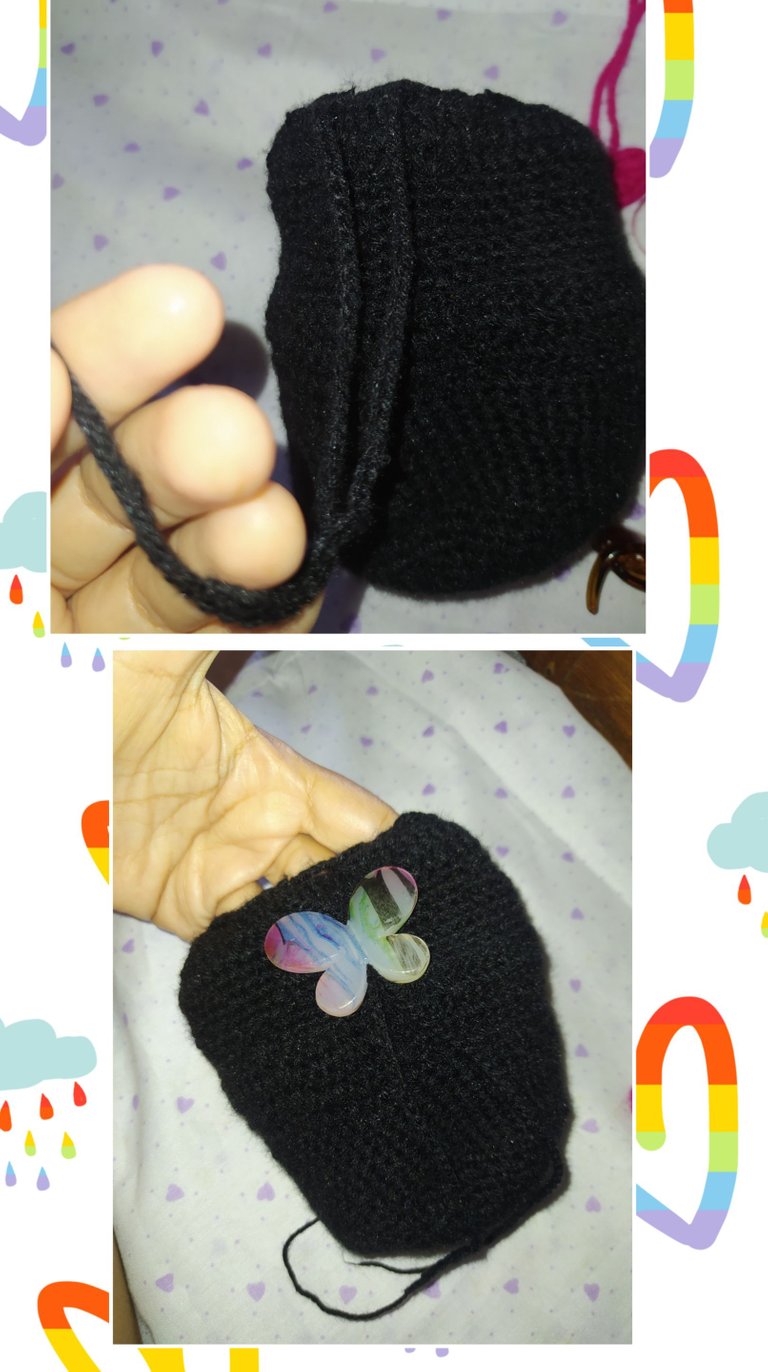
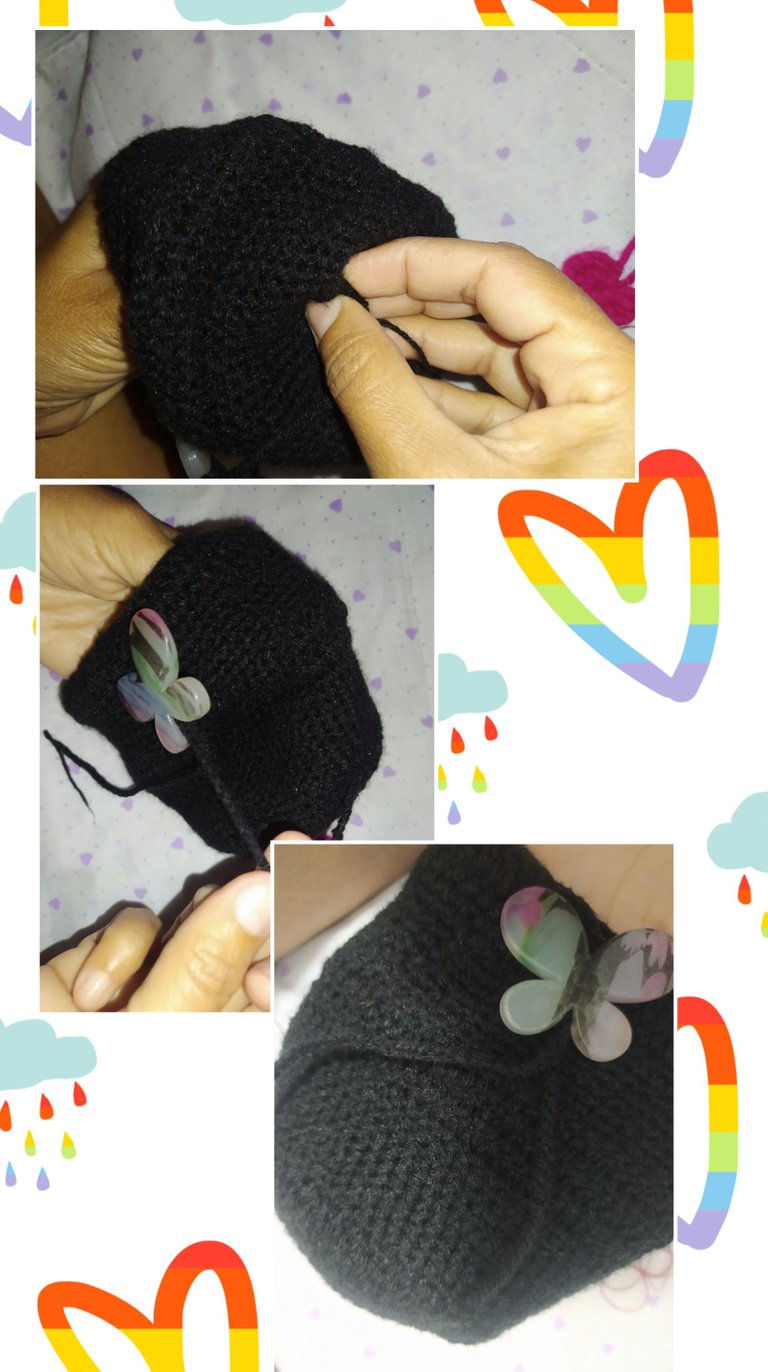
Ready this step I take each thread of the cord and adjust it at the bottom and back of our bag, for this I pass the strip on the inside of the bag and camouflage it with my needle on the fabric adjusting it with a knot, as shown in the photo.
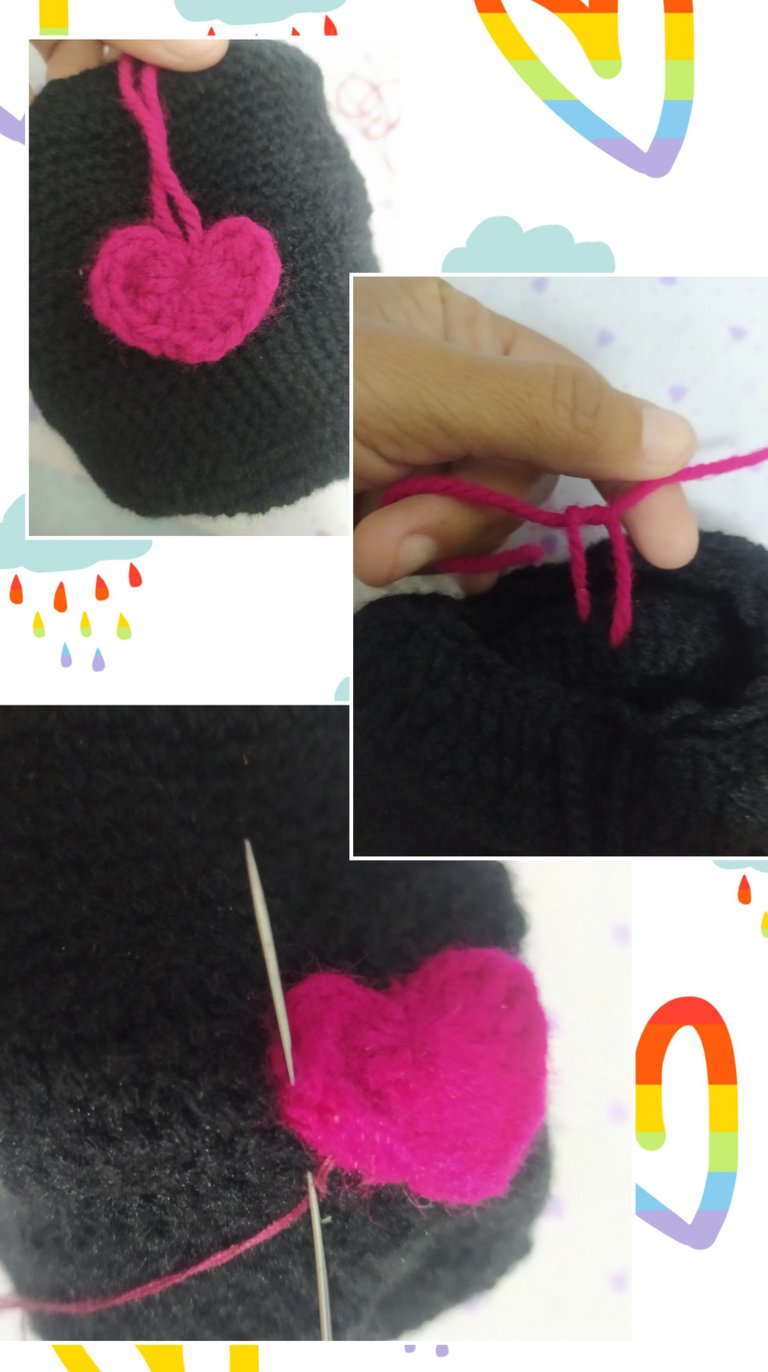
fixed my application, in this case I used a crocheted heart and sewed it on the inside of our bag to fix it and make it look creatively decorated.
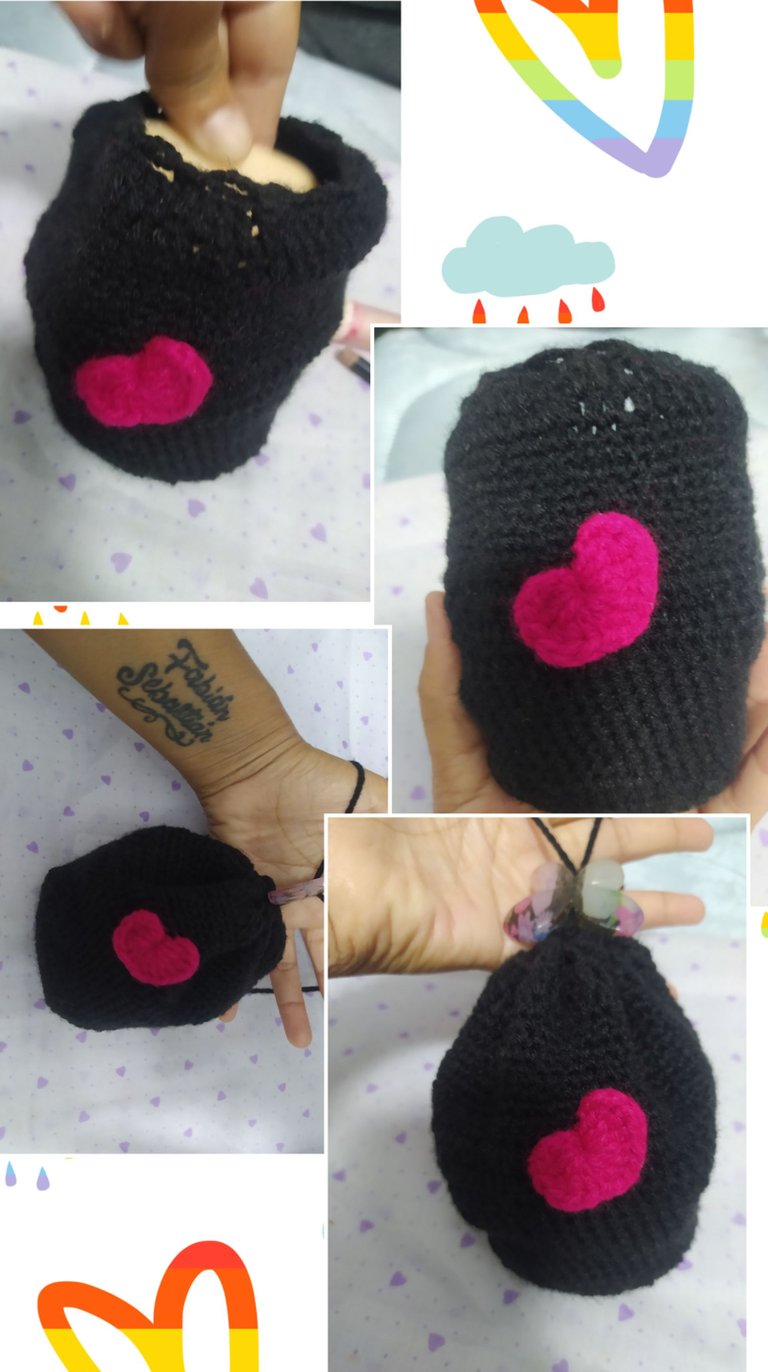
Below I show you how our beautiful and creative crocheted cosmetic bag or purse looks like.
All the photos shown in my publication are my own taken with my personal phone, and edited in collage, for the text I used Deepl translator. For my main photo I used a background for crochet photos downloaded from the web which I edited in incollage.
A thousand thanks for reading my content, your time to me is very valuable,until a next time. ❤️❤️❤️❤️Mil blessings to all ❤️❤️❤️❤️❤️.
Congratulations @amores.sf2! You have completed the following achievement on the Hive blockchain and have been rewarded with new badge(s):
Your next target is to reach 200 comments.
You can view your badges on your board and compare yourself to others in the Ranking
If you no longer want to receive notifications, reply to this comment with the word
STOPTo support your work, I also upvoted your post!
Support the HiveBuzz project. Vote for our proposal!
Mil gracias siempre por el apoyp
De nada @amores.sf2.
¡Te agradeceríamos mucho que votaras por nuestra propuesta con peakd, ecency, o con HiveSigner para que podamos seguir con el buen trabajo!
Muchas gracias!
Que lindos me encantan
Mil gracias ❤️ encantada de que te guste mi proyecto.
Hola @amores.sf2 este modelo de bolso está bien sencillo y rápido de tejer, el resultado final queda muy práctico. Gracias por compartir. Saludos!
Gracias bella , si super facil practico y lo mejor bello y hermoso.
This really beautiful thanks for sharing
Mil gracias que bueno que te gustó.
😆😆😆