Happy afternoon friends!🌹
¡Les saludo con mucho cariño y les envío un fuerte abrazo! que la paz de Dios este cada día en sus vidas y en sus hogares💖.
I greet you with love and send you a big hug! may the peace of God be in your lives and in your homes every day 💖.
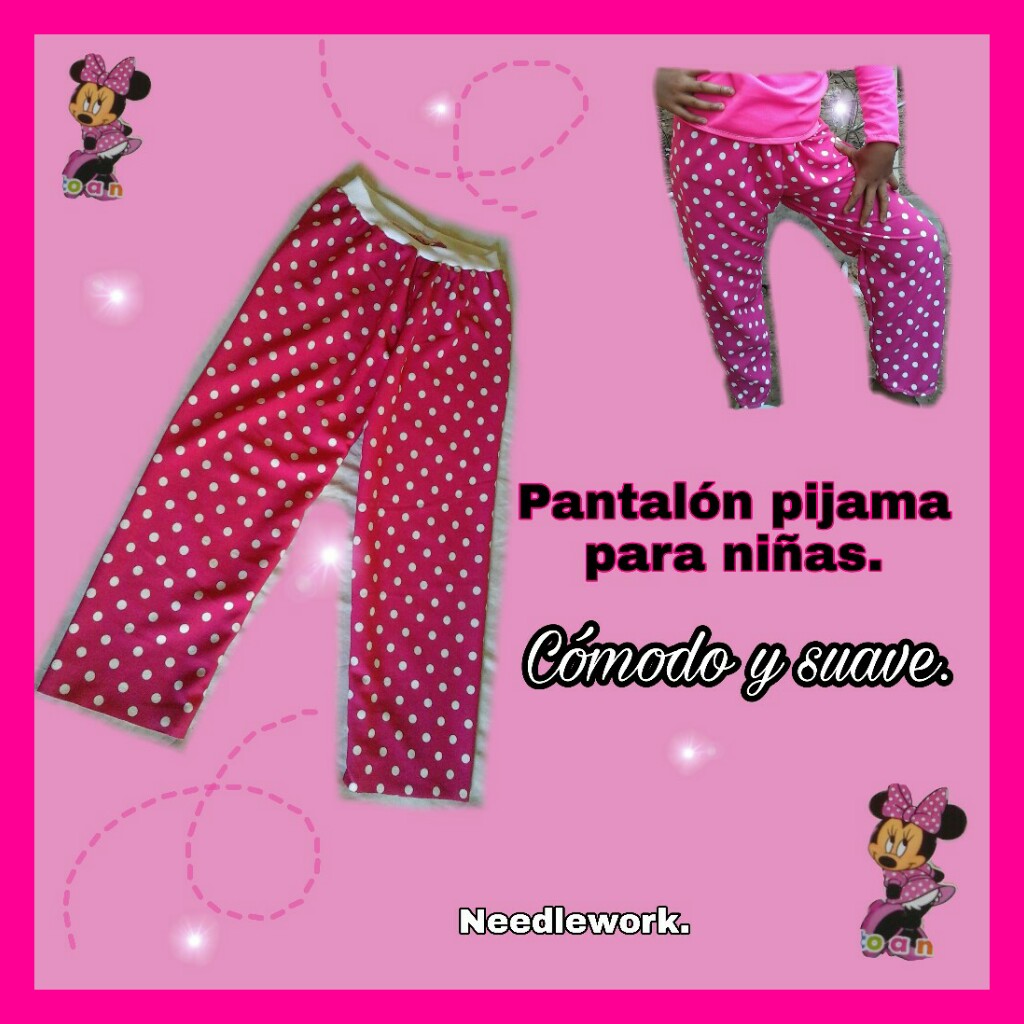
Today I want to share with all my friends who love sewing, the procedure to make pajama pants for my daughter using a beautiful fuchsia fabric with white dots which never goes out of style. I loved this fabric from the first moment I saw it, I remembered Minnie Mouse's dress and bow, hehe!😁, my daughter also loved this beautiful fabric. These pants are very simple, they also have no seam on the sides, making them very comfortable when it's time to go to sleep. I invite you to read the procedure and making even these pants, so come with me.

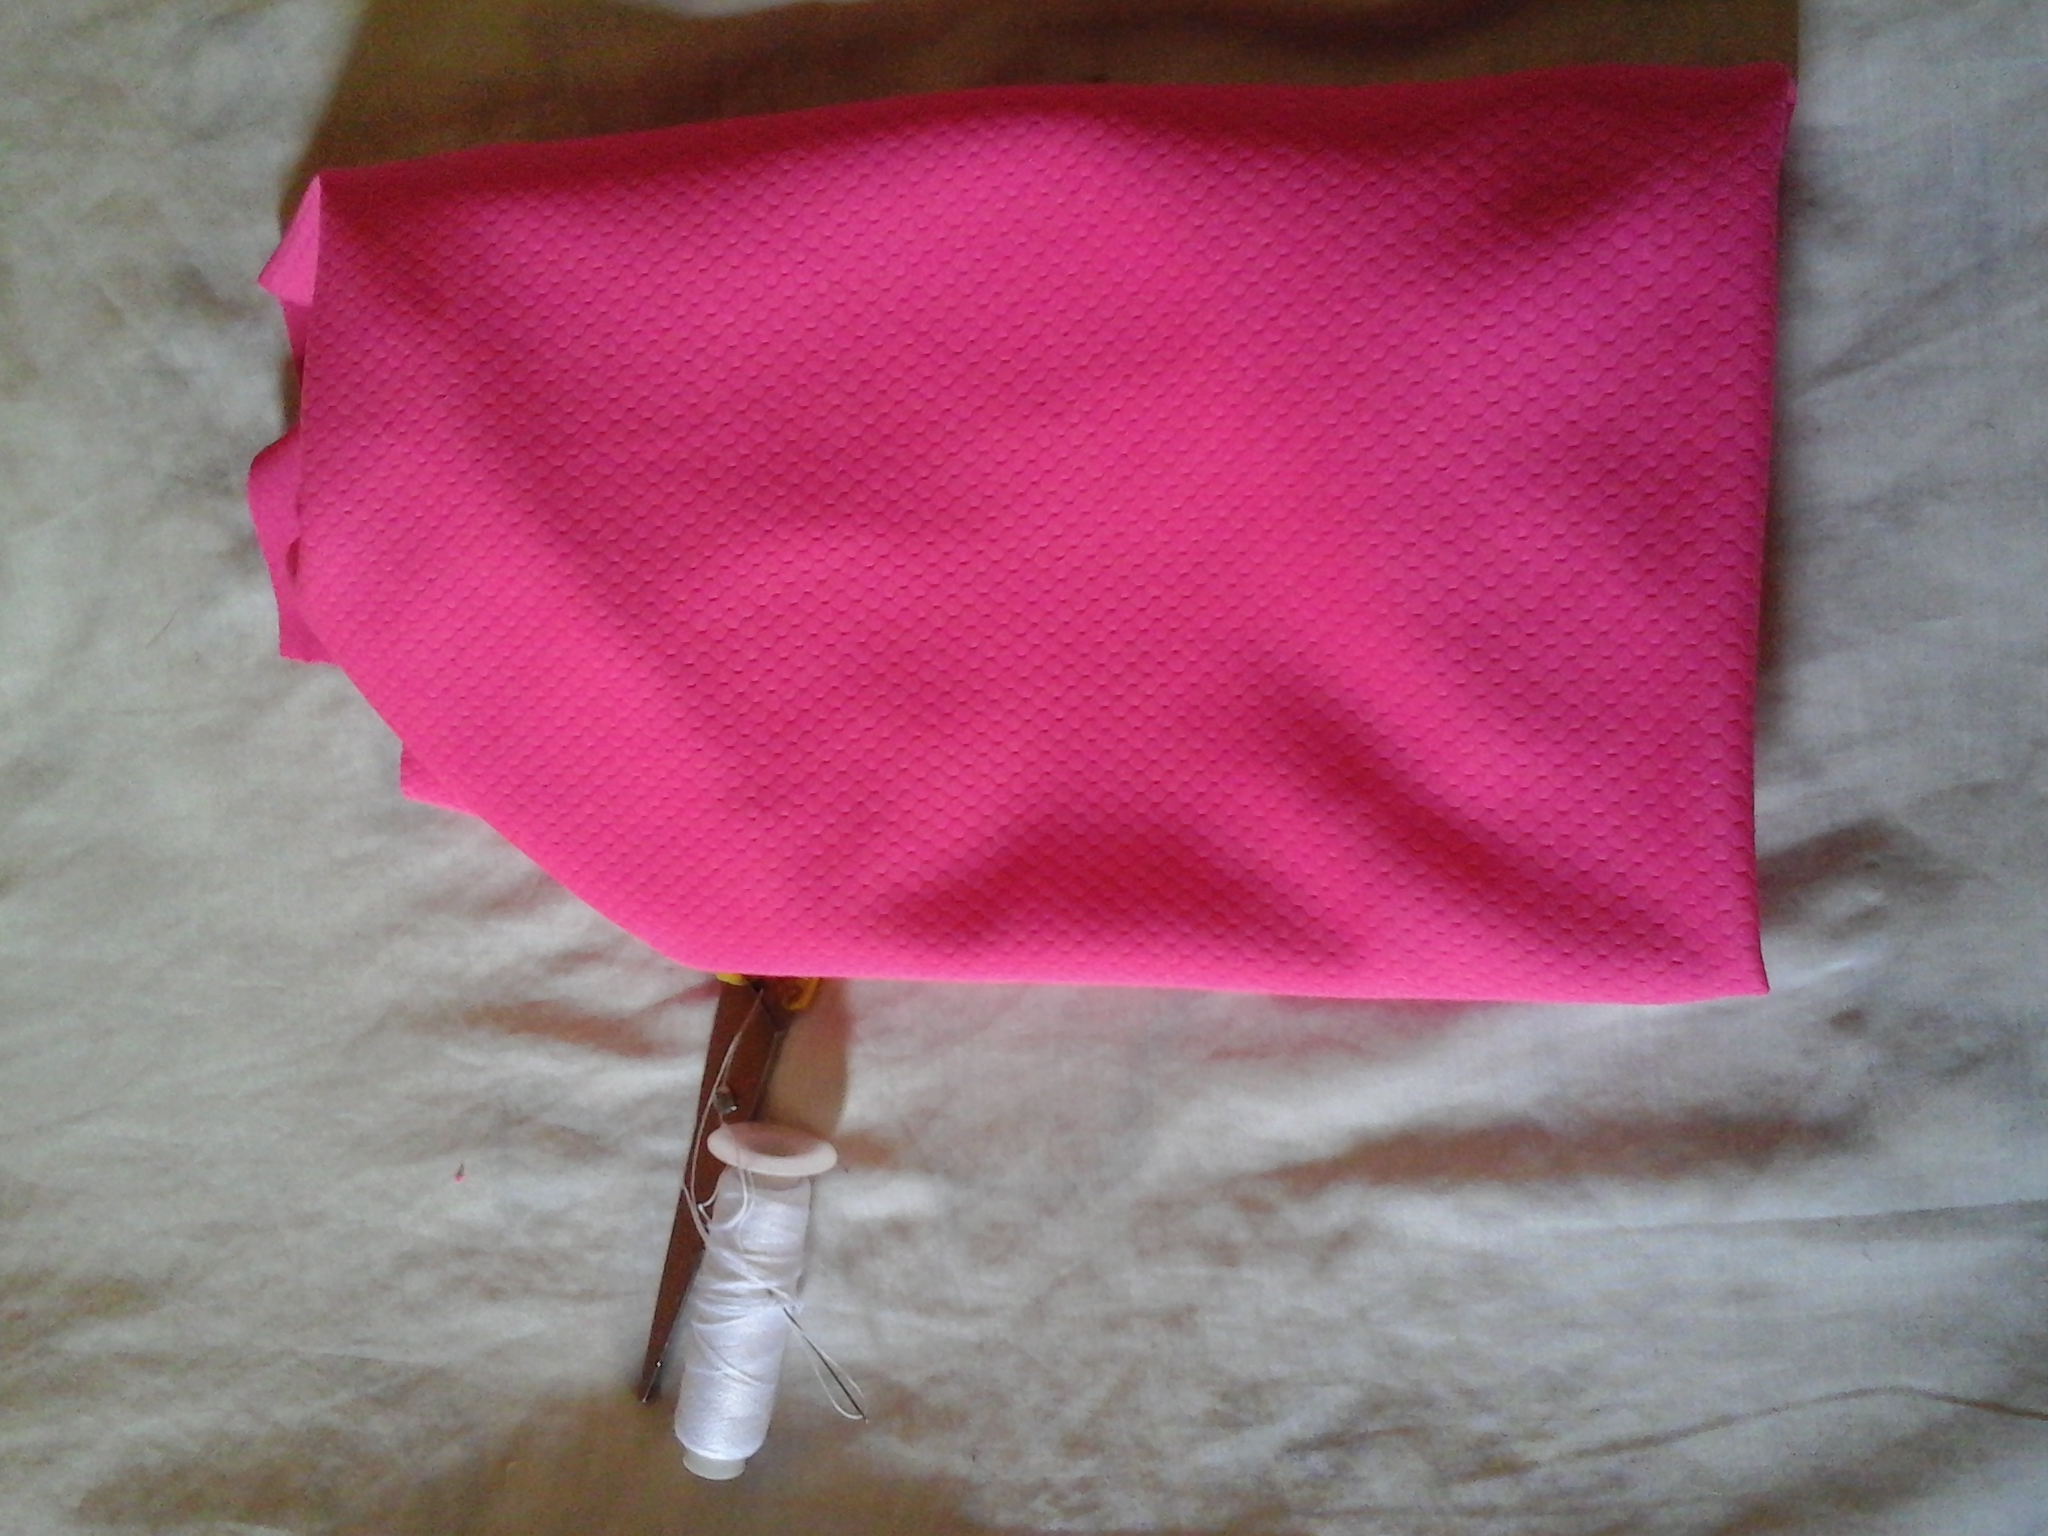
- Tela de algodón.
- Tijera.
- Hilo y aguja.
- Un trozo de tela blanca.
- Una regla.
- Un lápiz.
- Cotton fabric.
- Scissors.
- Thread and needle.
- A piece of white cloth.
- A rule.
- A pencil.
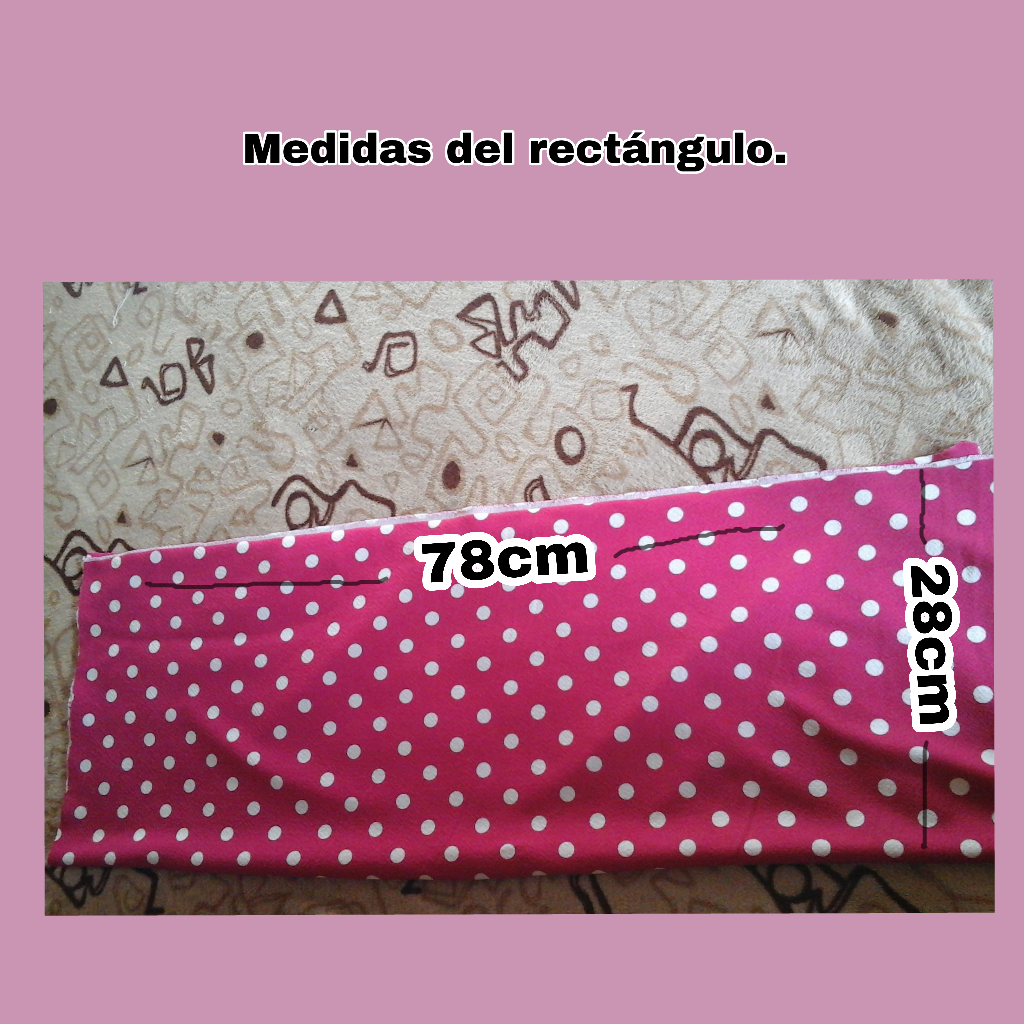
First we are going to fold the fabric in the shape of a rectangle, the measurements will depend on the size you want. In this one I have already placed the measurements because I want it to be a size 10 approximately.
To make the back of the pants, we place our fabric on a table to work comfortably, measure 24cm and mark. Next we are going to measure 5cm inwards, so we are going to decrease the centimeters then we are going to mark with a curved line joining each point.
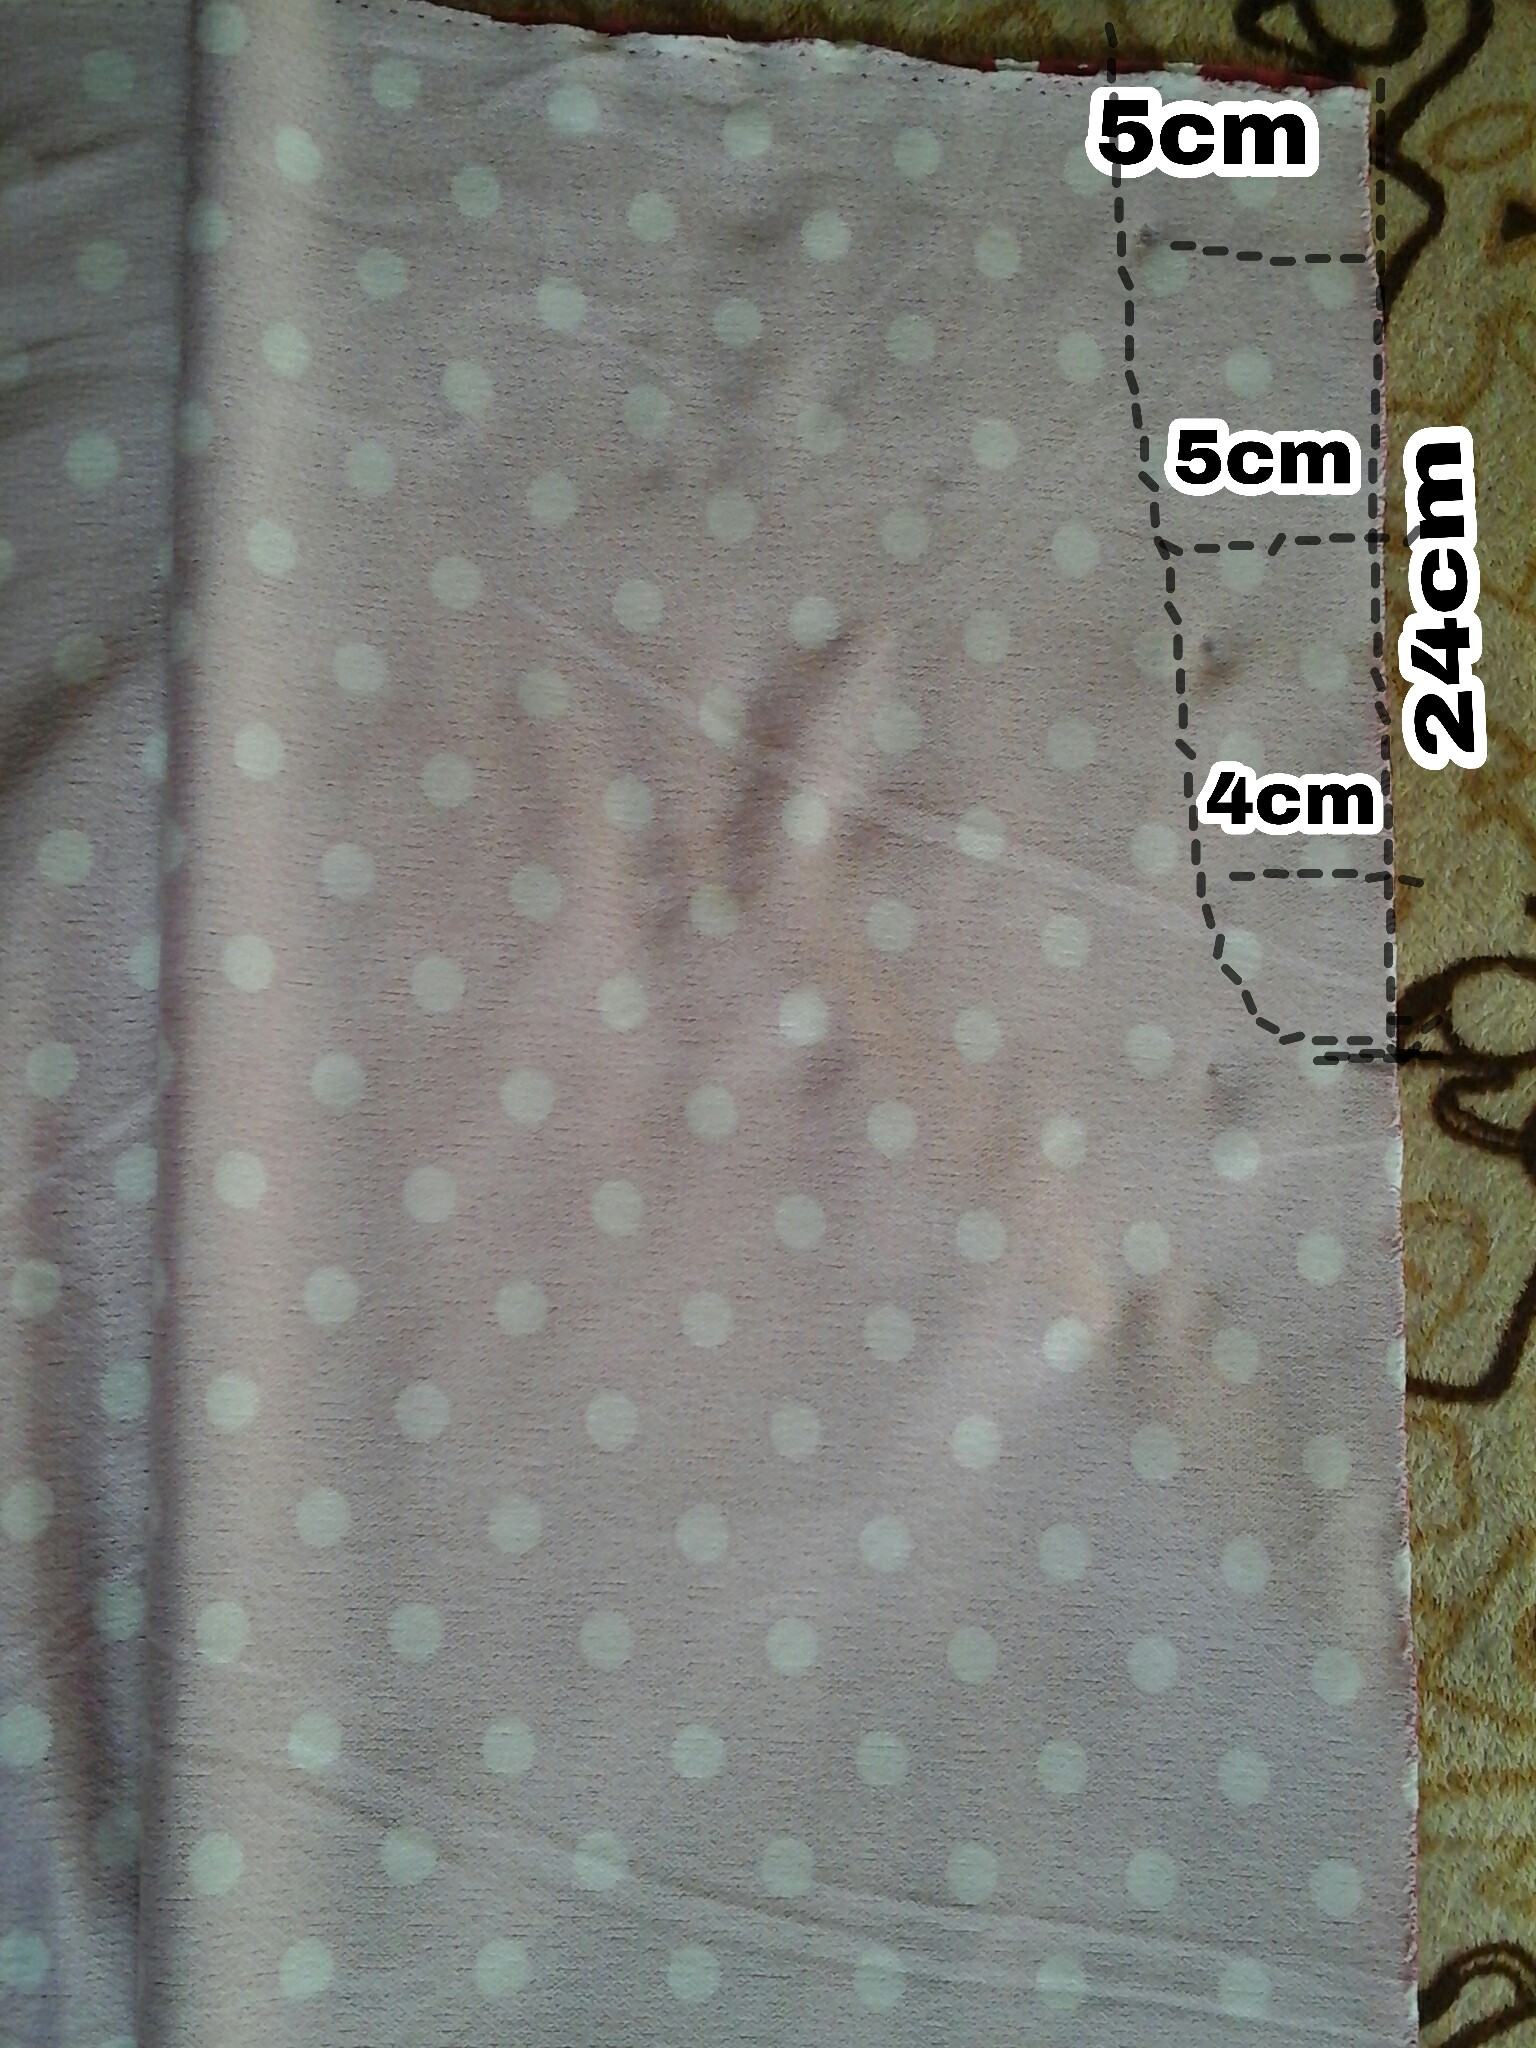
We are going to measure the rest that remains, we start with 2cm until we increase and reach 5cm at the bottom, we mark a diagonal line.
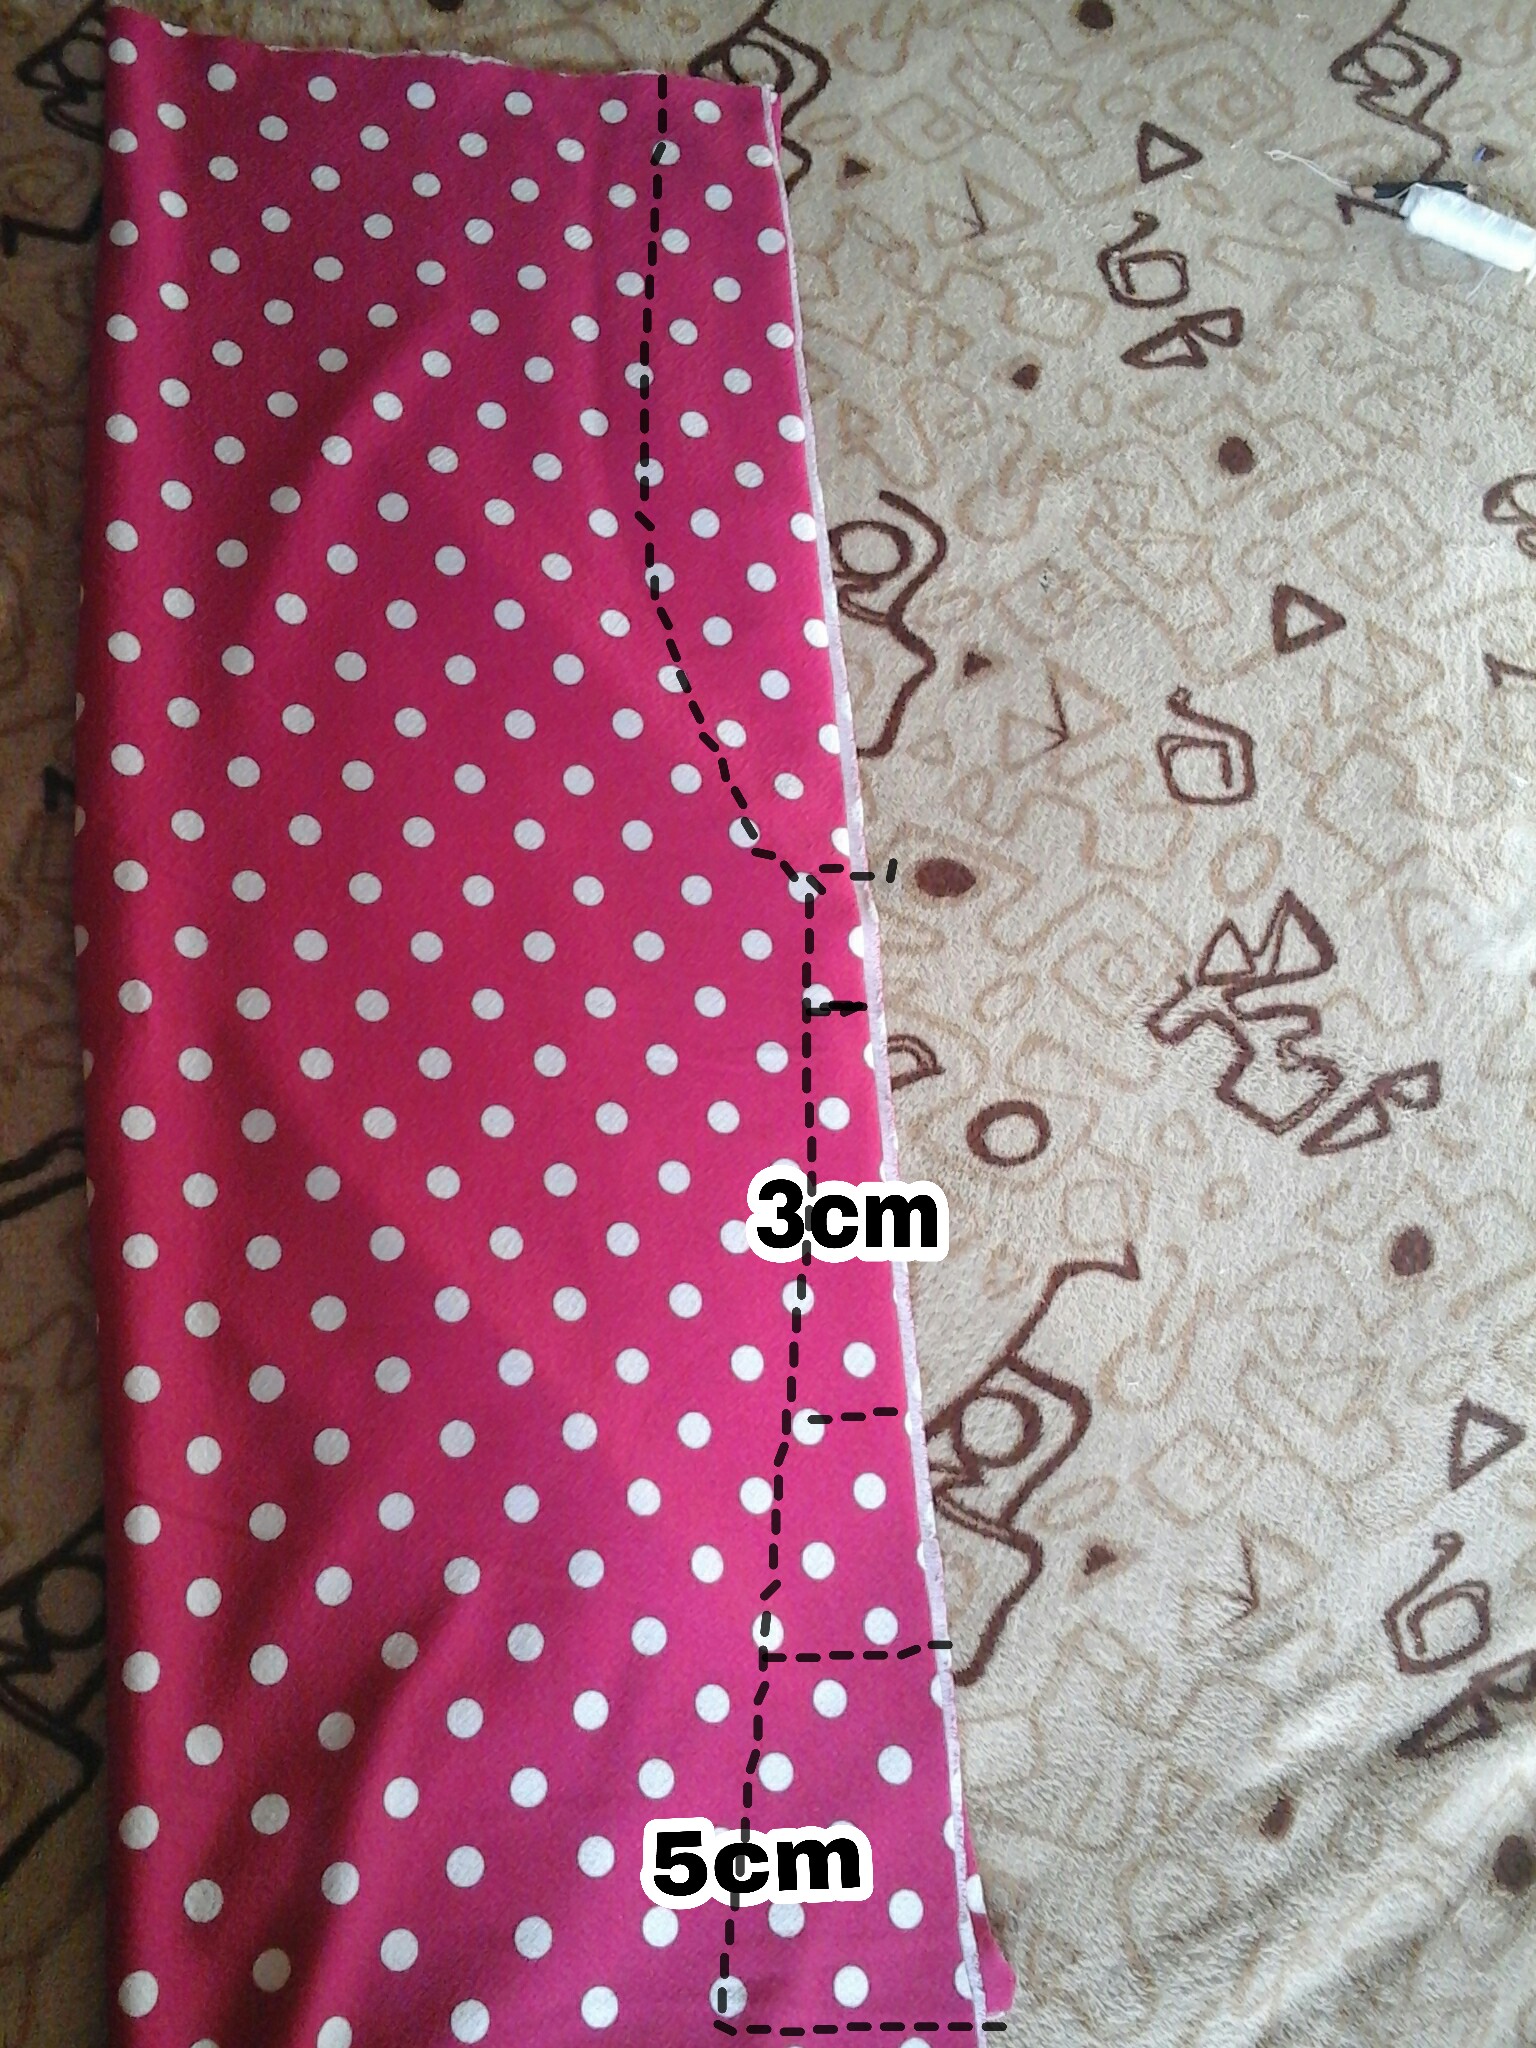
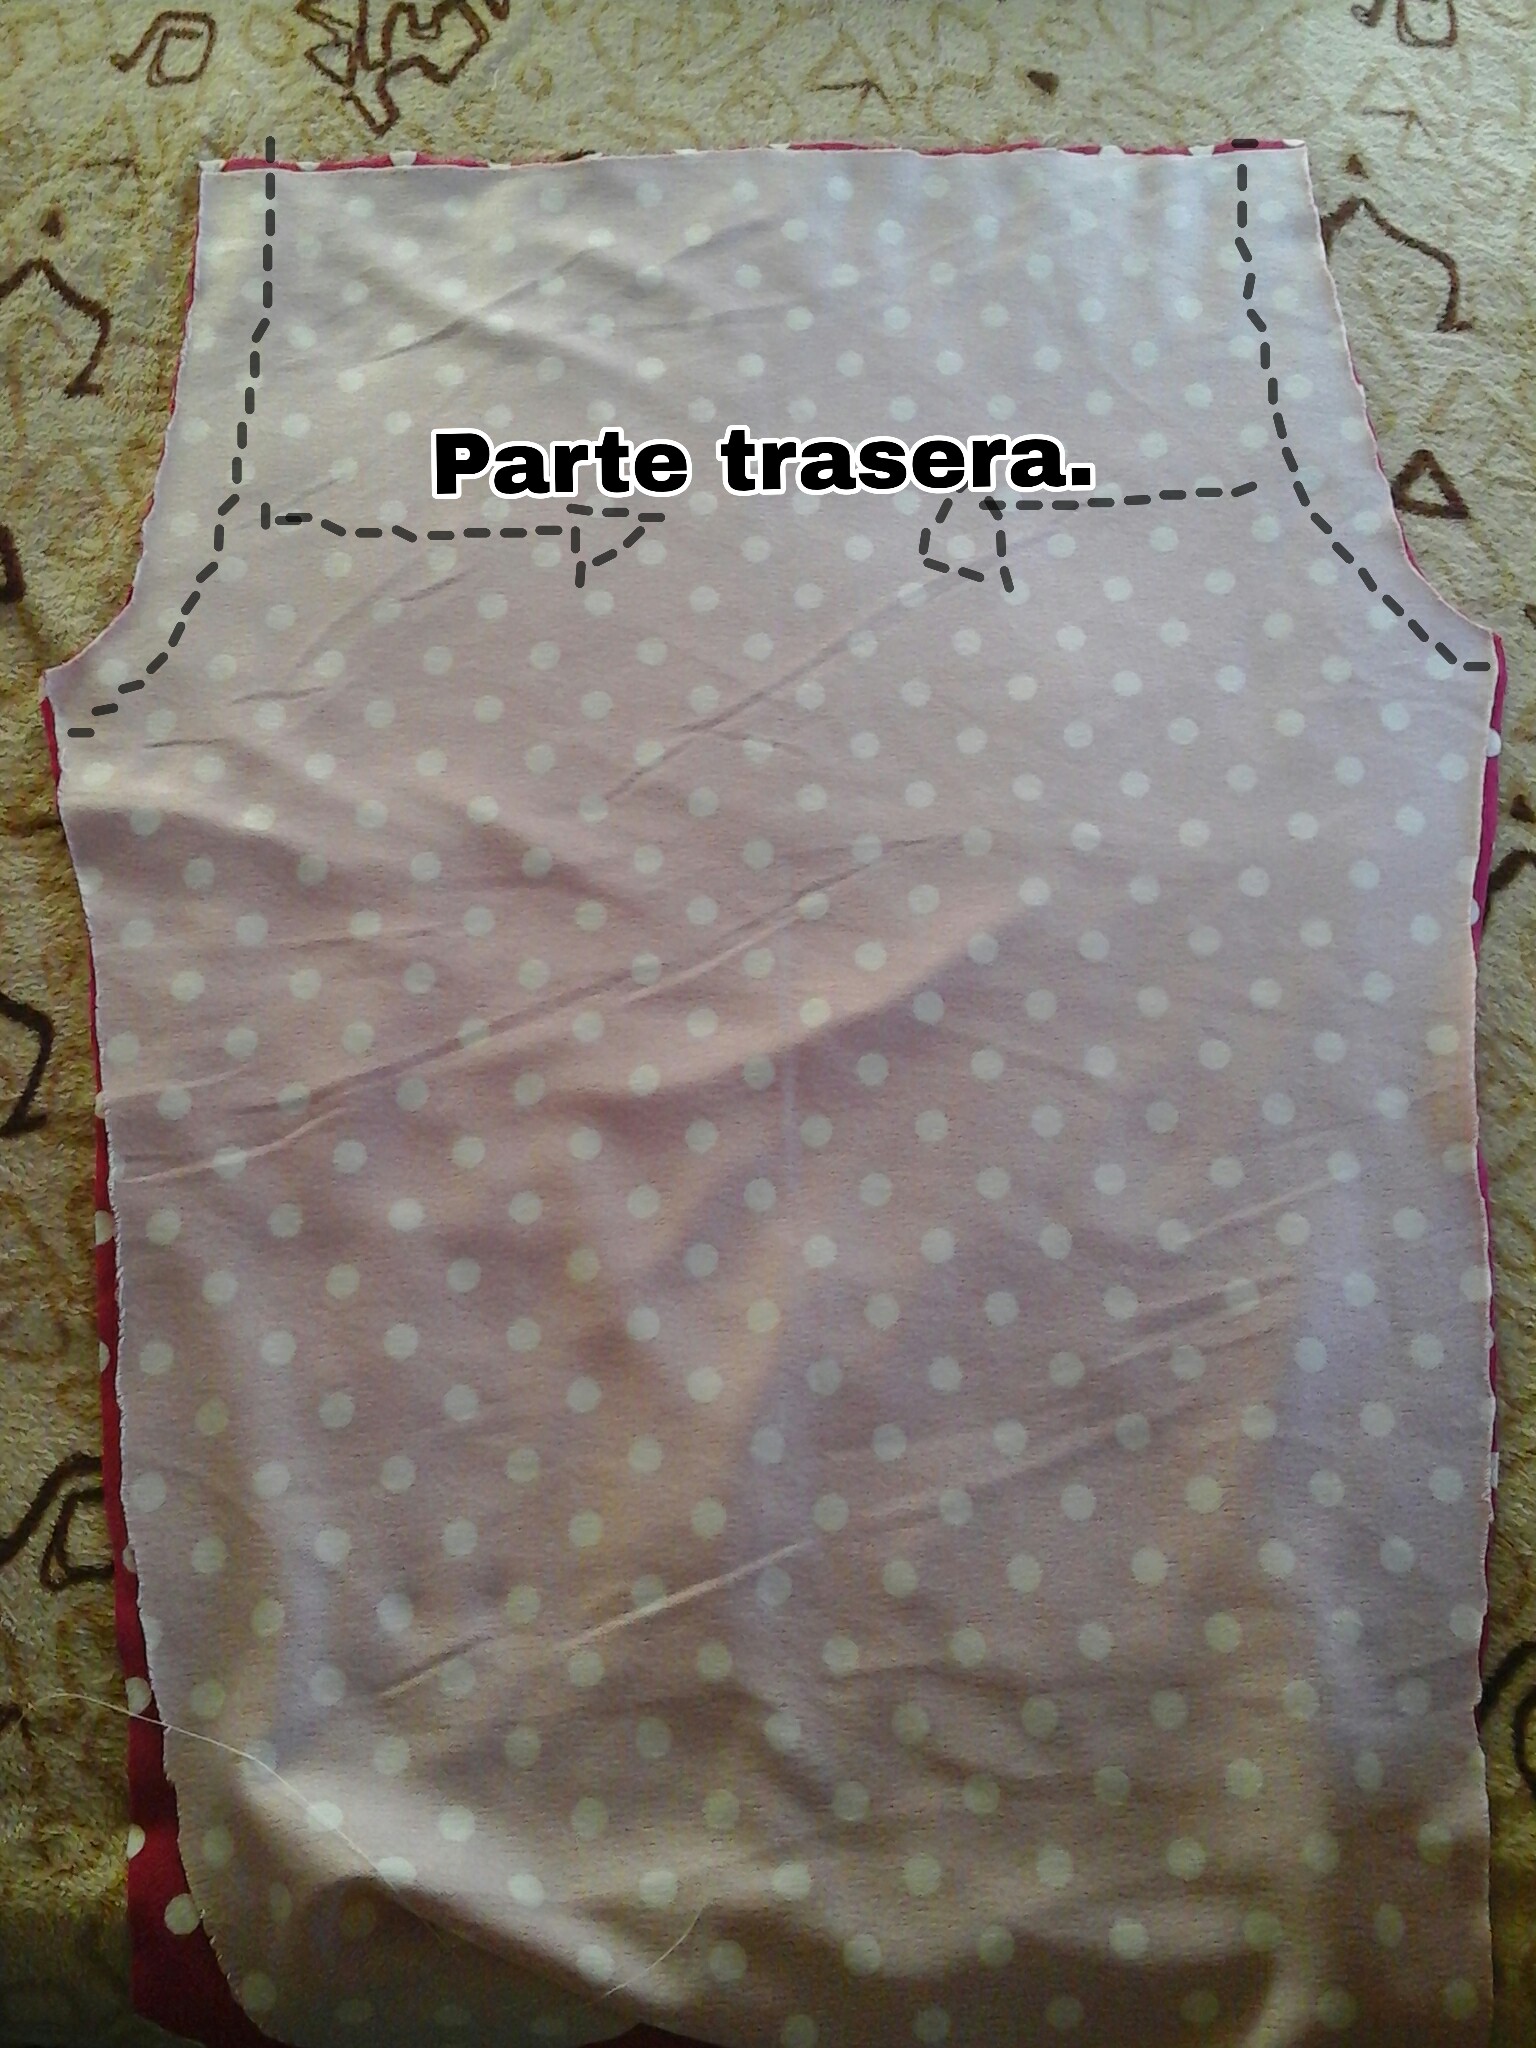
We cut out the pieces and we get a pair, now we are going to sew on the back, as you can see here I marked to show you where to sew.
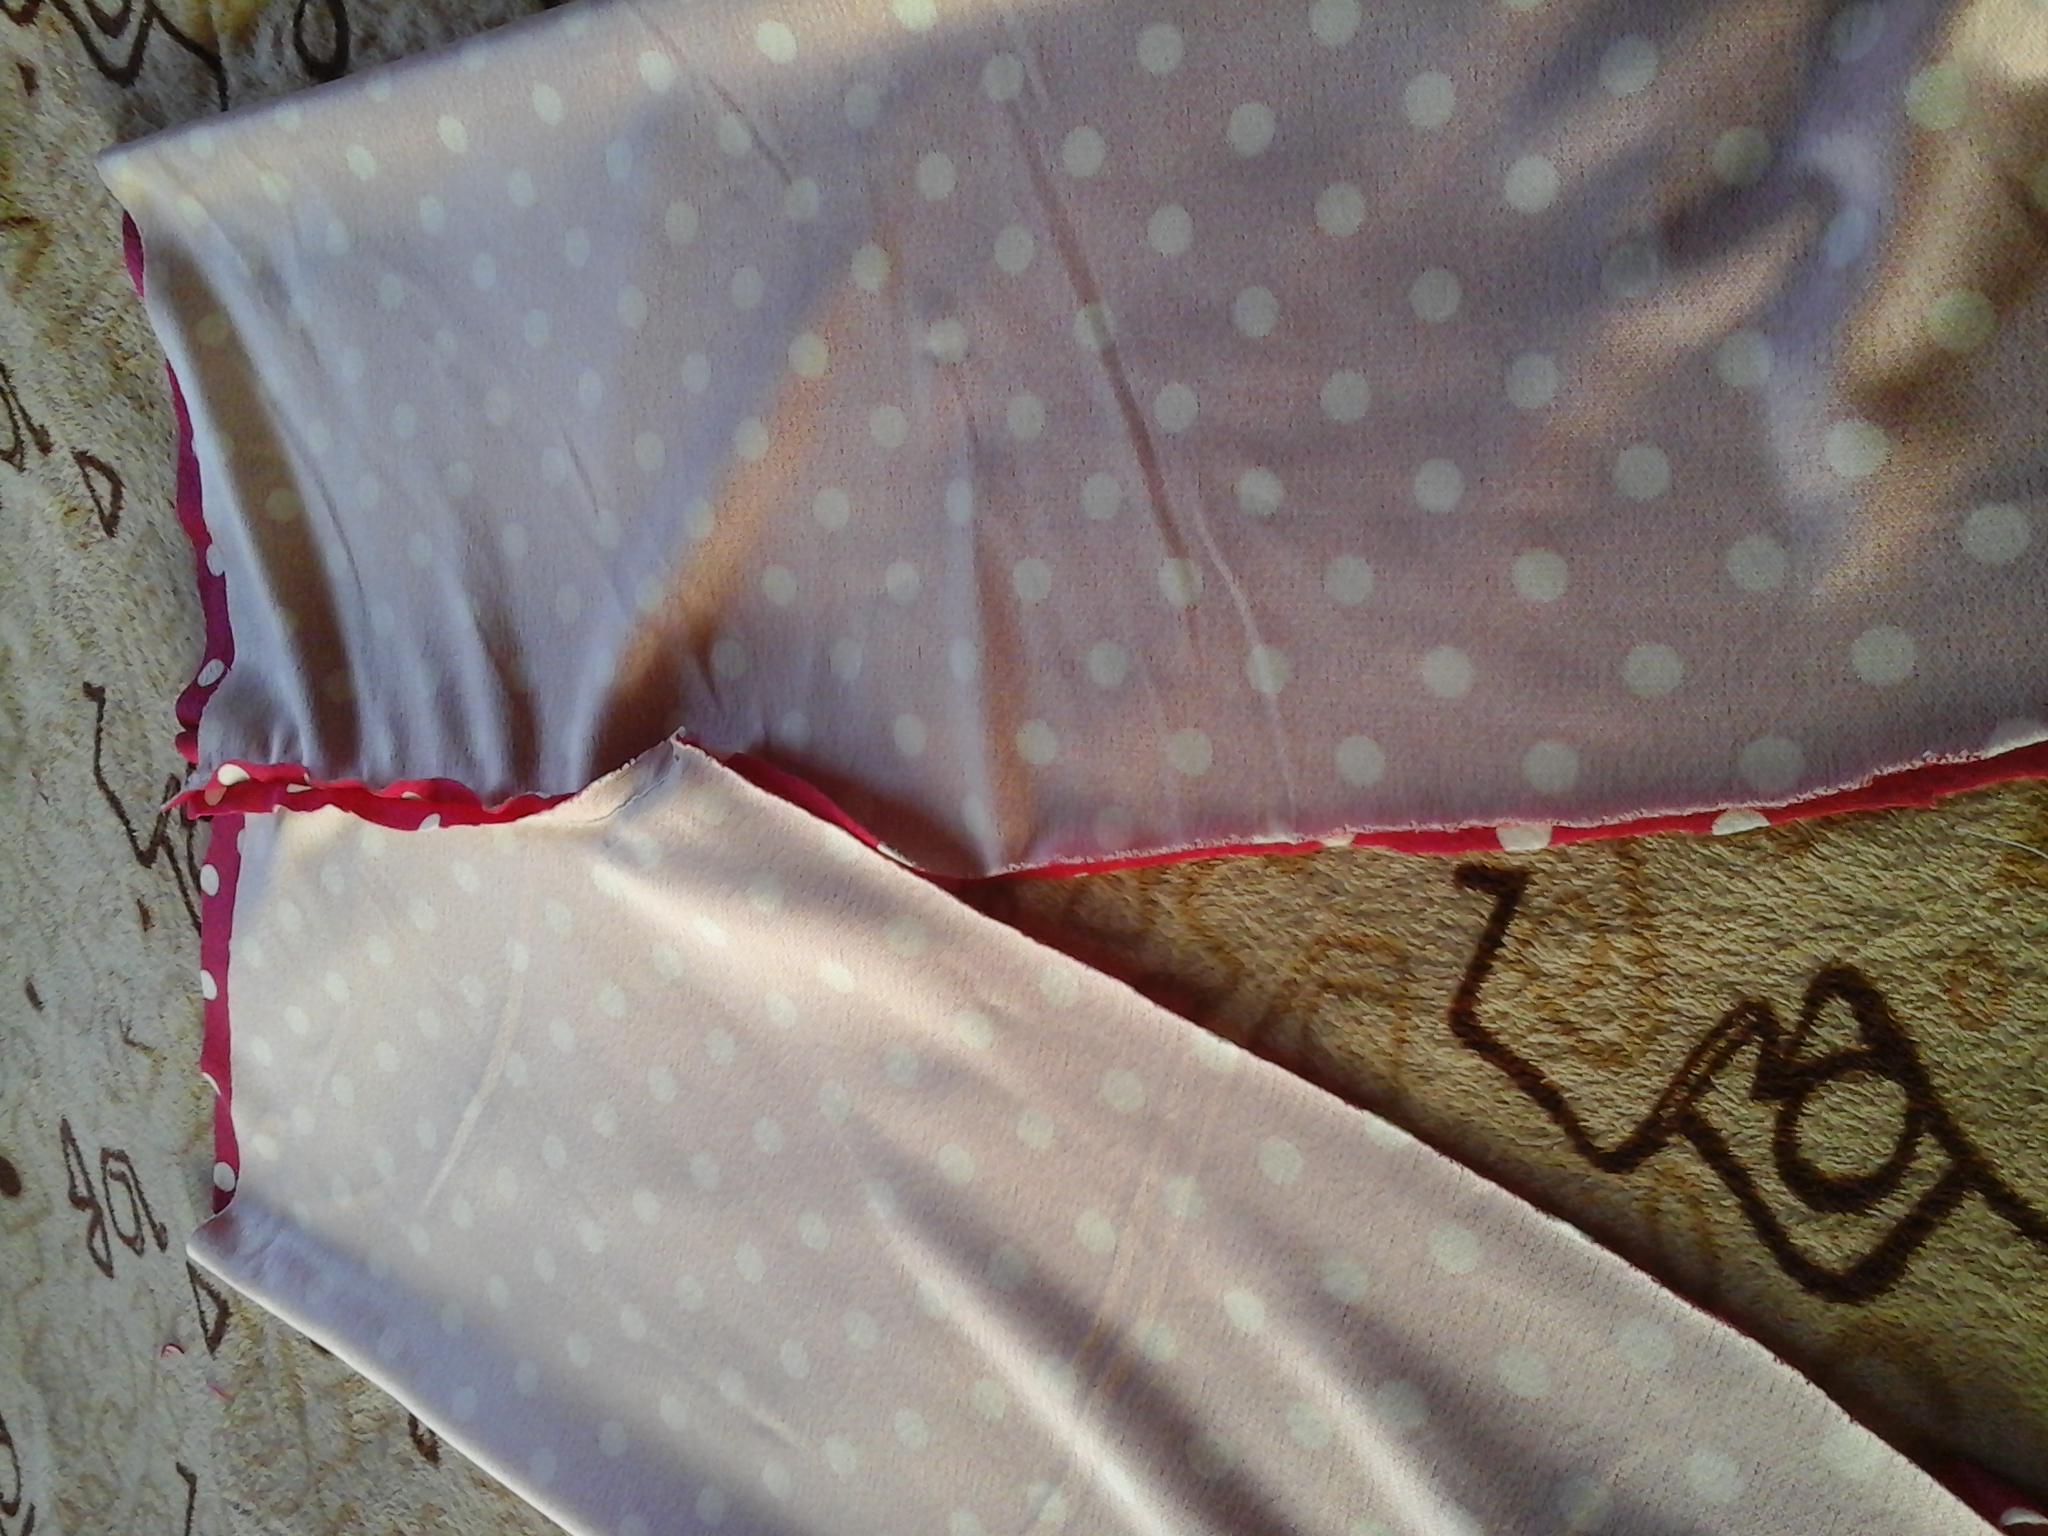
Once we have finished sewing on the back, we join seam to seam and it will immediately take the shape of the pants.
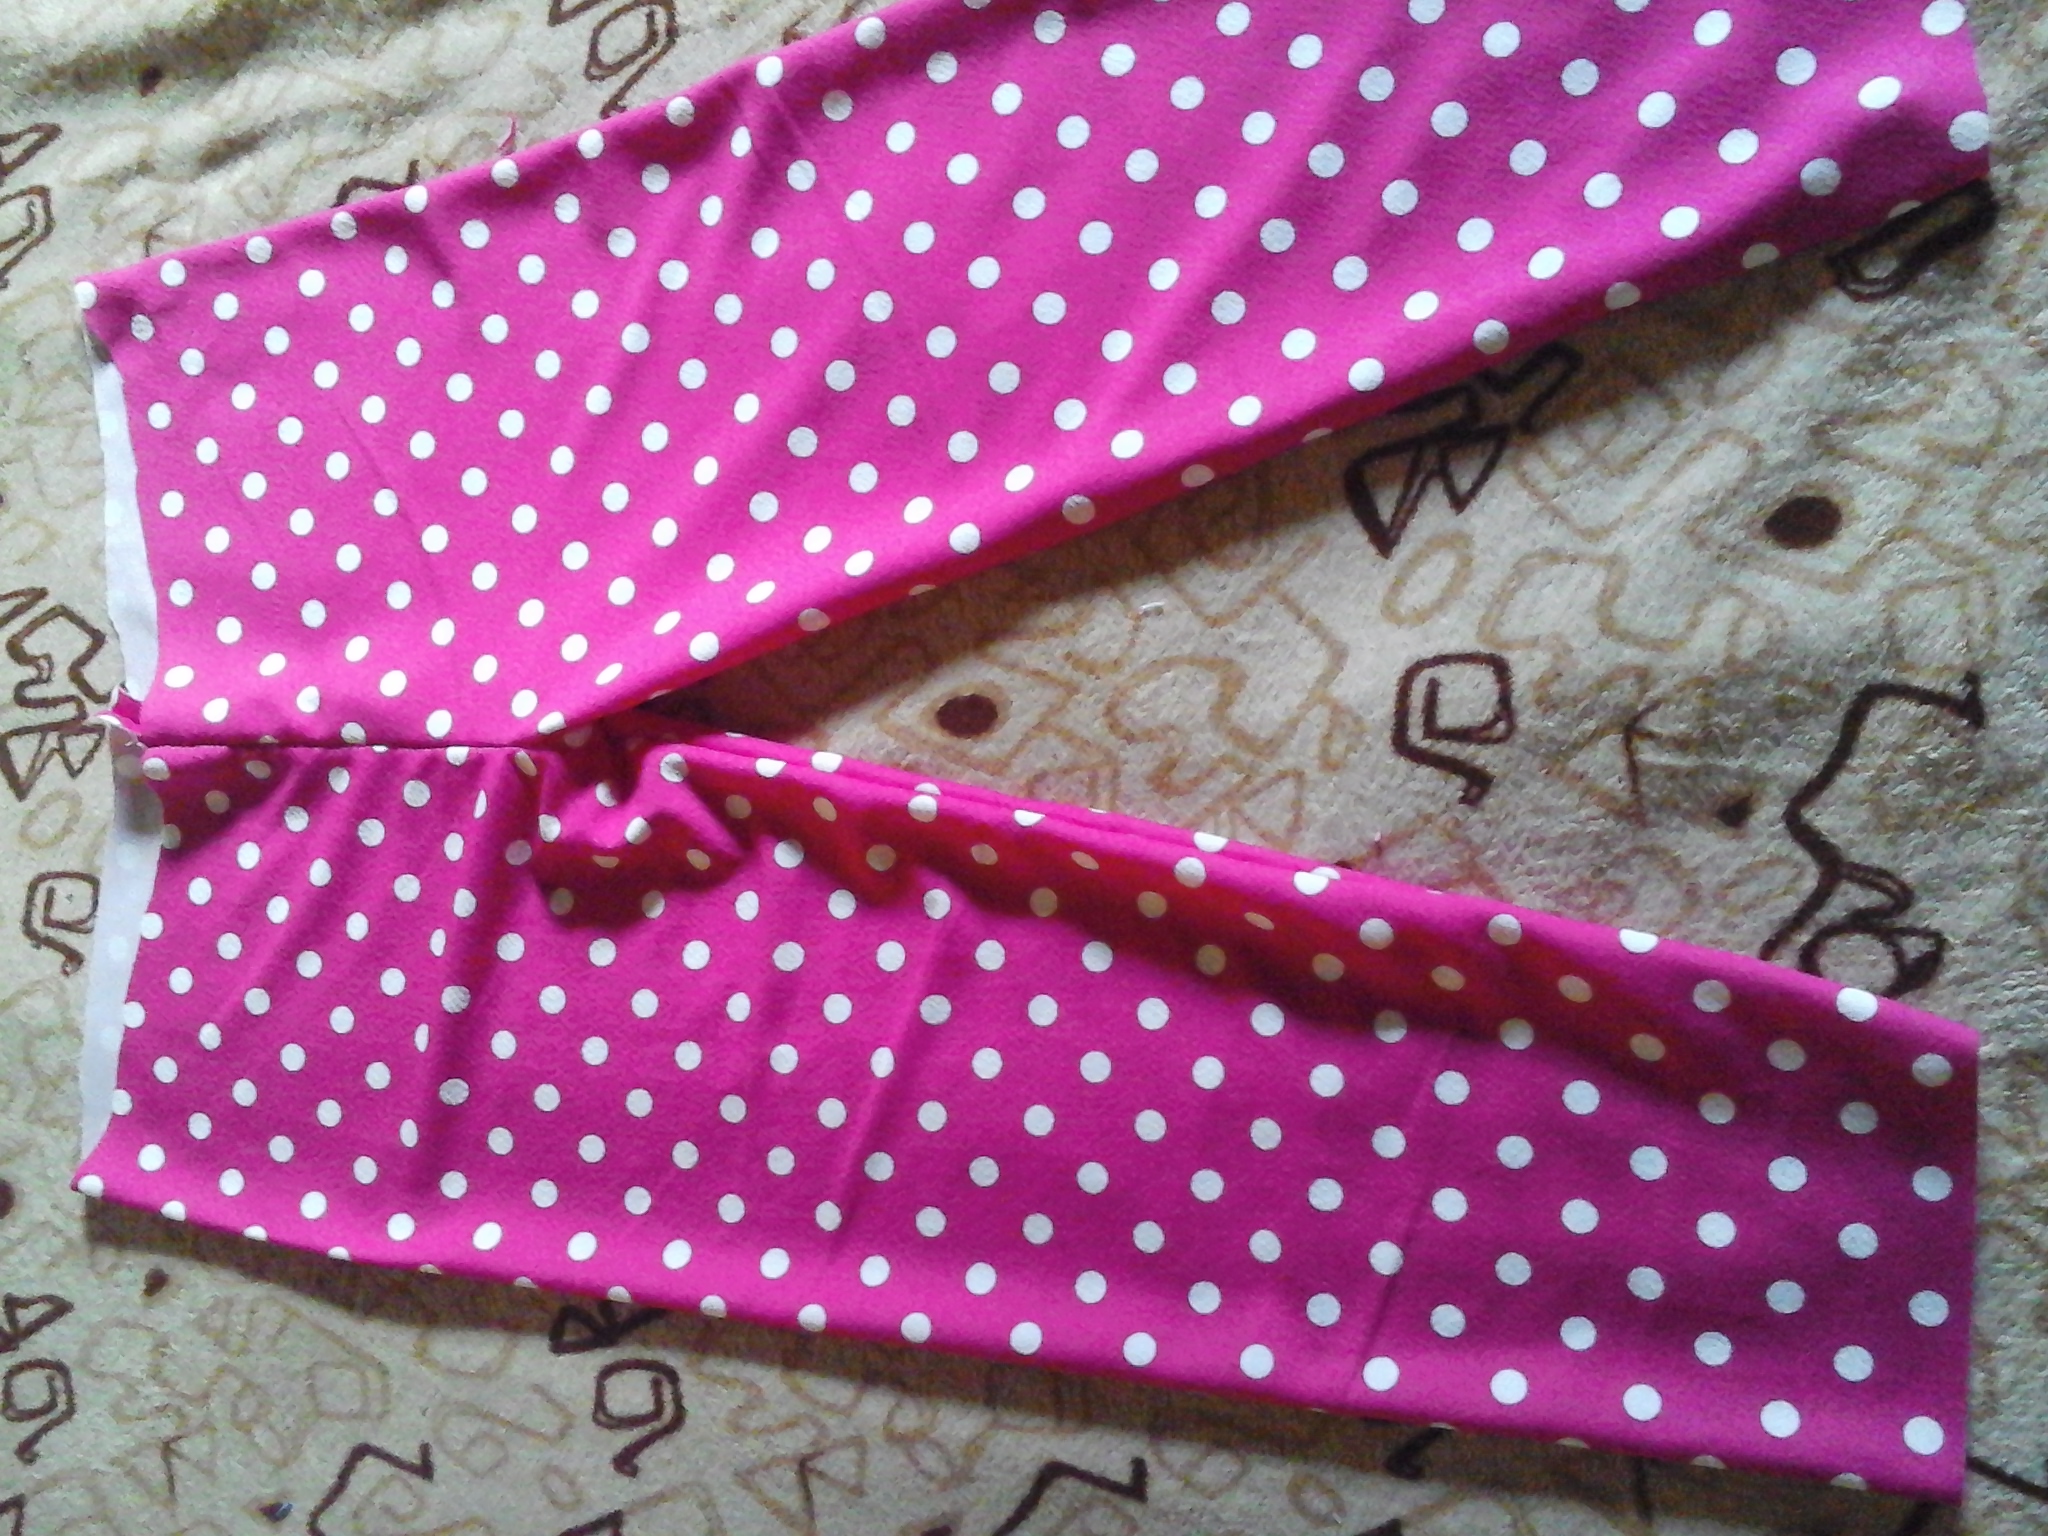
As you can see, I passed a straight seam on the part of the legs and turned on the right side of the fabric so that they can appreciate the pants very well. The good thing is that it's super easy to do and there are no seams on the sides.
Here we are going to make the waist part, we cut a 5cm piece of fabric to the fold, we stretch it a little and very carefully we are going to sew on the upper part of our pants.
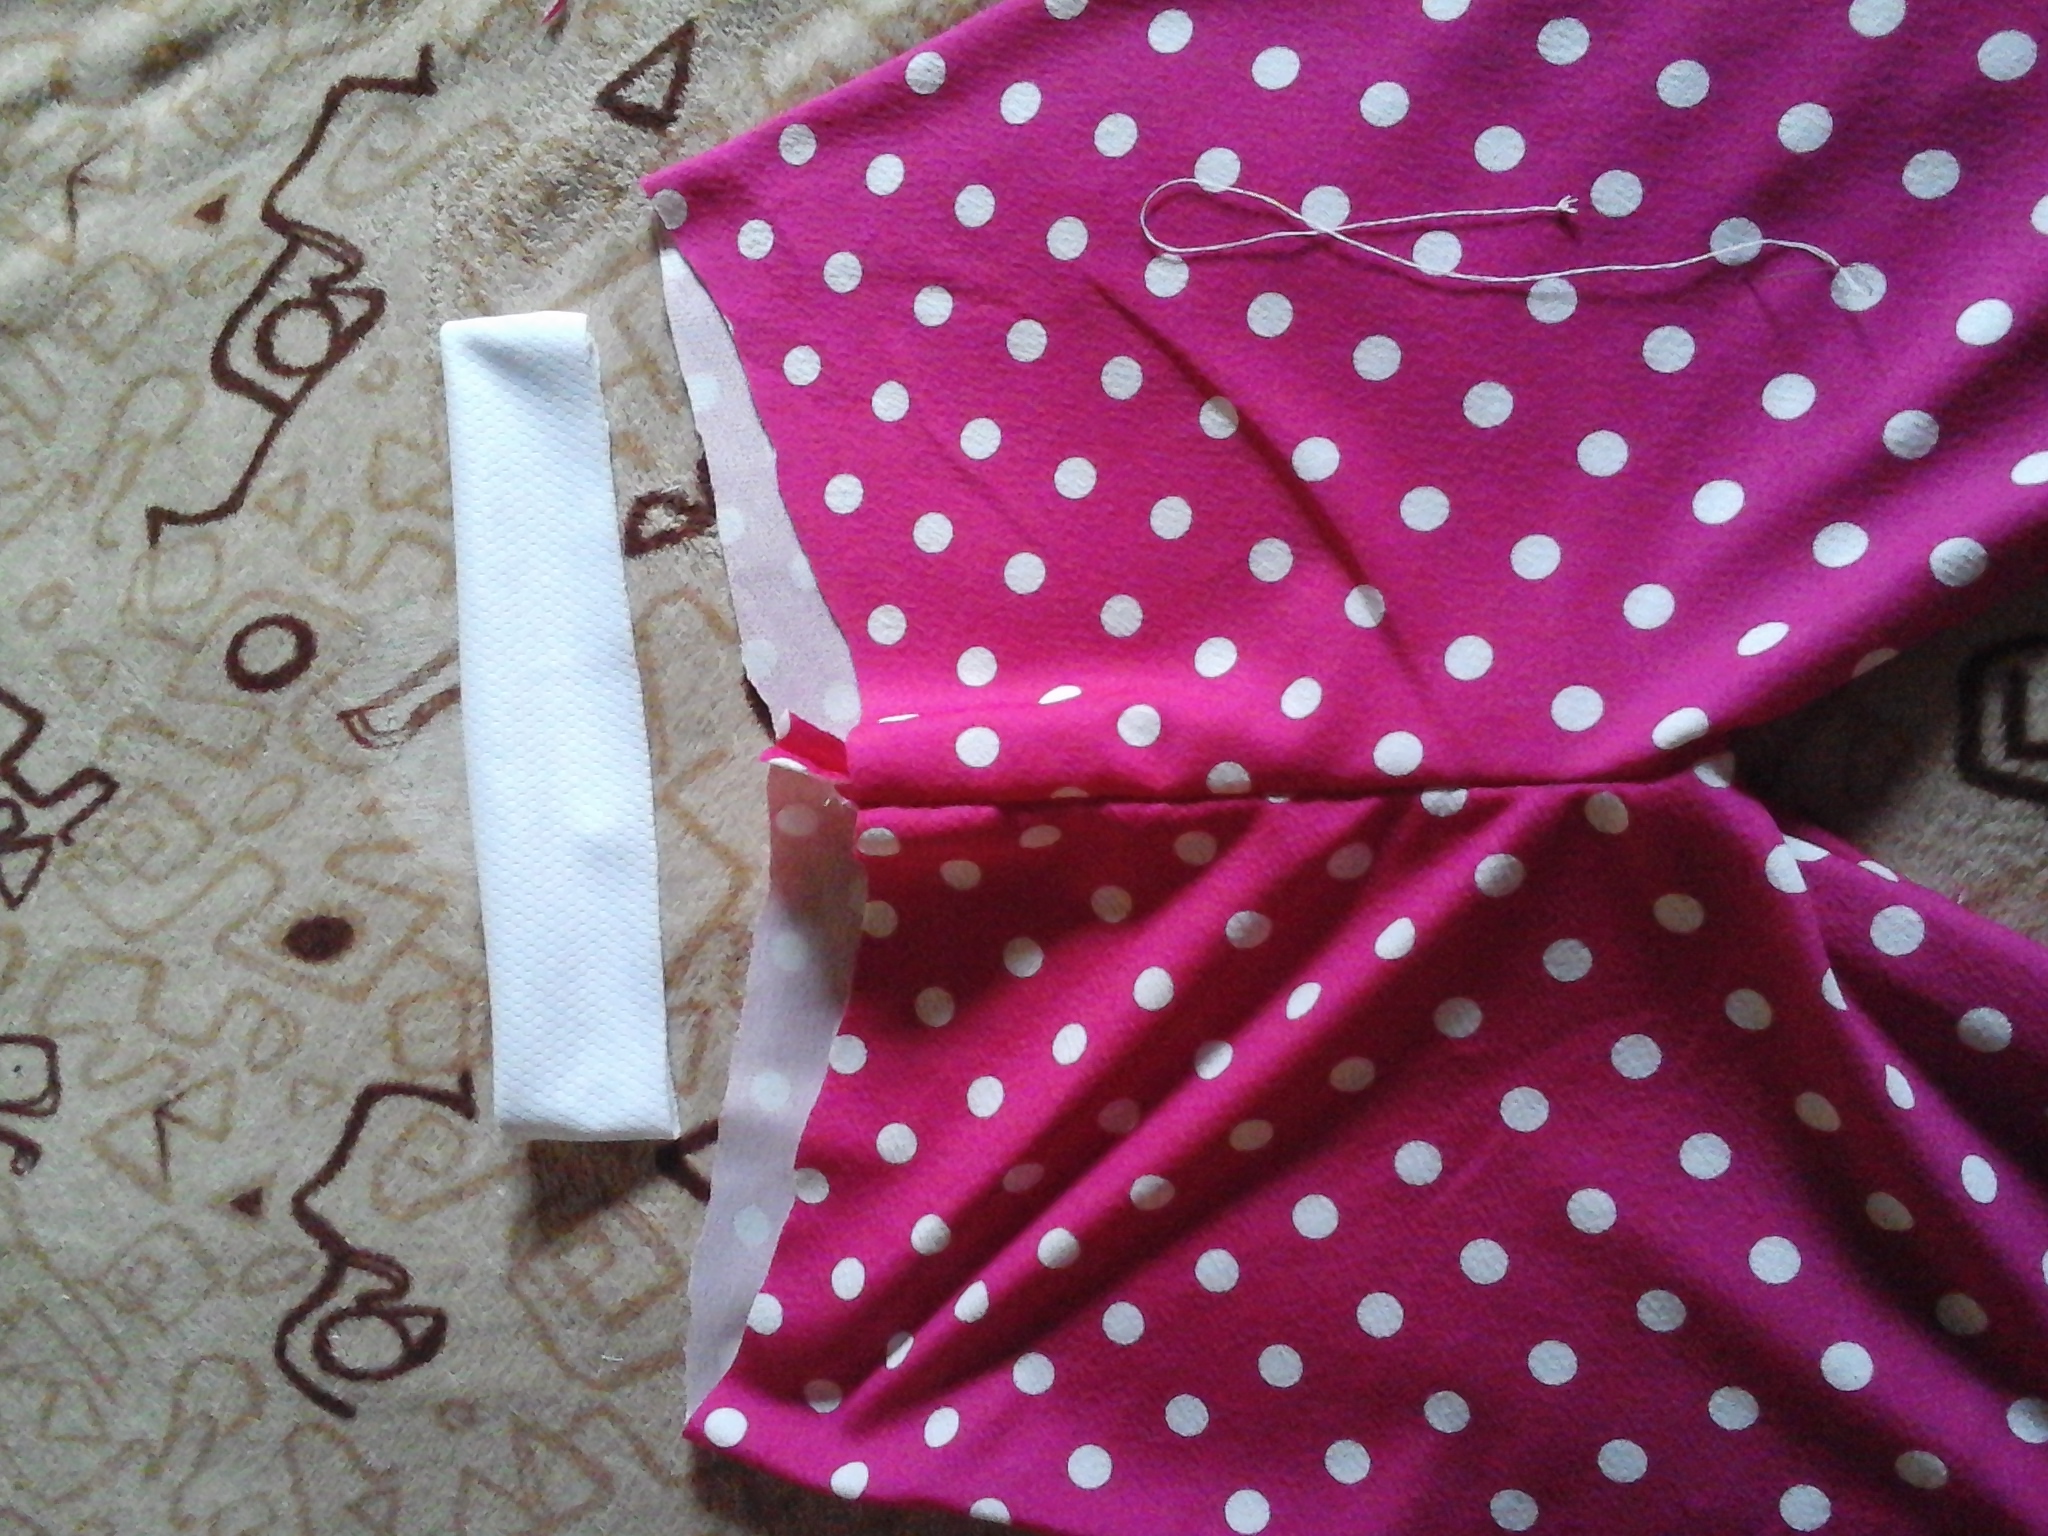
Para terminar cosemos el dobladillo y finalmente así hemos terminado este lindo pantalón pijama espero que les guste.
To finish we sew the hem and finally we have finished this cute pajama pants.
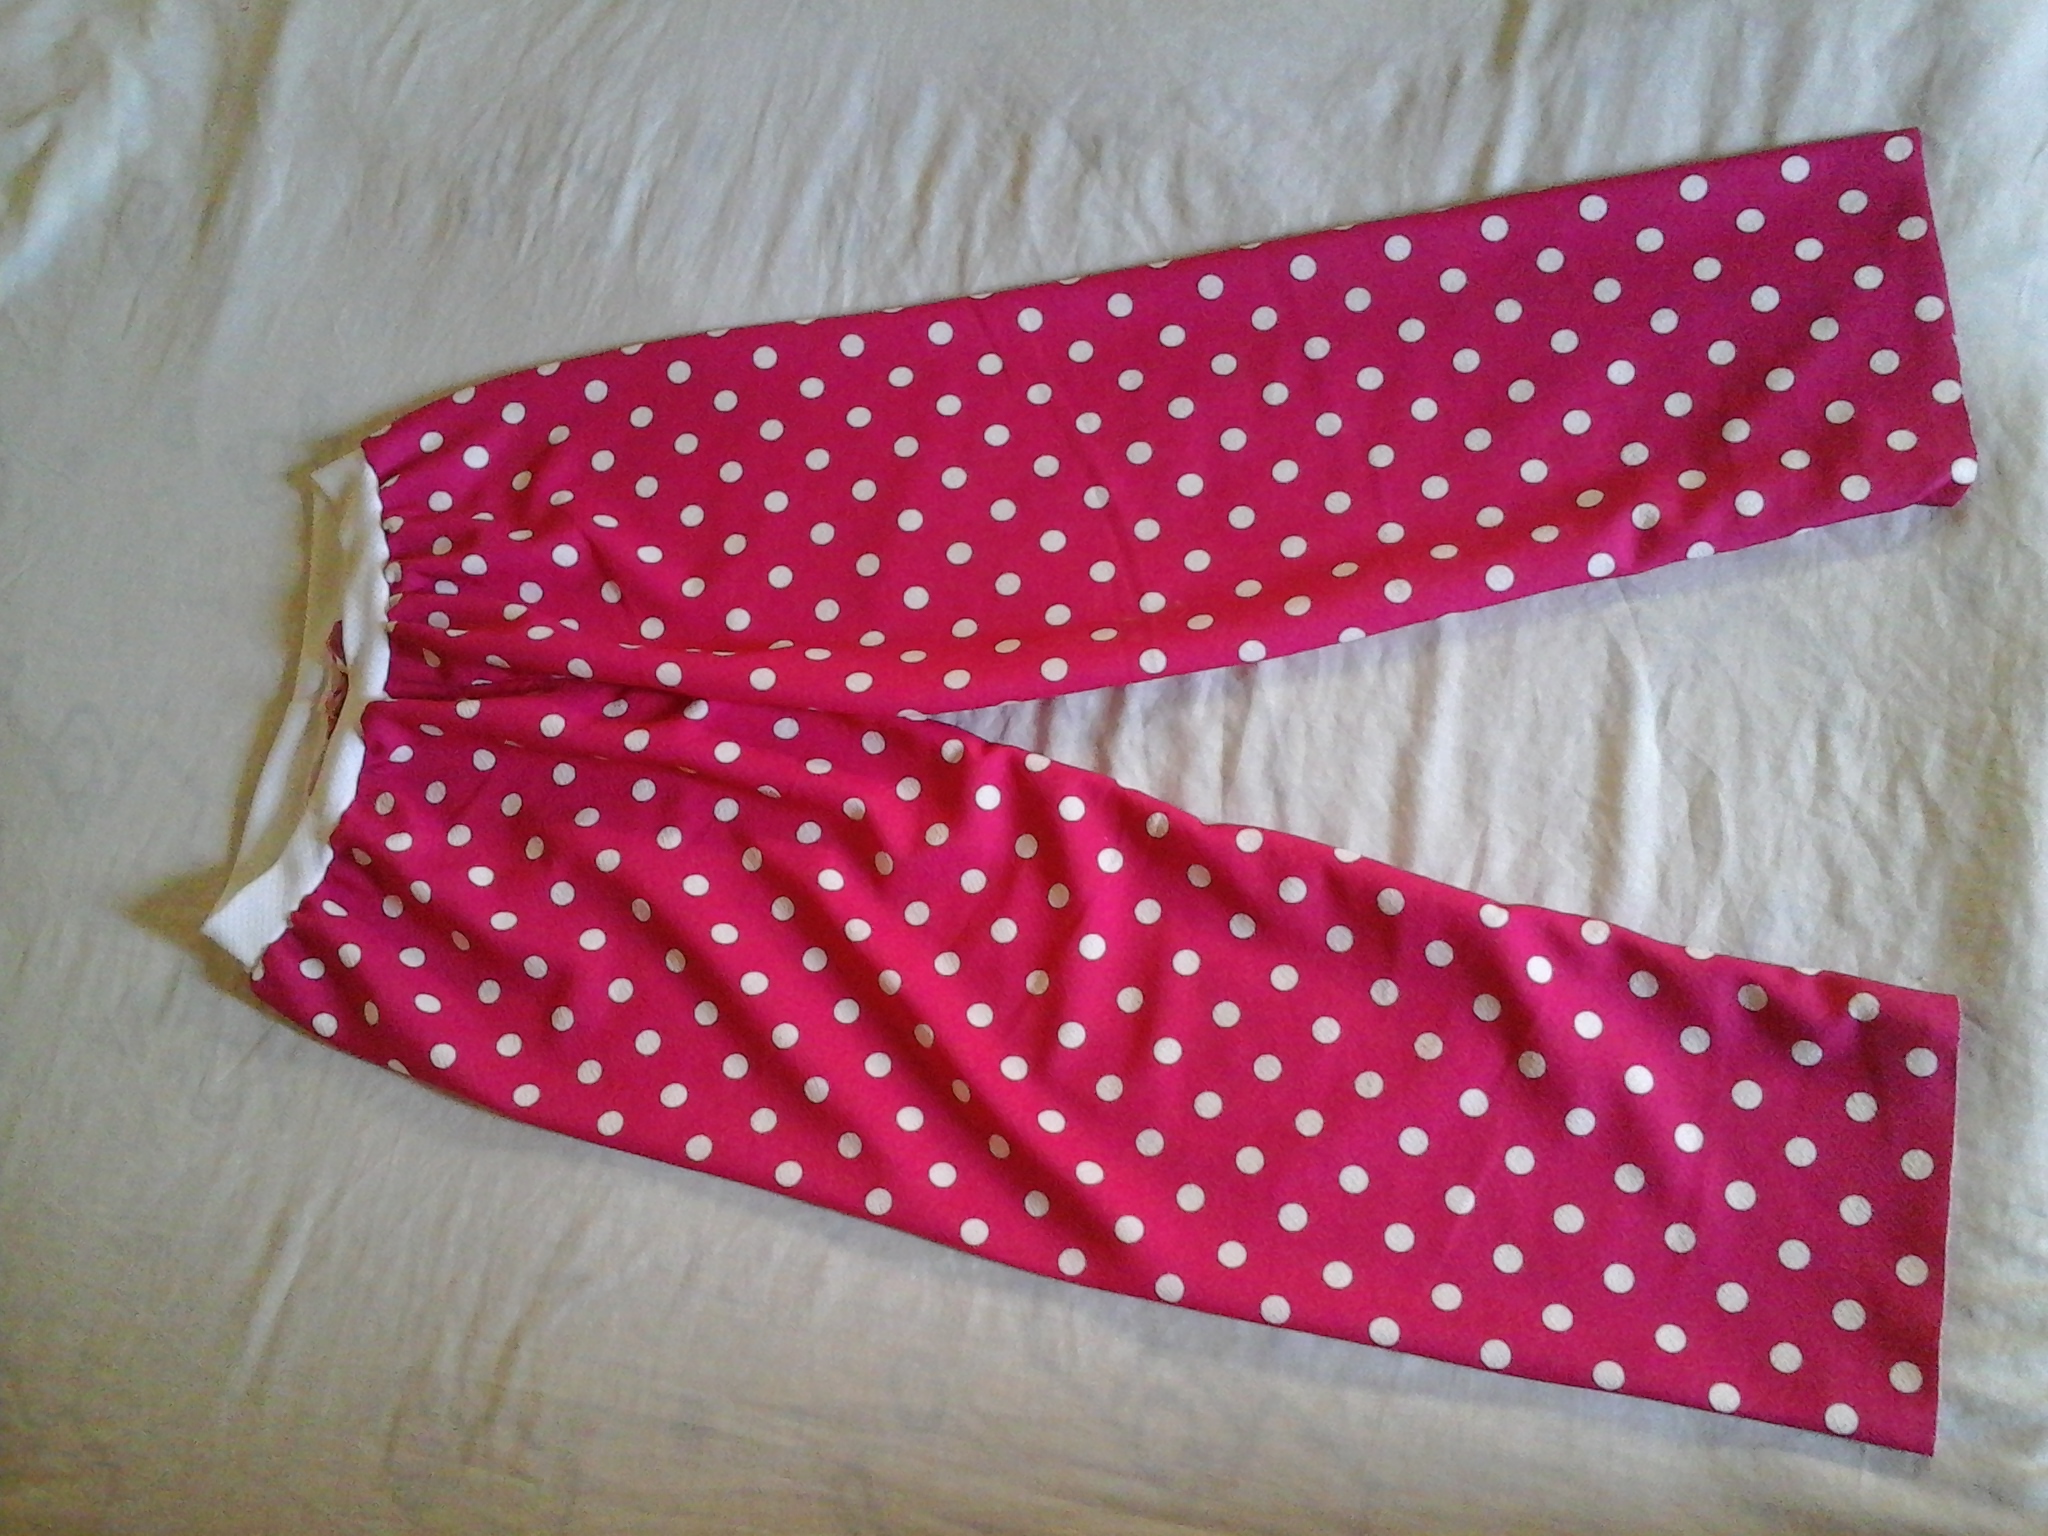

These pants fit my daughter very well, she was delighted to wear them, if you want you can make one like this for your little ones and they will be delighted😍
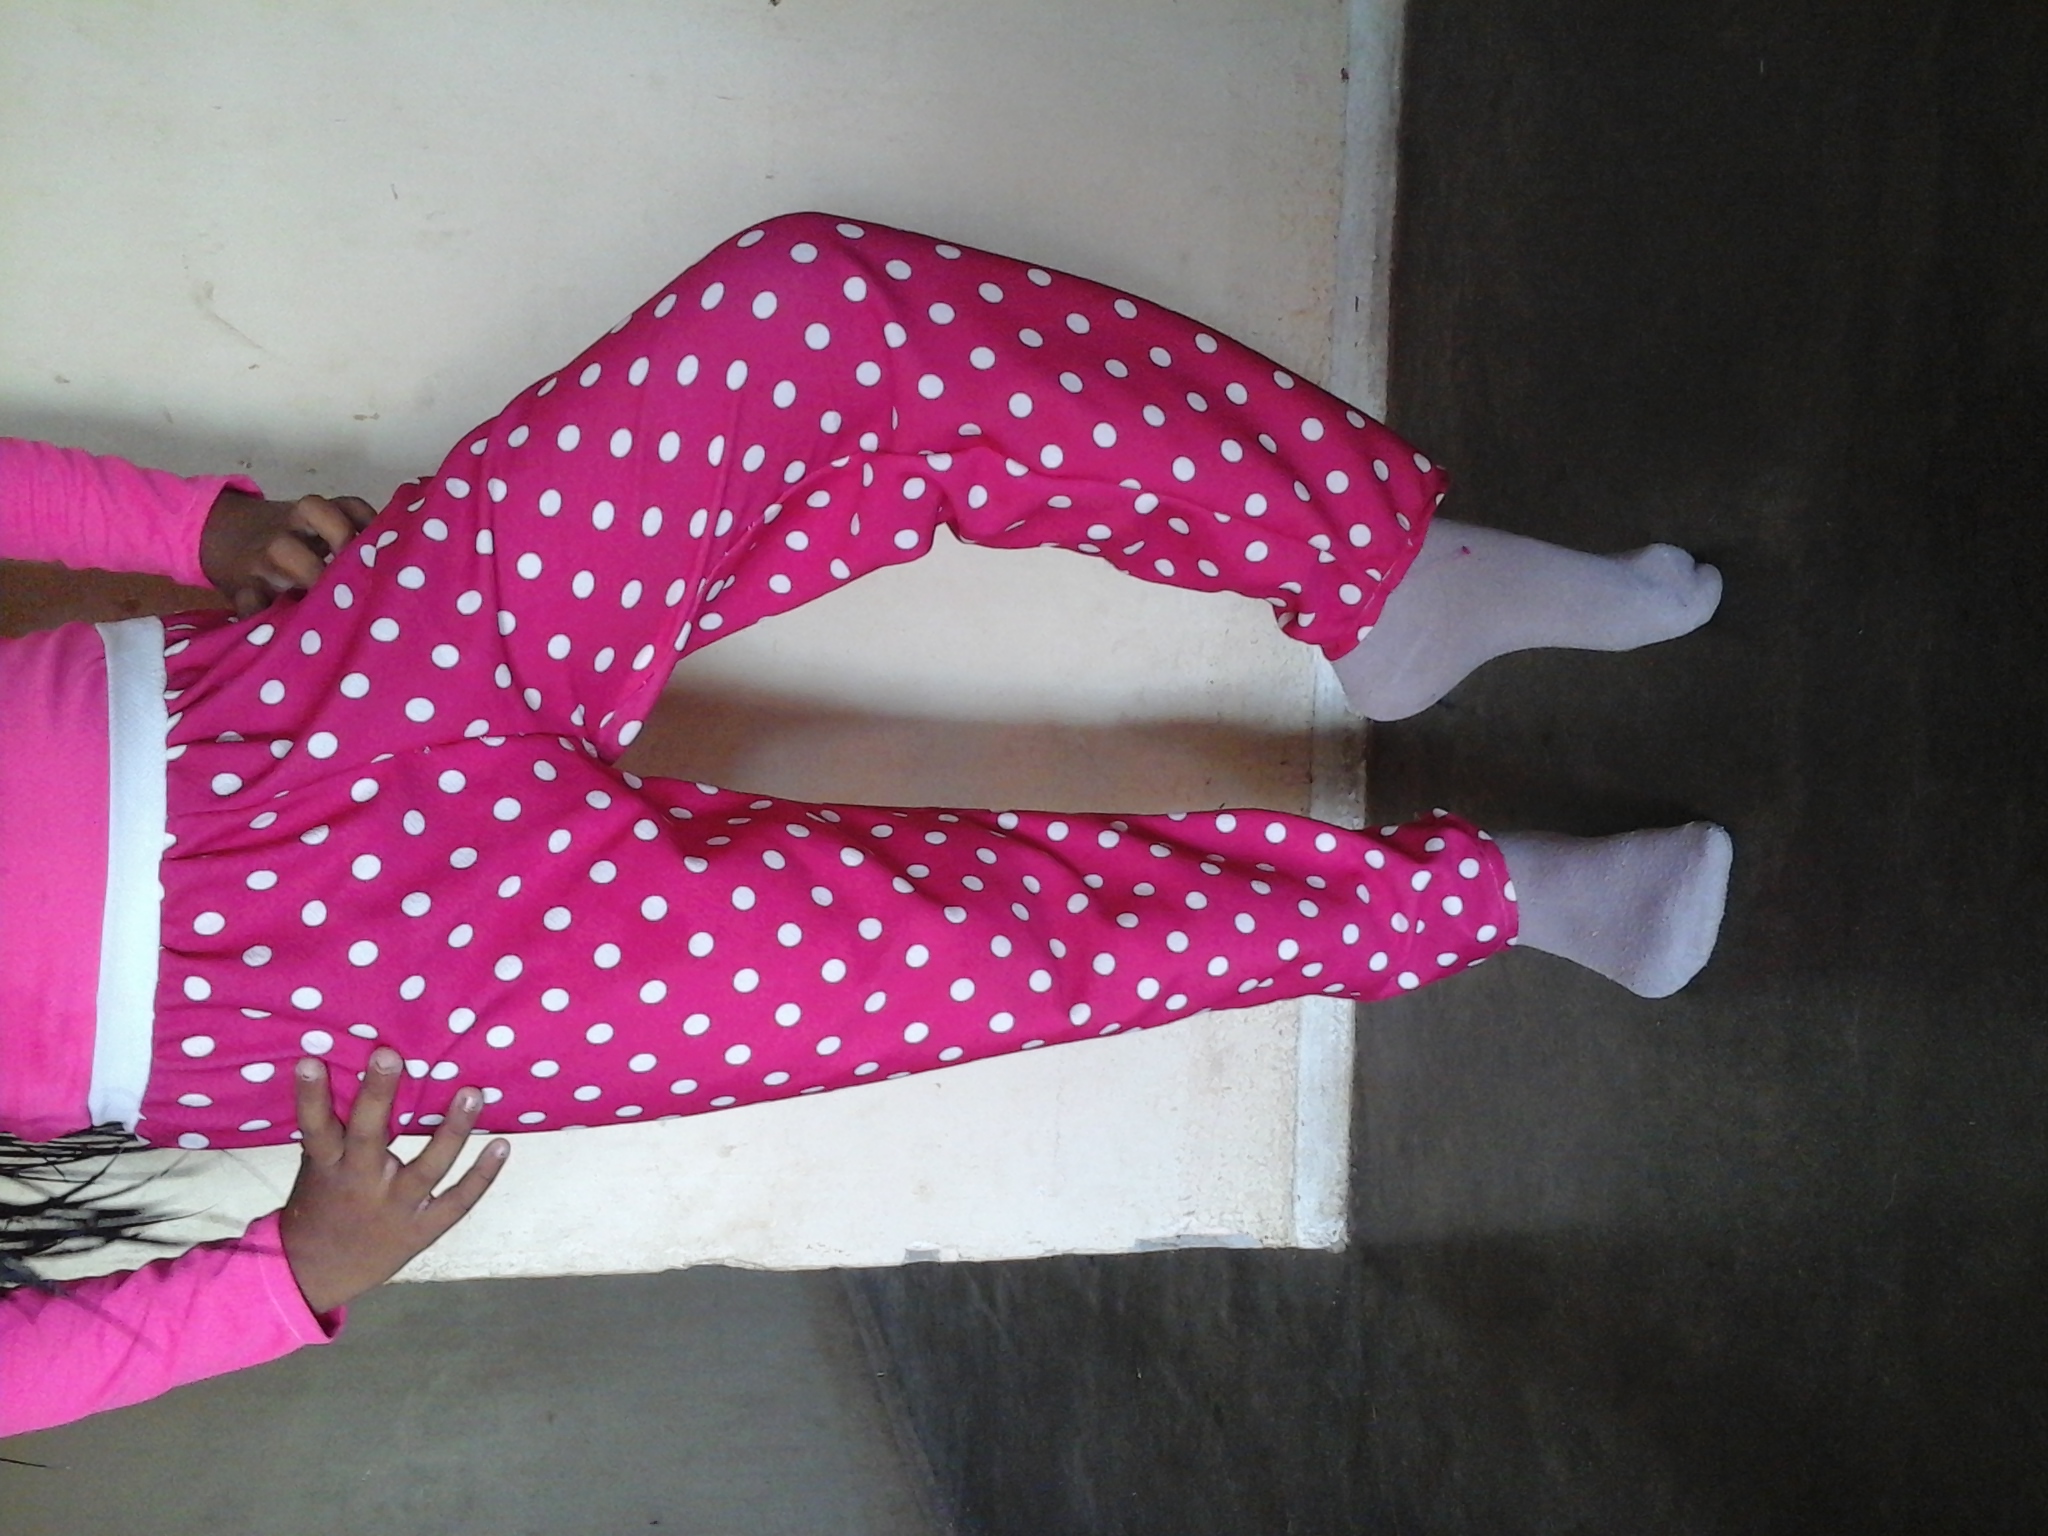
It has been a great pleasure to be able to share with you this beautiful sewing work which will help you a lot when making our children's outfits from home. I say goodbye to everyone, wishing you a beautiful and blessed afternoon, take care of yourselves and see you soon, hugs and kisses!😍😙

Todo el contenido es de mi autoria, las fotos fueron capturadas por mi tablet Samsung galaxy, editadas por aplicación picsart.
Separadores con imagenes de minie fueron elaborados con ayuda del editor ya mencionado.
Los textos son traductor por traductor Google.com
All the content is my authorship, the photos were captured by my Samsung galaxy tablet, edited by picsart application.
Dividers with minie images were made with the help of the already mentioned editor.
The texts are translated by Google.com translator
It's nice, stylish and comfortable! Your daughter would be happy to get this. Great work!
Muchas gracias por el apoyo!!
Esta precioso tu trabajo amiga 😍 Esa tela rosada de puntos blancos me encantaría tenerla para hacerme algo yo 🙈🤭 Me gusta que hayas dados las medidas para trazar el pantalón en la tela, así si uno no tiene el patrón igual lo puede hacer 💟
Si, para mi ha sido un placer mostrarles una estrategia sencilla para hacerlo sin necesidad dpatrón.
Nice work, keep it up
Many thanks for the support, Greetings!
Beautiful, I like the color pink, good for girls
Yes, it is very striking😁 thanks for visiting.
You are welcome
This is really nice and I love the color, your daughter will be very happy and it will suit her very well
If you believe me she was very happy.
I know she will be.
I want to apologize to all my friends who visited my blog, I made a mistake with the photo where the materials are. I apologize to everyone for that.♥