Hello my dear sewing friends. I'm still very excited because I can share once again with all of you😊. Grateful to God for a new day and for giving me the joy of sharing a new project with people as talented as you. A big hug and many blessings for everyone.
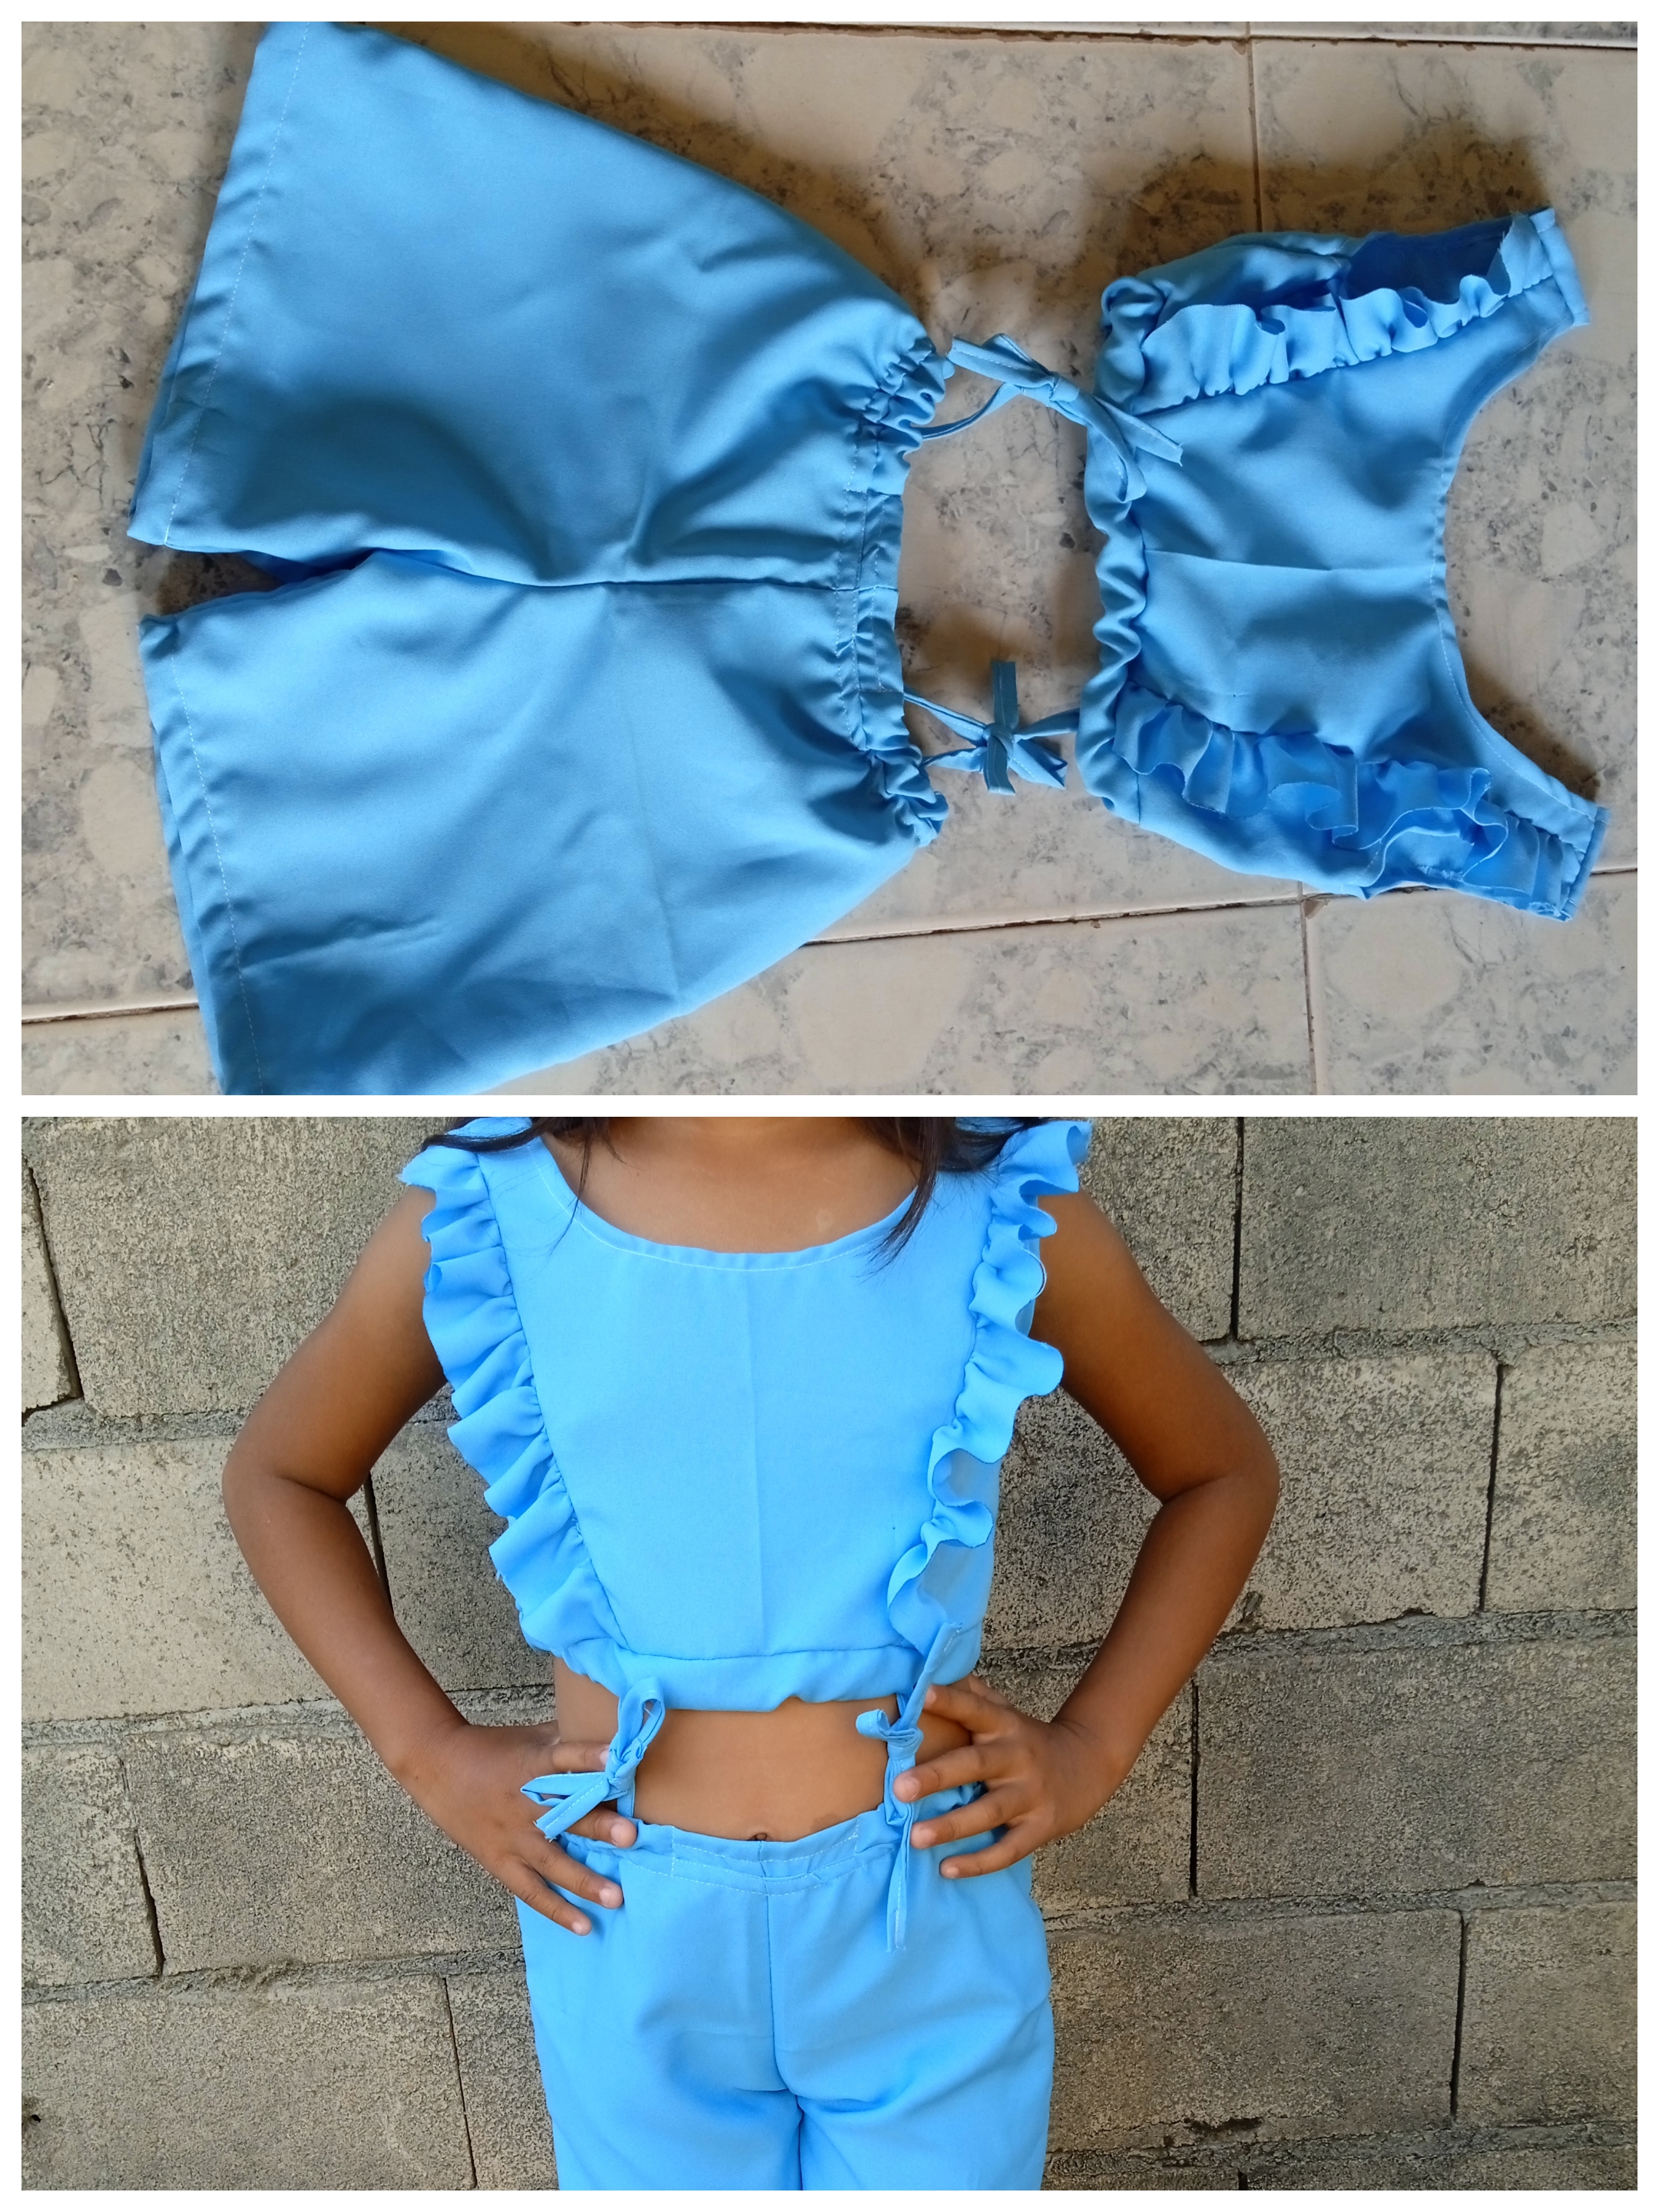
Today I am going to show you my most recent sewing work, since it involves making a cute set of shorts and top with ruffles and lace, blue like the sky and the sea. This is a nice sporty and elegant outfit at the same time so that girls feel beautiful and comfortable when going out for a walk. For its preparation I have used a poplin-type fabric but very thin at the same time, offering comfort since it is not the common thick poplin that we know. You can also use cotton fabrics and they will look better. This set is beautiful and very easy for girls to make. So, we invite you to read this tutorial until the end, join me.
Los materiales que necesitarás.
- Tela del tipo que tengas en casa pero que sea suave.
- Tijera.
- Hilo.
- Elástico.
- Patrones.
The materials you will need.
- Fabric of the type you have at home but that is soft.
- Scissors.
- Hello.
- Elastic.
- Patterns.

Paso 1.
Step 1.
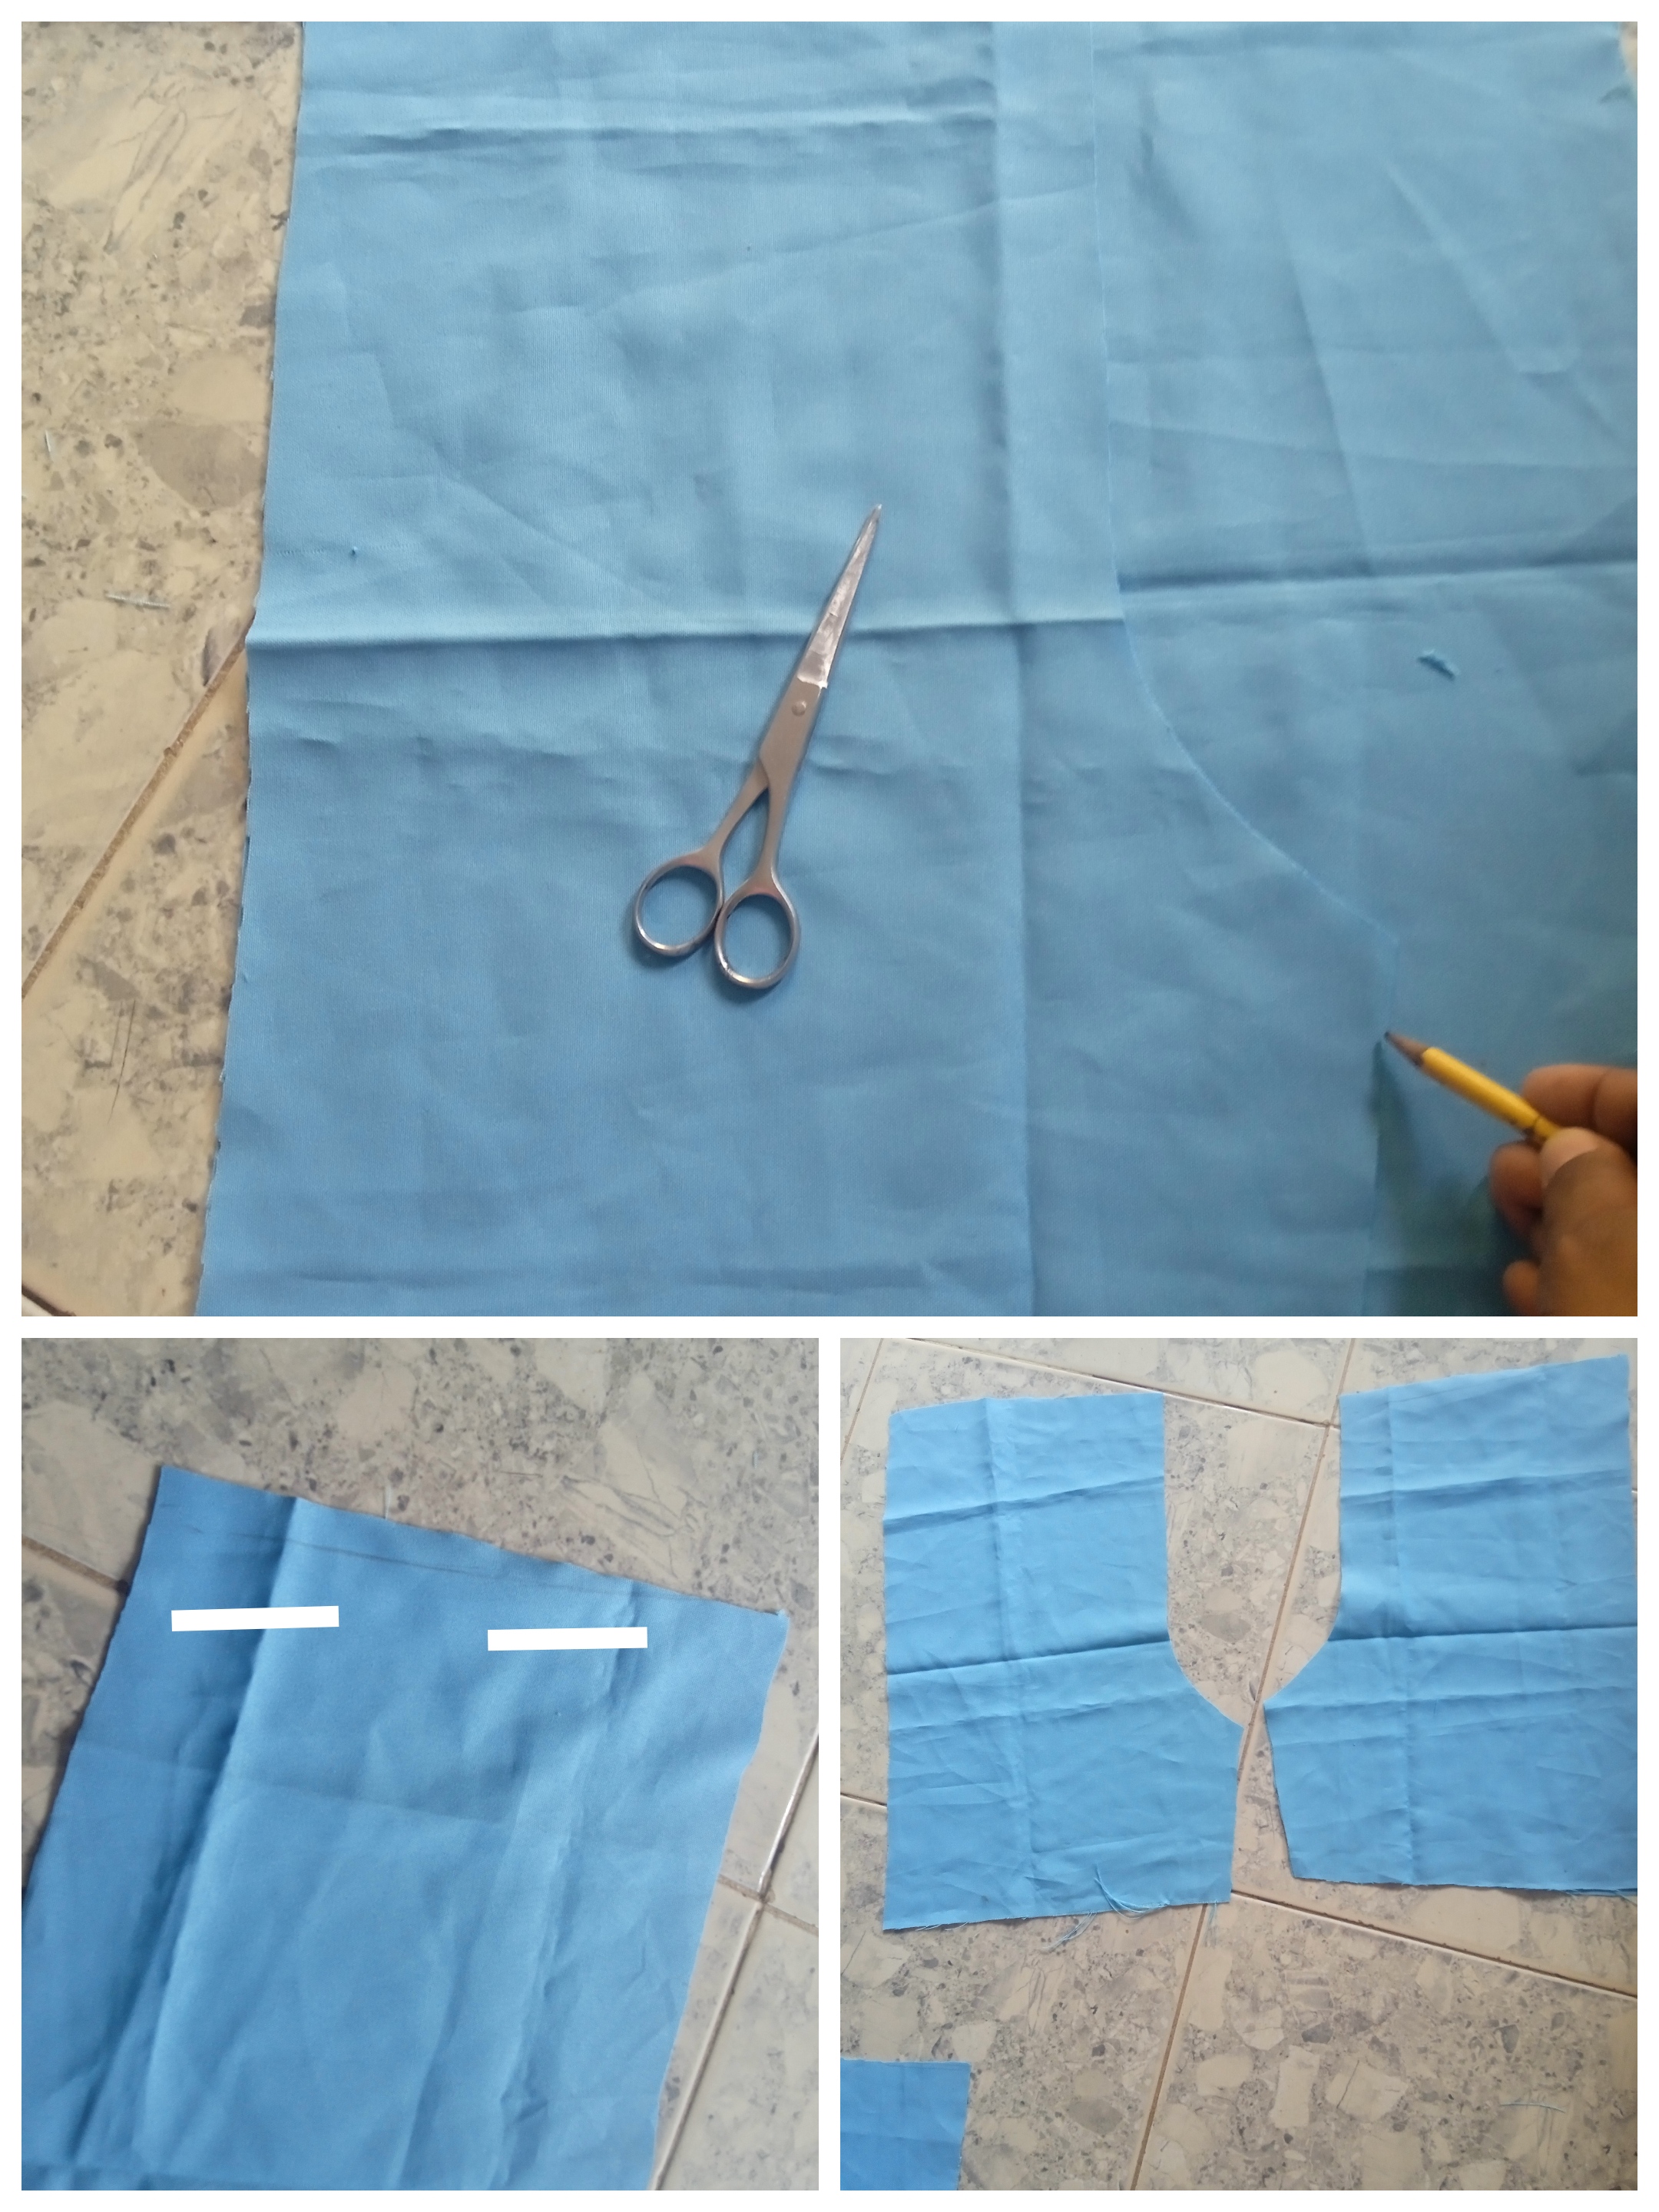
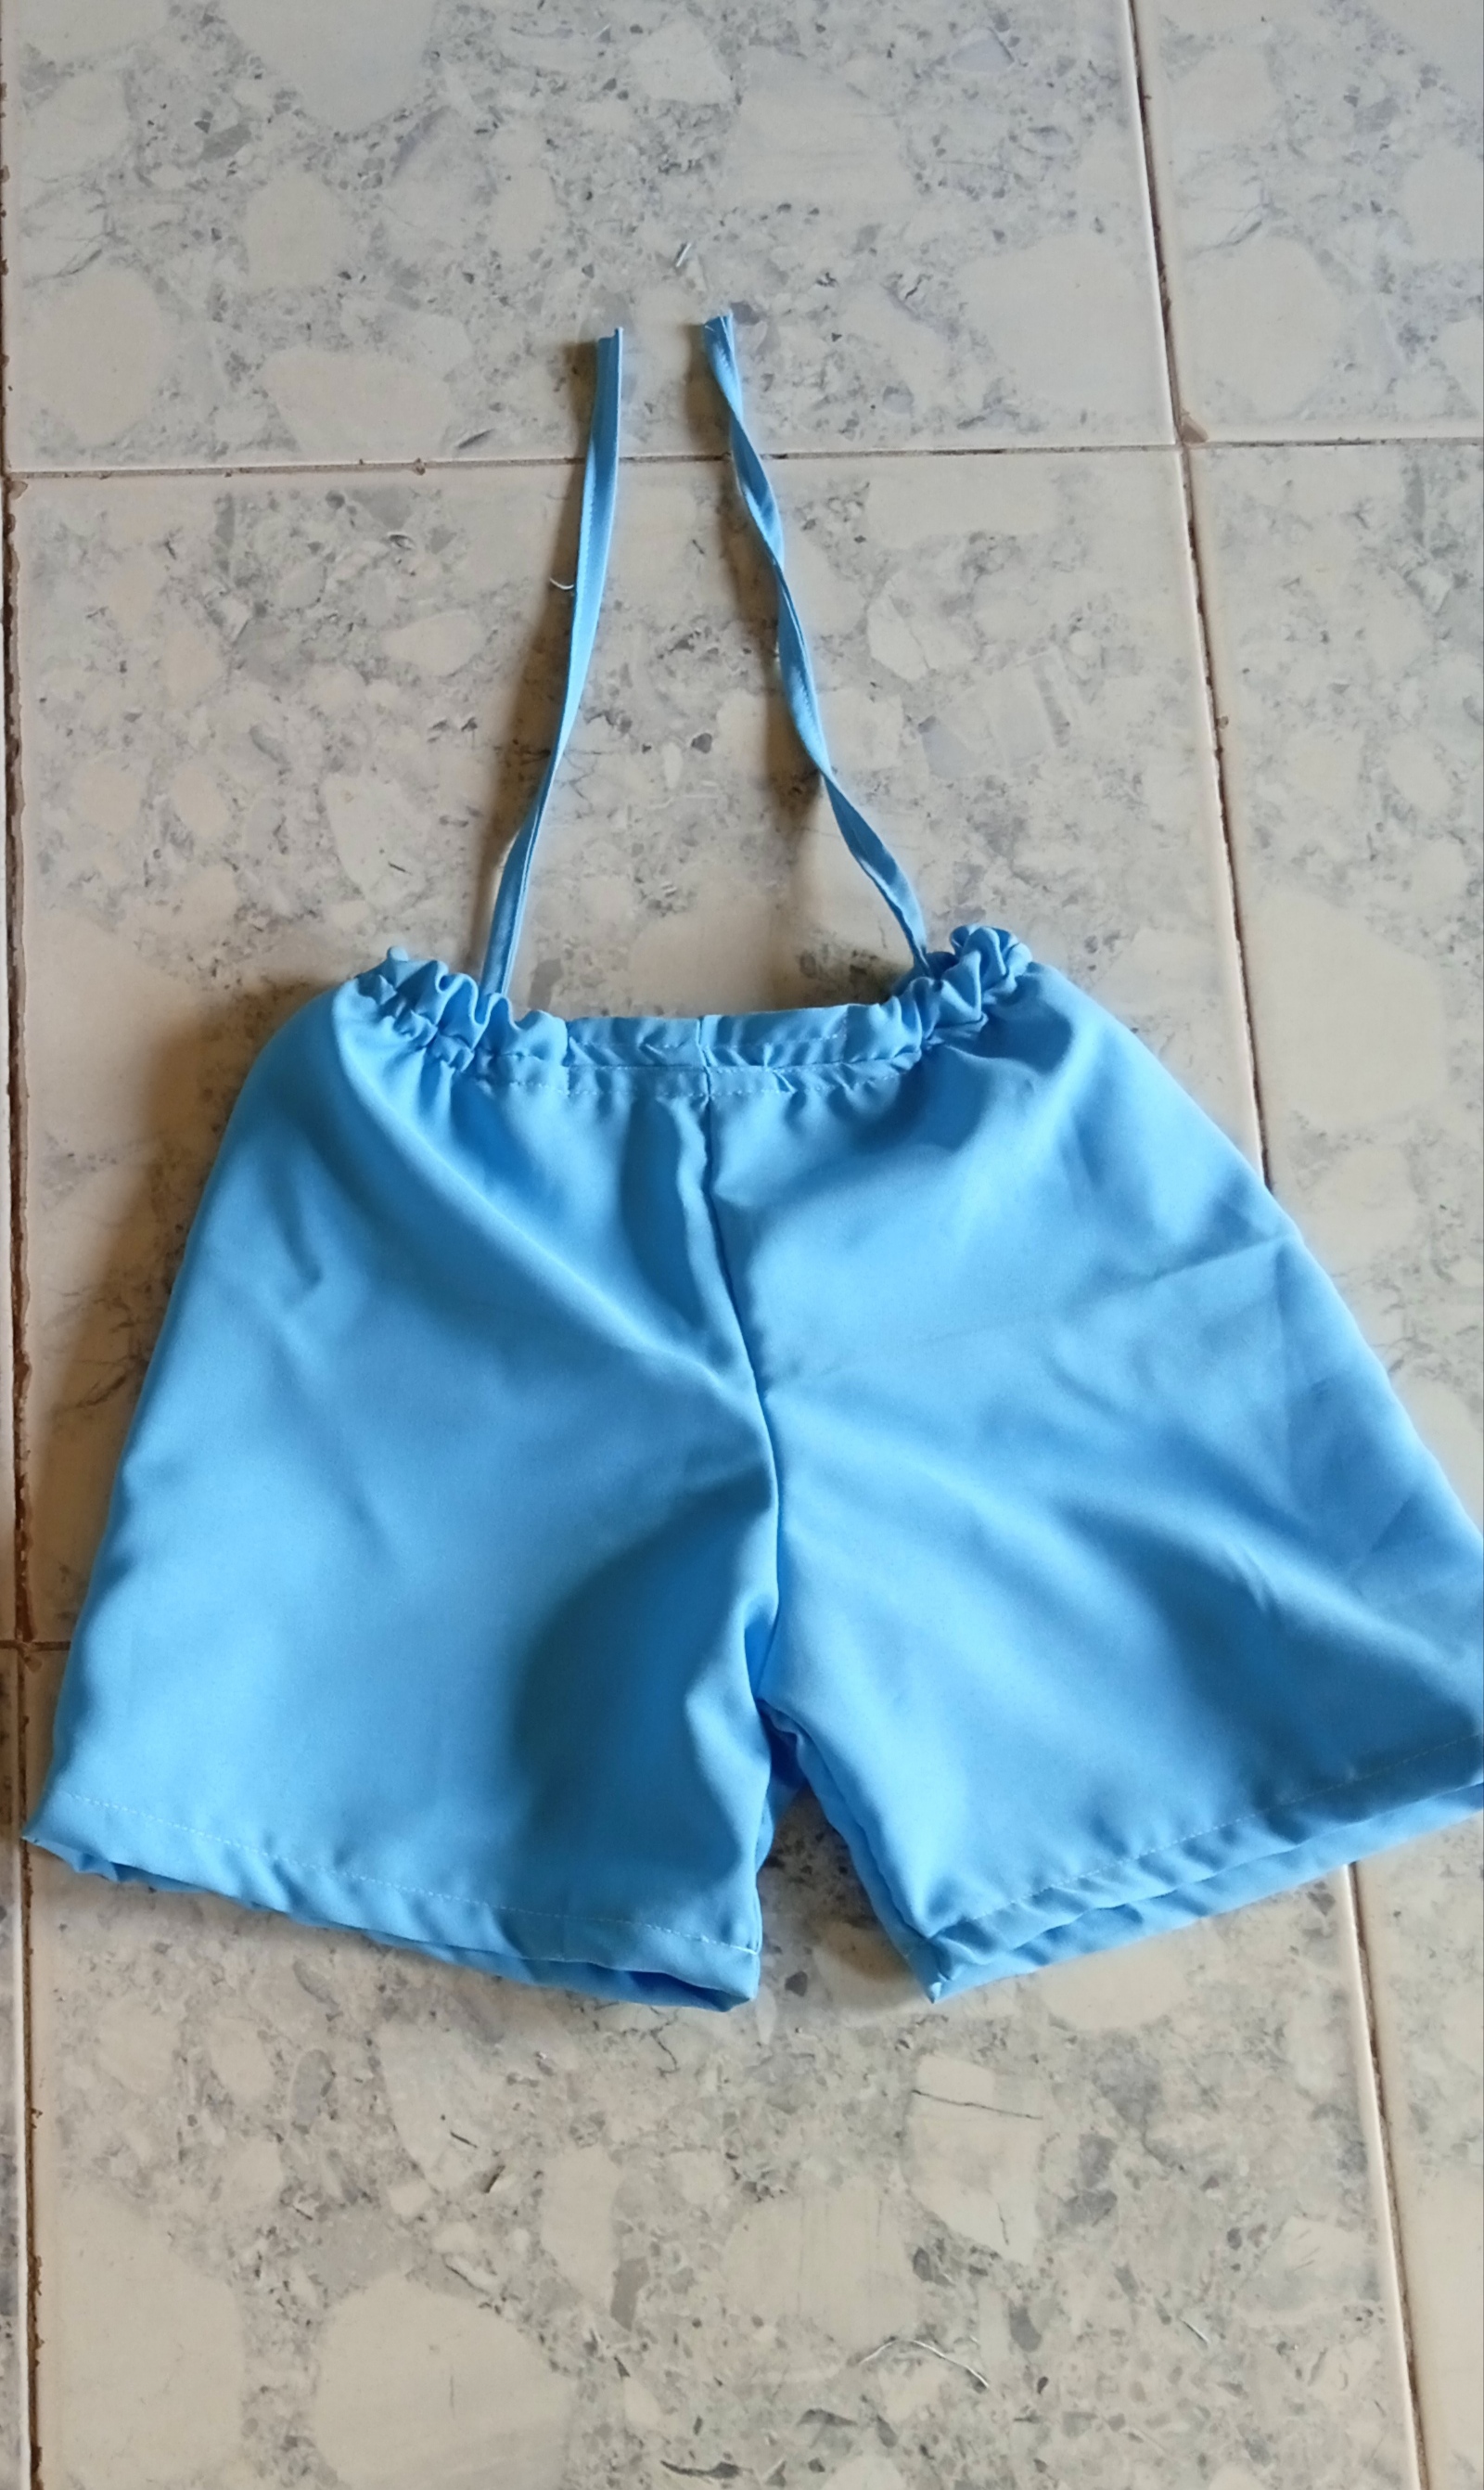
We start by making the shorts and then the blouse. In this step we are going to take the fabric and spread it on a fairly comfortable surface. What we will do is place a paper pattern or a short to obtain the desired measurement. In my case I used one of my daughter's shorts, I placed it on the fabric, marked the outline and cut out two pairs, one in the front and one in the back. We will make a diagonal cut at the top of the front pair.
Paso 2.
Step 2.
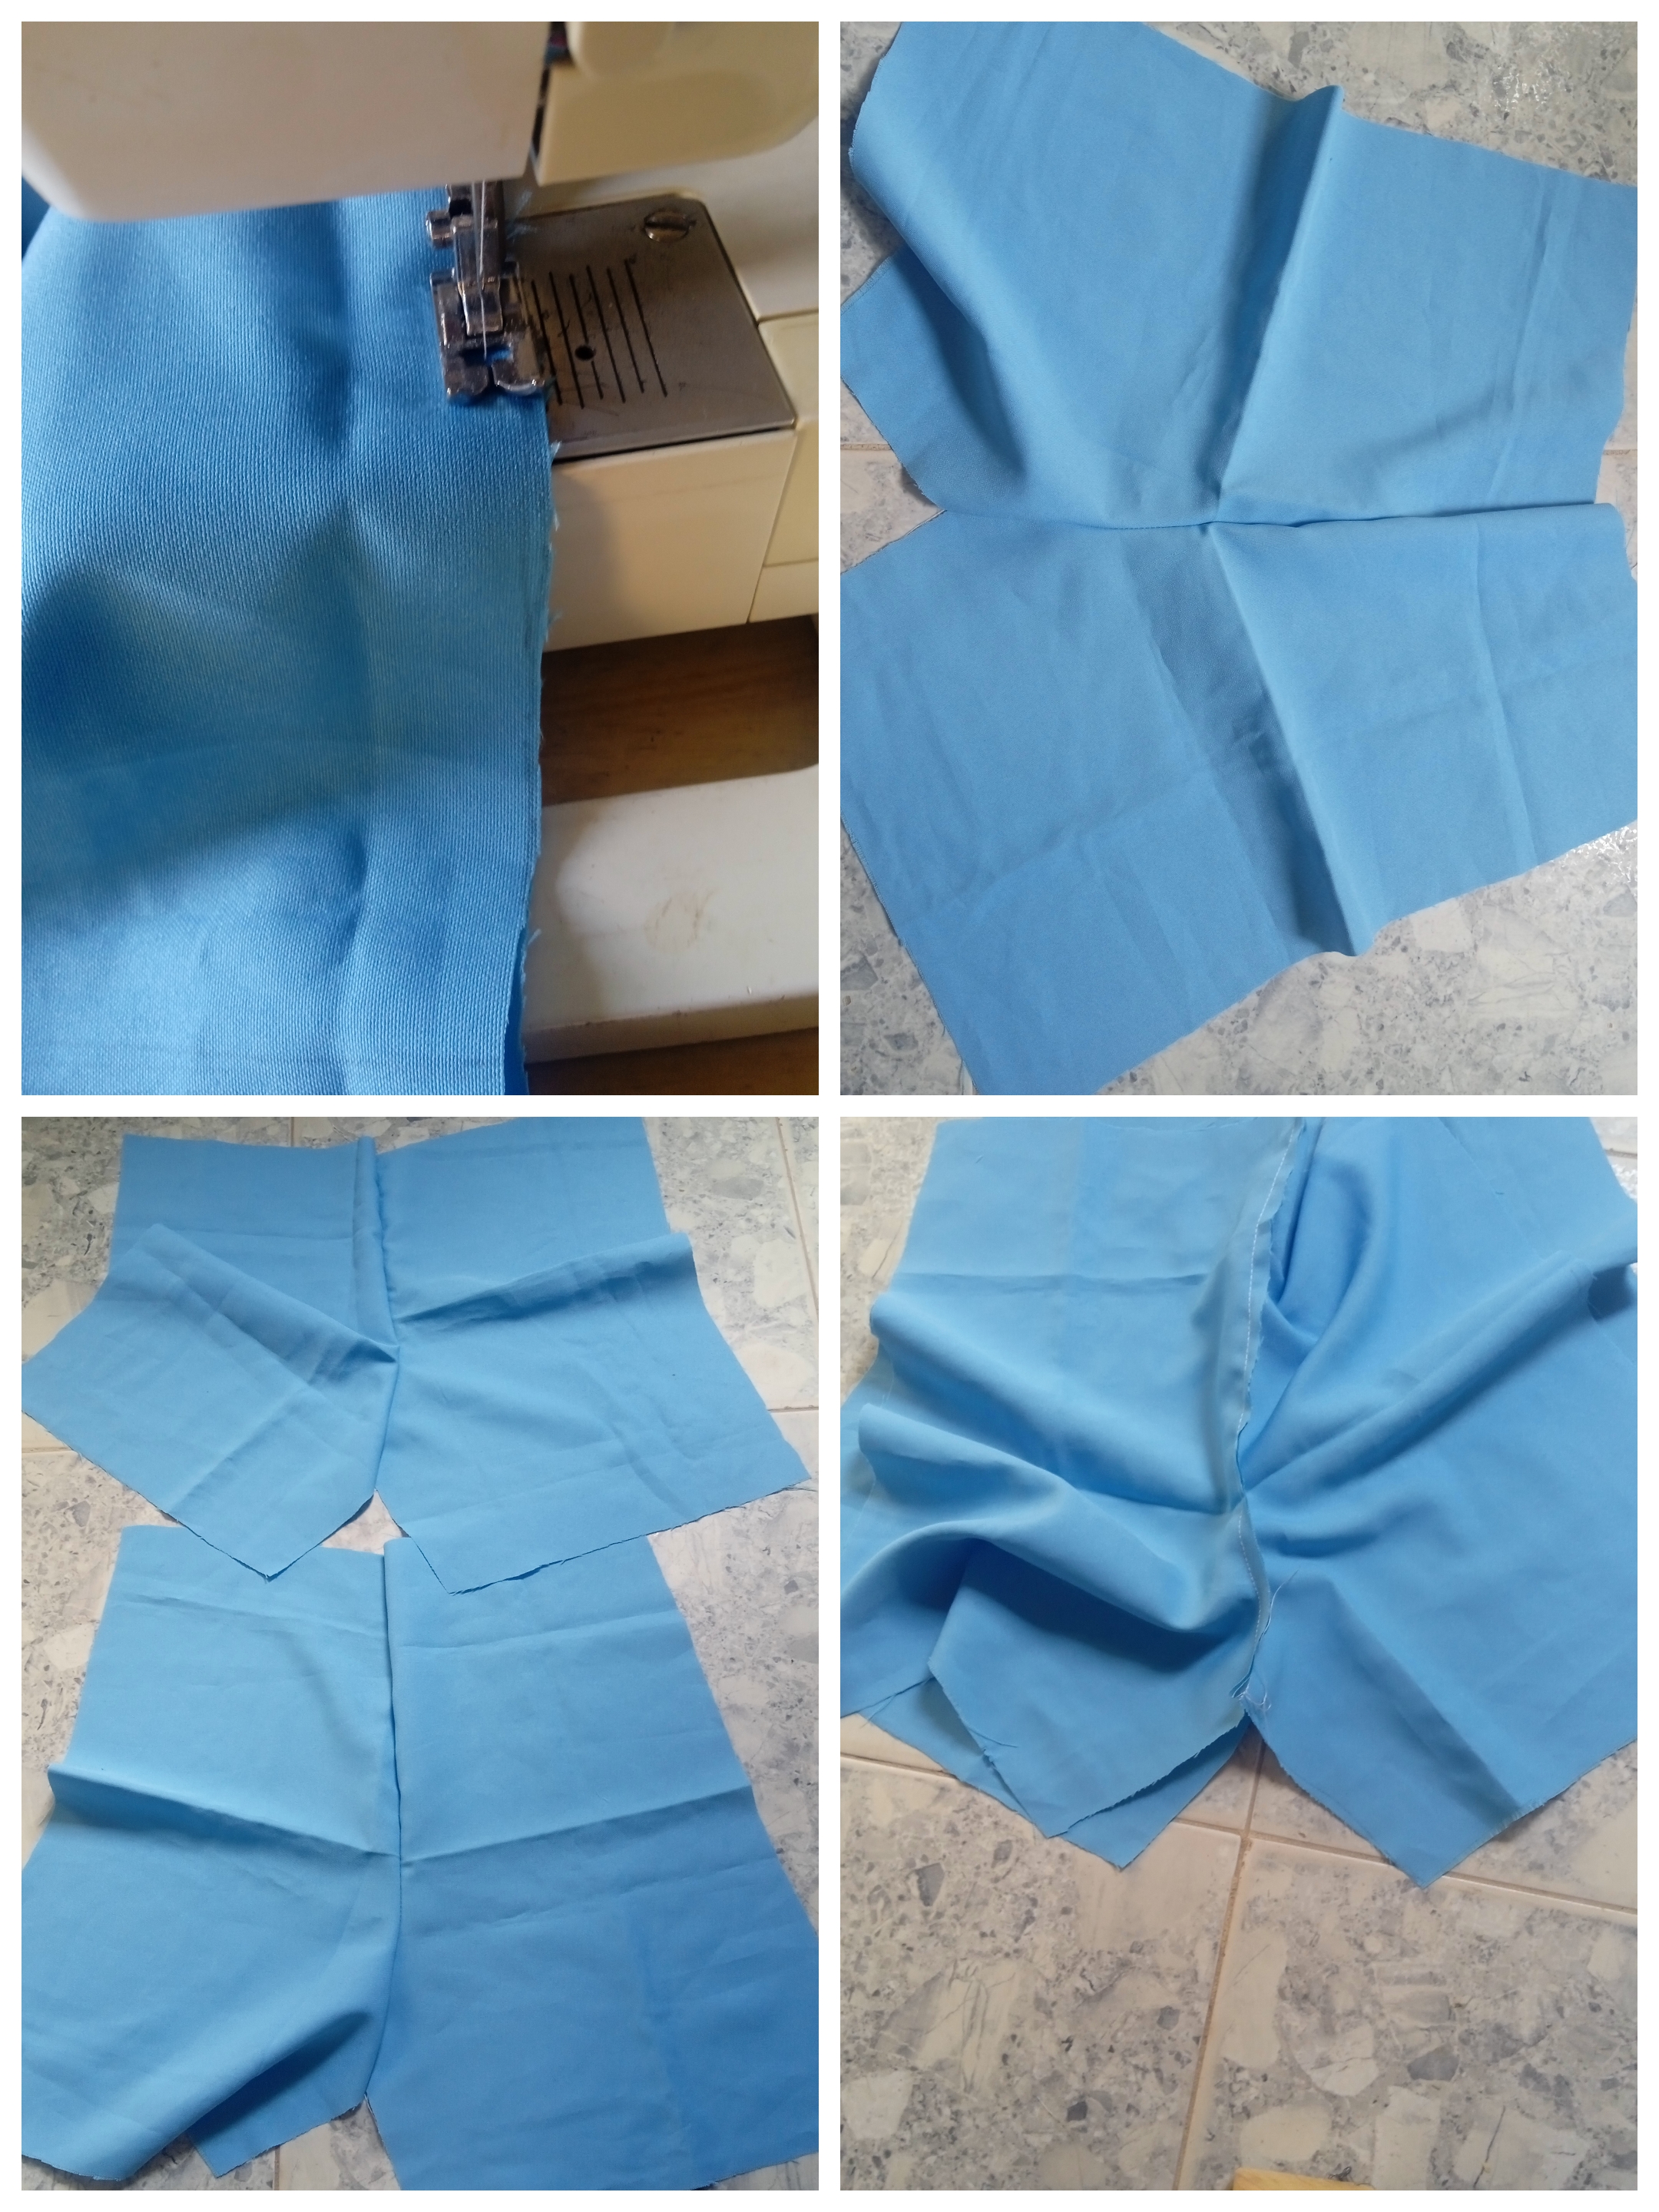
Next we will join each pair, sew in the middle. Once we finish sewing, we place one on top of the other and sew along the crotch.
Paso 3.
Step 3.
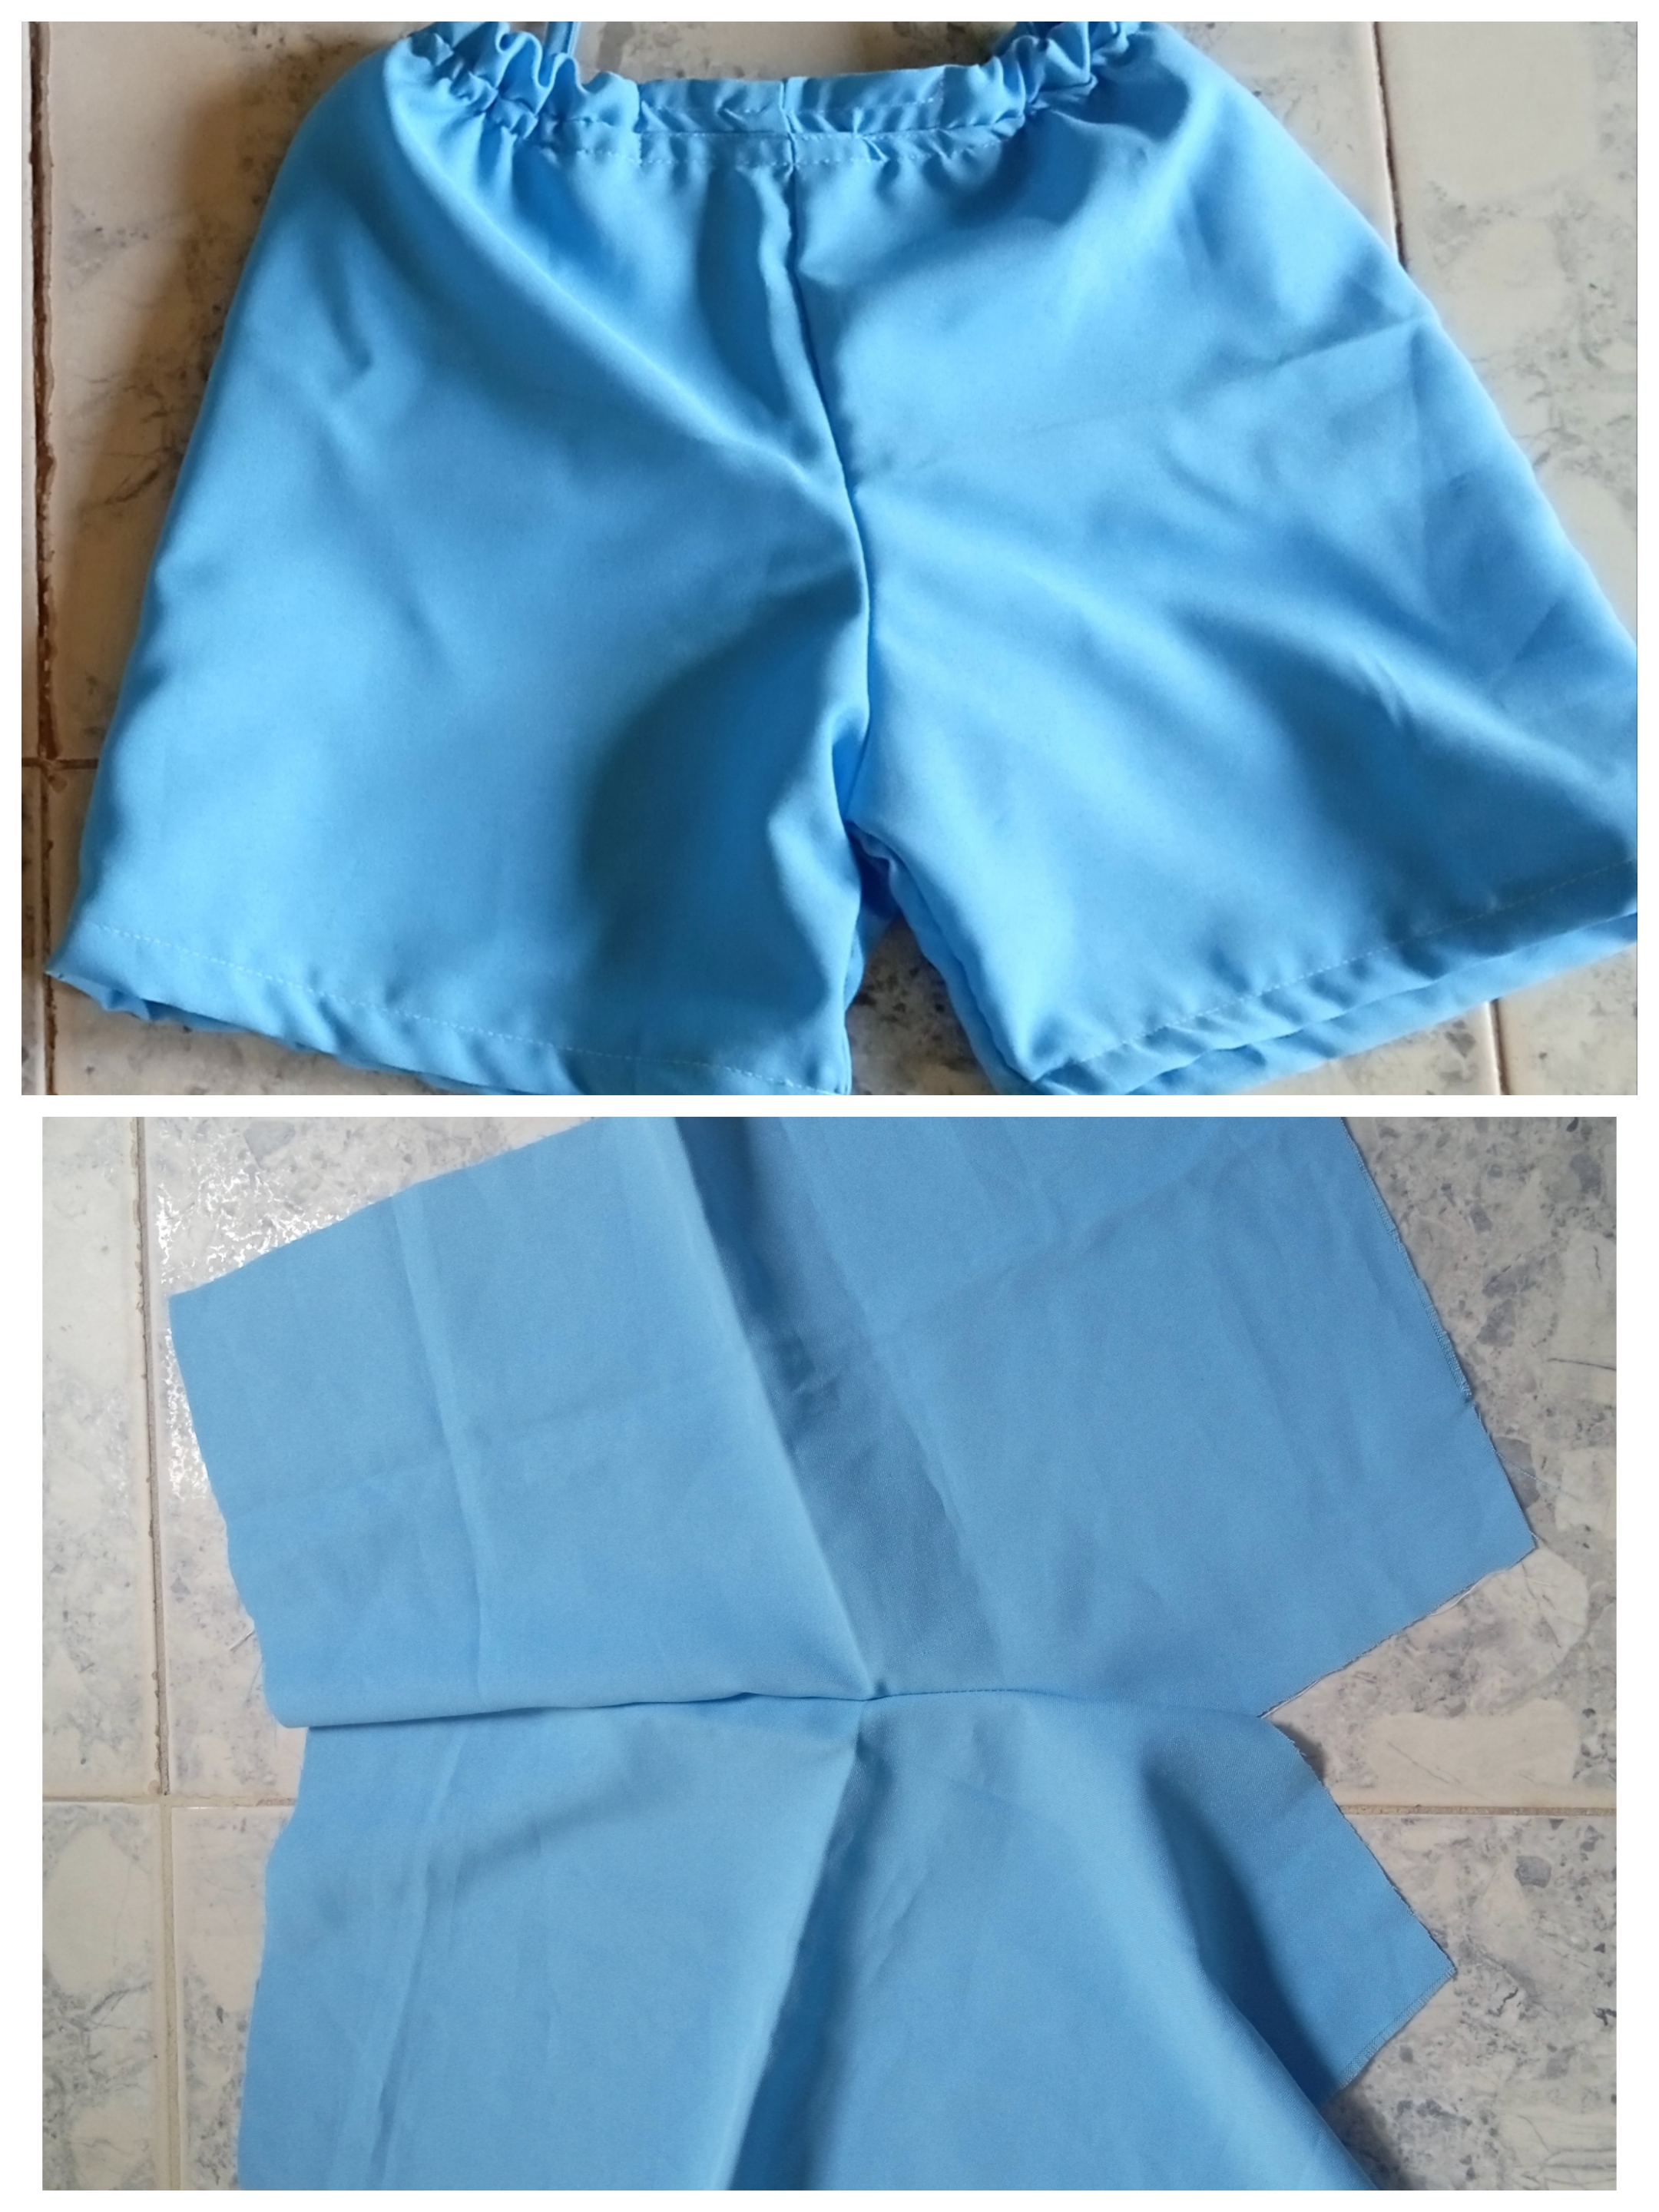
We sew the sides and make the waist, to do this we are going to cut the waistband to the desired size. In my case, I measured my daughter's waist and left a few centimeters so that when I placed the elastic it would fit her perfectly. Once I finished attaching the elastic to this waistband, I proceeded to sew it on the top of the shorts and finally I made some laces and sewed them so that we can tie them with those of the blouse, you will see the result.
Ahora vamos a hacer el top. Este será super fácil de hacer.
Now let's make the top. This will be super easy to do.
Paso 4.
Step 4.
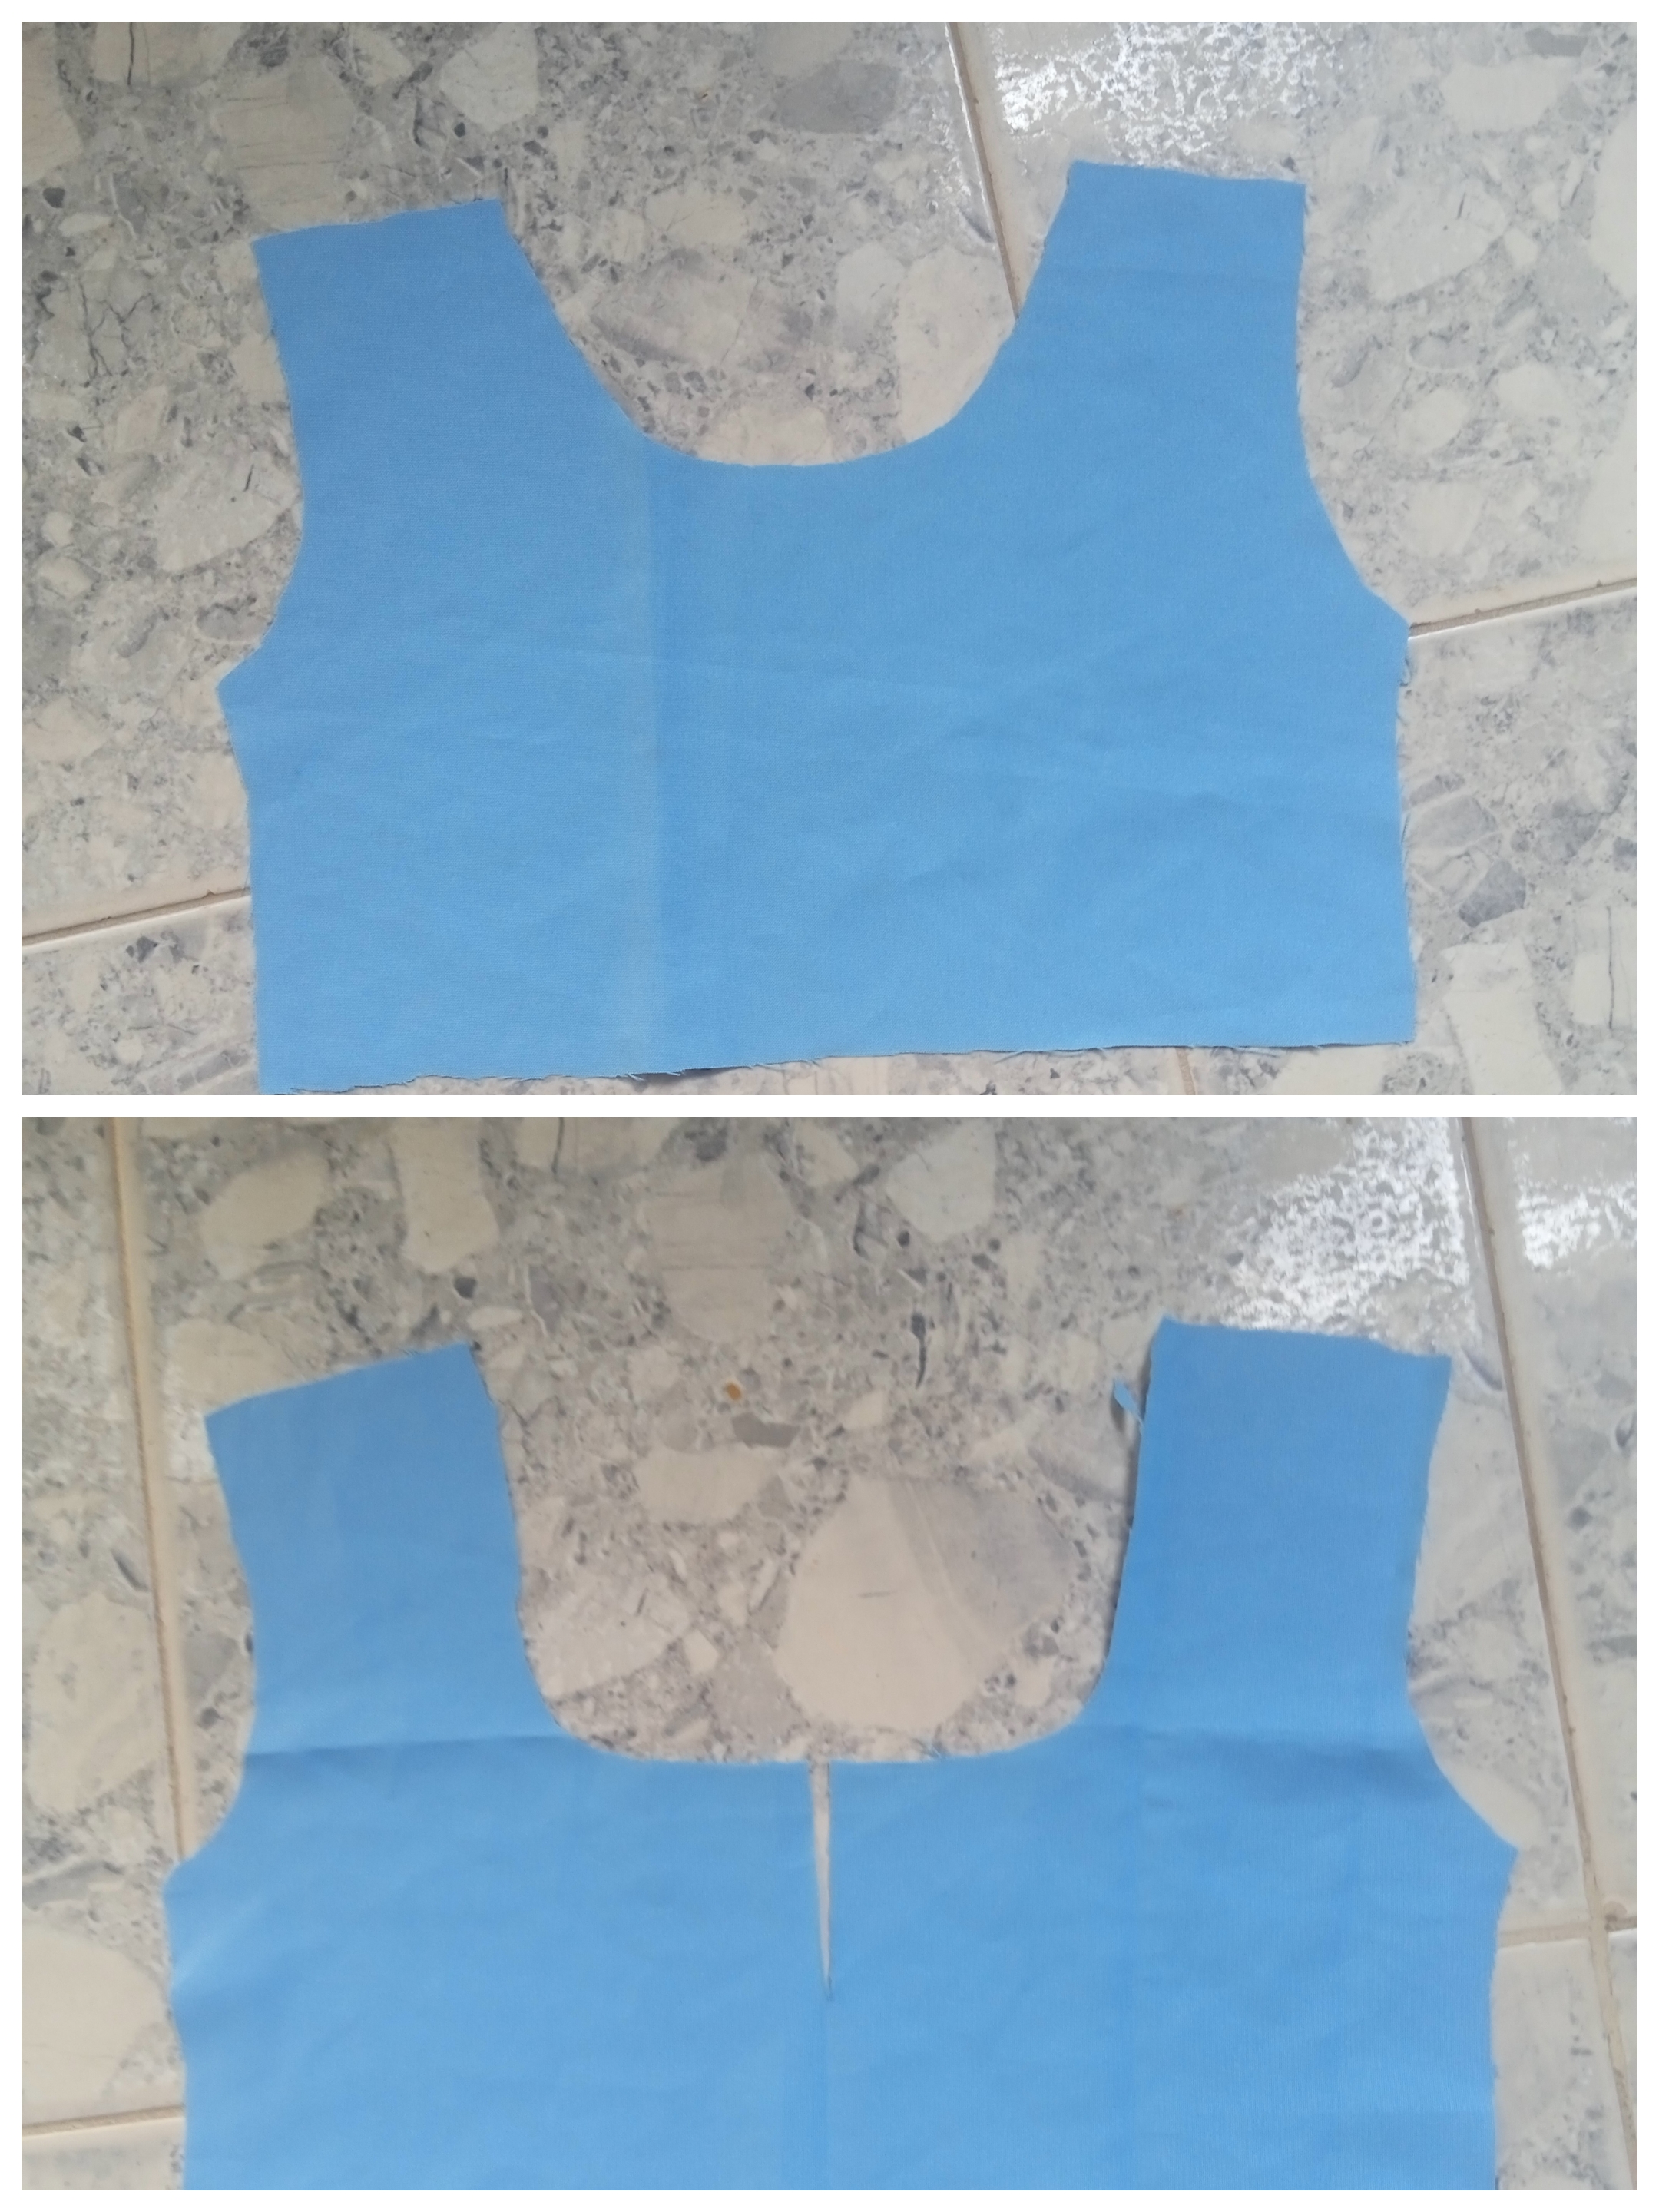
As I told you before, let's use a pattern or a top on the fabric, mark the outline and cut out. We lowered the neck at the back considerably.
Paso 5.
Step 5.
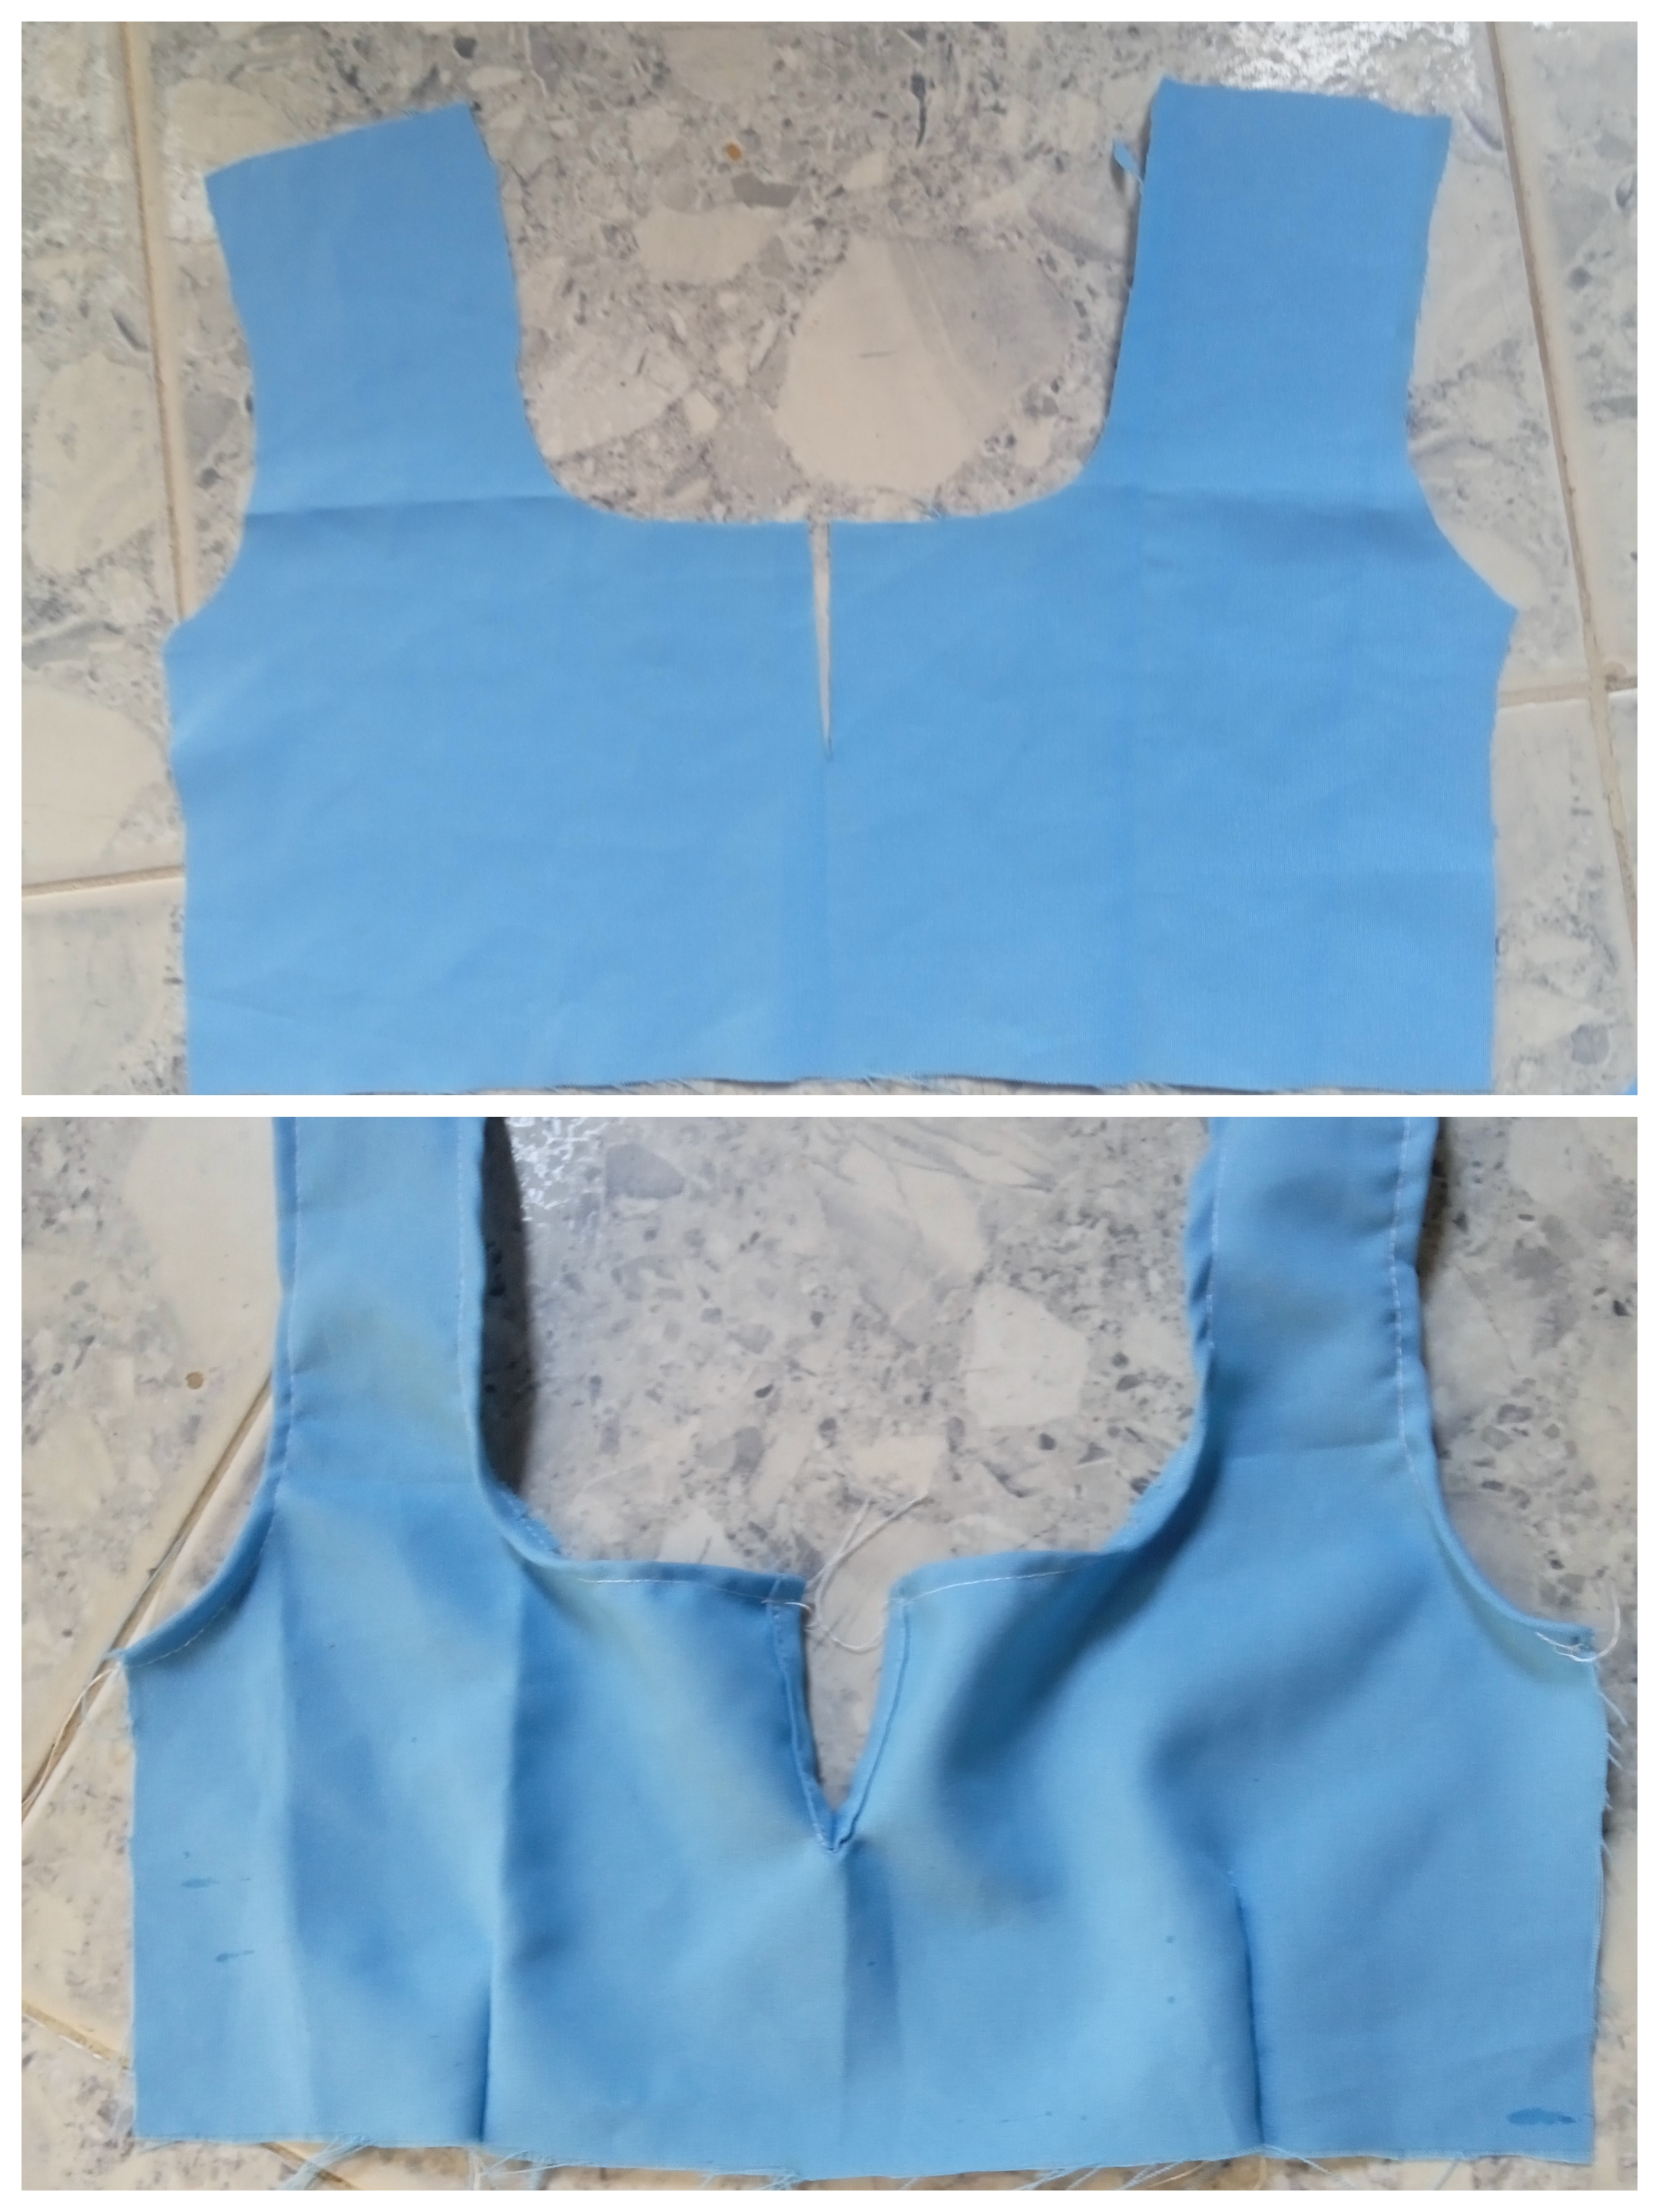
We sewed the hem of the armhole and the neck, I only made small vertical cuts around it so that when folding and sewing it would be easy. I sewed without adding reinforcements because if we put reinforcements on everything it will be heavy and uncomfortable. Only reinforcements placed in the opening.
Paso 6.
Step 6.
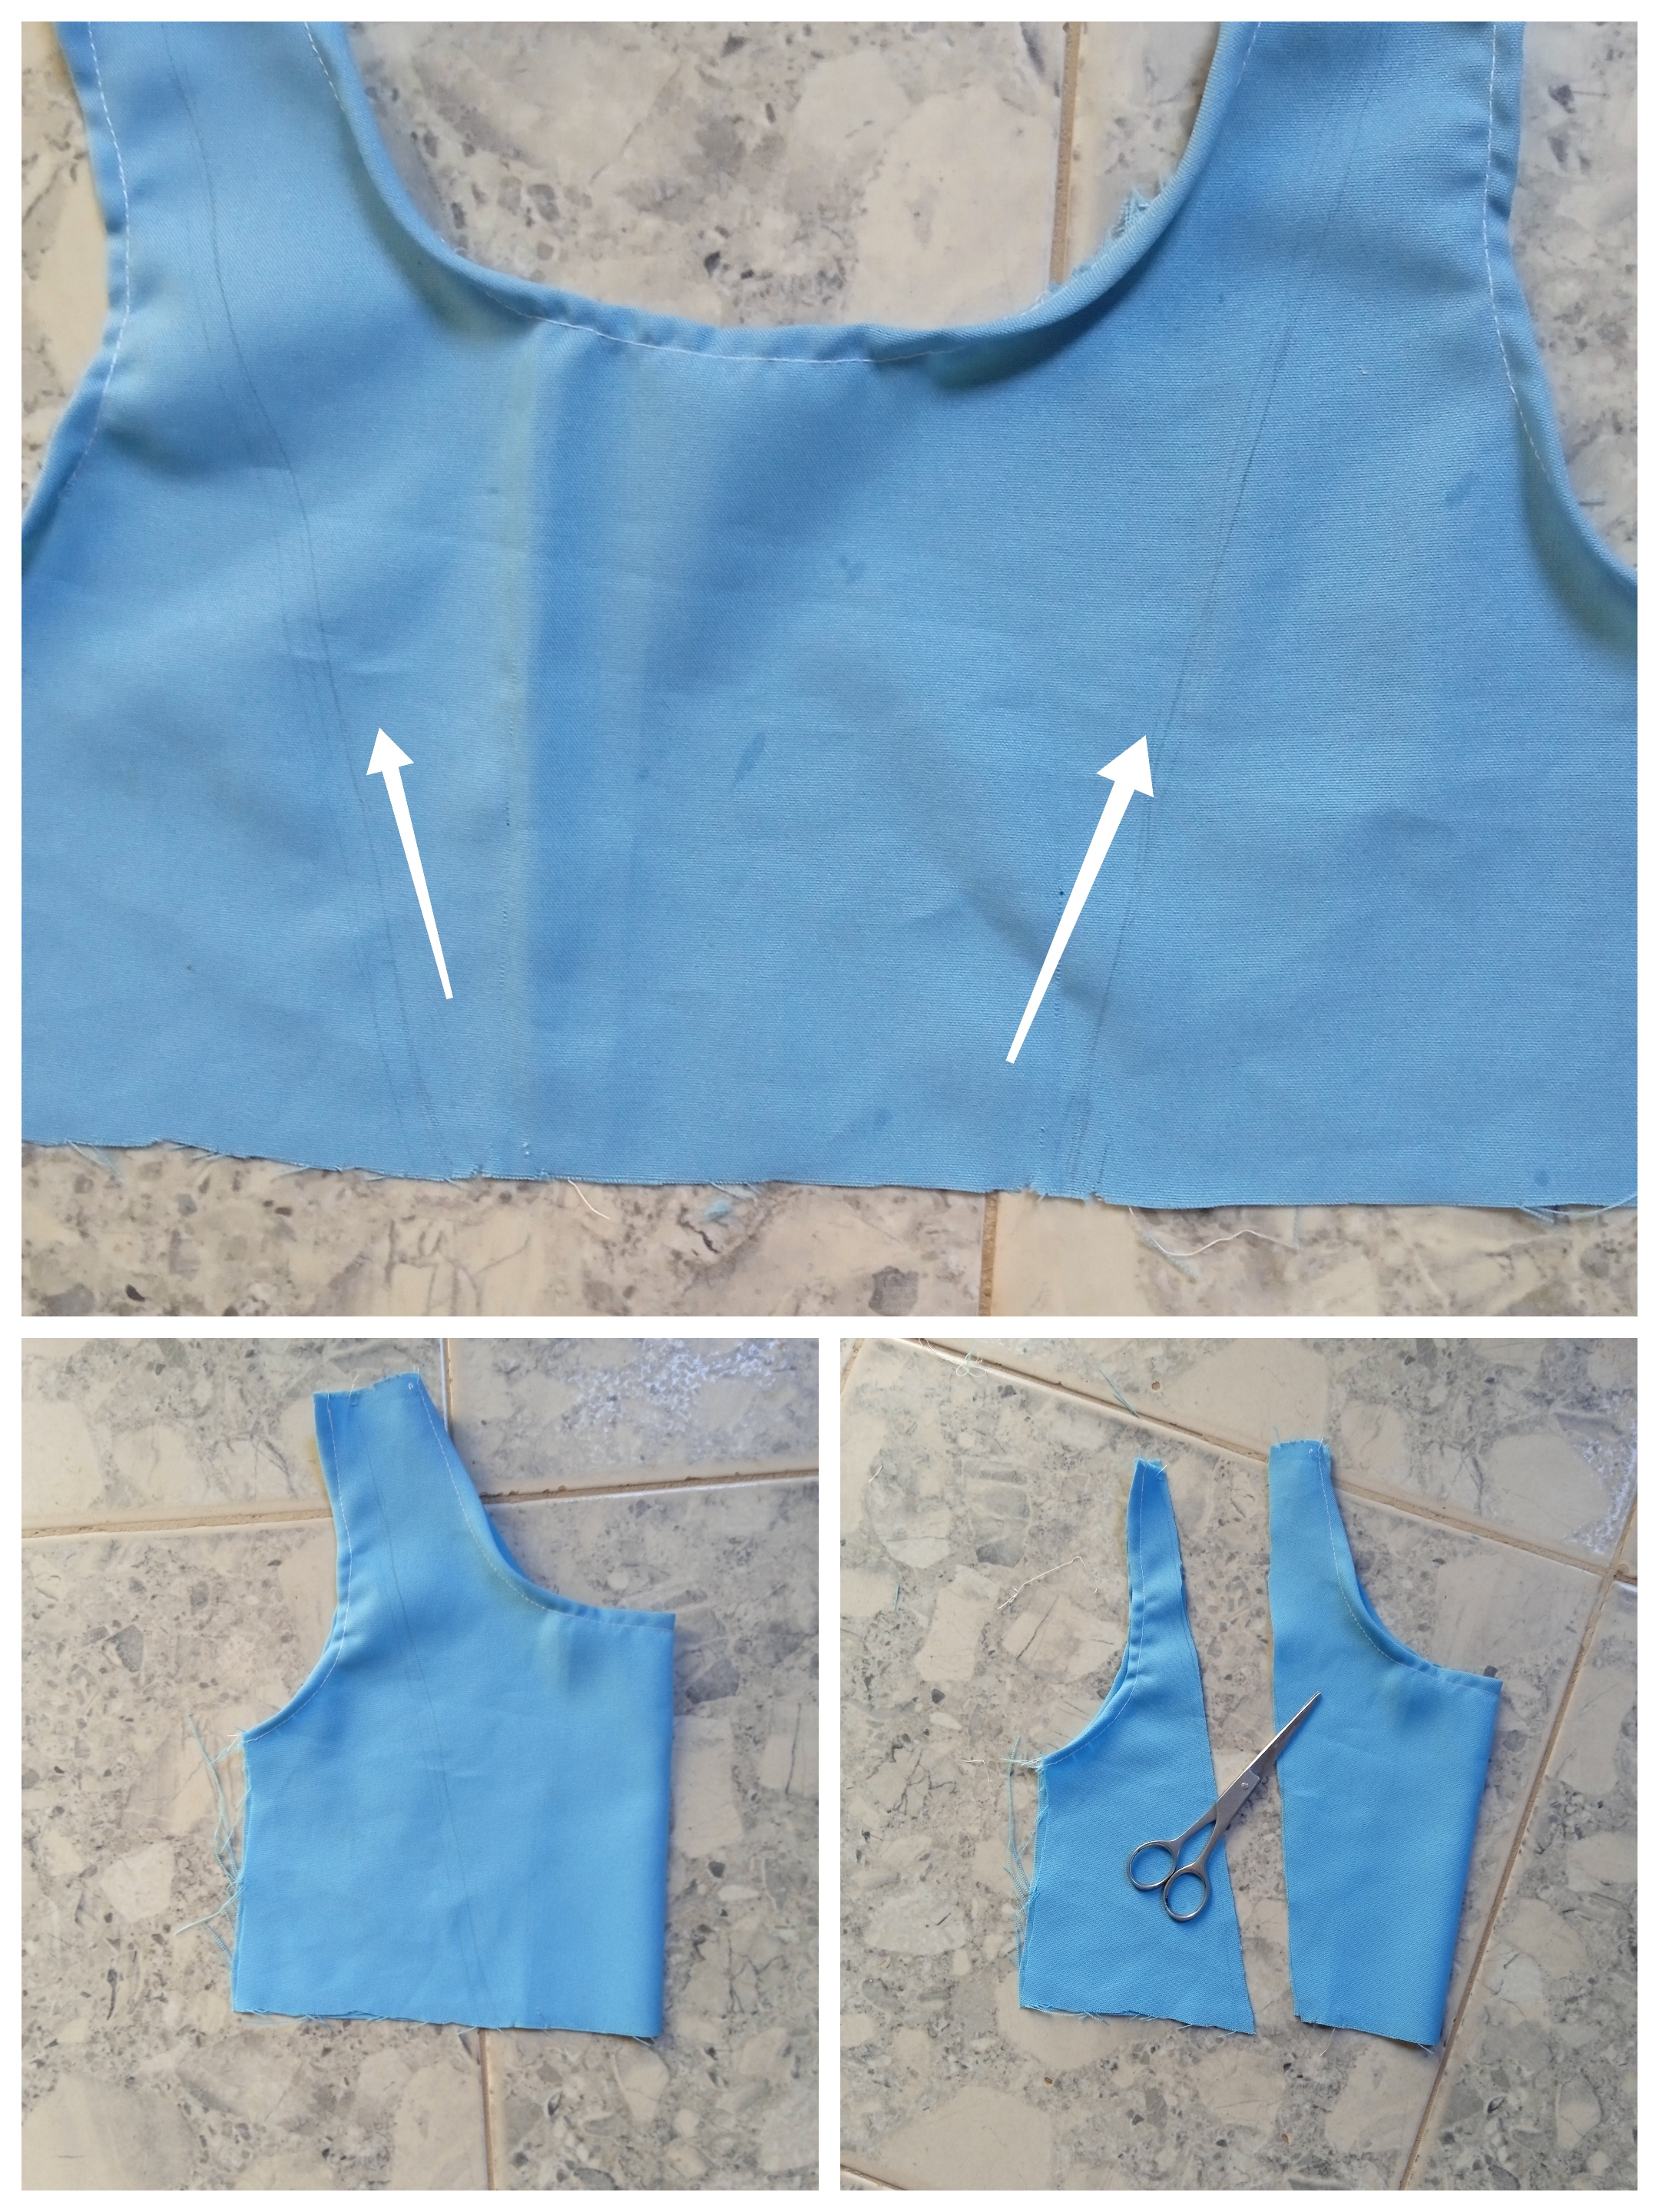
We also sew the edges of the front piece, fold it and iron it so that it is a good job. Once folded we mark a diagonal line and cut.
Paso 7.
Step 7.
To make the border, we are going to cut a couple of biases a little thin and make a loose seam to gather.

Paso 8.
Step 8.
We sewed the ruffles to the center piece and then sewed the side pieces. Finally we join the back and the front to form the upper part.

Paso 9.
Step 9.
To finish, we cut out a bias for the bottom of the top, put elastic and sew.
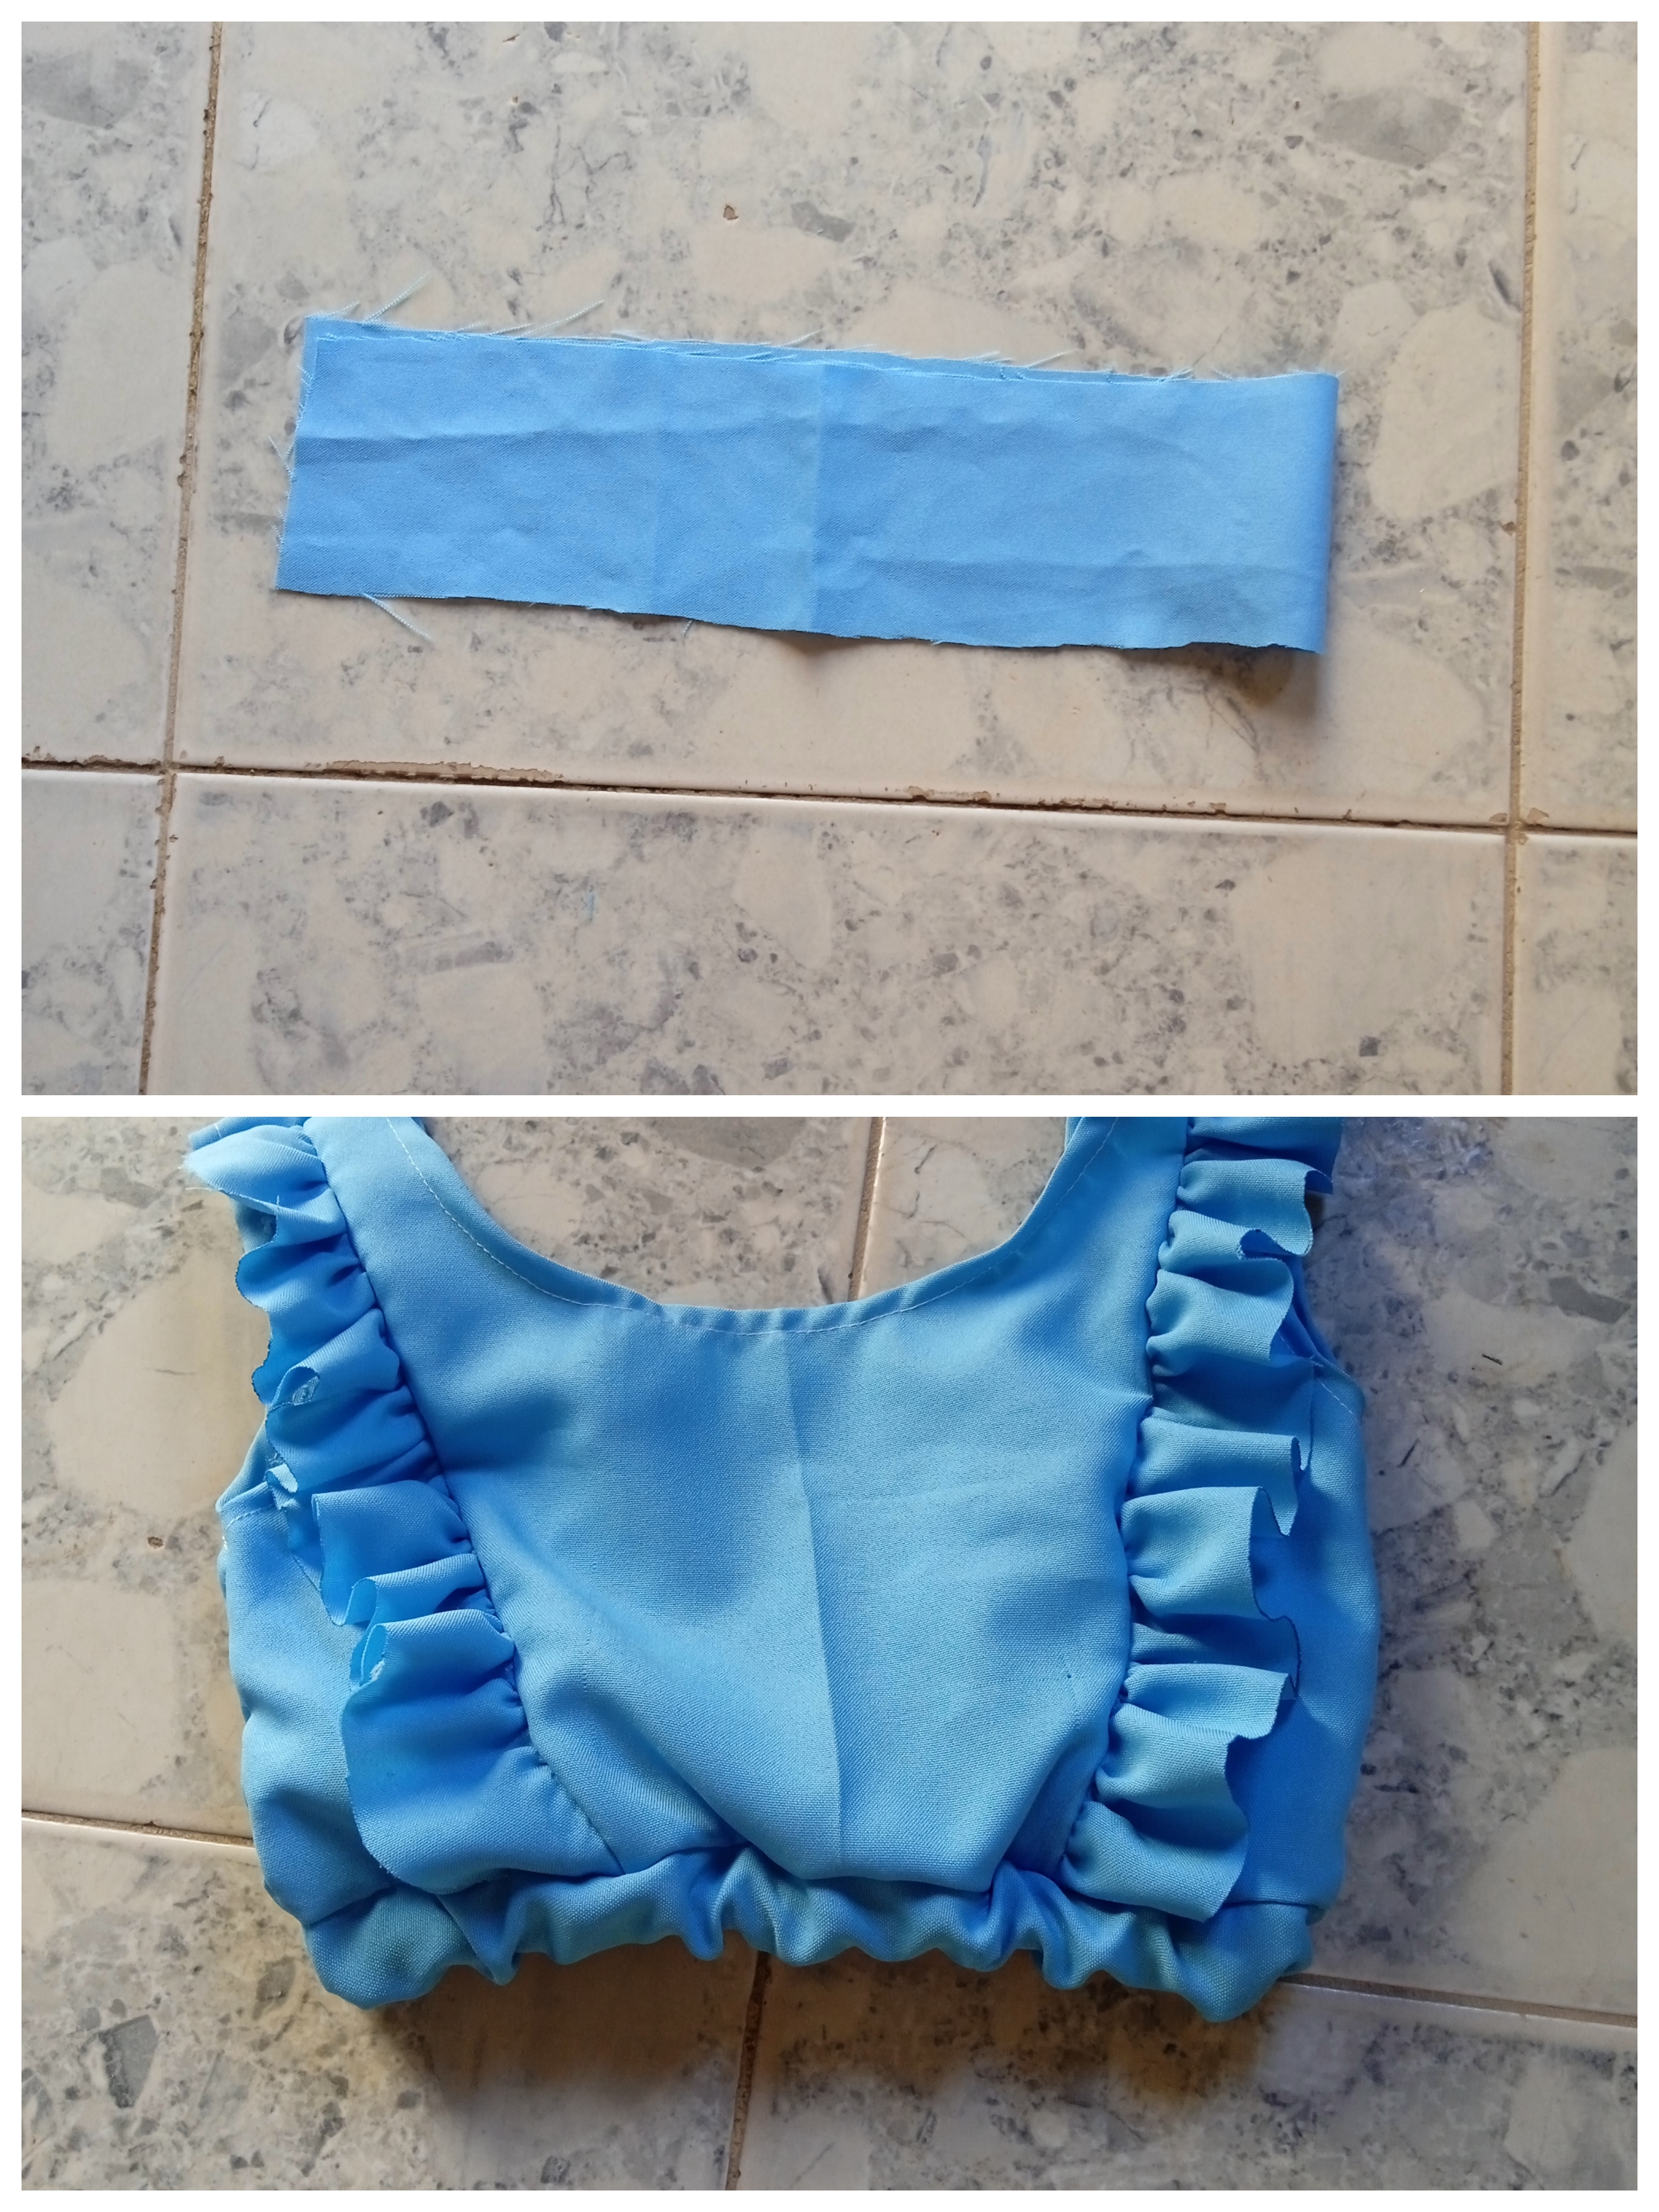
Paso 10.
Finalmente cosemos dos cordones y cosemos para sujetar al short como le dije antes.
Step 10.
Finally we sew two cords and sew to attach the short as I told you before.
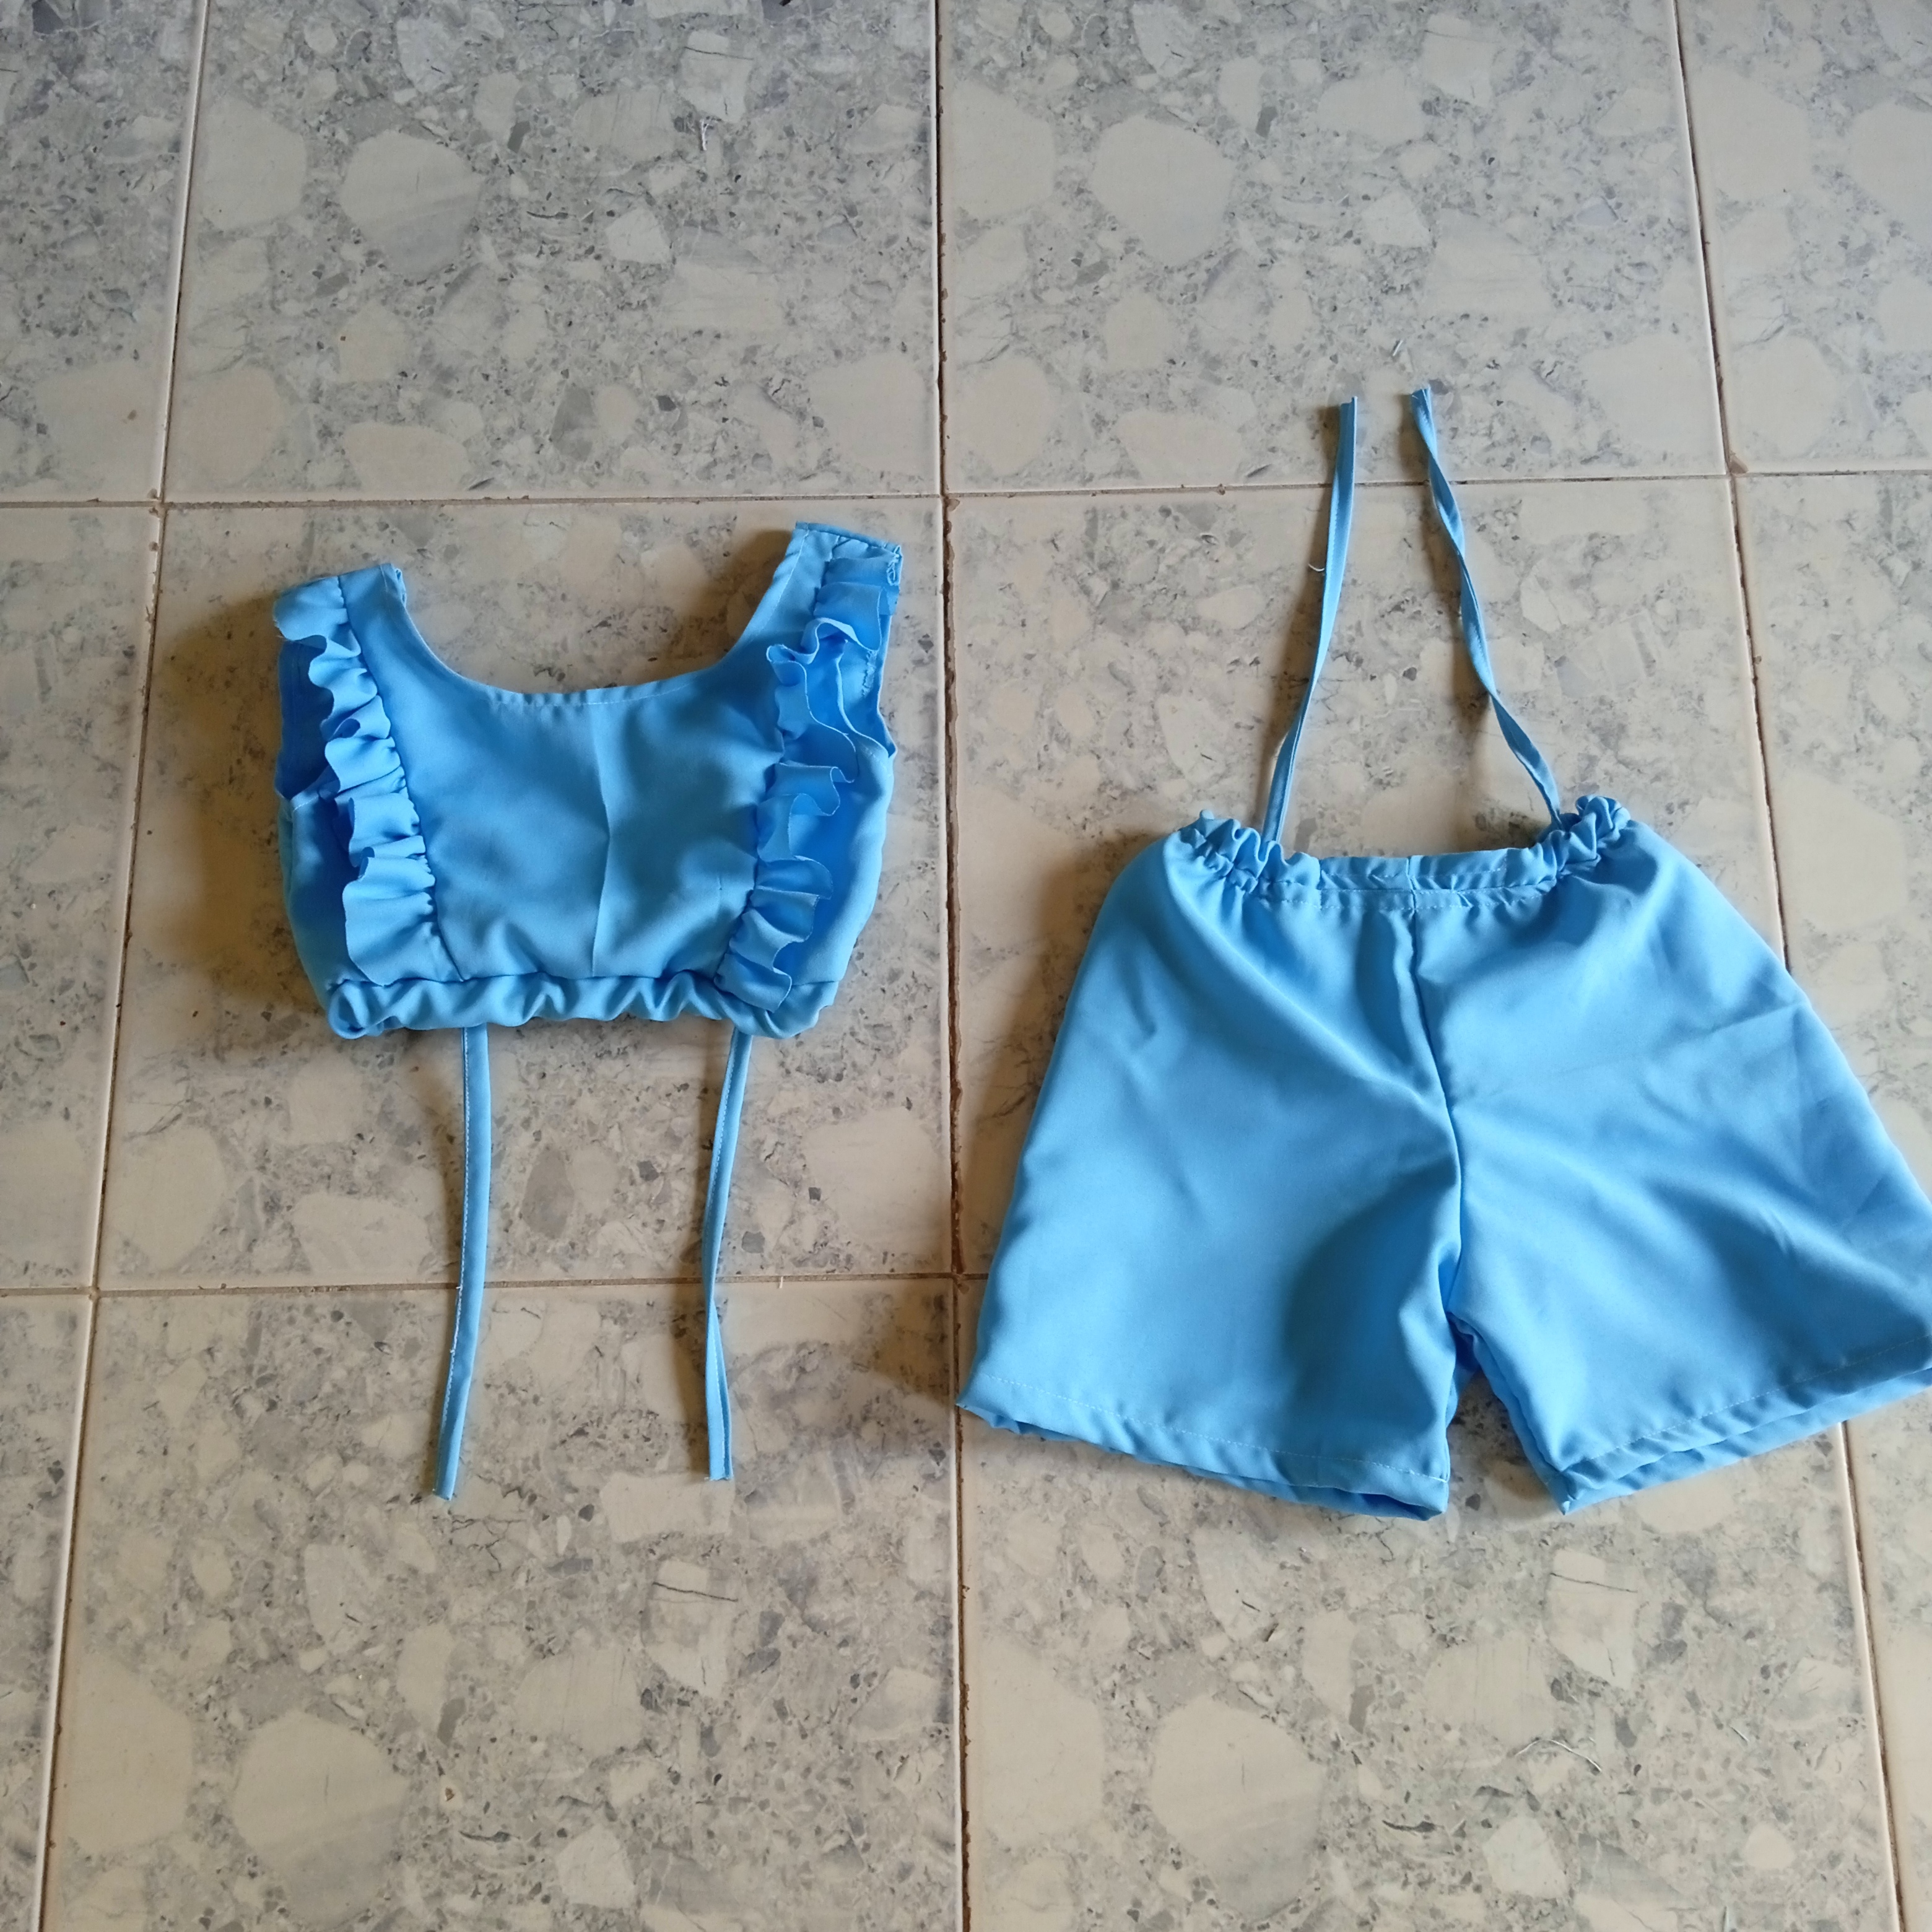
This is how this cute set of shorts and top with ruffle and laces looks. Beautiful and comfortable for the princesses of the house, go ahead and make it for the princesses who deserve it!😃

It has been a pleasure sharing my new sewing project with all of you. I hope you like it.
Muchas gracias por visitar mi blog, nos leemos pronto, cuidense mucho. Se les quiere🙏🤗.
Thank you very much for visiting my blog, we will see you soon, take care of yourselves. They are loved🙏🤗.
Contenido de mi autoria.
Fotor capturadas por mi teléfono Redmi9
Editor: GriadArt
Traductor: Google.com
Content of my authorship.
Photo captured by my Redmi9 phone.
Publisher: GriadArt.
Translator: Google.com
The outfit is adorable. Those ruffles and laces are just perfect. Good Job.
Muchas gracias🤗😚
Te quedó muy bonito amiga. Me gustó mucho 😘.
Muchas gracias amiga, siempre será un gusto compartir mi trabajo con todos. Saludos!!