Bienvenidos | Welcome 💕
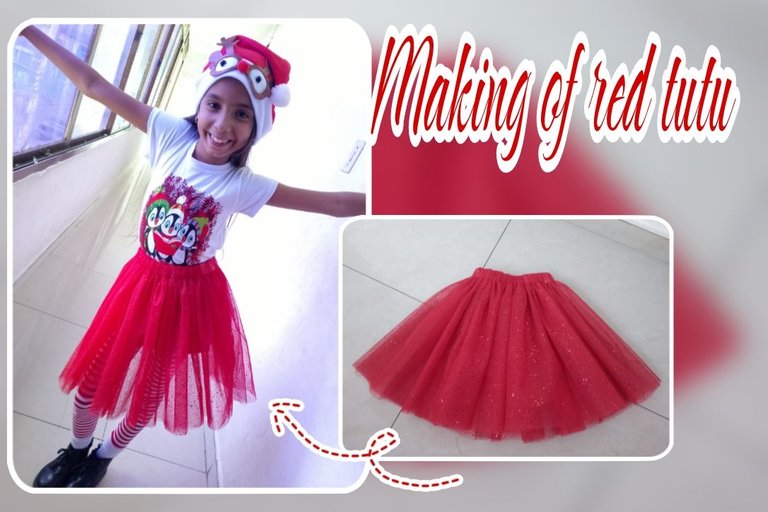
Hola amigos Hivers ❤️ espero que se encuentren muy bien. En esta oportunidad traigo un tutorial de como realizar un tutu de una manera fácil, este es un trabajo especial para mi sobrina. Necesitaba un tutu para su cierre de proyecto que era con temática de navidad y por supuesto el tutu rojo es el boom en los niñas ahorita, mi tía consiguió una tela muy linda, brillante y puse manos a la obra.
Hello friends Hivers ❤️ I hope you are very well. This time I bring a tutorial on how to make a tutu in an easy way, this is a special job for my niece. She needed a tutu for her closing project which was Christmas themed and of course the red tutu is the boom in girls right now, my aunt got a very nice, shiny fabric and I put my hands to work.

Paso a paso Step by step
- En este tutu utilice dos metros de tela de malla brillantes, que corte a la mitad quedando dos pedazos iguales en tamaño los cuales uniré en los extremos para hacer una sola pieza.
In this tutu I used two meters of shiny mesh fabric, which I cut in half leaving two pieces equal in size which I will join at the ends to make a single piece.
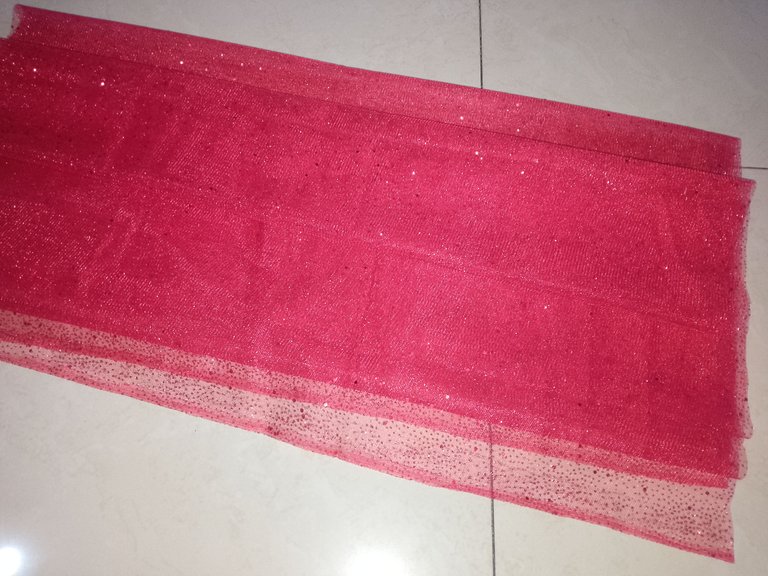
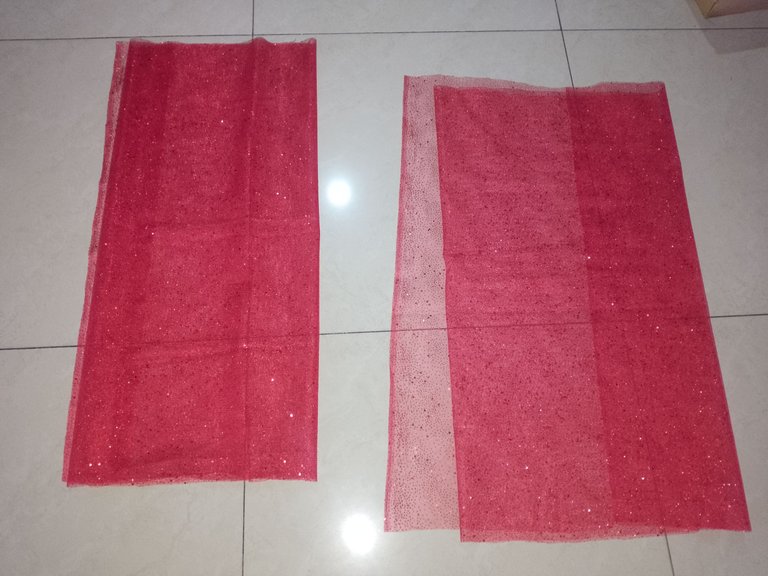
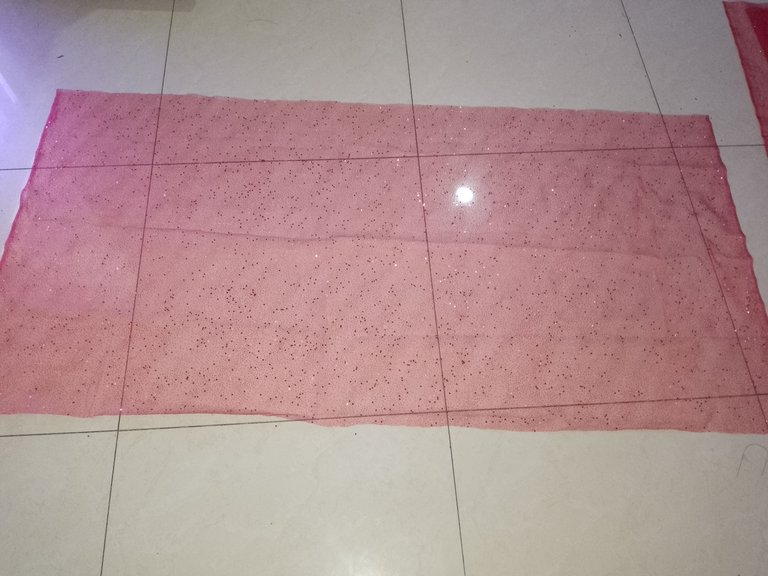
- Al tenerla cosida en sus extremos nos quedara una pieza cerrada que doblaremos a la mitad hacia adentro, esto es para que nos quede doble y no tan claro.
By having it sewn at its ends we will have a closed piece that we will fold in half inward, this is so that it is double and not so clear.
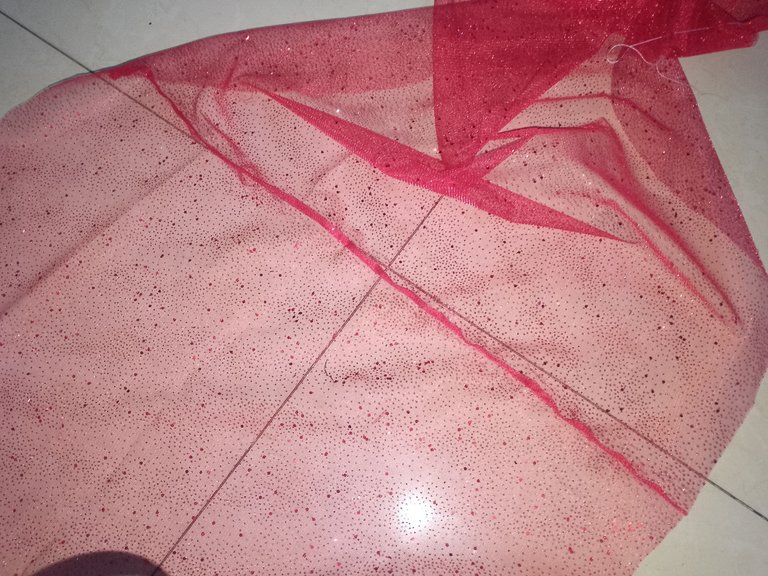
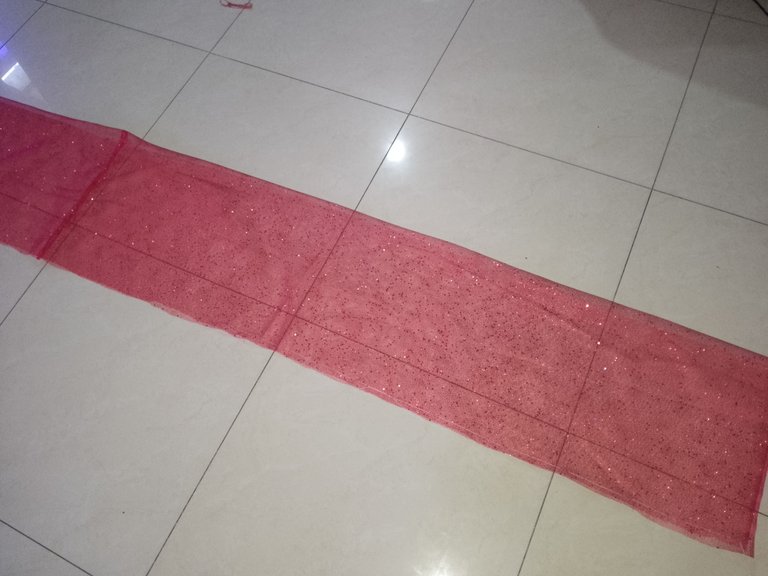
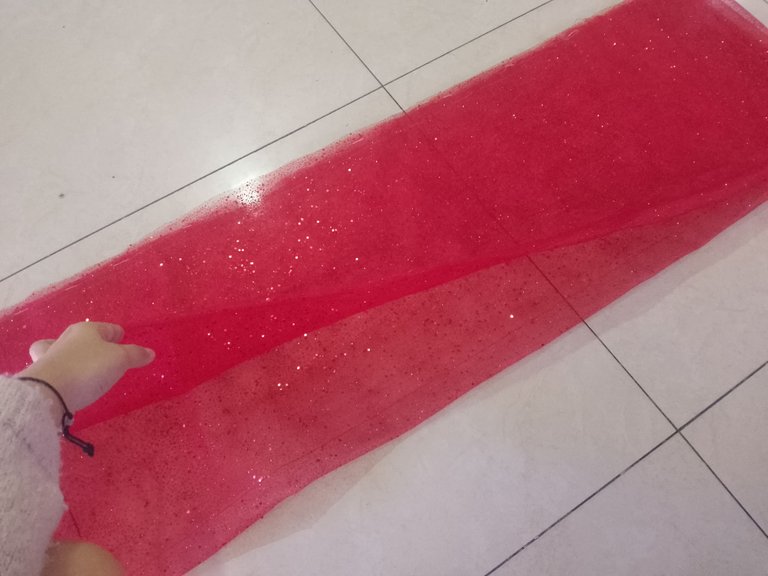
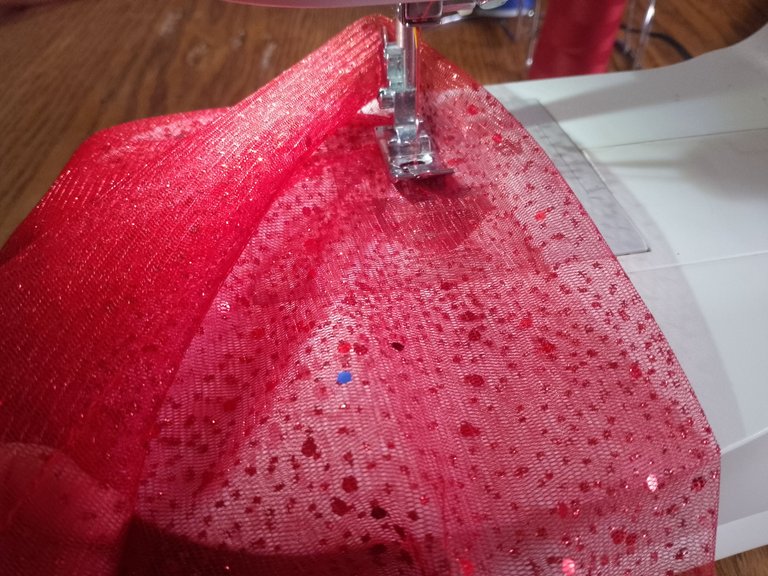
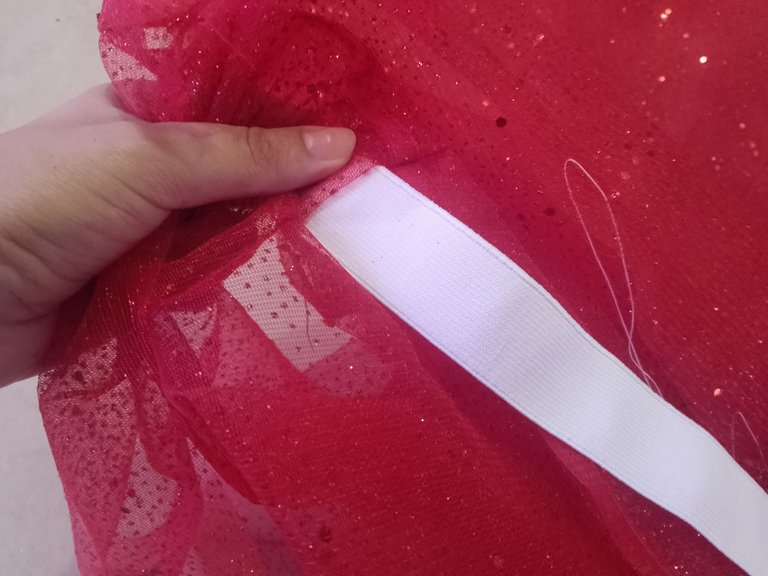
- El siguiente paso es coser el caminos por donde introduciremos la elástica dejando un espacio en esta costura para introducir esta, luego que tenemos la elástica en el tutu, cerramos el espacio por donde la introducimos y con esto culminamos.
The next step is to sew the paths where we will introduce the elastic leaving a space in this seam to introduce it, after we have the elastic in the tutu, we close the space where we introduce it and with this we finish.
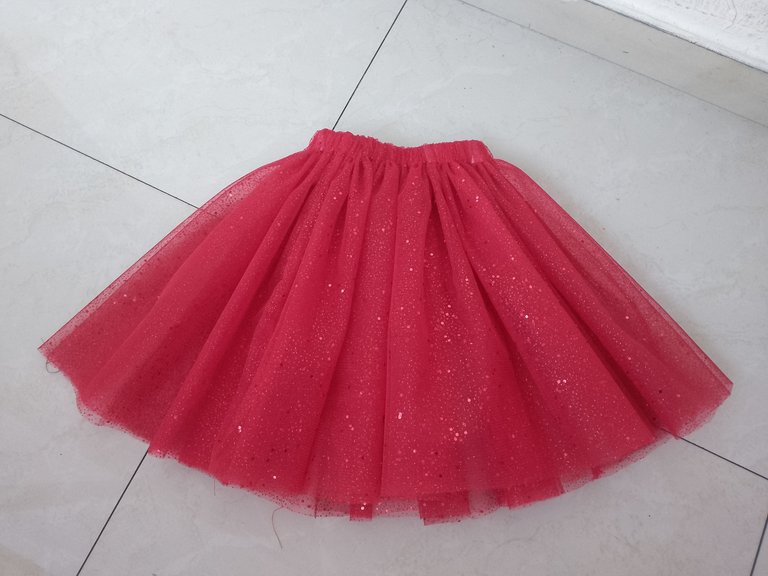
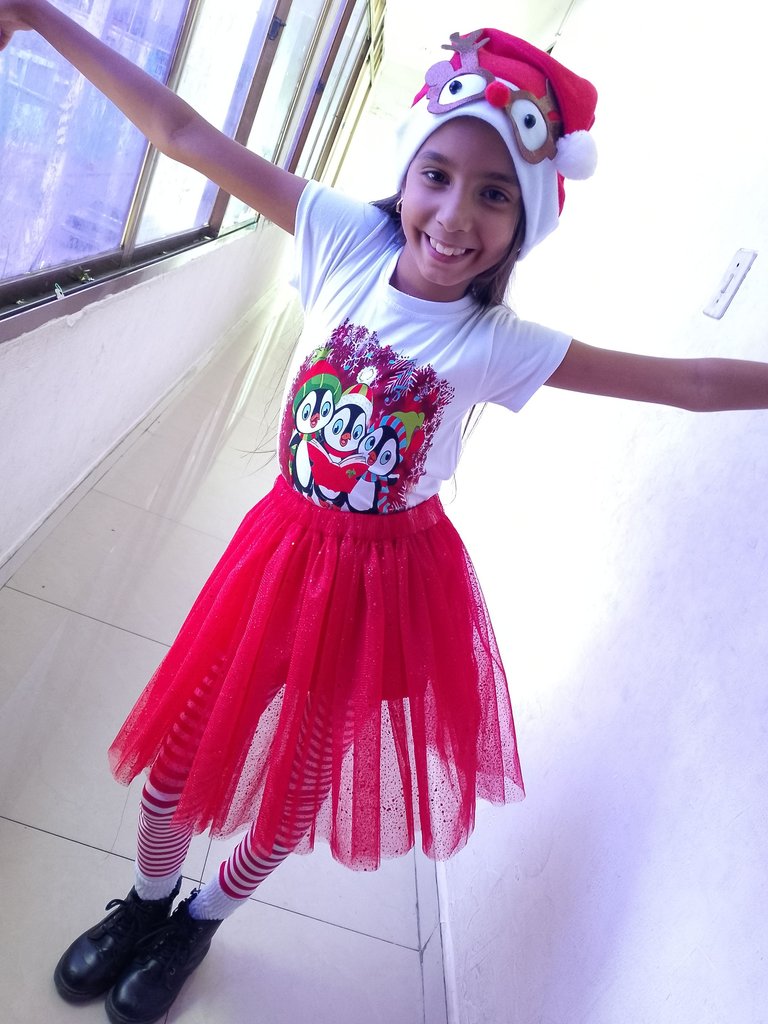
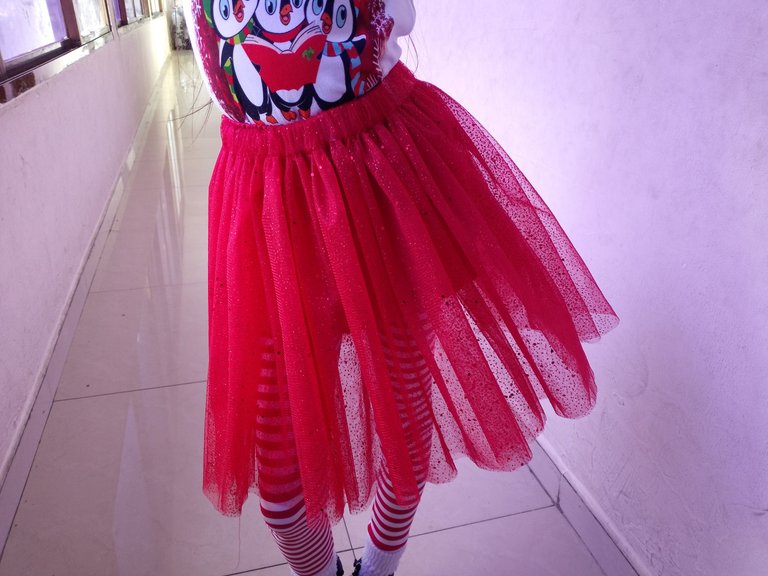
Y así quedo la confección de este tutu hermoso para mi sobrina. Espero les guste este paso a paso.
And this is how I made this beautiful tutu for my niece. I hope you like this step by step


♡ Imágenes y textos son propiedad del autor
♡ Edición: Canva - Picsart
♡ Traductor: DeepL
♡ Images and texts are property of the author.
♡ Editing: Canva - Picsart
♡ Translator: DeepL
It looks beautiful on her
Such a beautiful skirt and useful for the season. She looks pretty wearing them.
thank you for visiting my post
Looks amazing
This looks so nice on her, I love the style, thanks for sharing
thank you😘
WOW! It looks pretty good. It is stylish and beautiful. Good to see how you made this. Well done!
Congratulations @angelys! You have completed the following achievement on the Hive blockchain And have been rewarded with New badge(s)
Your next target is to reach 45000 upvotes.
You can view your badges on your board and compare yourself to others in the Ranking
If you no longer want to receive notifications, reply to this comment with the word
STOPCheck out our last posts:
Hermoso tutu te felicito, aunque más hermosa esta la modelo, feliz noche
gracias amiga 😘
Te quedo hermoso, la sonrisa de tu sobrina lo certifica, buen trabajo amiga, felicidades.💖🤗
Lo lucio muy bien. Gracias por tu comentario
Muy linda se ve feliz.❤️