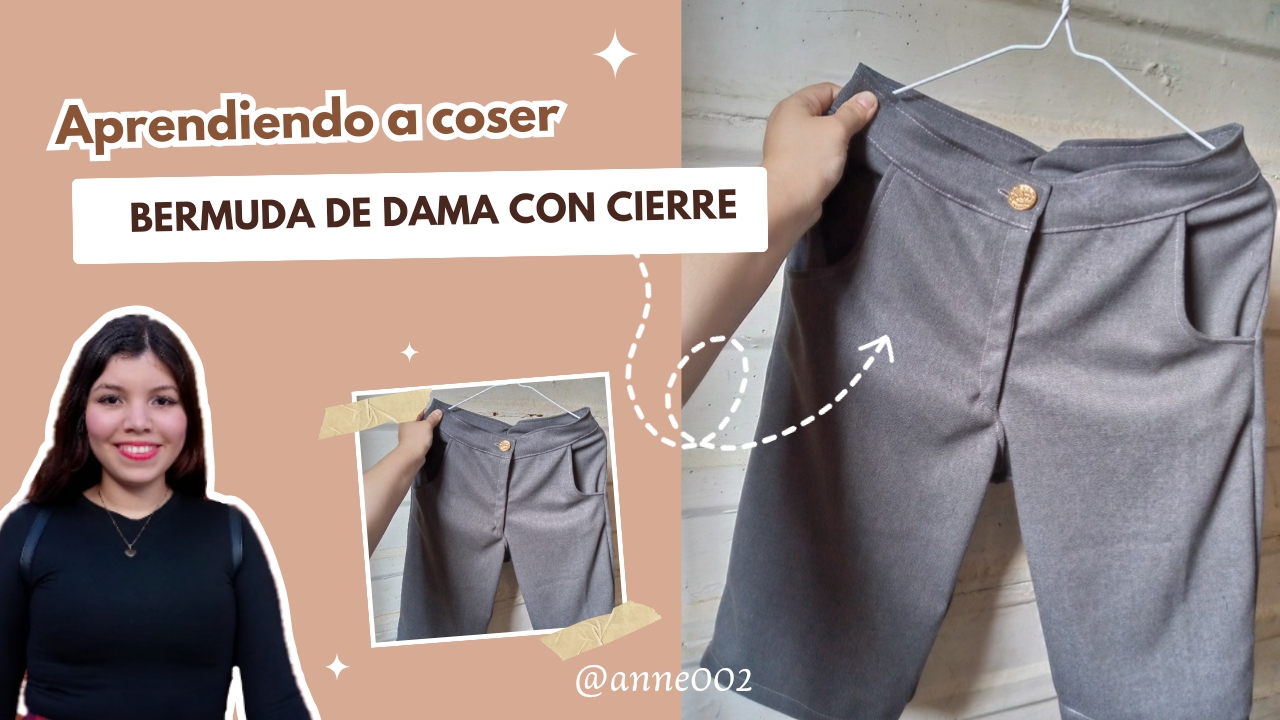
✨🩳Aprendiendo a coser bermuda con cierre //Learning to sew Bermuda shorts with zipper🩳✨[Esp~Eng]

in NeedleWorkMonday7 days ago (edited)

Picsart_25-01-02_14-14-21-546.jpg

Feliz tarde amigos ,hace días bueno ya una semana había cortado una bermuda de una tela que yo había comprado especialmente para eso pero que me asustaba mucho coser ,ya les cuento por qué, resulta que cuando hice el curso de costura una de las cosas básicas que te enseñan es como coser botones ojales coser a mano y pegar cierres de falda tanto como de pantalón cosa que yo desde el principio no habia aprendido aunque me habian enseñado en el curso asi que como esta bermuda tenía que llevar cierre ya que la tela no estira yo decia que no lo iba a hacer bien y decia para mis adentros no se por qué se me ha ocurrido hacer bermudas con cierre por que no hacerme una normal y ya pero no yo quise tomar esto como un reto como una nueva meta de aprendizaje para este año enfocarme en coser un poco mejor los cierres de pantalón y falda porque aunque tenia poco conocimiento no estoy especializada pero algo que se es que siempre se puede aprender a hacer algo práctica dolo siempre y poniéndole todo el empeño.

Good afternoon friends, a few days ago, well a week ago I cut a bermuda short from a fabric that I had bought especially for that but that scared me a lot about sewing, now I'll tell you why, it turns out that when I took the sewing course one of the basic things they teach you is how to sew buttons, buttonholes, hand sew and glue skirt and pants zippers, something that I had not learned from the beginning although they had taught me in the course, so since these bermuda shorts had to have a zipper since the fabric does not stretch, I said that I was not going to do it well and I said to myself I don't know why it occurred to me to make bermuda shorts with a zipper why not make a normal one and that's it but no, I wanted to take this as a challenge as a new learning goal for this year to focus on sewing pants and skirt zippers a little better because although I had little knowledge I am not specialized but something I do know is that you can always learn to do something by practicing always and putting all your effort into it.

Picsart_24-11-15_15-51-20-828 (1).jpg

Cuando le pones empeño a hacer algo que no puedes te juro que al final logras aprender y con la práctica uno se especializa y mucho,te lo digo por experiencia propia así que quise retomar el volver a hacer esto este año y así terminar especializandome en esta faceta de costura que para mí es un reto y algo que debo cumplir satisfactoriamente hasta que lo aprenda,asi que hoy amigos te enseñaré como es que hice esta bermuda para dama de tela drill para estar en casa este tipo de tela es algo grueso asi que estaremos usando una aguja número 16 para coser en nuestra máquina,espero te guste el resultado de como fué mi experiencia cosiendo uns bermuda por primera vez 🤭😁,vamos con los materiales y el paso a paso.

When you put effort into doing something that you can't do, I swear that in the end you manage to learn and with practice one becomes very specialized, I tell you this from my own experience so I wanted to take up doing this again this year and thus end up specializing in this facet of sewing which for me is a challenge and something that I must satisfactorily fulfill until I learn it, so today friends I will show you how I made these ladies' Bermuda shorts out of drill fabric to be at home, this type of fabric is somewhat thick so we will be using a number 16 needle to sew on our machine, I hope you like the result of how my experience was sewing Bermuda shorts for the first time 🤭😁, let's go with the materials and the step by step.

1735829128431 (1) (1).jpg

Picsart_24-11-15_15-51-20-828 (1).jpg

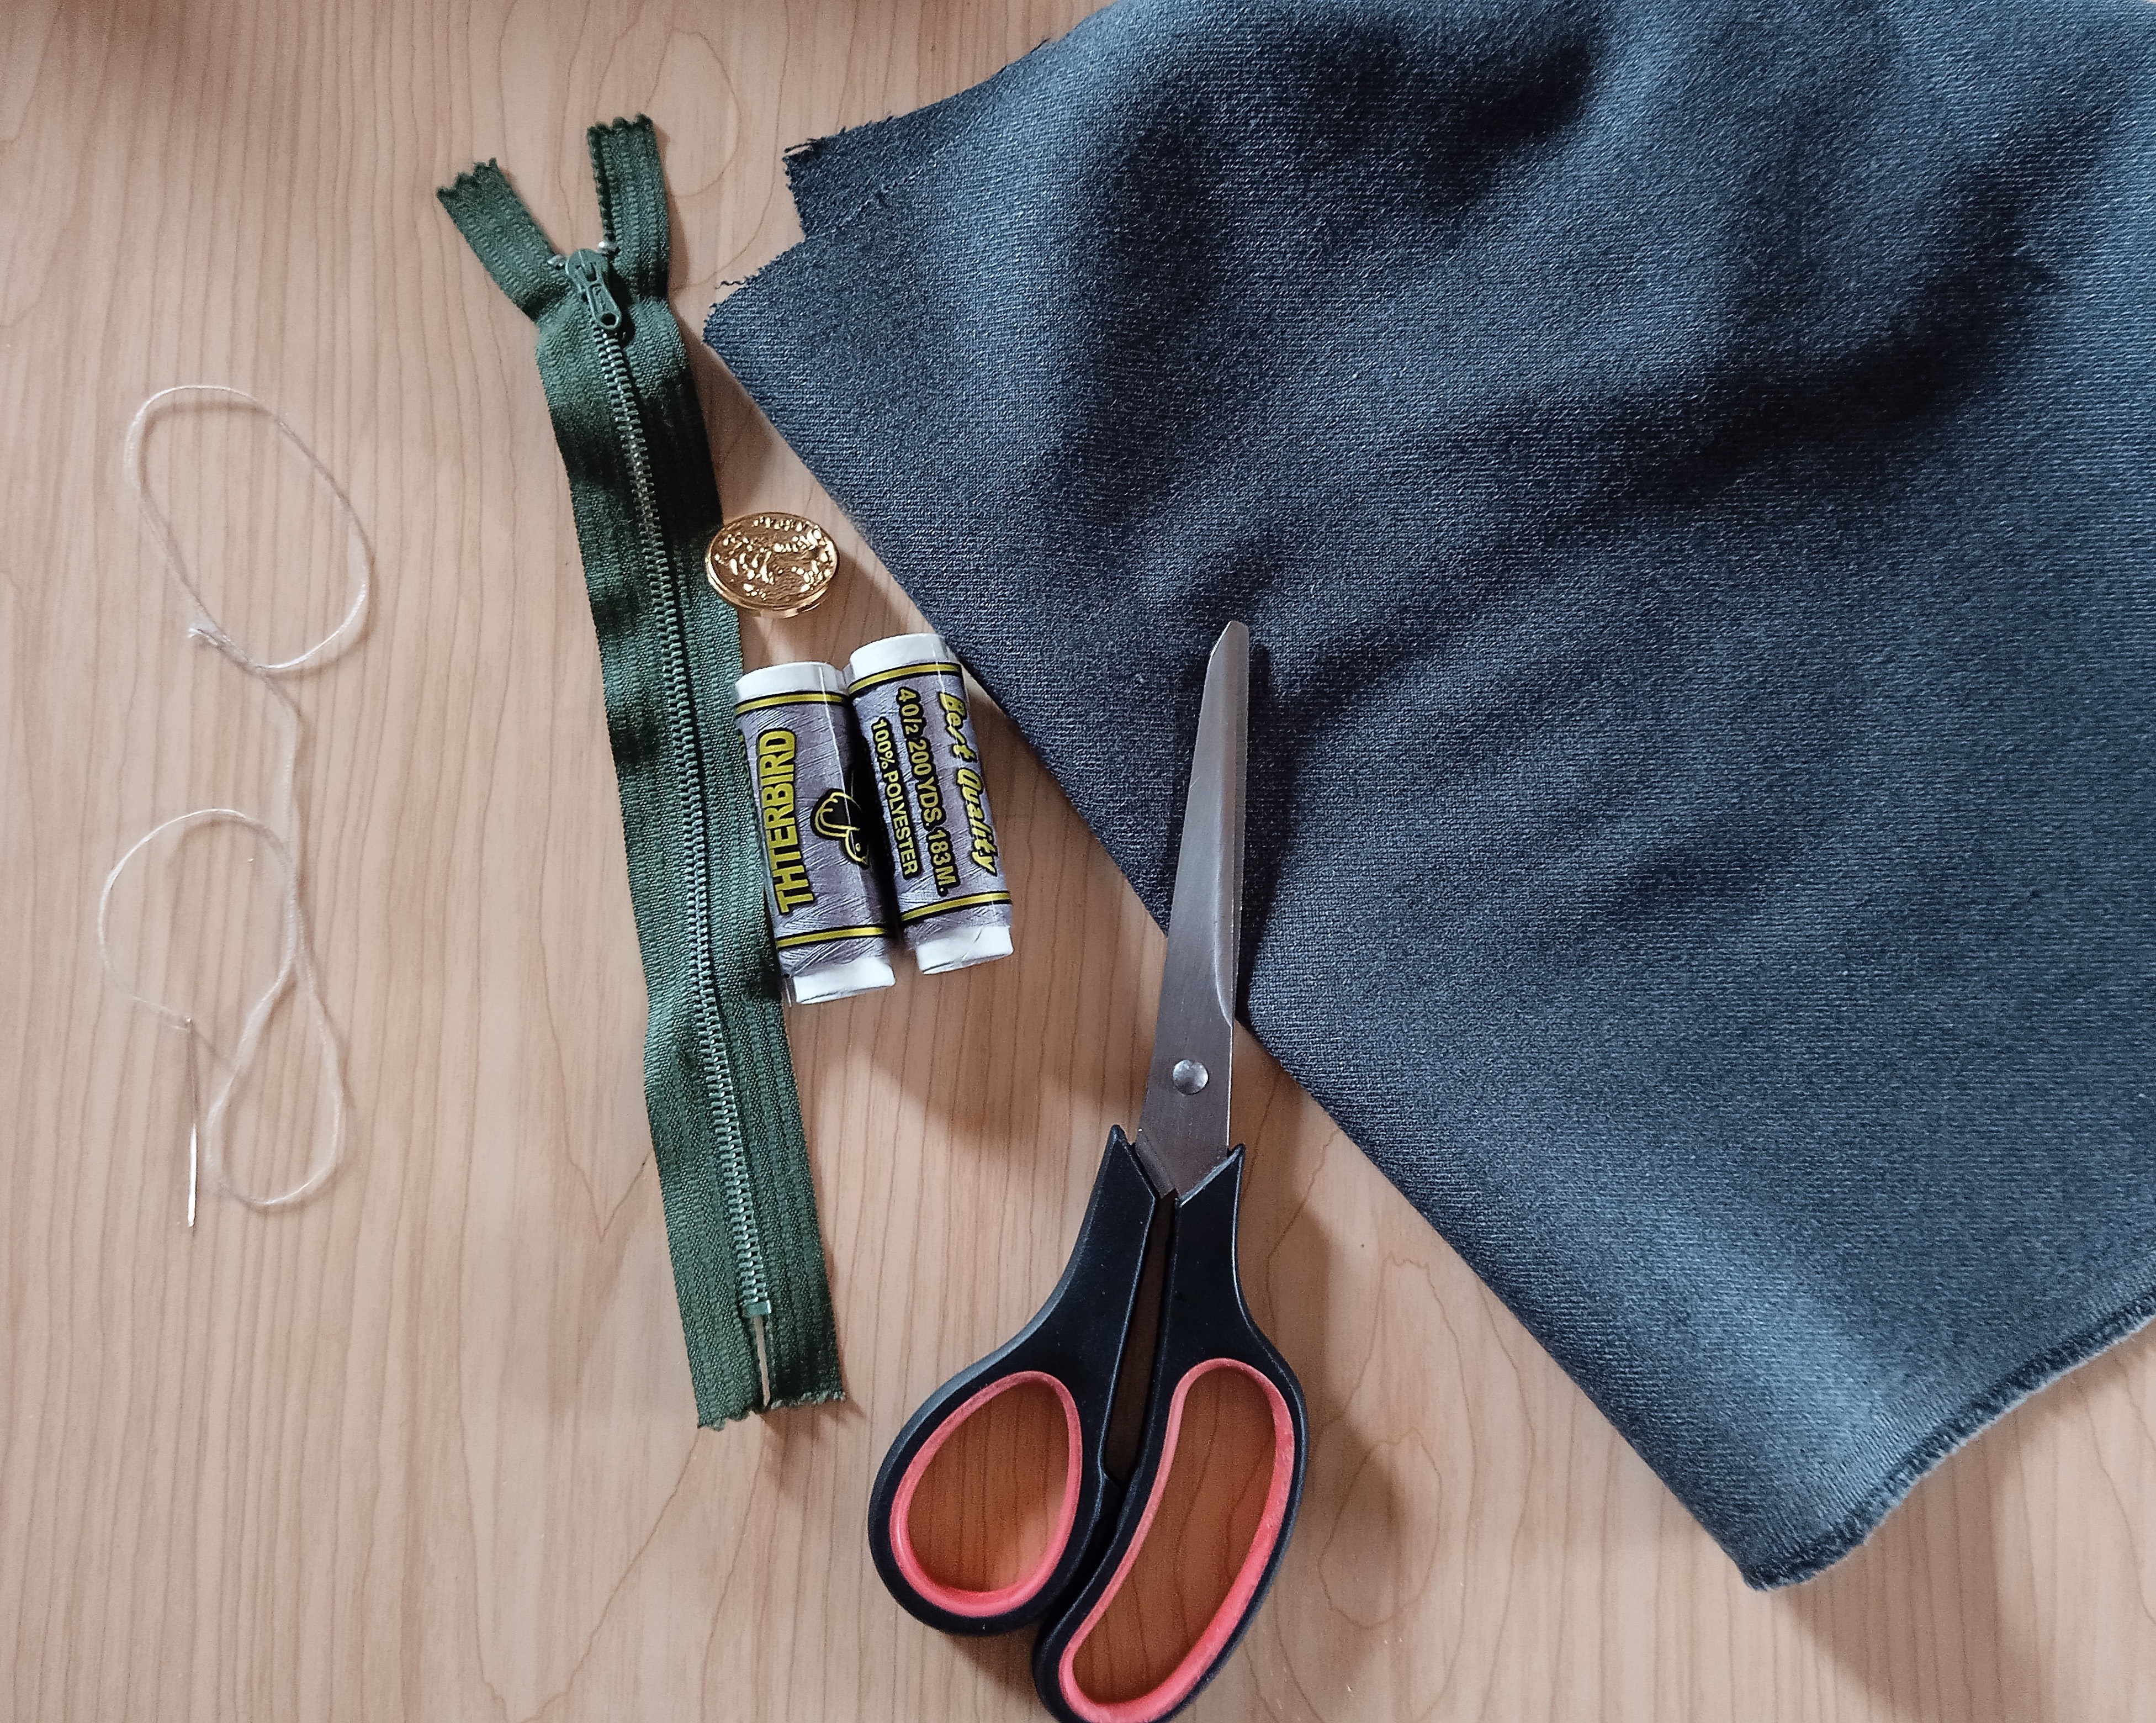
Materiales:// Materials:

  • Tela de drill 1 metro usaremos
  • Aguja y alfileres
  • Hilo
  • 1 botón
  • 1 cierre
  • Máquina de coser
  • Tijeras

  • We will use 1 meter of drill fabric
  • Needle and pins
  • Thread
  • 1 button
  • 1 zipper
  • Sewing machine
  • Scissors

Picsart_24-11-15_15-51-20-828 (1).jpg

Pasos a seguir://Steps to follow:

Picsart_25-01-02_14-27-06-207.jpg

Paso 01

Como ustedes saben el primer paso es cortar nuestras piezas para la confección así que estaré cortando dos piezas de la bermuda delantera aquí yo he usado una bermuda vieja que tenía como referencia para ayudarme a cortar,luego corté dos piezas de atrás la pretina y las dos piezas del cierre con las cuatro piezas del bolsillo.

Step 01

As you know, the first step is to cut our pieces for the garment, so I will be cutting two pieces of the front Bermuda shorts here. I used an old pair of Bermuda shorts that I had as a reference to help me cut, then I cut two pieces of the back waistband and the two pieces of the closure with the four pieces of the pocket.

IMG_20250102_110935_975.jpg

IMG_20250102_111122_068.jpg

IMG_20250102_114312_778.jpg

IMG_20250102_114527_854.jpg

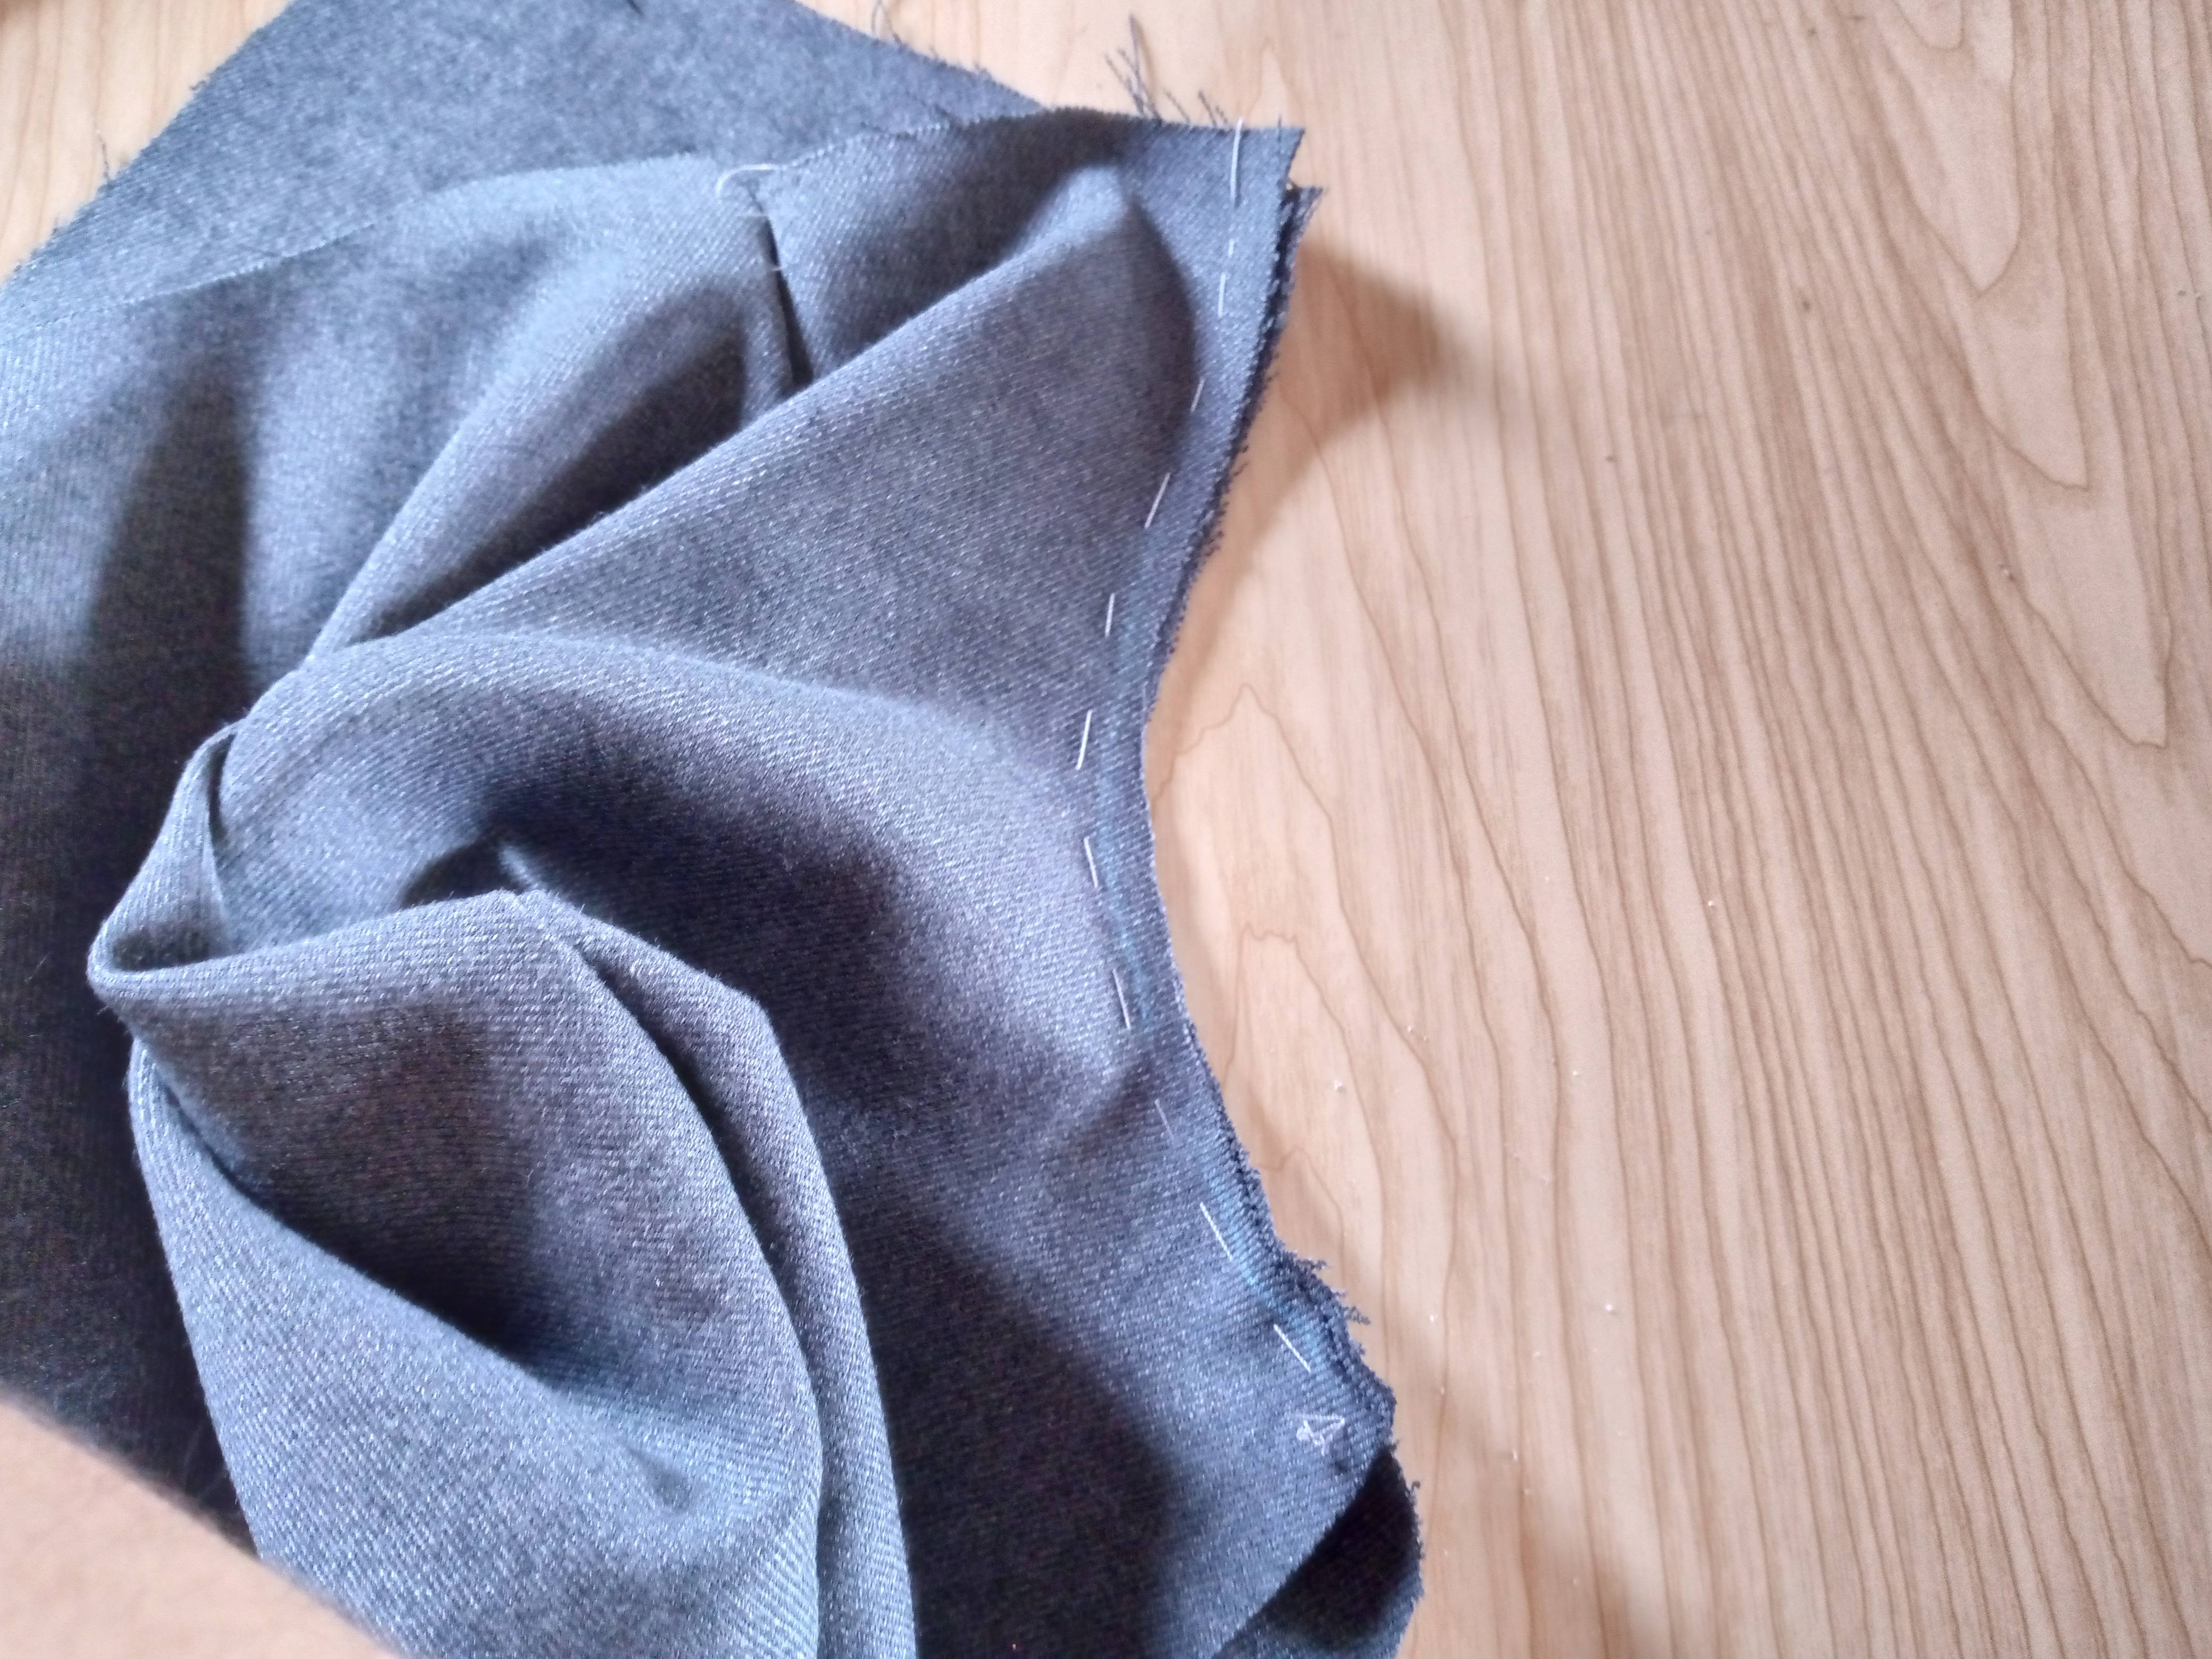
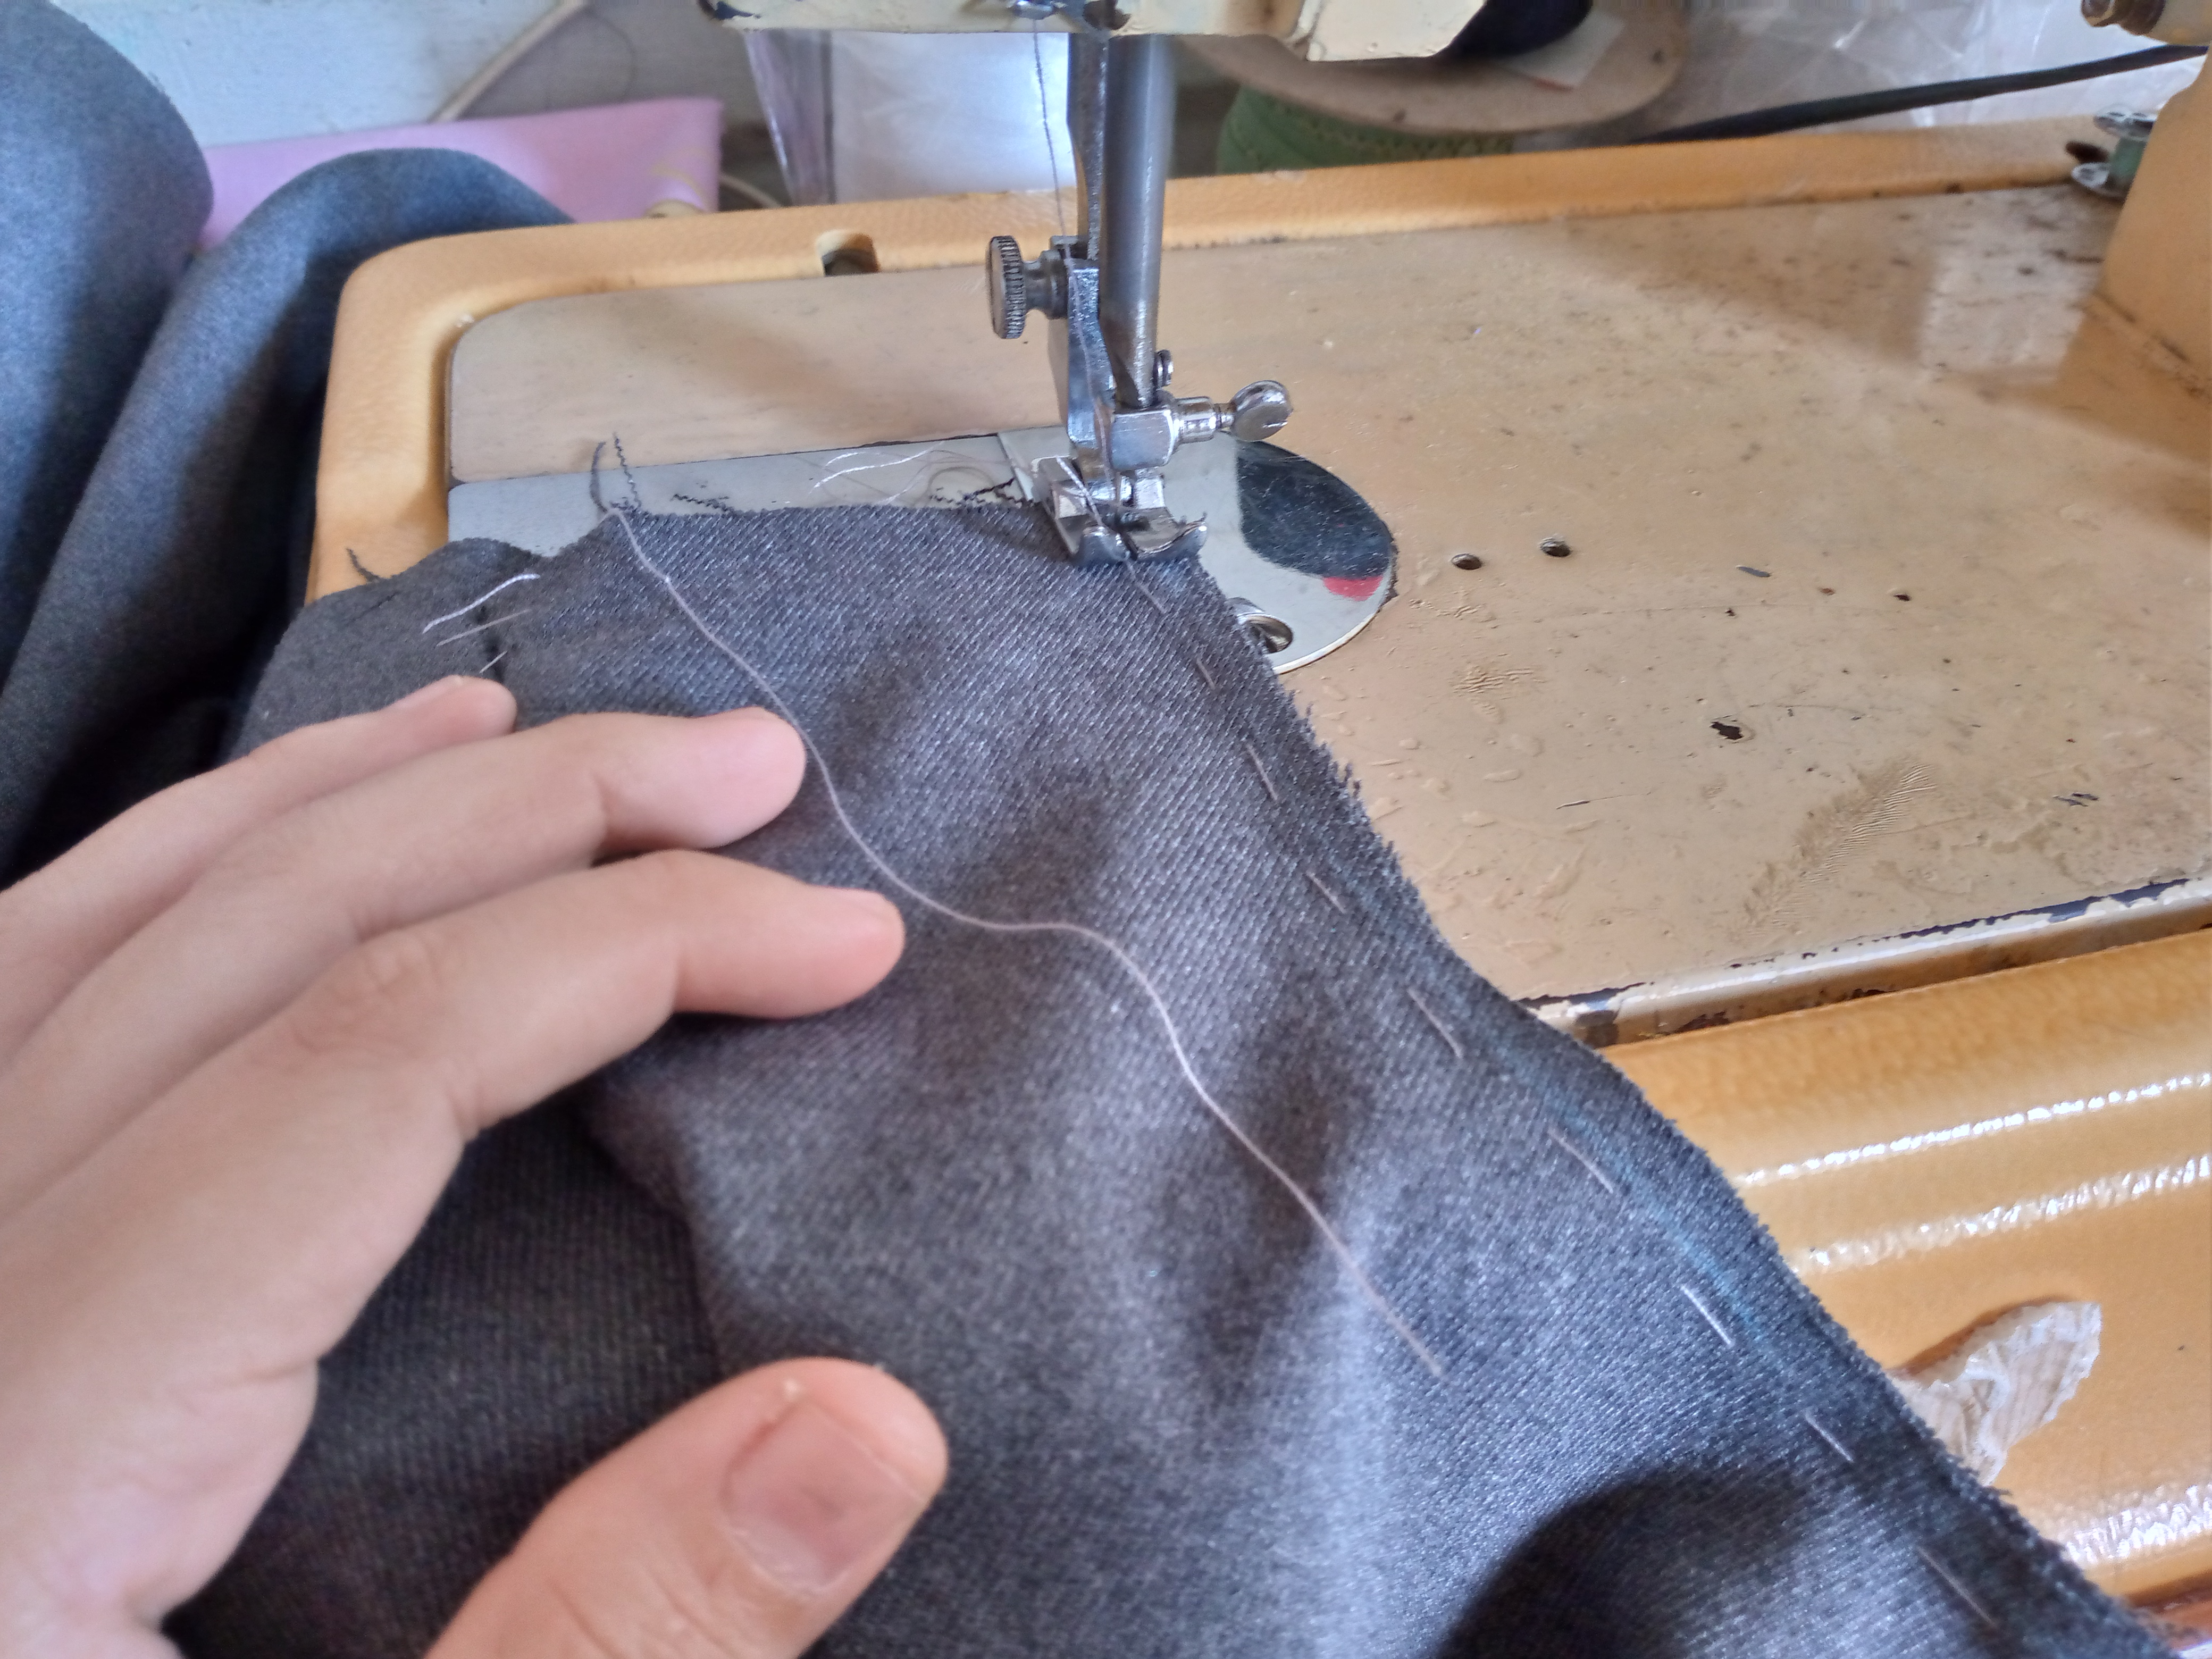
Paso 02

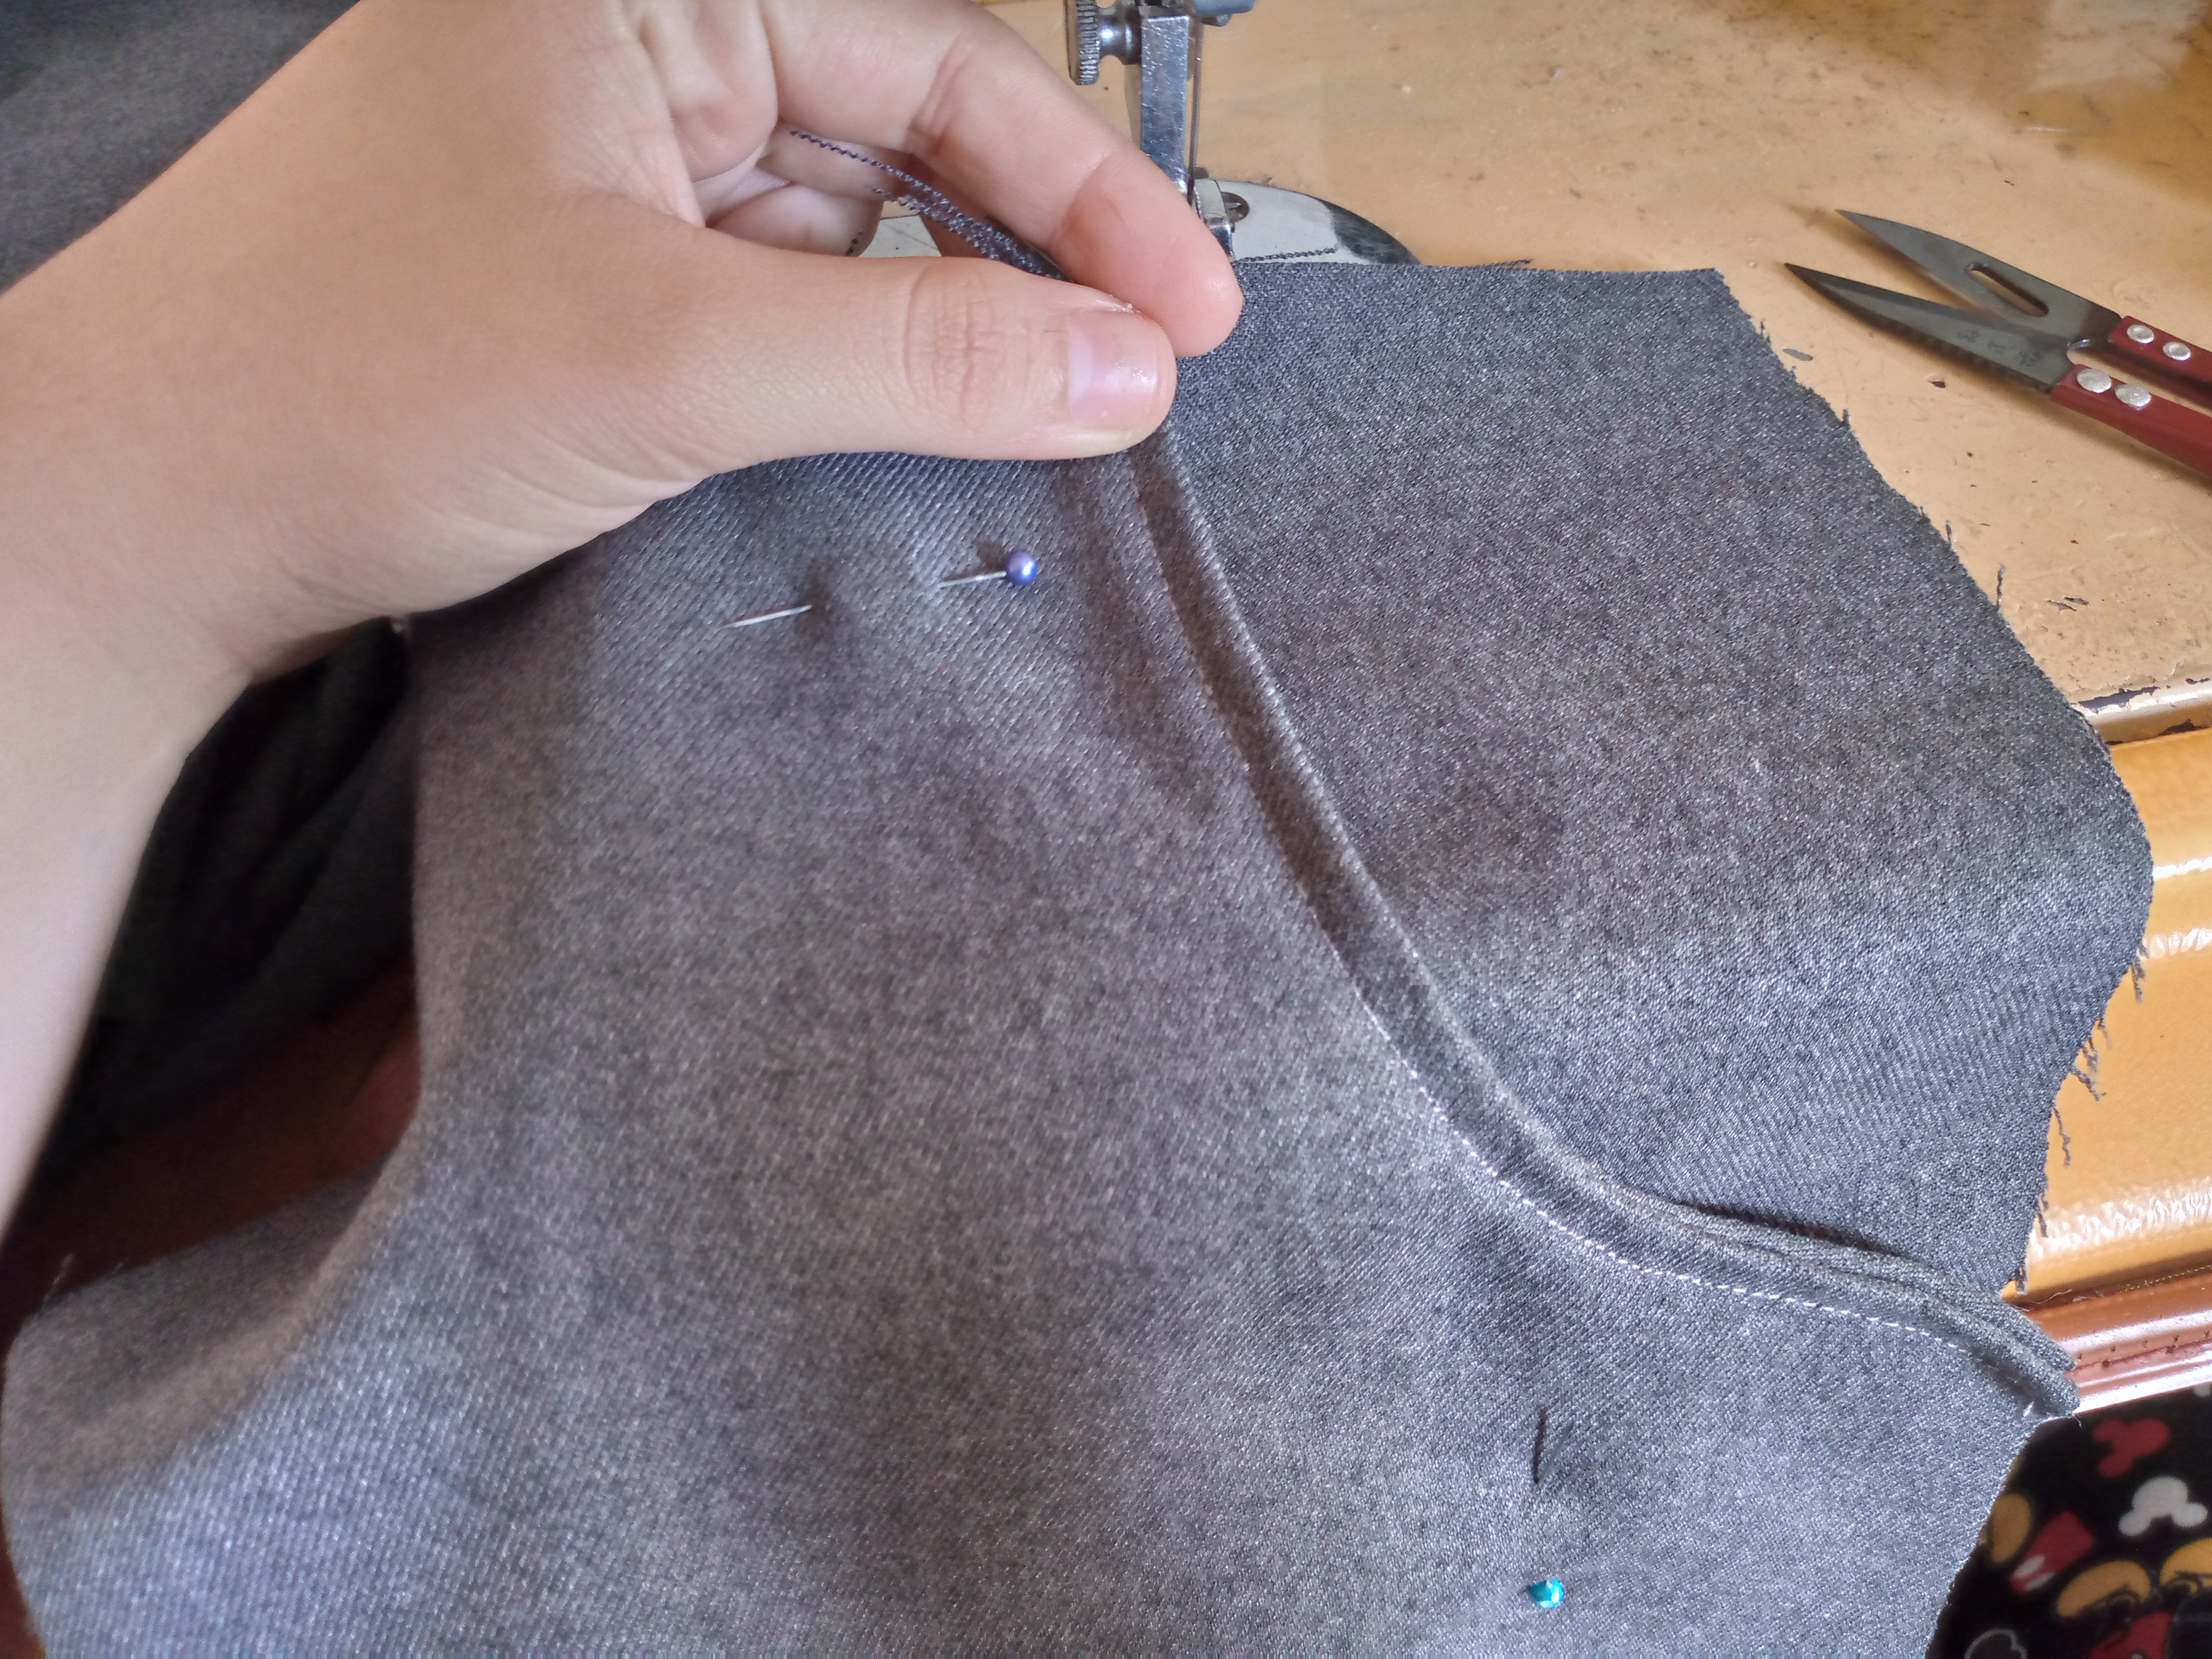
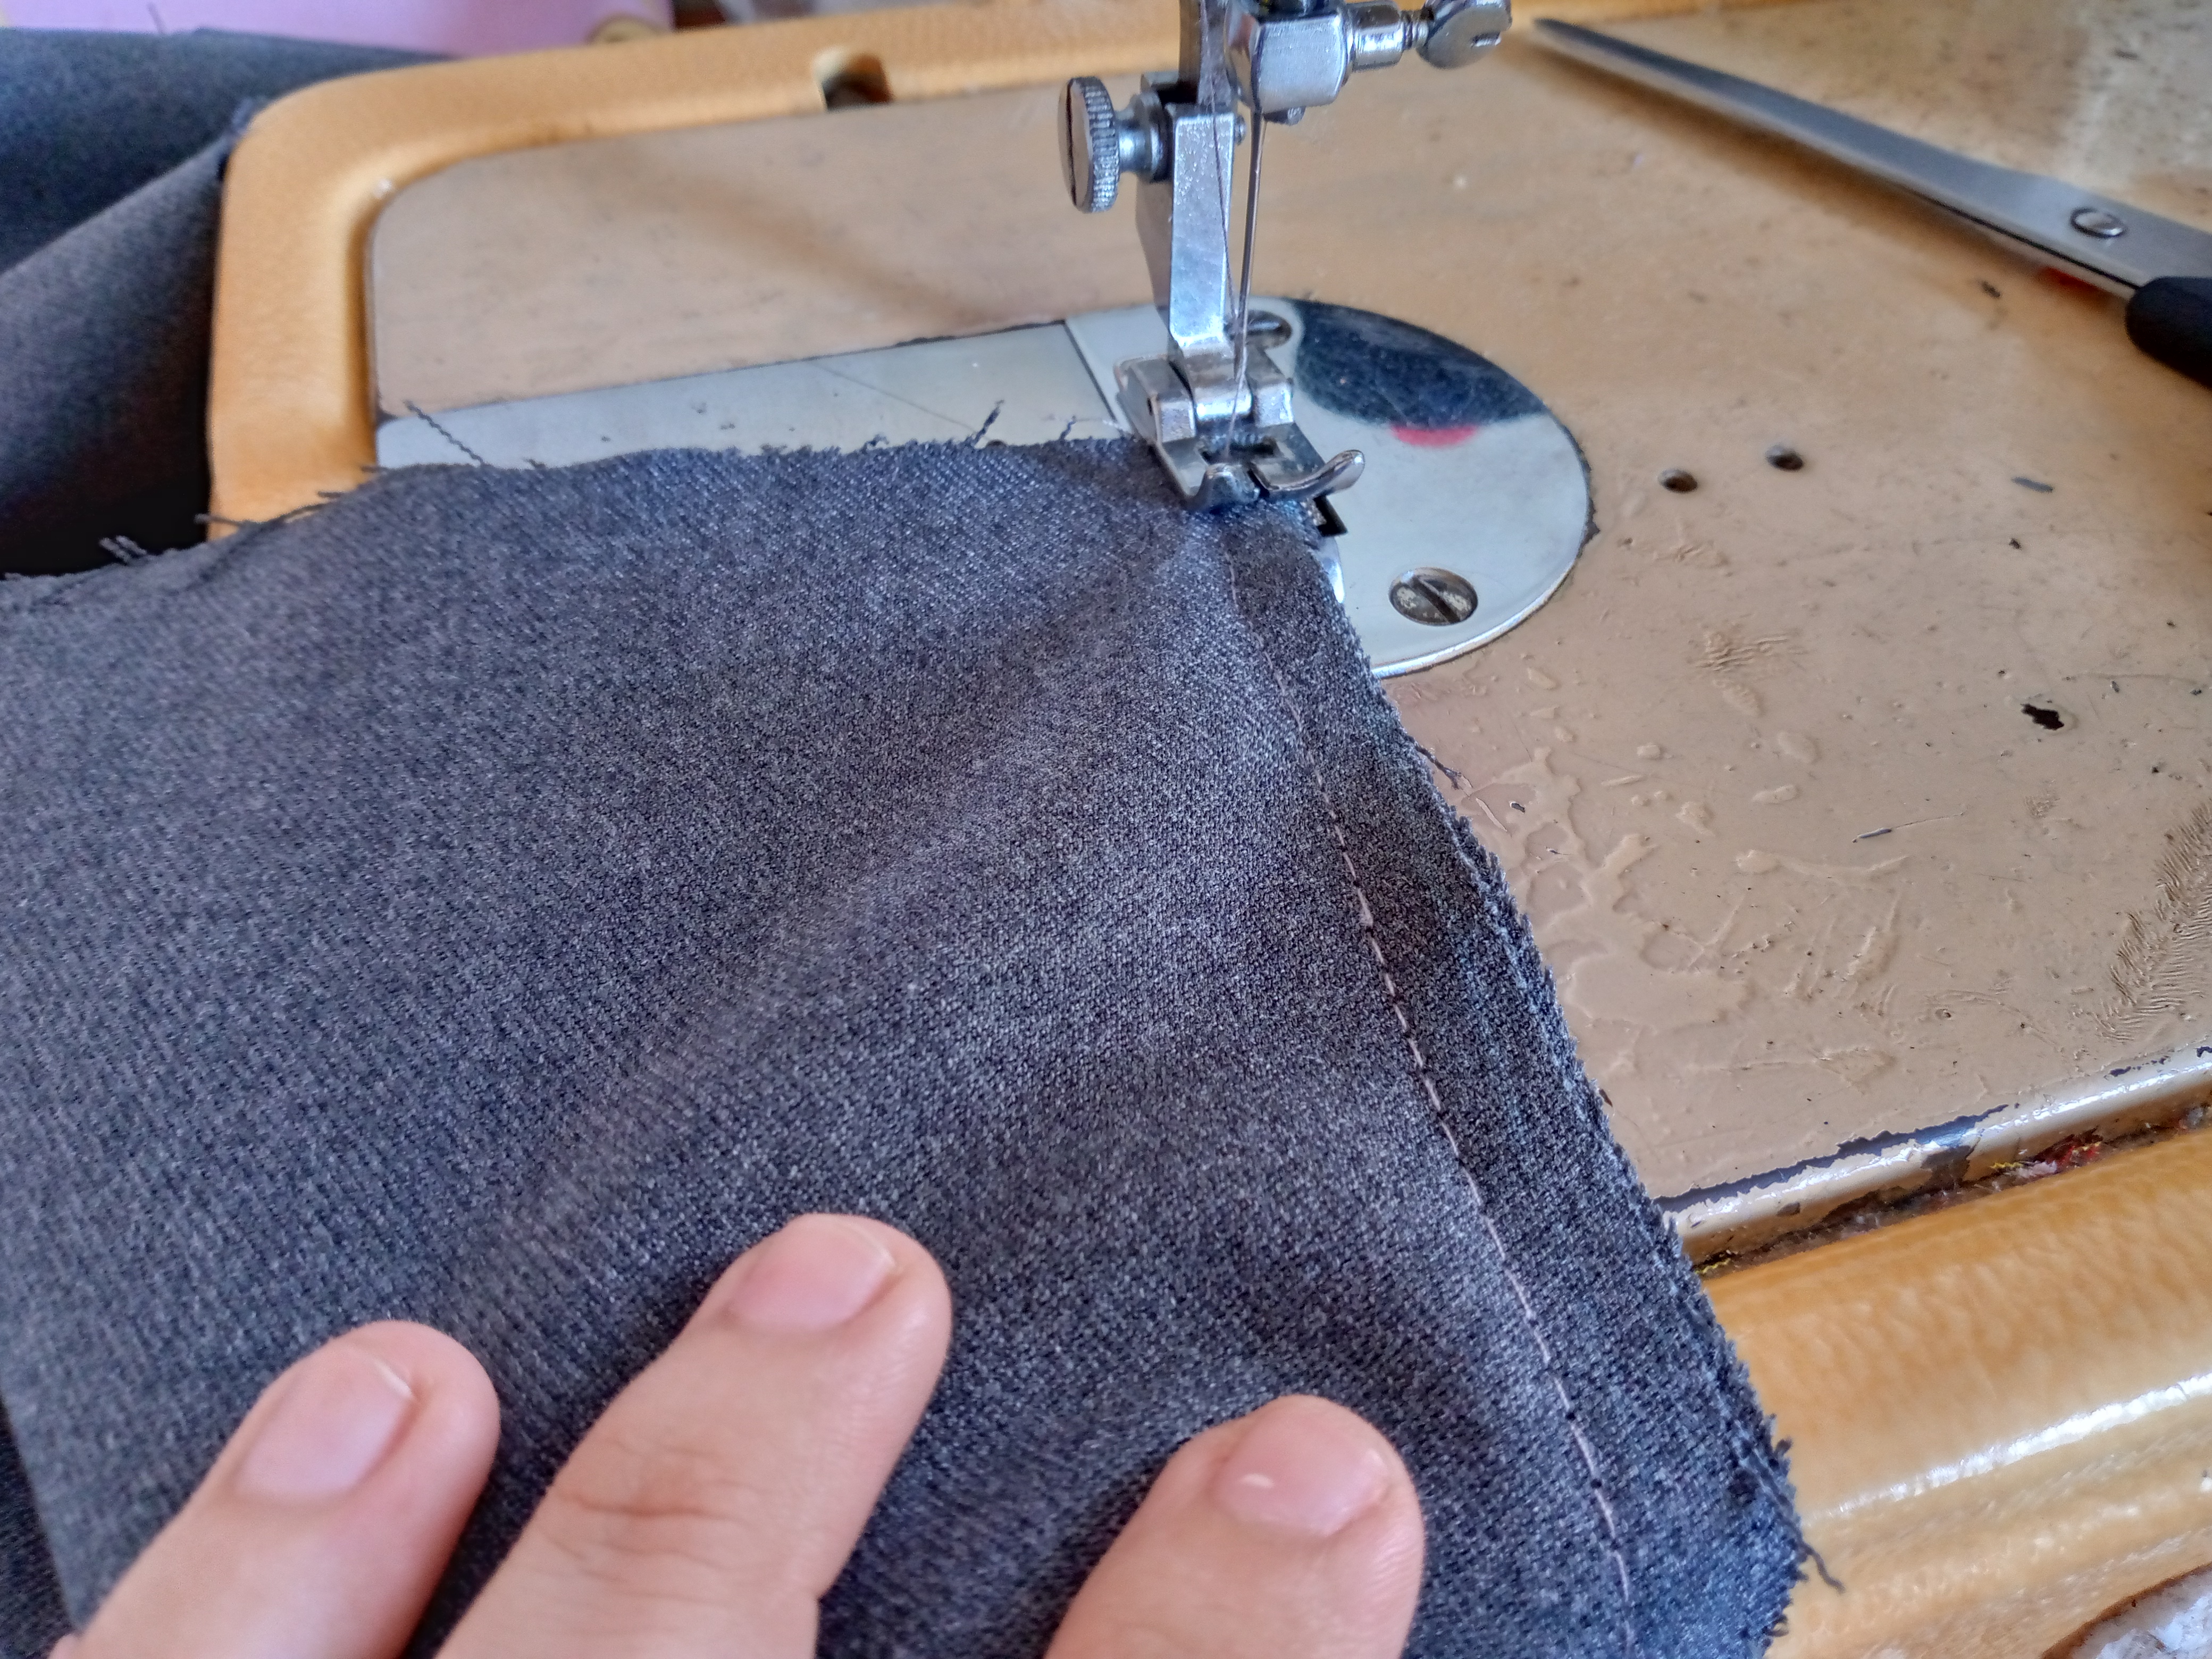
Como segundo paso estaremos basteando las piezas de los bolsillos a la piezas delanteras luego las piezas de atrás de los bolsillos y procedemos a coser a máquina luego repisamos por encima la parte de el bolsillo en la pieza delantera.

Step 02

As a second step we will be basting the pocket pieces to the front pieces, then the back pieces of the pockets and we will proceed to sew by machine then we will overlock the pocket part on the front piece.
IMG_20250102_114735_070.jpg

IMG_20250102_115845_075.jpg

IMG_20250102_120053_214 (1).jpg

IMG_20250102_120754_512.jpg

Paso 03

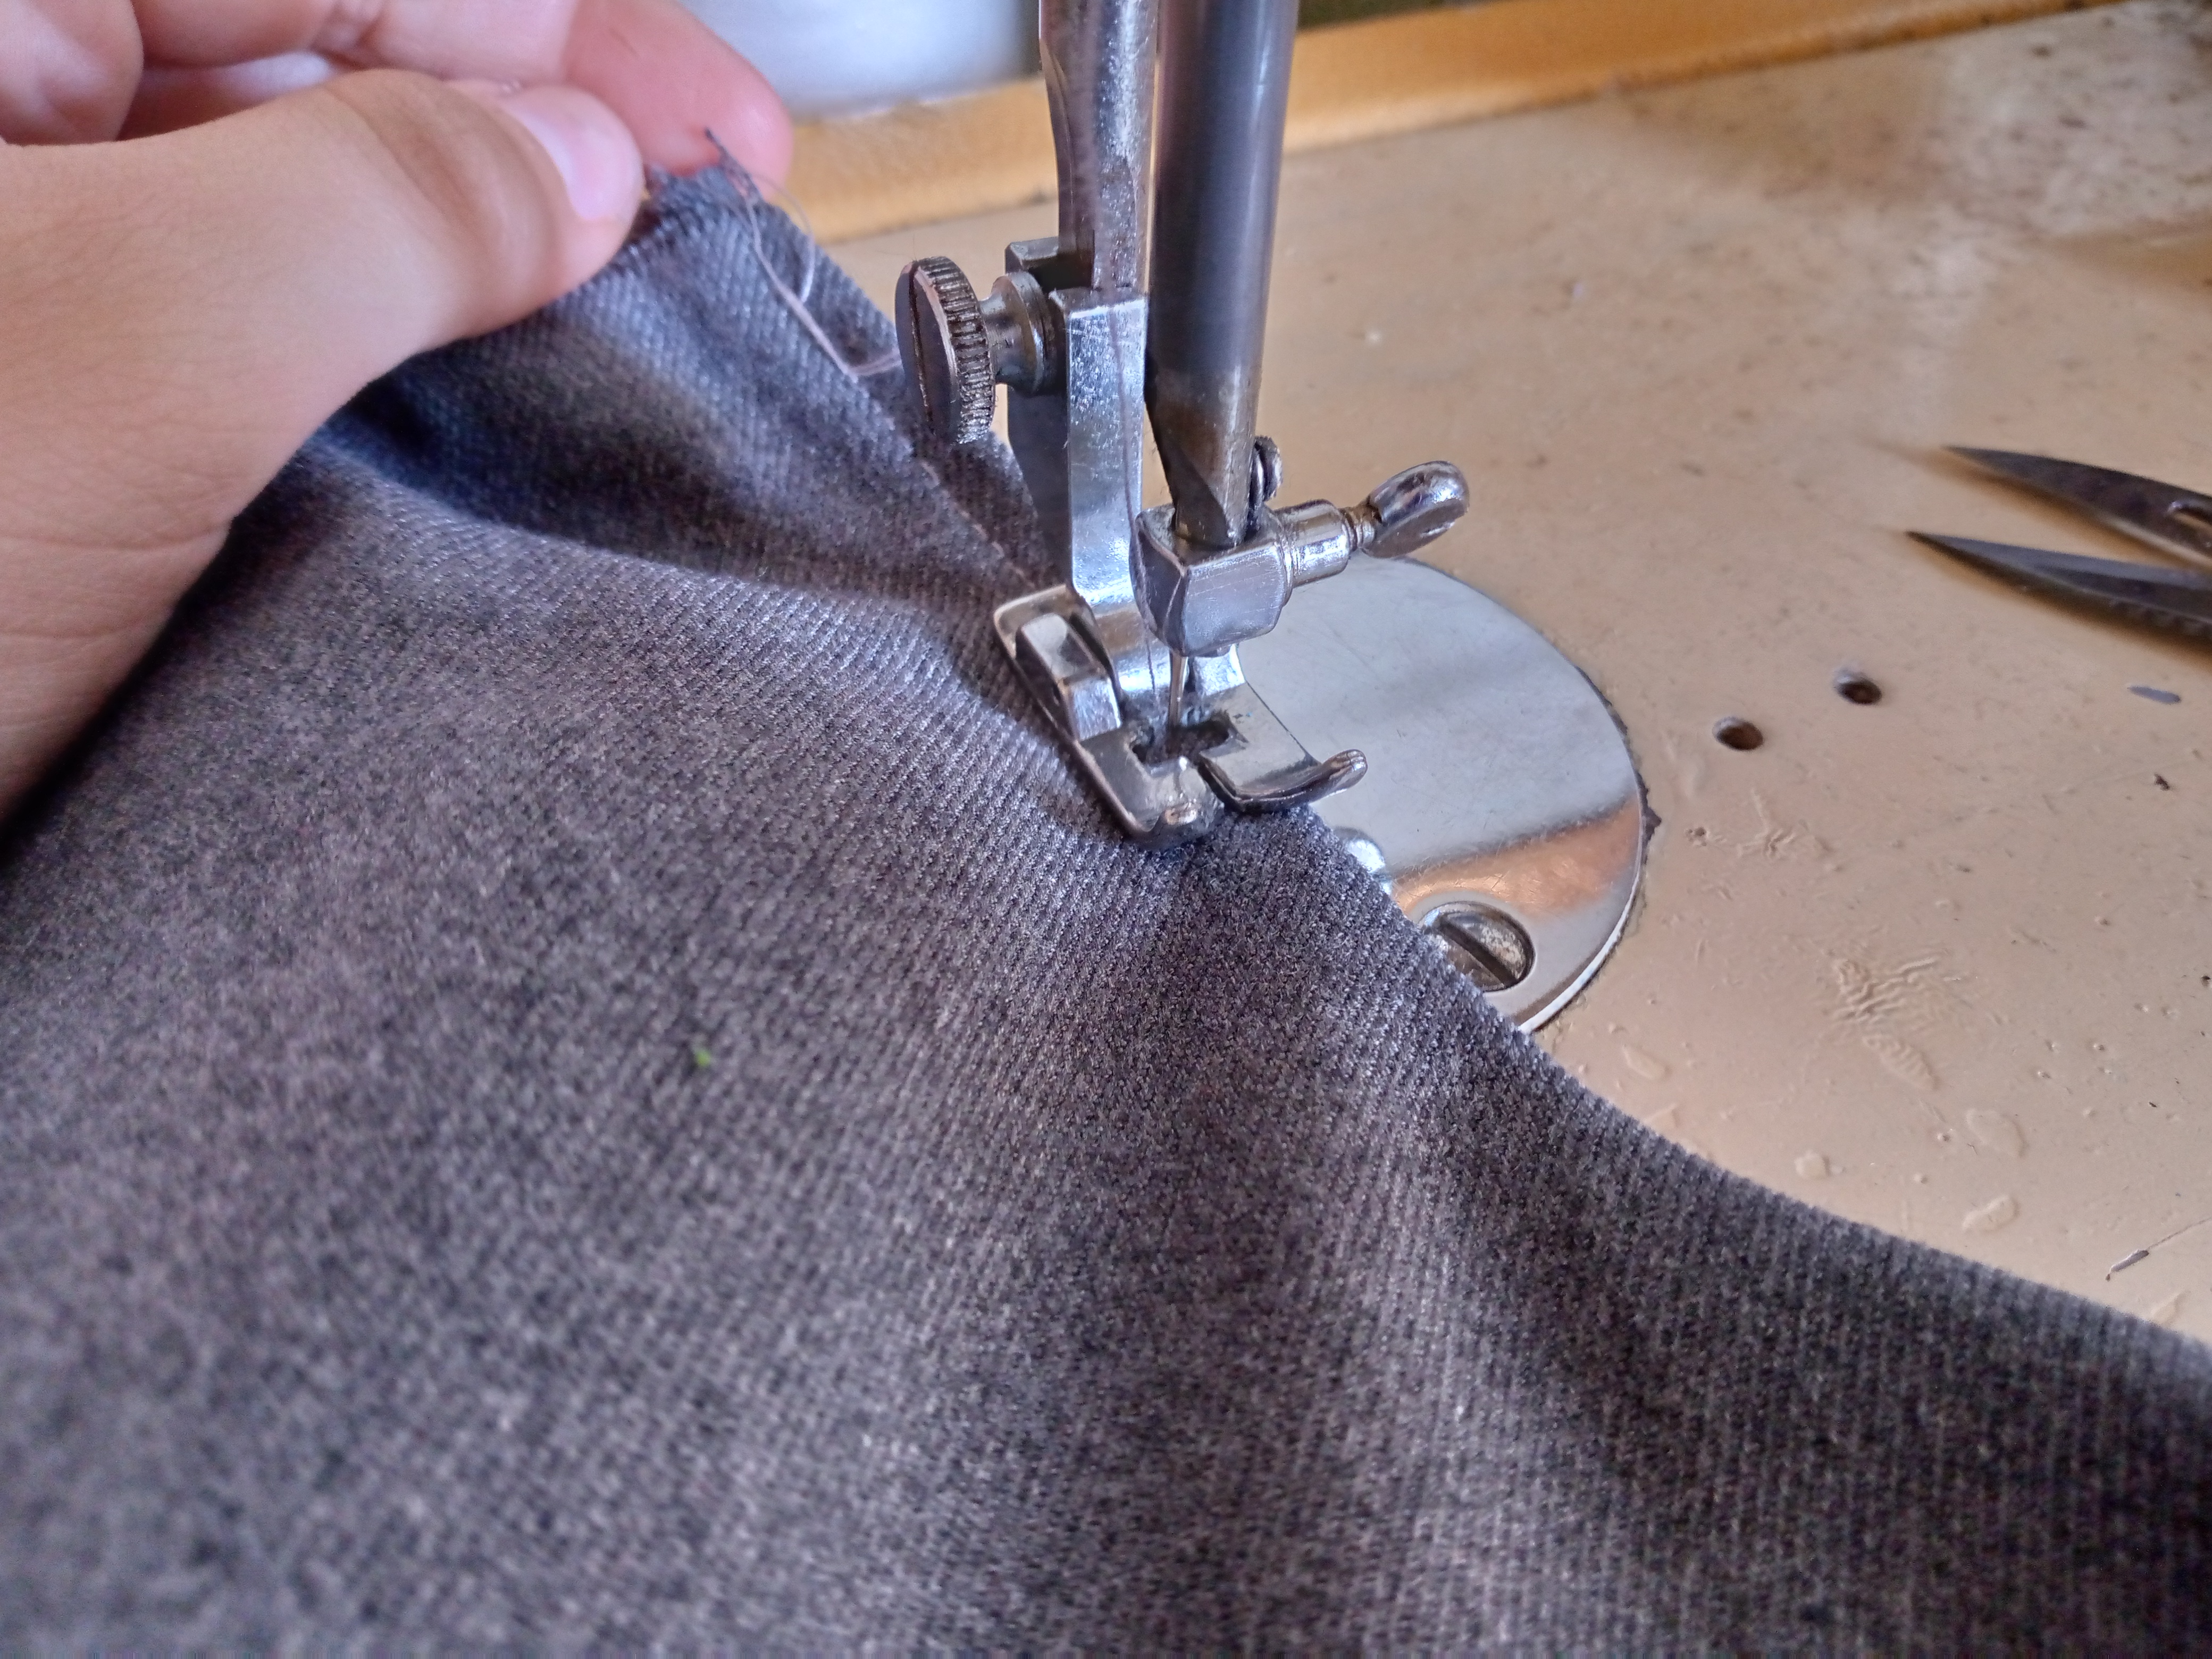
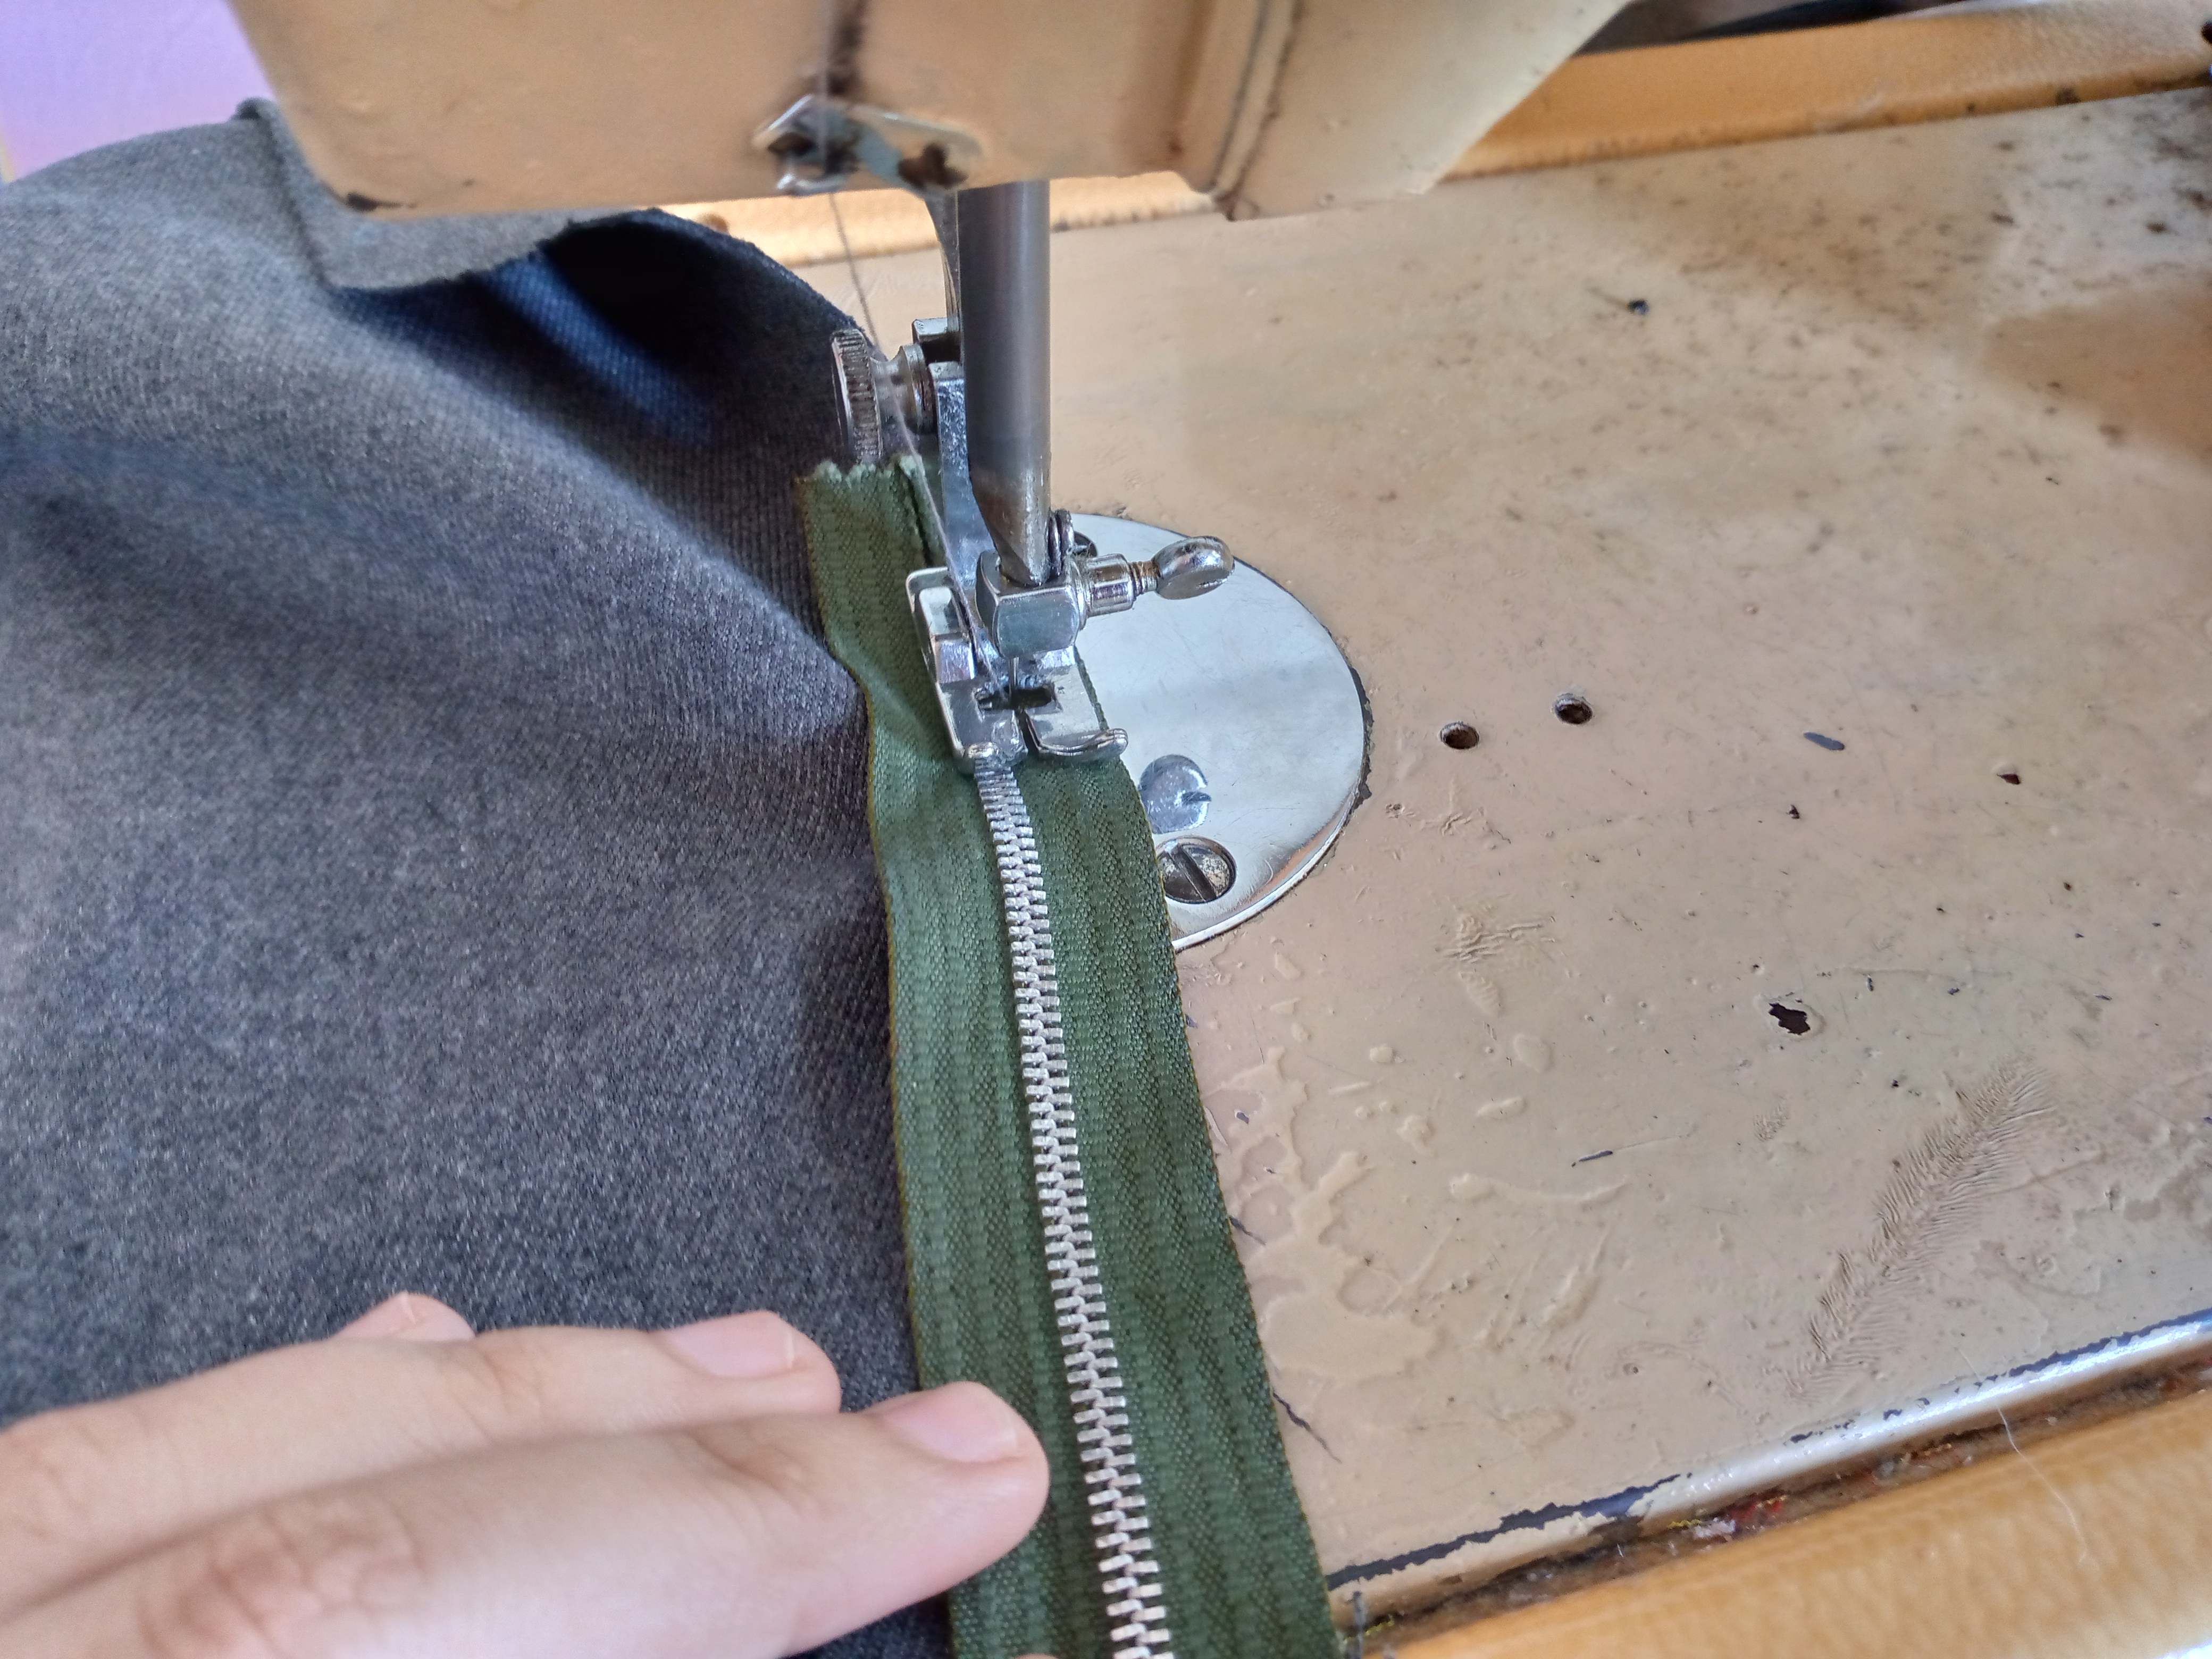
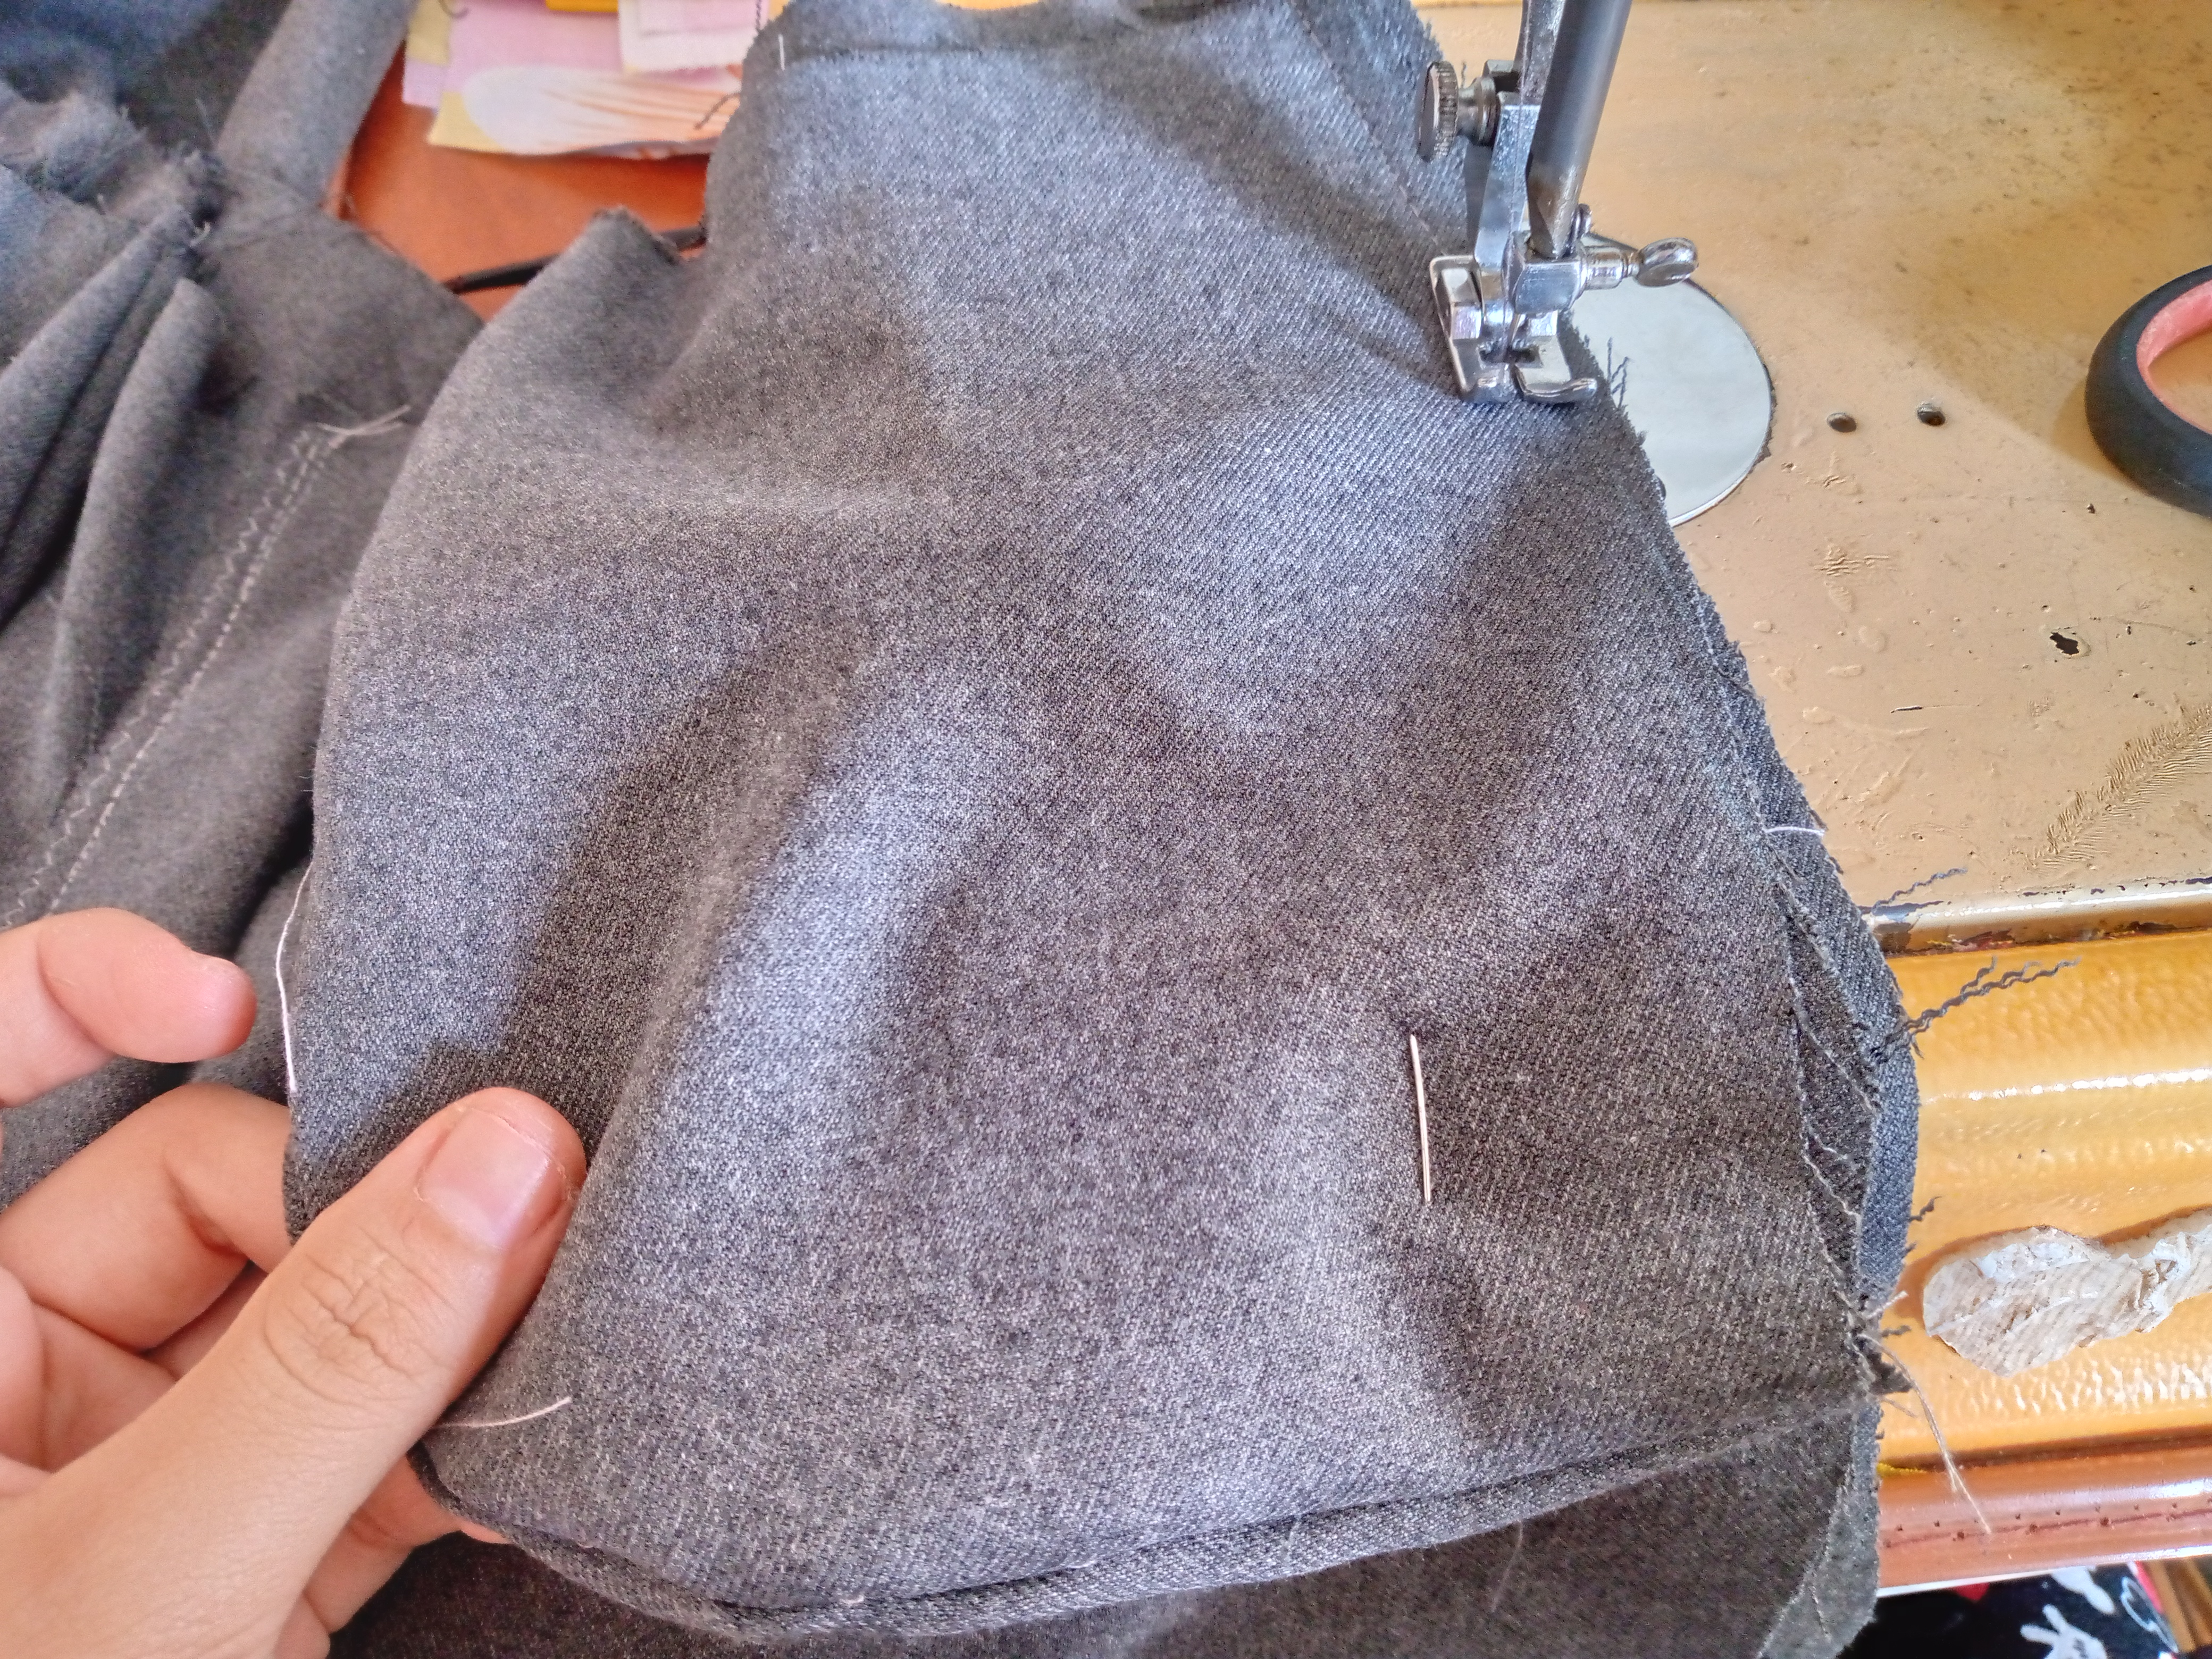
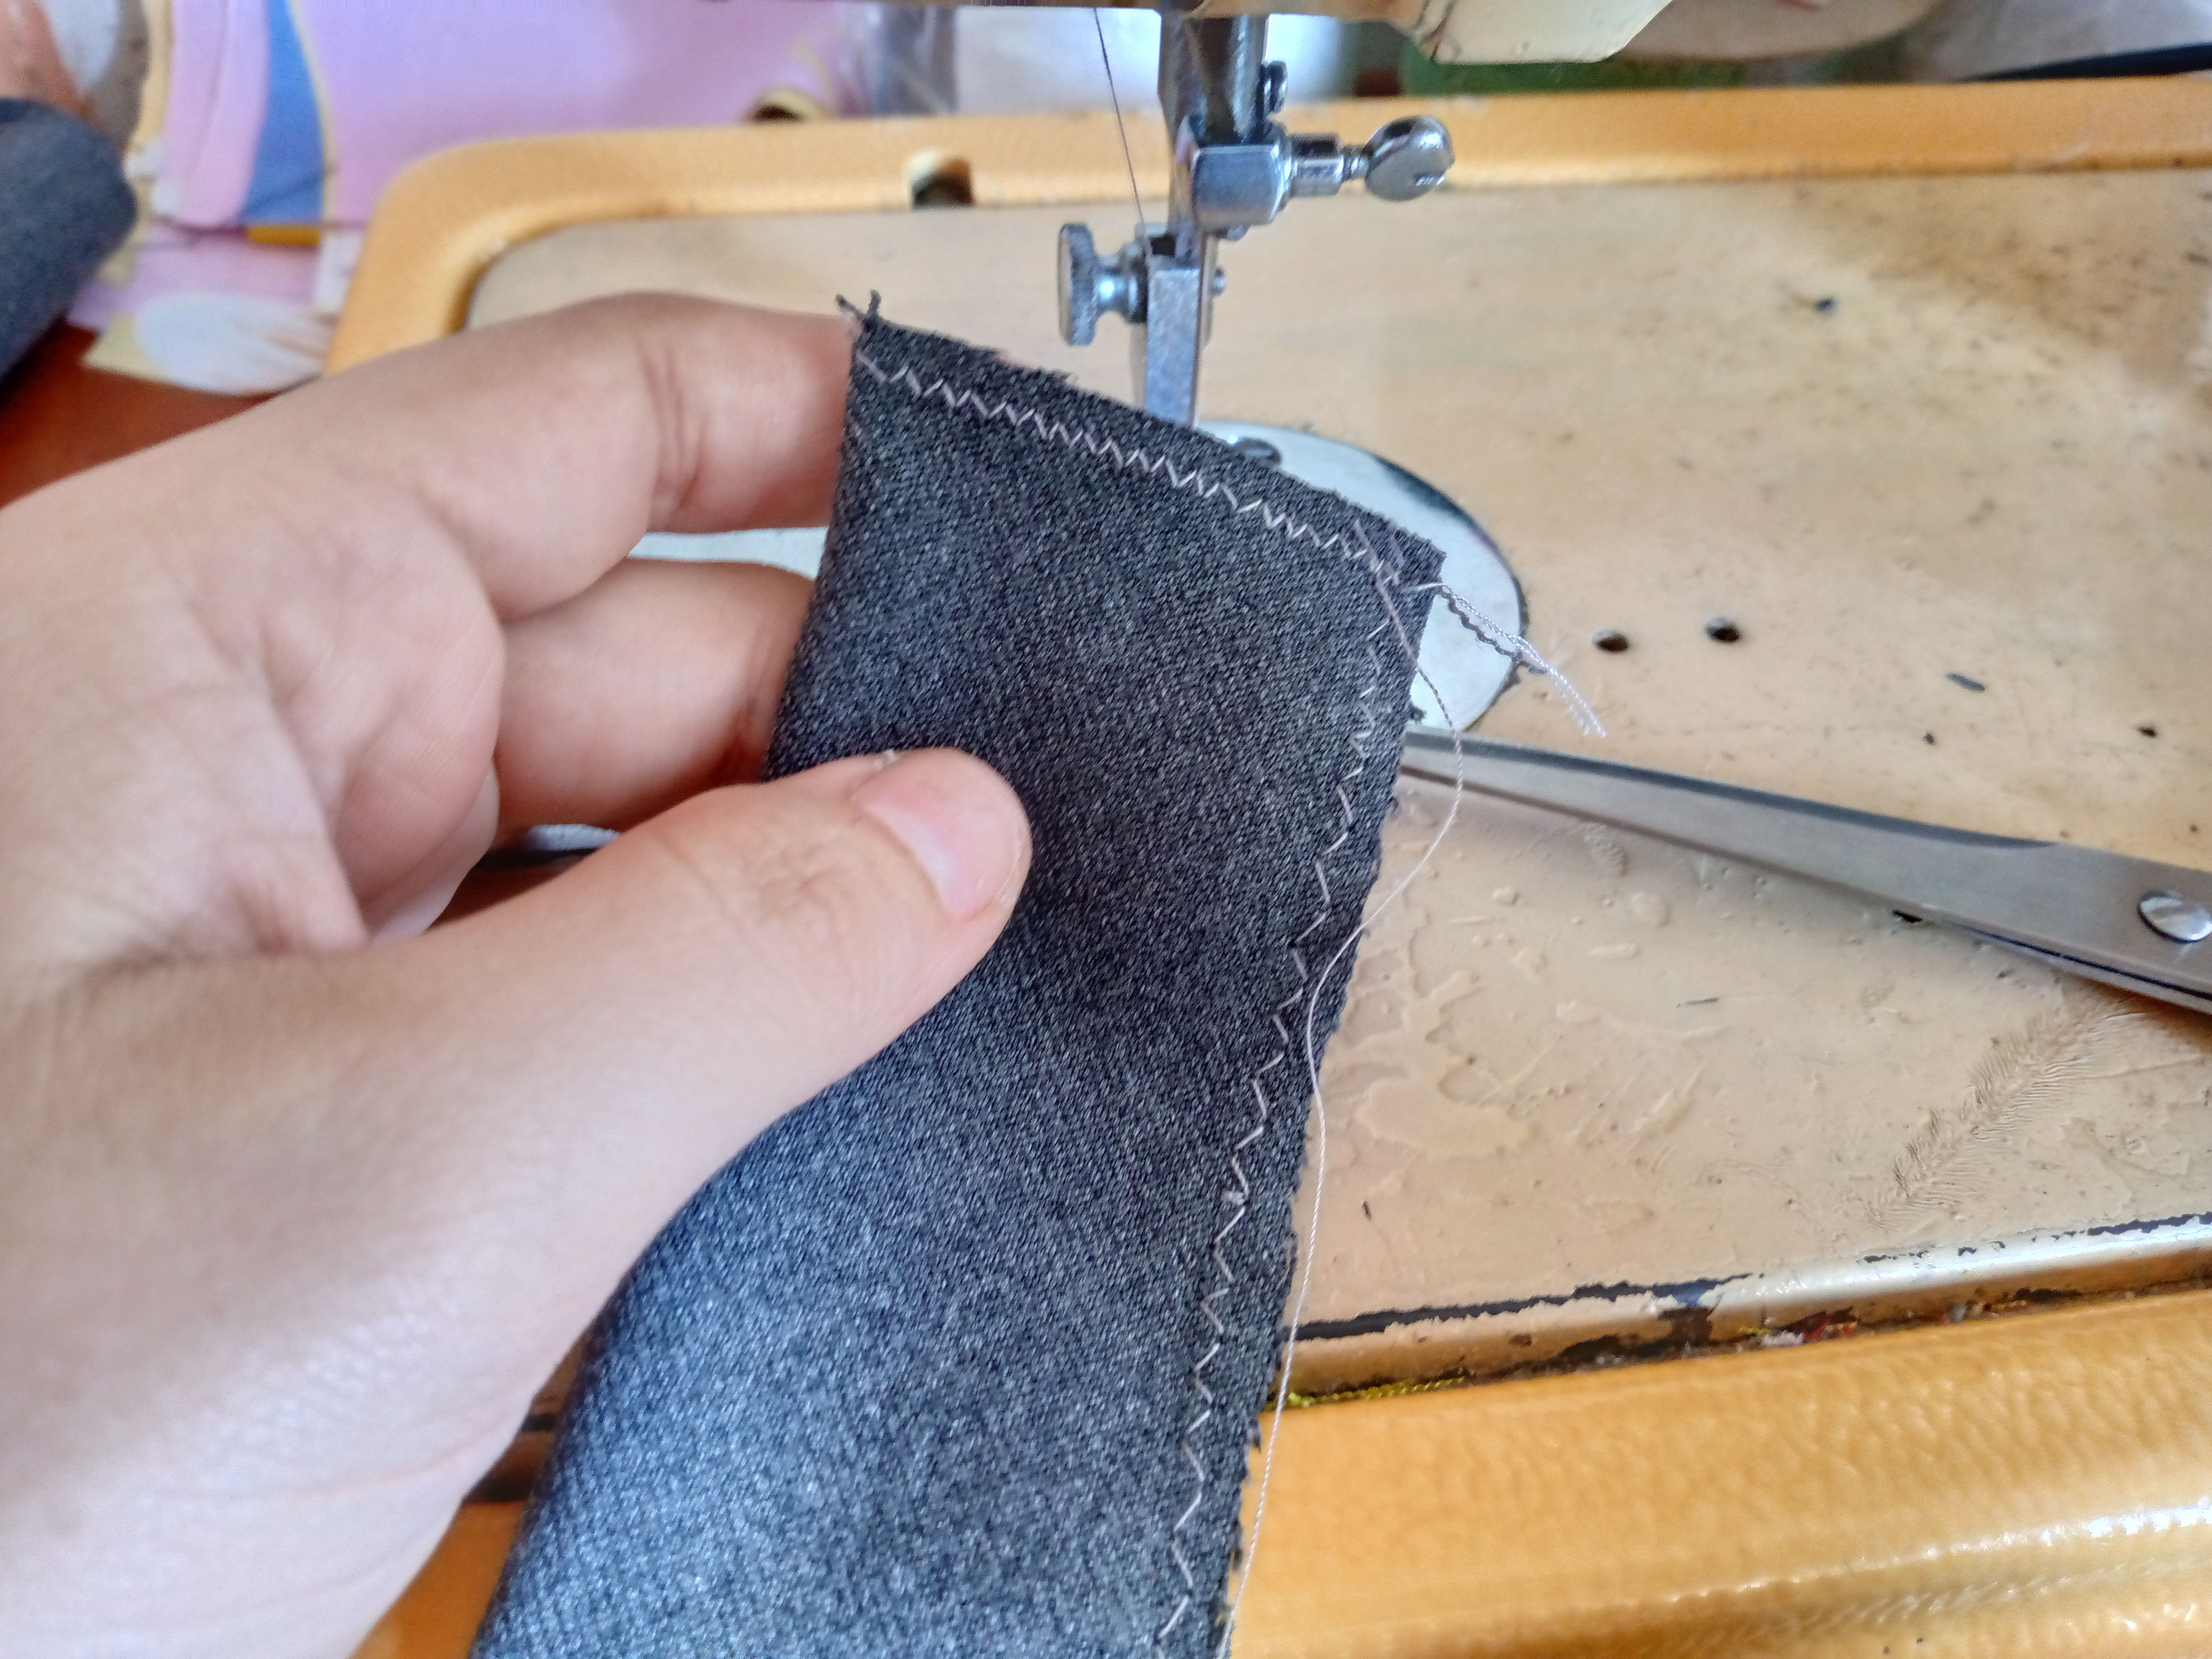
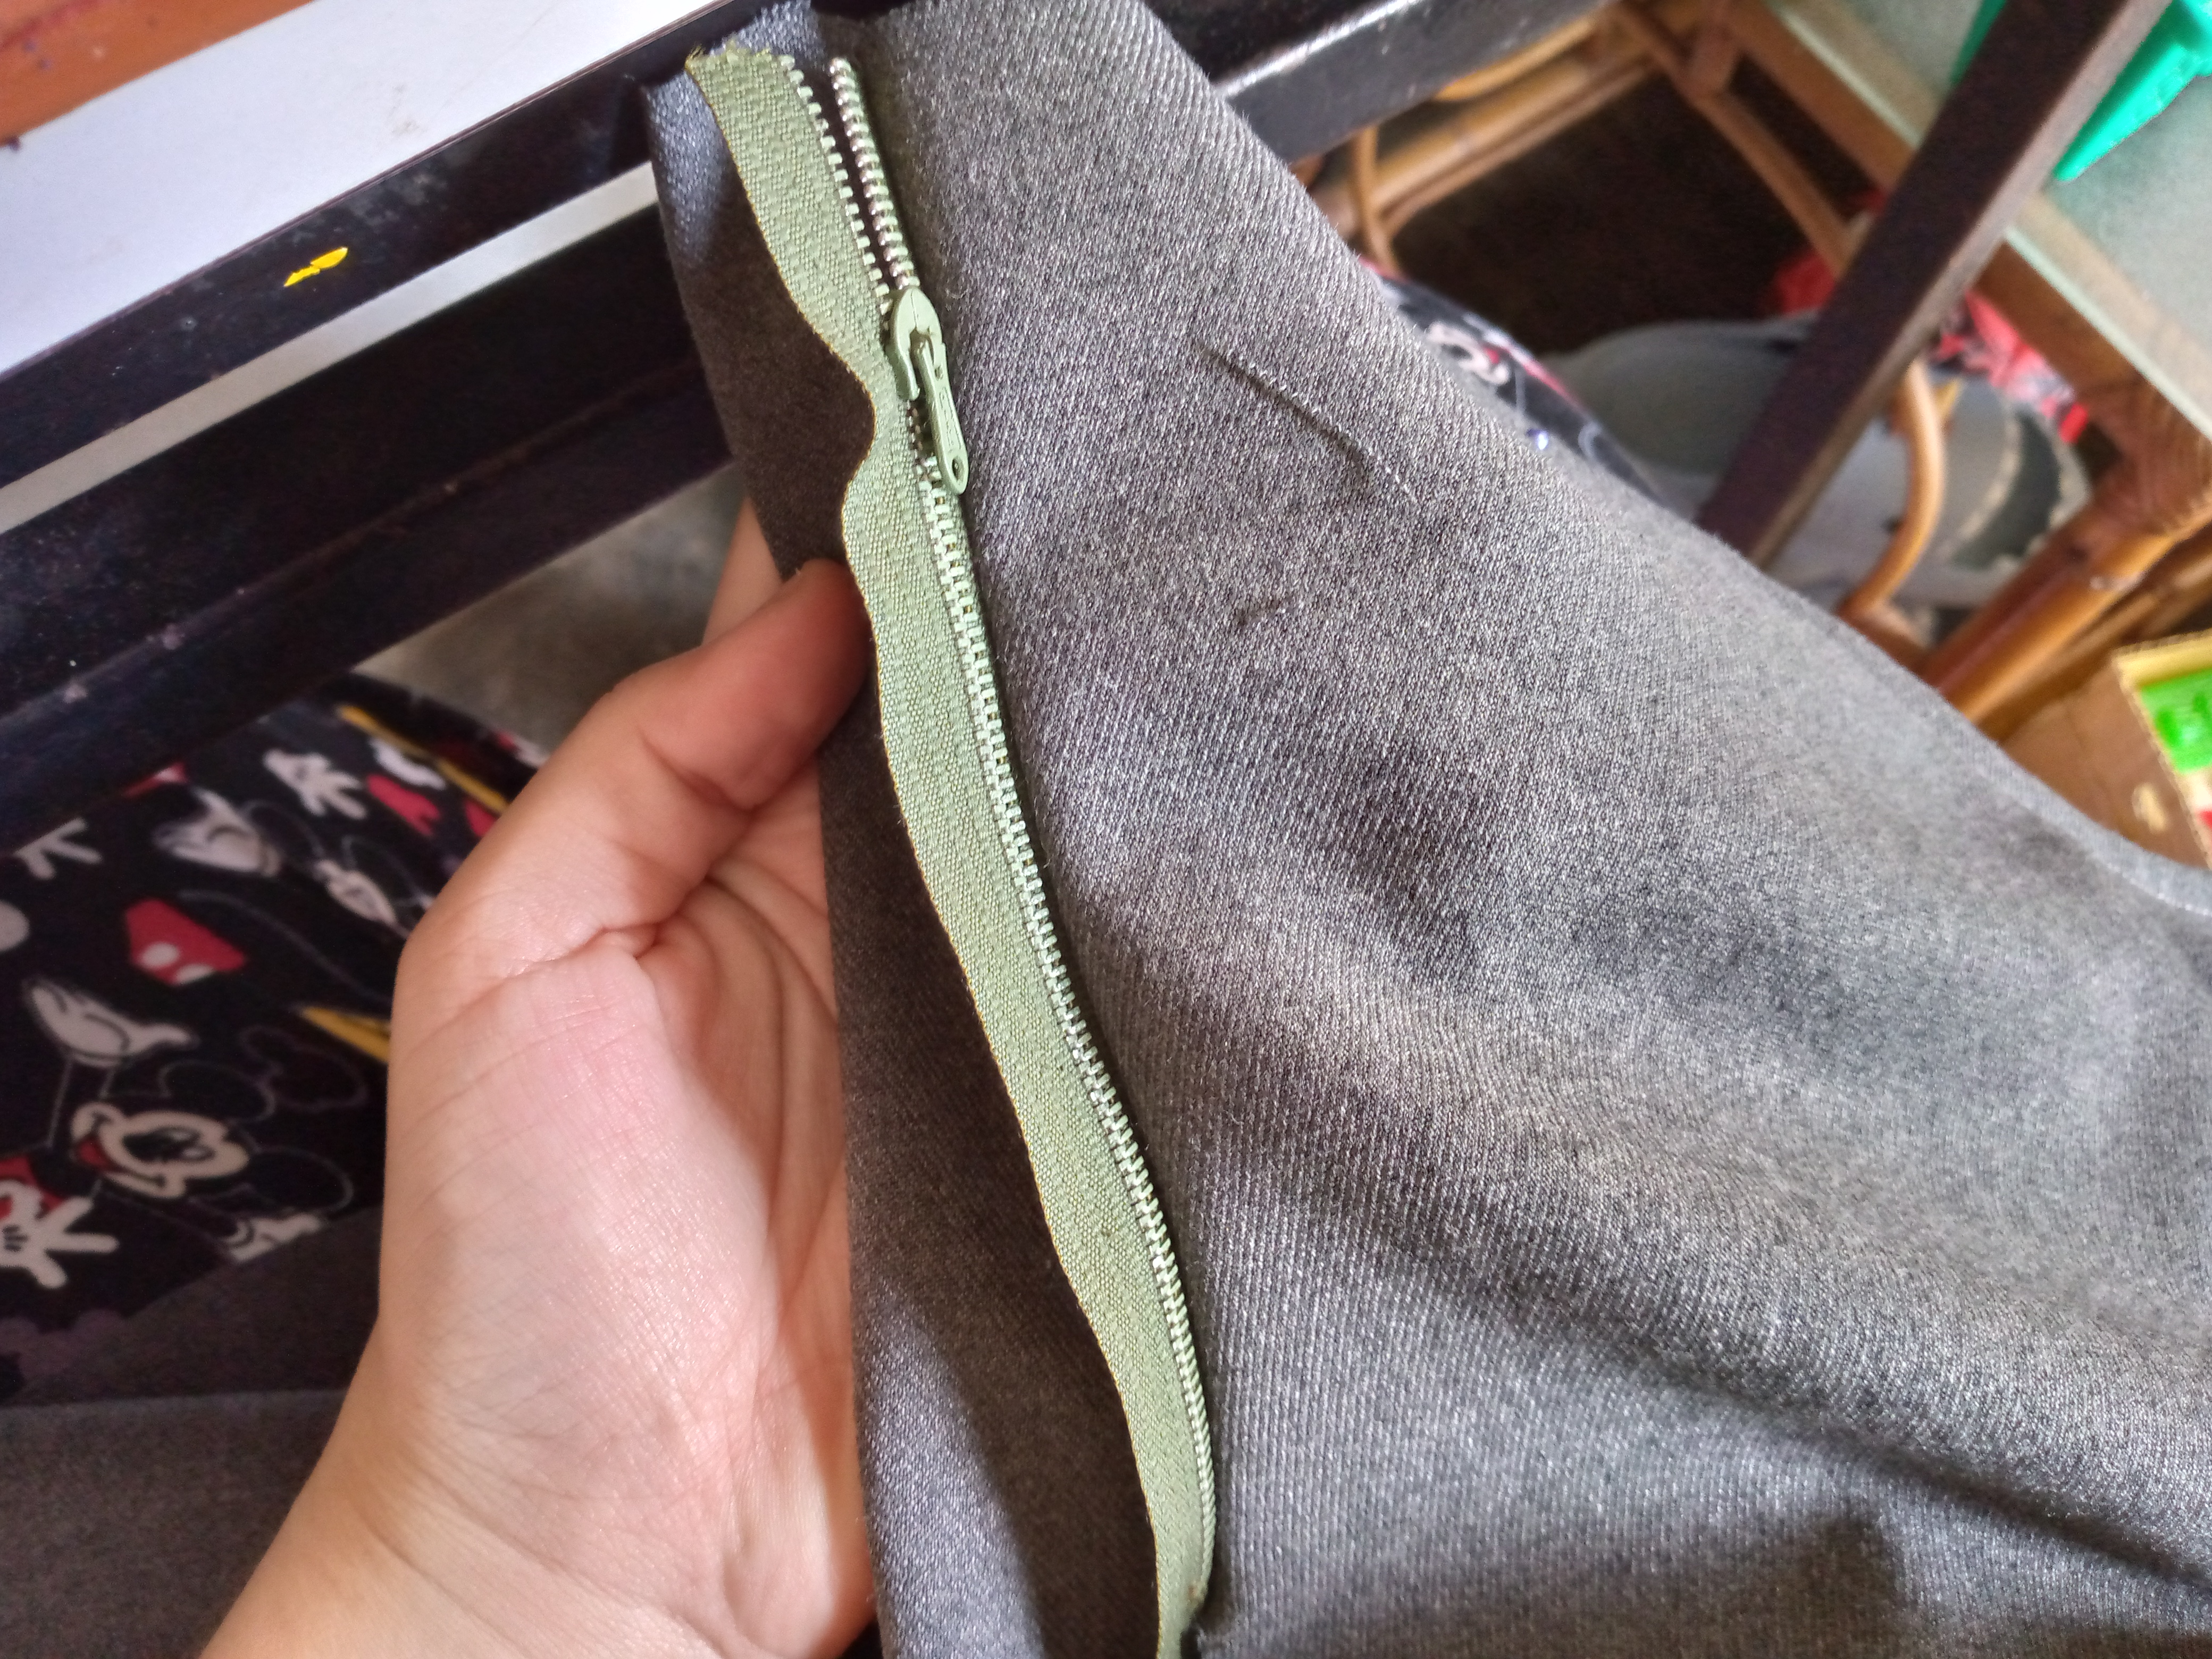
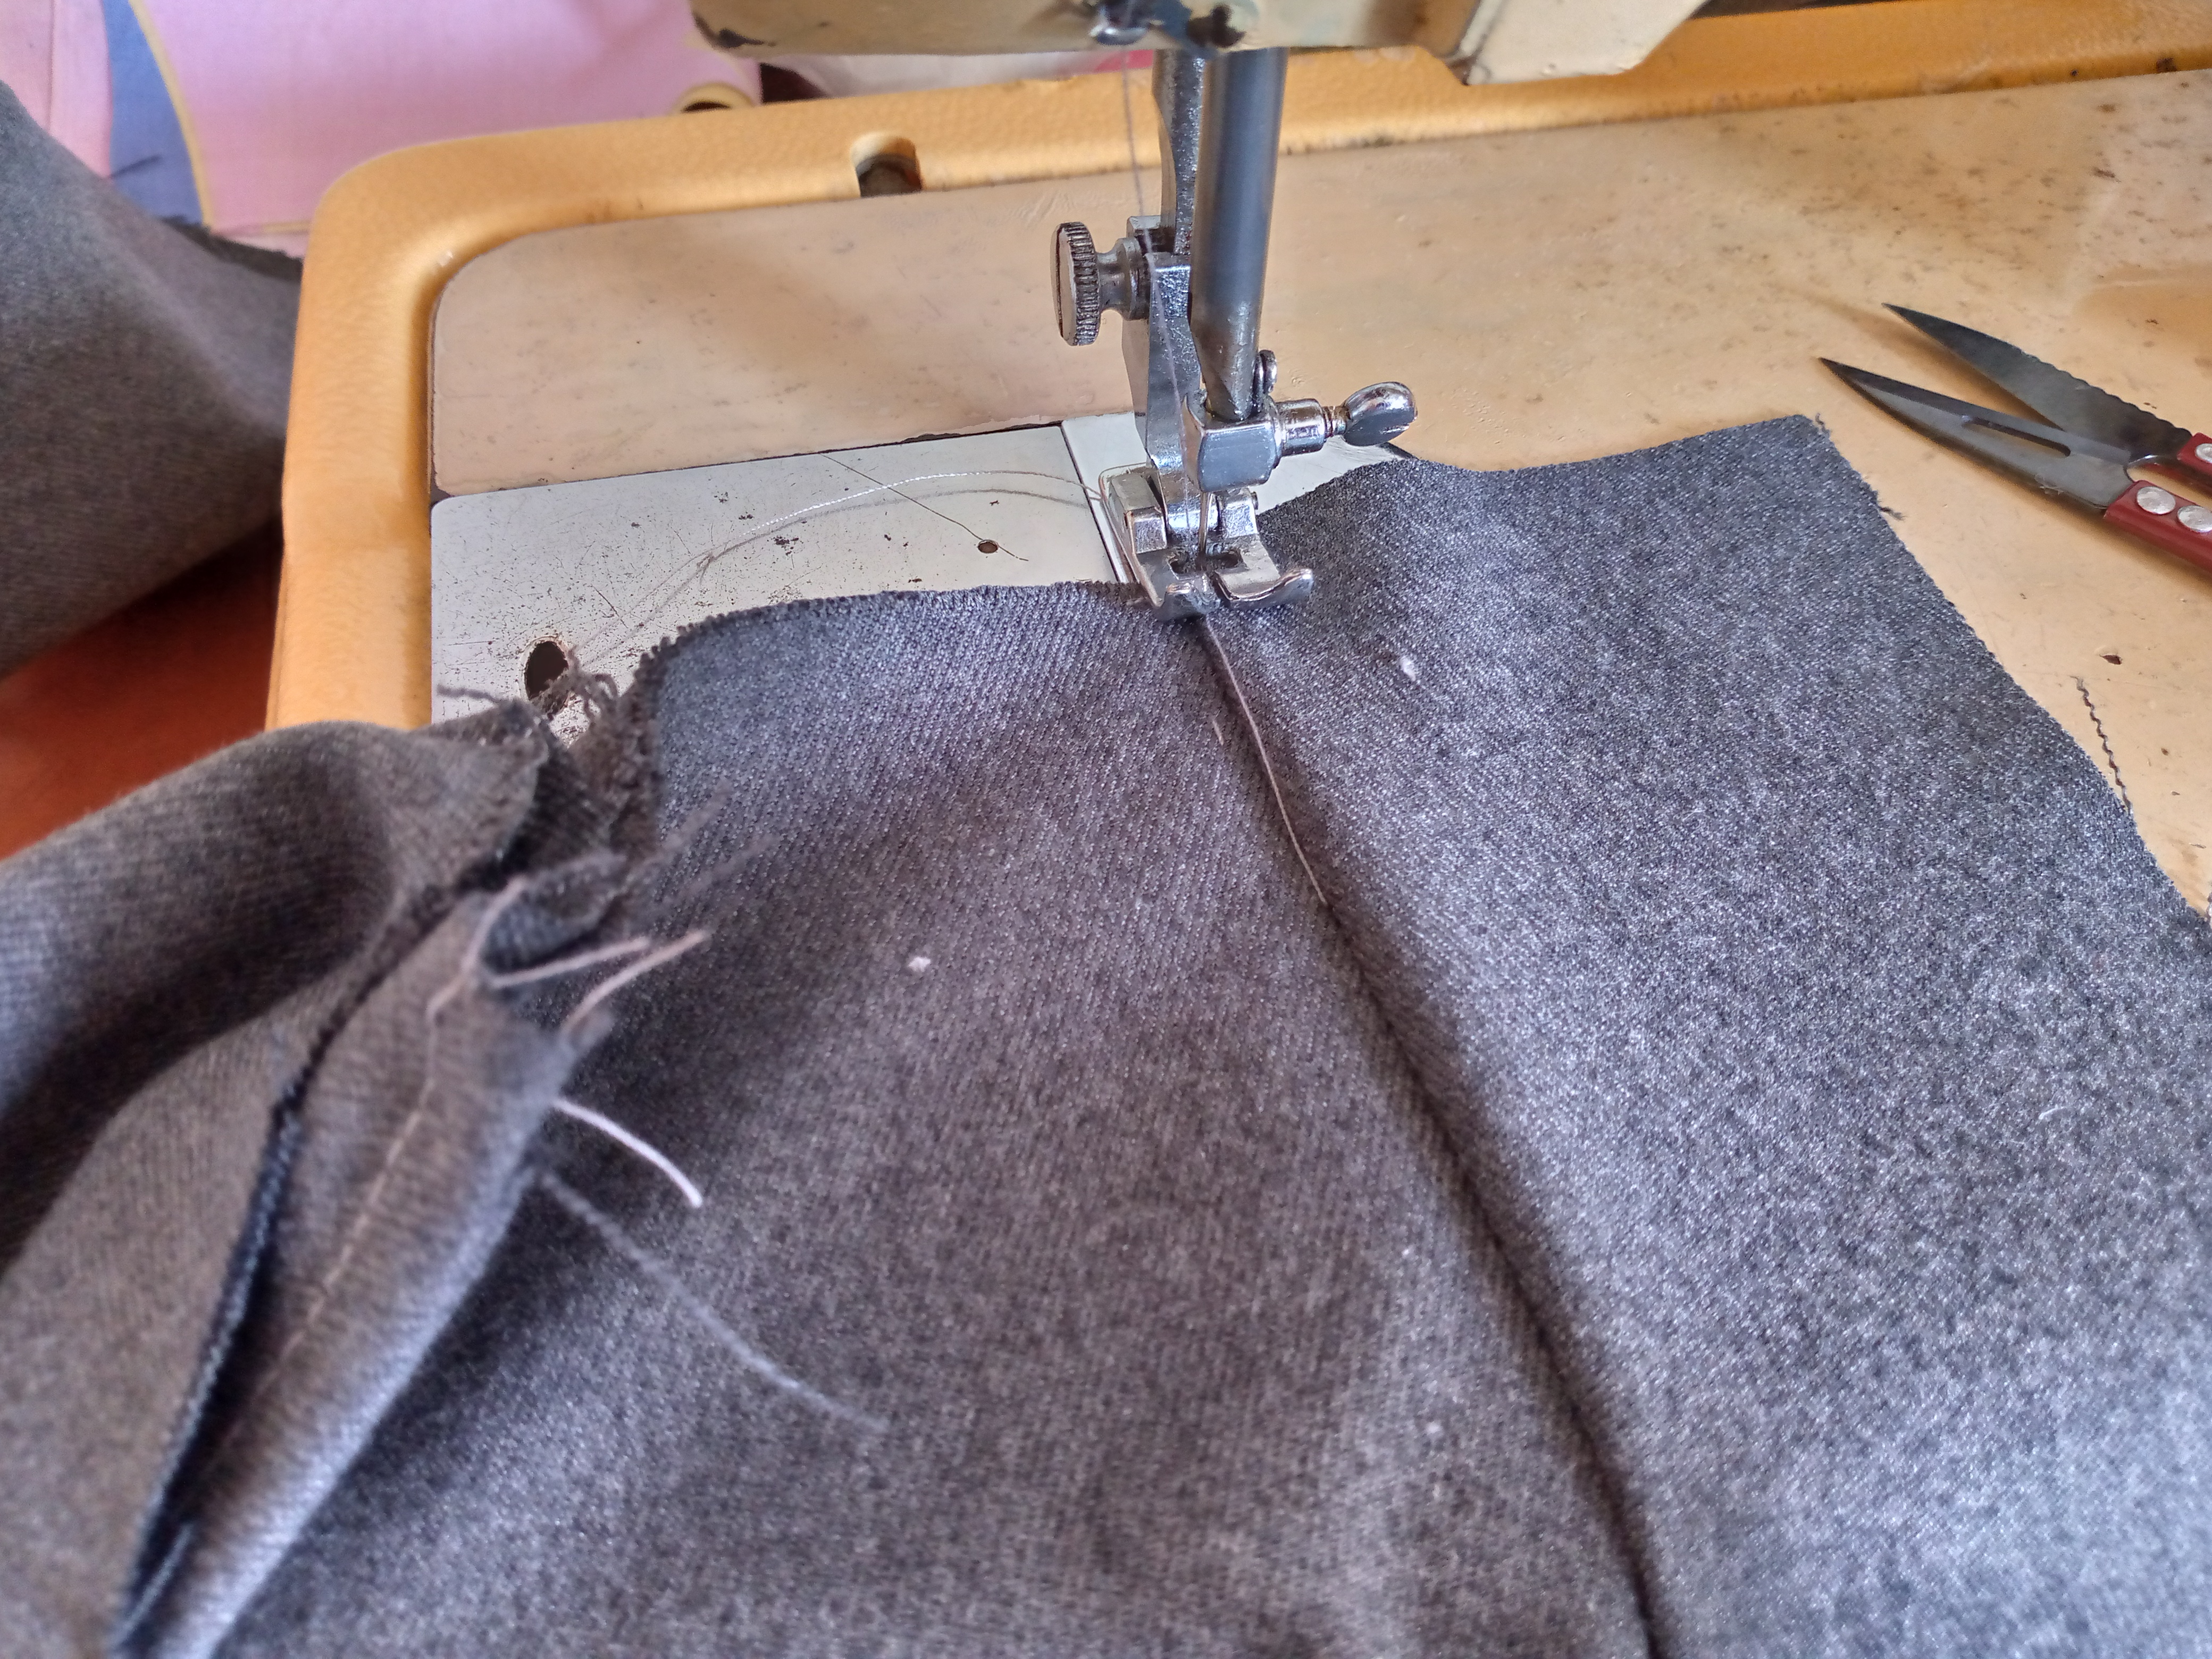
Uniremos la pieza del bolsillo con un alfiler para que no se nos ruede, entonces uniremos la pieza de atrás las dos y la vamos a coser siempre por el borde remataremos con zig zag que no se nos olvide esto y repisamos por encima de la pieza, después cosemos el cierre de el lado derecho.

Step 03

We will join the pocket piece with a pin so that it does not roll away, then we will join the back piece together and we will always sew along the edge, we will finish with a zigzag stitch so that we do not forget this and we will sew over the piece, then we will sew the closure on the right side.
IMG_20250102_120944_184.jpg

IMG_20250102_121257_951.jpg

IMG_20250102_123426_316.jpg

IMG_20250102_123709_374.jpg

IMG_20250102_124809_989.jpg

IMG_20250102_122556_539.jpg

Paso 04

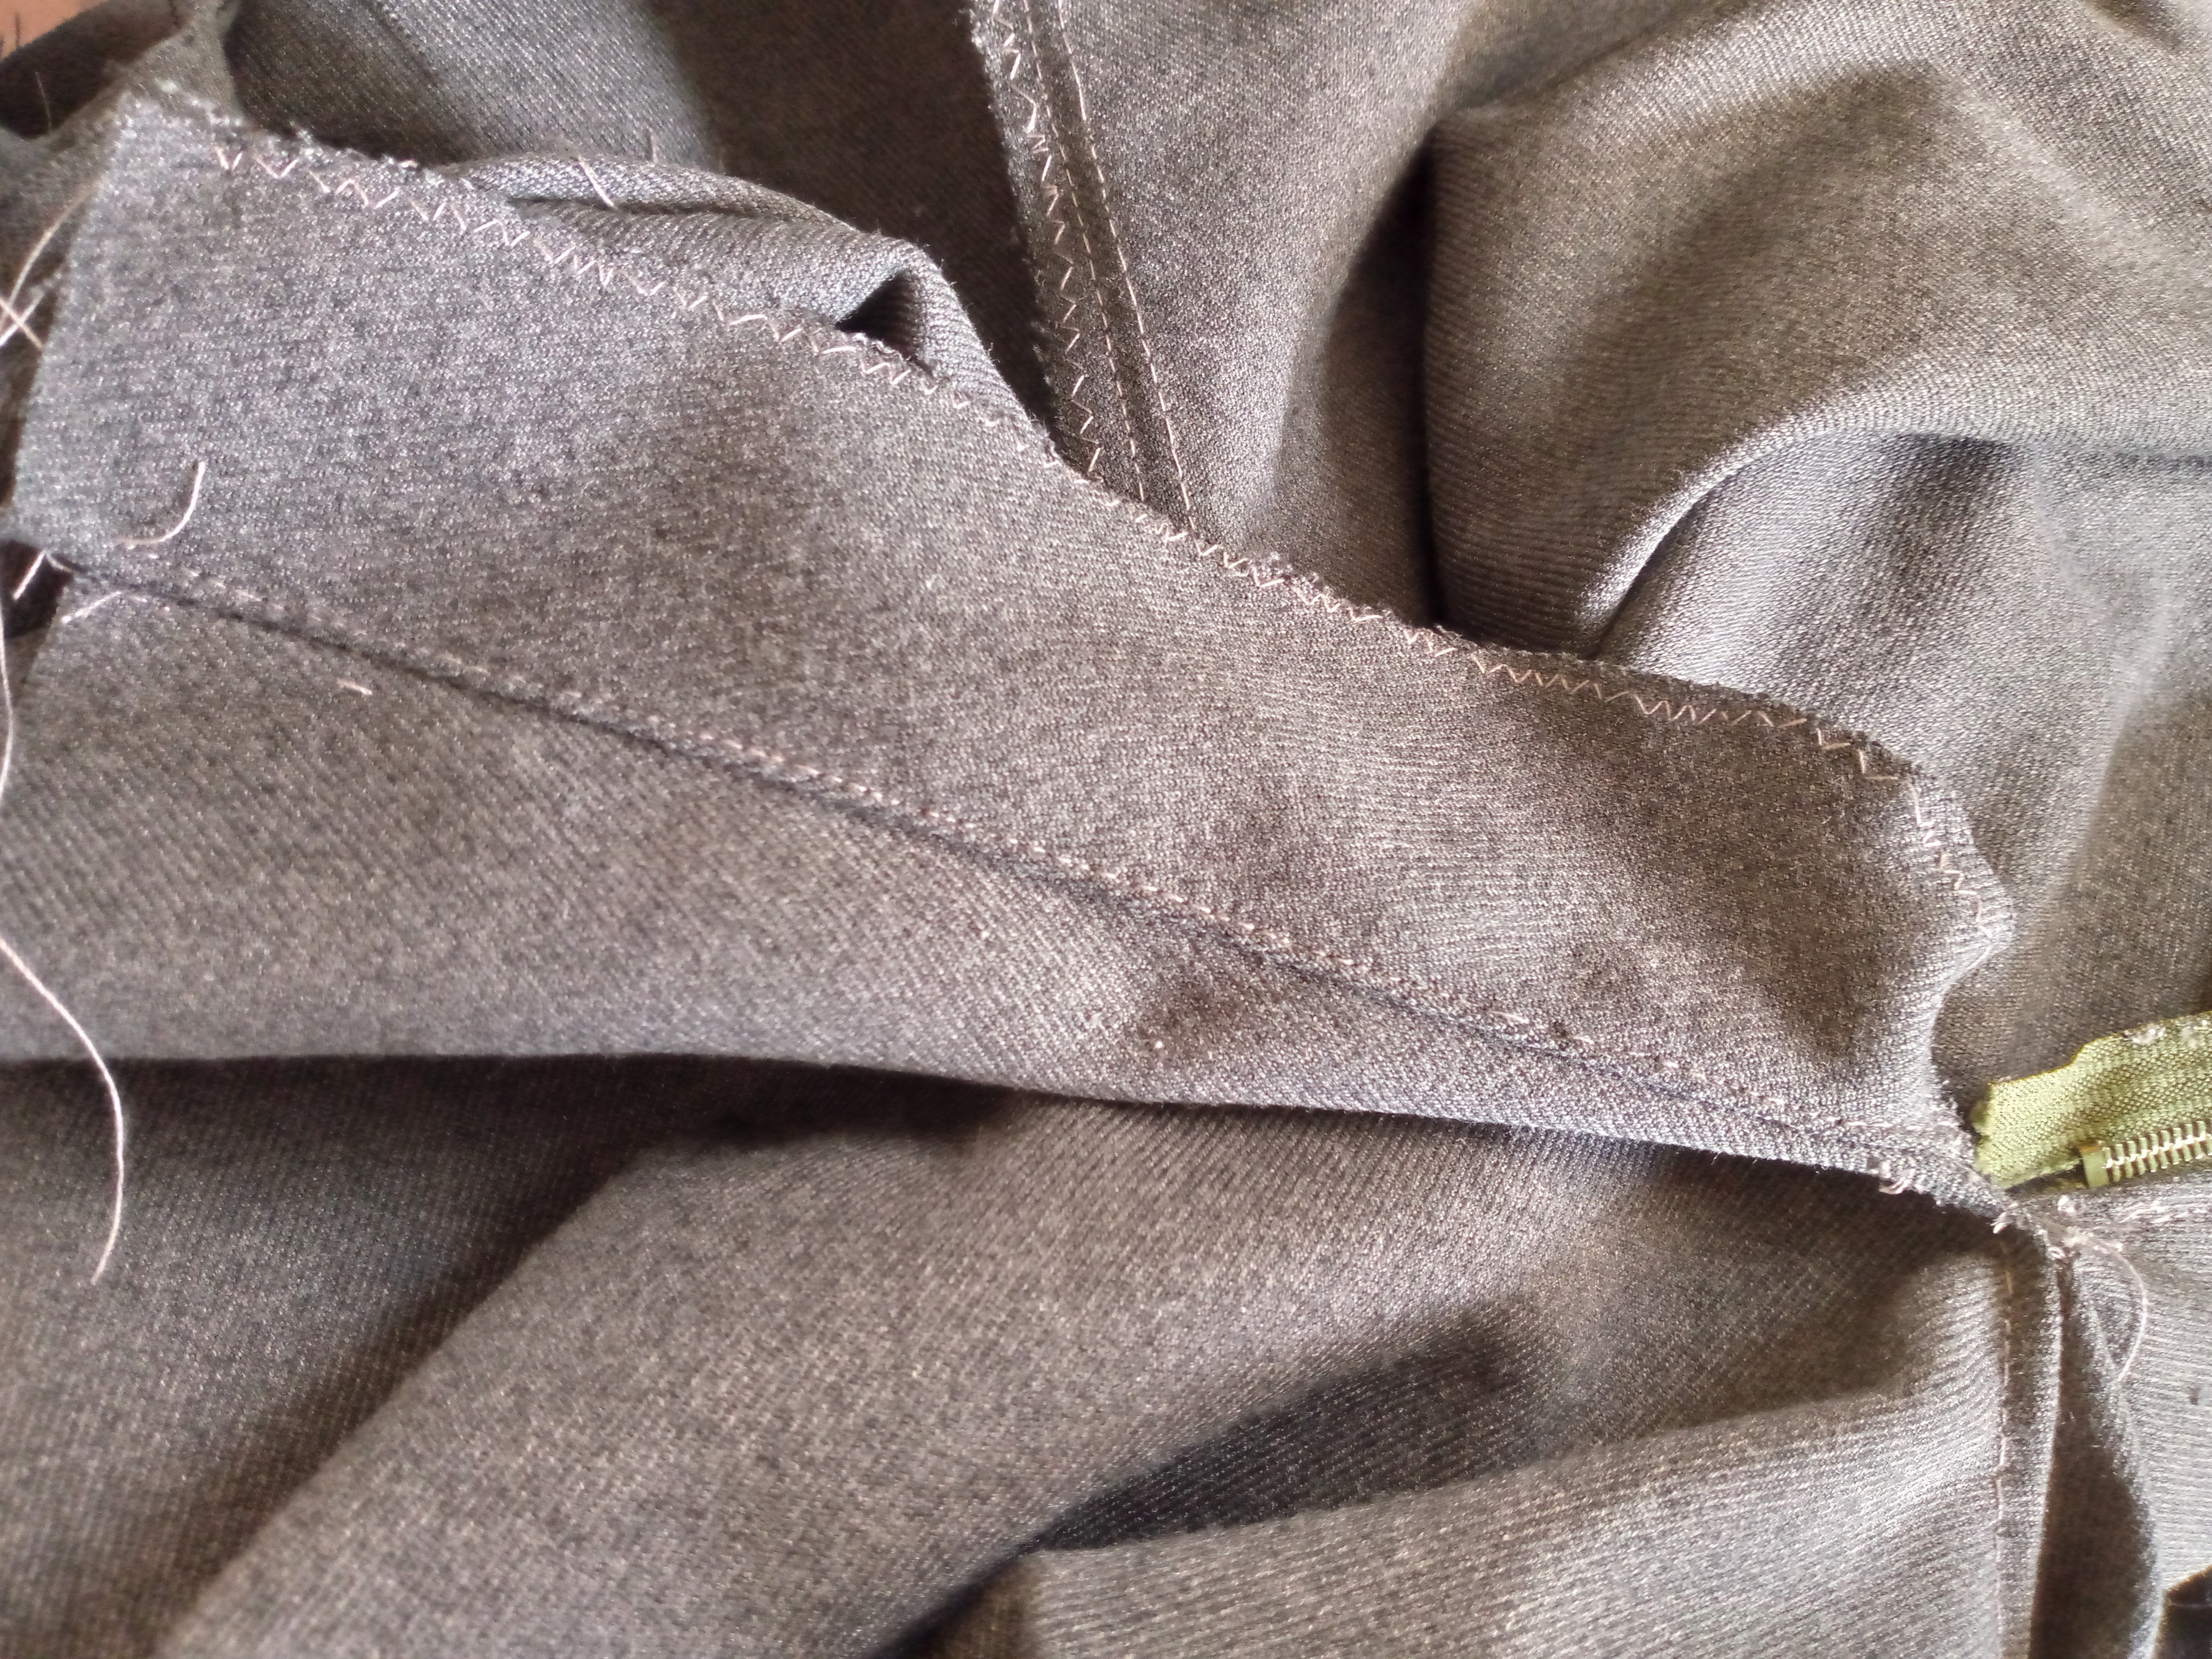
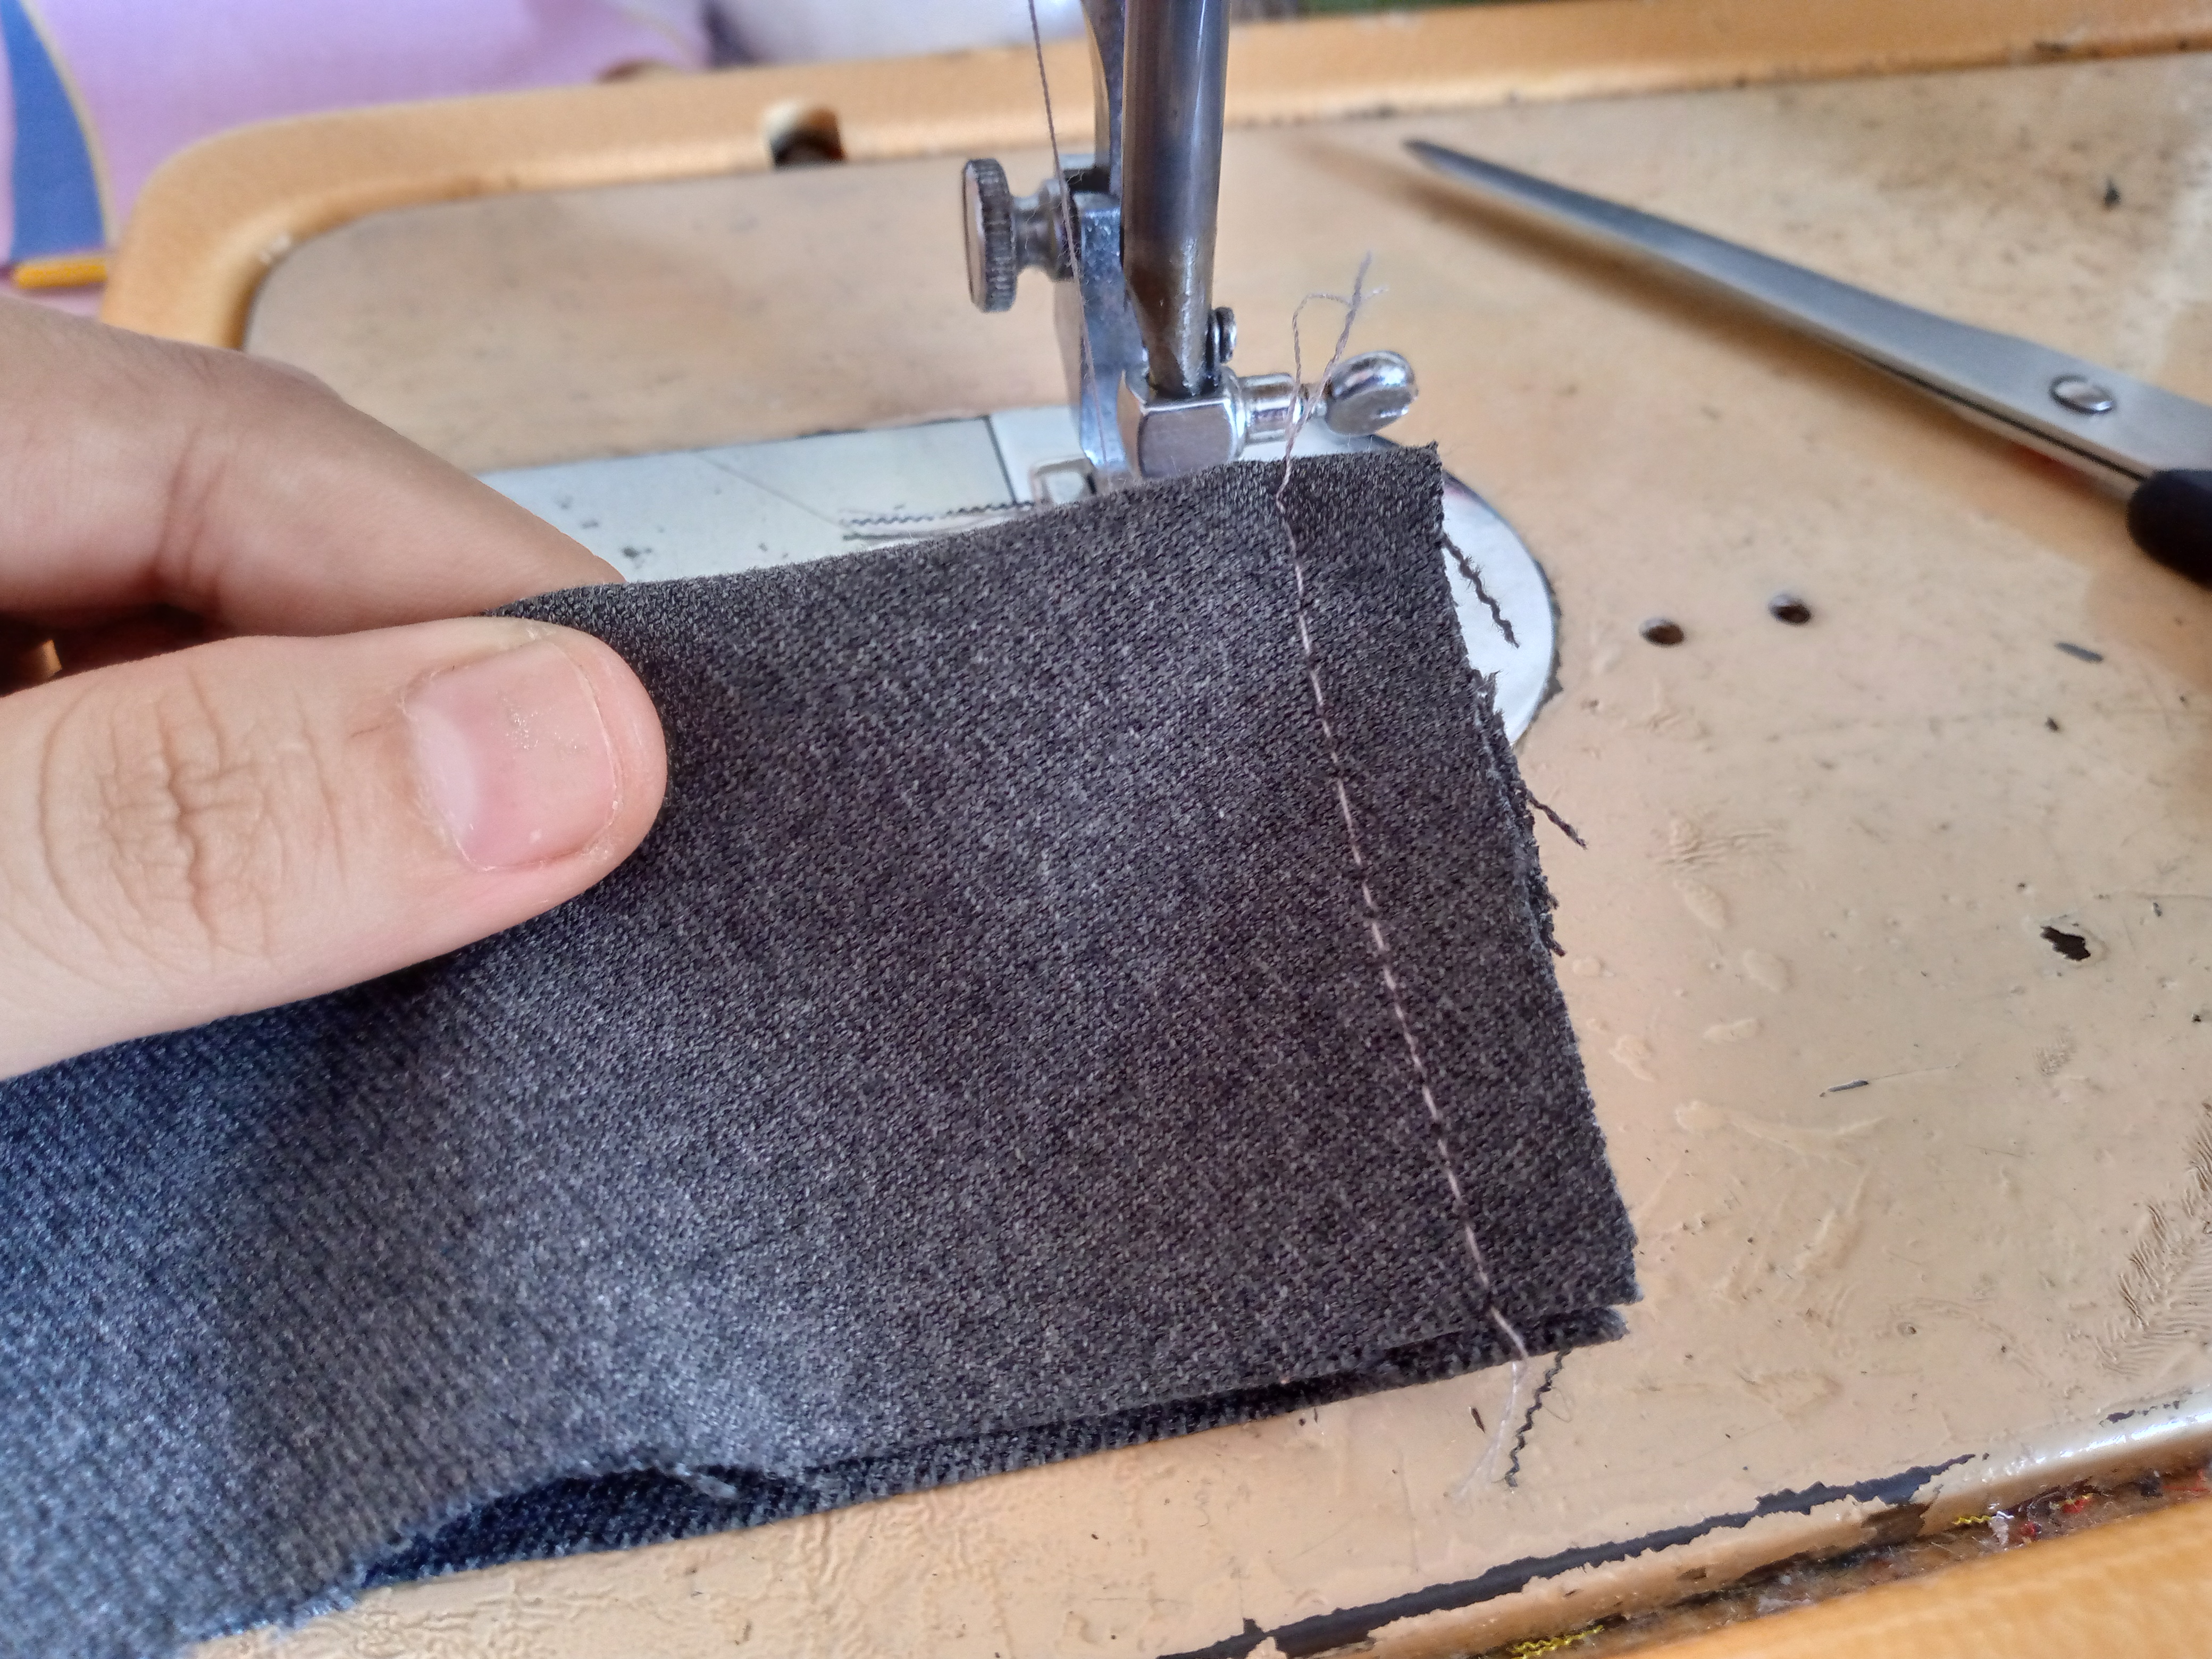
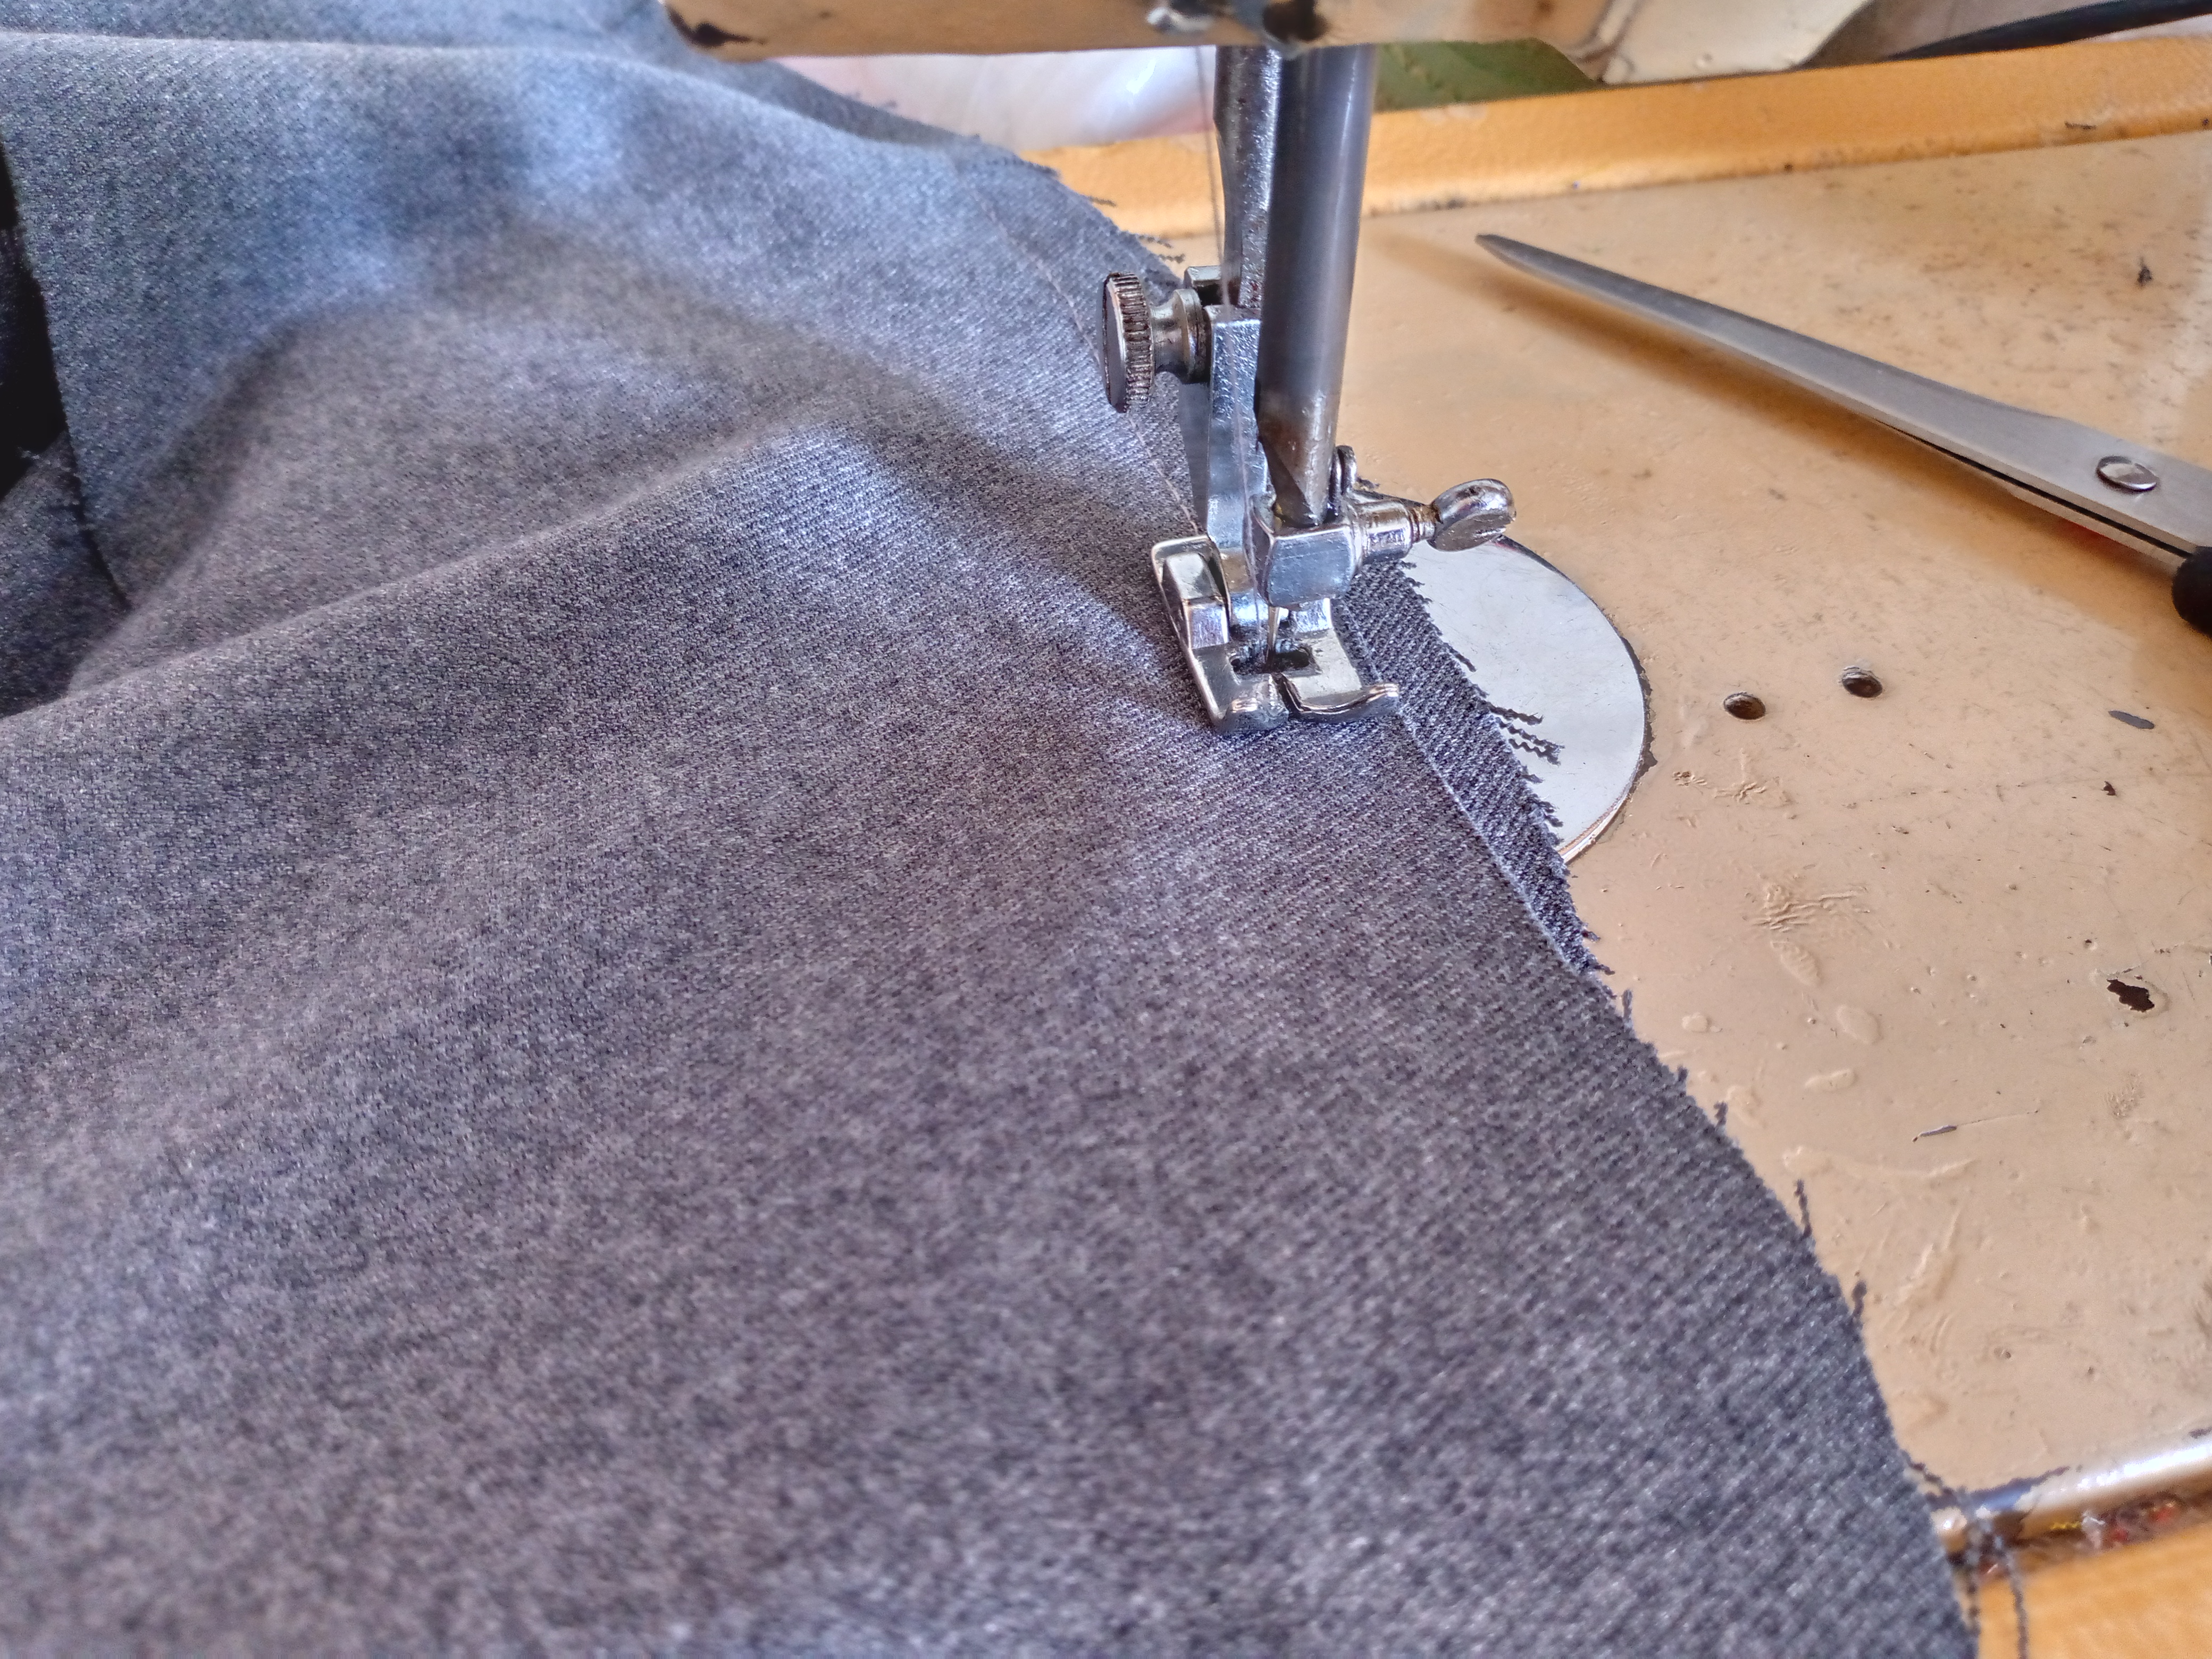
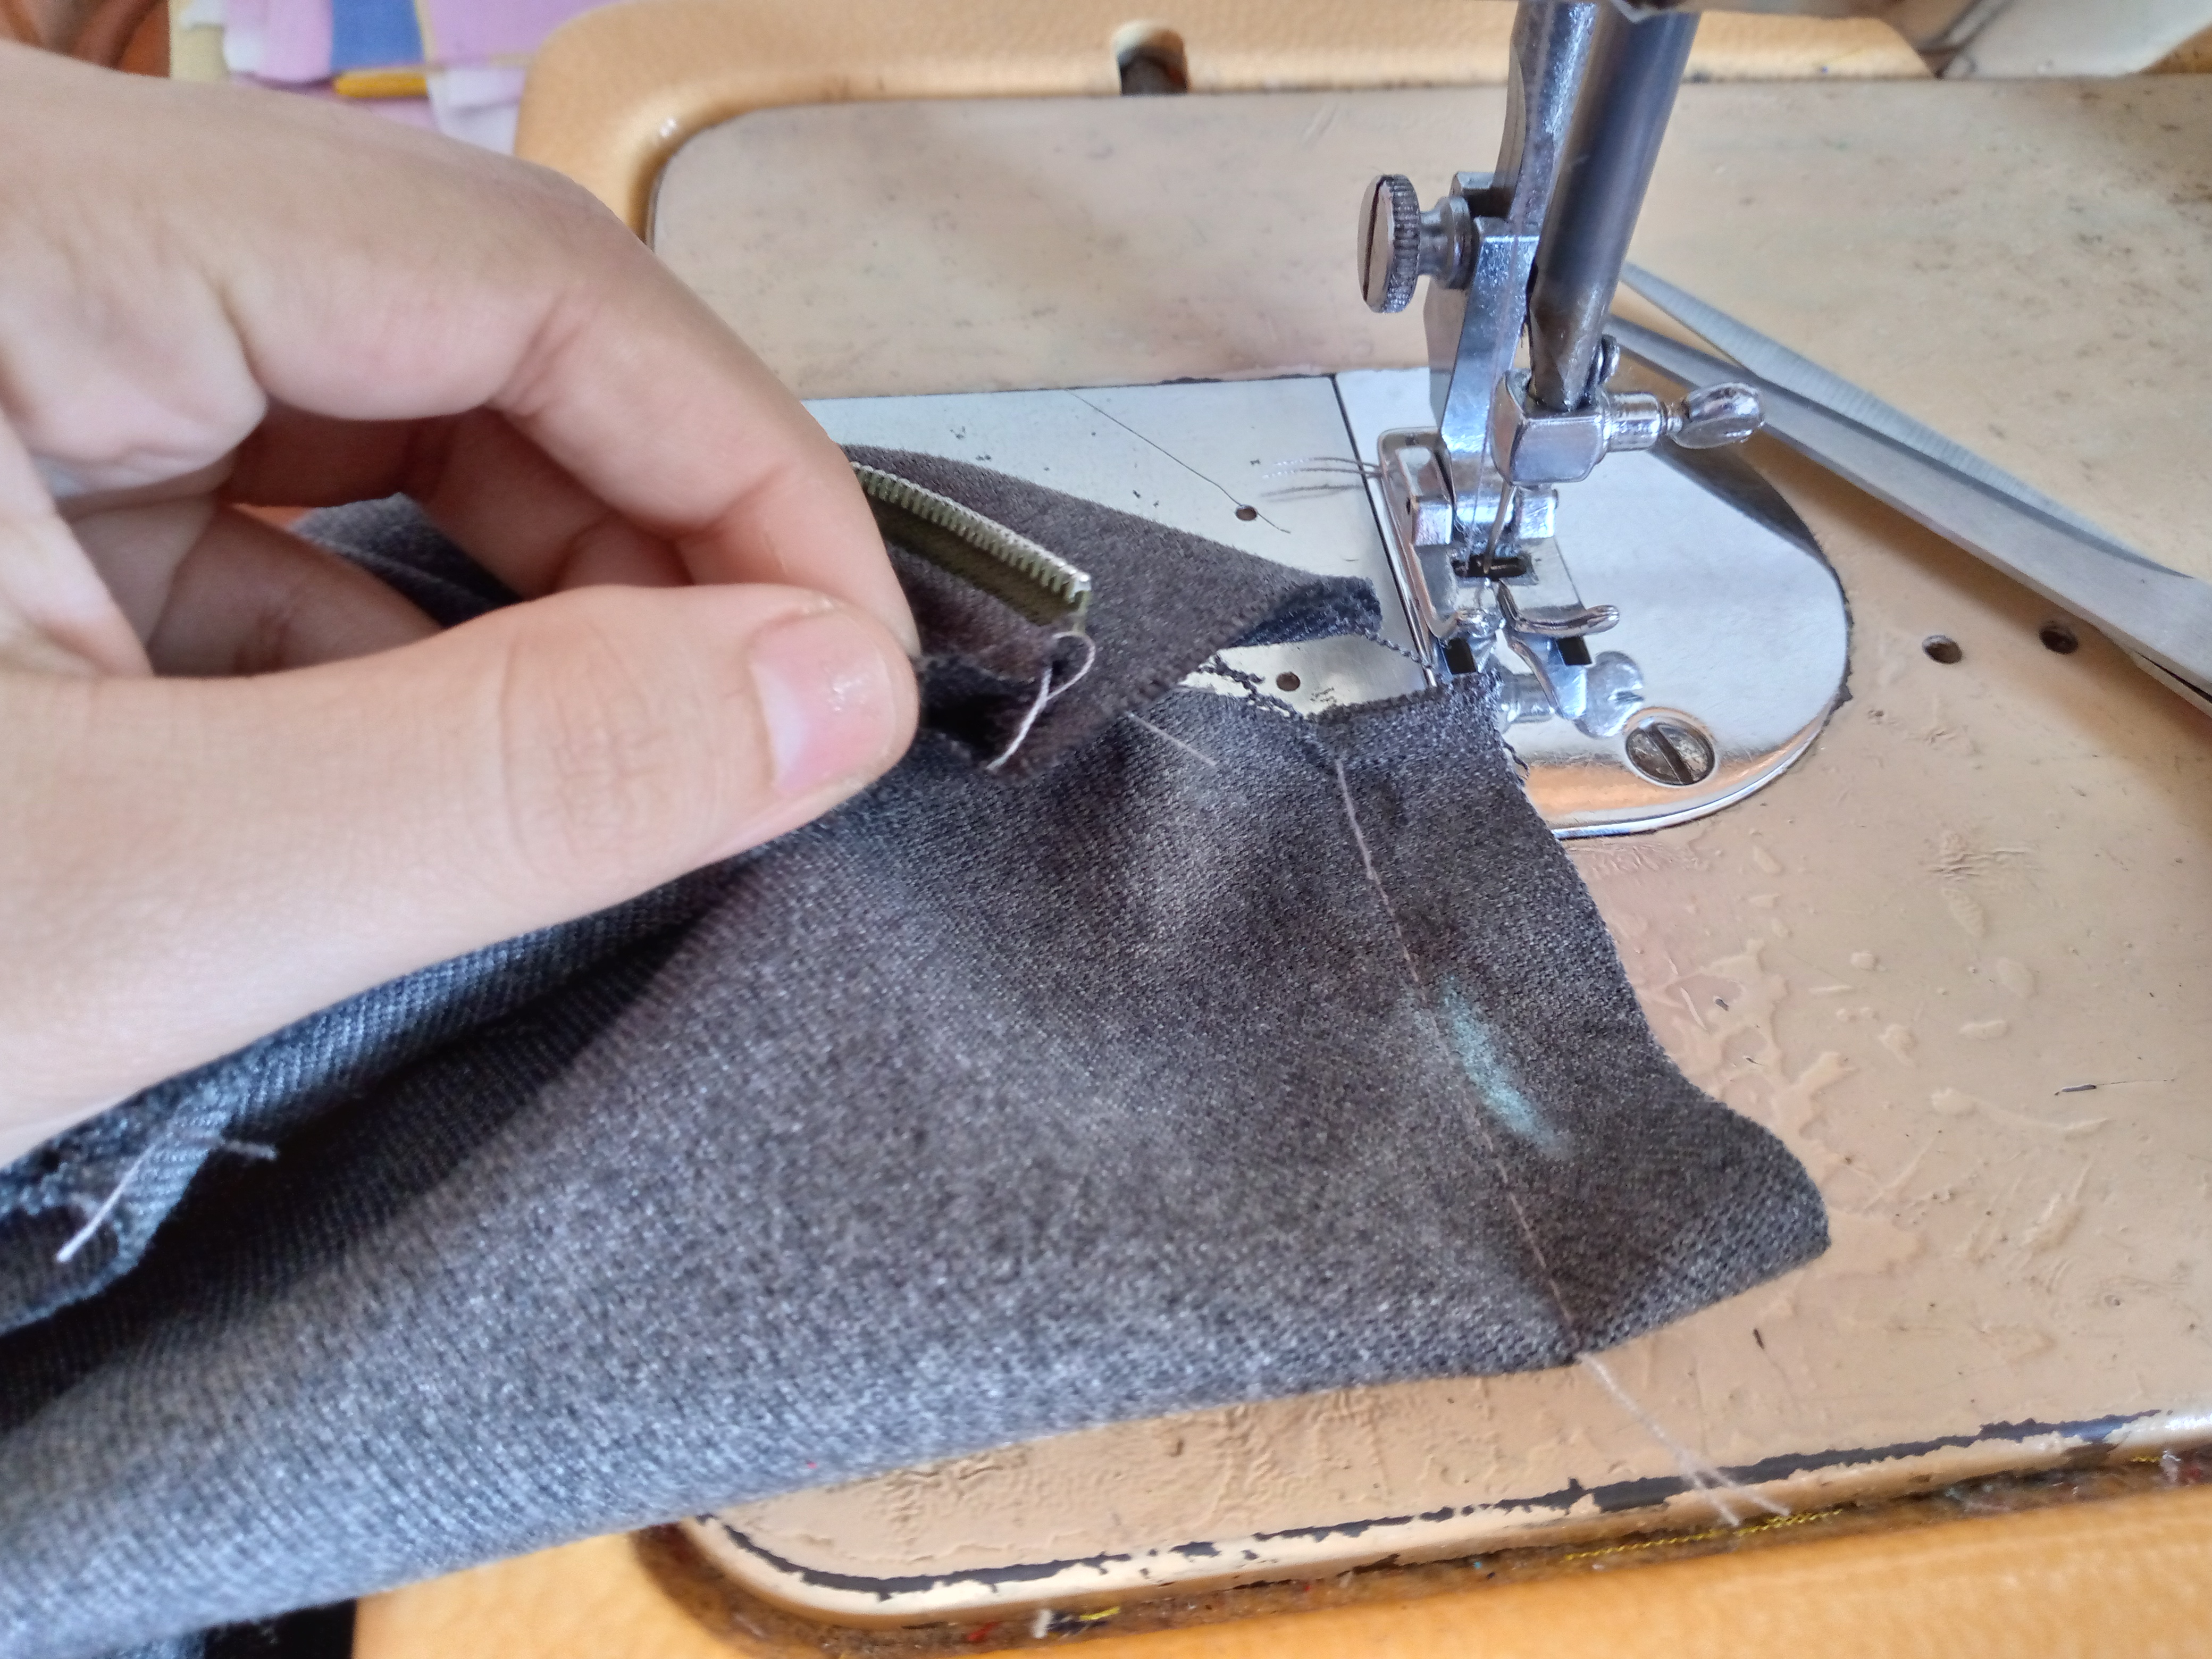
Doblamos una de las piezas del cierre y le coseremos por los bordes con zig zag y bajo el cierre que cosimos anteriormente la cosemos nuevamente formando una tapa ,luego cosemos la otra tapa del cierre del lado izquierdo ,volteamos y por el lado superior por encima lo volveremos a coser sellando así nuestro cierre,luego es momento de unir nuestra bermuda abajo y por los lados de los bolsillos recuerden siempre colocar un alfiler para ajustar.

Step 04

We fold one of the pieces of the zipper and sew it along the edges with a zig zag stitch and under the zipper that we sewed previously we sew it again forming a flap, then we sew the other flap of the zipper on the left side, turn it over and on the upper side above we will sew it again thus sealing our zipper, then it is time to join our Bermuda shorts below and on the sides of the pockets, always remember to place a pin to adjust.
IMG_20250102_125732_082.jpg

IMG_20250102_125945_658.jpg

IMG_20250102_130245_806.jpg

IMG_20250102_130516_689.jpg

Paso 05

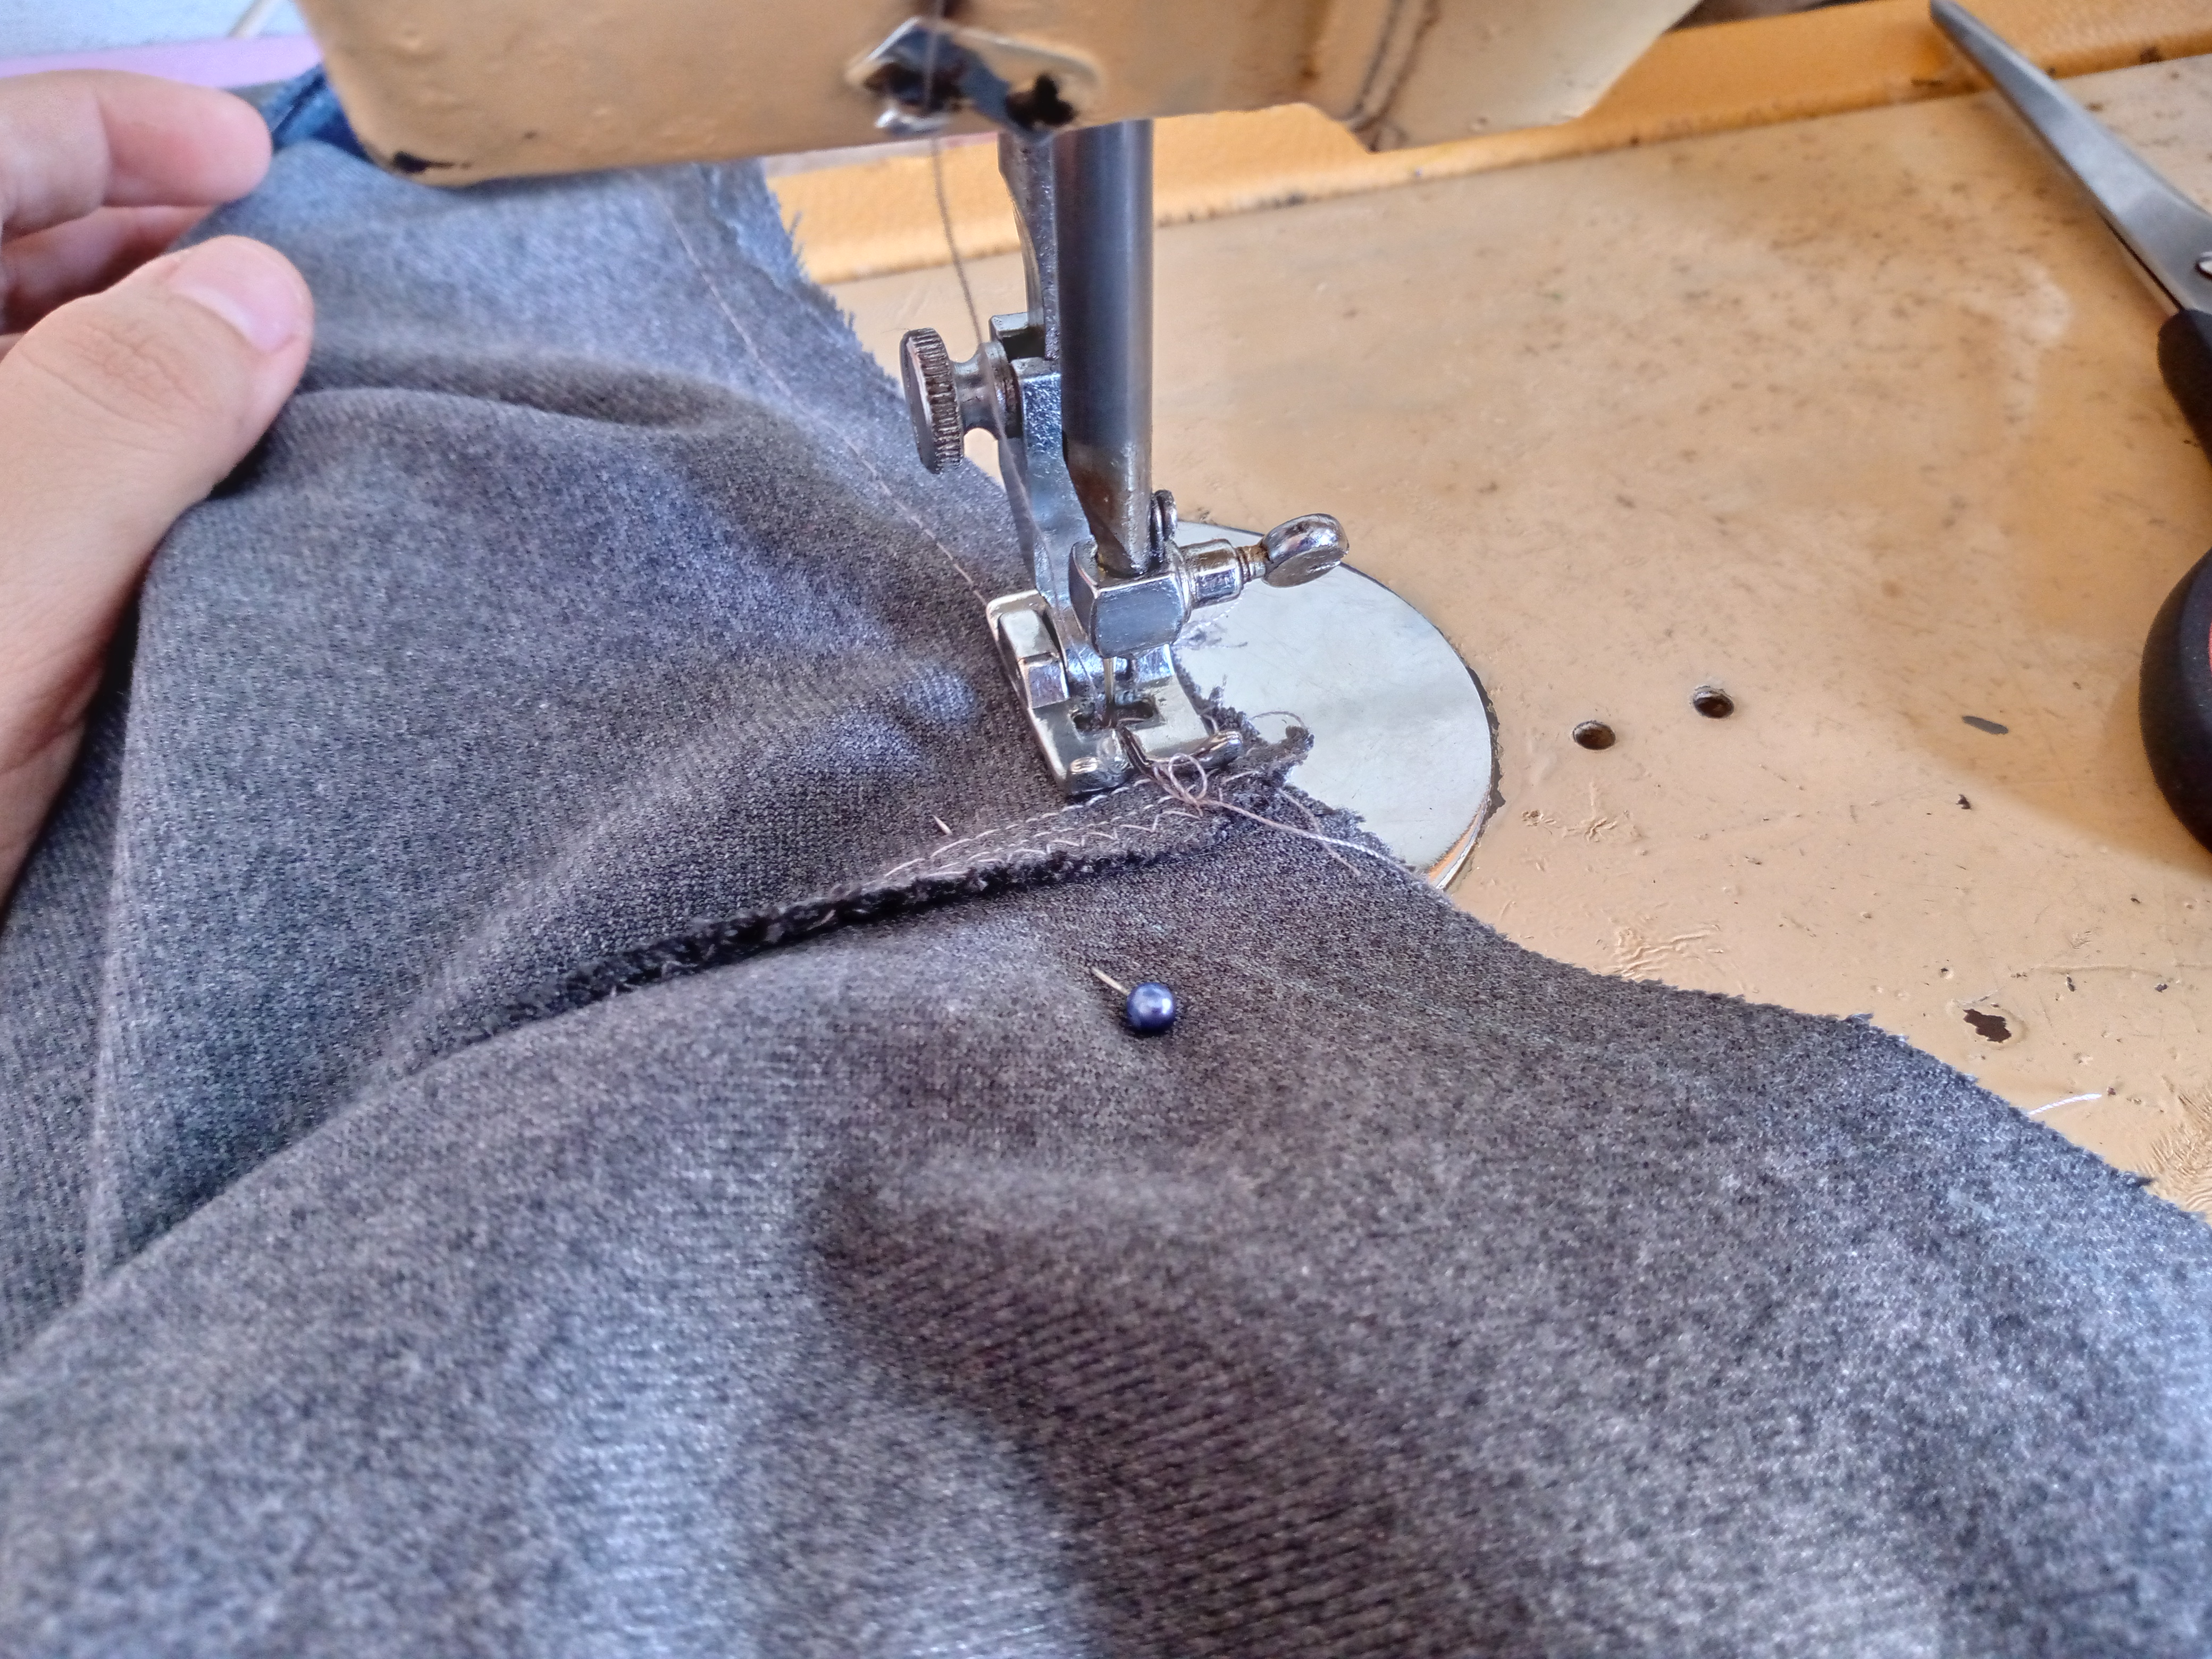
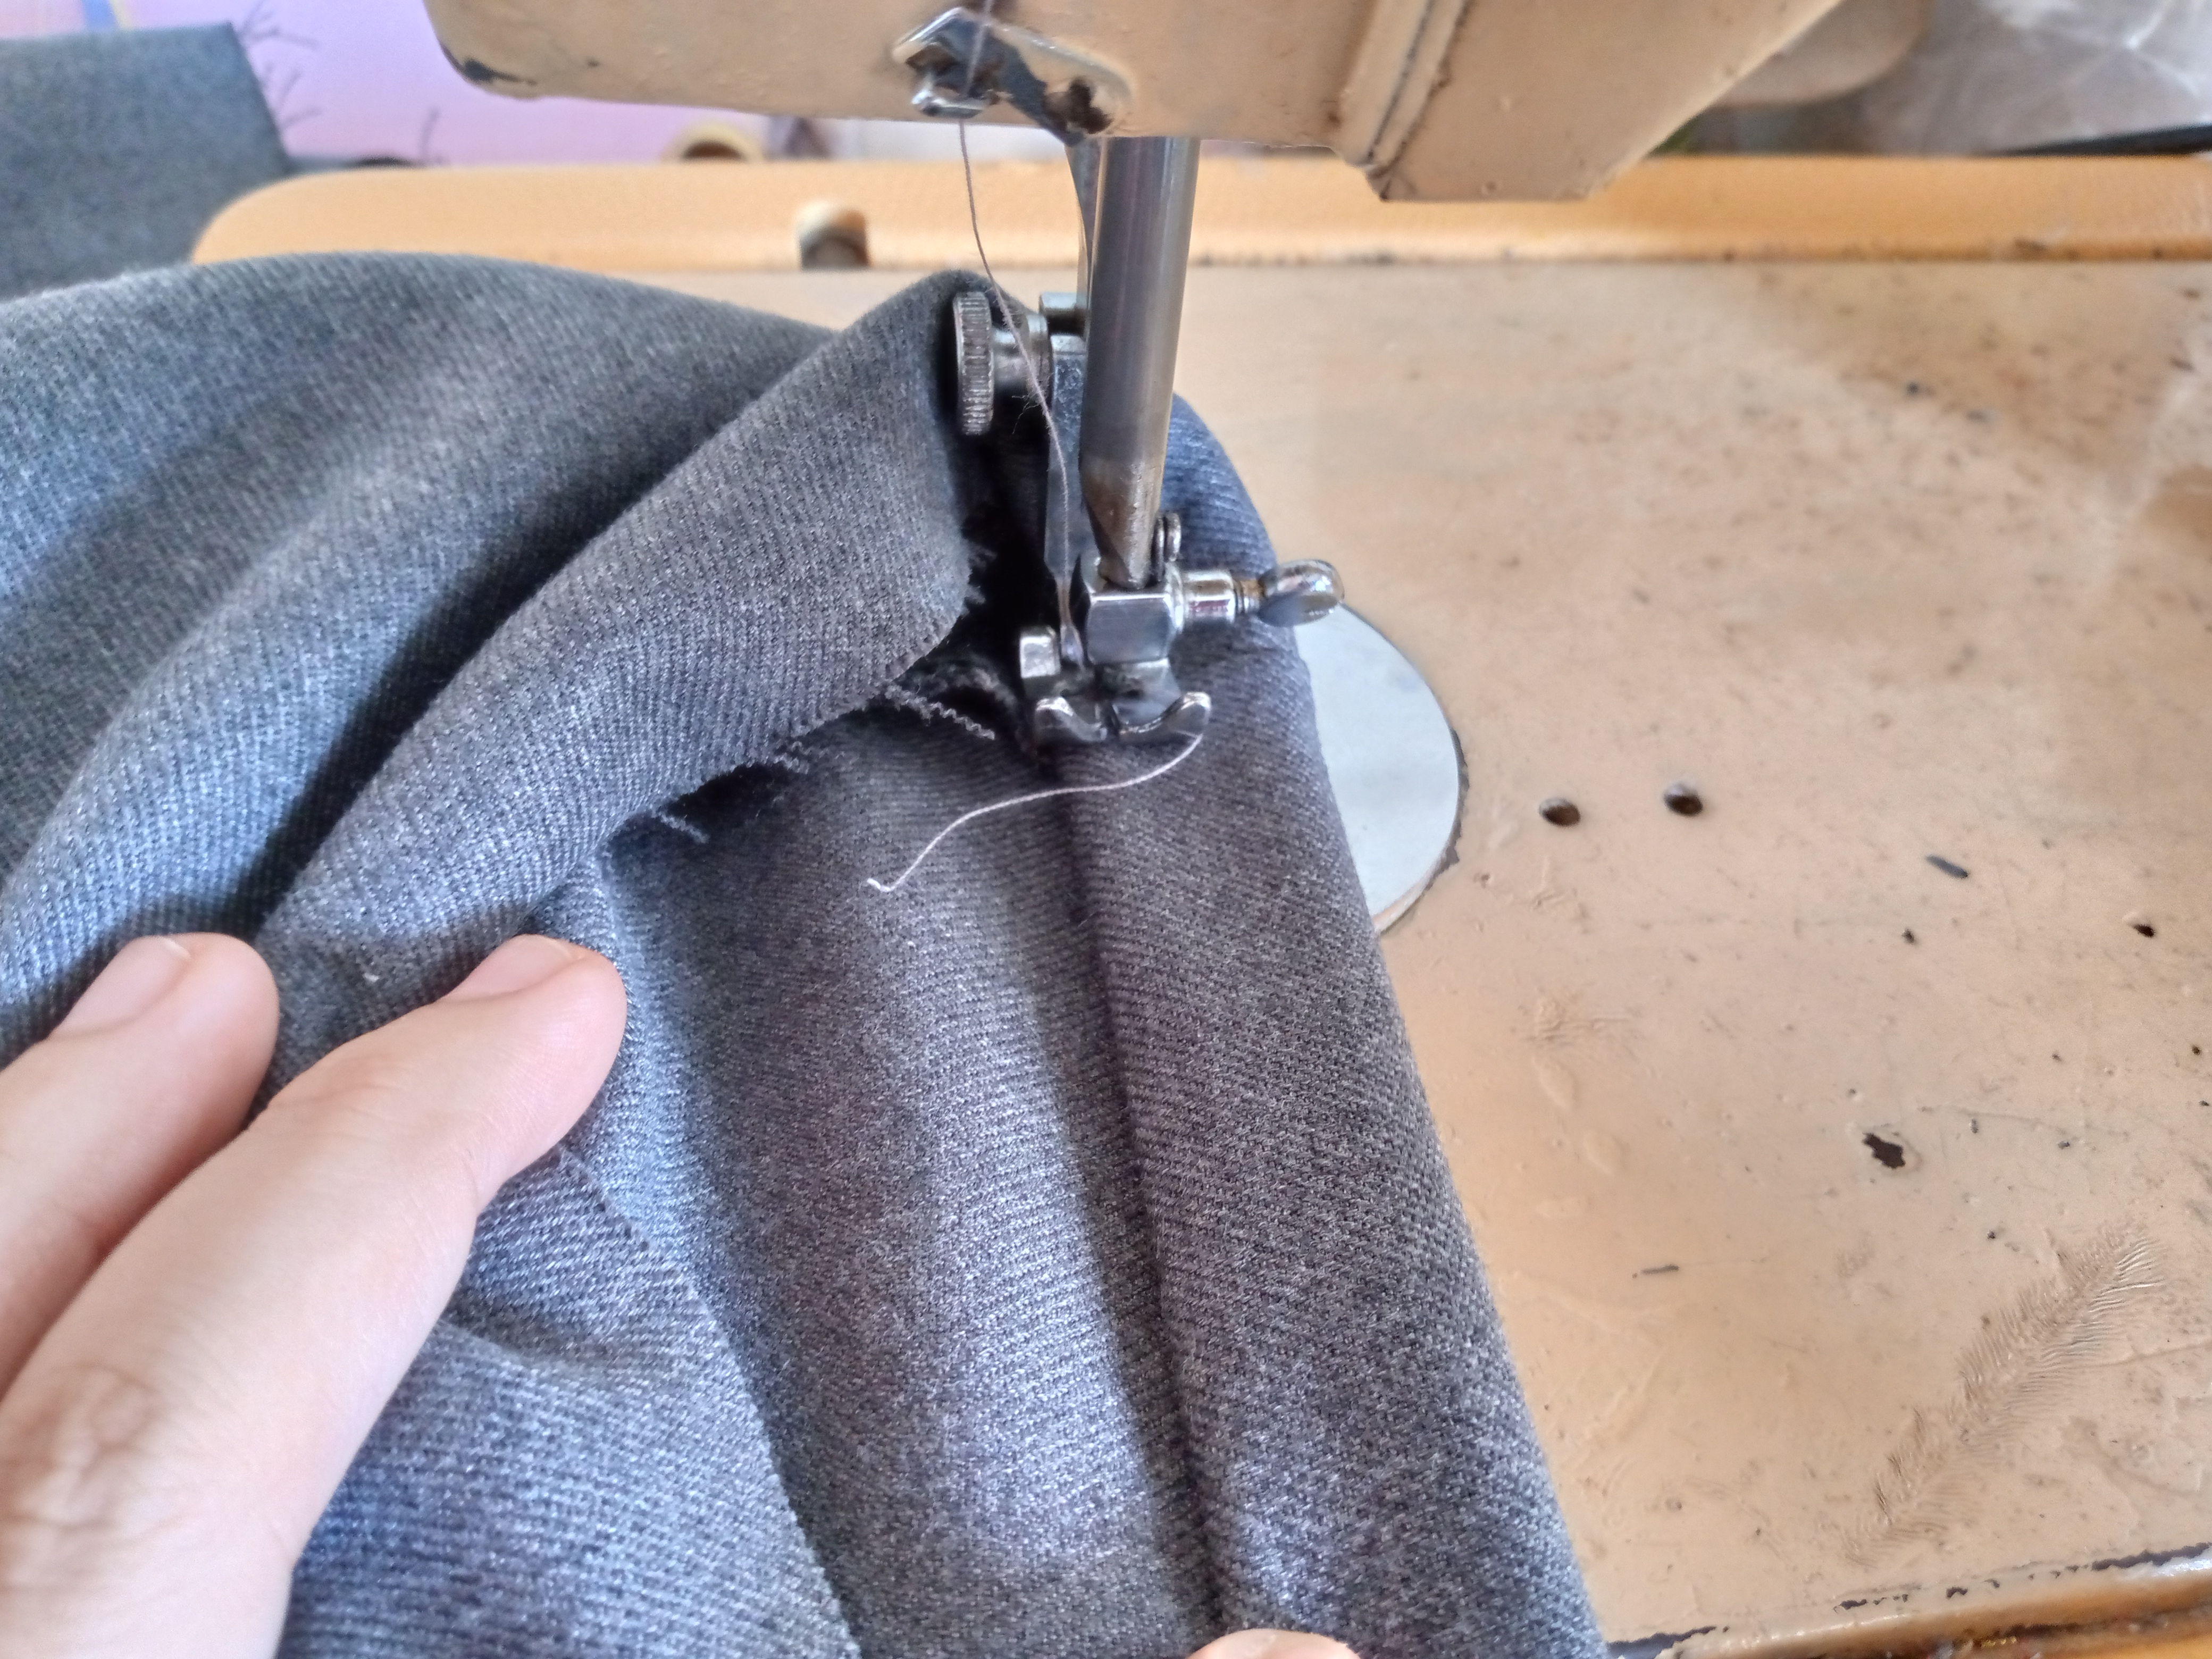
Pasaremos a unir en un extremo nuestra pretina y sellarla y la coseremos por todo el borde de la bermuda por el lado inferior después cuando lleguemos al final sellaremos nuevamente la pretina en la esquina volteamos y repisamos por encima la pretina con costura recta.

Step 05

We will join our waistband at one end and seal it, and we will sew it along the entire edge of the shorts on the bottom side. Then, when we get to the end, we will seal the waistband again in the corner, turn it over and sew the waistband over with a straight seam.

IMG_20250102_130827_657.jpg

IMG_20250102_131050_946.jpg

IMG_20250102_131905_961.jpg

IMG_20250102_132240_785 (1).jpg

Paso 06

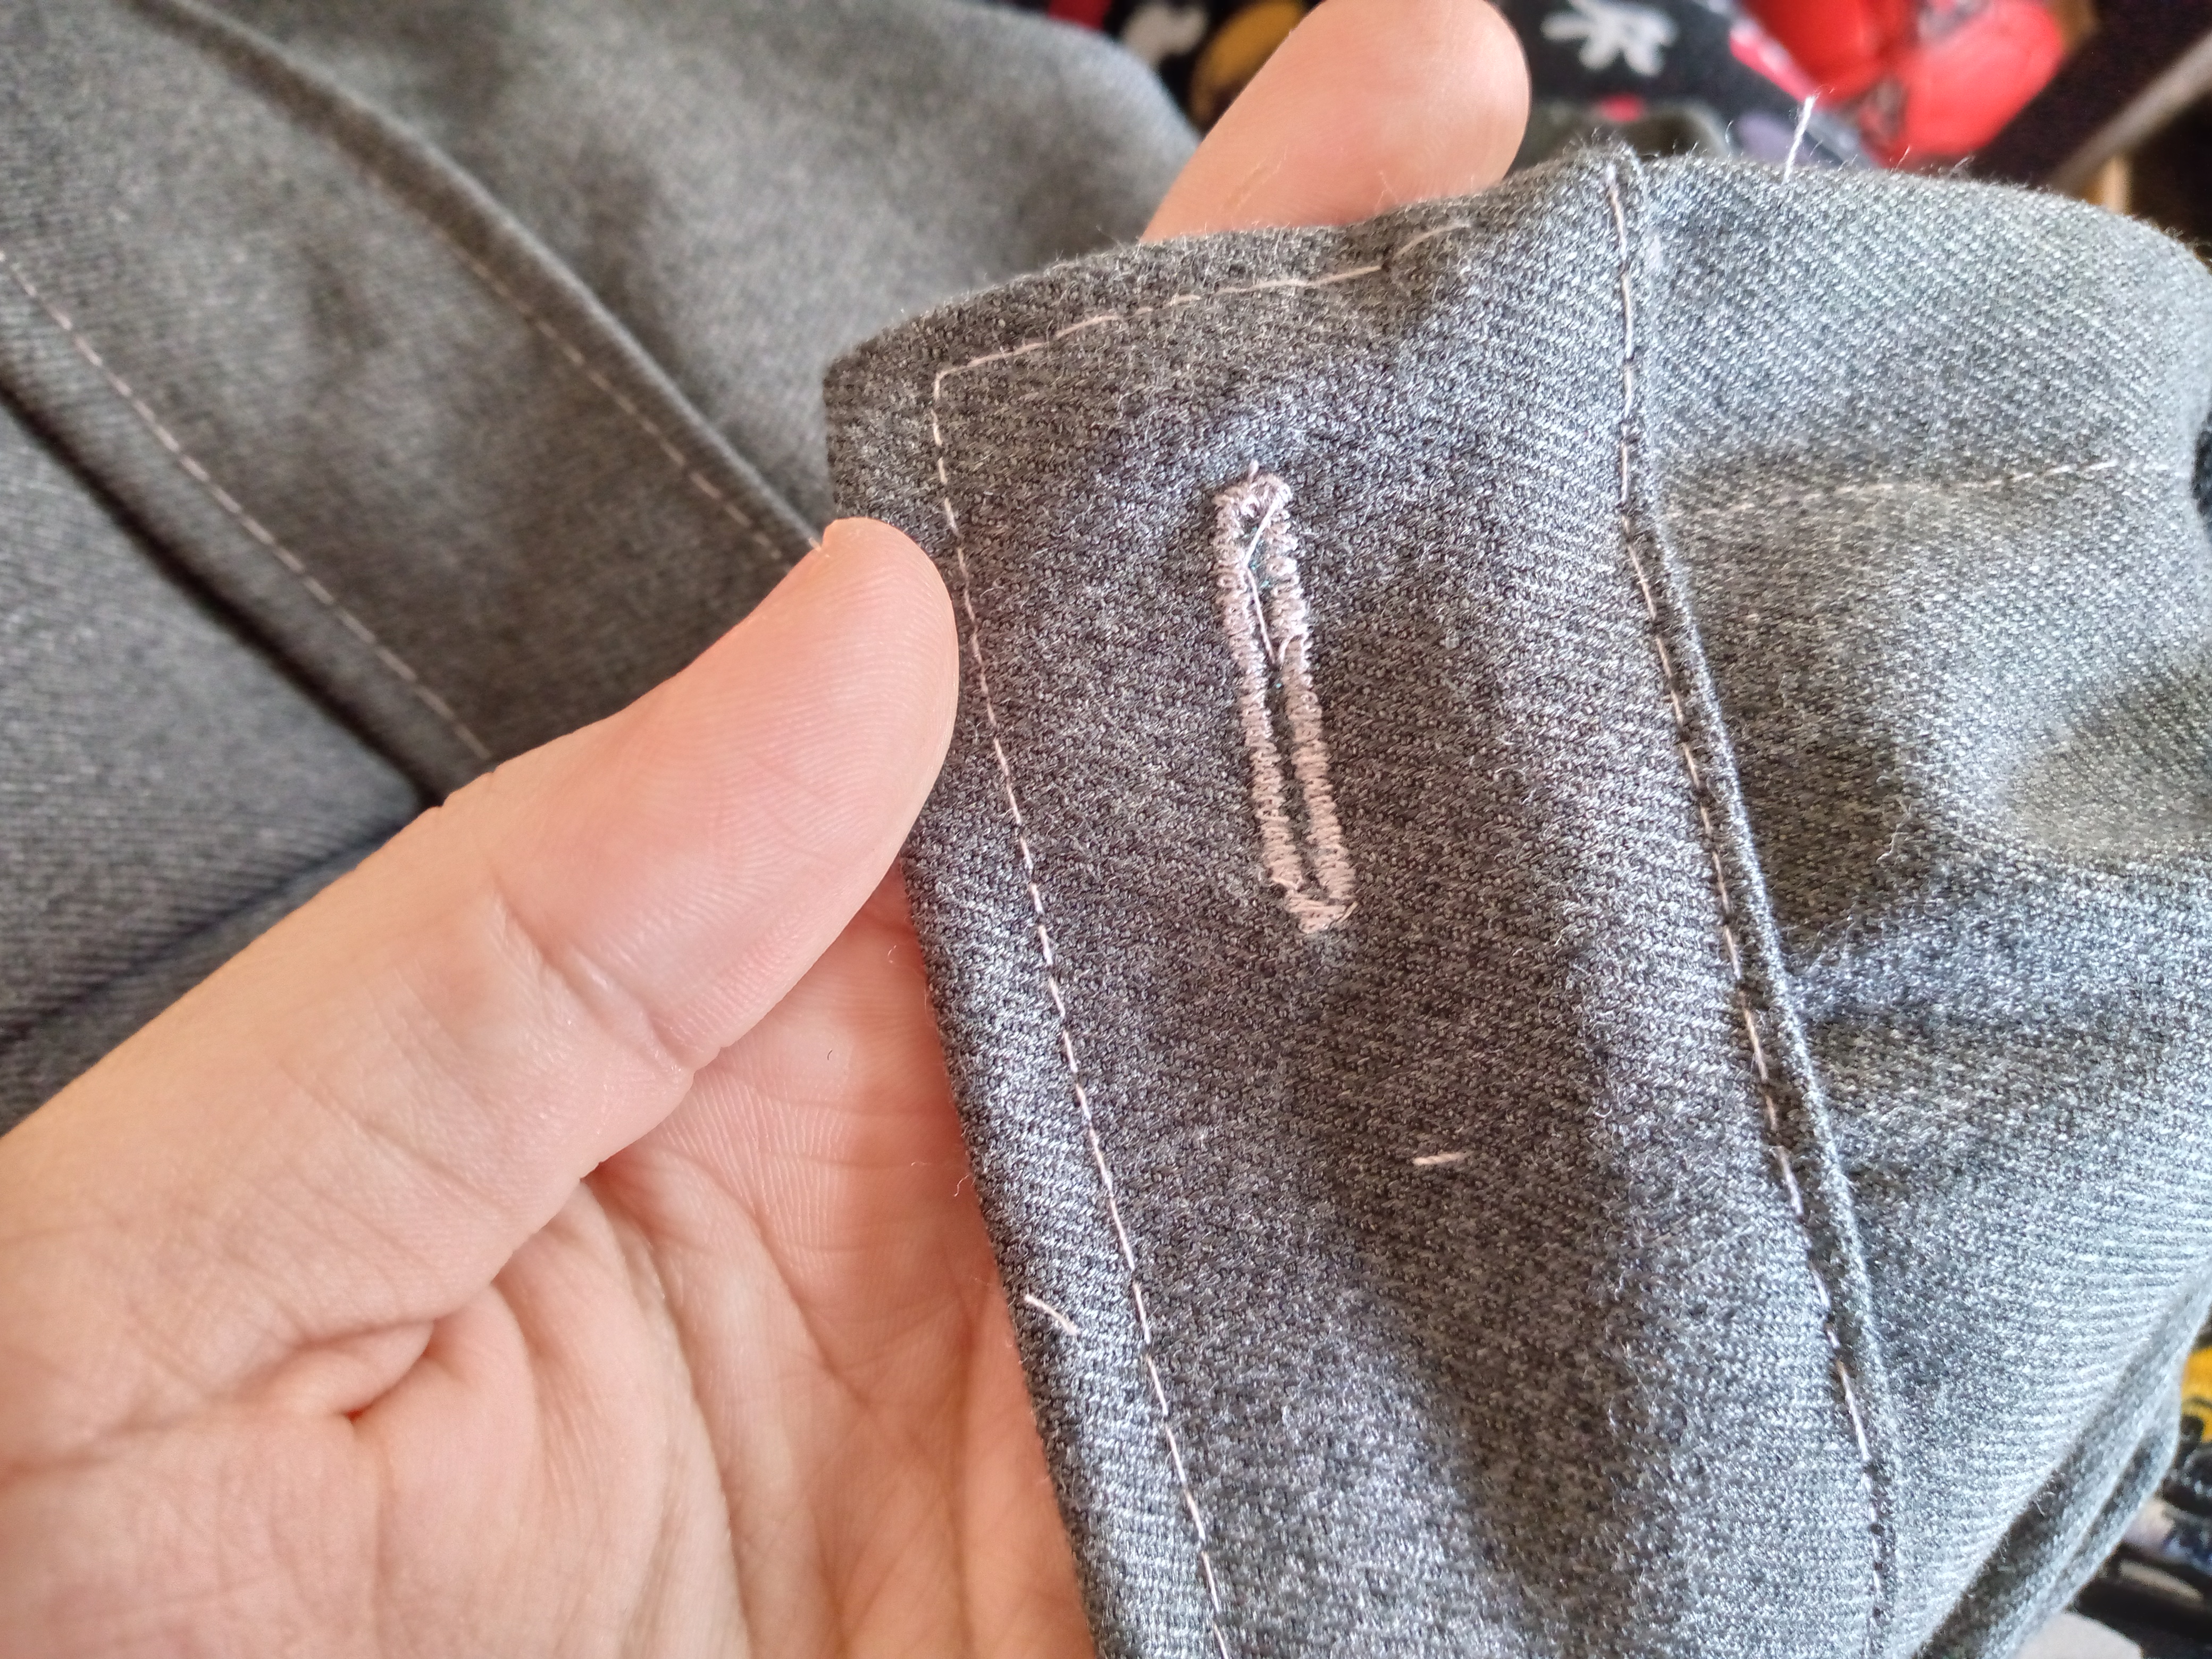
Coseremos para finalizar nuestro dobladillo abajo de la bermuda el ojal de el botón y para finalizar cosemos el botón.

Step 06

To finish our hem below the Bermuda shorts, we will sew the buttonhole and finally we will sew the button.


Picsart_24-11-15_15-51-20-828 (1).jpg

Resultado:// Result:

IMG_20250102_132855_944.jpg

IMG_20250102_132820_676.jpg

IMG_20250102_132810_638.jpg

IMG_20250102_132810_521.jpg

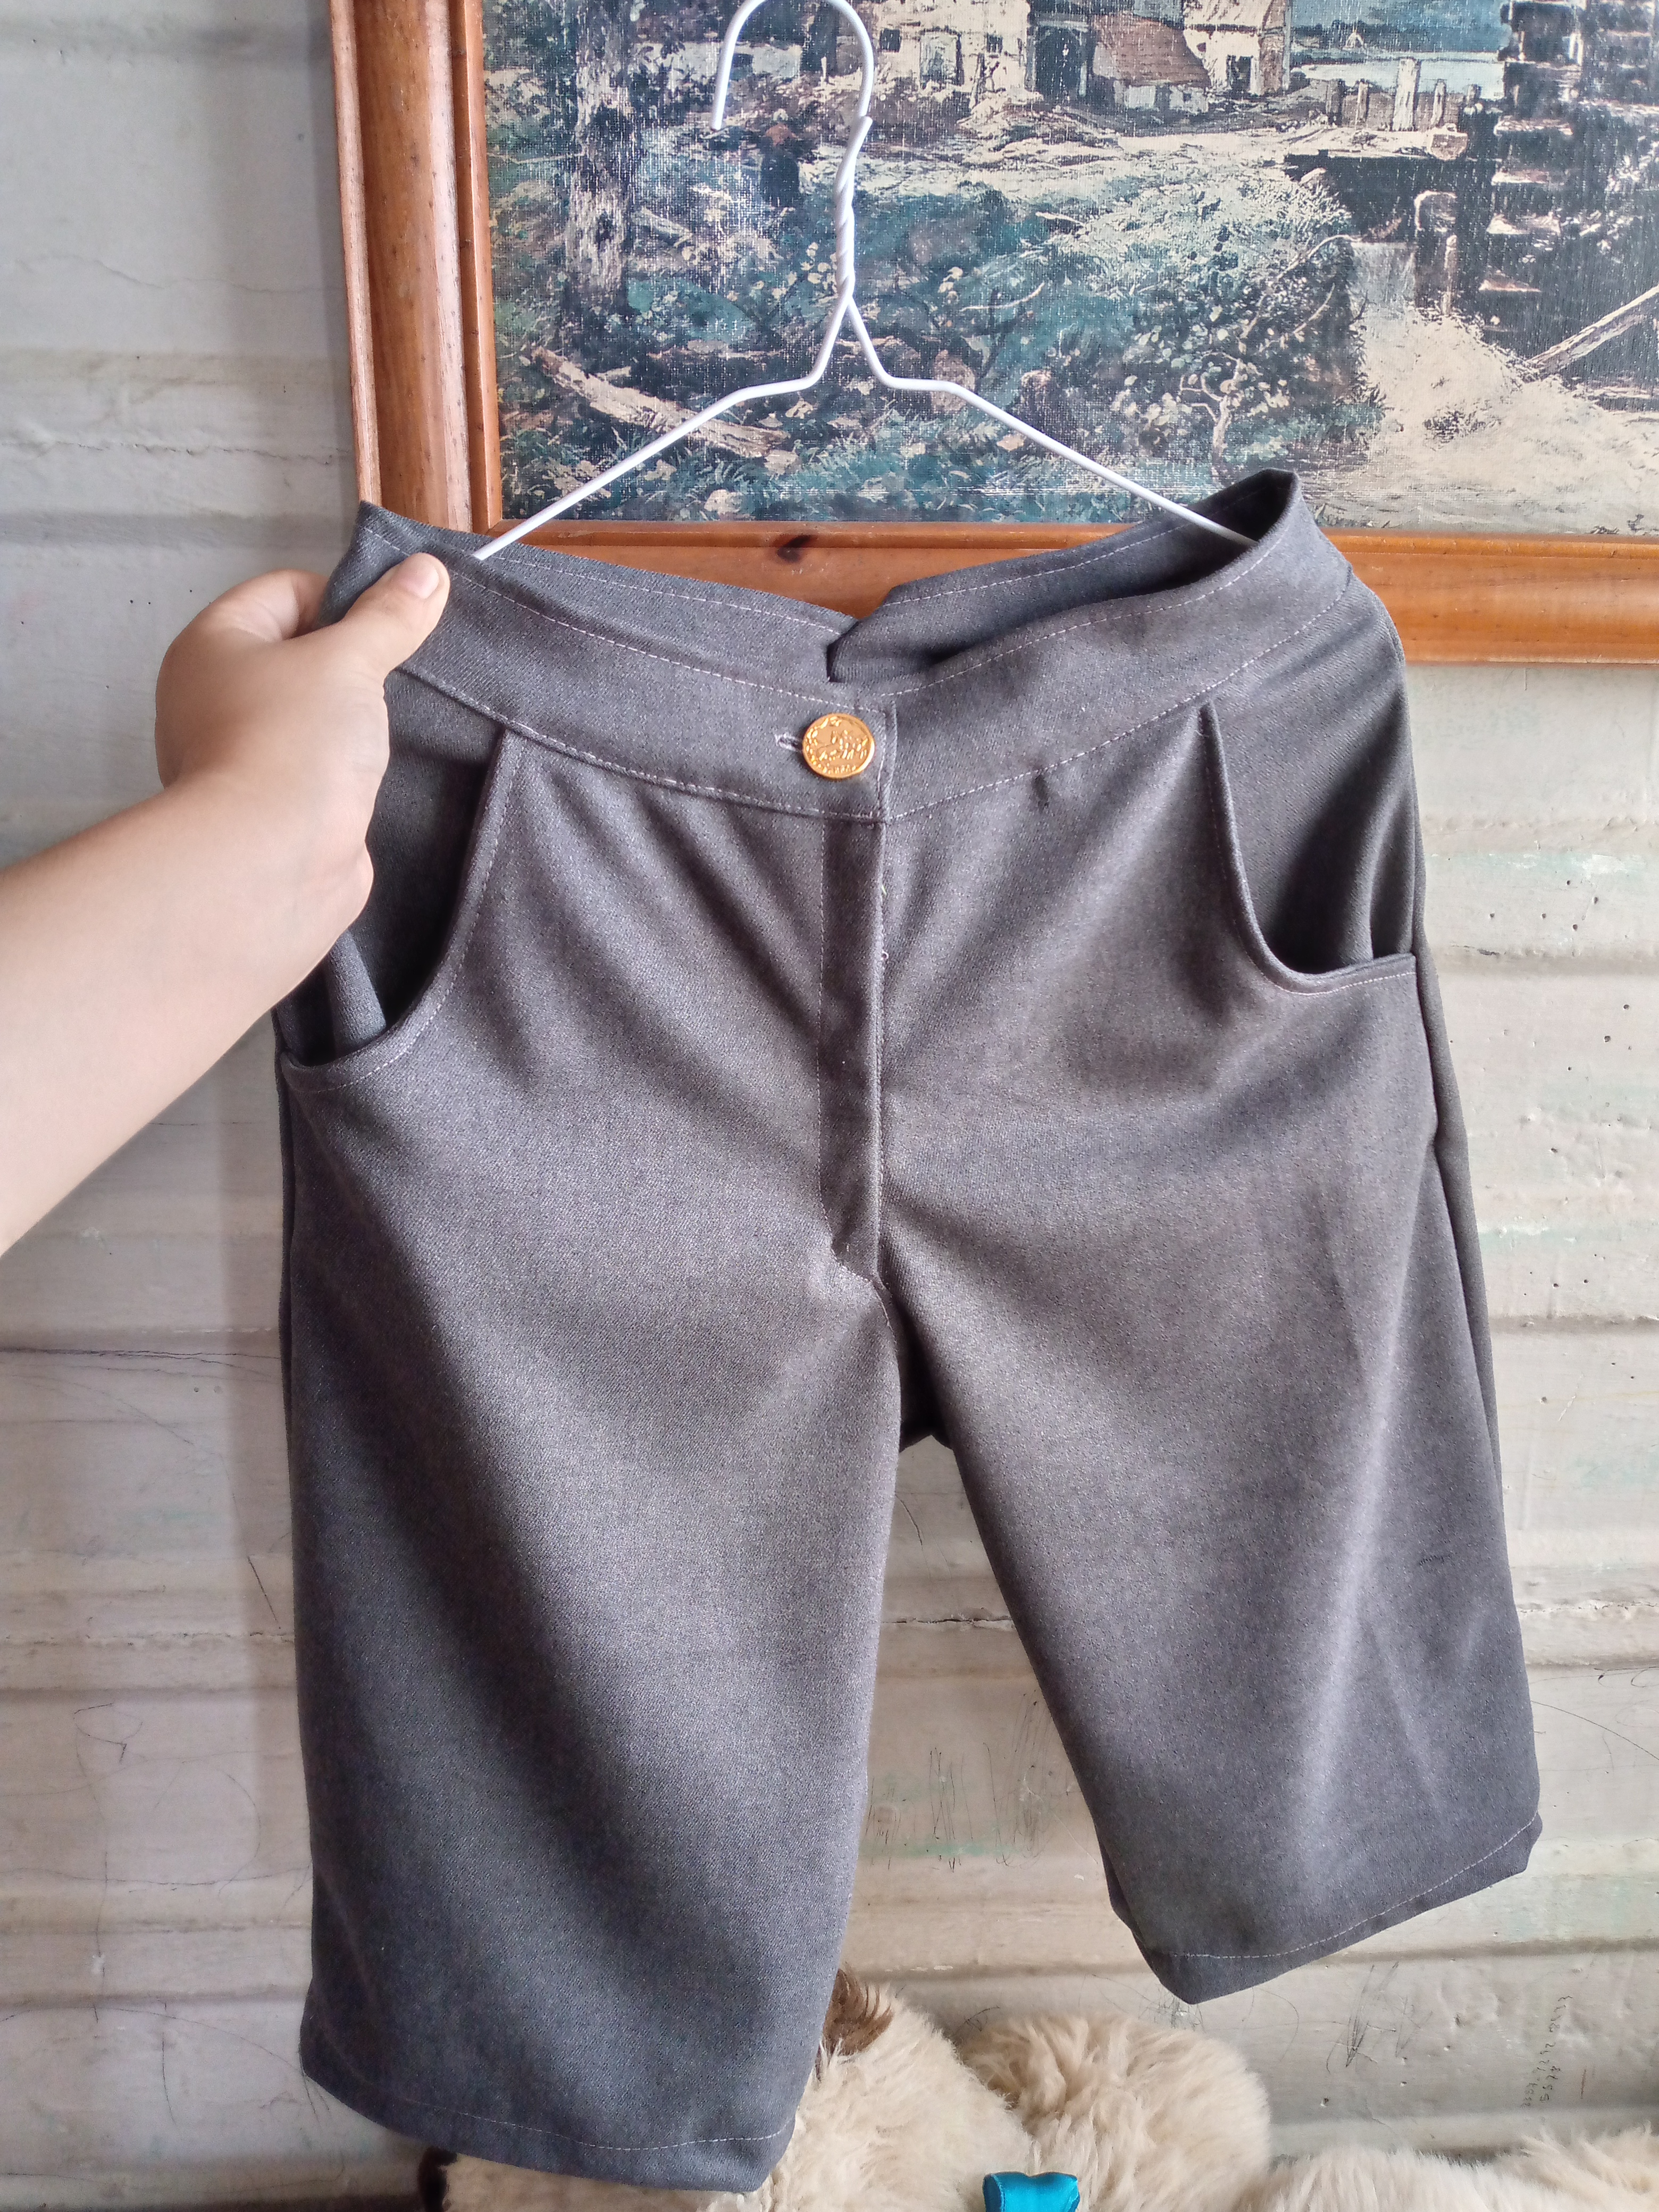
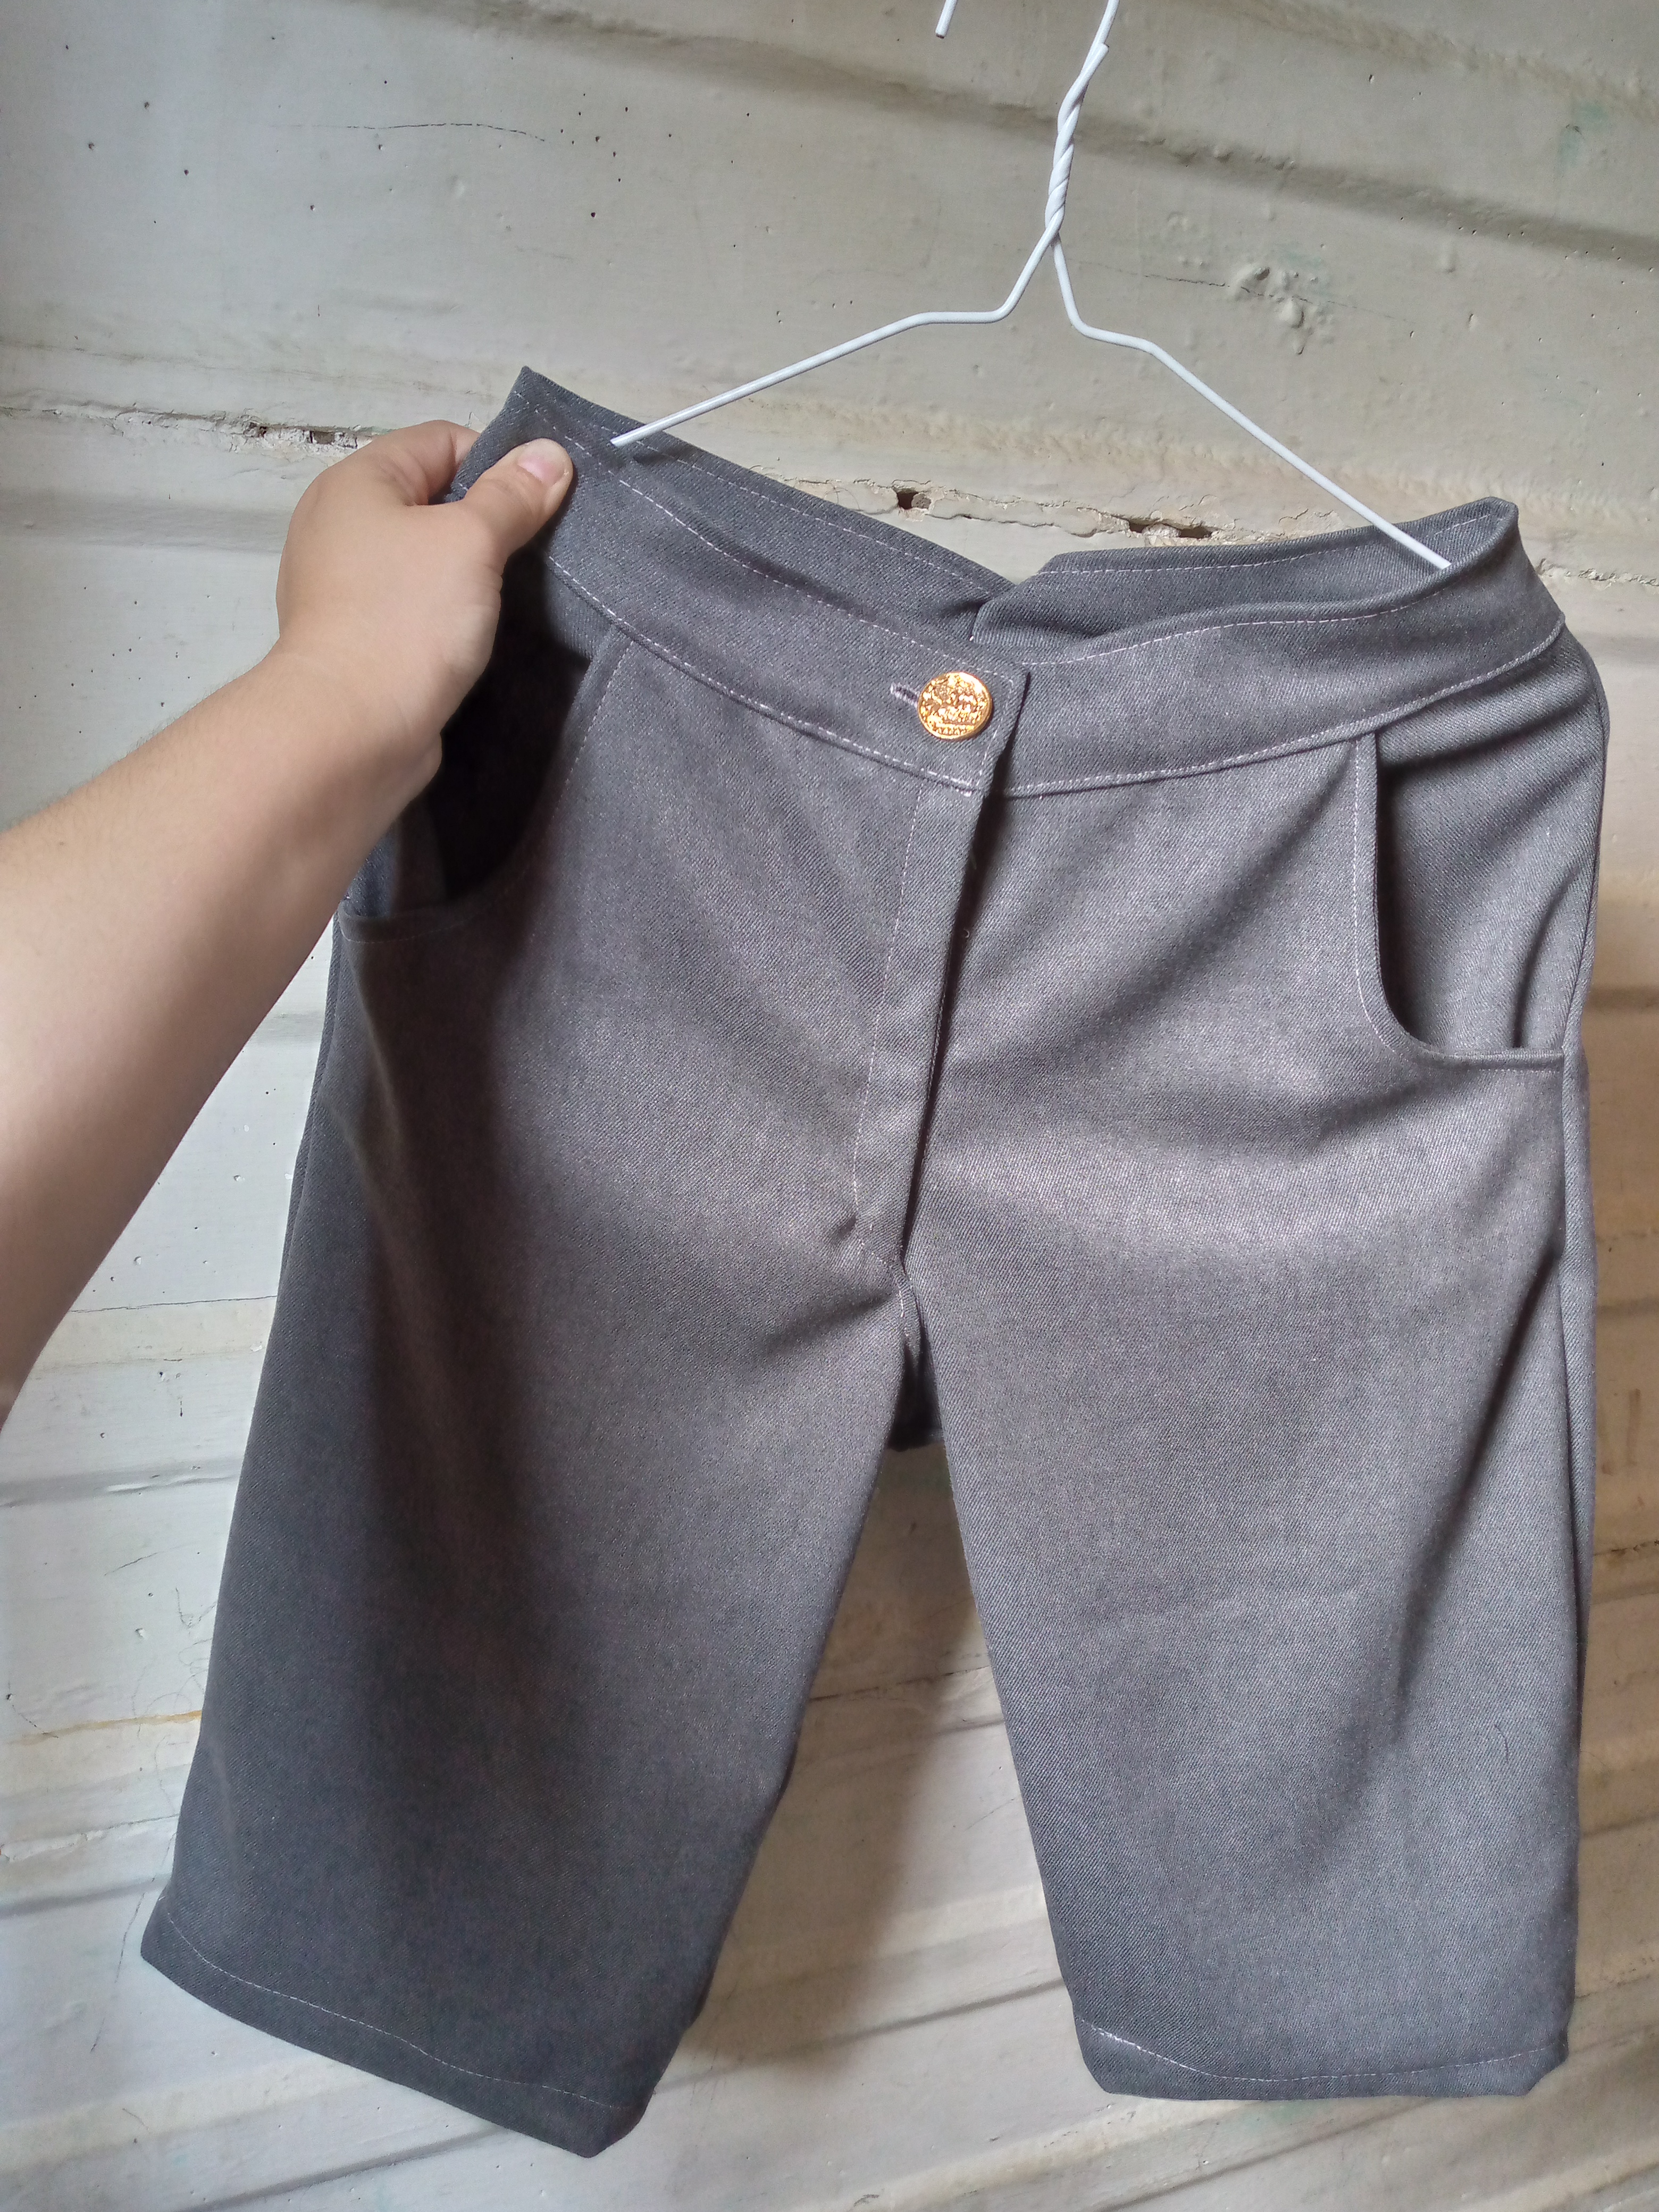
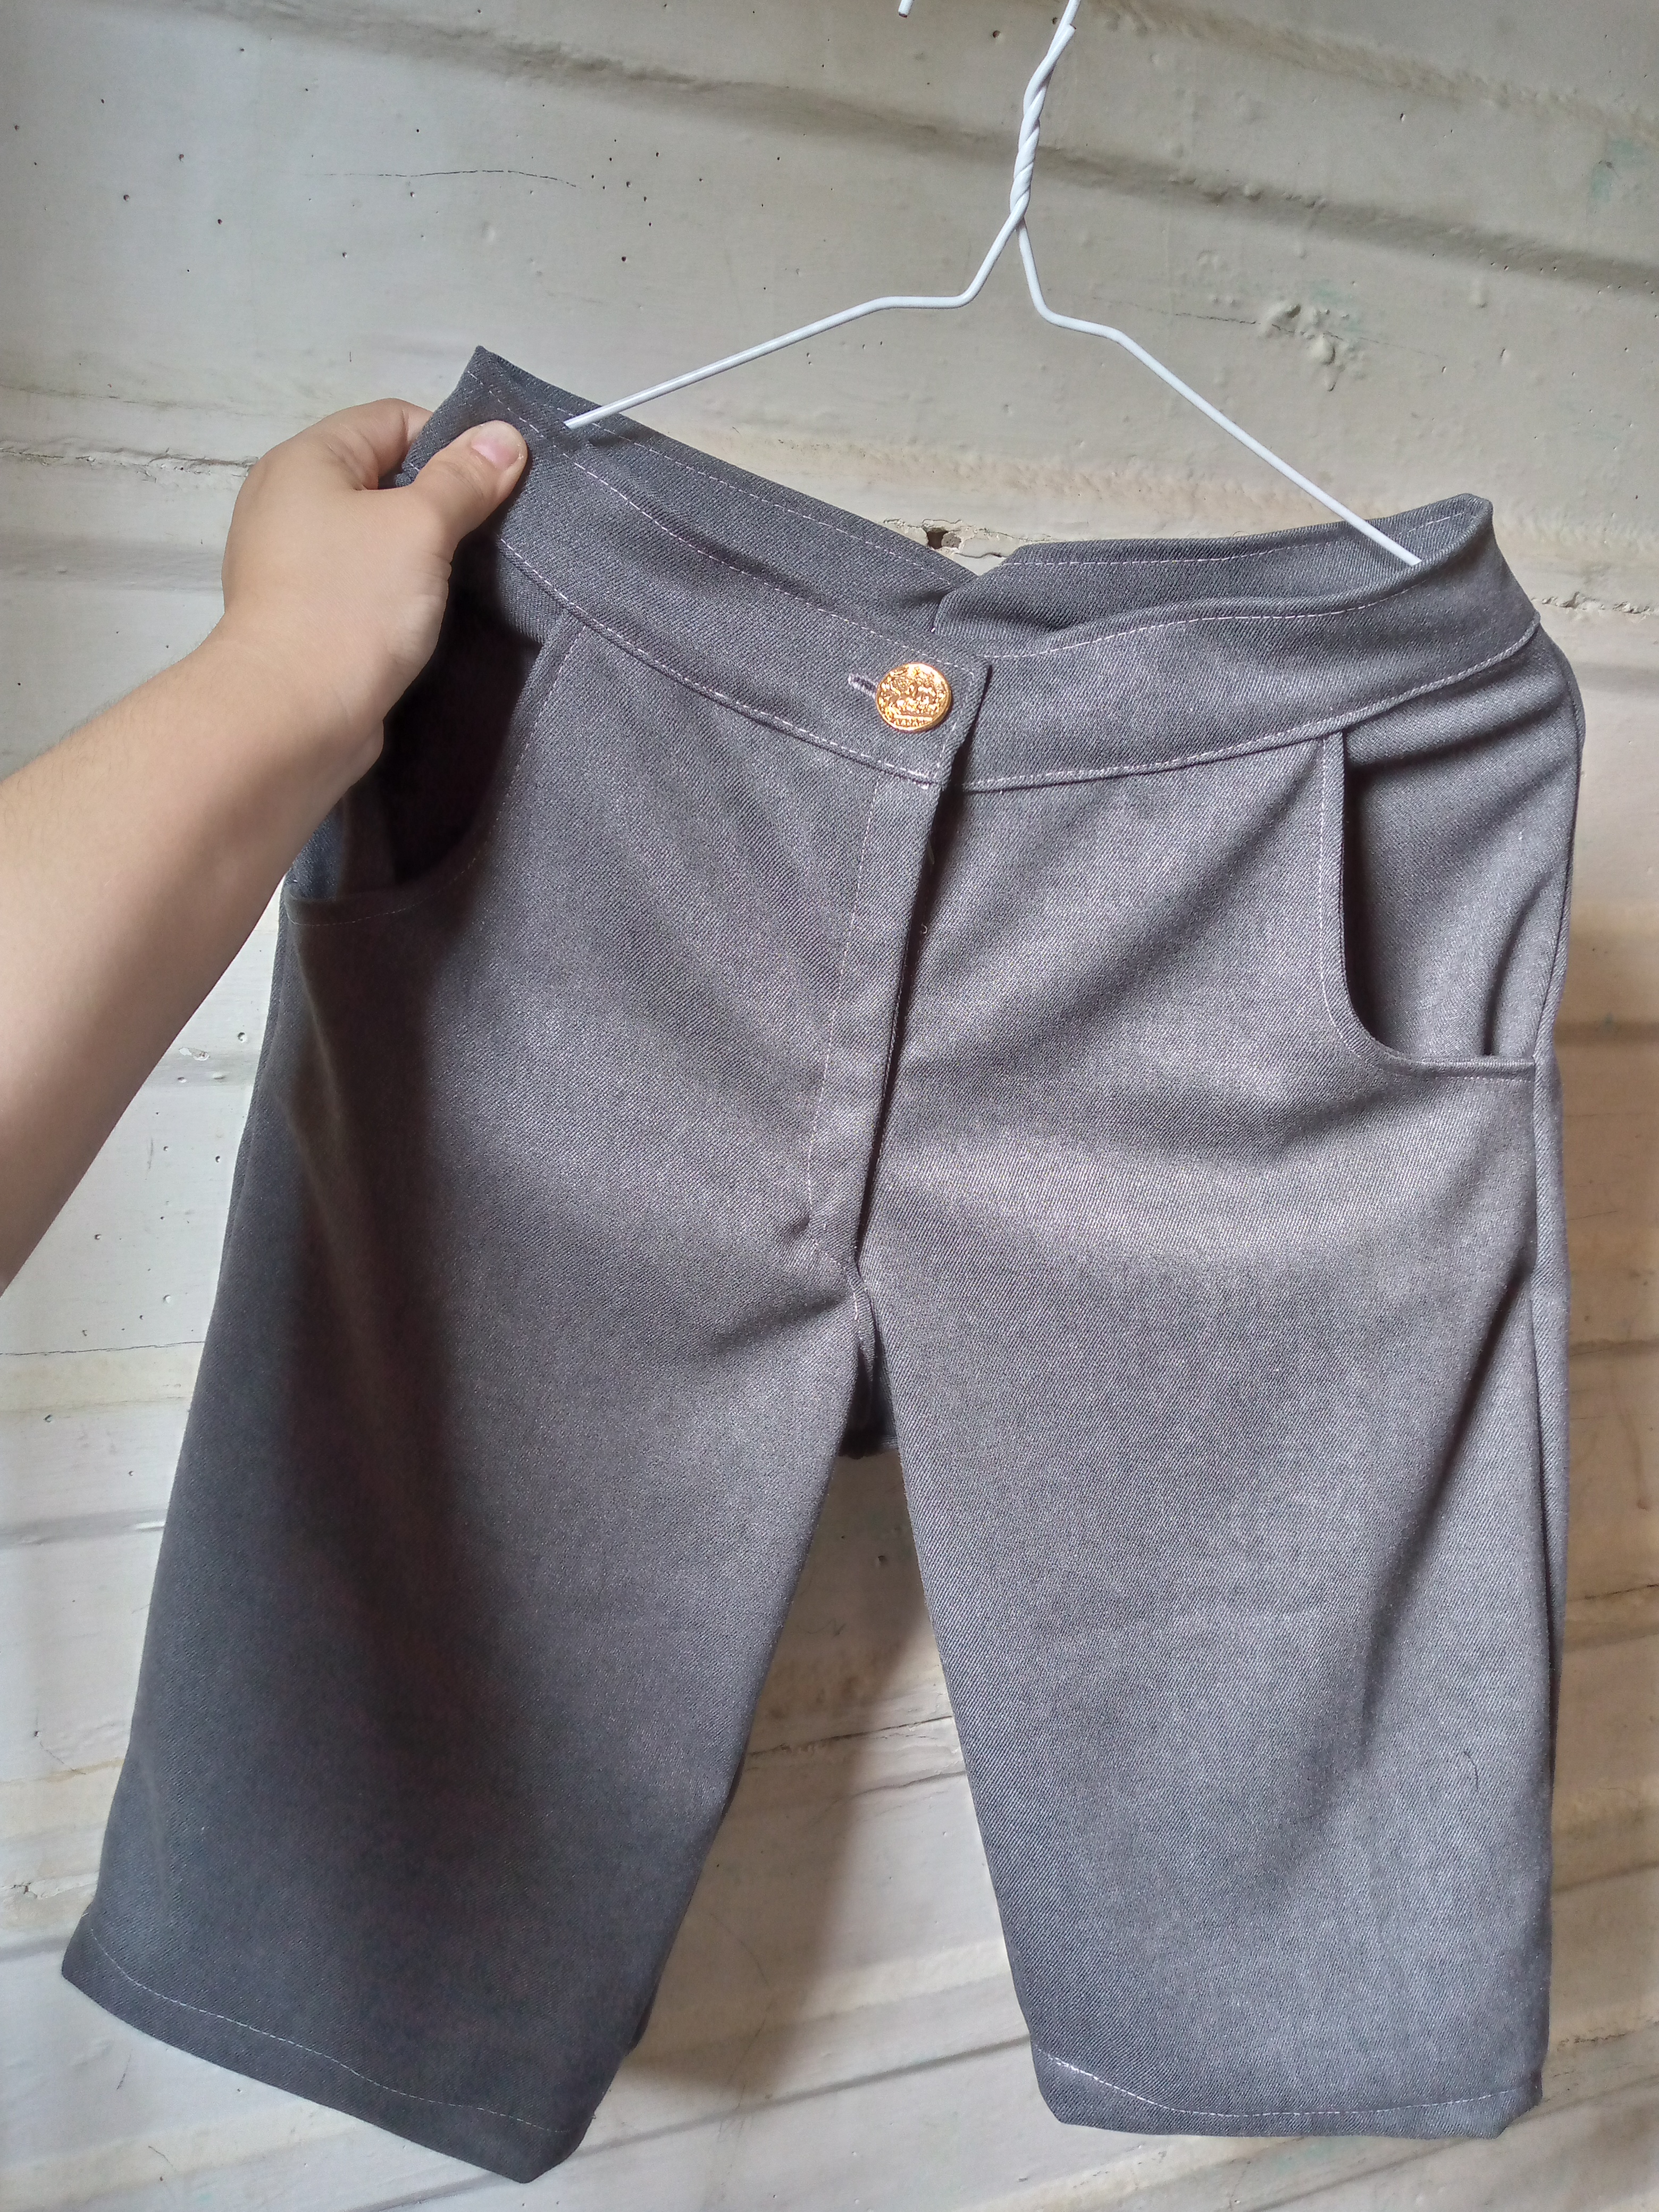
Así se aprecia este trabajo que terminé amigos ,la verdad me tardé como ustedes no imaginan aquí coser esto pero al final cuando me di cuenta que lo había cosido sentí mucha satisfacción de haber terminado ésta bermuda me ha gustado mucho como ha quedado y espero a ti te guste también, gracias por llegar al final y nos vemos en otra próxima ocasión les deseo una feliz tarde.

This is how you can see the work I finished, my friends. The truth is that it took me a long time to sew this, but in the end, when I realized that I had sewn it, I felt very satisfied to have finished these shorts. I really liked how they turned out and I hope you like them too. Thank you for getting to the end and I'll see you on another occasion next time. I wish you a happy afternoon.

Picsart_24-11-15_15-51-20-828 (1).jpg

Creando las cosas con amor 🌷❤️

🦋✨Todas las imágenes de esta publicación son de mi autoria ,📱tomadas con mi celular TecnoSpark8C |📸Fotos editadas en PicsArt y Canva. Texto traducido en el traductor de Google.

Creating things with love 🌷❤️

🦋✨ All the images in this publication are my author ,📱taken with my TecnoSpark8C cell phone |📸Photos edited in PicsArt and Canva. Text translated in Google Translate.


Gracias por visitar mi blog_20241117_145338_0000.png


Sort:  

such lovely and perfect shorts for casual outings like beaches, etc. nice work

Oh thank you very much, that's right, dear friend.

This is so beautiful what a great job

Thanks 😁

Loading...

Que bueno saber que has podido superar el miedo.
Lo hiciste muy bien. se ve todo muy prolijo.

Asi es amiga...Nuevos retos para este año pero superandolos gracias a Dios, gracias por tu comentario y saber que te ha gustado, saludos 🥰😊🌸