
.jpg)
Do you like girls' blouses? I love making these pretty blouses for my cousins, I don't know why I like them so much, I feel like they look so flirtatious to make them for them and they look very pretty and beautiful and even more so if it's in this type of micro peach fabric, it's super soft, especially for girls' clothing.
This blouse model, known as a peasant blouse, is special for the summer season since they are somewhat low at the neck, and if they are made with soft fabrics, I am sure that they will be very comfortable to wear and almost never go out of style.
Here I show you the process of how I made it in case you want to make one for your daughter or for yourself or make a gift for someone in particular, this model may be the right one, I hope you like the final result and let's go with the process my friends who love needles.
.jpg)
💗Materiales:// Materials:💗
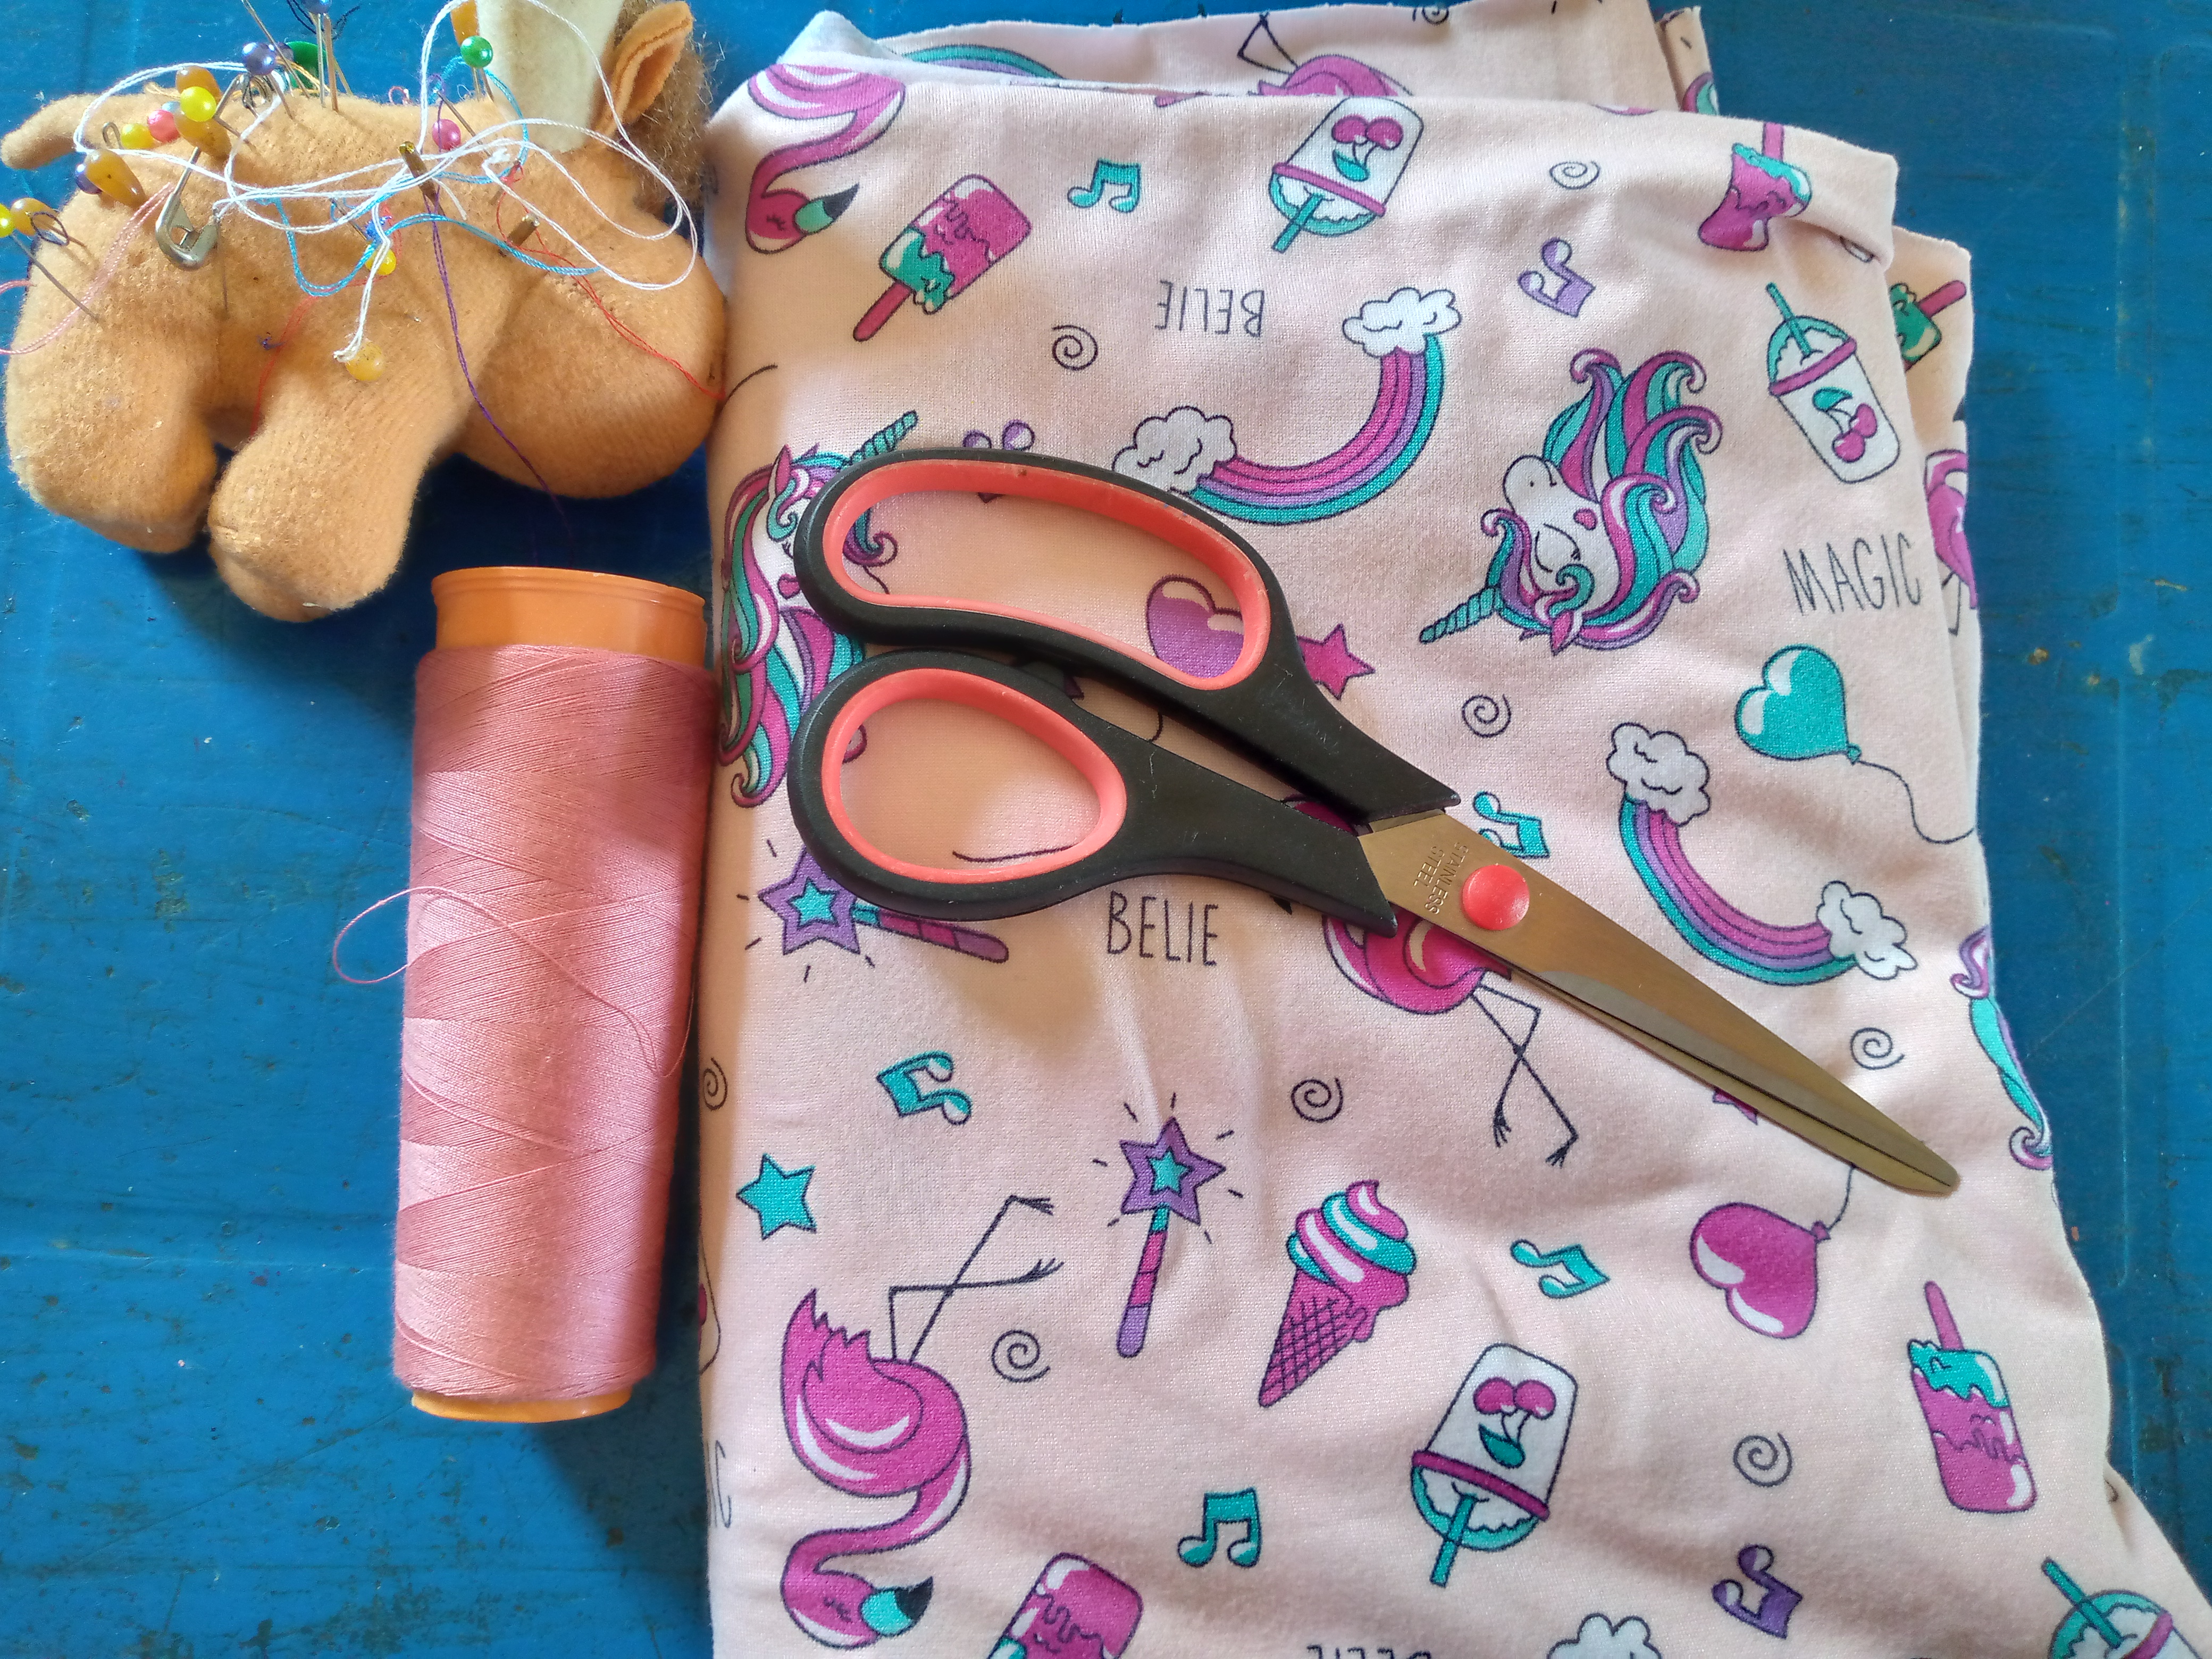
- Vamos a estar usando 50 cm de tela tipo micro durazno porque es una blusa talla 8 para niña ,usaremos también nuestra máquina de coser recomiendo usar en ella aguja número 12 ya que cose excelente estas telas ,tijeras ,alfileres e hilo.
- We are going to be using 50 cm of micro peach type fabric because it is a size 8 blouse for a girl, we will also use our sewing machine. I recommend using a number 12 needle on it since it sews these fabrics excellently, scissors, pins and thread.
.jpg)
💗Pasos a seguir:// Steps to follow:💗
Paso 01
Step 01
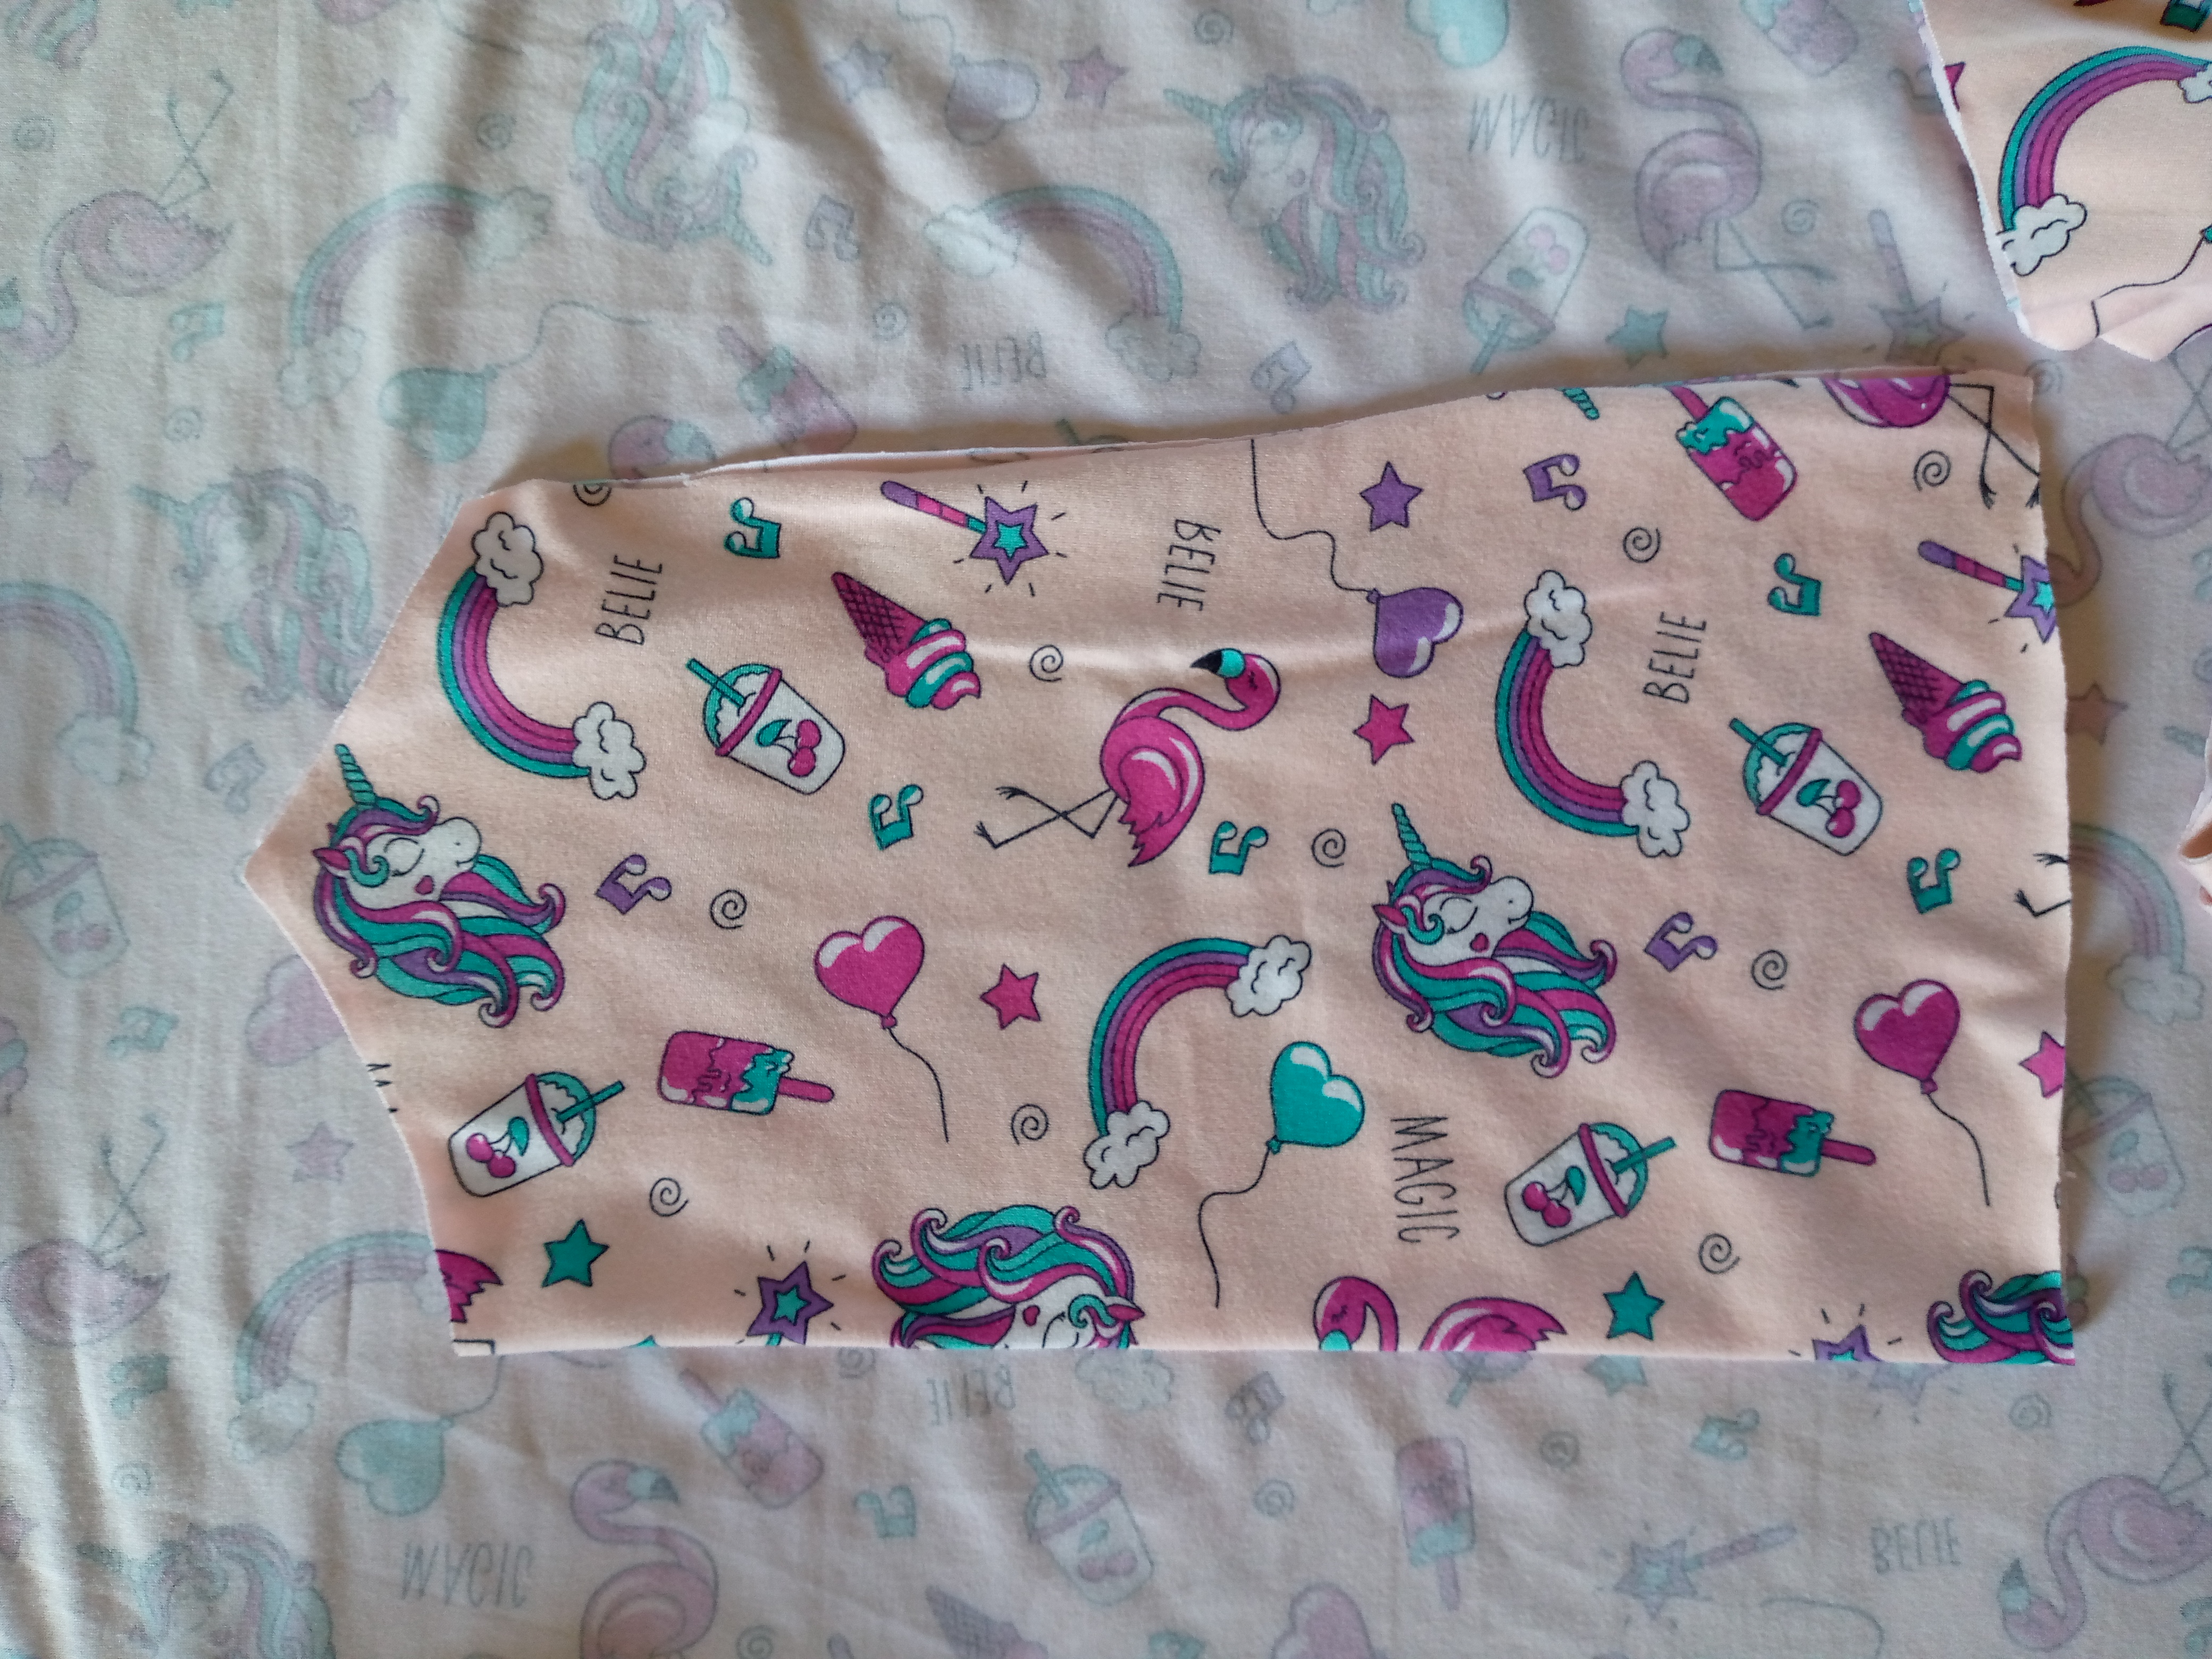
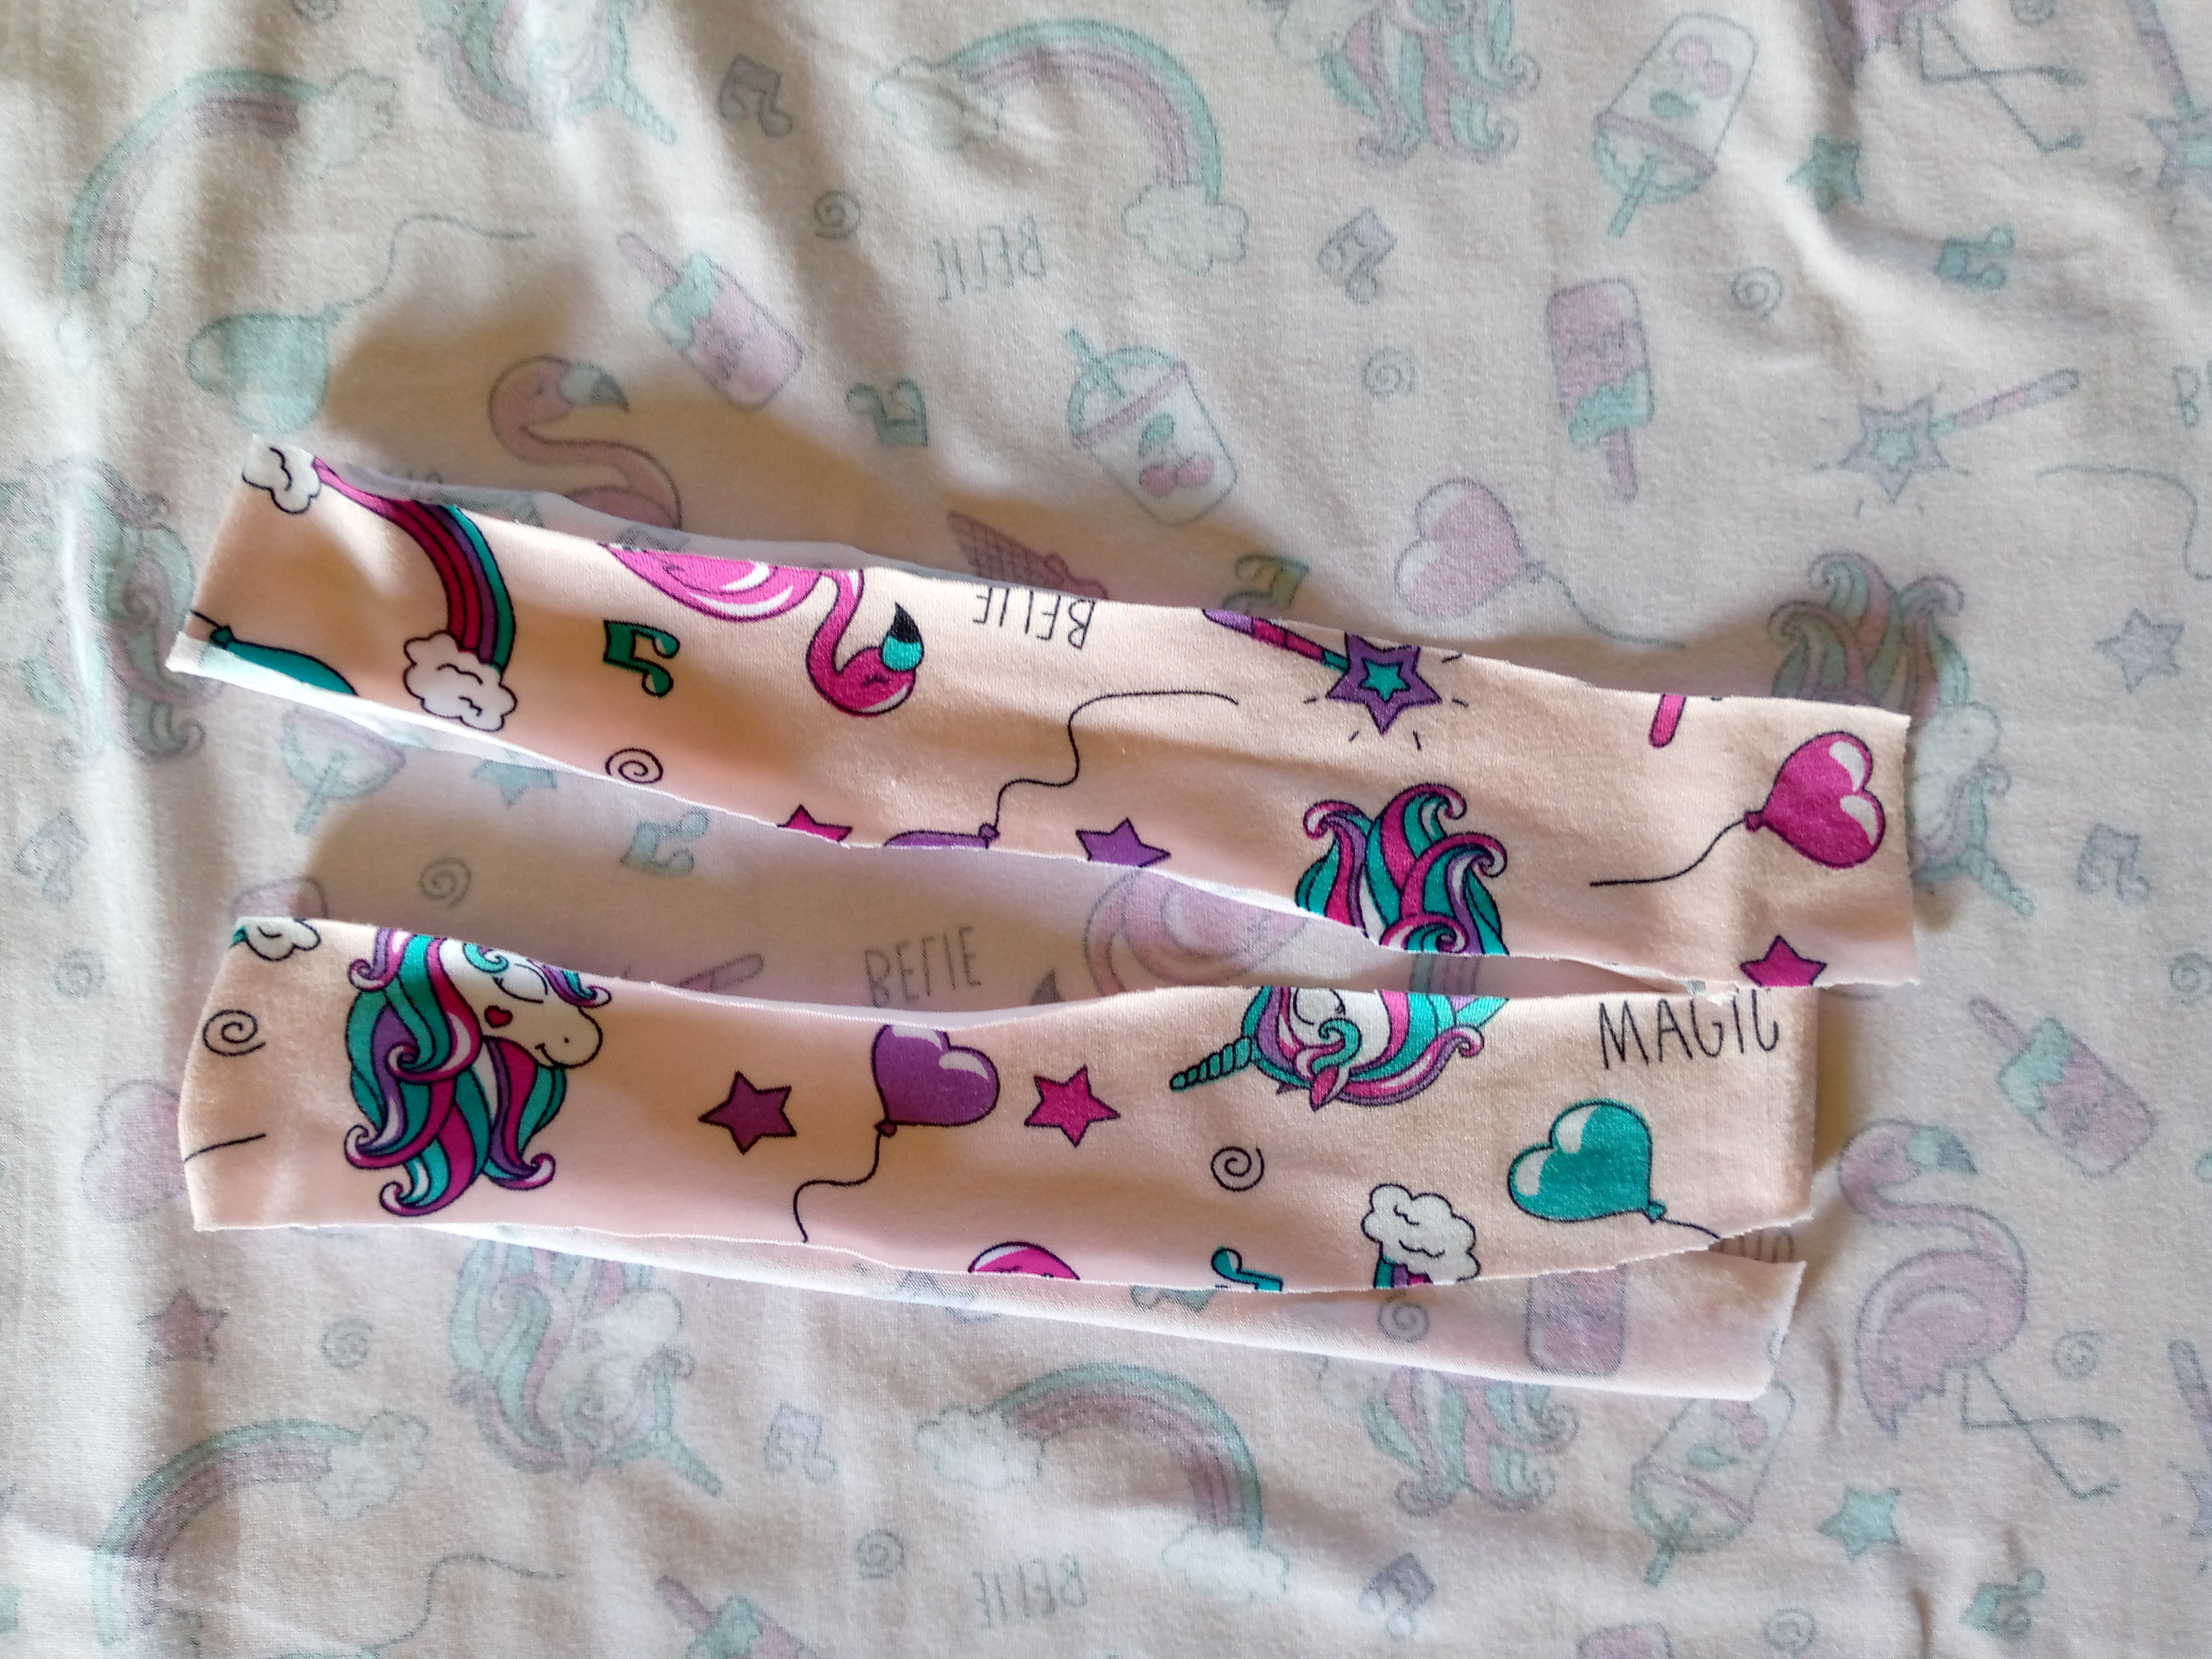
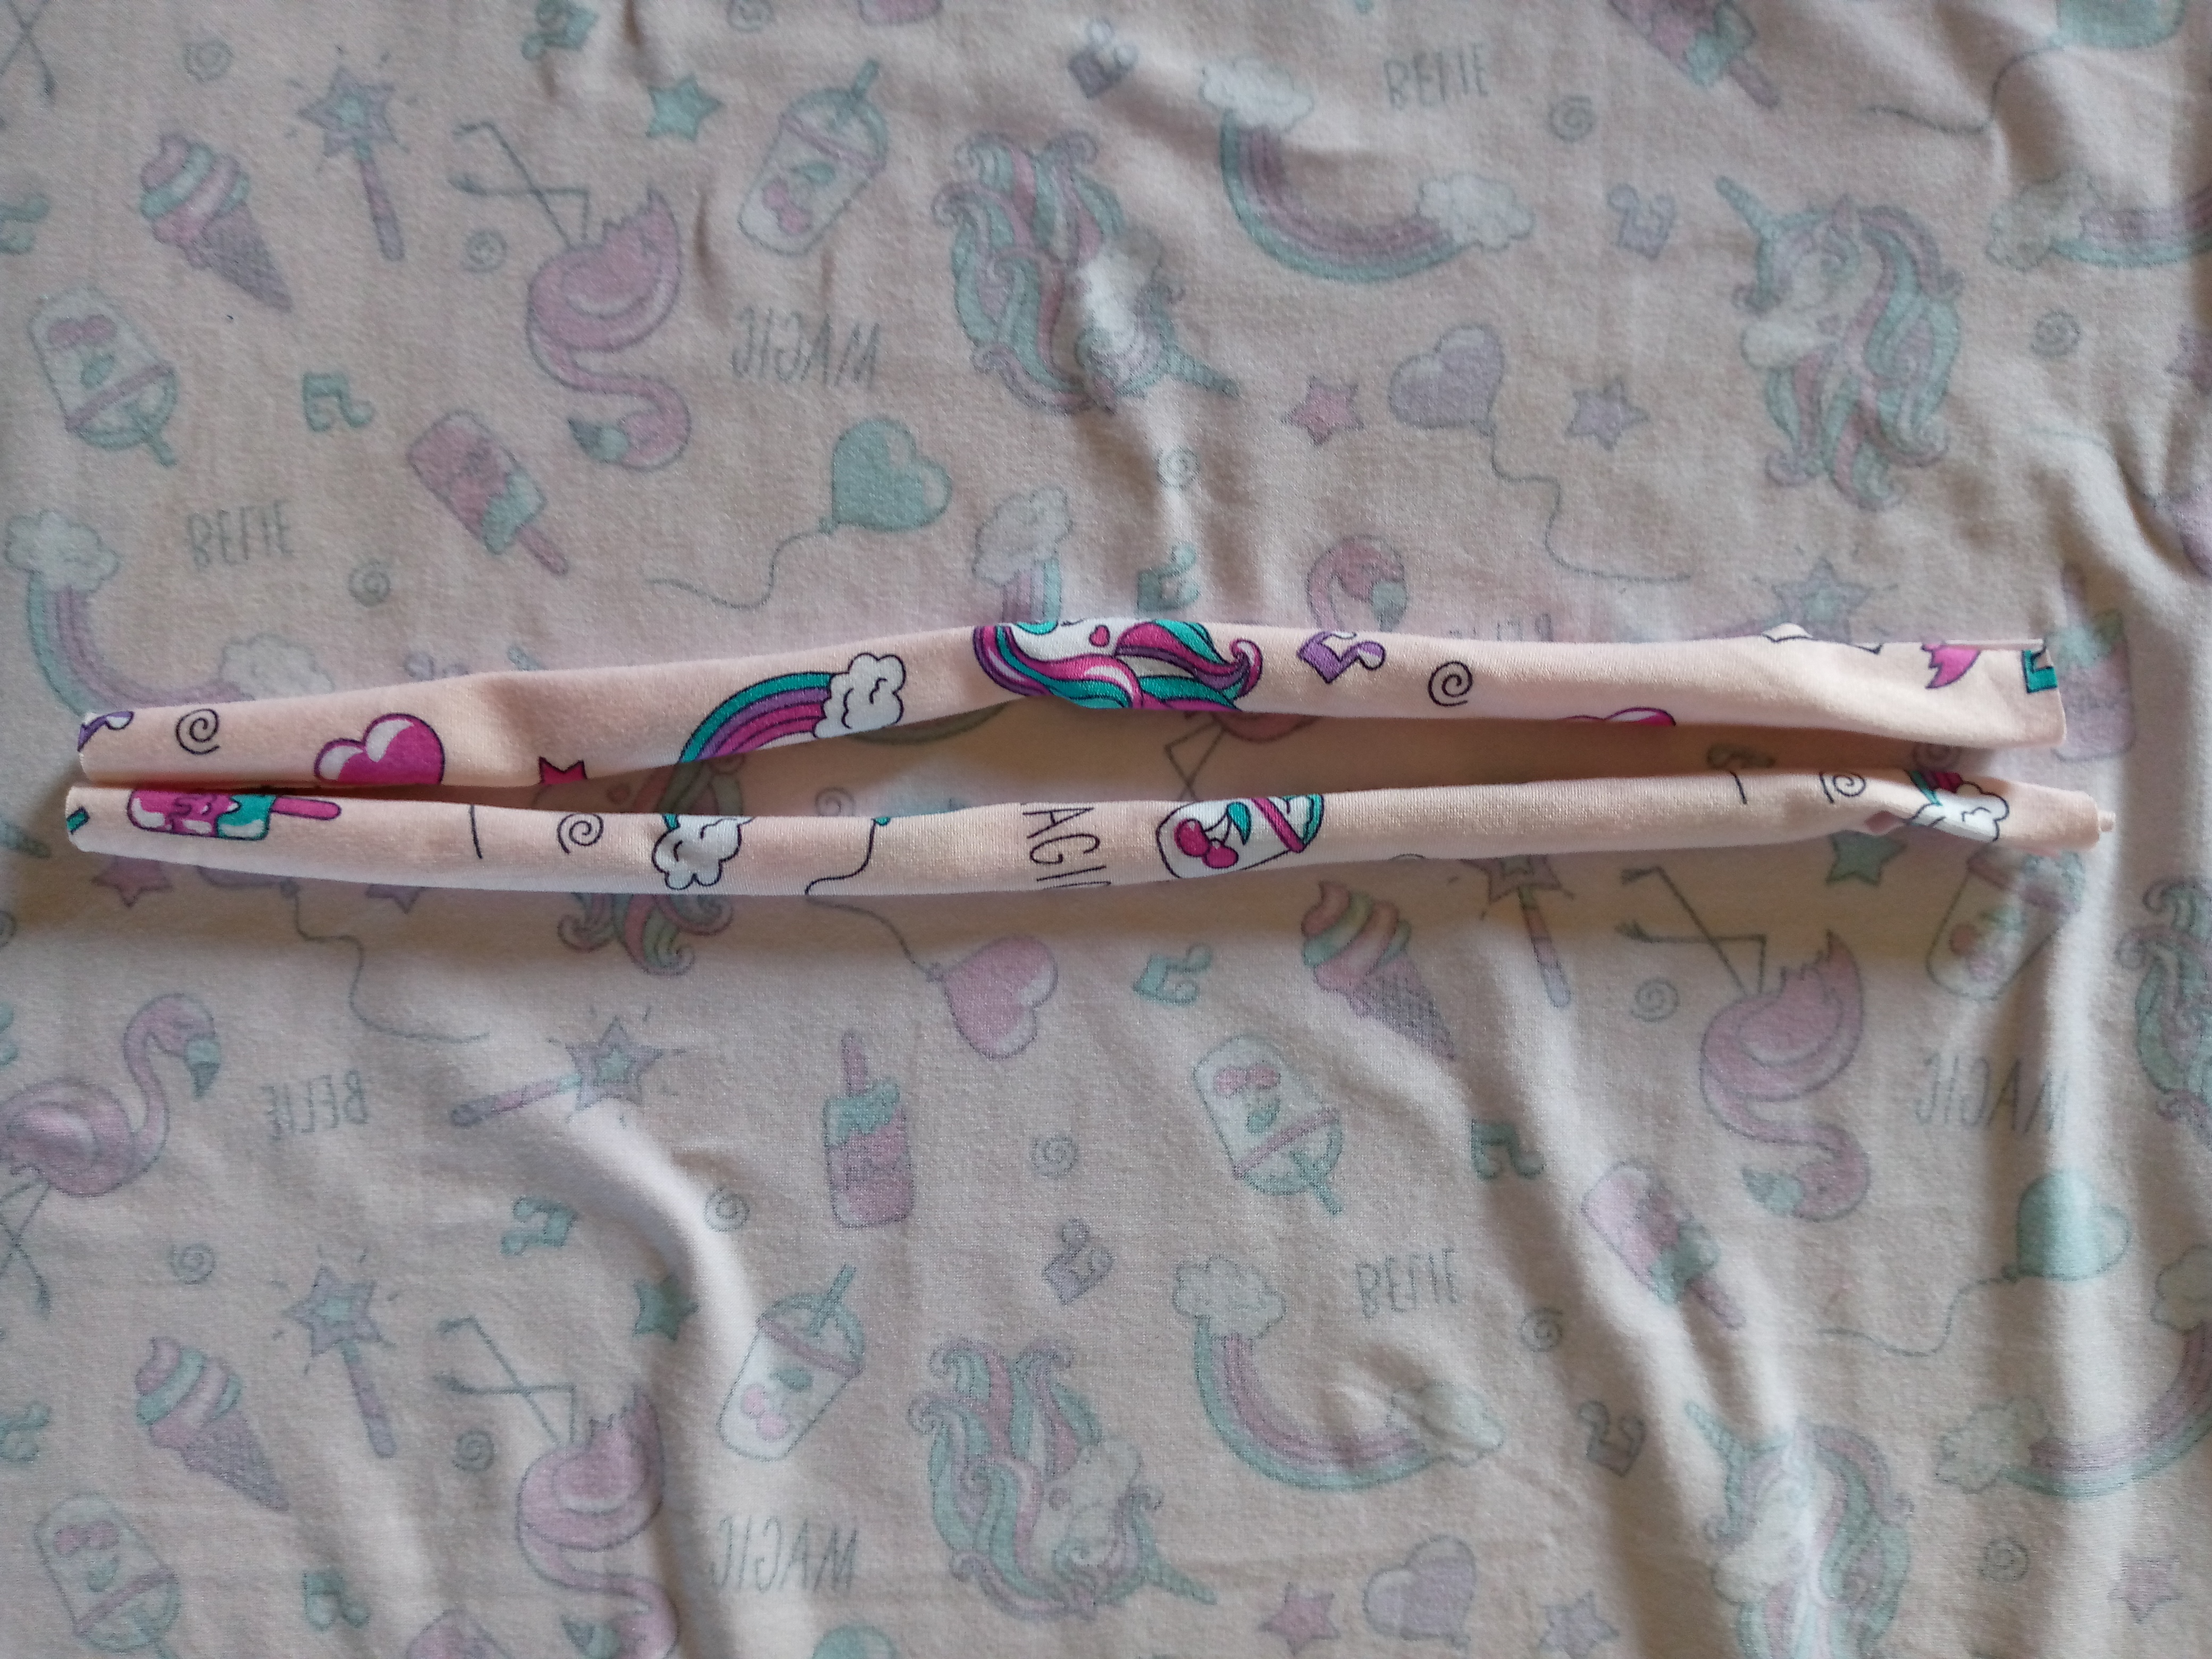
We are going to be cutting the pieces, the front one and of course the back one. I lowered the front one a little bit since this makes our garment stand out from the back. To create this blouse model, I was guided by another one. Of course, you can also do the same. I cut the armhole of both pieces, the straps, and the flare that this blouse has because it is not a peasant blouse without this flare that is like half a circle, and finally we cut the bias of the blouse around the bust.
.jpg)
.jpg)
Paso 02
Step 02
Once I have my pieces cut, it's time to make them. We will start by first sewing or sealing the edges of the piece on both sides. Always remember to seal with a zigzag stitch for a good result. After sealing only both sides of my blouse, we will make a small hem on both sides of my armhole and thus give it a nice finish on that part.

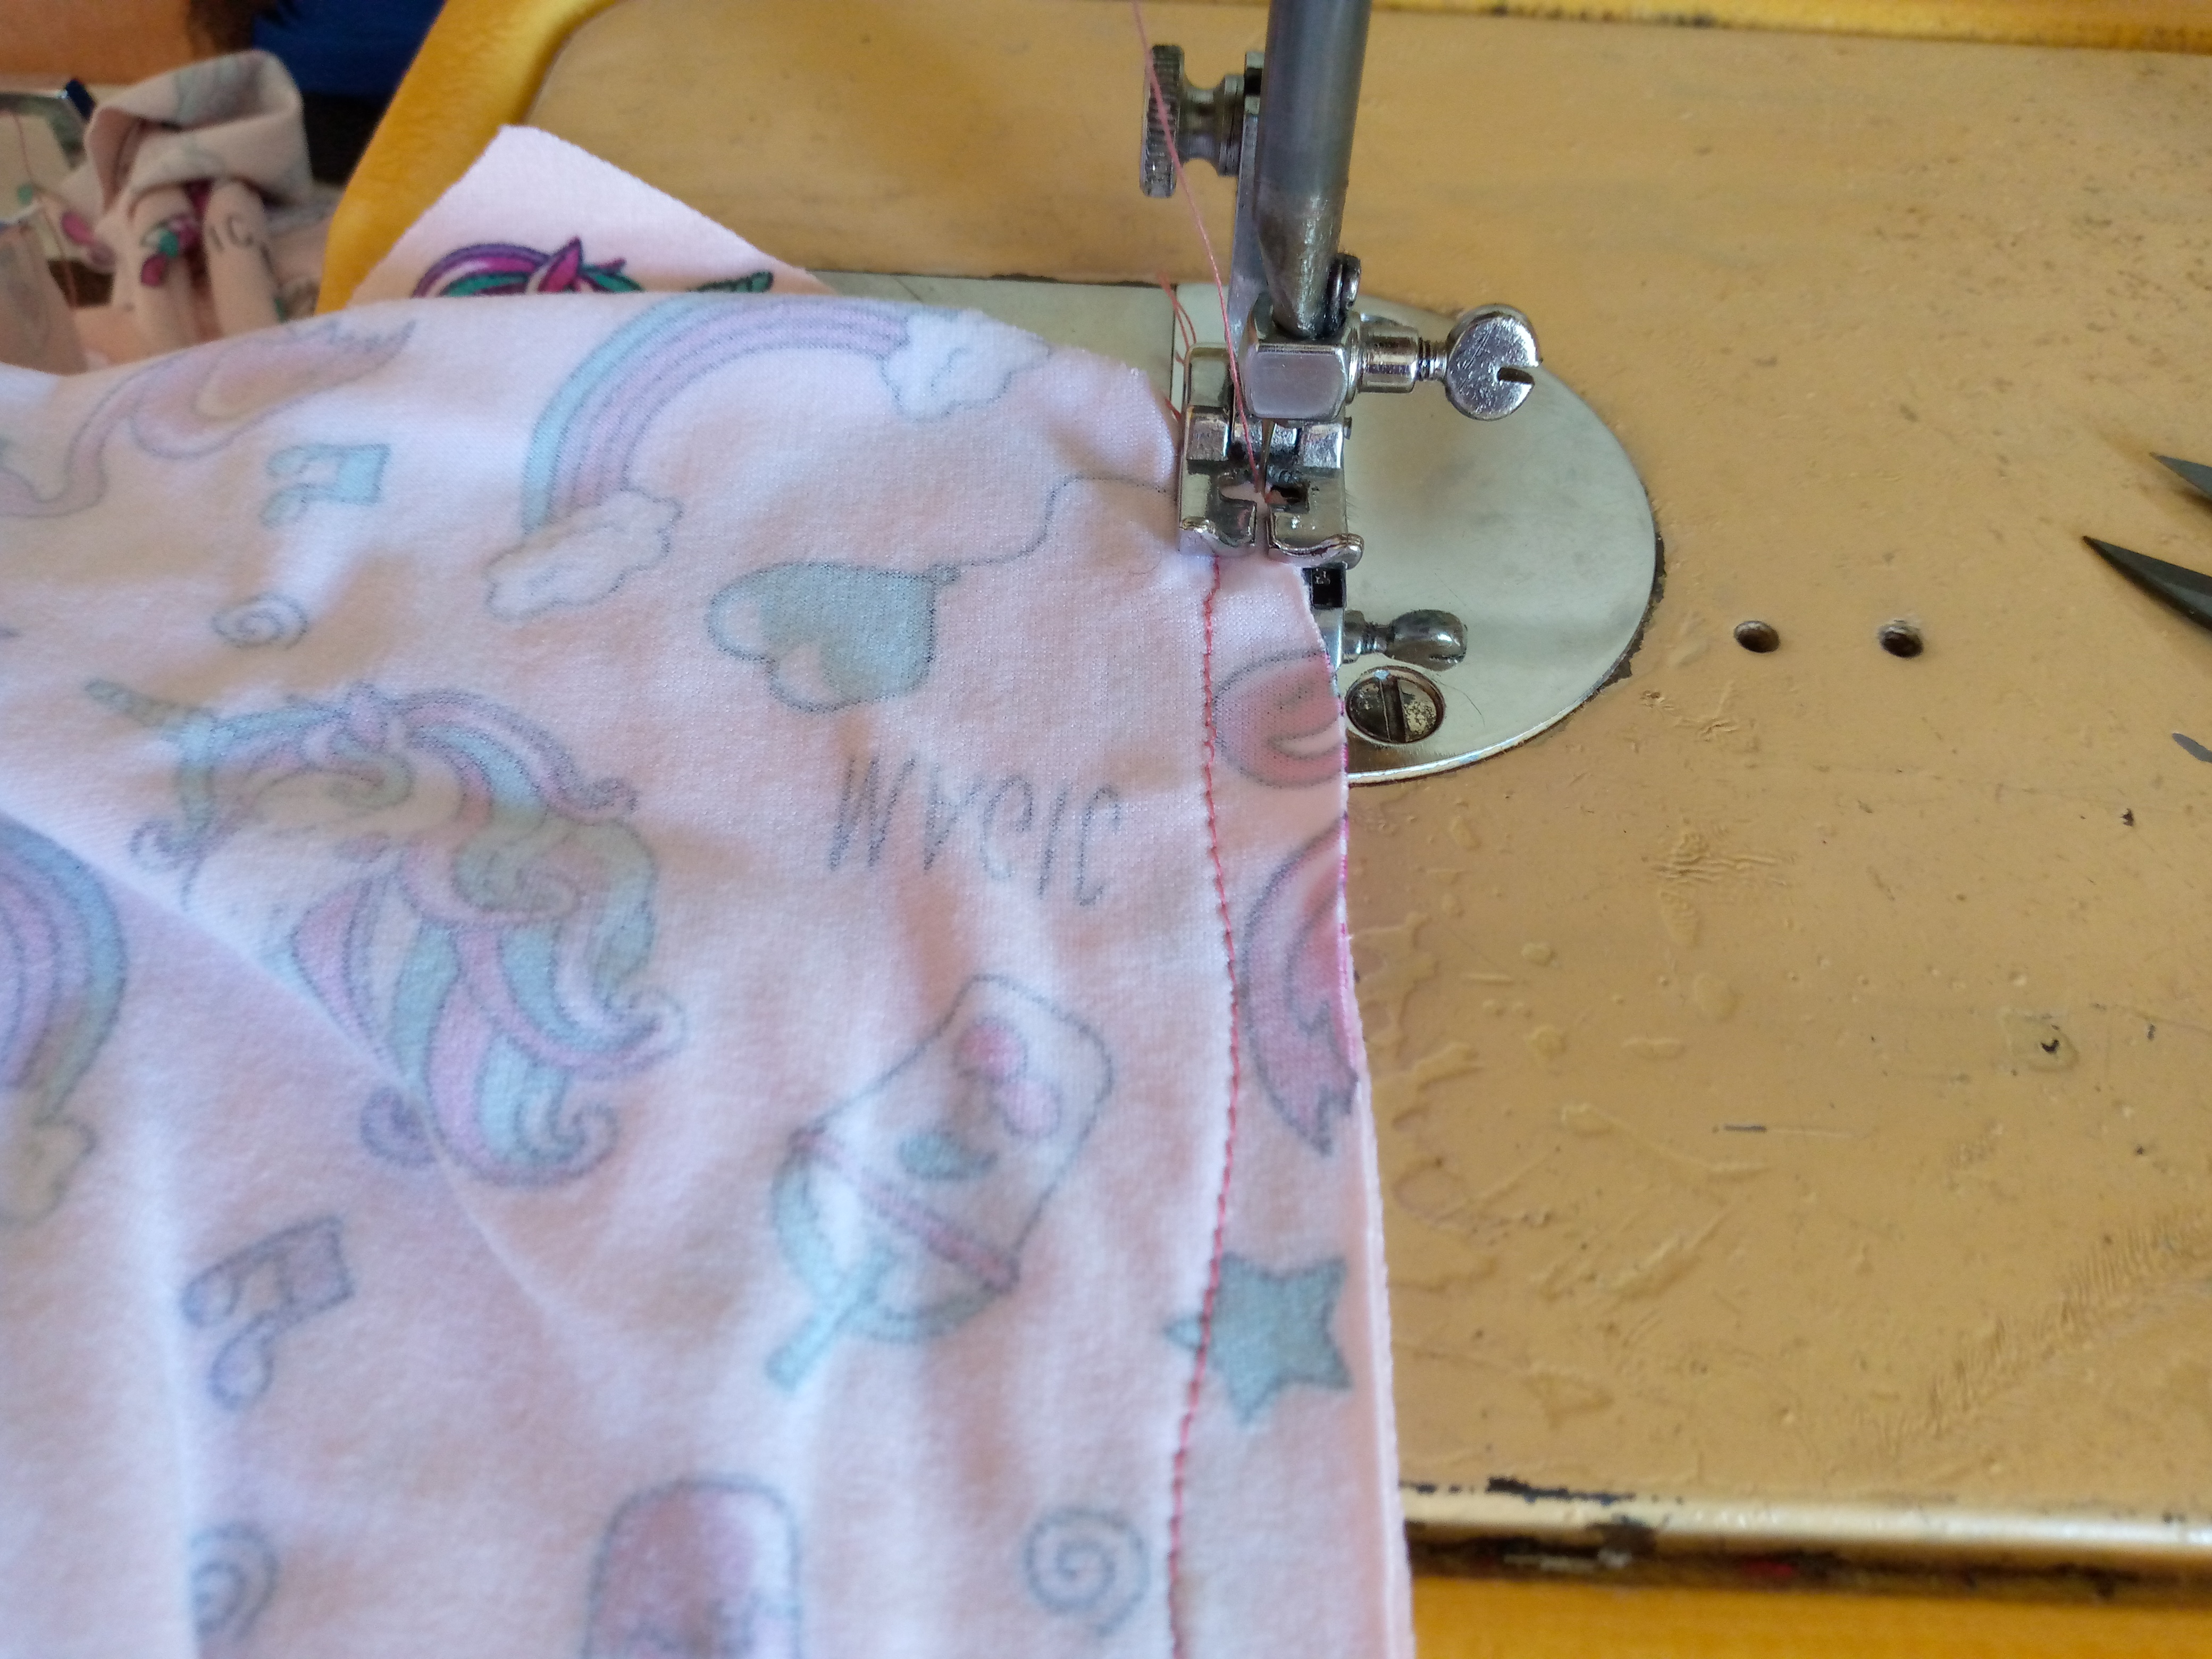
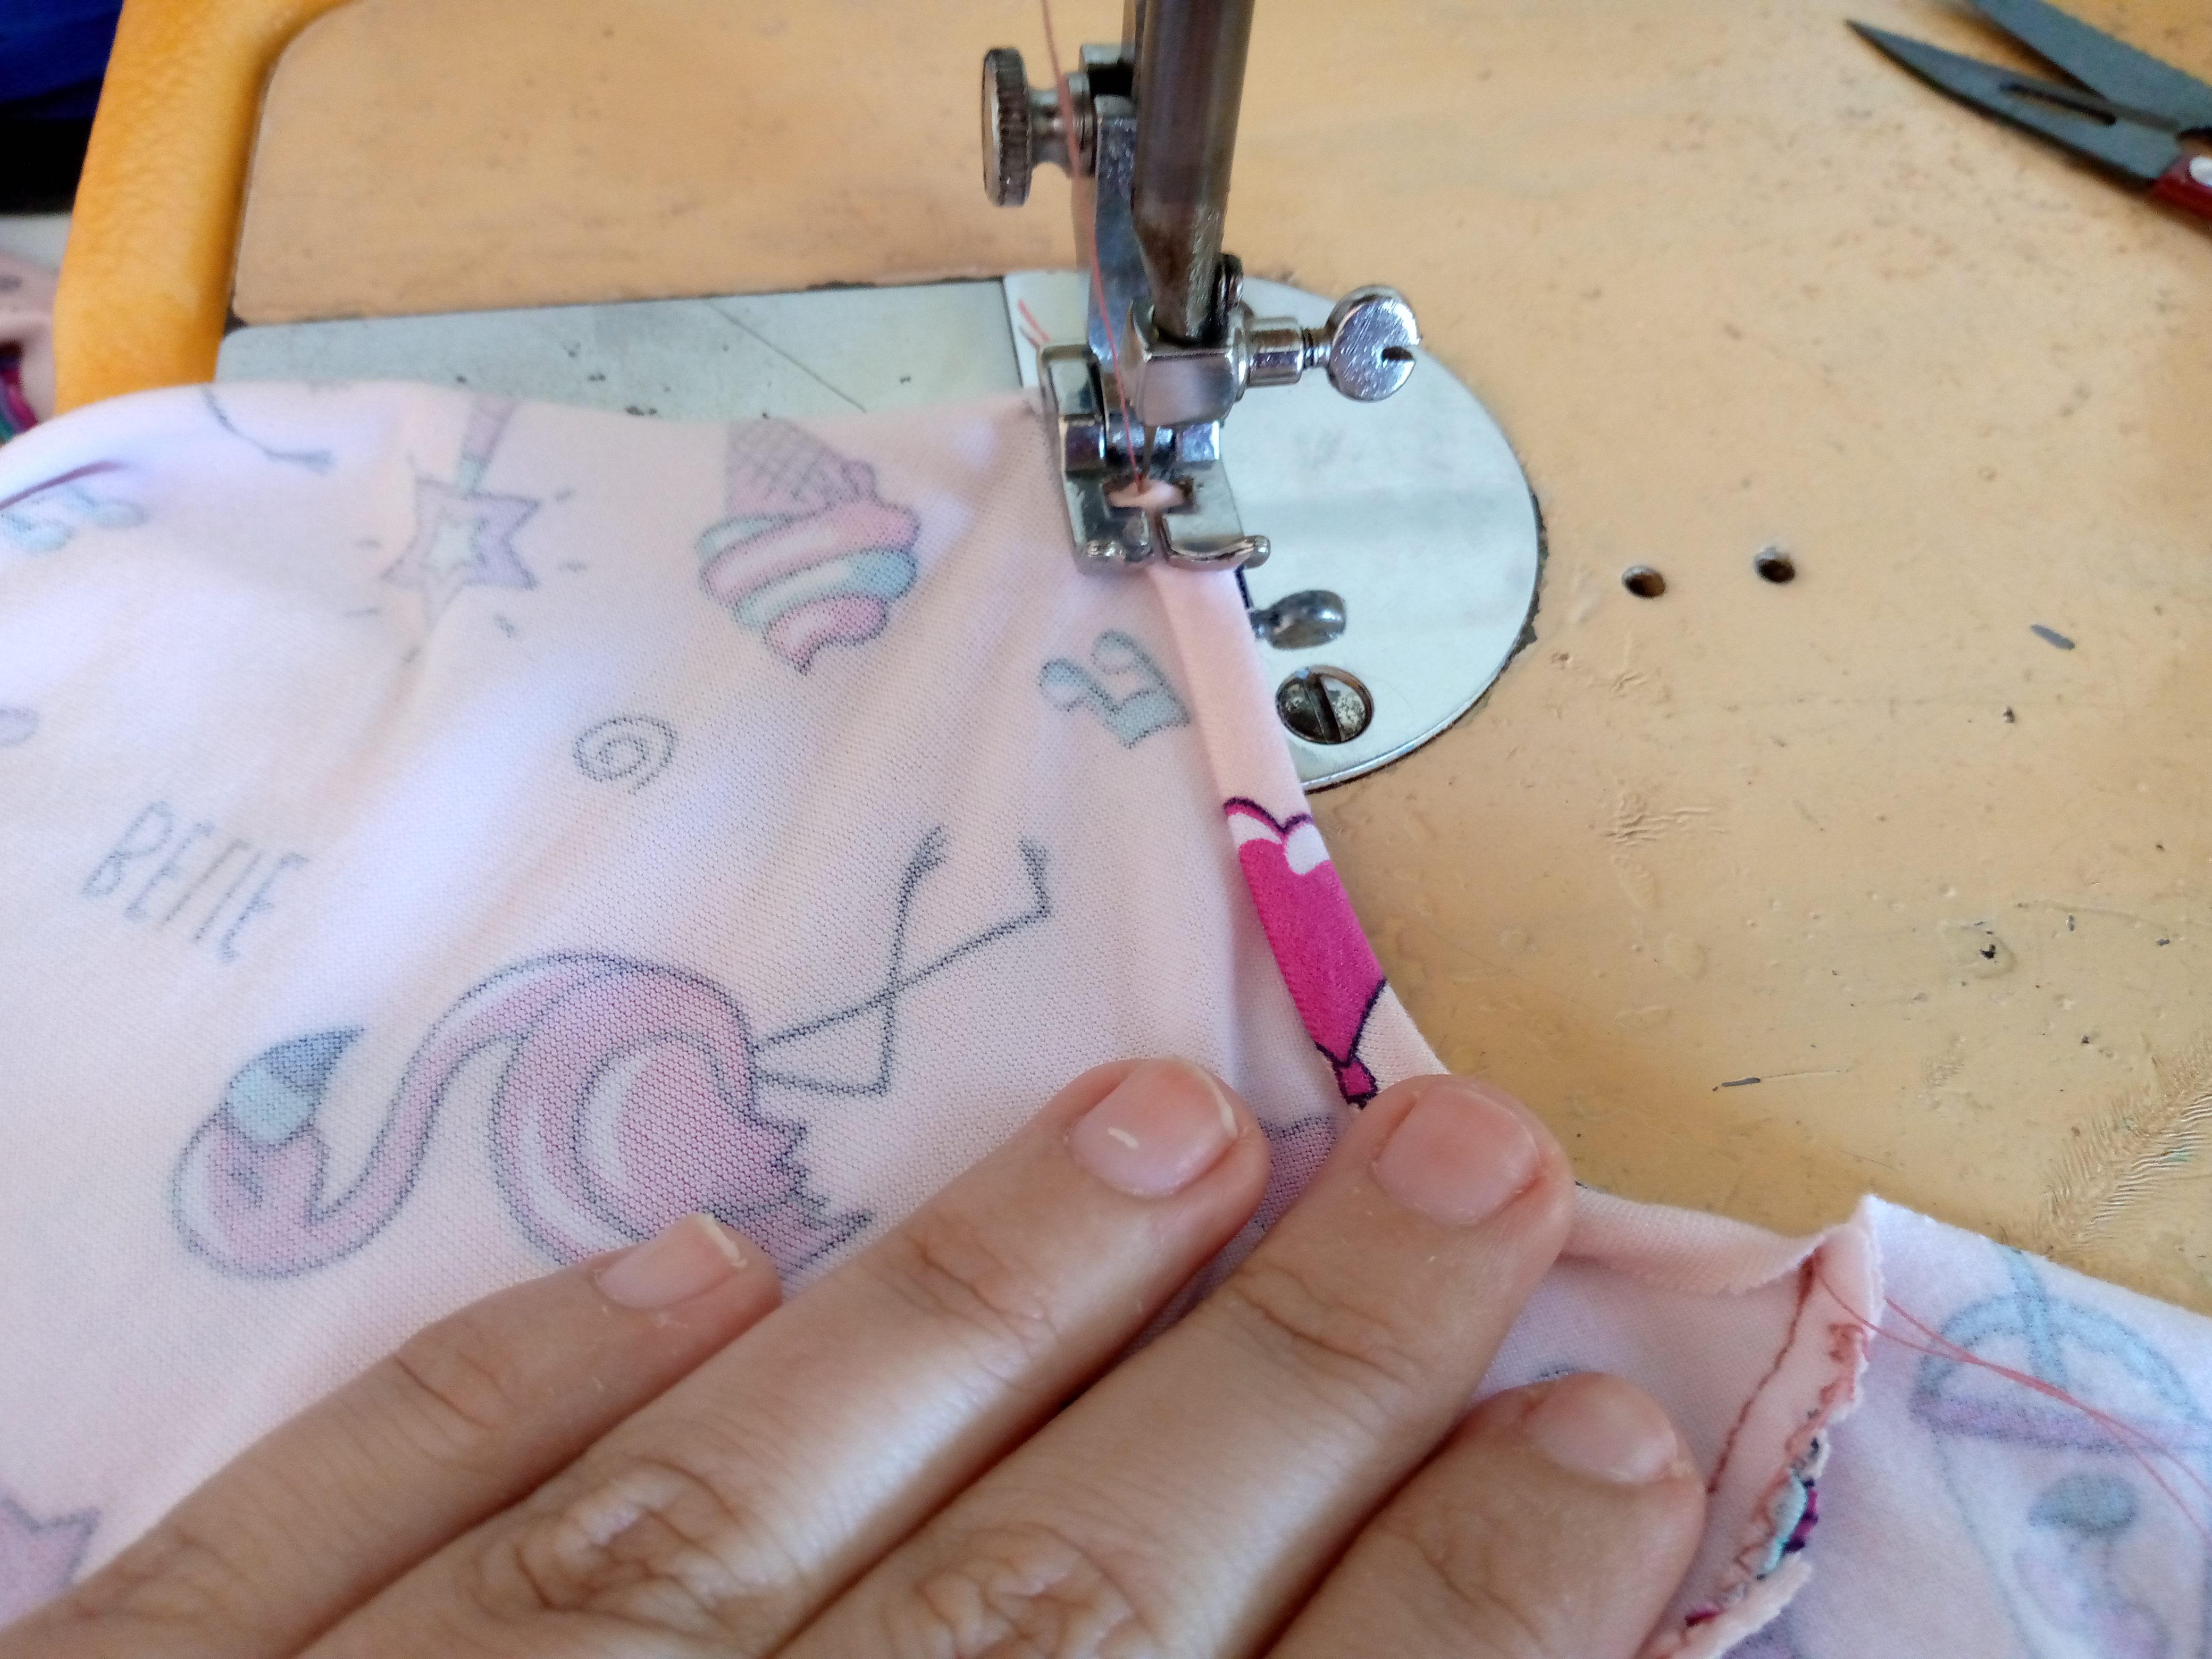

Paso 03
Step 03
We are going to join and sew the ruffle piece at both ends, the same way we do this with the bias tape edge of the blouse, then what we will do is grab our blouse and on the bottom side we place the ruffle and the bias tape and hold it with the pins to sew in reverse so that when we turn it over we have the pieces on the side that is on top and the print can be seen from the inside out. This step is a little complicated, friends. It took me a while to fix this since I was a little confused to do it afterwards, well I was able to fix it to go on to sew it, stretching the bias little by little, not too much so that it wouldn't be so puckered.
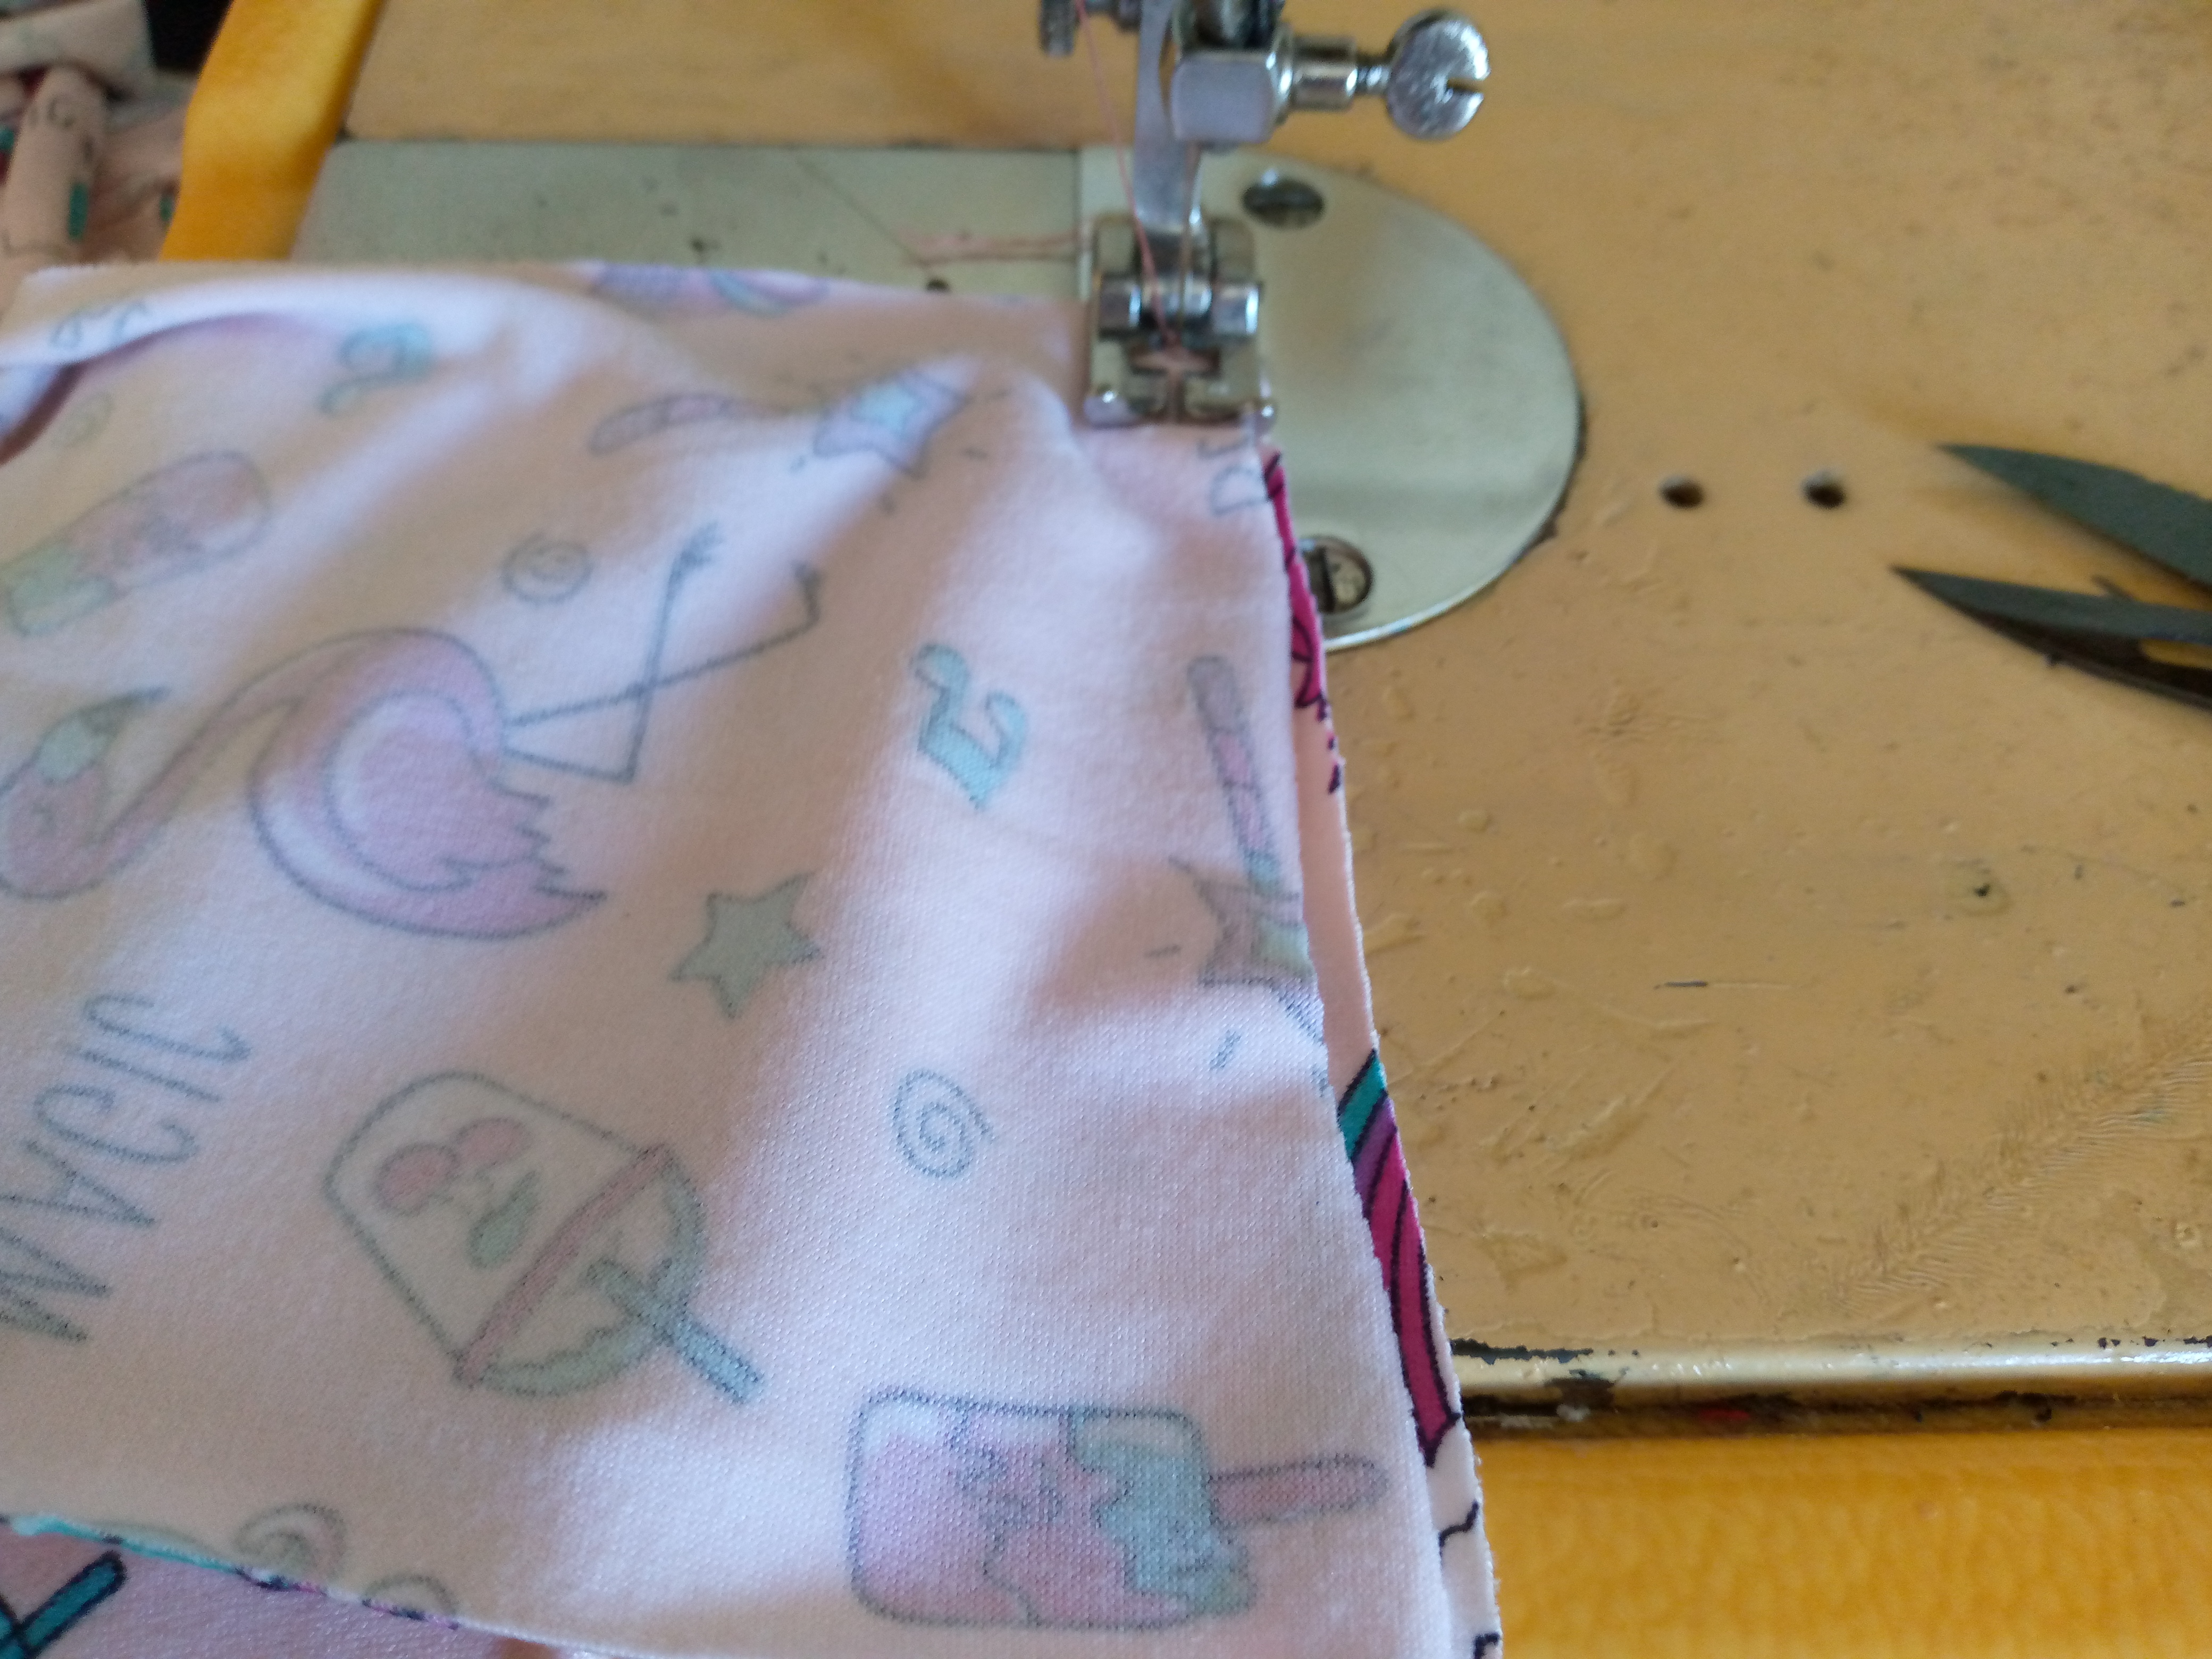
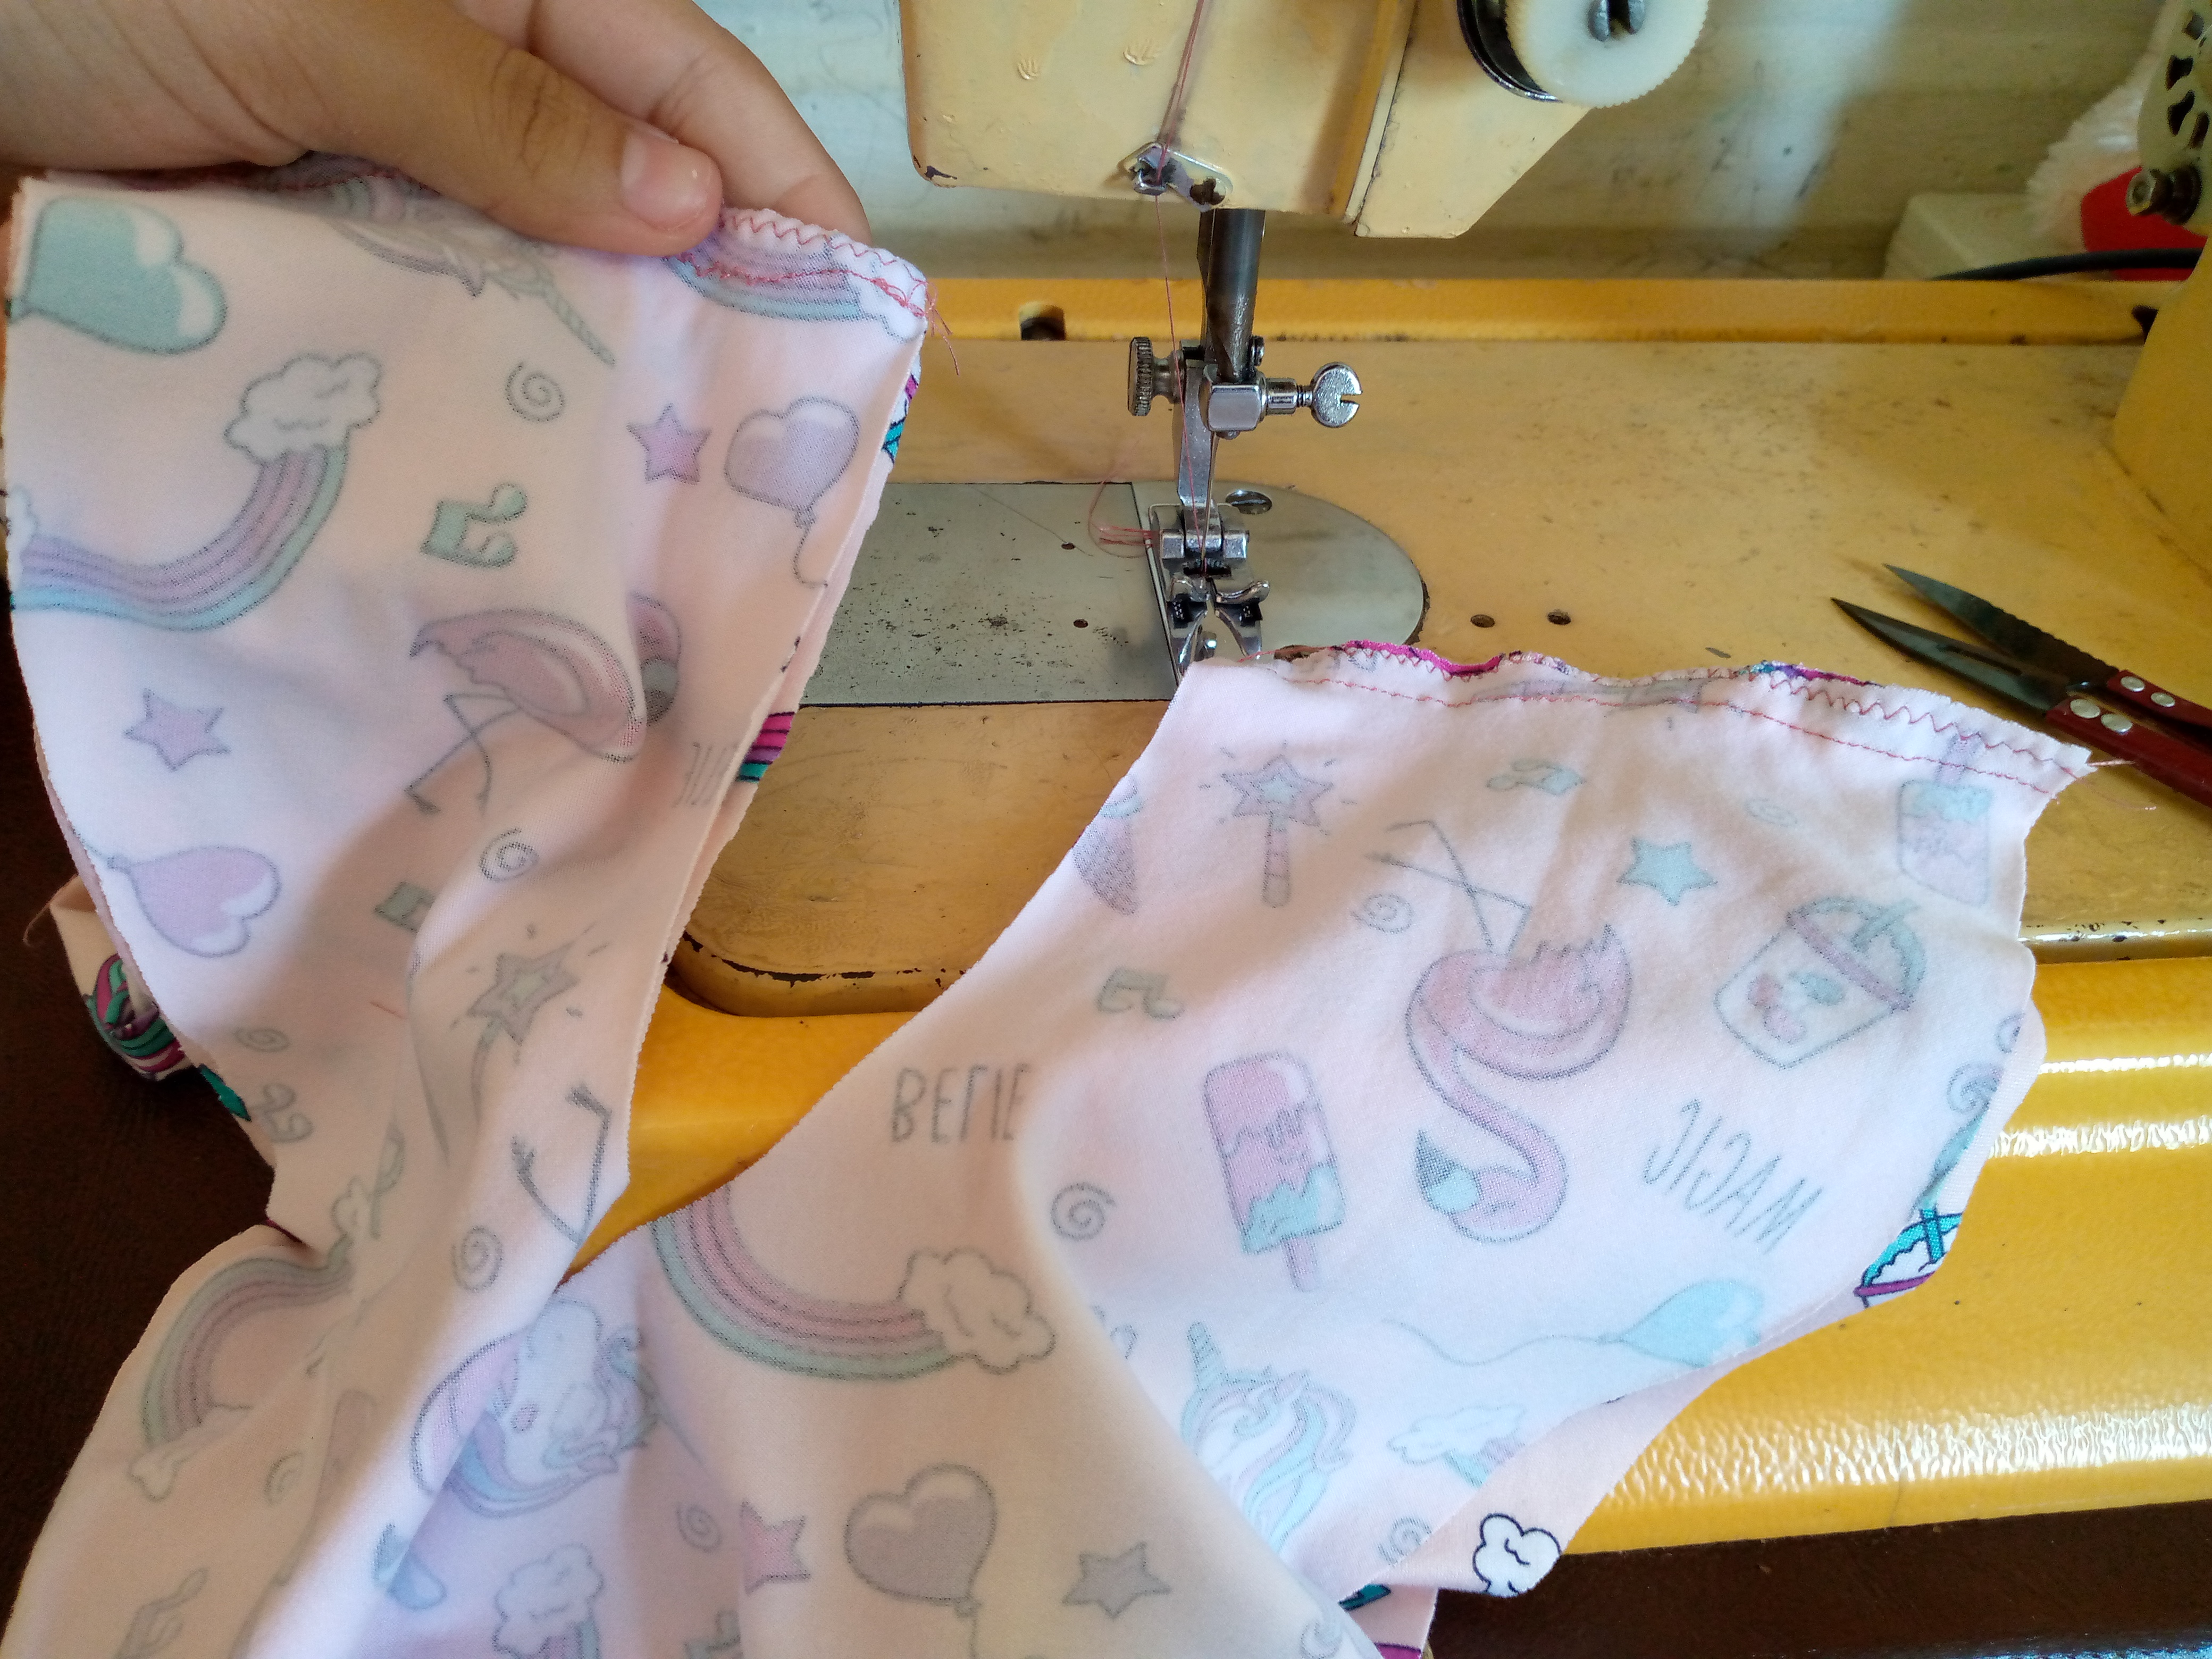
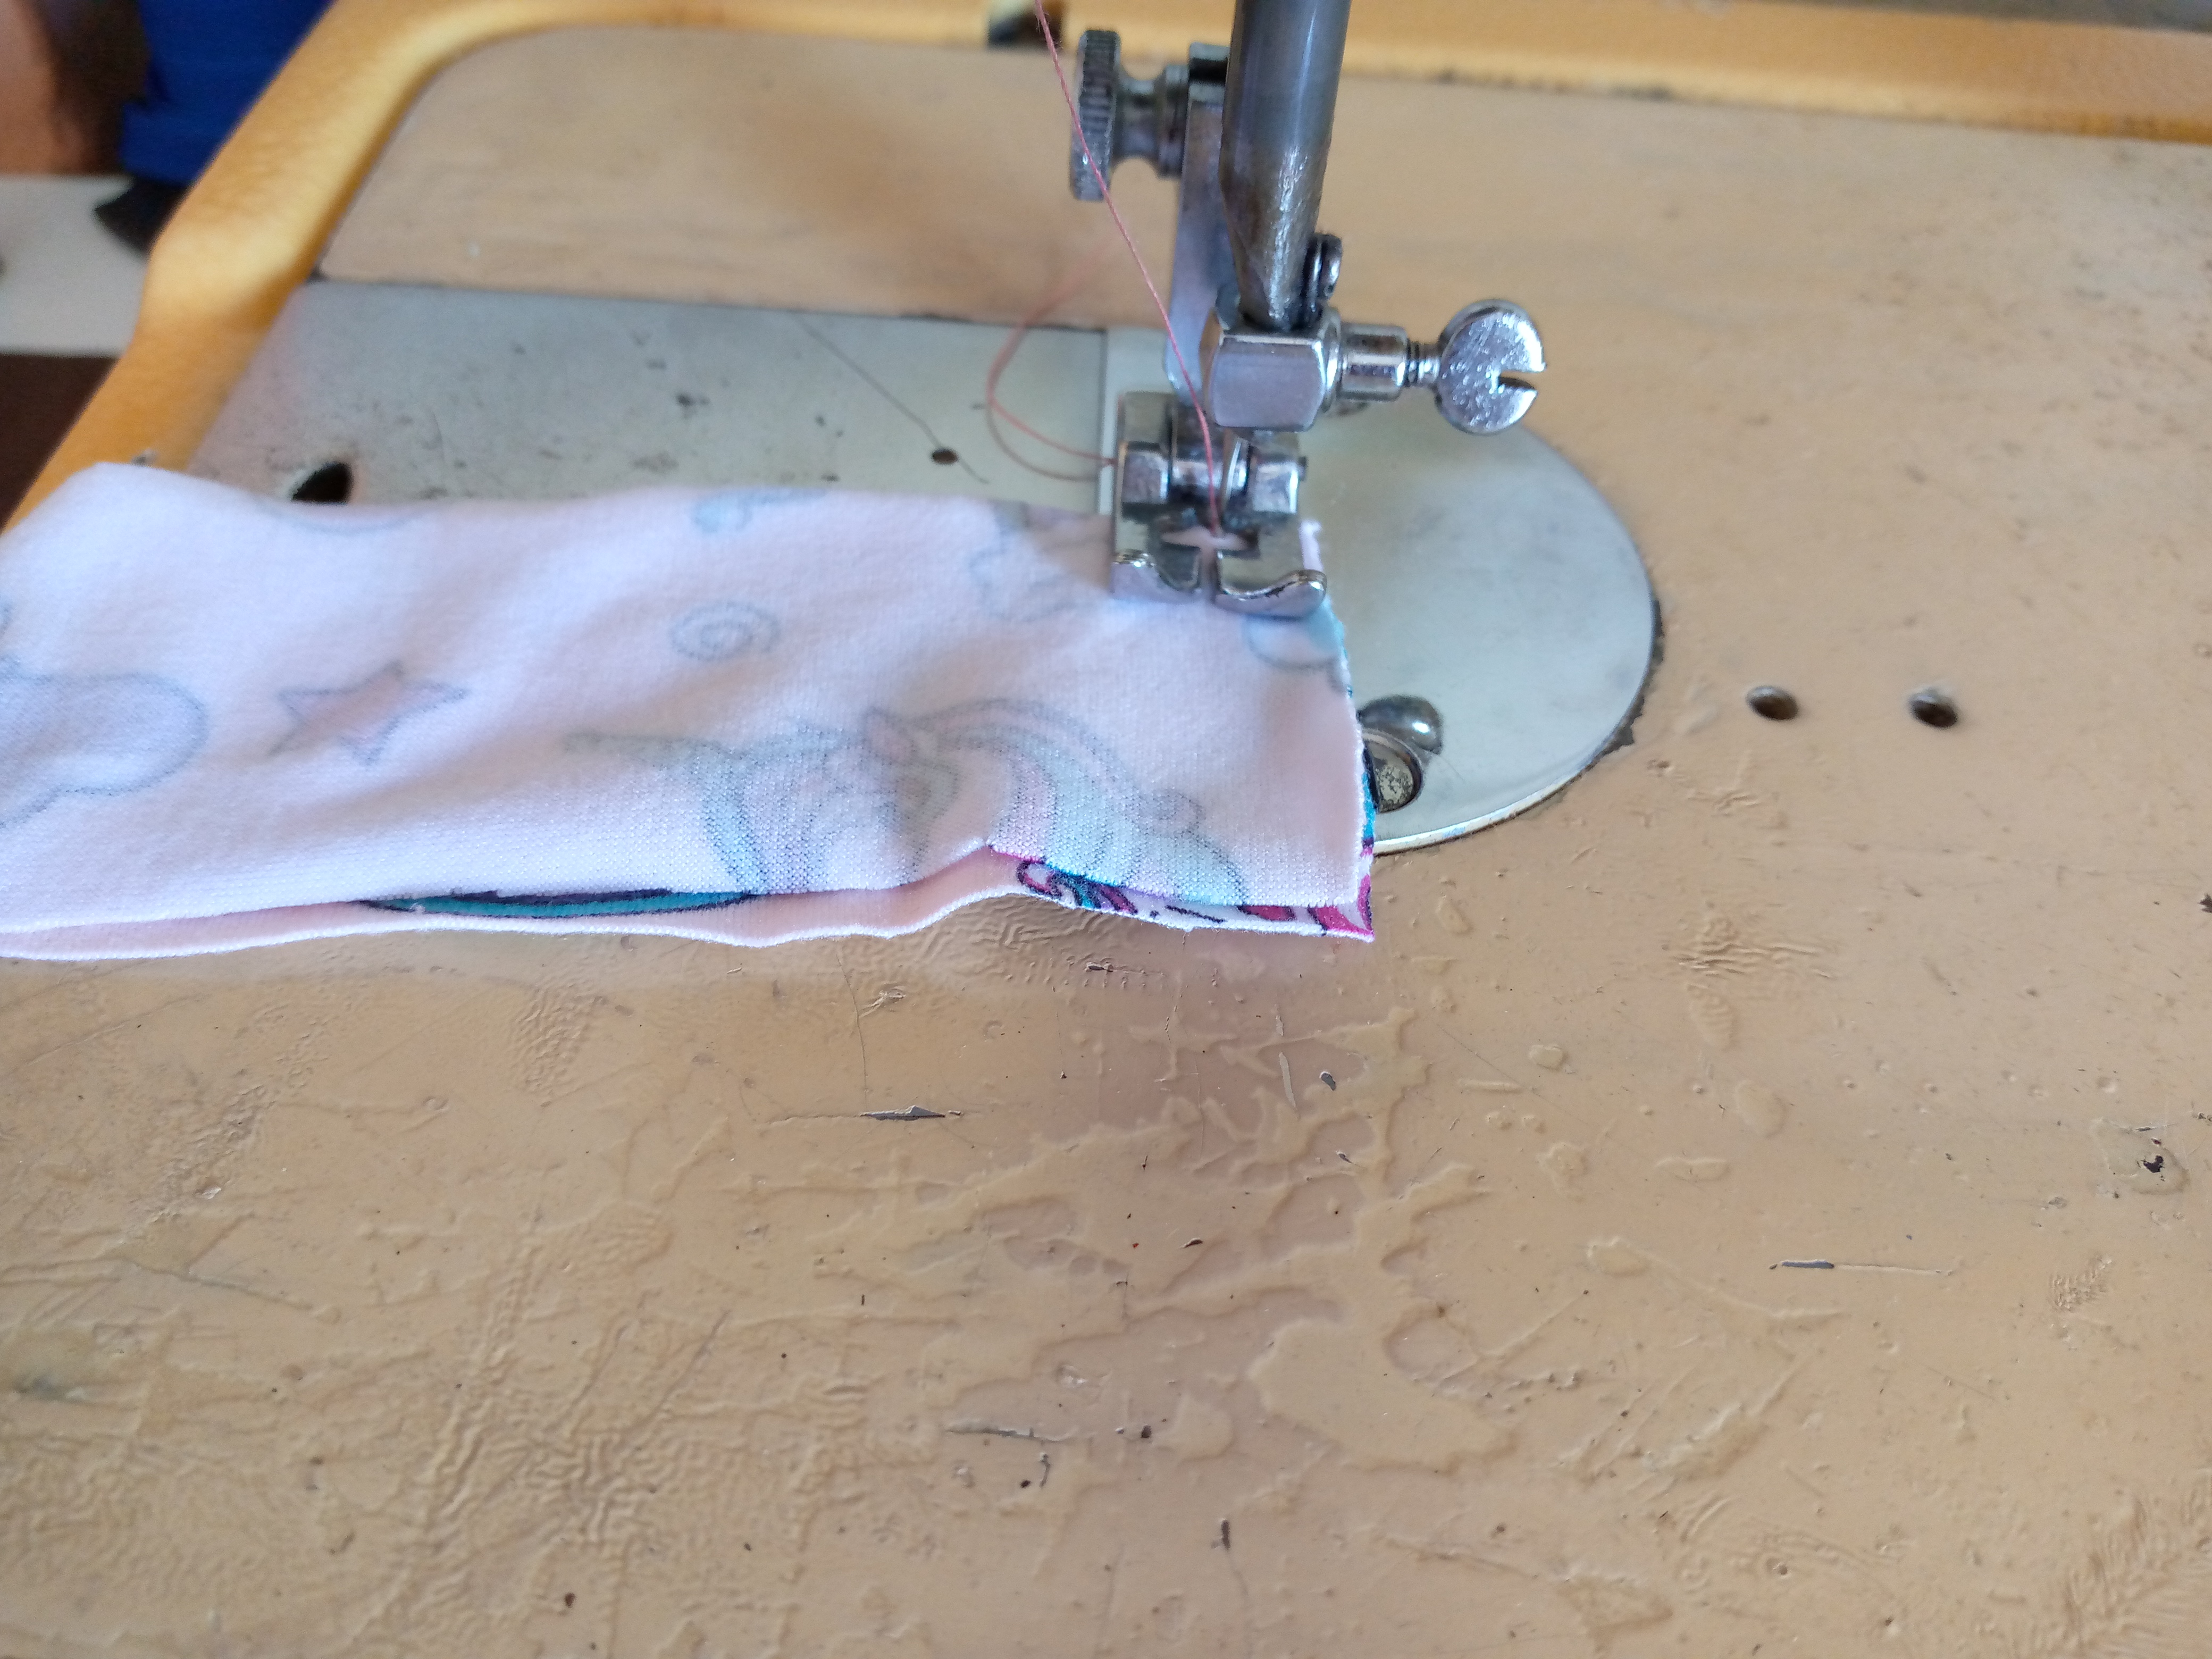
.jpg)
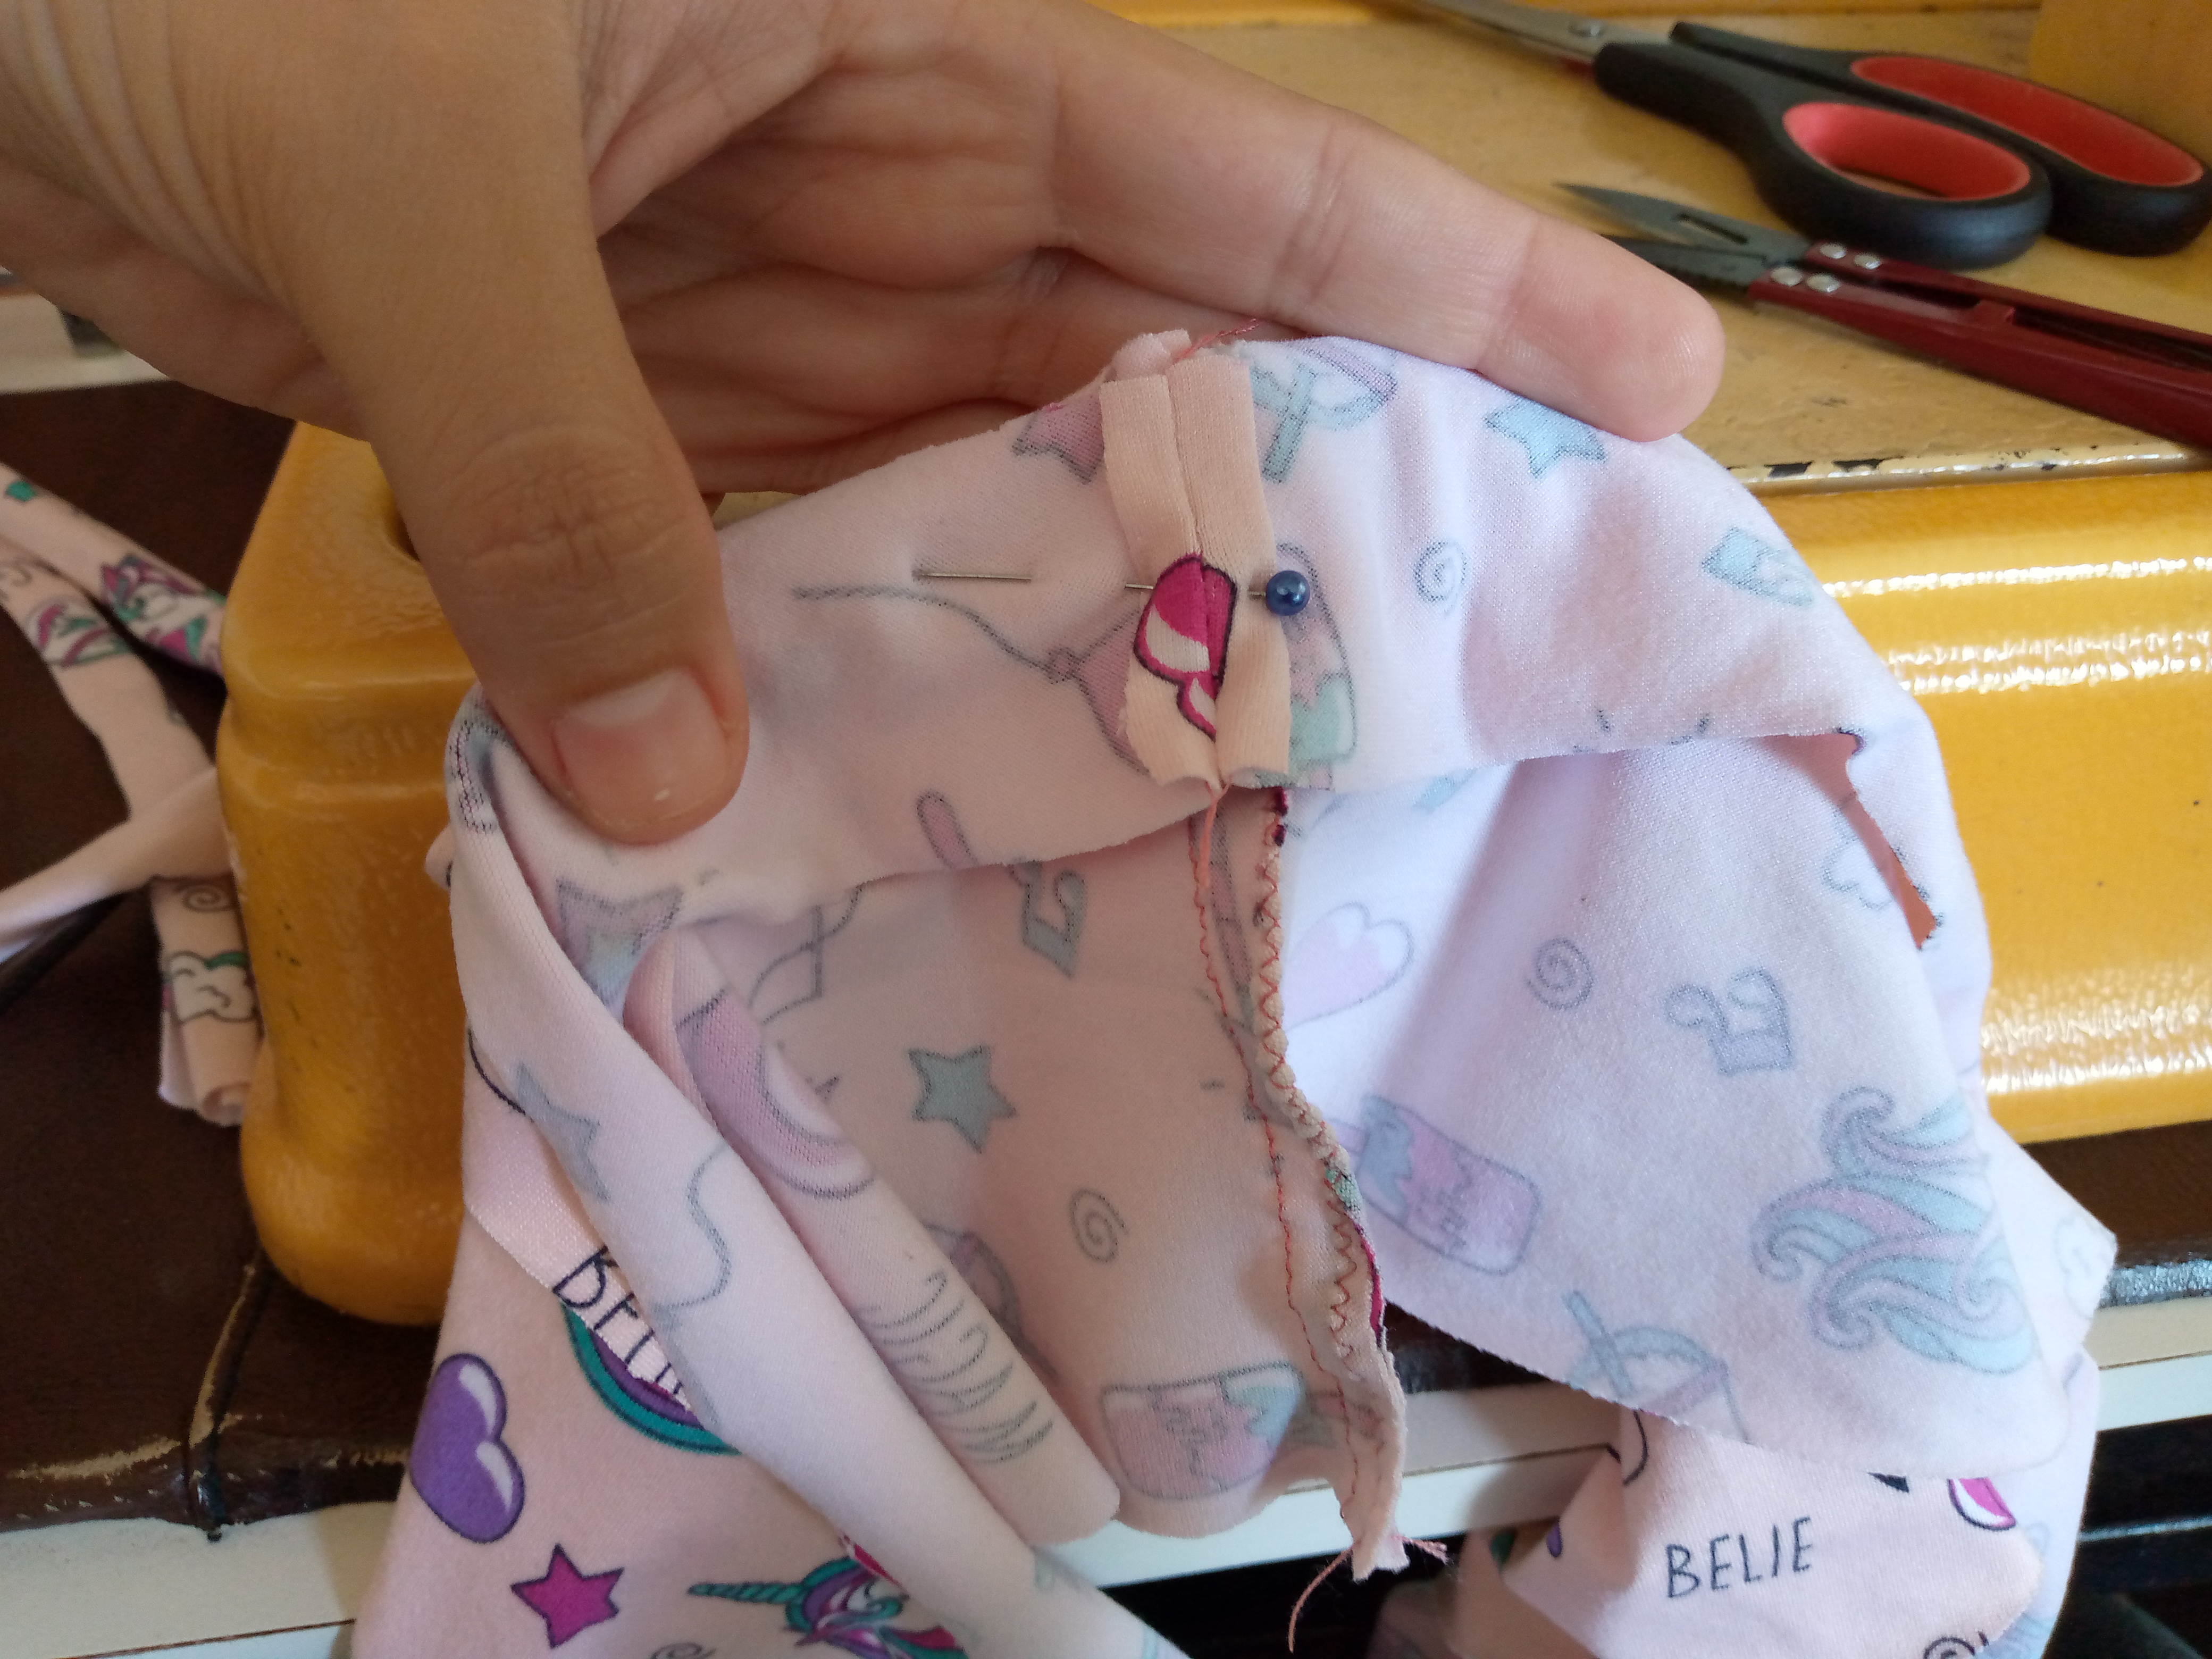
Paso 04
Step 04
Here I forgot to mention that we must sew the straps first but you can leave a small space without sewing where you are going to insert the straps and then sew them, there are no problems friends, everything has a solution 😁 but in this case I decided to sew them before continuing to sew my bias after sewing my straps with a straight stitch, what I will do is place them with a small pin to hold them at the entire tip of them, and now there if I continue sewing the bias around the entire contour of the bust and shoulders, and of course we sew on top making a kind of hem that we sew completely.
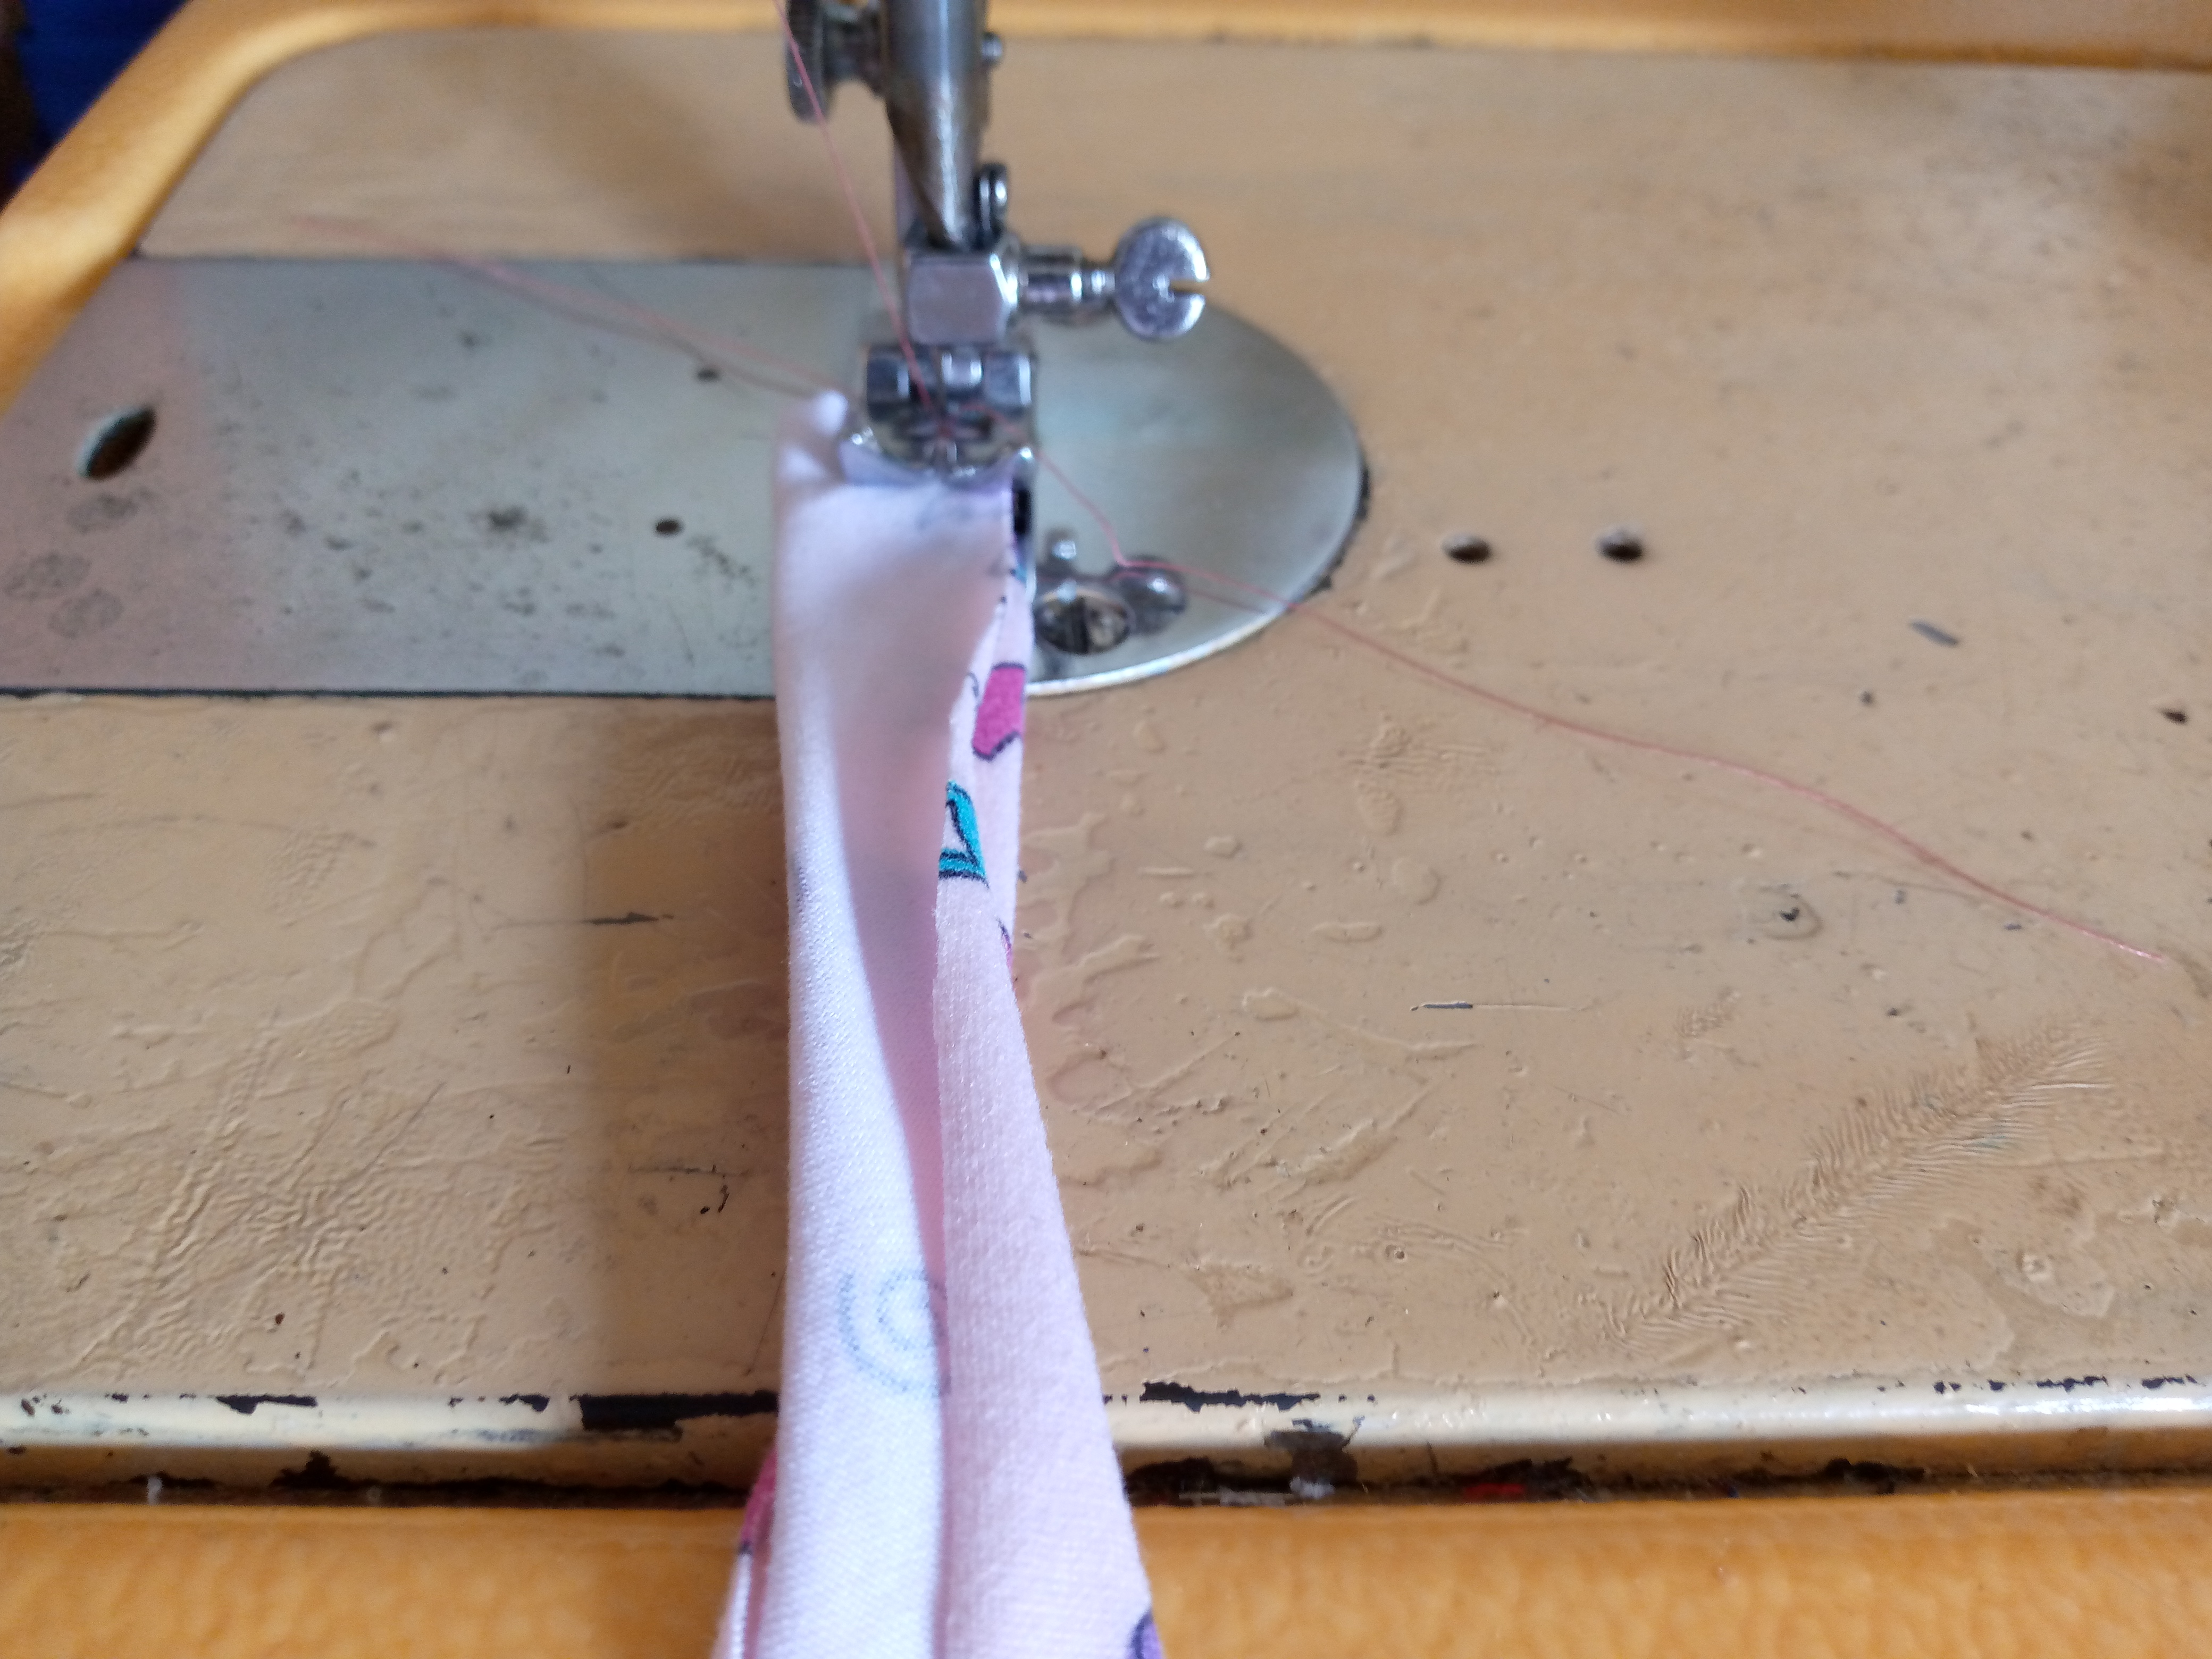
.jpg)
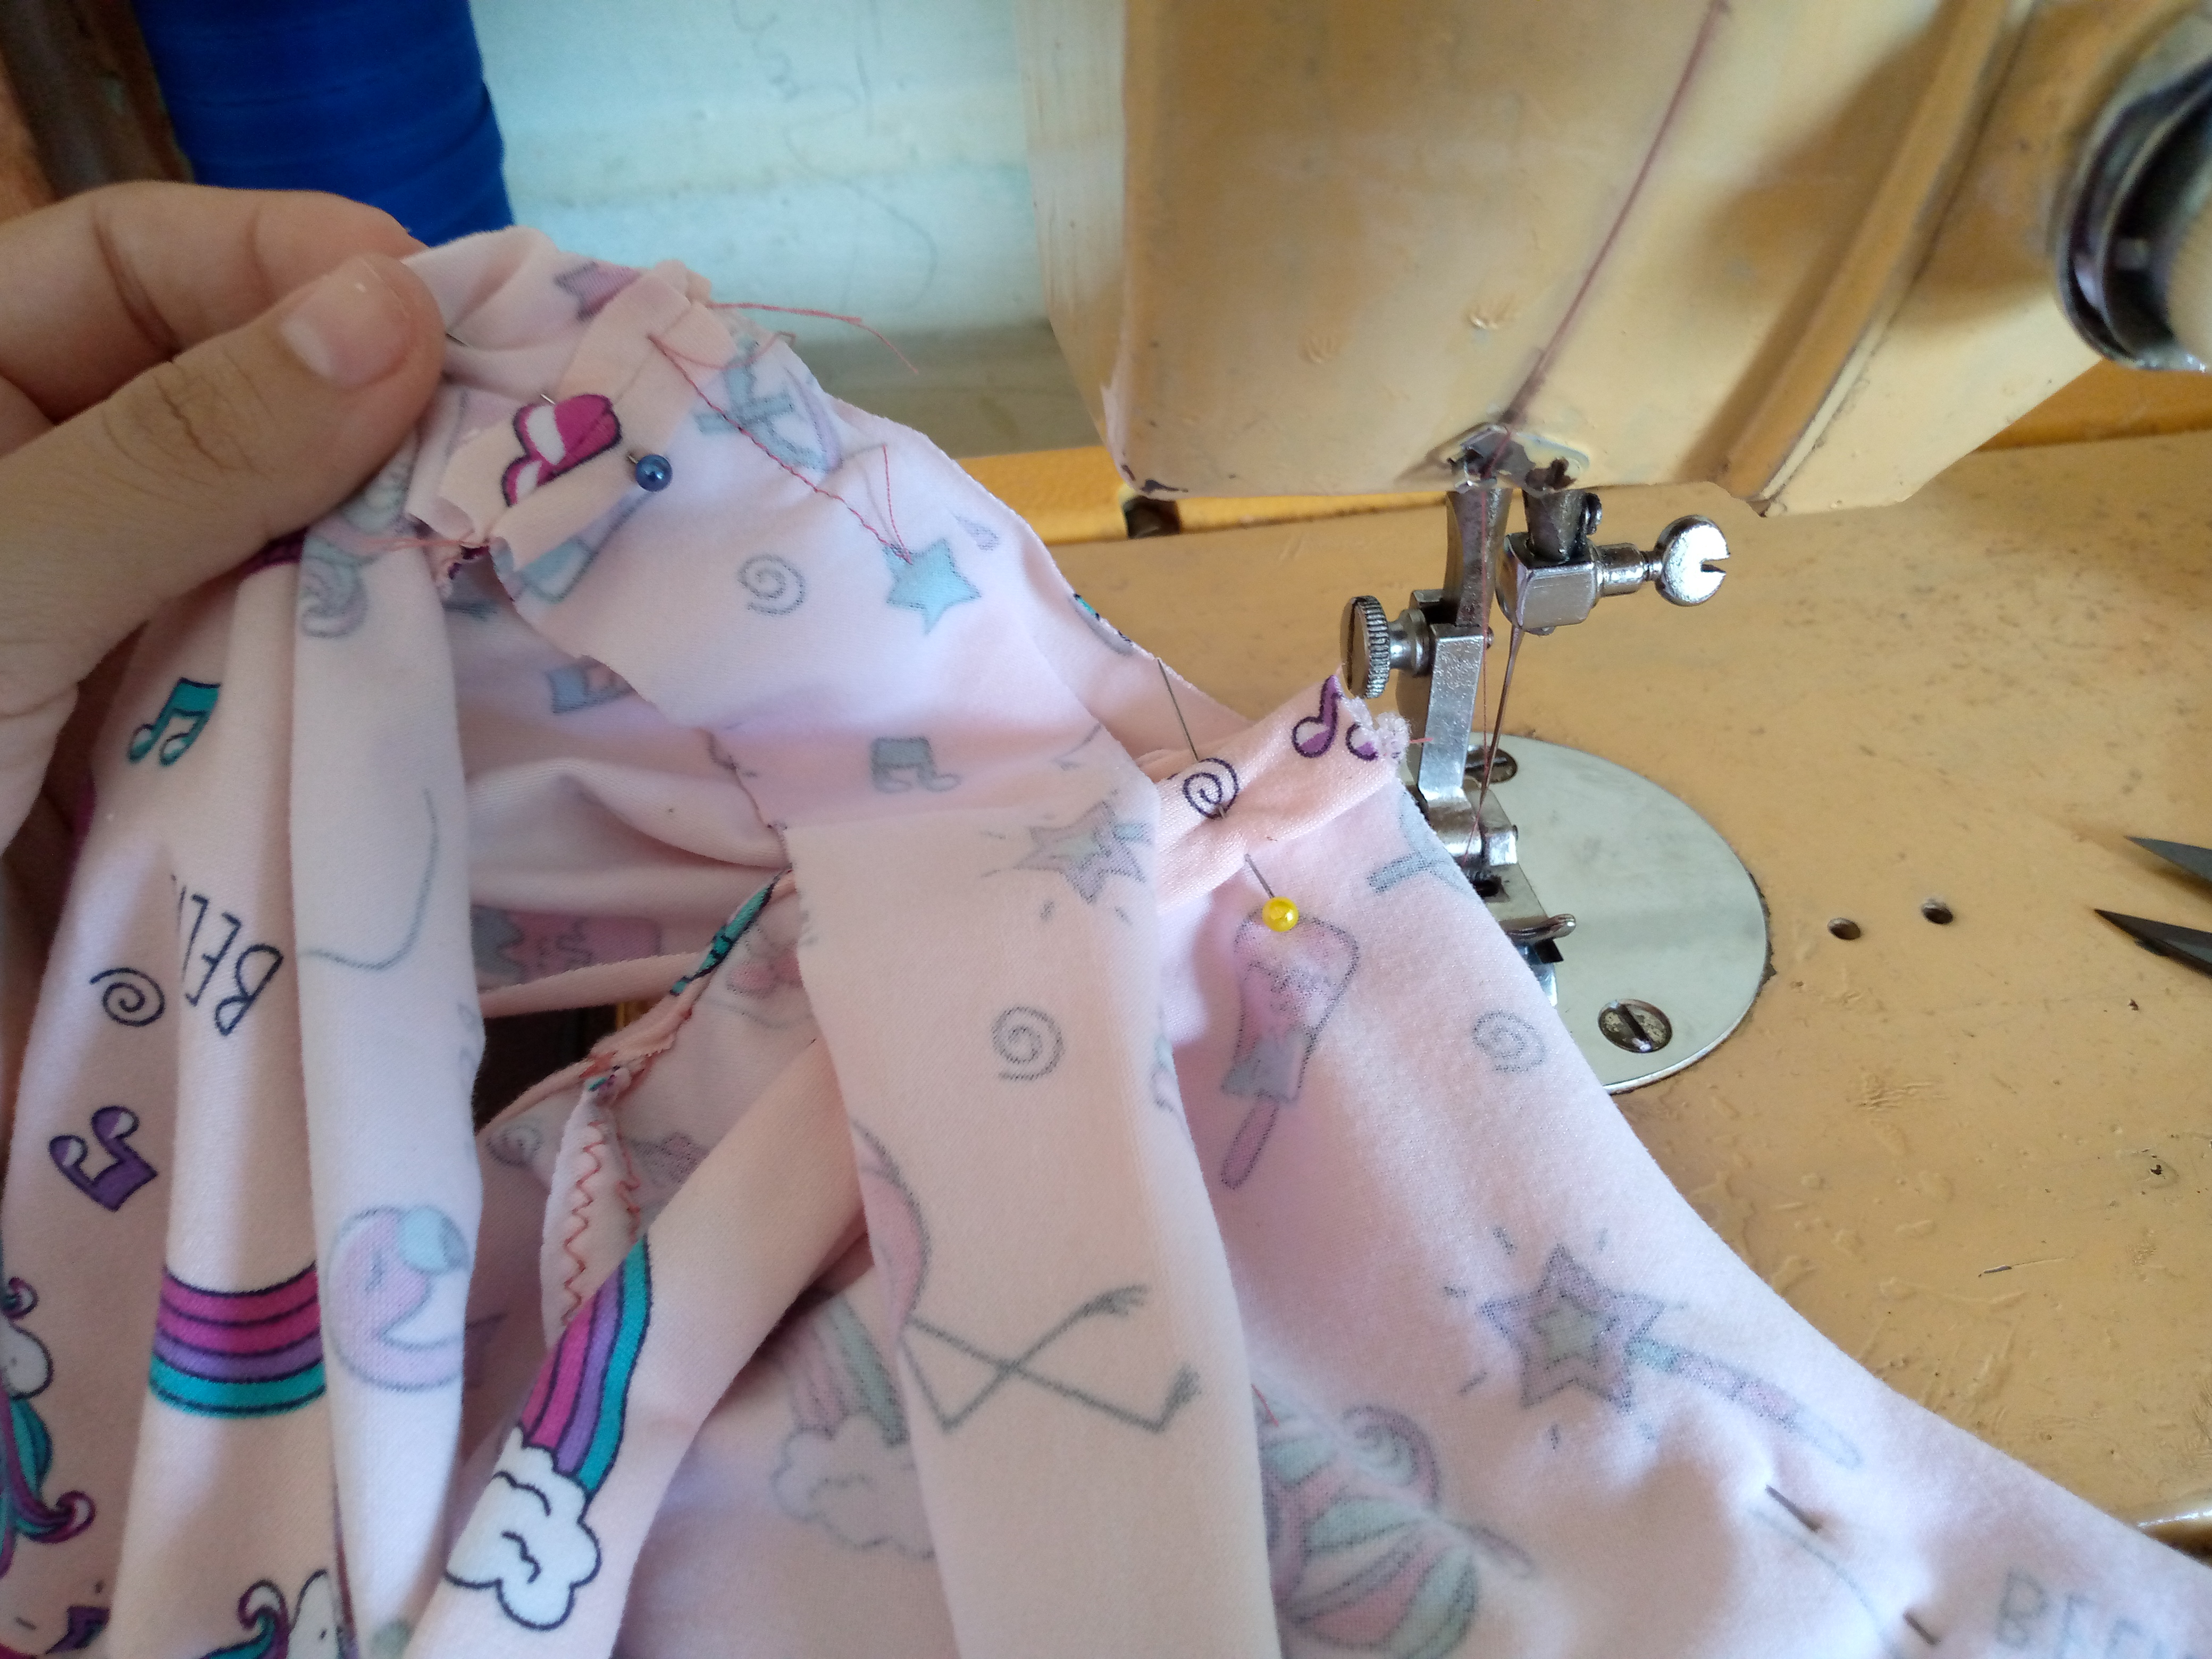

Paso 05
Step 05
We sew the straps each to hold them well and so they don't roll away, then I decided to make a small ornament or detail on the edge of my flare with the machine, which is about making an outline with a zigzag stitch, stretching the fabric as much as possible and so we have a nice gather that gives the blouse a more feminine touch. I finished by making a hem at the bottom of the blouse as well, which of course I hadn't done, with this I finish the blouse.
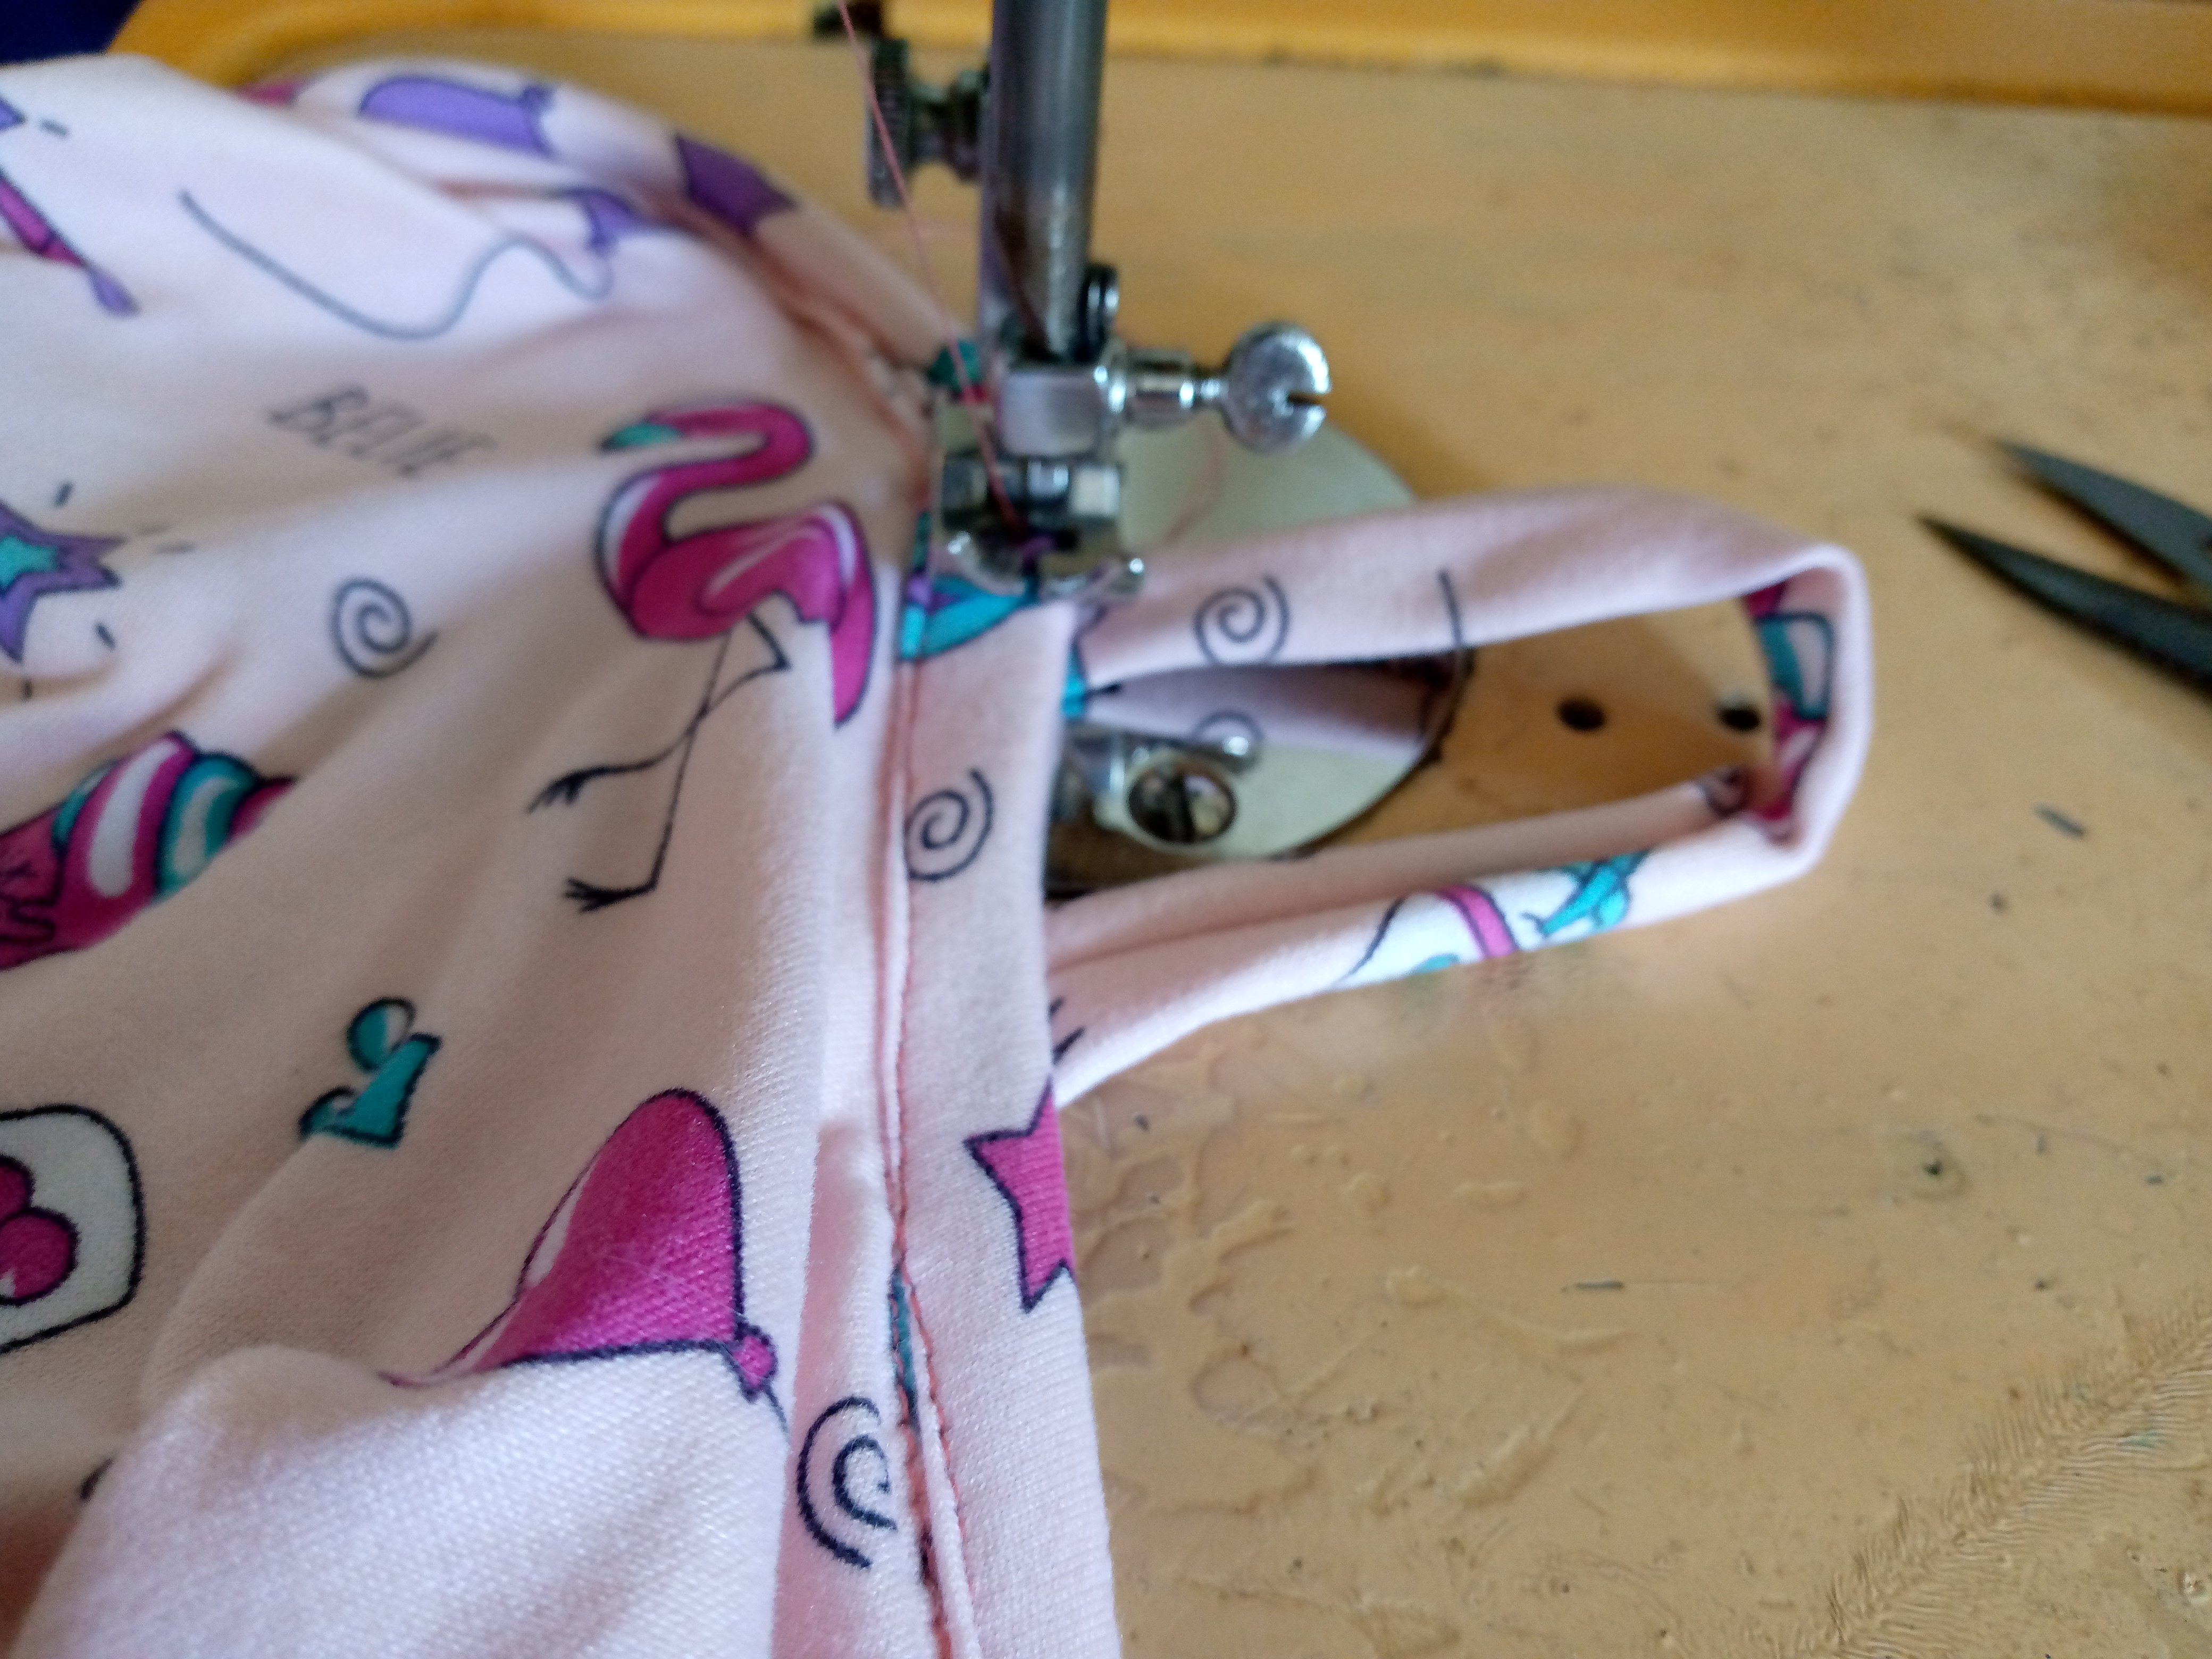
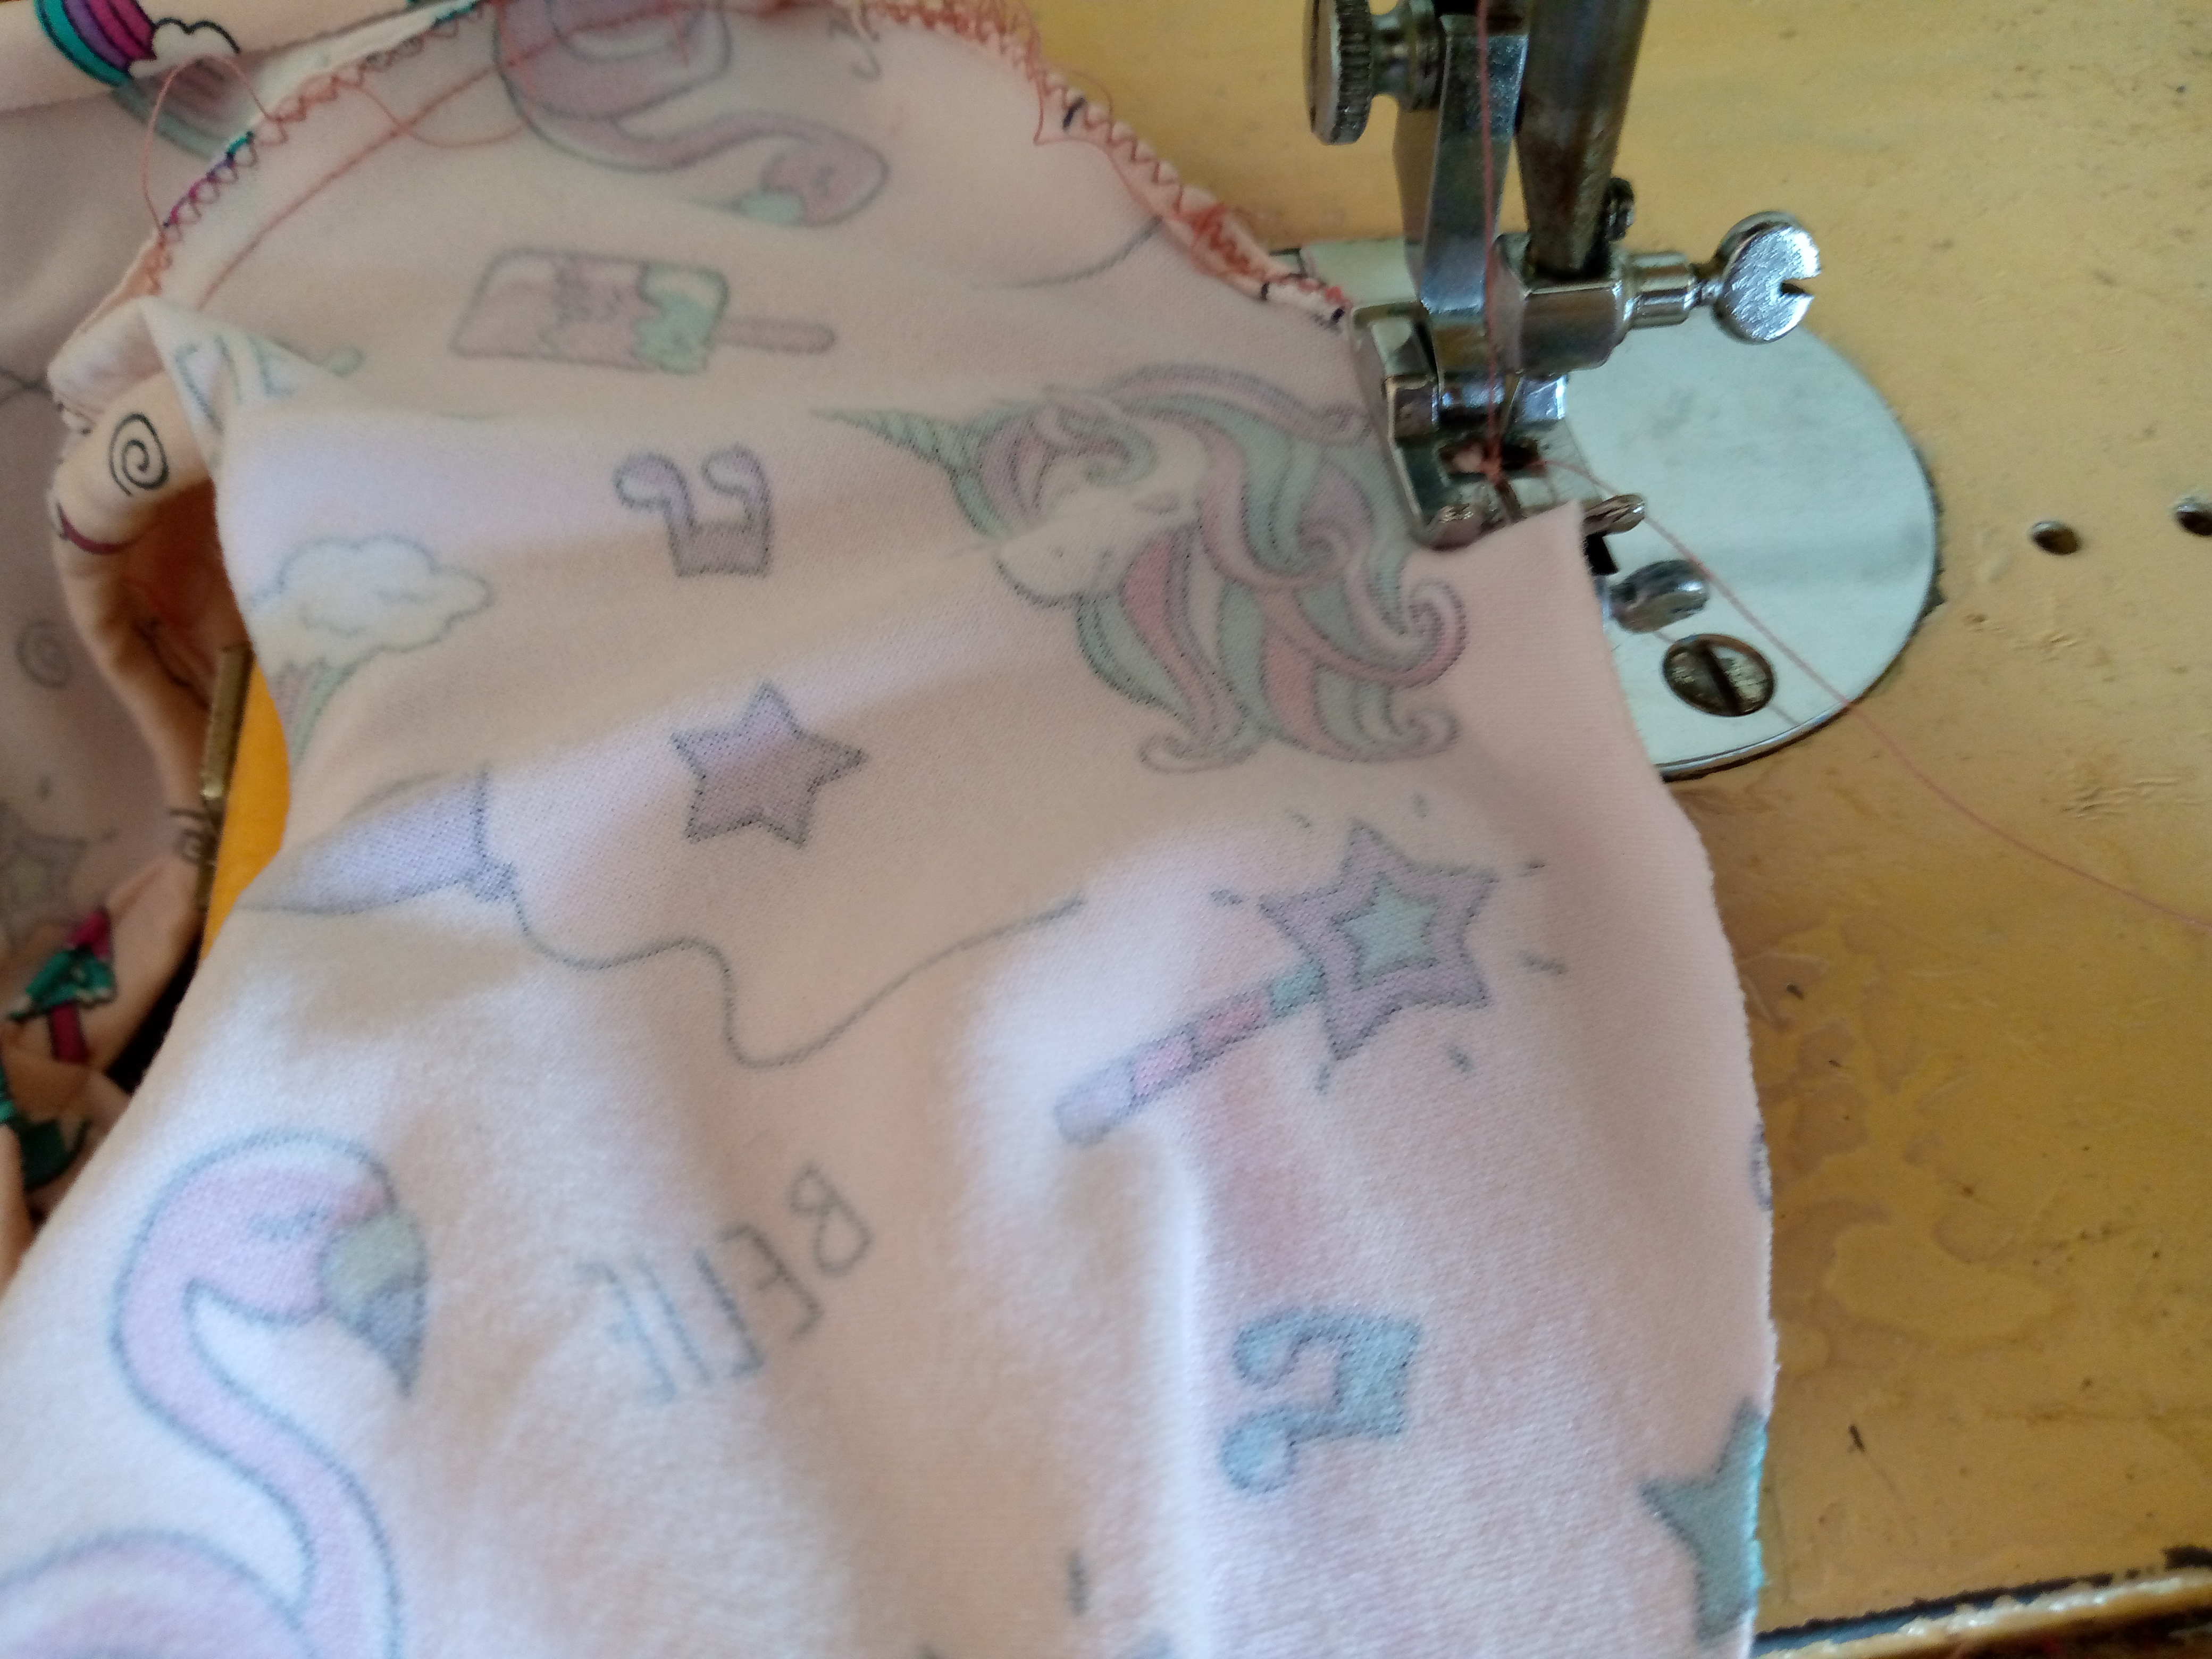
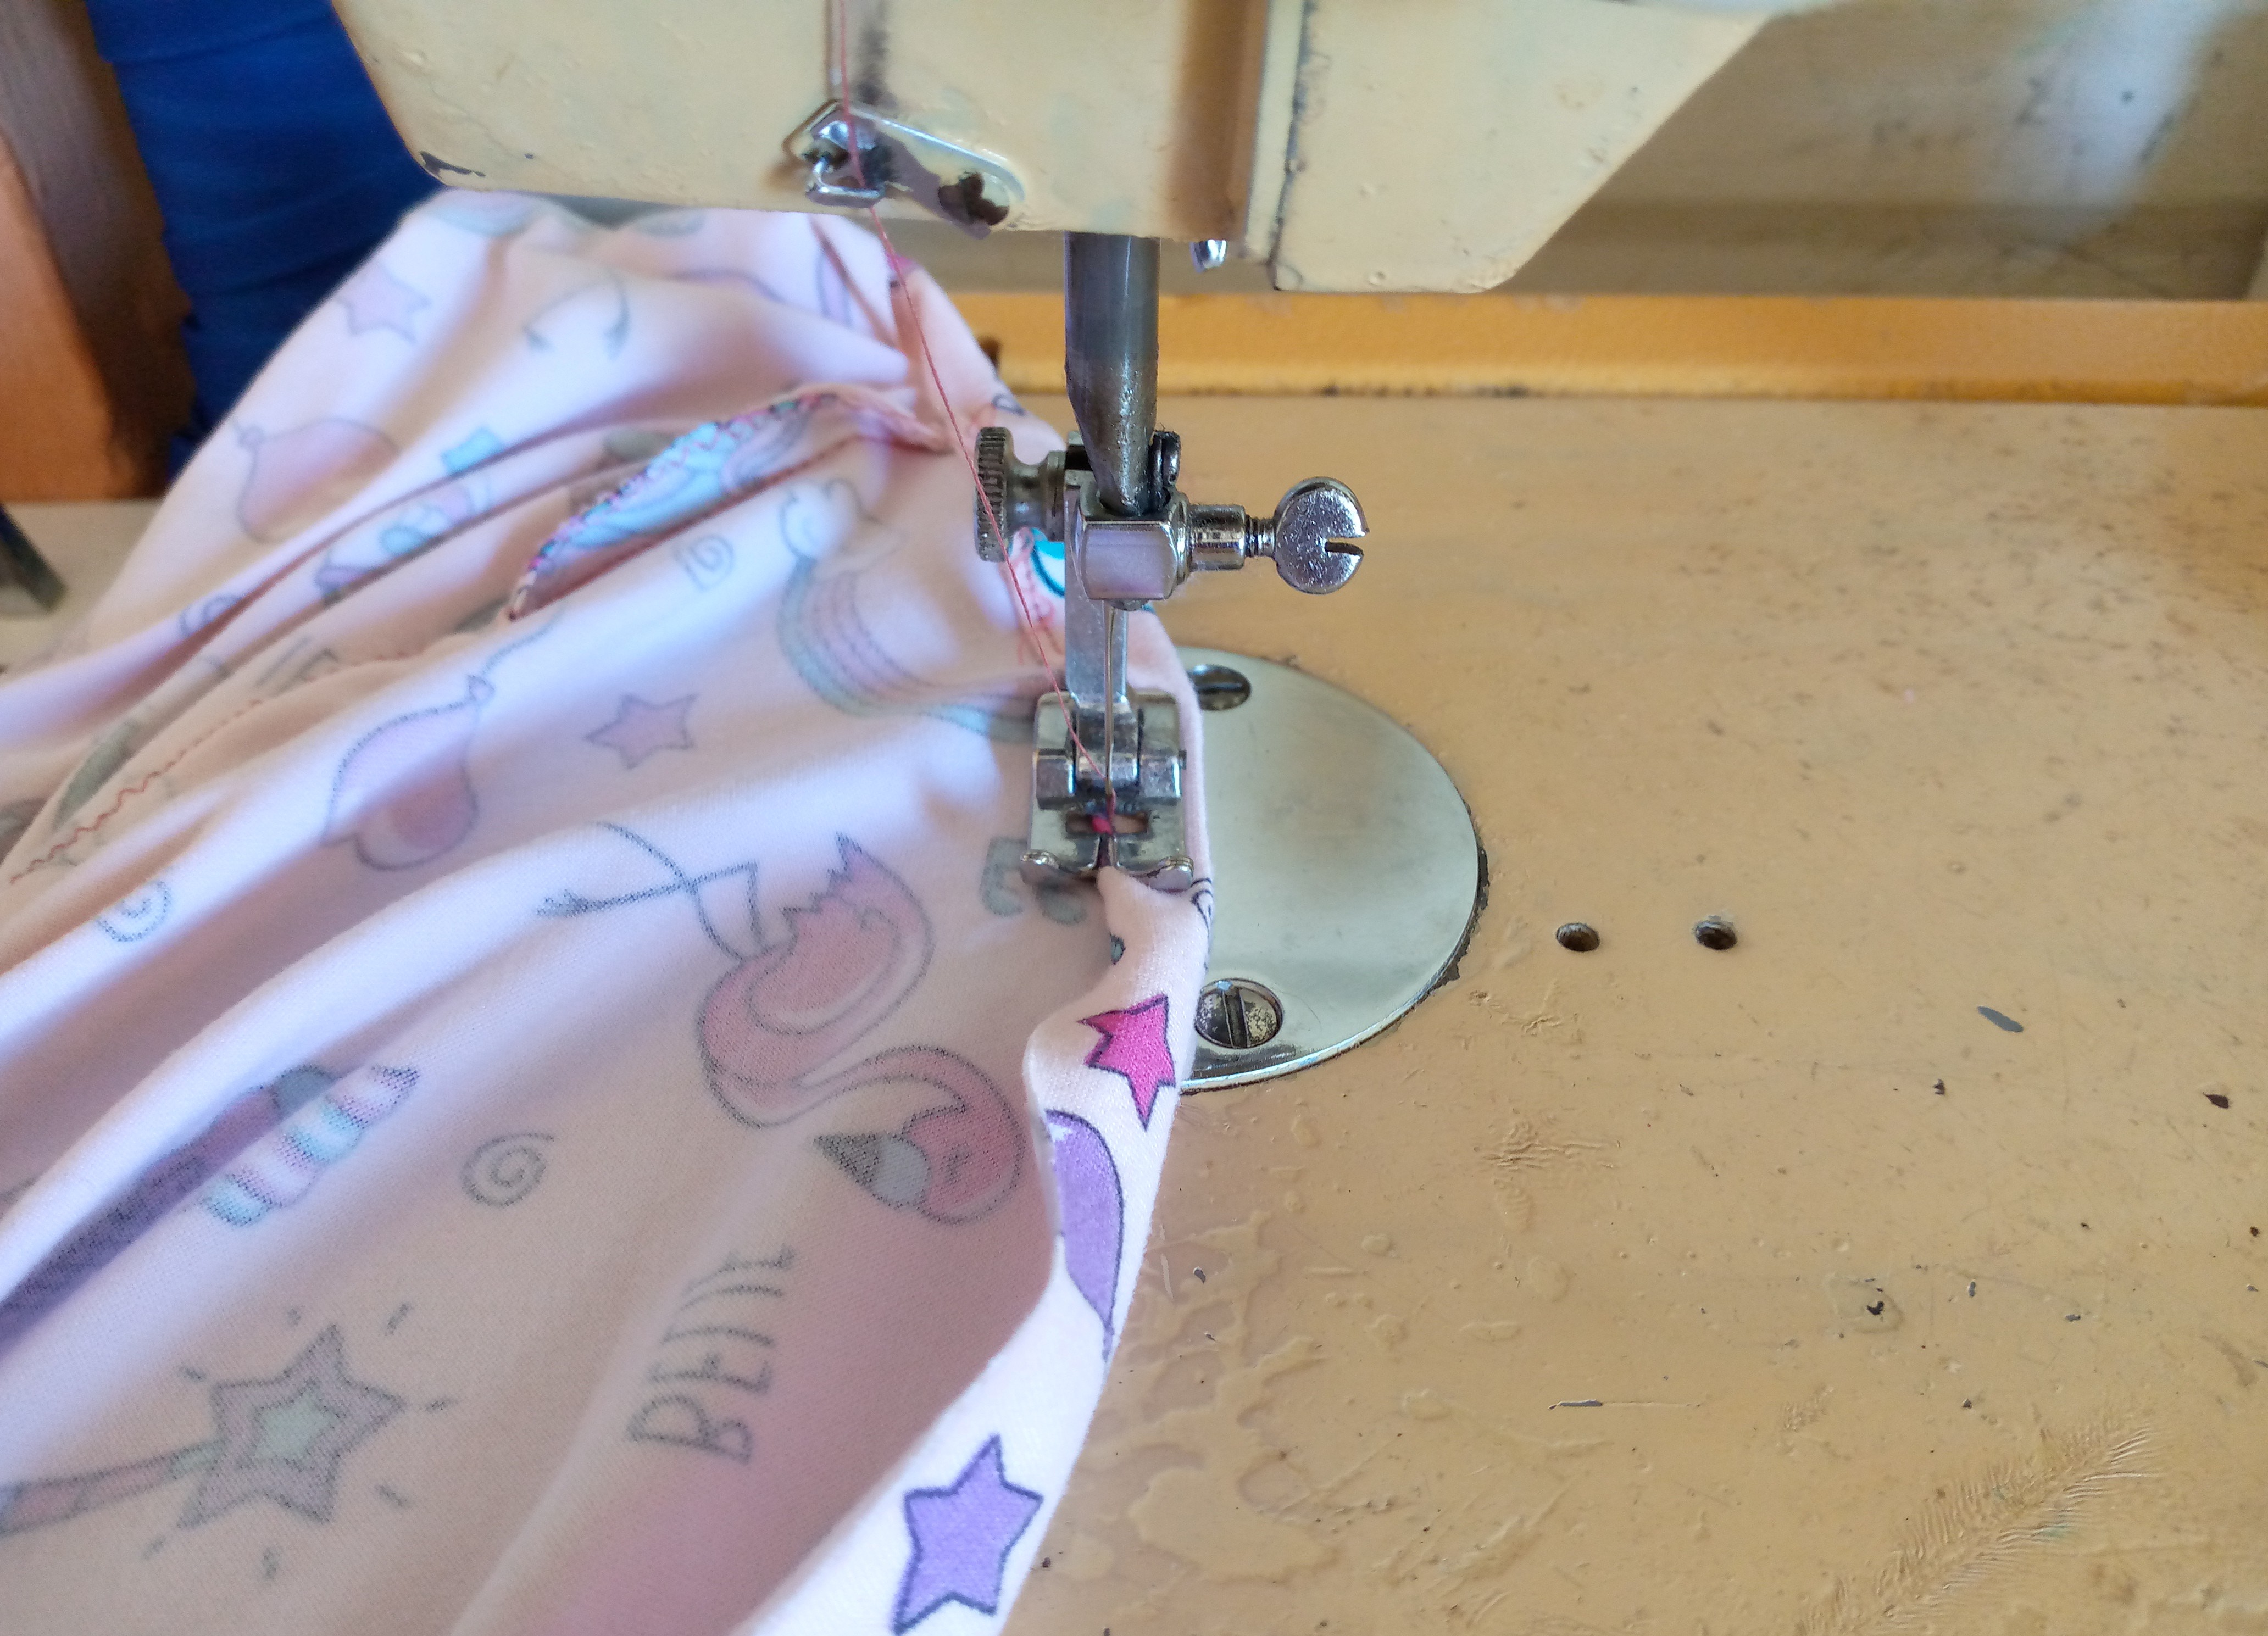.jpg)
.jpg)
💗Resultado //Result:💗
These are the results of my peasant blouse 🥰 look how pretty it has turned out, I hope you like it too and that this blog has been to your liking, I say goodbye to you, I thank you for having reached the end of my blog and I wish you a happy and beautiful day 👋🏻😊 see you dear sewing friends of this community, thank you for appreciating.
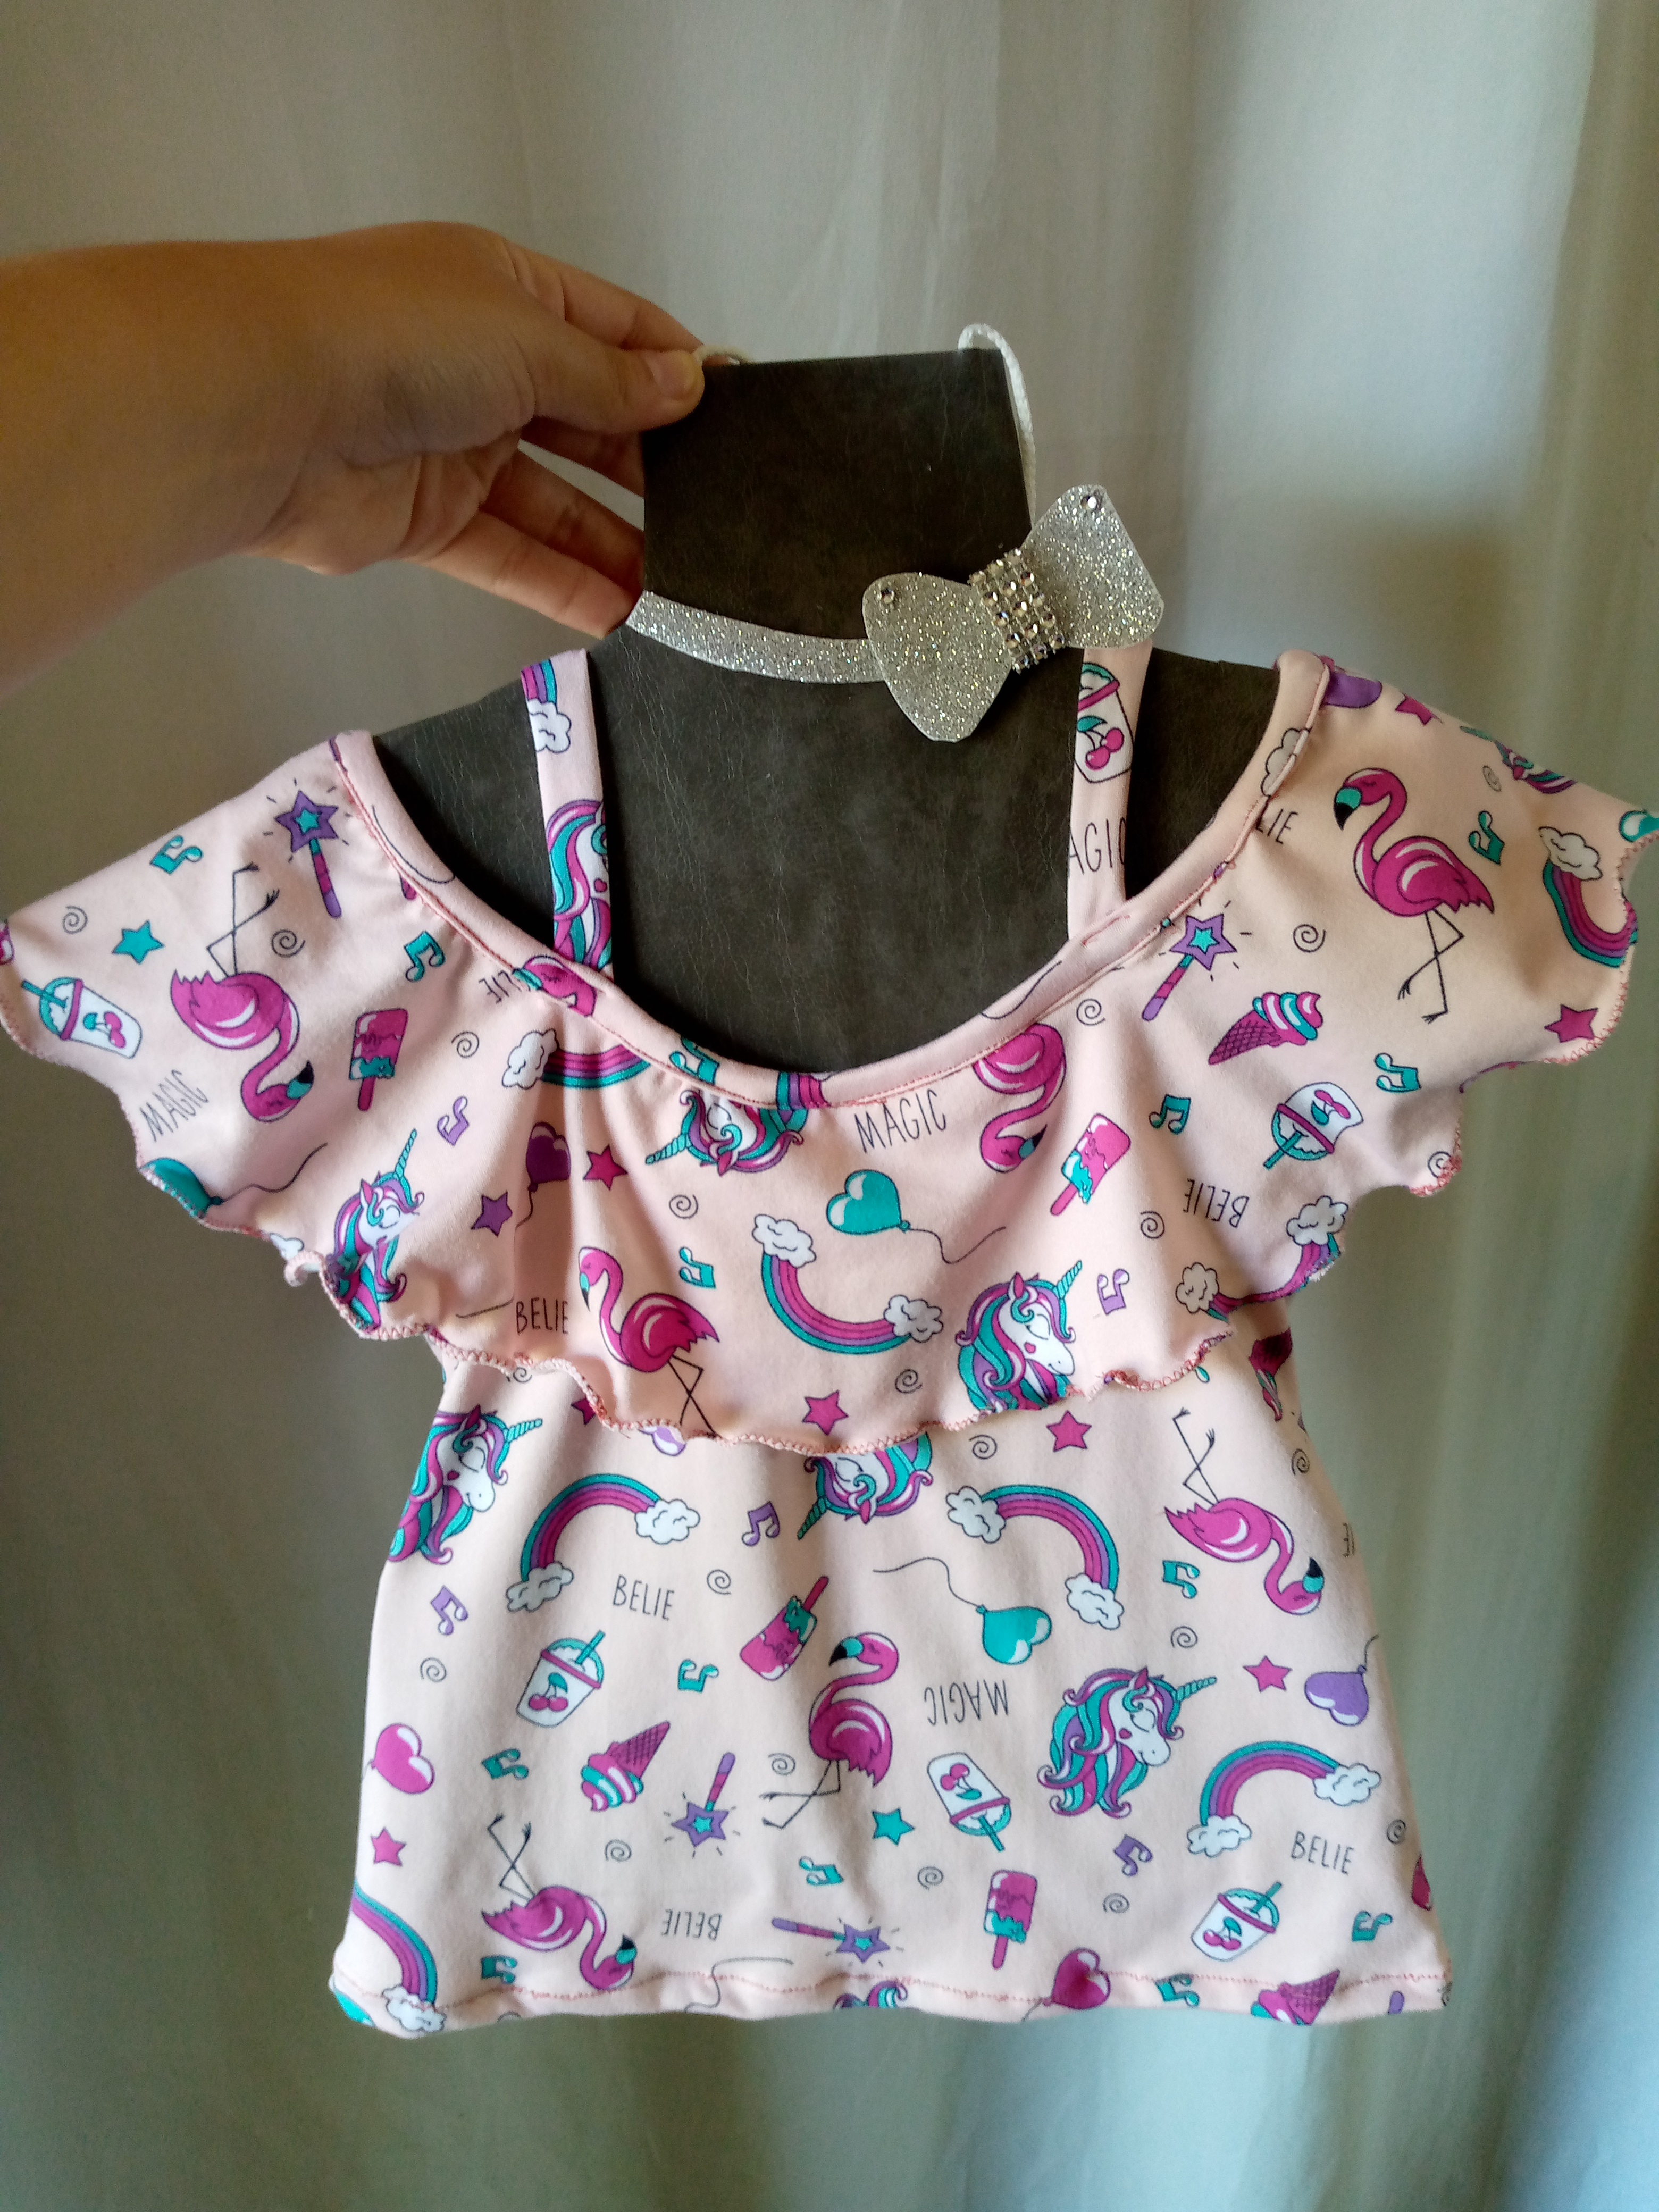

.jpg)
Creating things with love 🌷❤️
🦋✨ All the images in this publication are my author ,📱taken with my TecnoSpark8C cell phone |📸Photos edited in PicsArt and Canva. Text translated in Google Translate.
Follow me for more content 📌
Es una blusa campesina muy bonita para niñas. La tela es muy suave y el estampado es perfecto para ellas¡¡¡ Es una idea genial para hacer una para que nuestras pequeñas la lleven durante las fiestas navideñas 💗
Hola @mergusa88 me alegra te haya gustado 🥰☺️
The final result is impressive. It is beautiful and stylish. It's good to see each step of making this. Thank you for sharing it.
@diyhub Hello, thank you very much, I'm glad you like it, thank you for appreciating and supporting it, it is appreciated.
Este modelo de blusa es muy bonito y la tela es linda y cómoda.
Holi muchas gracias así es súper suavecita es esta tela 😊
Thank you for sharing the step by step process of your blouse with the community, it's a lovely blouse
Hello @monica-ene , thank you very much, my friend. Thank you for appreciating it. I am glad that you commented and that you liked it.
Me encantó tu diseño y la tela es bella, es de esas que uno empieza a usar al principio, ya después una se va atreviendo a usar otros géneros, pero esta tan fresca y fácil de coser, siempre es la primera opción.
Bello @anne002
@yennysferm71 holi amiga jajaja así es yo tengo muchos modelos de blusas de este tipo de tela porque hay estampados muy bellos casi irresistible no tener y siempre las compro para piyamas es super fresca 🥰 gracias a ti por apreciar
De niña me gustaban mucho estás blusas, por lo general me metía en todas las obras teatrales y están eran uno de los modelos que más usabamos en dichas obras por su versatilidad de usos, gracias por traer esos recuerdos a mi mente
@gladymar1973 holi ay amiga que bueno te trajo recuerdos a mi igual antes yo las usaba también no tanto ahora pero tienes razón antes se usaban mucho y aún están de moda todavía 🤭 gracias por tu comentario ,saludos
Congratulations @anne002! You have completed the following achievement on the Hive blockchain And have been rewarded with New badge(s)
Your next target is to reach 800 comments.
You can view your badges on your board and compare yourself to others in the Ranking
If you no longer want to receive notifications, reply to this comment with the word
STOP