.jpg)
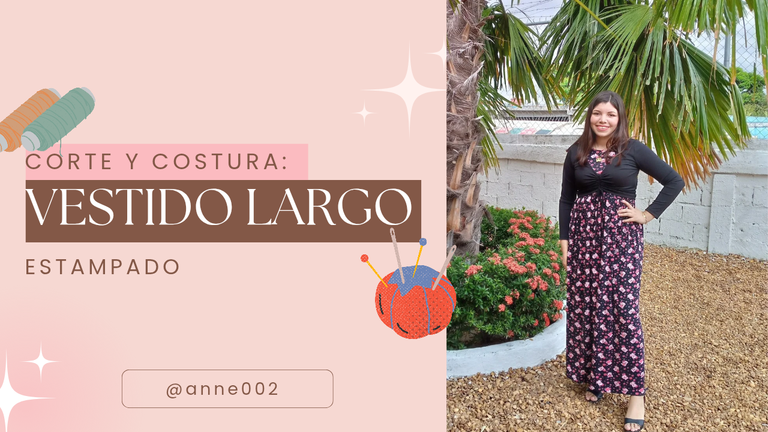
Hello friends I hope you are having a great week, I wanted to show you how I made a long printed dress with a soft micropeach fabric for a special meeting, I had other plans that were to take another dress but it is made with a fabric that is a little hot and since we were going to be there all day I decided to take this dress that I was making and that I already had cut just to my measurements, I liked it long because the print lent itself to making it like that, it is very pretty and I really like this type of print in dark colors because they really highlight the design that it had in other colors, plus it hides and shapes the figure a little, so if you are chubby this dress of this model will look perfect on you, making it is not difficult at all, you just have to have a fabric that falls is cool and your sewing materials, here I will be teaching you how to do it.
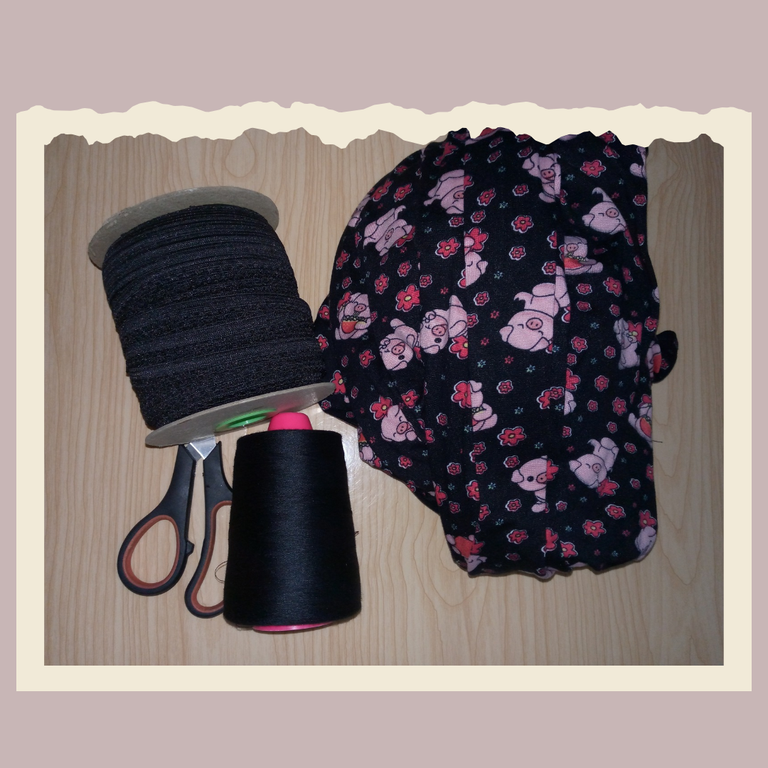
Materiales:// Materials:
- Elástico de 1 cm de ancho aproximadamente o menos
- Hilo
- Tijeras
- 1 metro de tela tipo microdurazno o la de tu preferencia
- Máquinas de coser
- Alfileres
- Elastic approximately 1 cm wide or less
- Thread
- Scissors
- 1 meter of micropeach fabric or the one of your preference
- Sewing machines
- Pins
Pasos a seguir://Steps to follow:
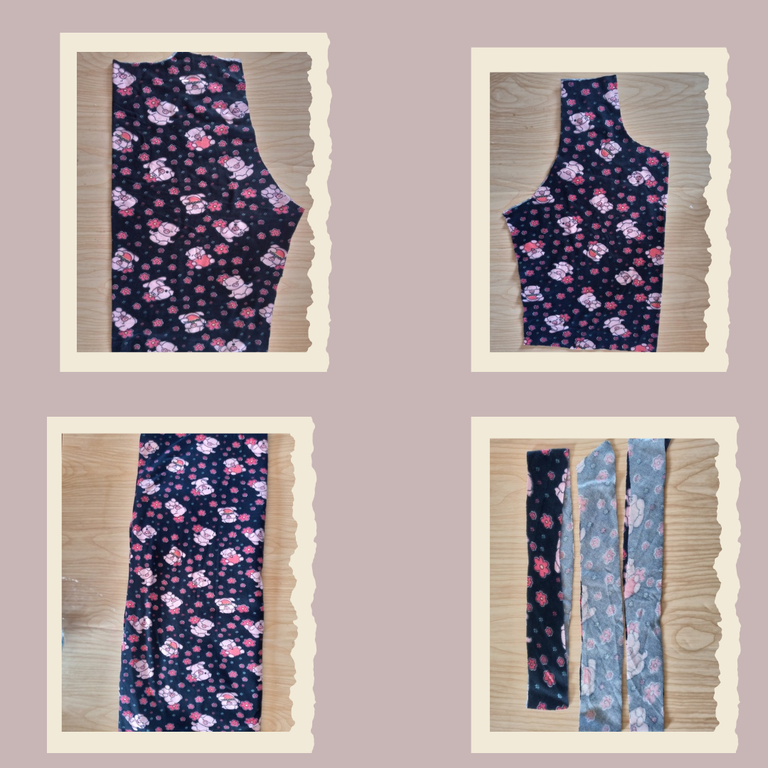
Paso 01
Step 01
To cut my dress I was guided by a reference measurement as I told you before, for this I cut the front and back blouse piece up to the waist, then I cut a square piece with the following measurements for the skirt of this dress: the length I wanted to add 104 cm because I really wanted my dress to reach my ankles but you can make it shorter, and the width was 96 cm, I also cut pieces for the bias of the dress for the armhole and neck because I wanted it sleeveless.
Paso 02
Step 02
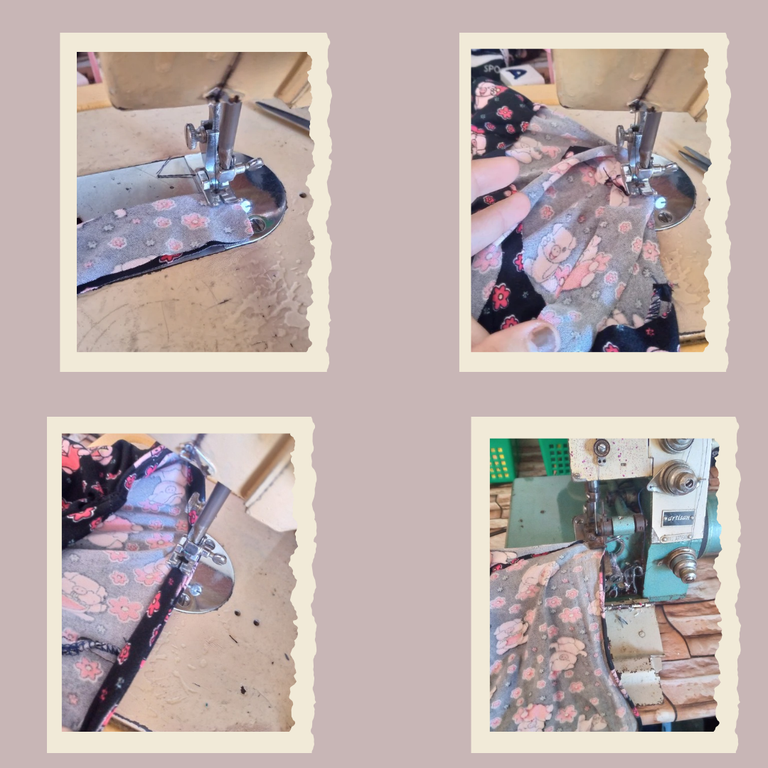
So here I proceed to sew, I will start by pinning the shoulder part of both pieces of the blouse together and I will sew with an overlock then I will run a straight stitch to reinforce the seam and it will not come loose, then we will seal the sides so that the blouse is ready.
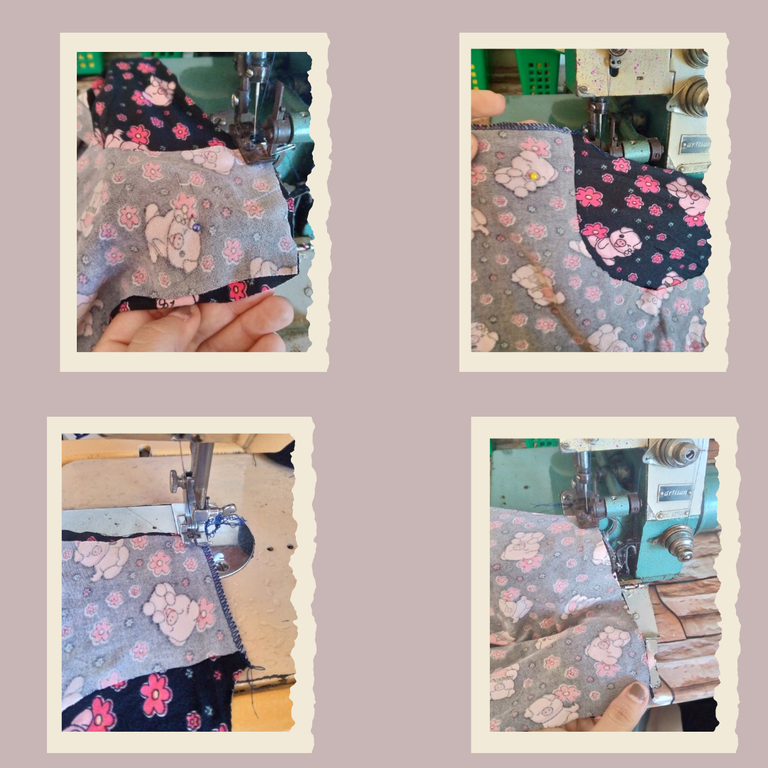
Paso 03
Step 03
Then it's time to sew our bias and we begin by joining both pieces, that is, end to end of each bias and to sew it on the inside of the dress we do the following: we look for the union of the sides and sew the bias on the inside around the entire contour of my closed armhole, stretching it a little inwards and we sew again so that this bias is inside and covers the part of the armhole, we do this with the collar, we also sew from the inside to the outside, we make a small fold and we overlock. Then I'm going to sew the bottom part of the dress, first joining our square that we have made, we sew it straight to the bottom.
Paso 04
Step 04
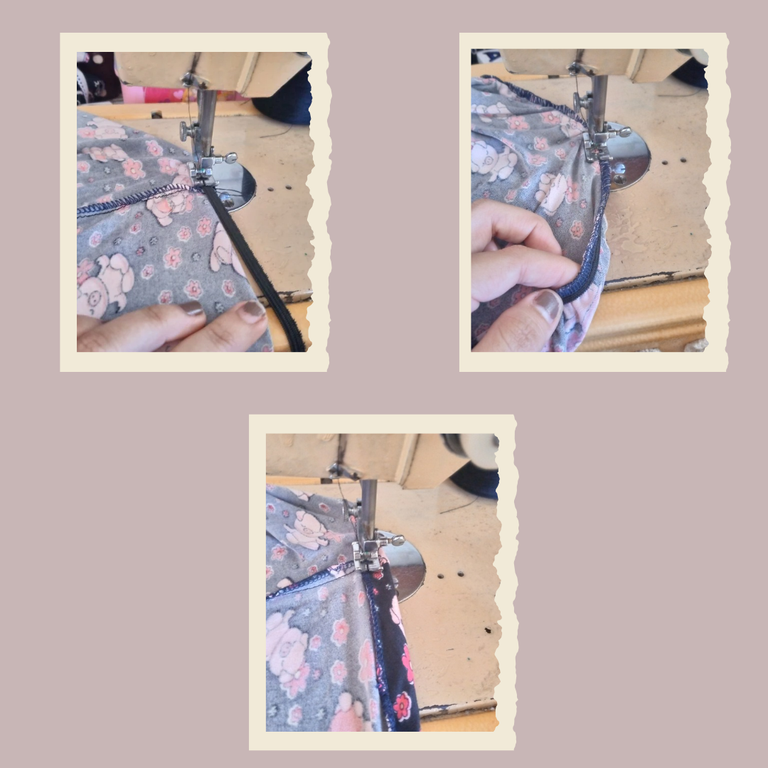
I proceed to glue our elastic along the wide part of this piece and the measurement that we will use of elastic is our waist then we take the measurement of the width with our same elastic stretching it a little we cut and we are going to sew it around the entire contour of the square piece that would be the skirt of the dress first we sew it straight then we will join the piece to the blouse placing the skirt join on the back and then we sew it together, we are going to sew to finish the bottom of the dress with overlock to make a small hem and so we finish it.
Resultado:// Result:
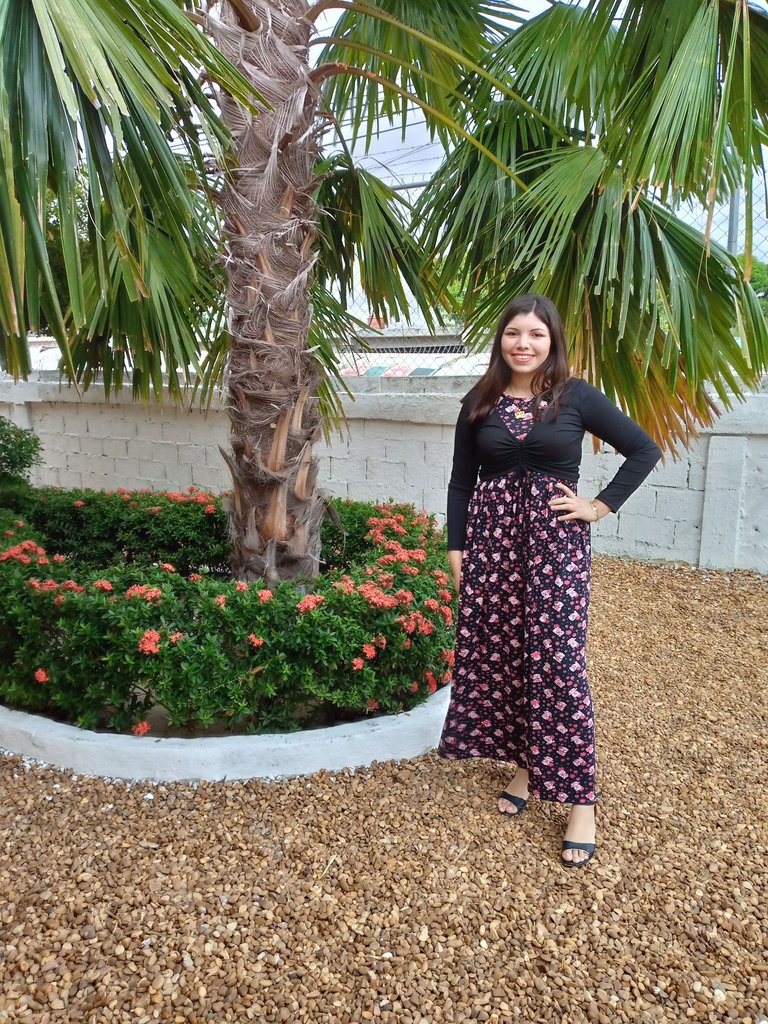
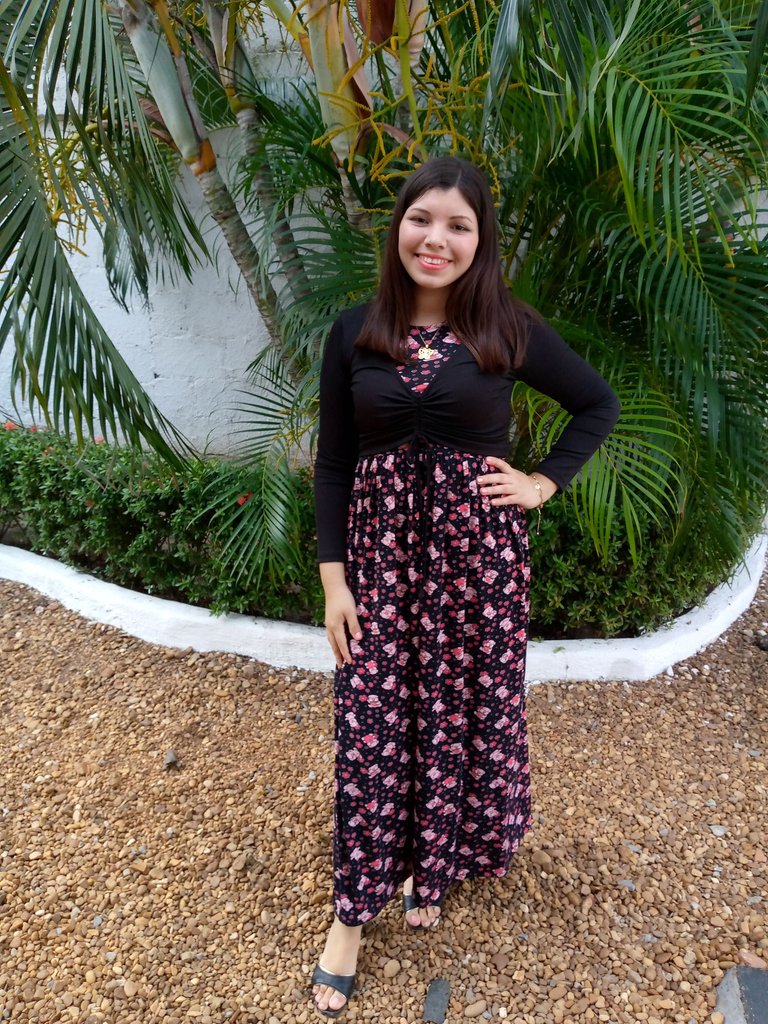
We have finished our dress and here I show you how it looked on me that day that I put it on, I wanted to wear it with a short overcoat on top because it was cold that day, and I feel that it matched the dress, this dress is super comfortable, I recommend making it if you want to go for a special occasion and where you want to wear something comfortable to be in the day, I hope you liked this cheerful confection as much as I did and I wish you a beautiful day today and success in your work, see you friends, until another next tutorial. 👋🏻🥰♥️
Creating things with love 🌷❤️
🦋✨ All the images in this publication are my author ,📱taken with my TecnoSpark8C cell phone |📸Photos edited in PicsArt and Canva. Text translated in Google Translate.
Me encantó, es muy lindo y decoroso. Gracias por compartir este proyecto con todos. Saludos y ricas bendiciones
Muchas gracias amiga hermosa que bueno te haya gustado este vestido 🥰
Es un modelo de vestido muy lindo y práctico para cualquier ocasión, gracias por compartir, saludos 🥰
Gracias me alegra te haya gustado 🥰✨
¡Enhorabuena!
✅ Has hecho un buen trabajo, por lo cual tu publicación ha sido valorada y ha recibido el apoyo de parte de CHESS BROTHERS ♔ 💪
♟ Te invitamos a usar nuestra etiqueta #chessbrothers y a que aprendas más sobre nosotros.
♟♟ También puedes contactarnos en nuestro servidor de Discord y promocionar allí tus publicaciones.
♟♟♟ Considera unirte a nuestro trail de curación para que trabajemos en equipo y recibas recompensas automáticamente.
♞♟ Echa un vistazo a nuestra cuenta @chessbrotherspro para que te informes sobre el proceso de curación llevado a diario por nuestro equipo.
🏅 Si quieres obtener ganancias con tu delegacion de HP y apoyar a nuestro proyecto, te invitamos a unirte al plan Master Investor. Aquí puedes aprender cómo hacerlo.
Cordialmente
El equipo de CHESS BROTHERS
Te sienta muy bien.
El largo es perfecto, seguro tuviste muy buenos comentarios en tu reunión.
Saludos.
Precioso tu vestido largo, aparte que están muy de moda ahora, perfecto para una ocasión especial o casual.