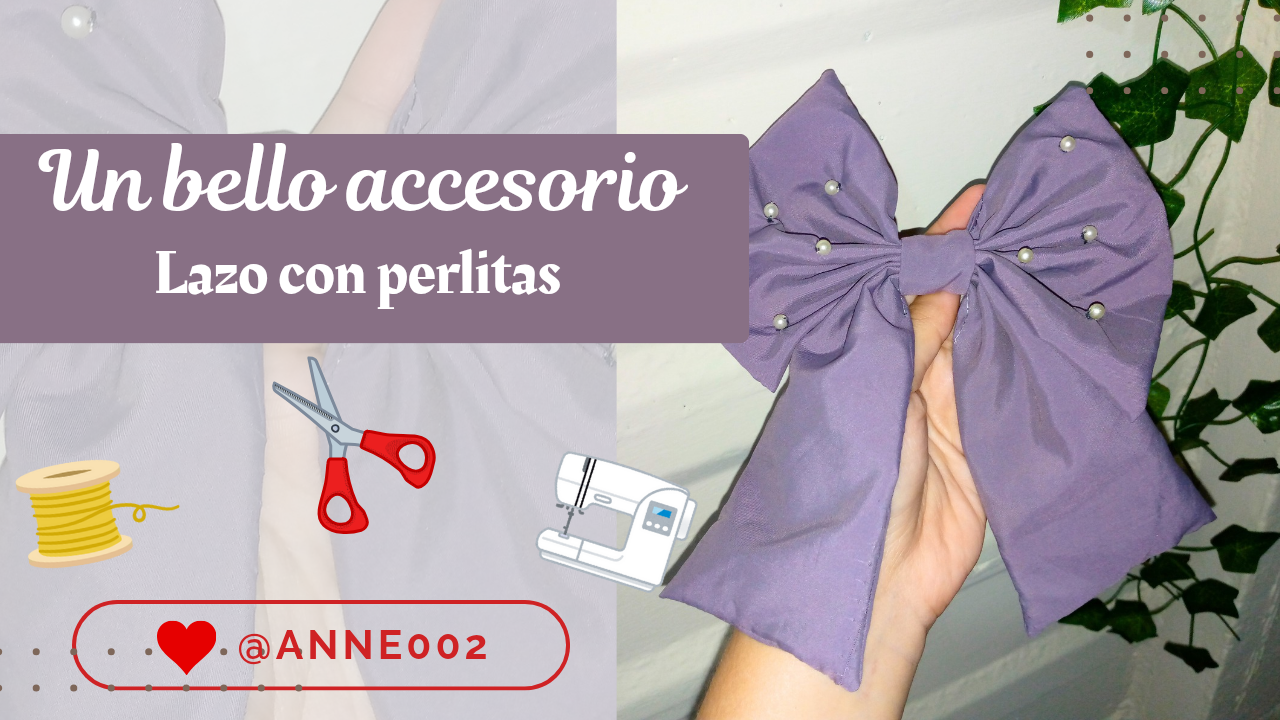
Hello friends, happy afternoon how are you spending your day, thank God I feel good and already enjoying the week that I feel went by super fast, I went to my favorite corner which is my sewing place and so I sewed some of the work that I had for this week, within those works I found one that I had cut out a few days ago and that due to lack of time I had not done, it is this beautiful bow or ribbon as you want to call it and well I had not done it, it is for me because I had just made a dress and there were some fabric scraps left over and since here we love to recycle them I did not miss the opportunity to do it and thus combine it with that dress that I just made.
I love making these kinds of things, especially because I have dresses and I always love to combine them with some overalls. This bow is easy to make because we will do it like this without a hook or ponytail in the back because I have a collection of them and I like to use only one hook for all of them, so we will do it like this without a hook in the back. If it is later your preference to make it to sell or give it away, then you can put whatever you want in the back. In this case, I will share the process with you, just how I made the bow 🥰❤️.
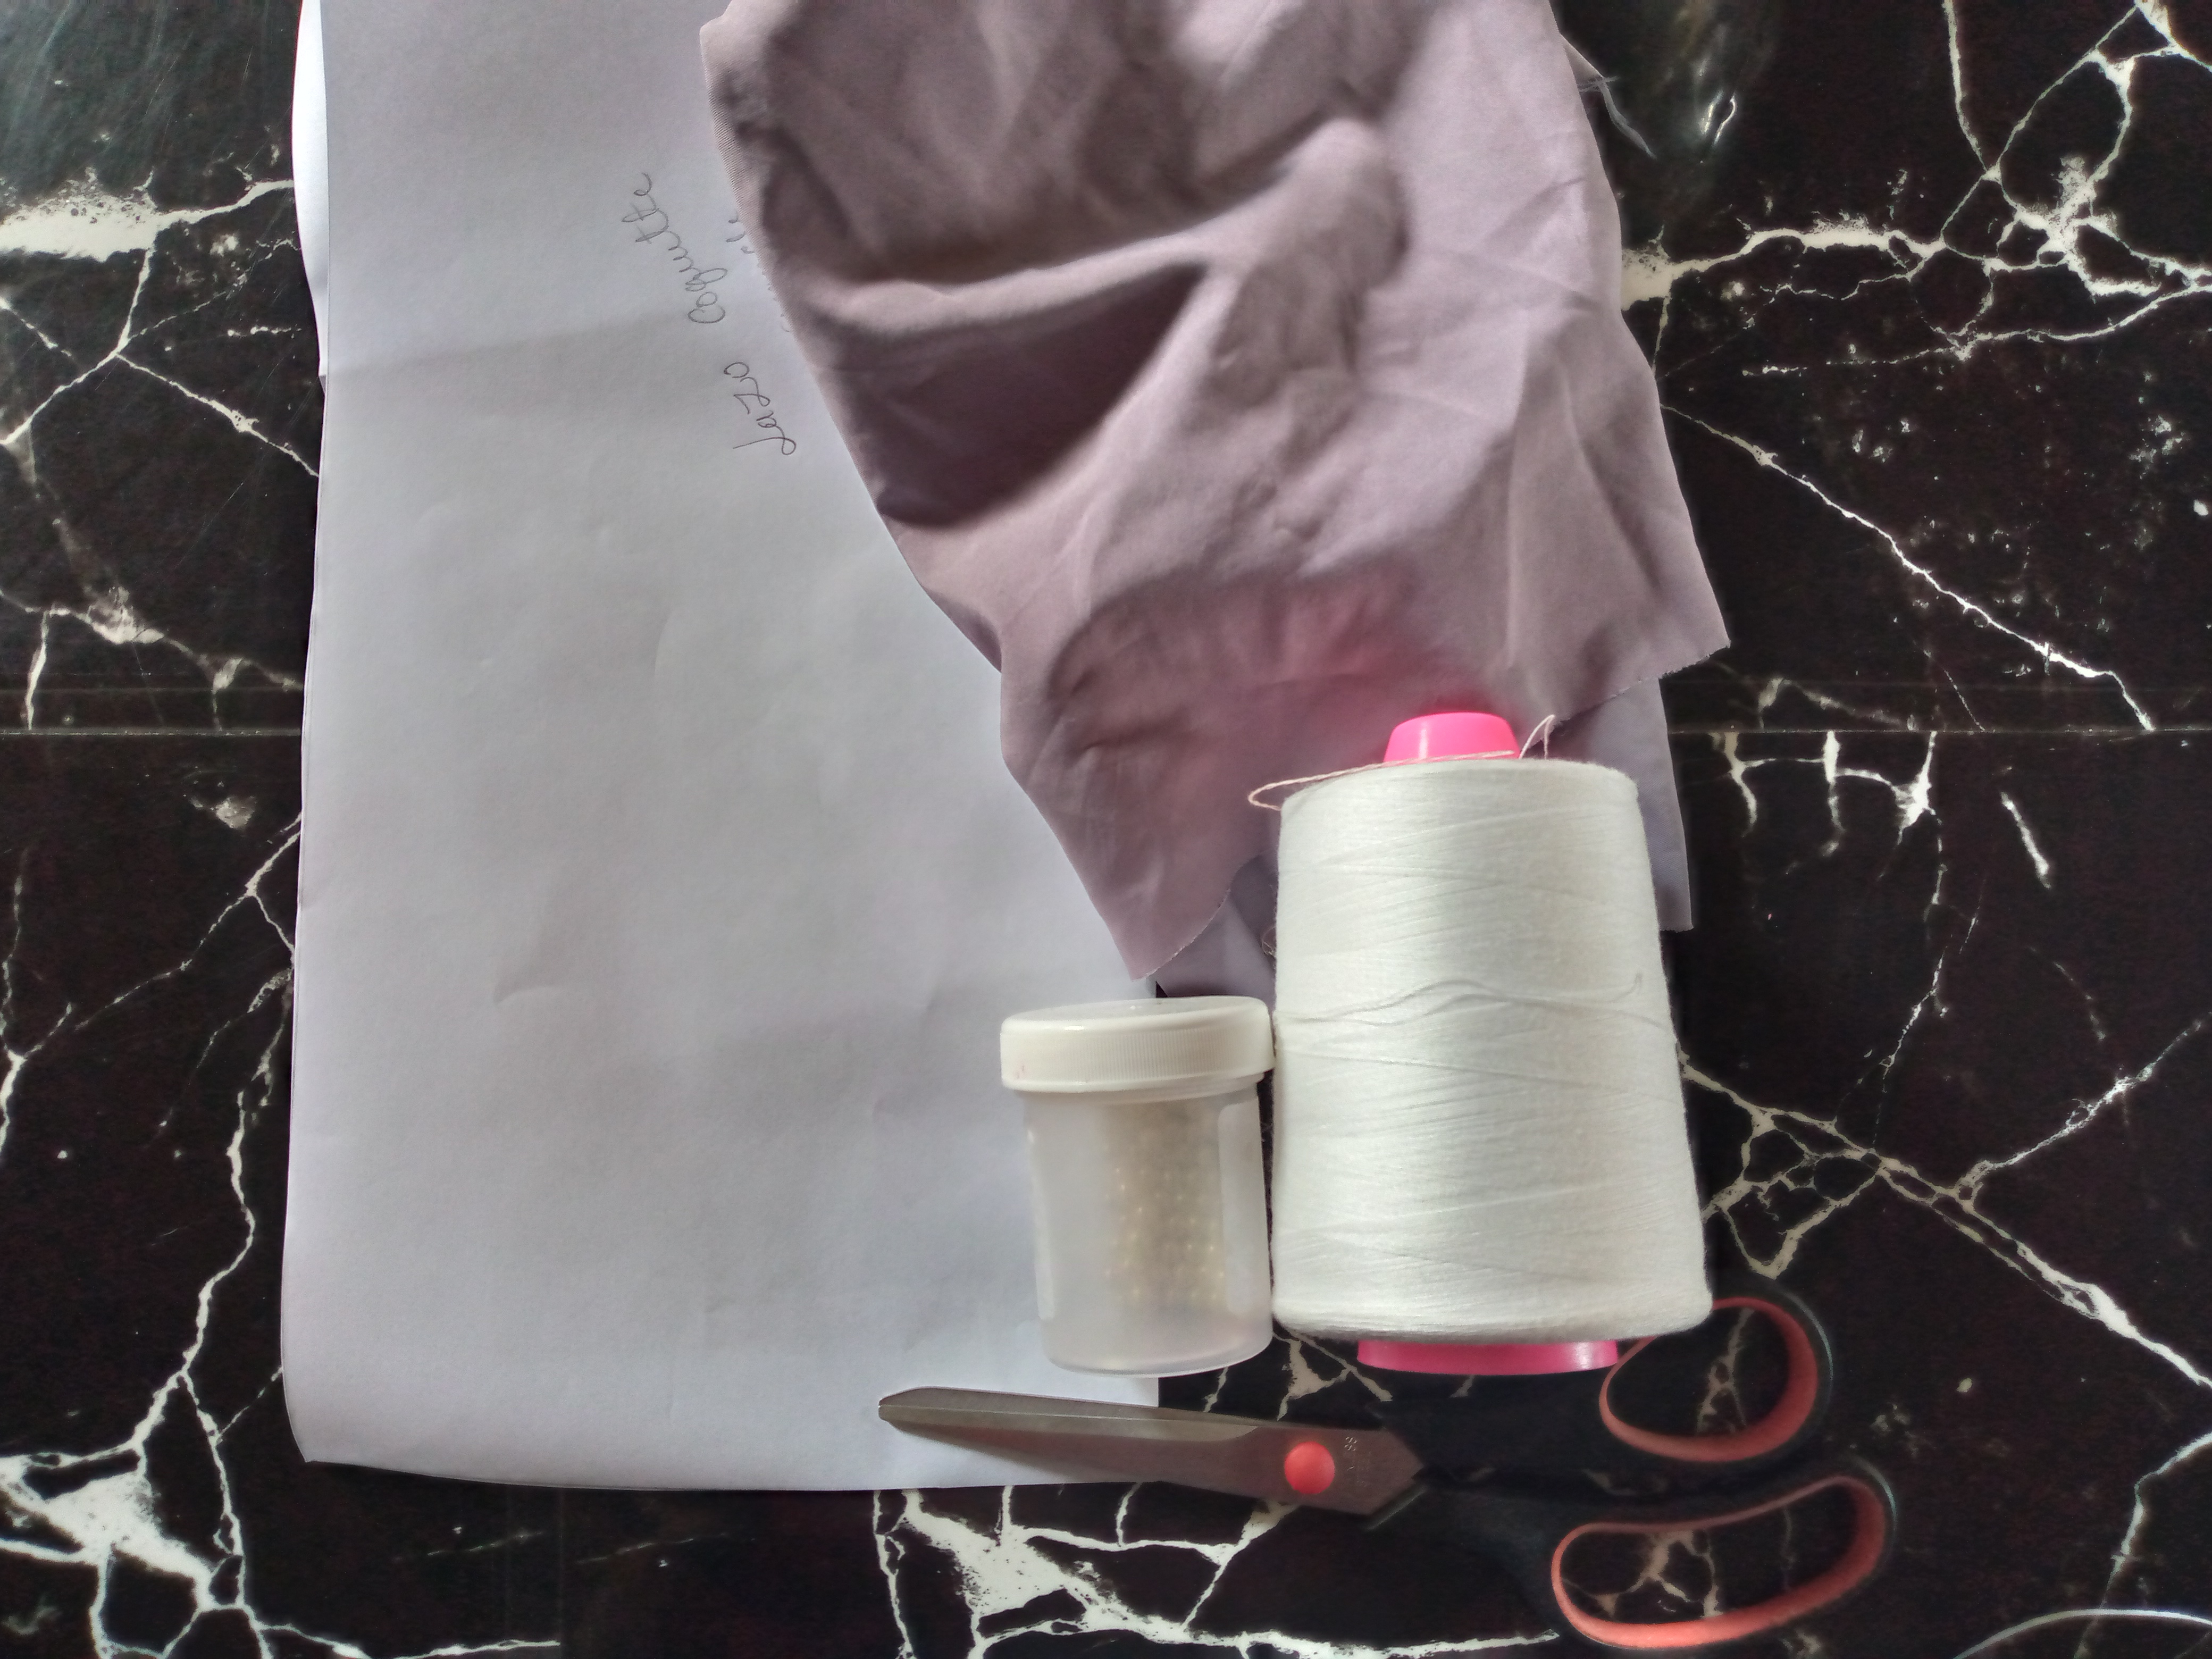
Materiales:// Materials:
- Usaremos tela de tu preferencia
- Tijeras
- Alfileres
- Hilo y aguja
- Perlitas blancas
- Máquina de coser
- We will use fabric of your choice
- Scissors
- Pins
- Thread and needle
- White pearls
- Sewing machine
Pasos a seguir://Steps to follow:
Paso 01
Step 01
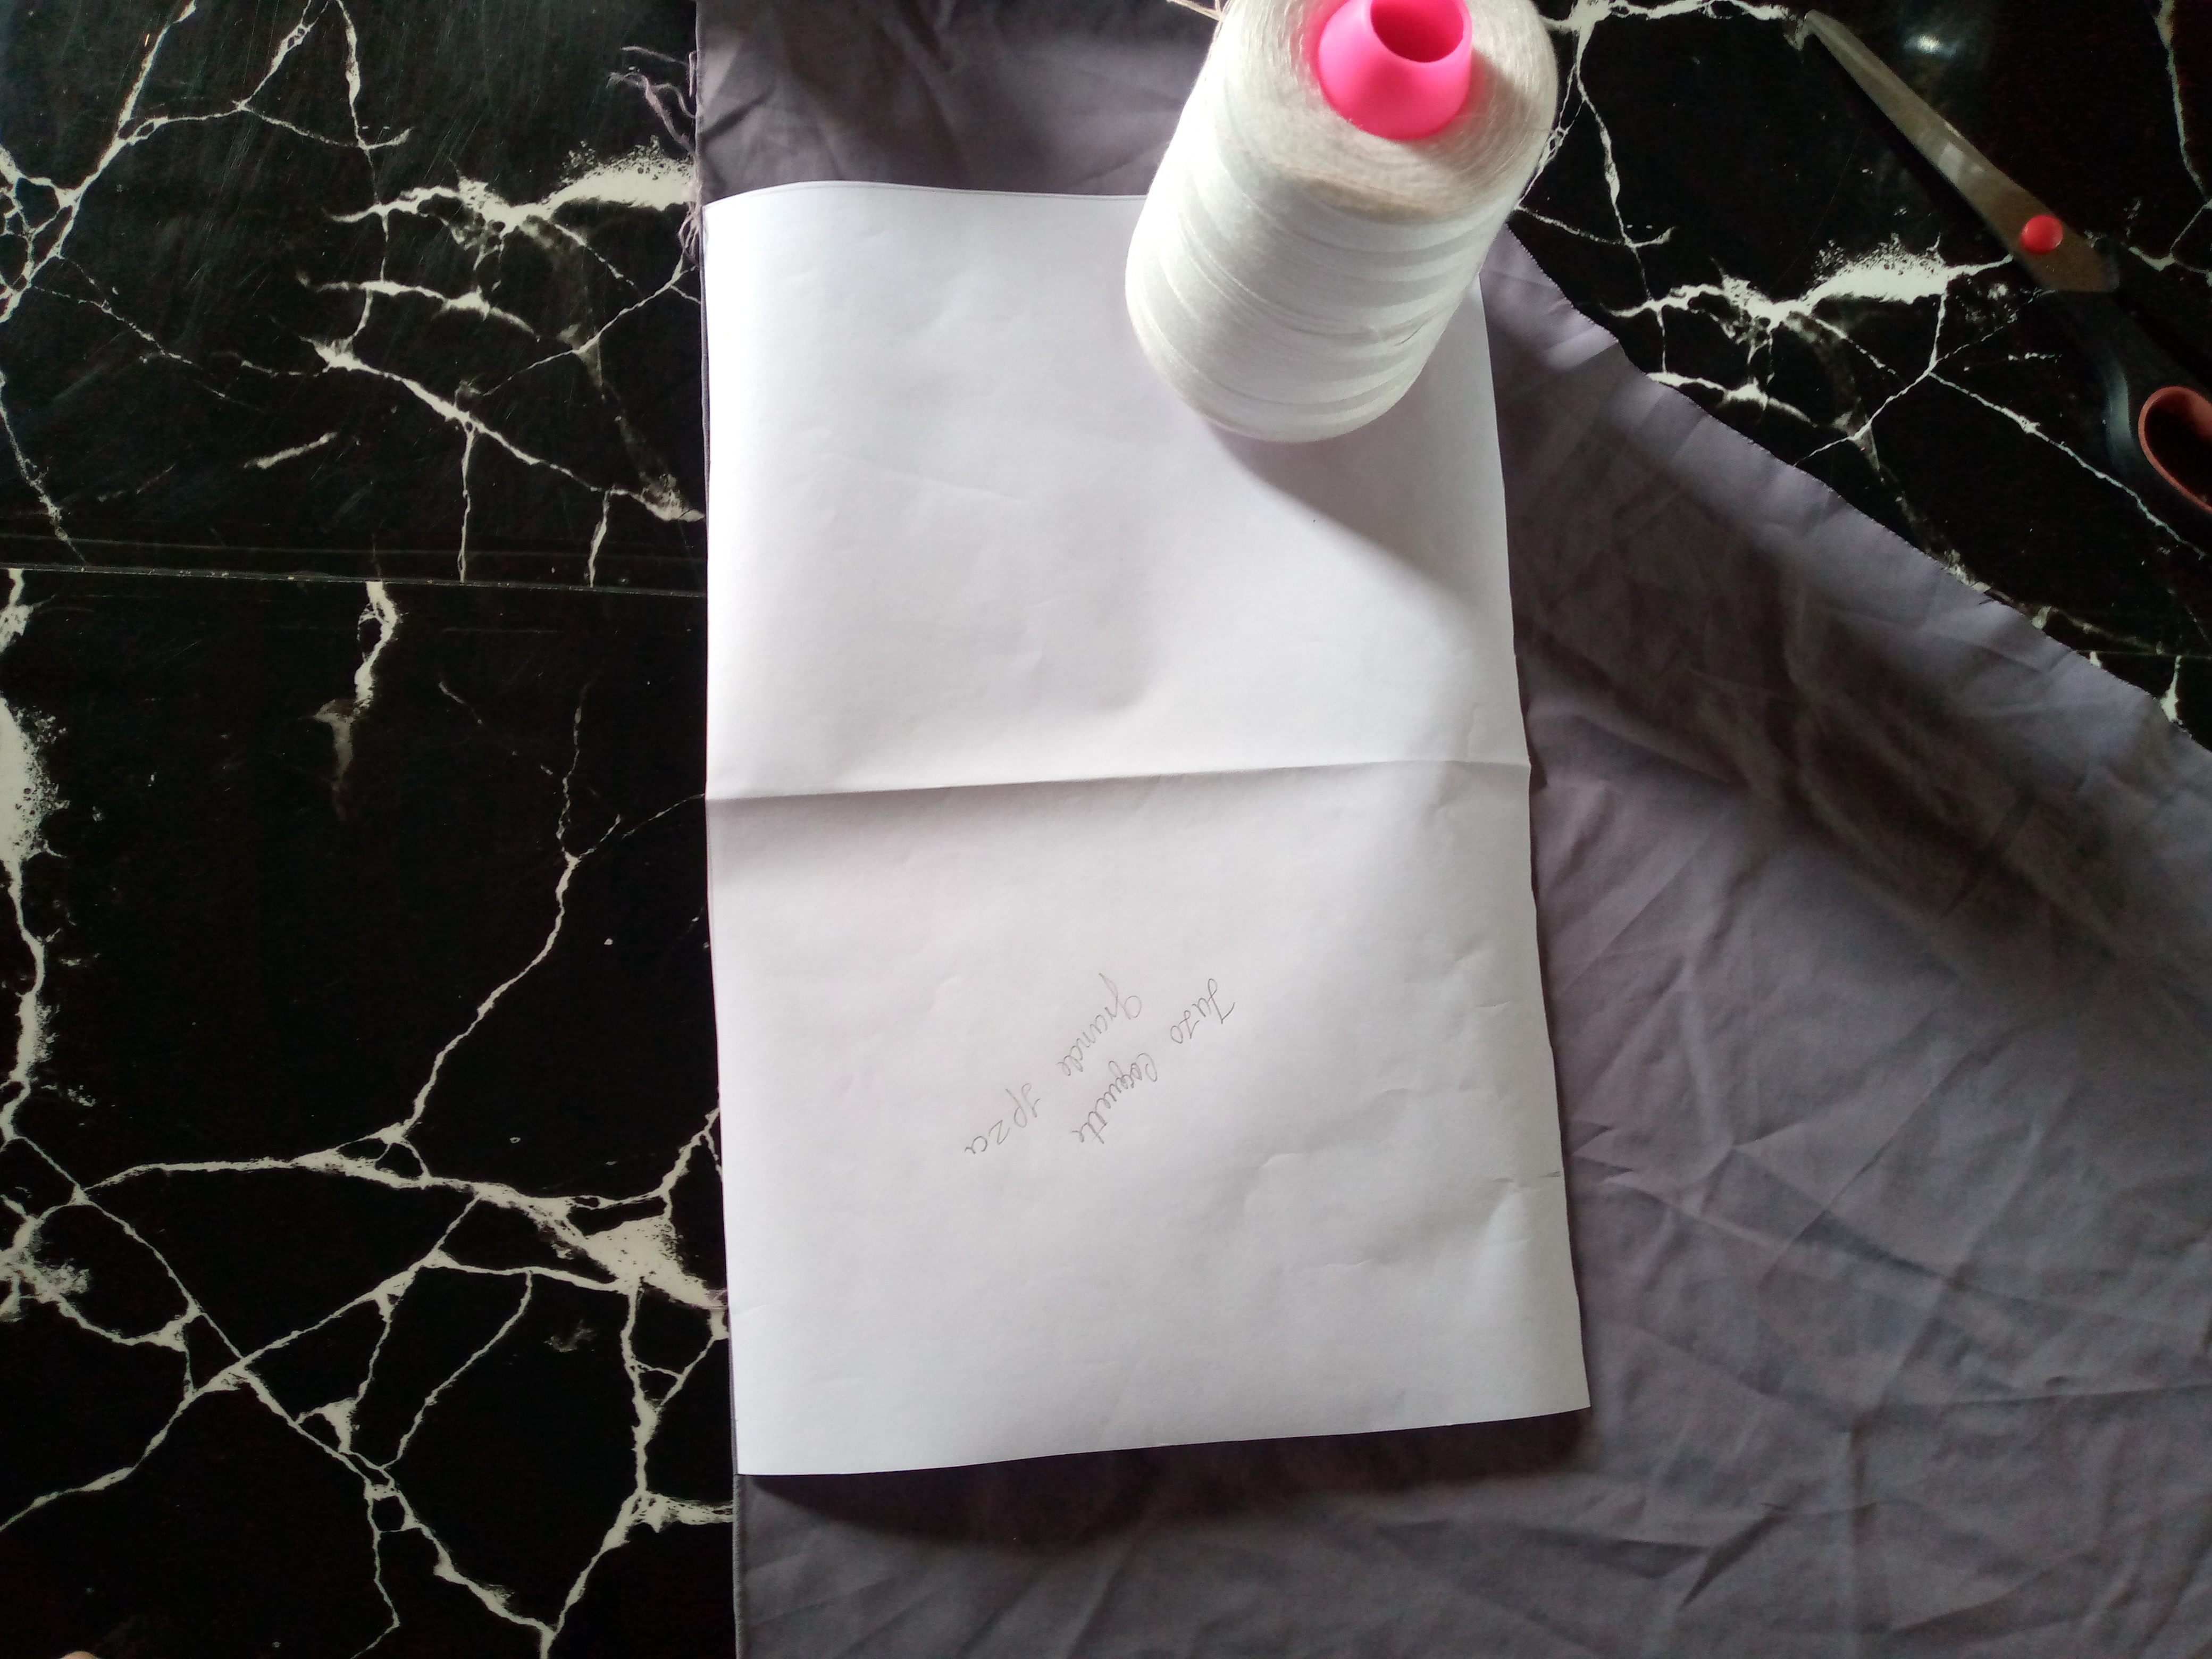
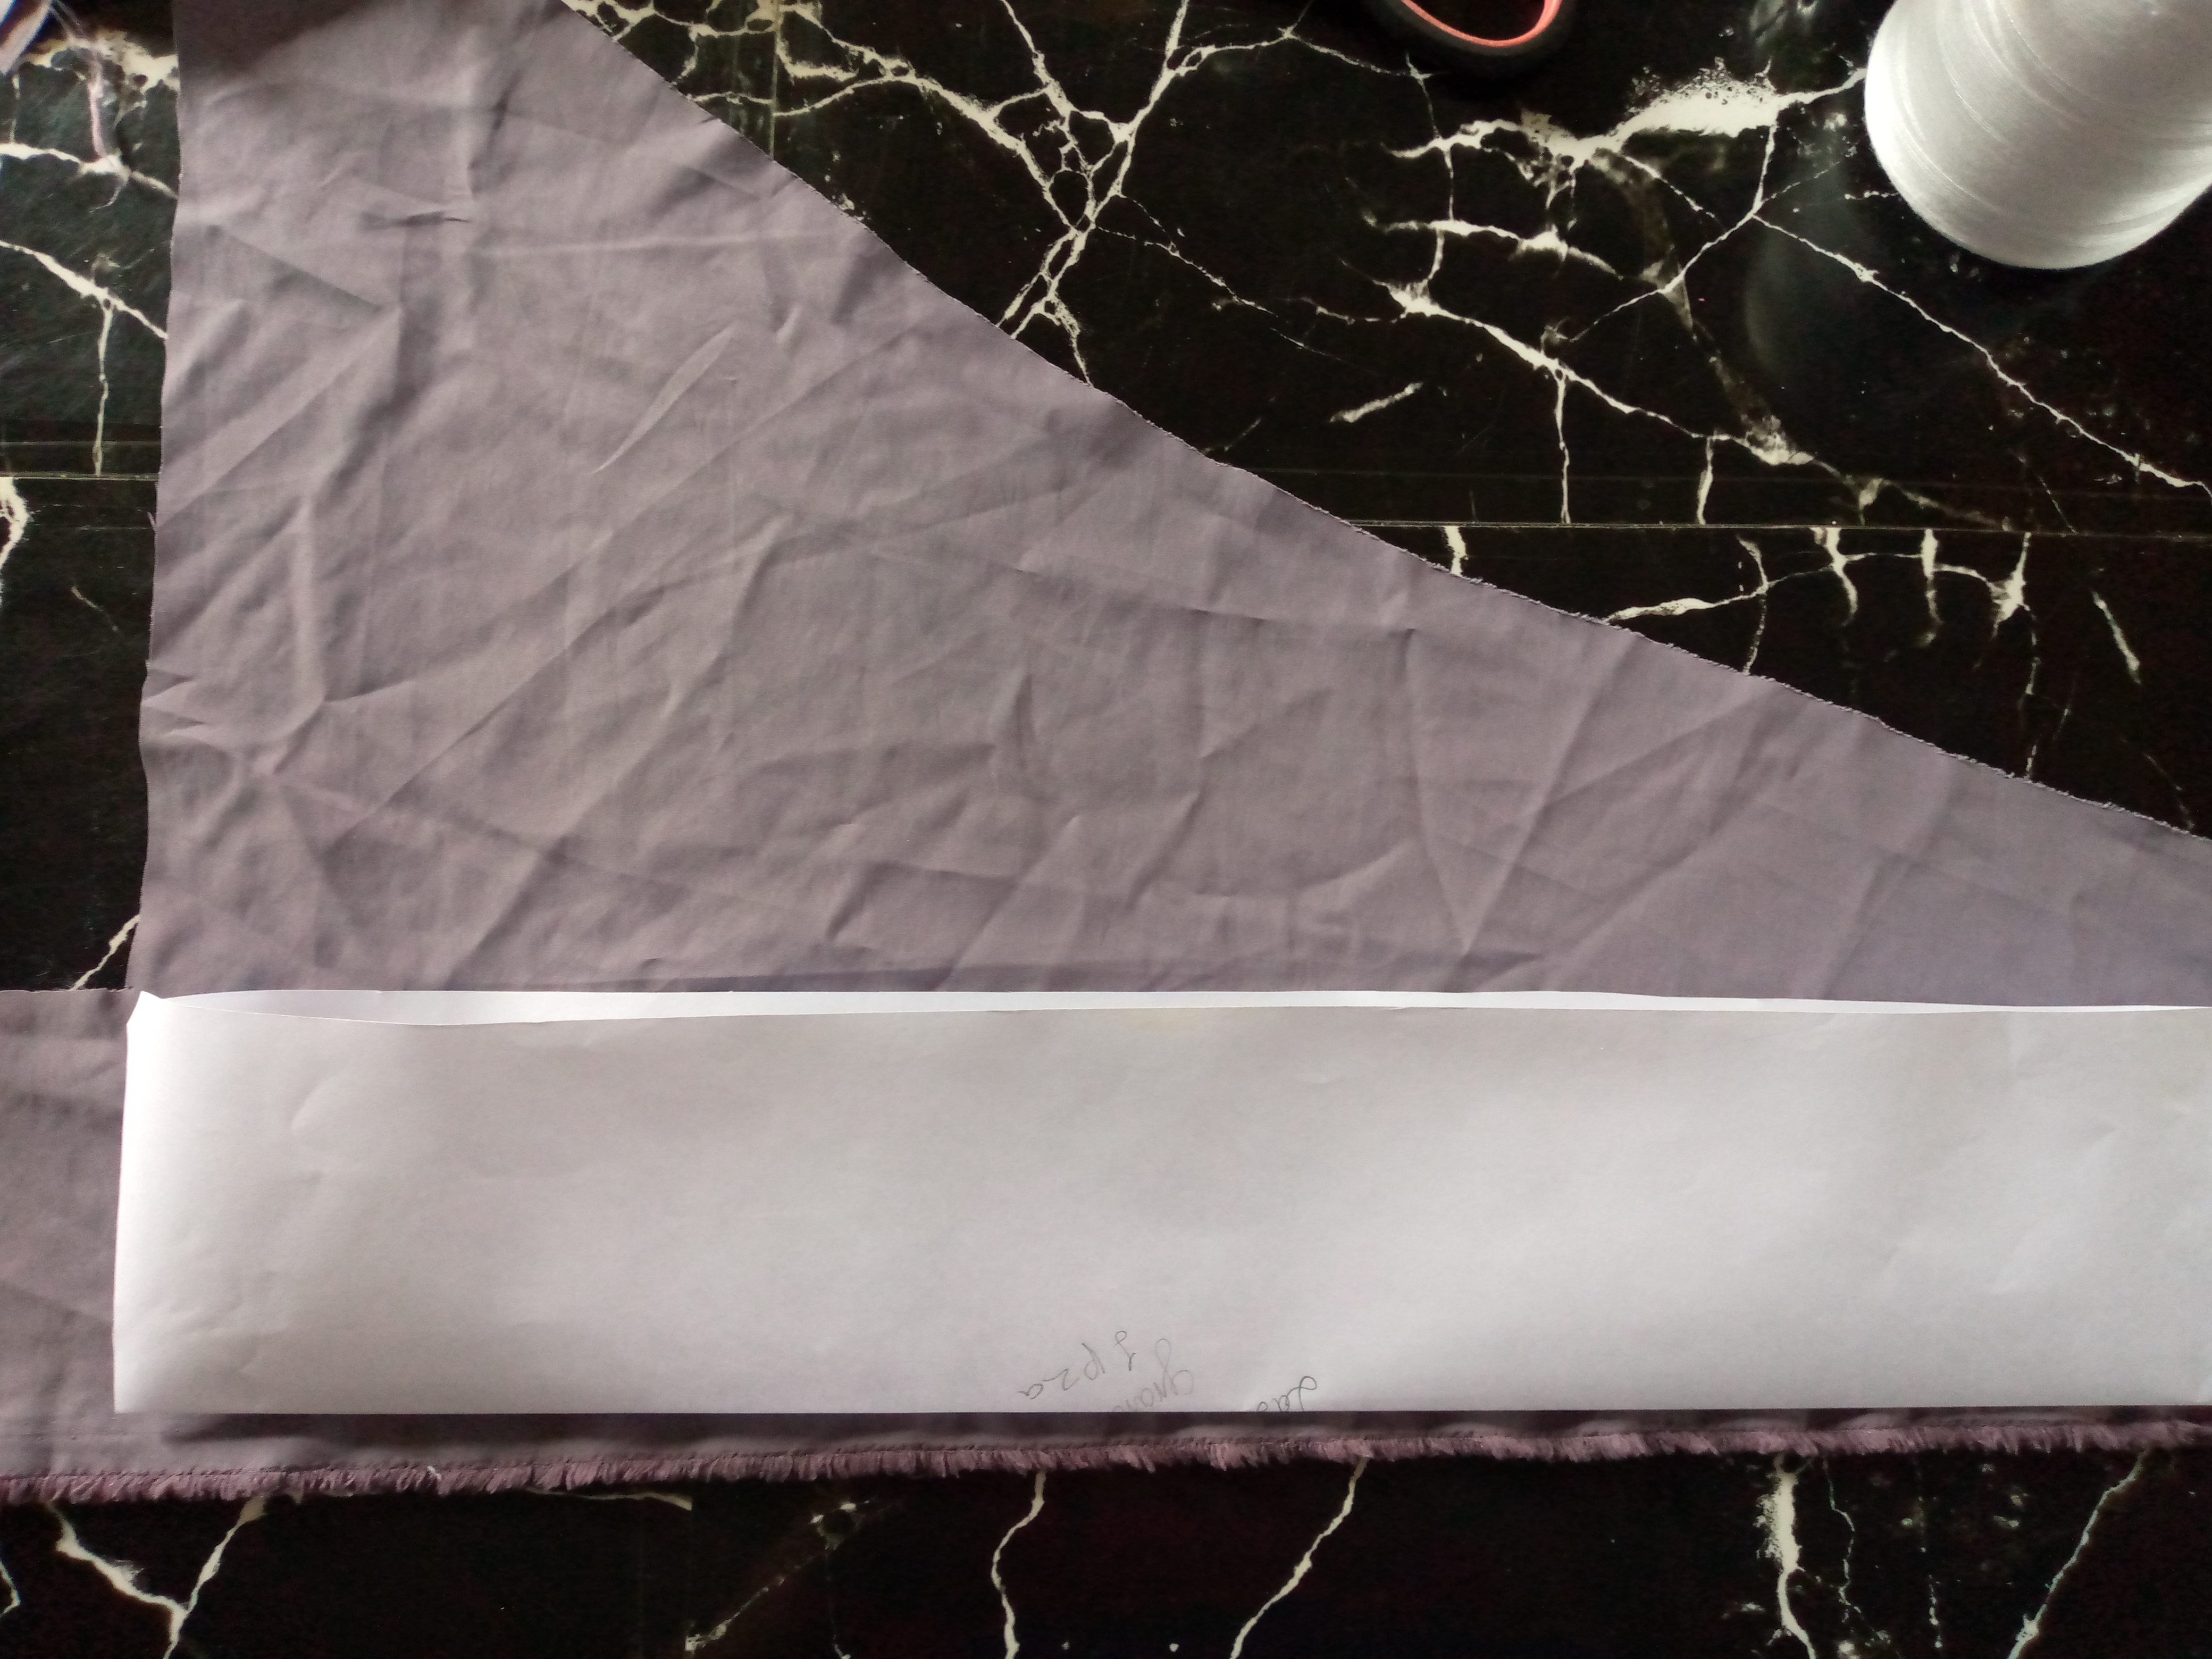
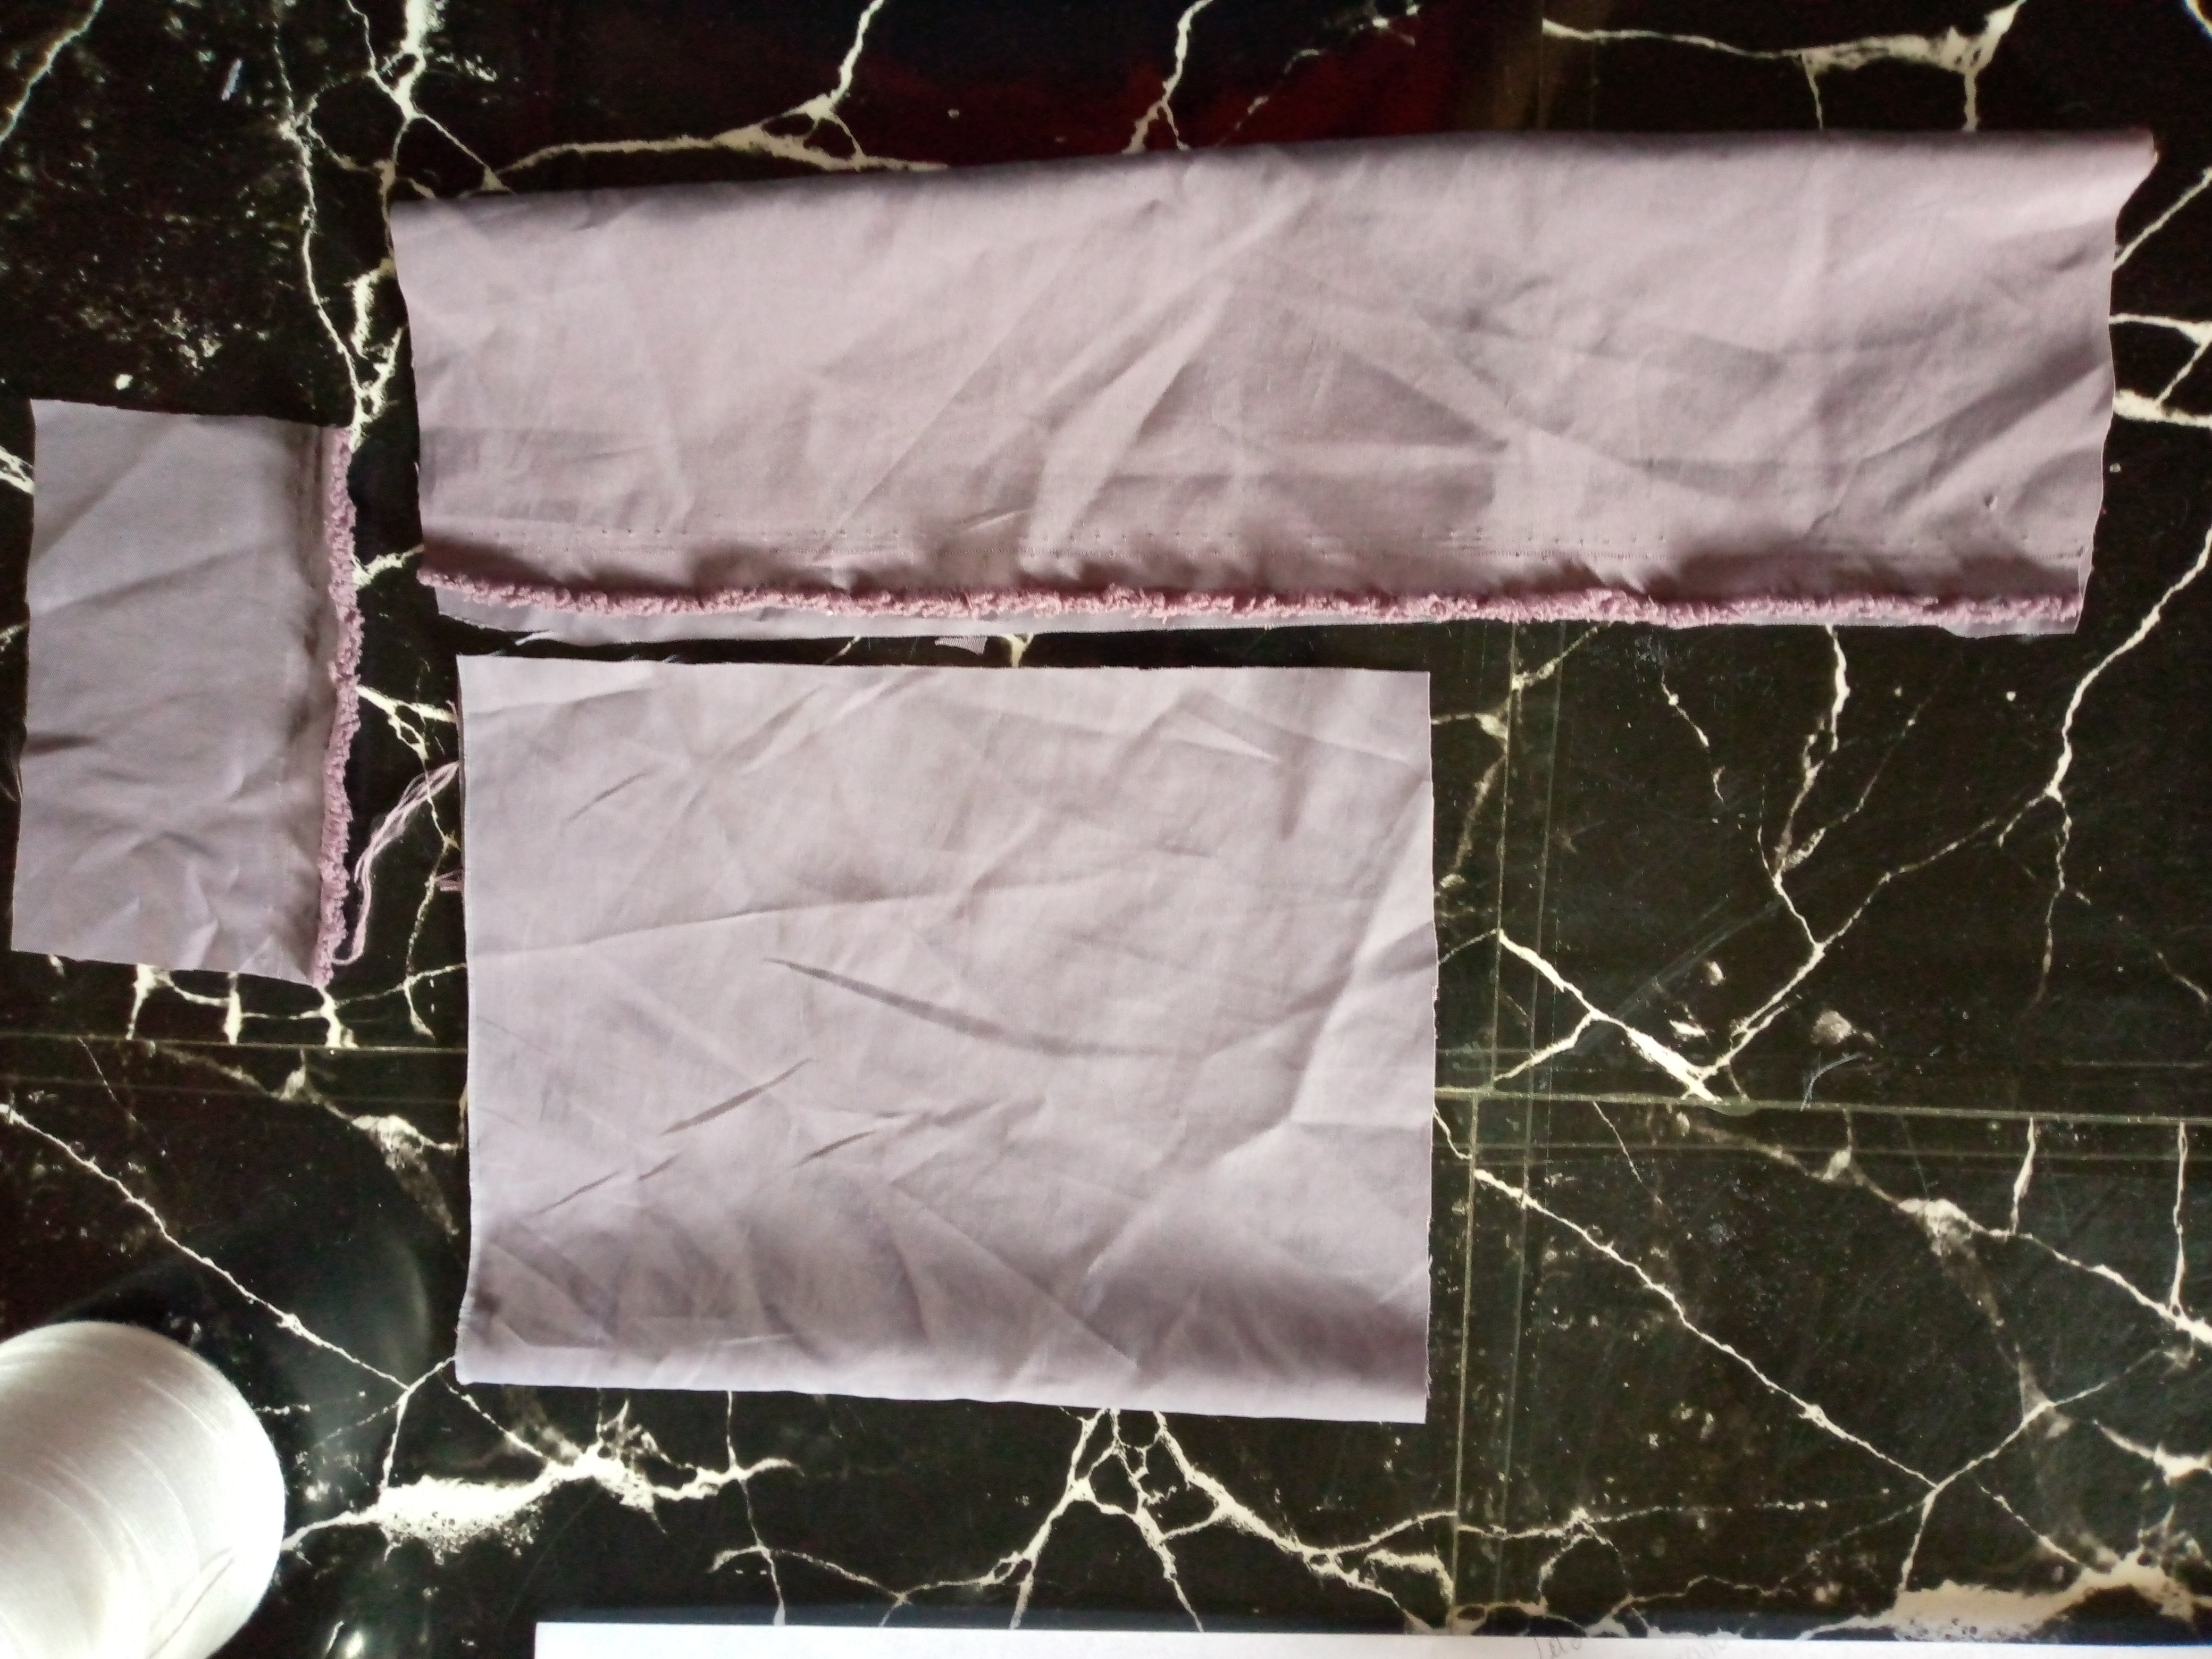
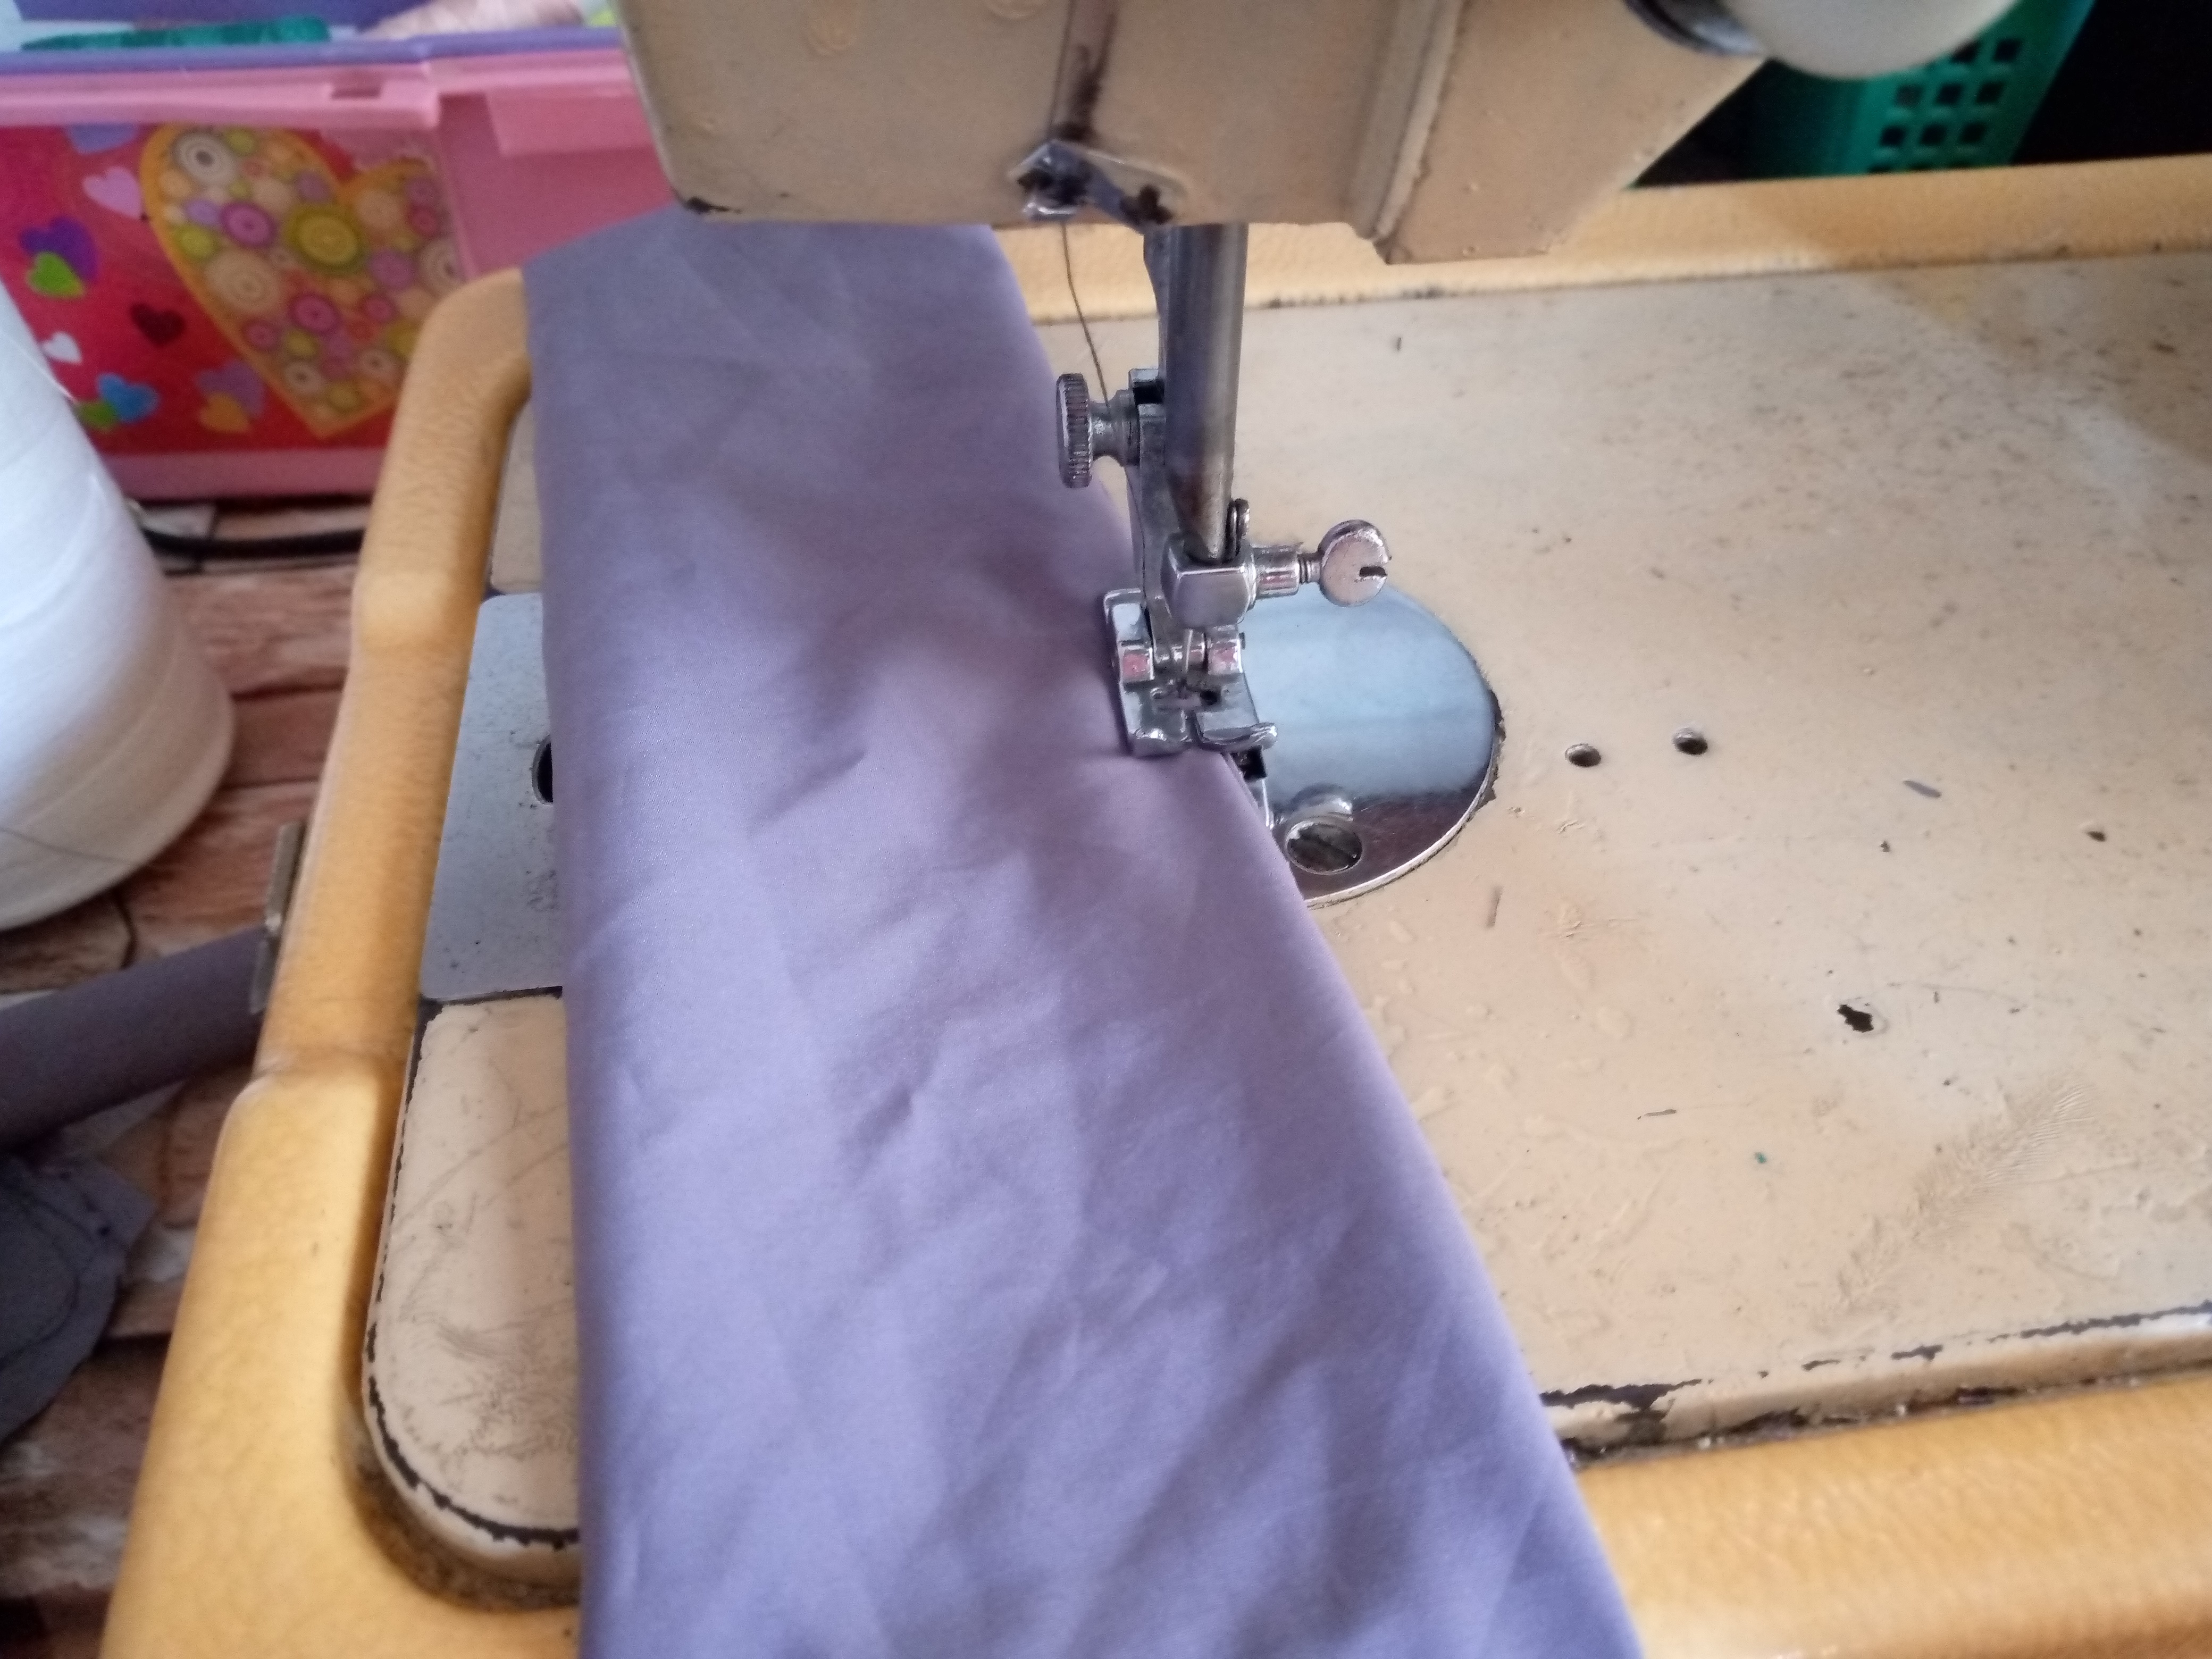
I started by cutting the pieces. I made a pattern for this bow a few days ago and for certain reasons I had forgotten to make the pattern on a sheet of paper, so I immediately made it onto a sheet of bond paper and transferred it to my fabric to cut out the corresponding pieces, the part of the top bow and the one at the bottom that completes our little bow. The measurements of the pattern are as follows: for the bow square: 12 cm long x 15 cm wide, for the bottom part: 40 cm wide x 12 cm long, and to join the bow: 4 cm long x 6 cm wide.
Paso 02
Step 02
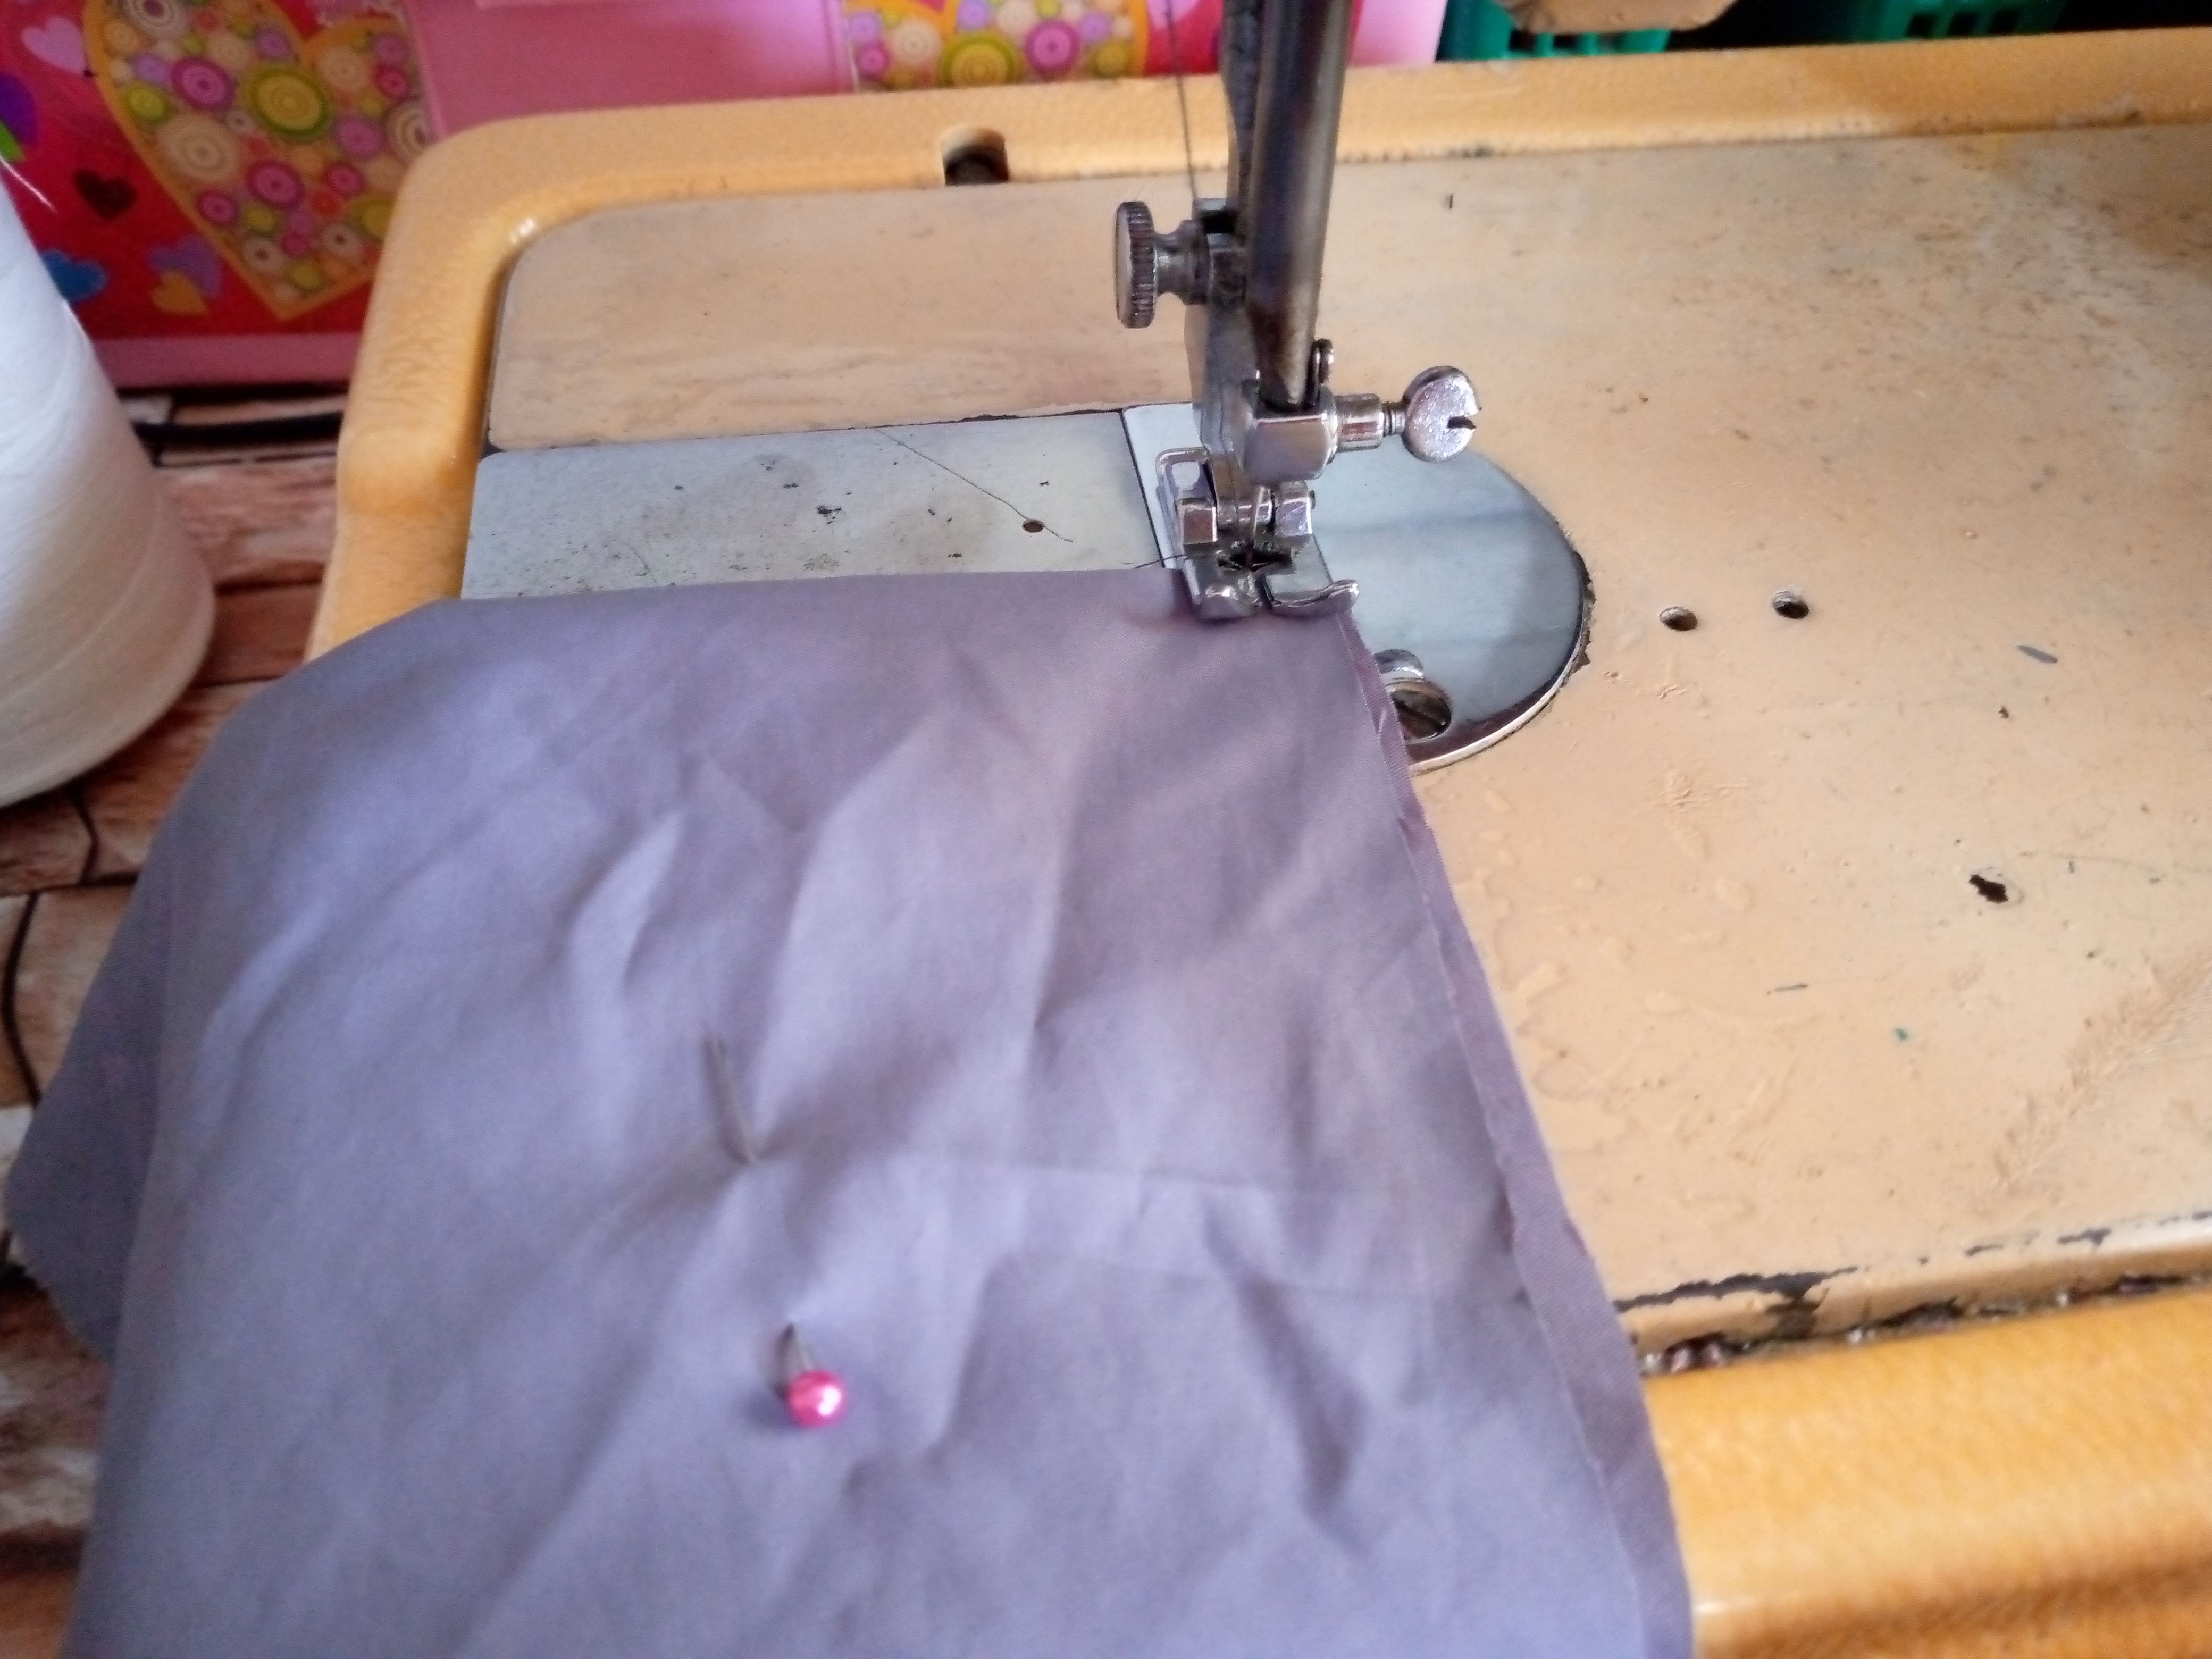
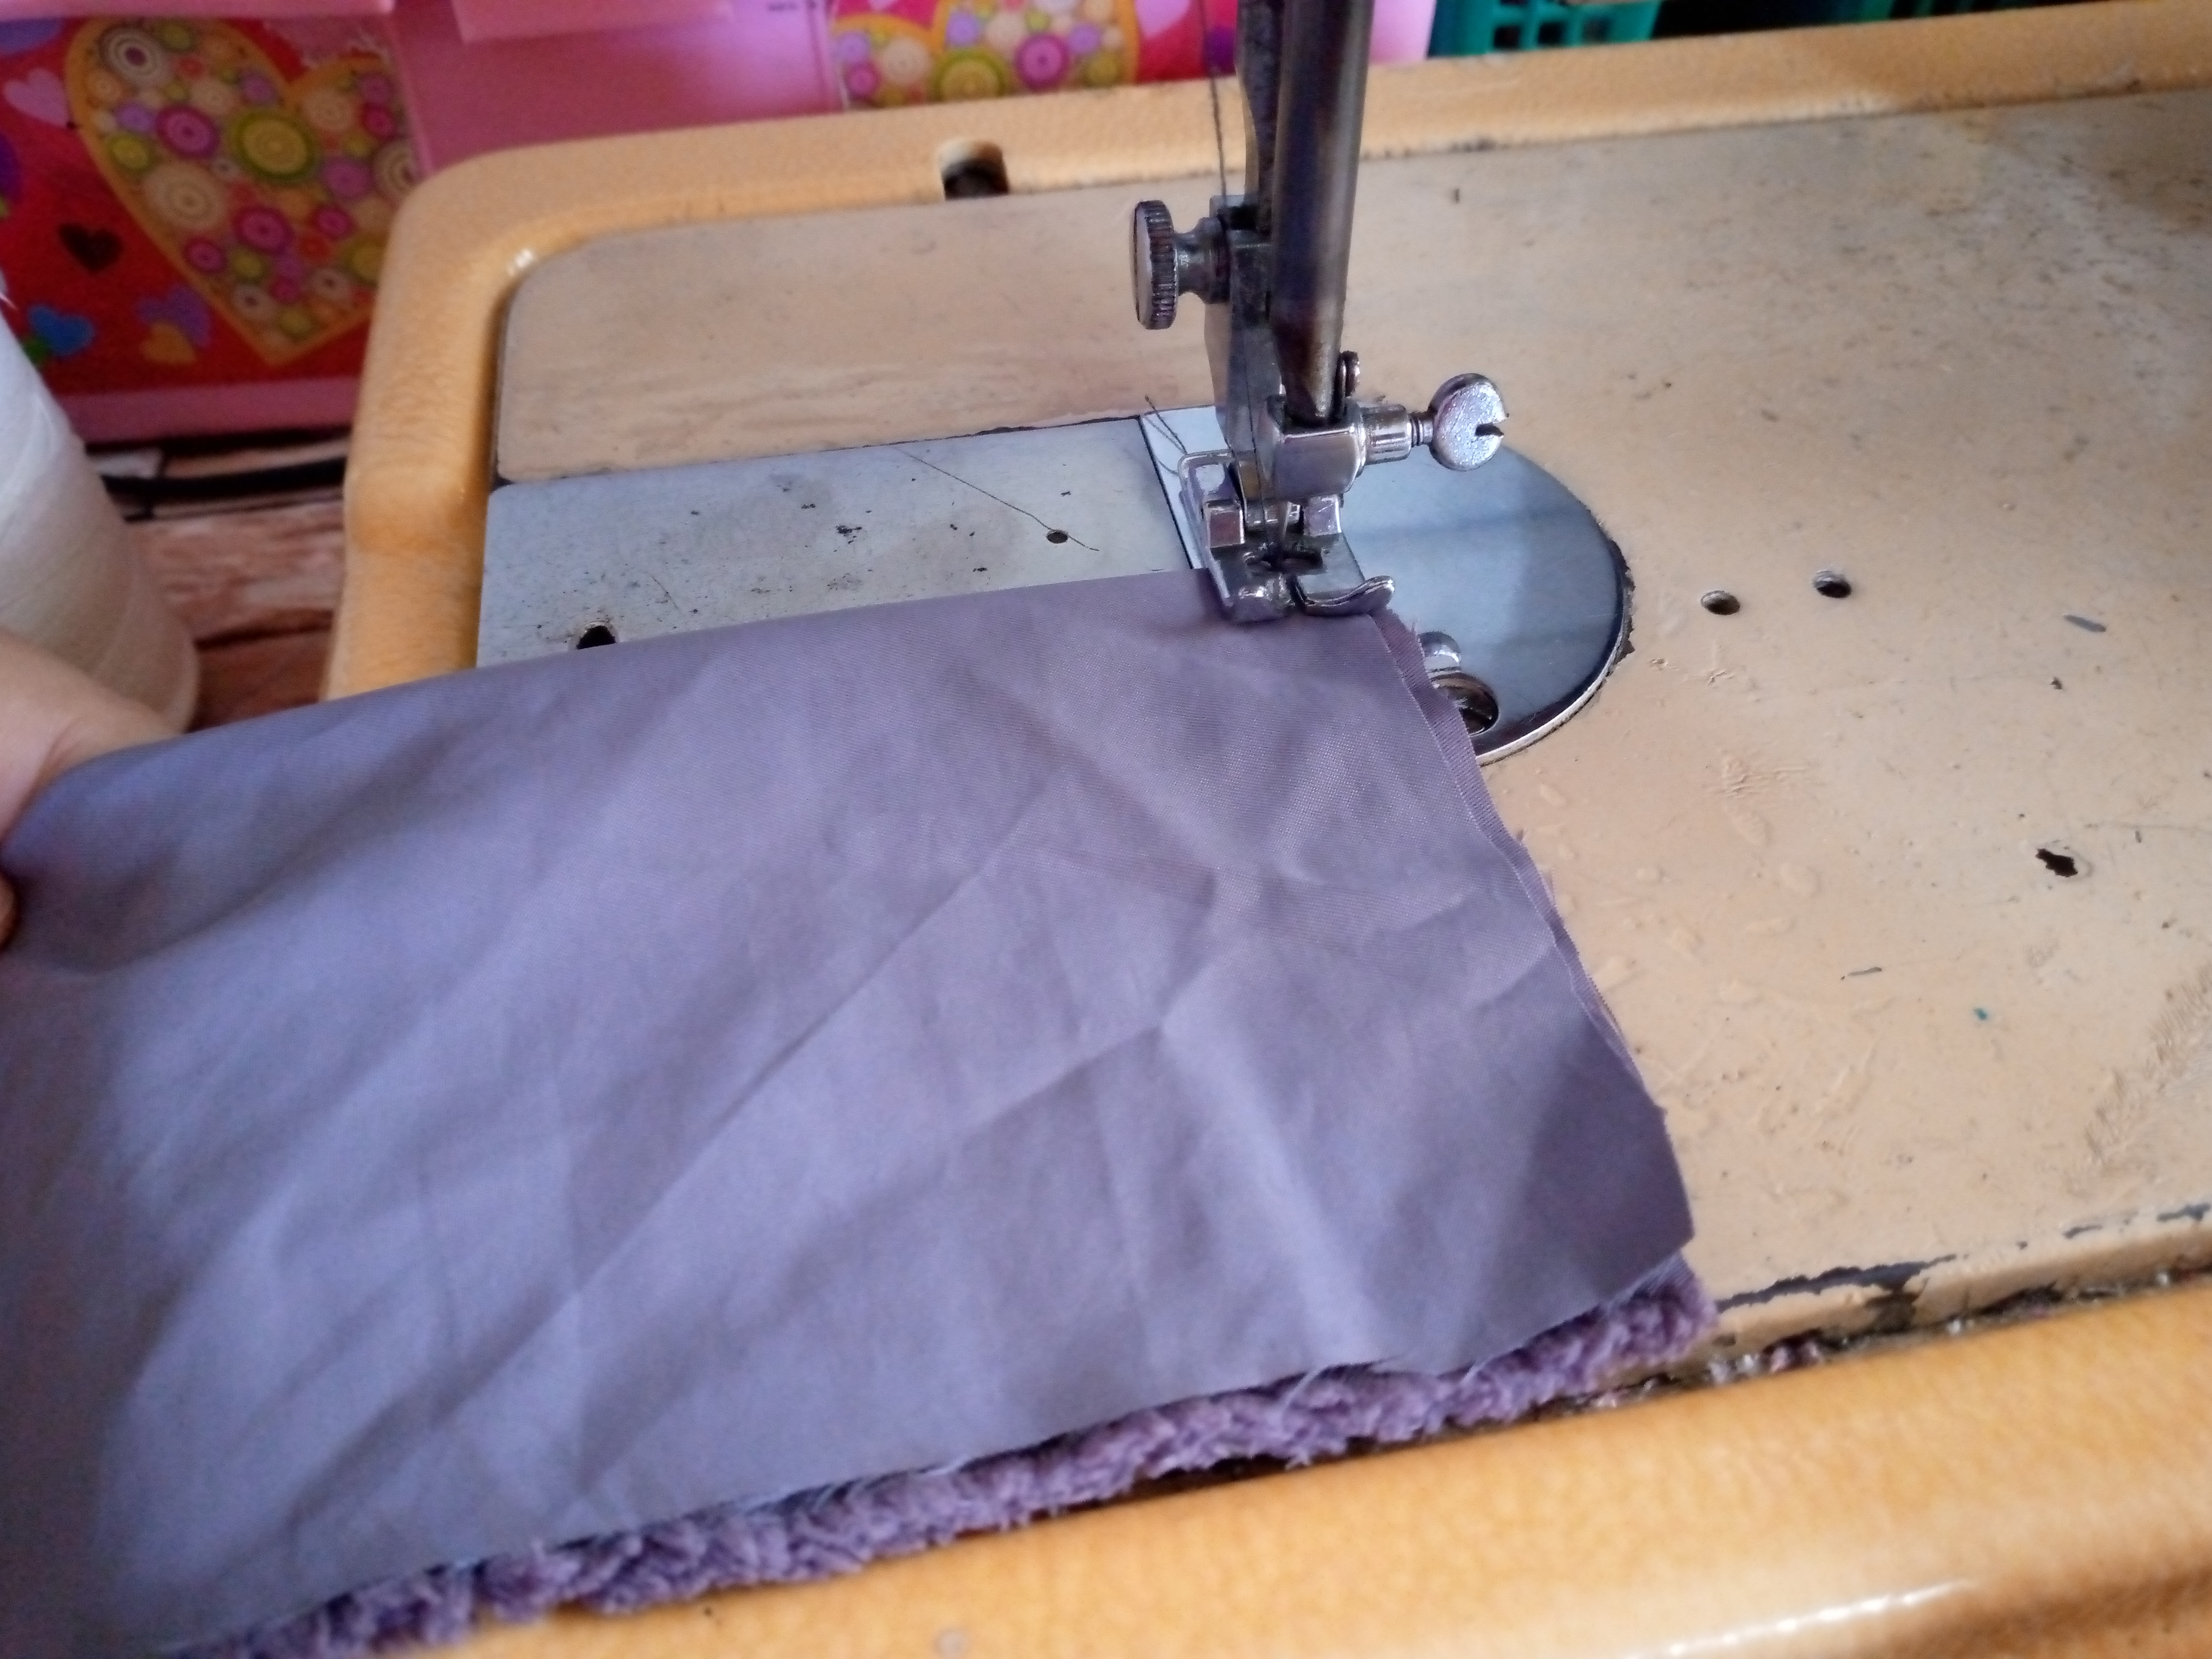
With a pin I will hold each piece and sew the edges to seal the pieces and leave a small part unsewn for each piece to be able to turn them over. We will also sew the part that will join the bow and turn it over.
Paso 03
Step 03
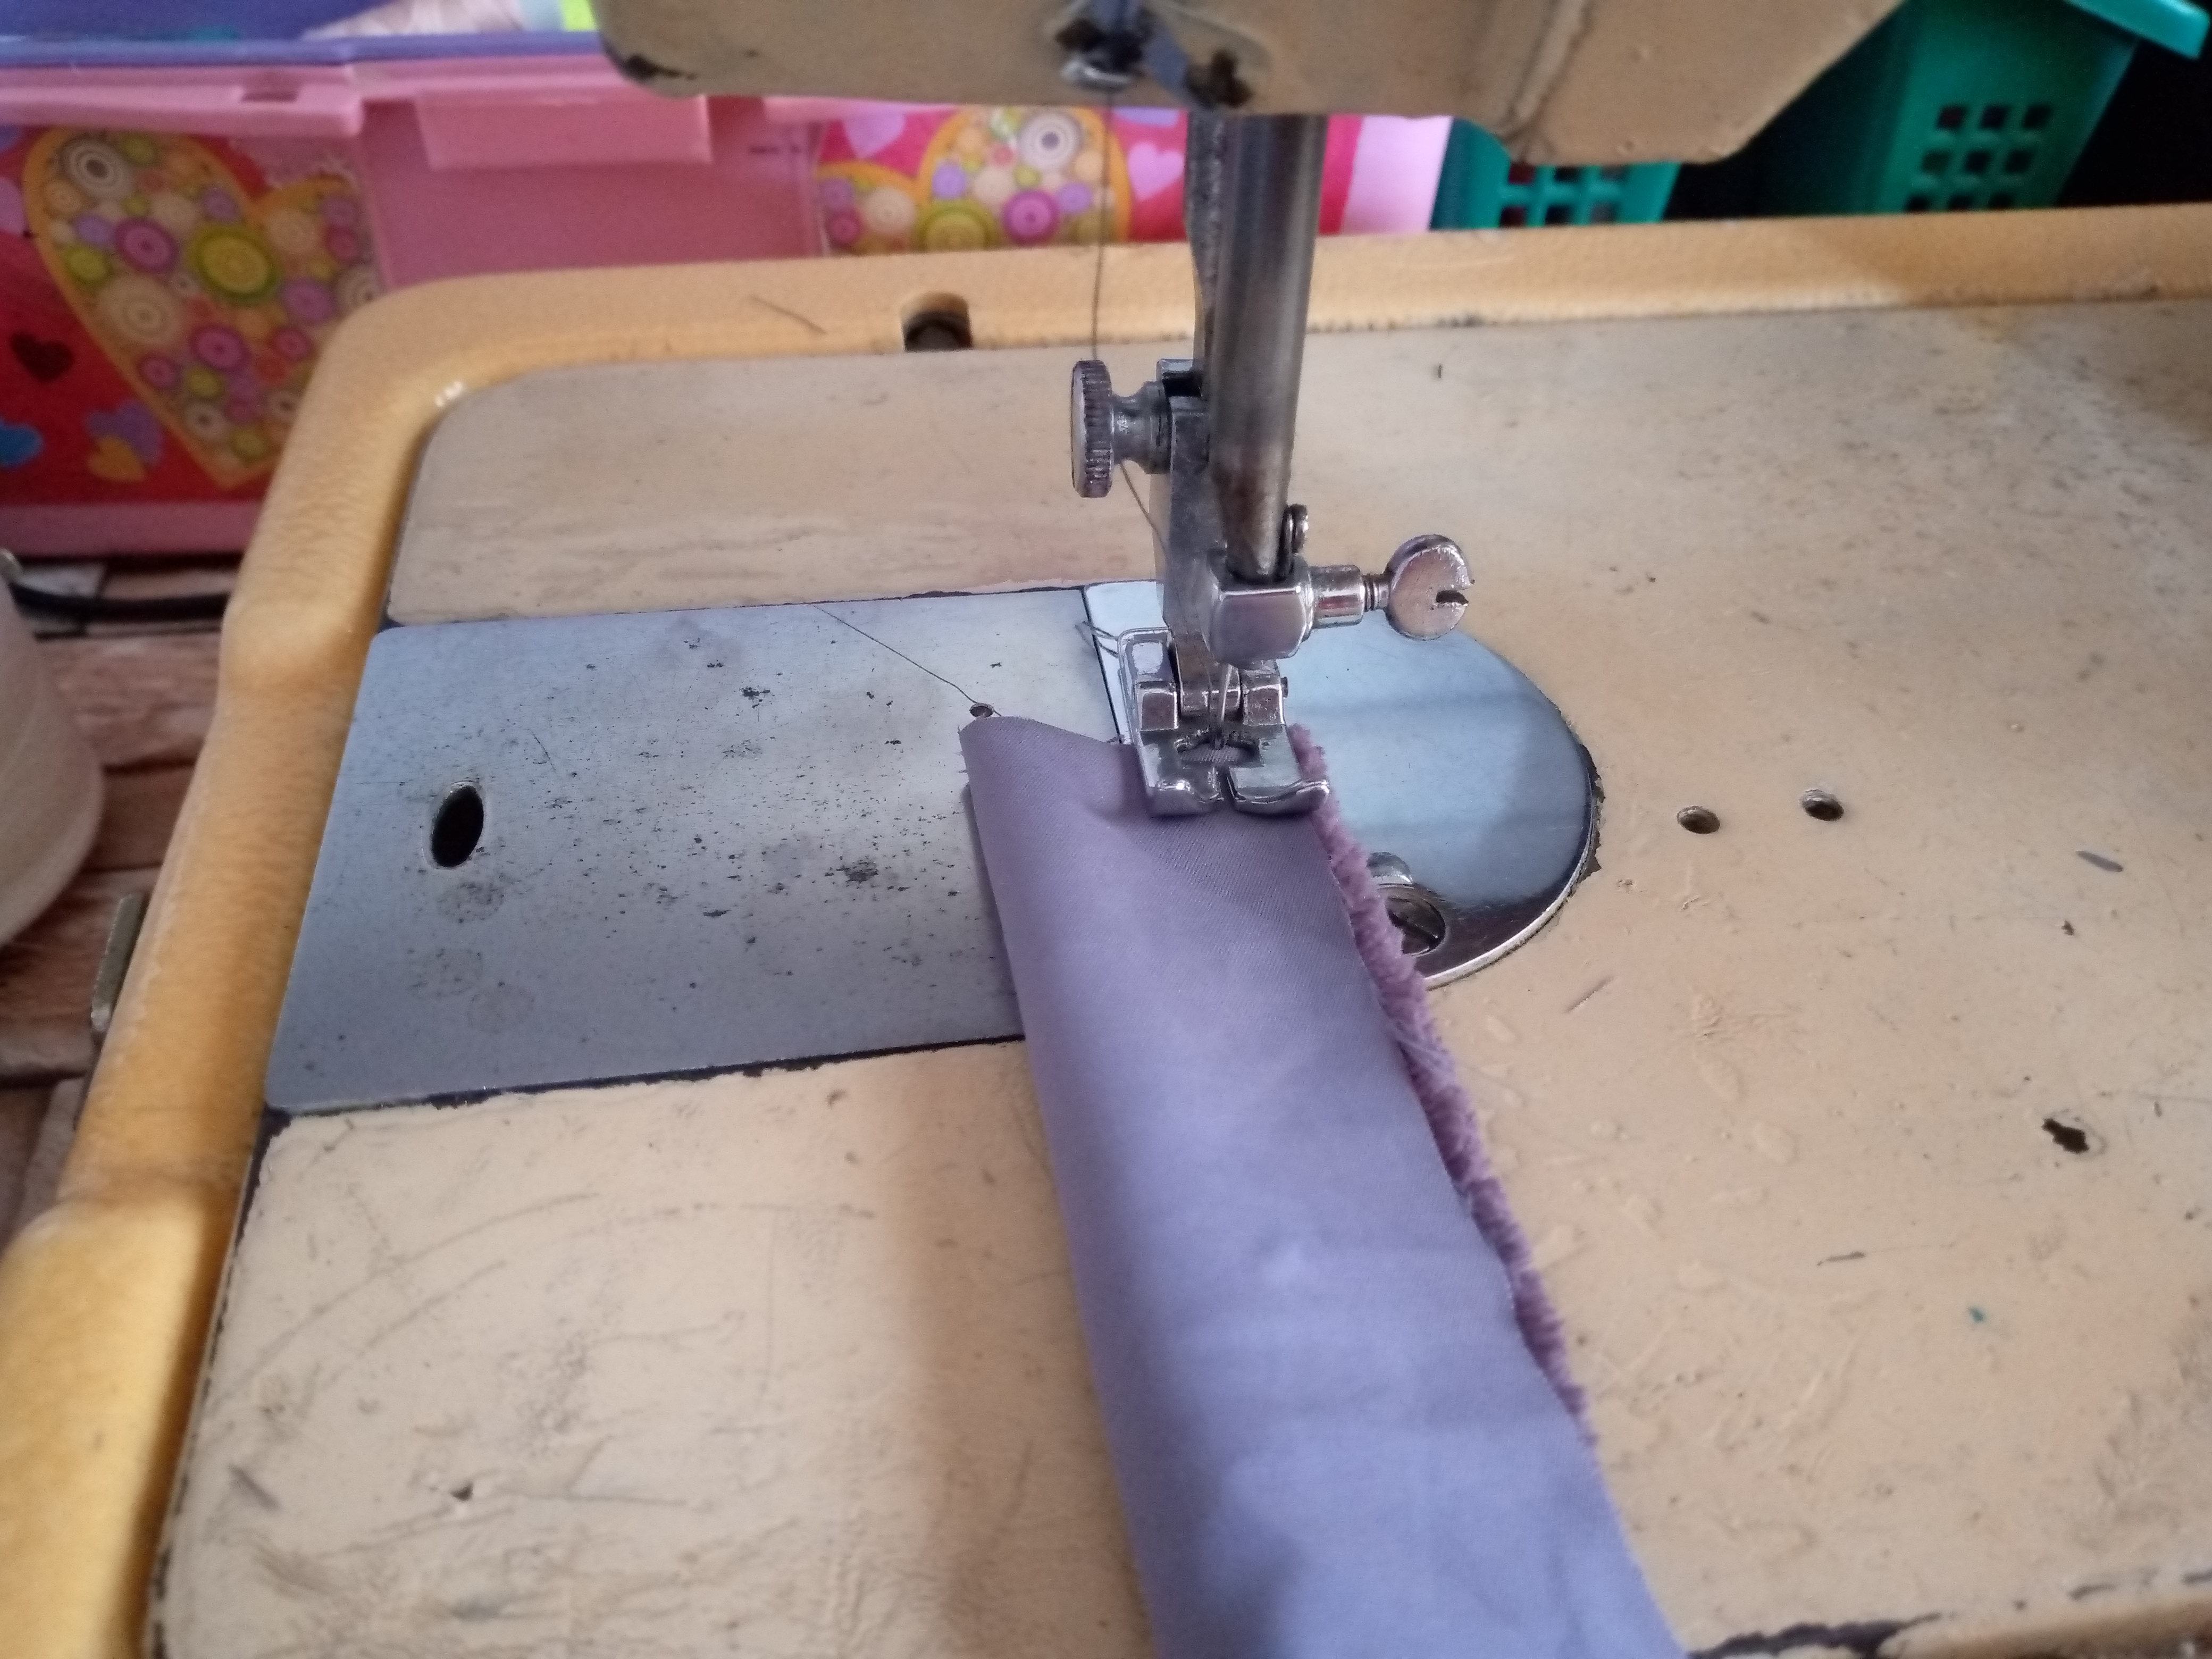
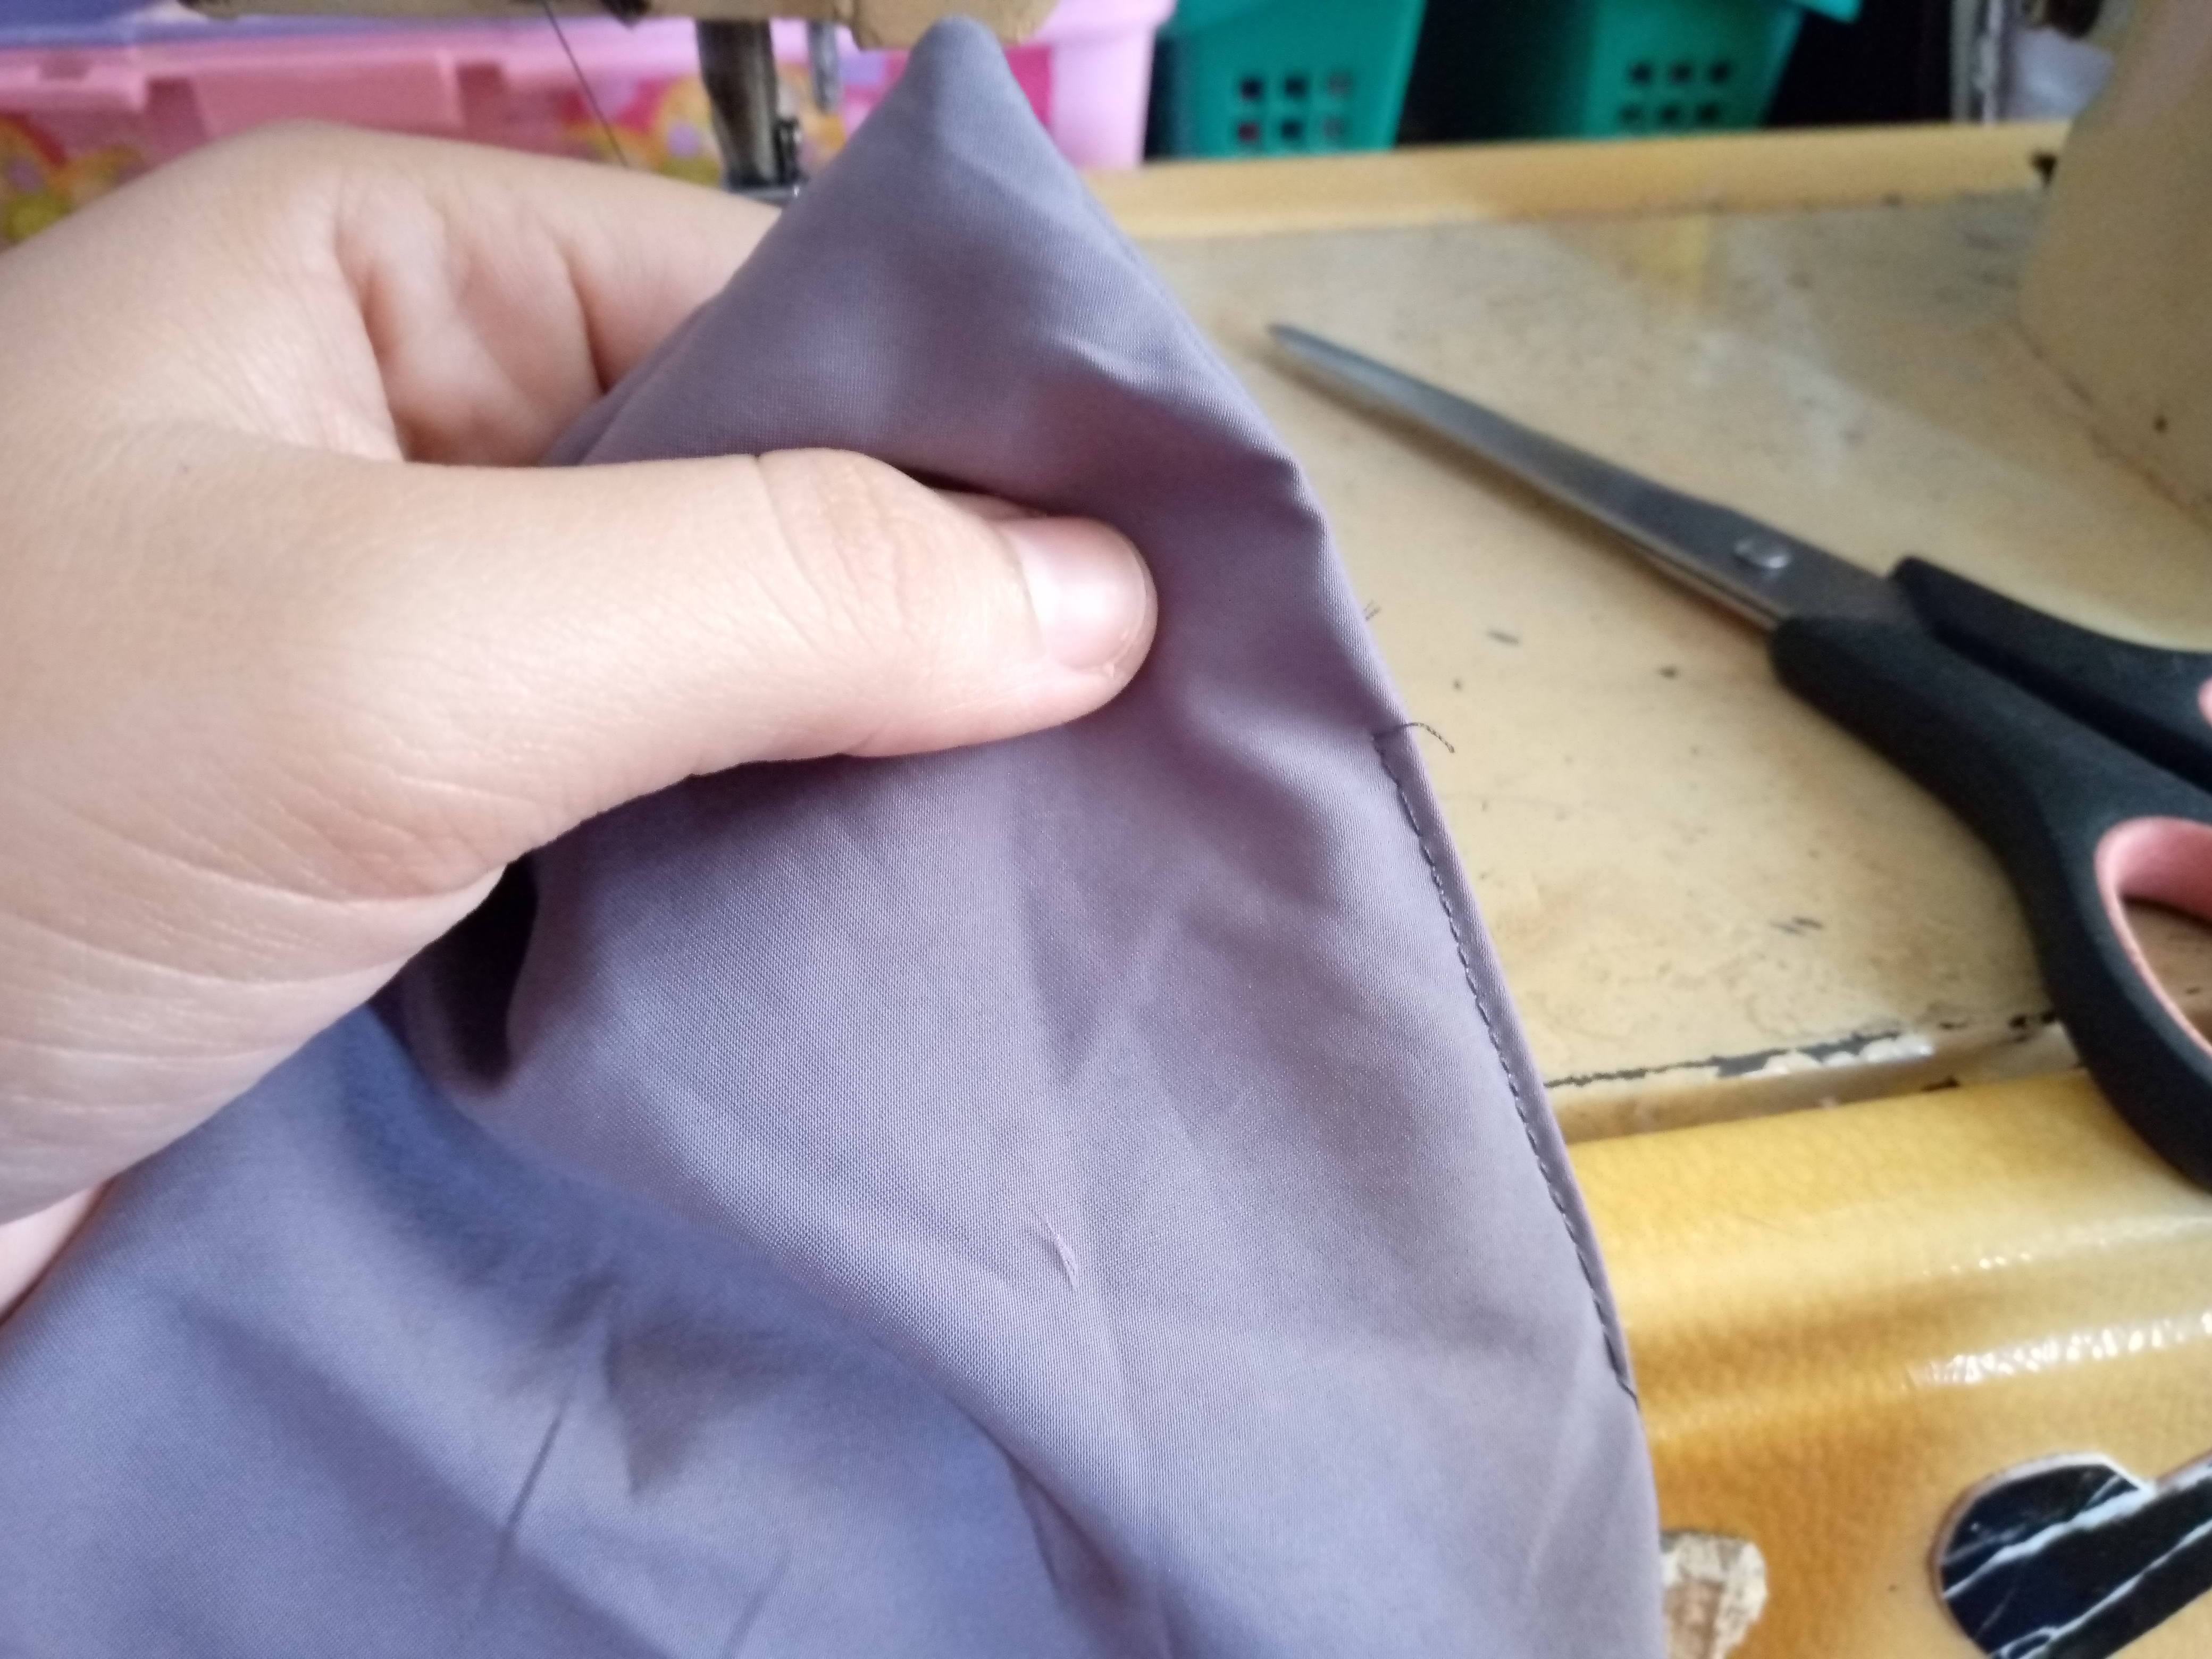
After I have turned them over, I proceed to seal the parts where the opening I made previously to turn my pieces over was left. We are going to seal that so that the little hole is not visible, we seal it with a straight seam.
Paso 04
Step 04
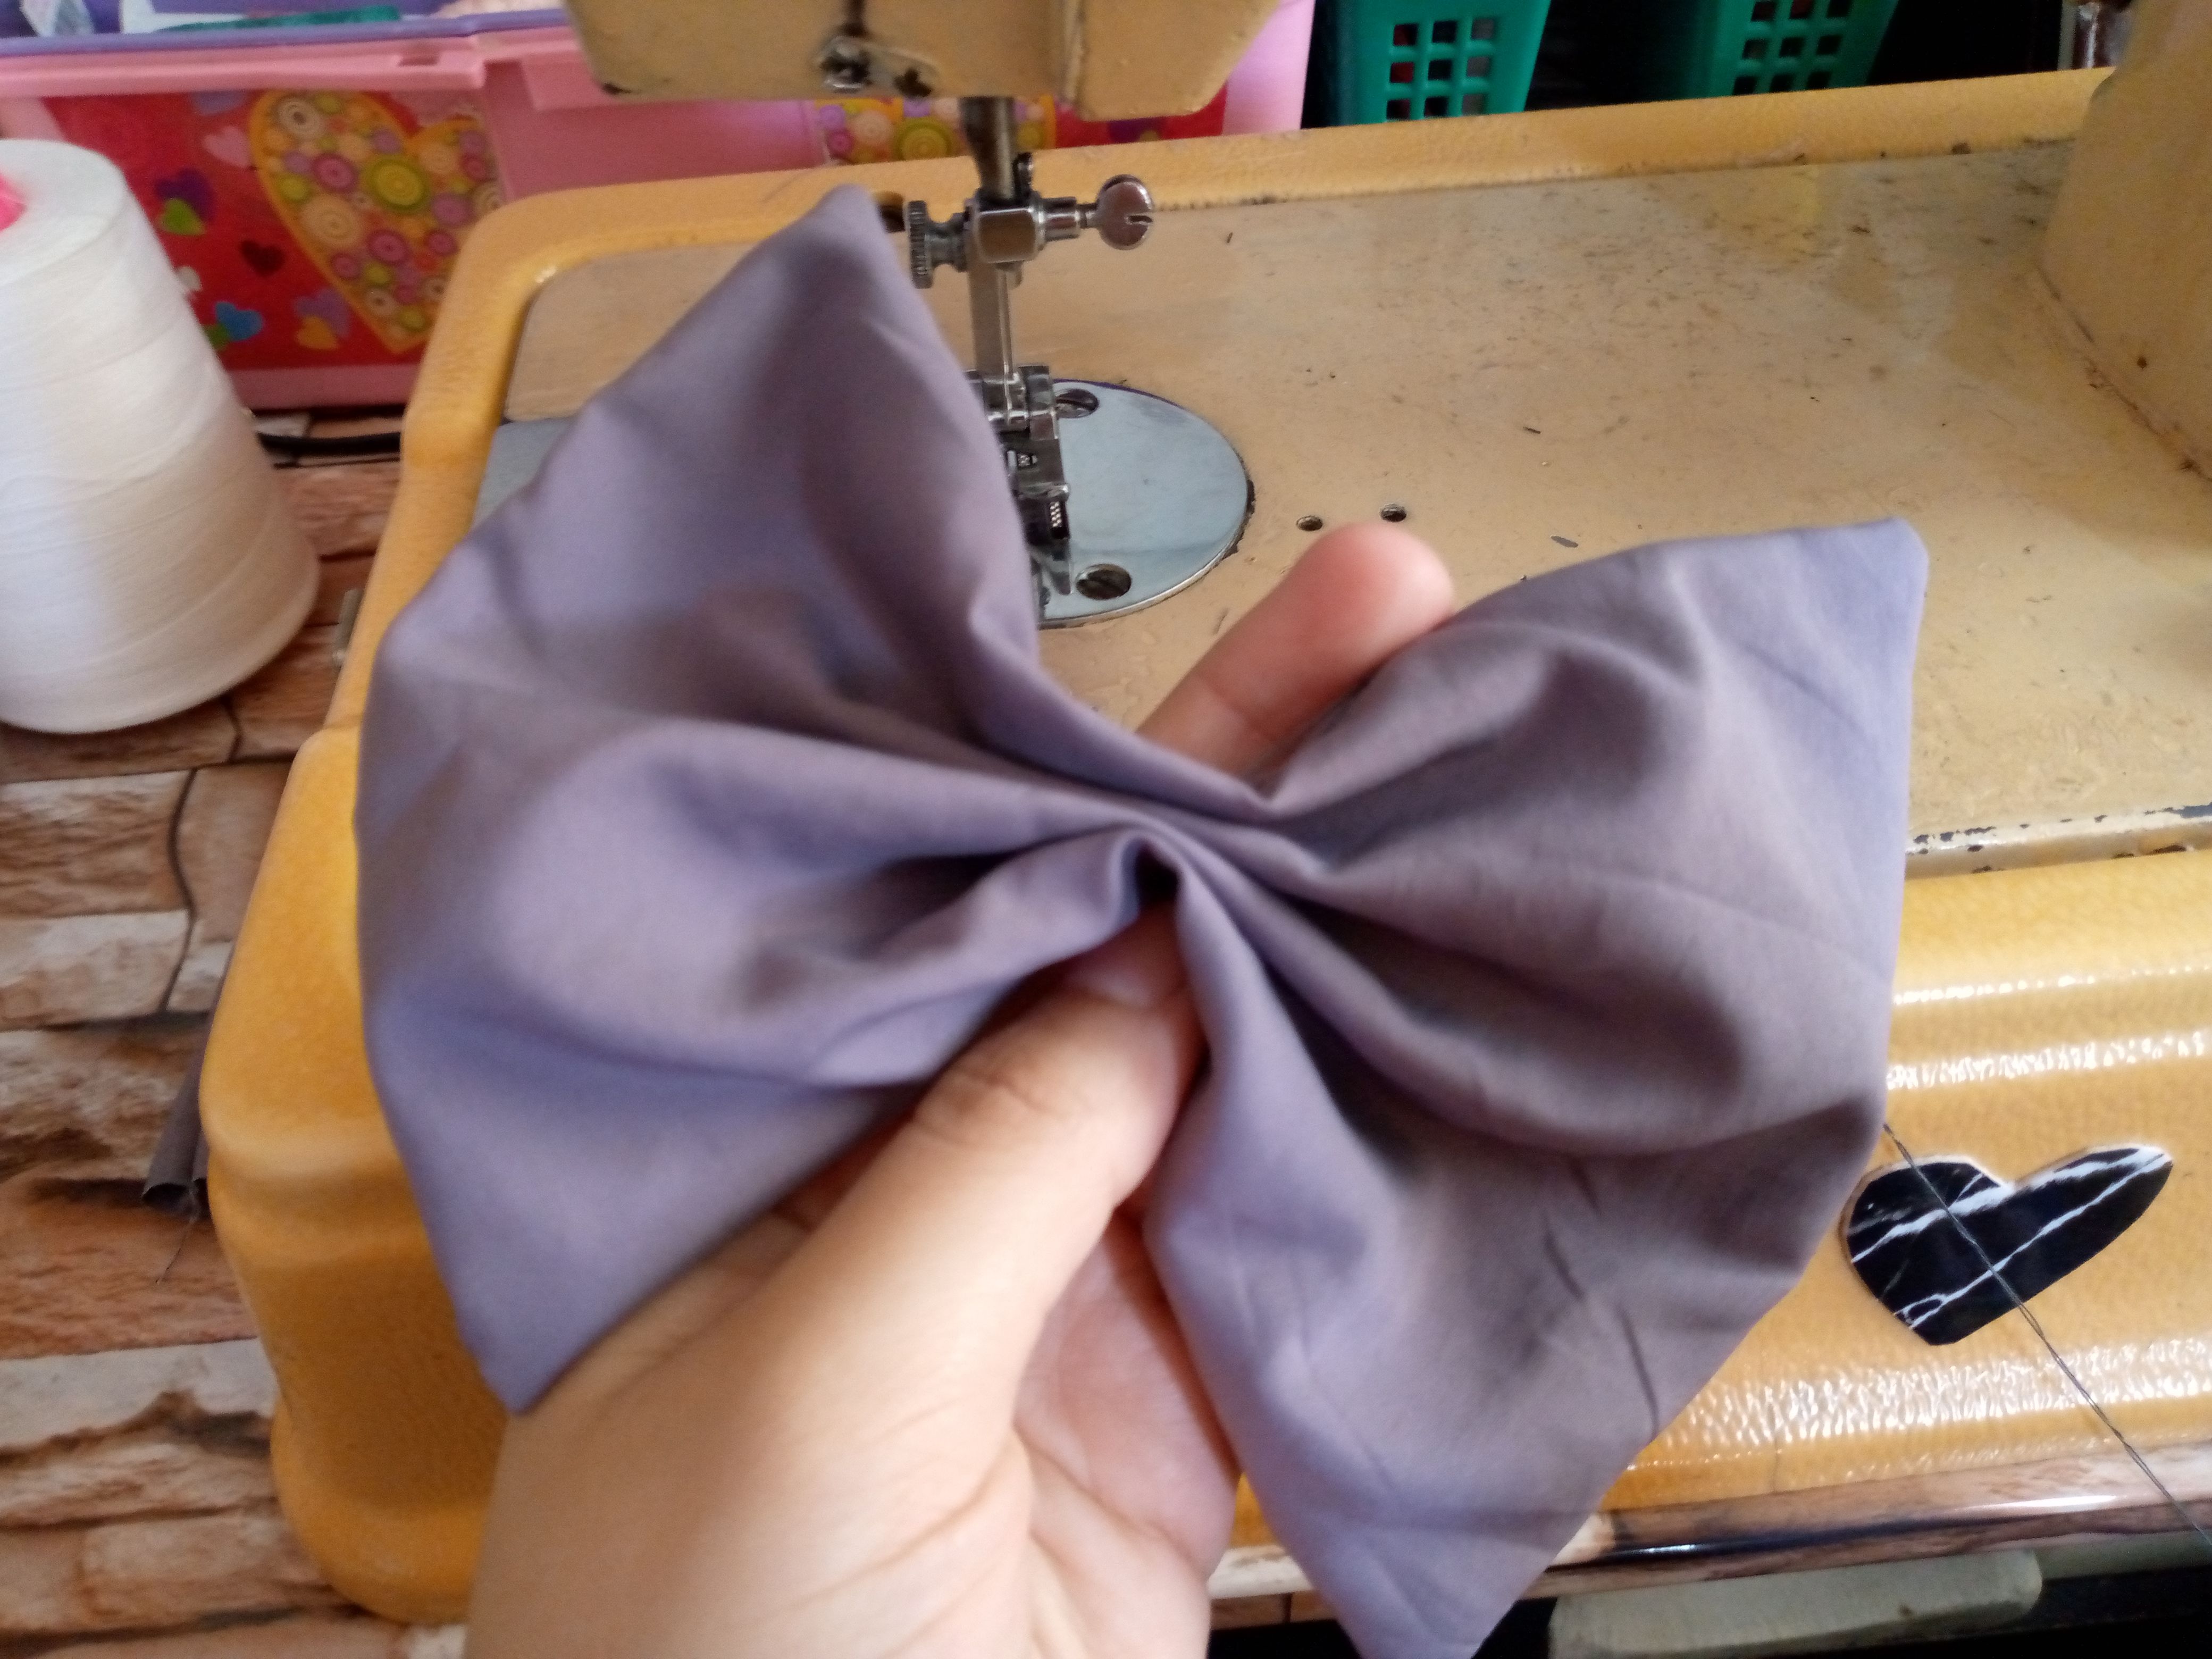
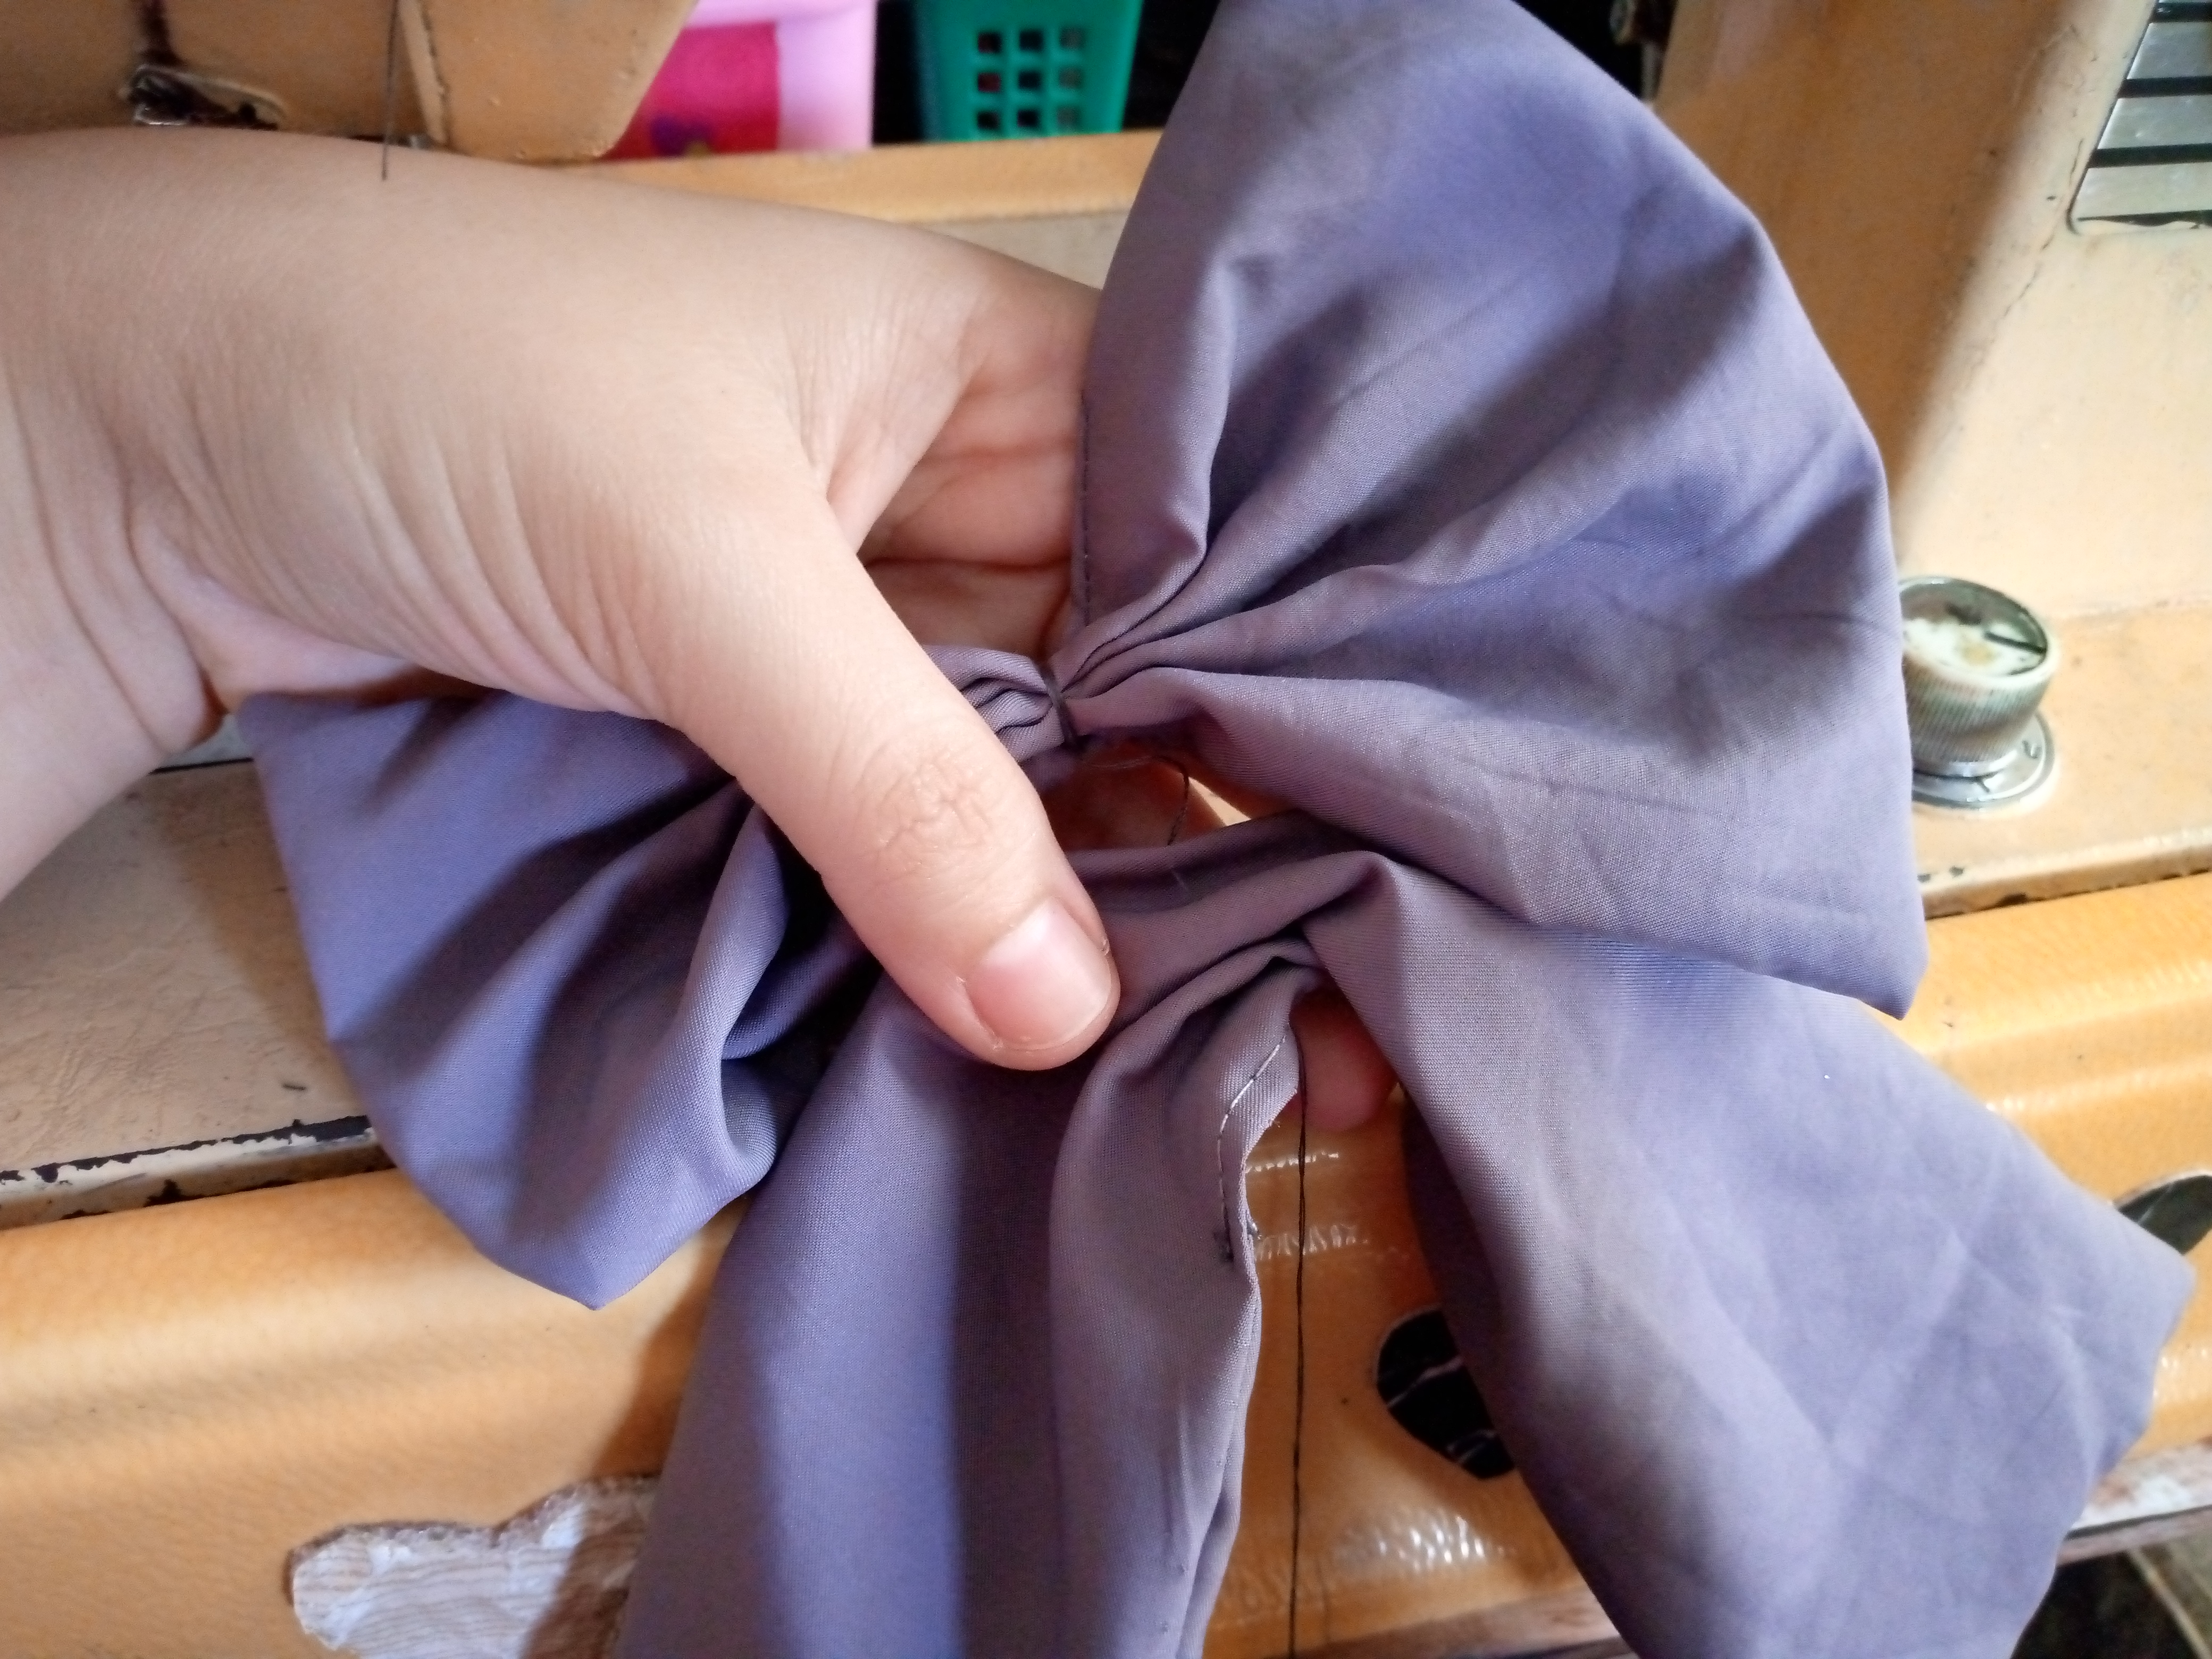
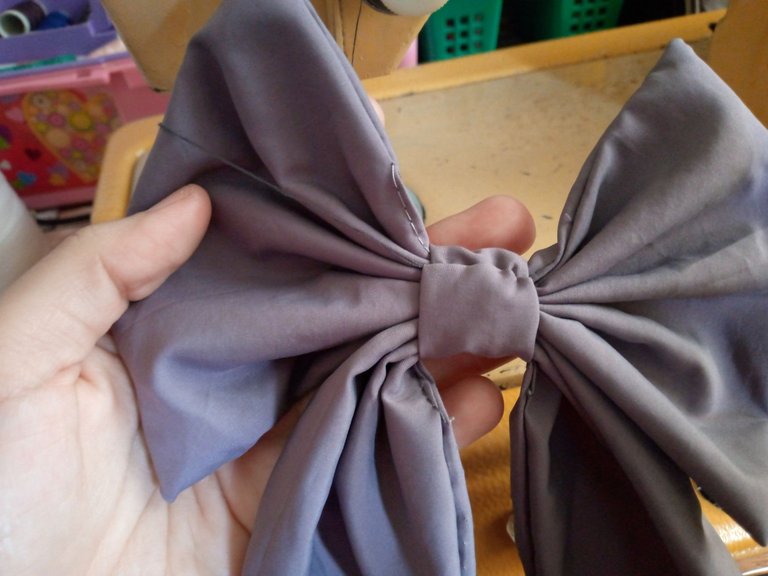
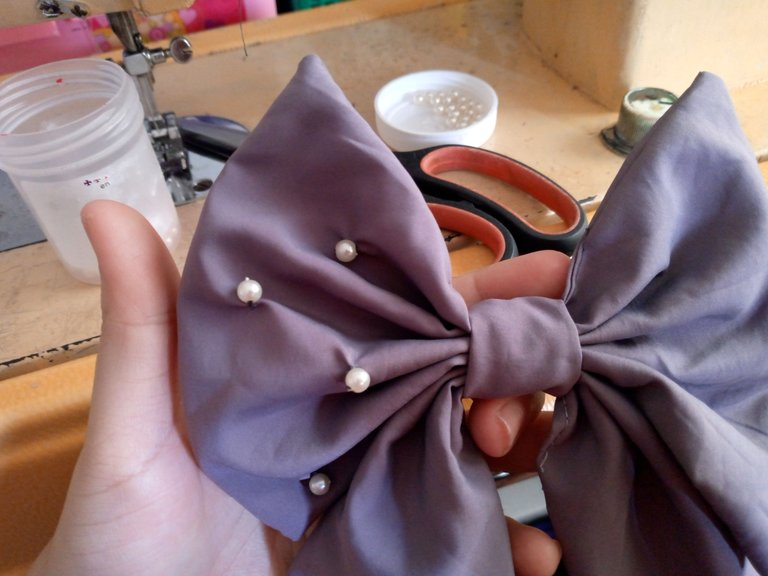
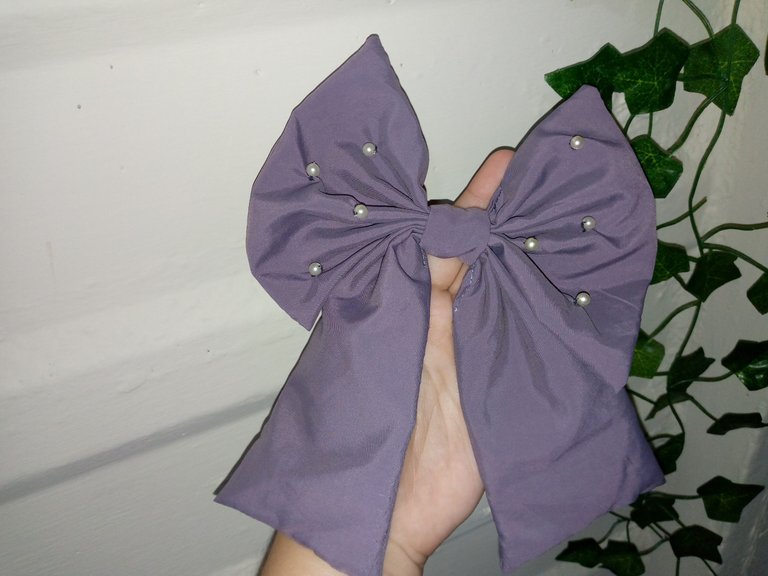
I proceed to assemble the bow and I will take the square and I will make several folds like three or as many as you can and I will insert the needle with thread and I will adjust it well then I will do the same step with the bottom piece, gathering it is also what I will do then I will join both pieces and thus form the bow, I will take the small piece and I will join the bow in the center and I will sew it in the back with an invisible seam so that it cannot be seen on the outside and I cut, to decorate it I told you that we would need some pearls or whatever you have at home to give it a prettier and more striking appearance to the bow by sewing the pearls around the top of the bow and that's how we finished it.
Resultado:// Result:
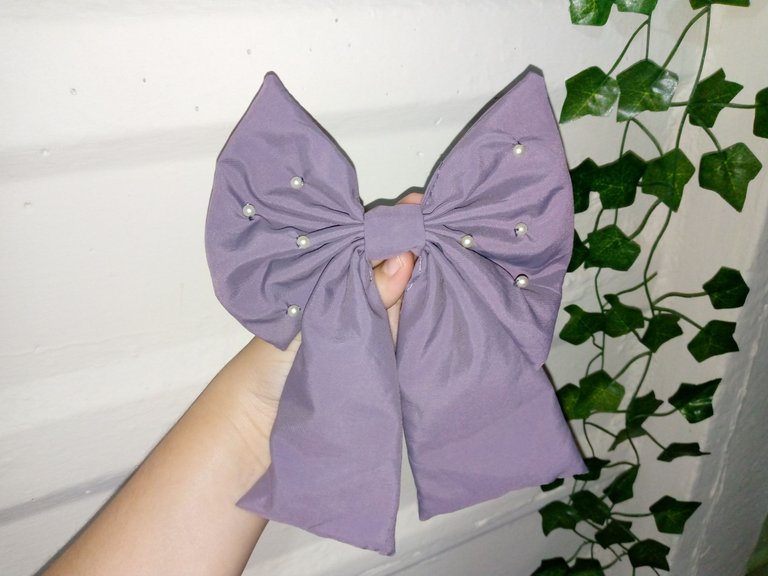
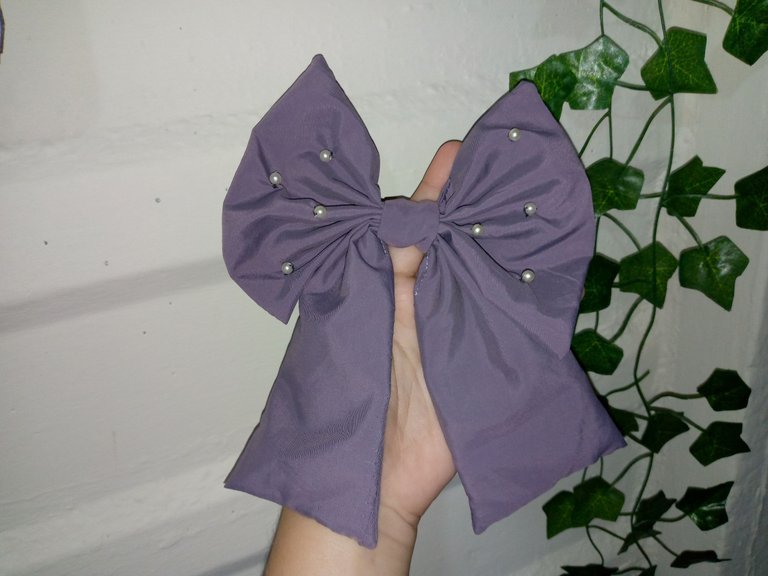
These are the final results, dear friends. How about the idea of reusing these pieces of fabric that we have left over from different projects? I think it's wonderful and our creativity grows much more 😊.
I would be happy to know that you liked it and that you are encouraged to do it, I thank you for getting to the end and taking a minute of your time to appreciate this blog, I wish you the best of success and a beautiful afternoon until another next tutorial 👋🏻🥰.
Creating things with love 🌷❤️
🦋✨ All the images in this publication are my author ,📱taken with my TecnoSpark8C cell phone |📸Photos edited in PicsArt and Canva. Text translated in Google Translate.
Quedó muy hermoso te felicito, gracias por compartir
Gracias linda.. aprecio tu comentario saluditos 🫂🙋🏻♀️🙆🏻♀️❤️
You have shared with us the really creative idea and in a very easy way. It's better to make matching bows with the dresses rather than buying the expensive one from the shops.