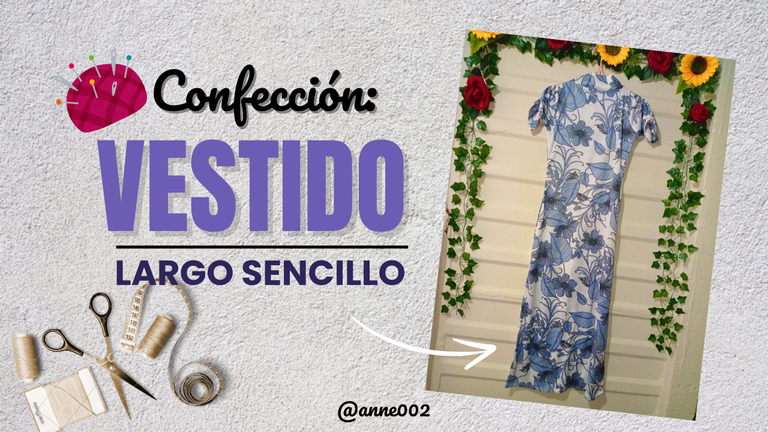
🧶🪡Hello, welcome to a new blog with me🙋🏻♀️🌷...✨
She was my first client of the week, last week I was a little bored because only one client came but I am very happy to know that that person is going to recommend my work to another person and I couldn't be happier about that, there are days when my mother and I can always have several sewing projects at the same time, I have some to deliver and tomorrow is delivery day so what more can I ask for, the sewing work I do is never in vain because I know that there is always someone who needs that trusted seamstress 😁🧵.

I started the weekend very well because a client wanted a long fitted dress, she had the fabric all she needed was a seamstress to do the work she expected, the truth is she had few ideas with respect to what she wanted done for herself so I gave her several options, in the end she told me that the important thing was to make it to her measure and I hoped she would like the results a lot, so I made every effort to do a simple, nice and clean job, I know she will like it a lot and it will look good on her, look what the simple process is like here, I leave you the step by step of this happy confection and you can appreciate the result.
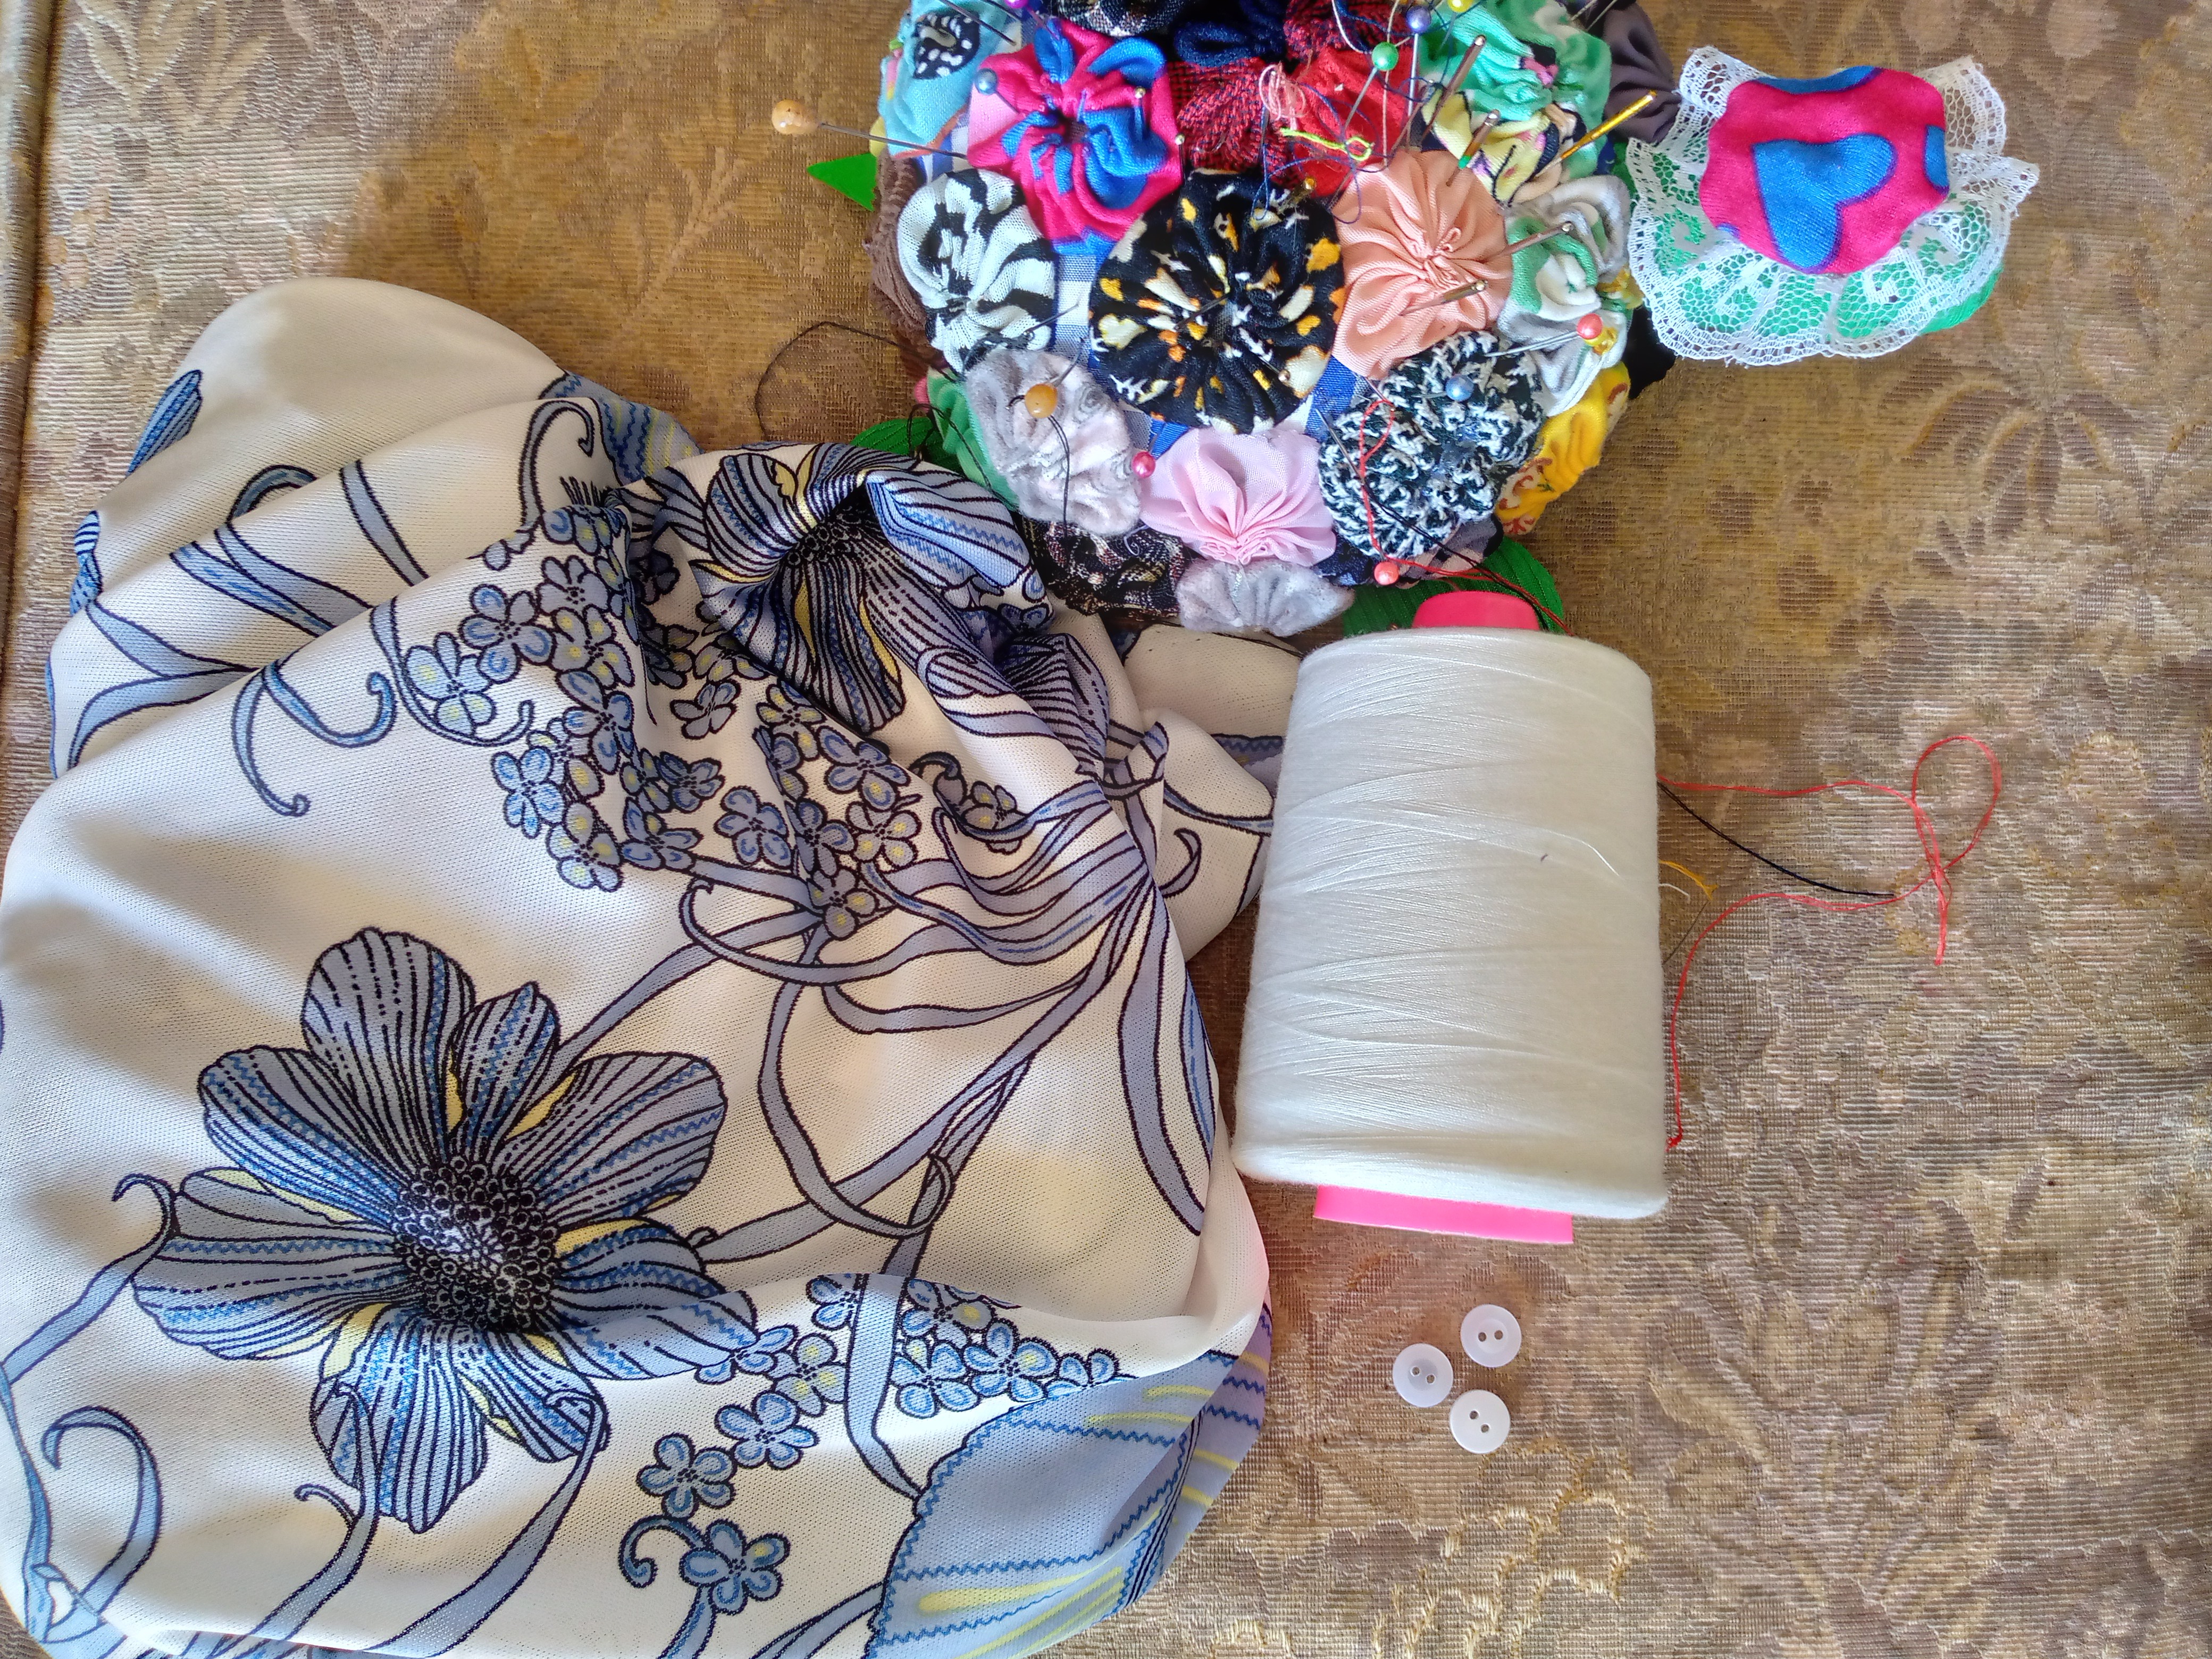
Materiales:// Materials:
- 2 metros de tela
- Alfileres
- Hice uso de la máquina overlock y la máquina normal
- Hilo y aguja
- 3 botones
- Tijeras
- 2 meters of fabric
- Pins
- I used the overlock machine and the regular machine
- Thread and needle
- 3 buttons
- Scissors
Pasos a seguir://Steps to follow:
.jpg)
.jpg)
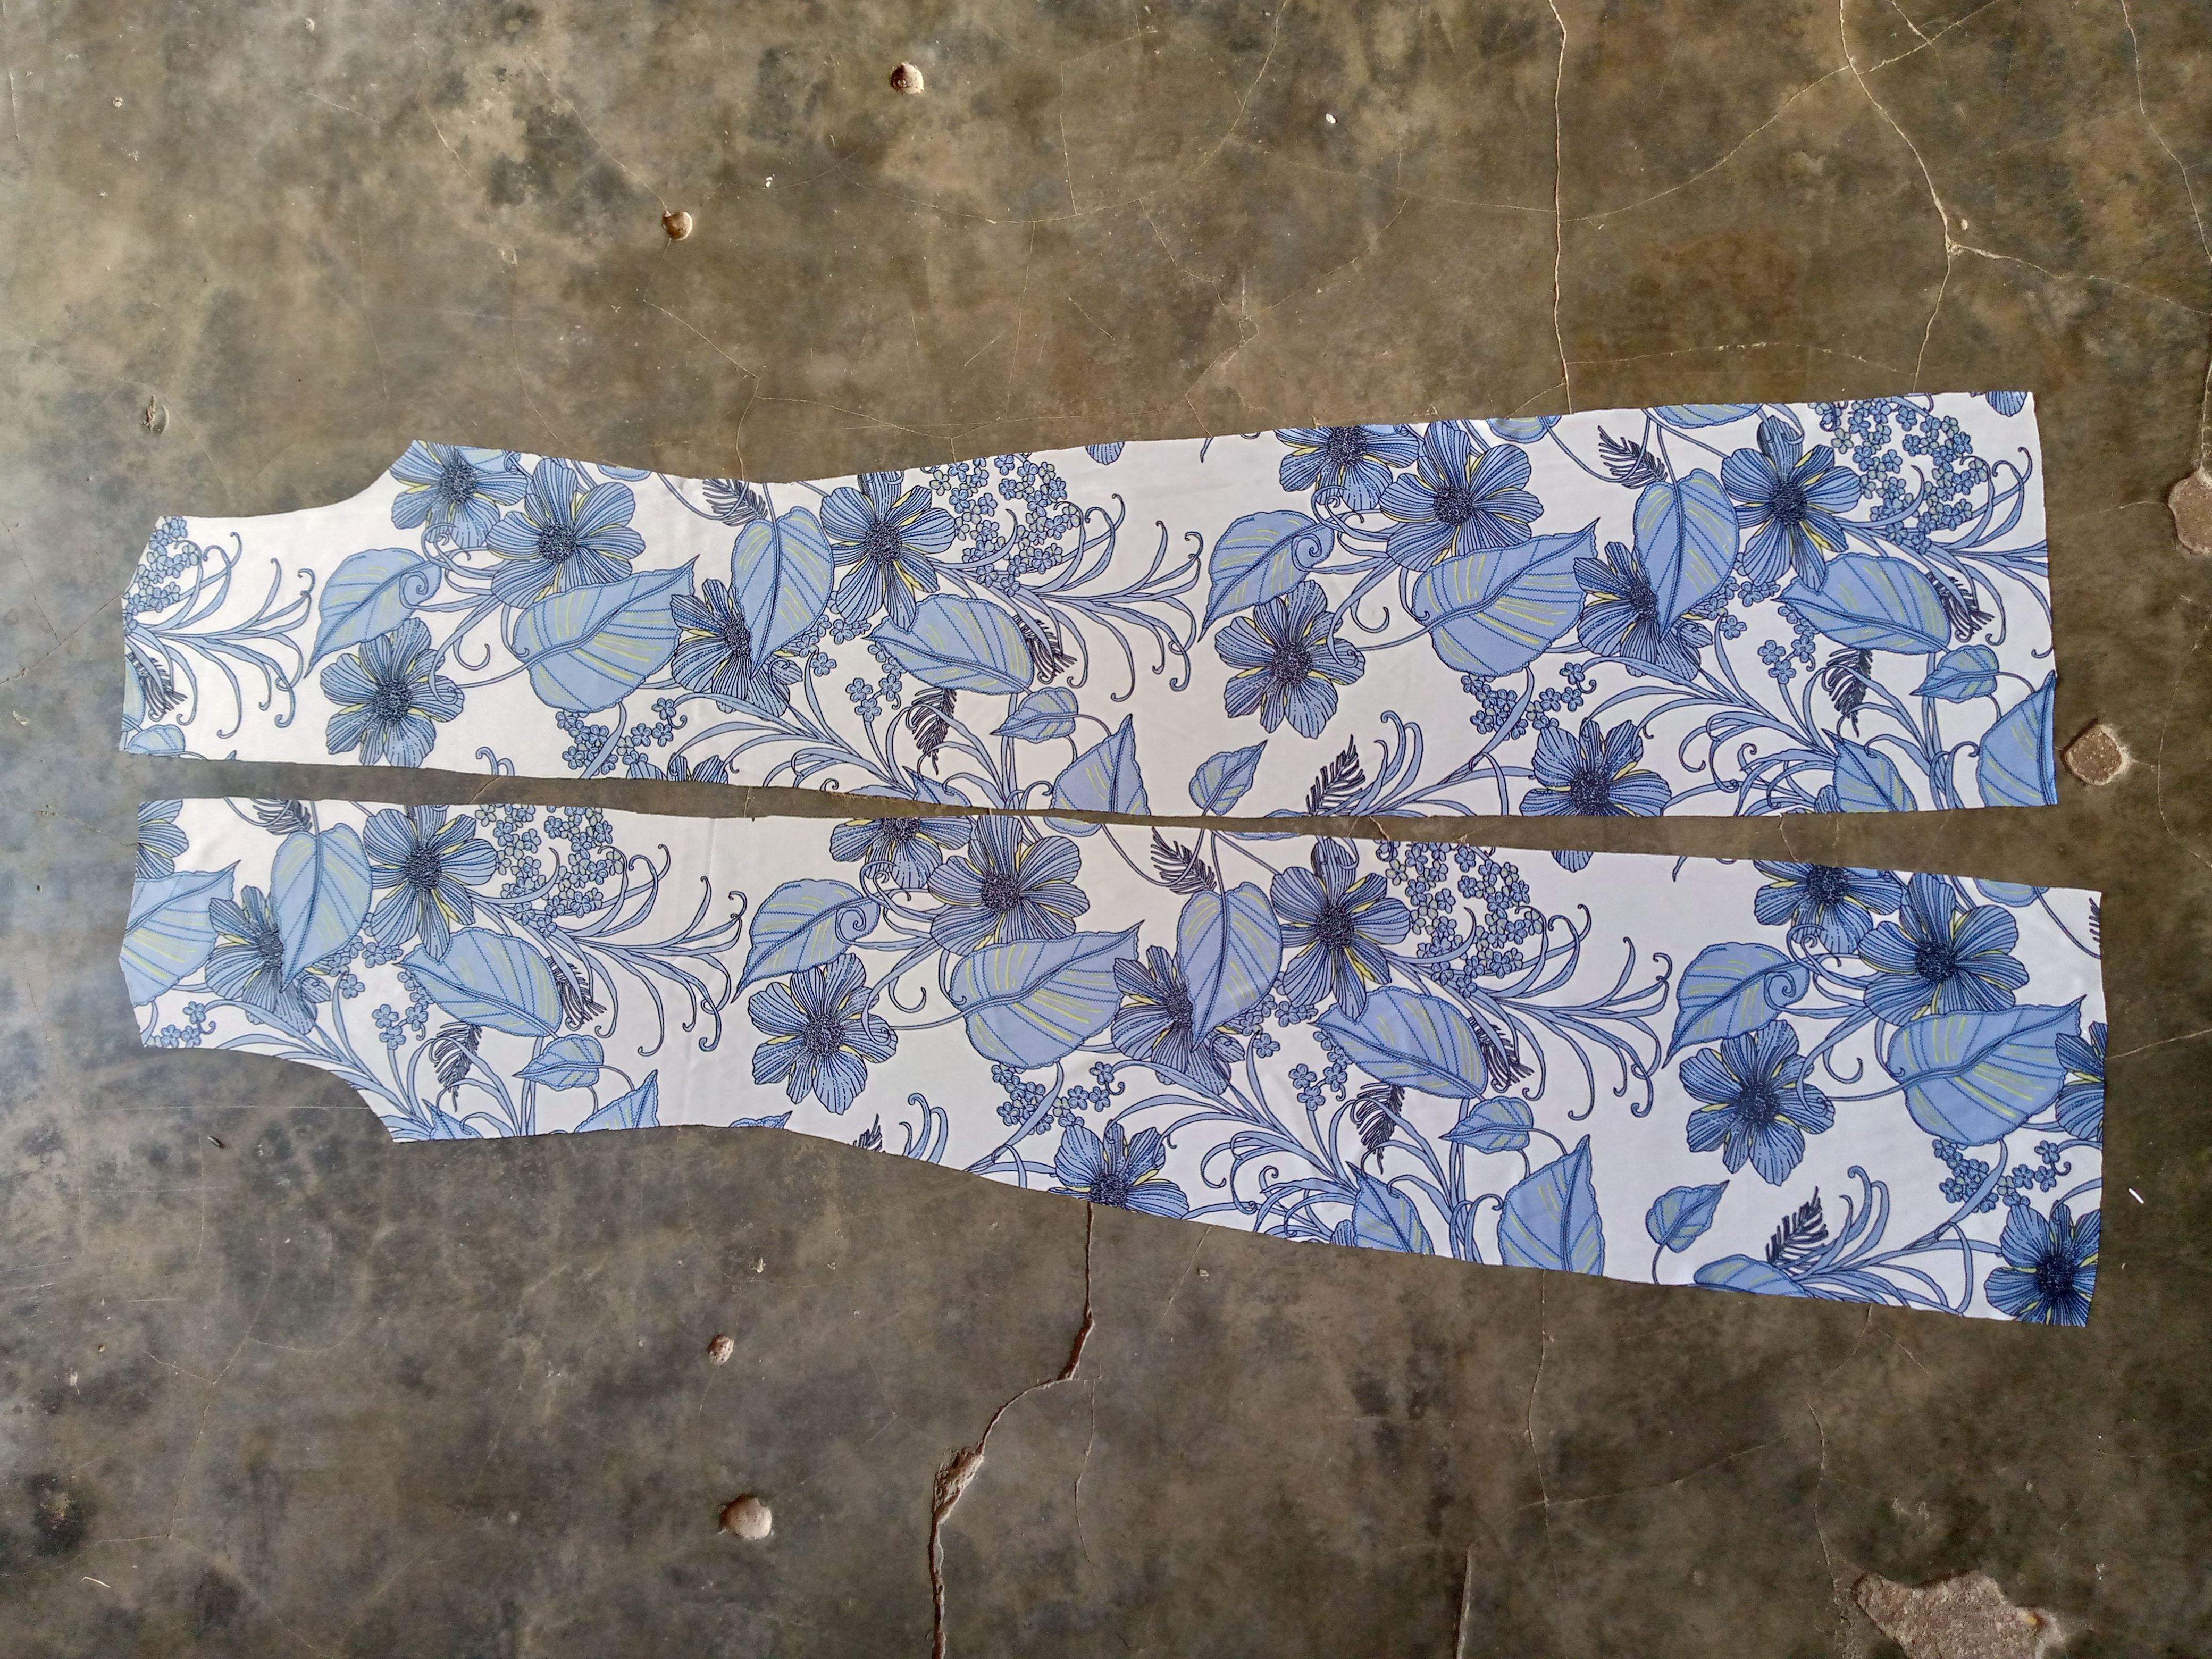
Paso 01
Step 01
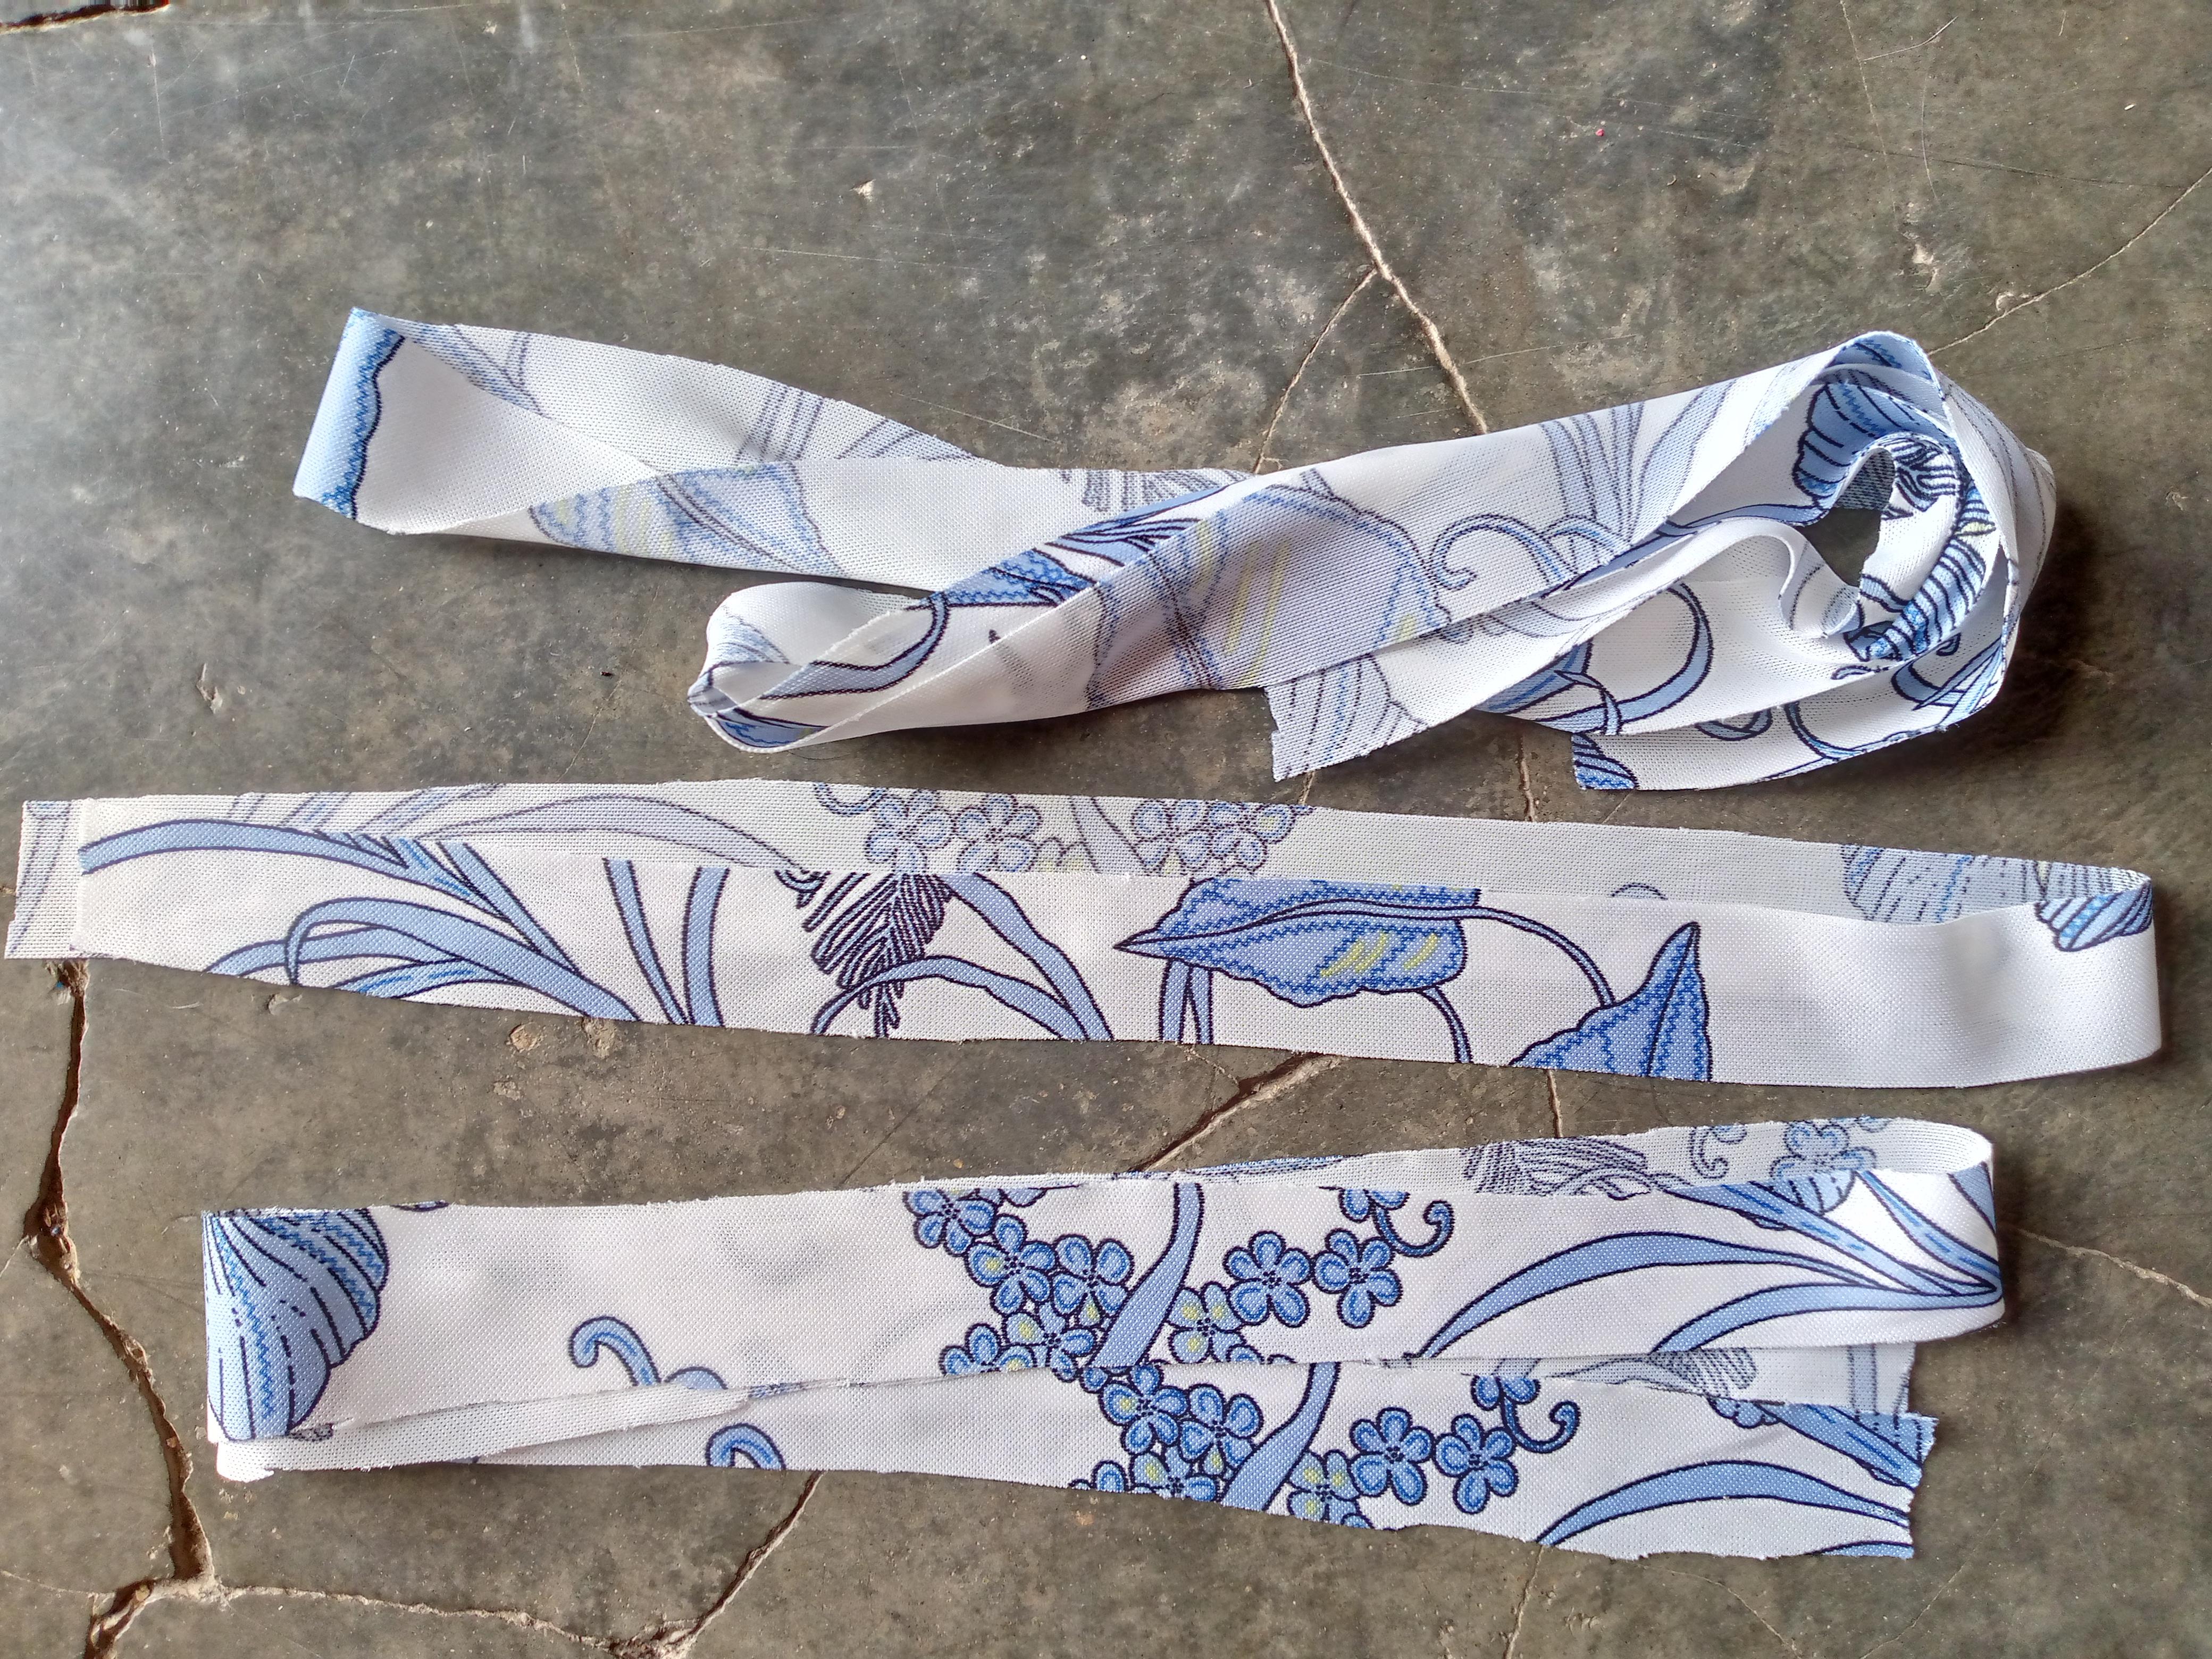
Using a measurement that my client had given me as a reference to know her size, I got to work cutting the pieces: two back pieces with a cut in the middle, a front piece with both sleeves folded, the bias for the buttonholes, and the neckband, which is a rectangle with the exact measurement of the neck circumference. These are the pieces that we will use for sewing.
Paso 02
Step 02
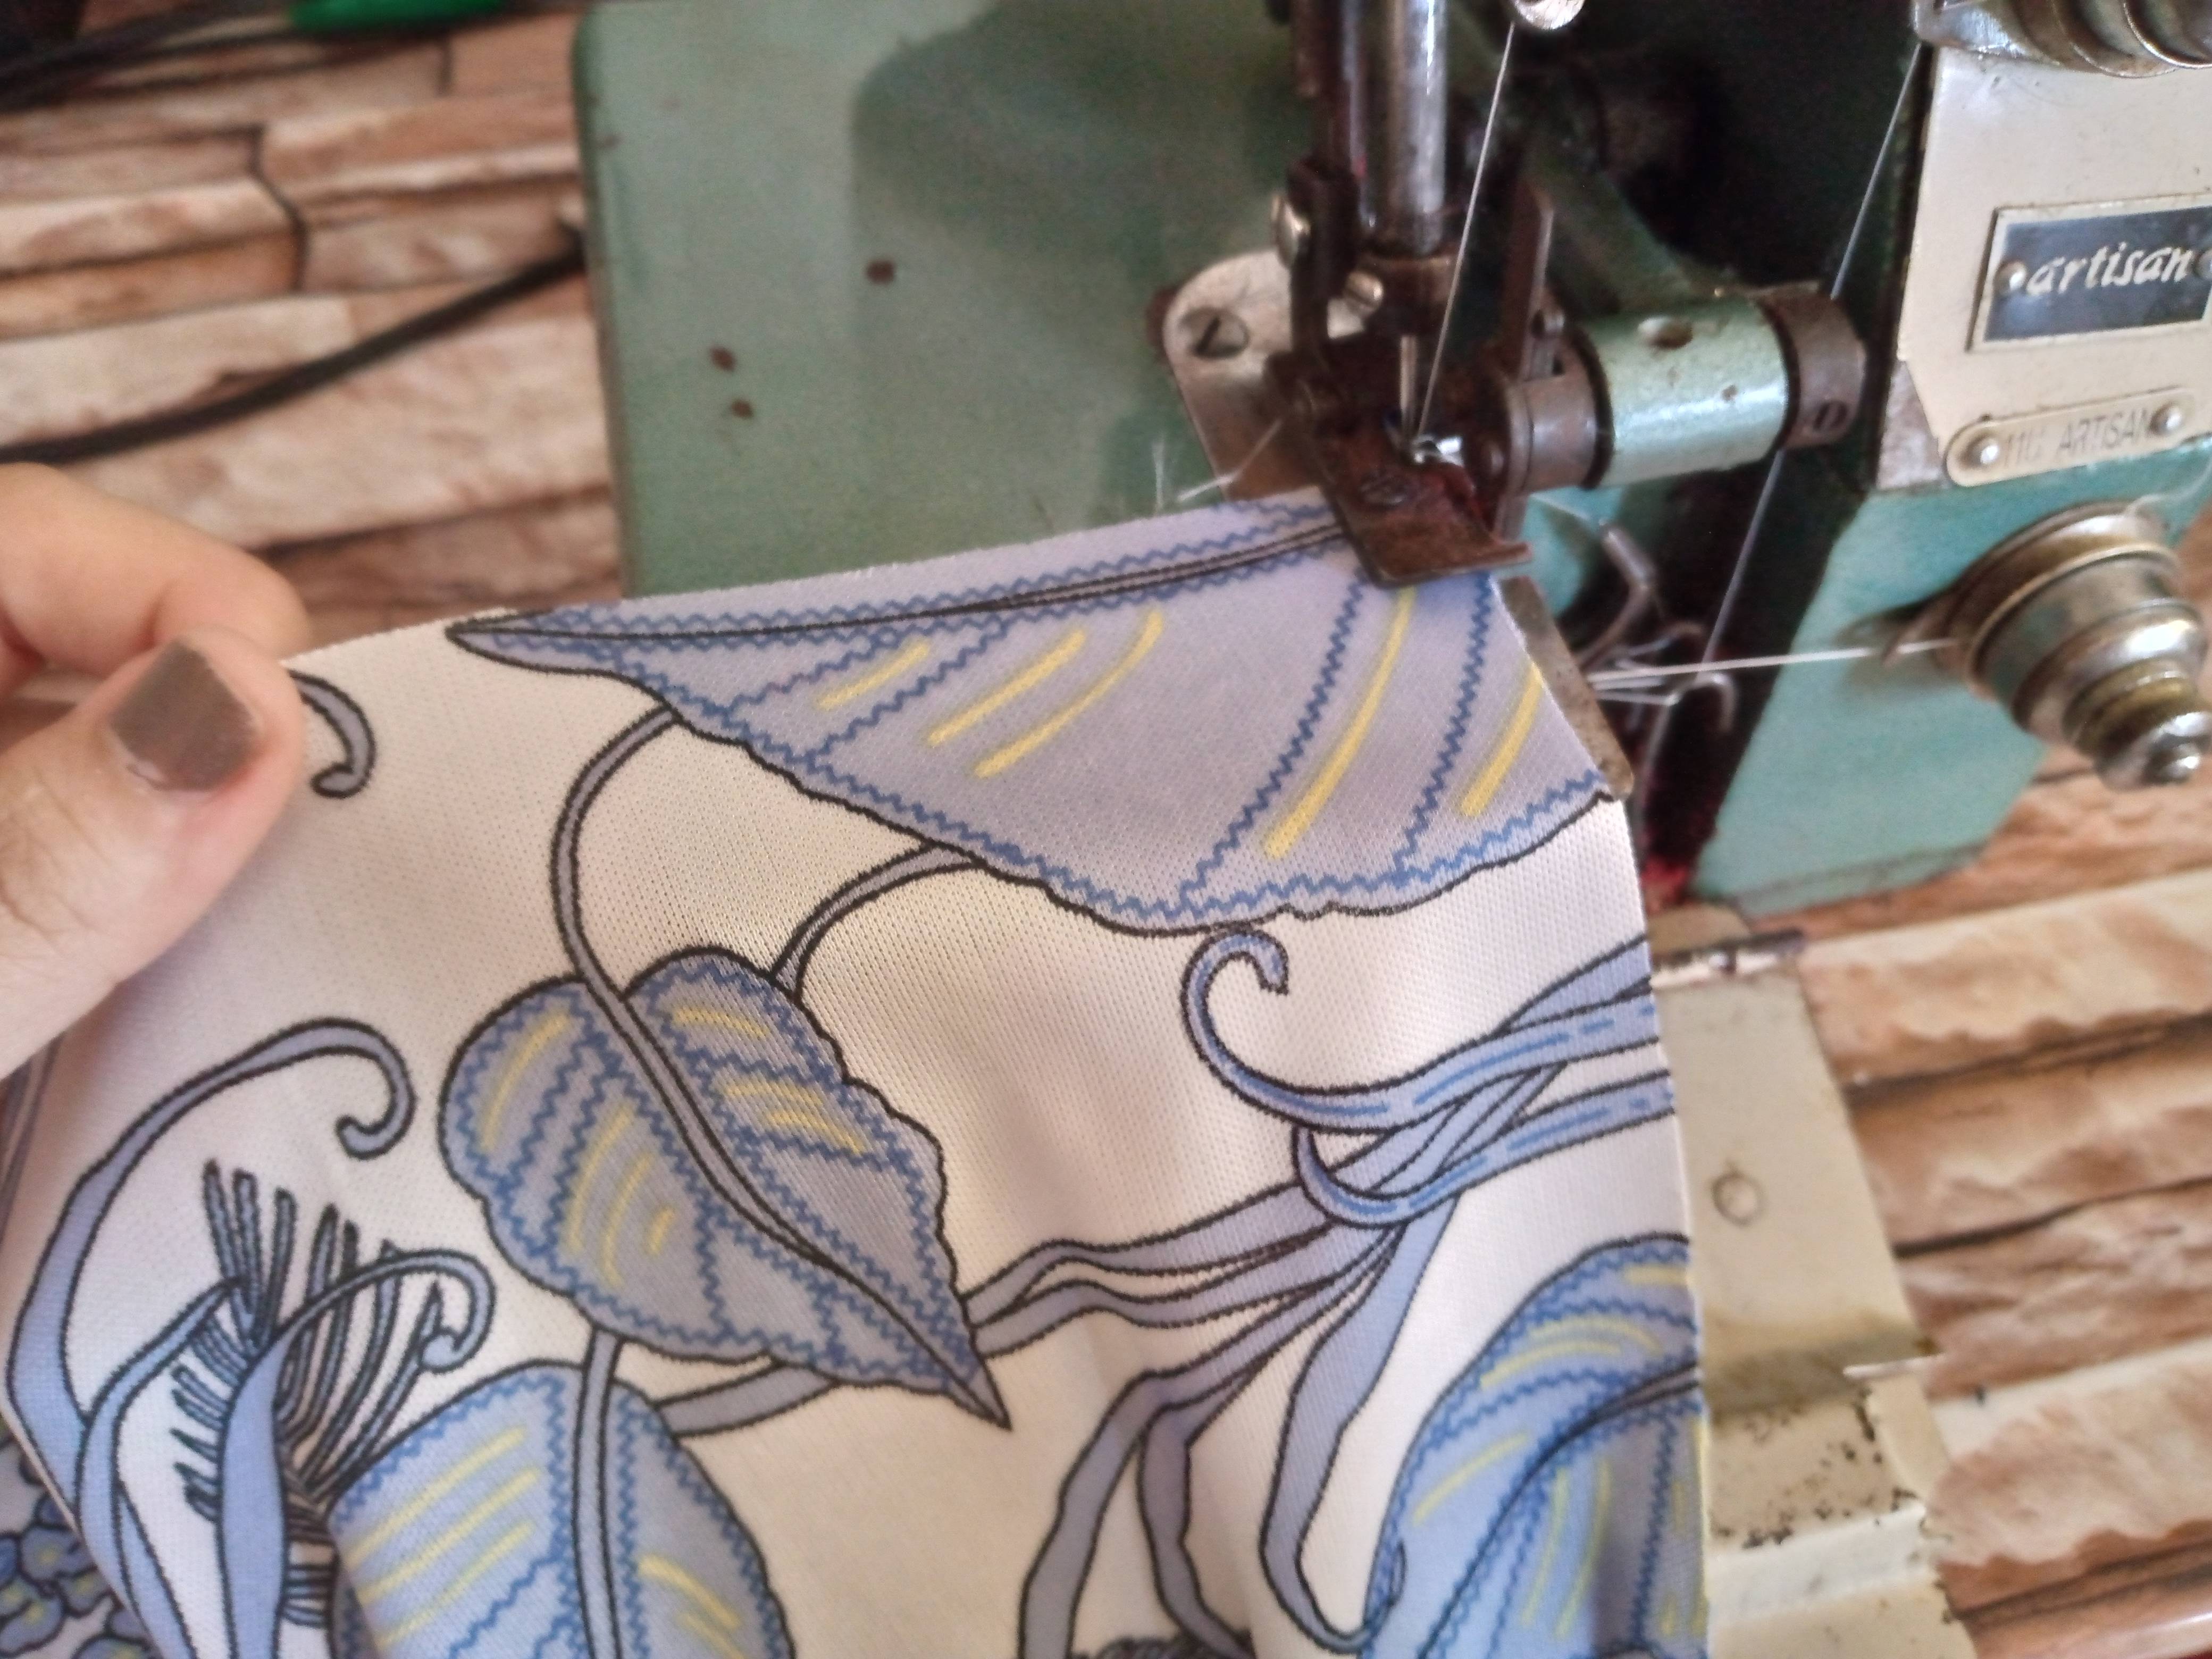
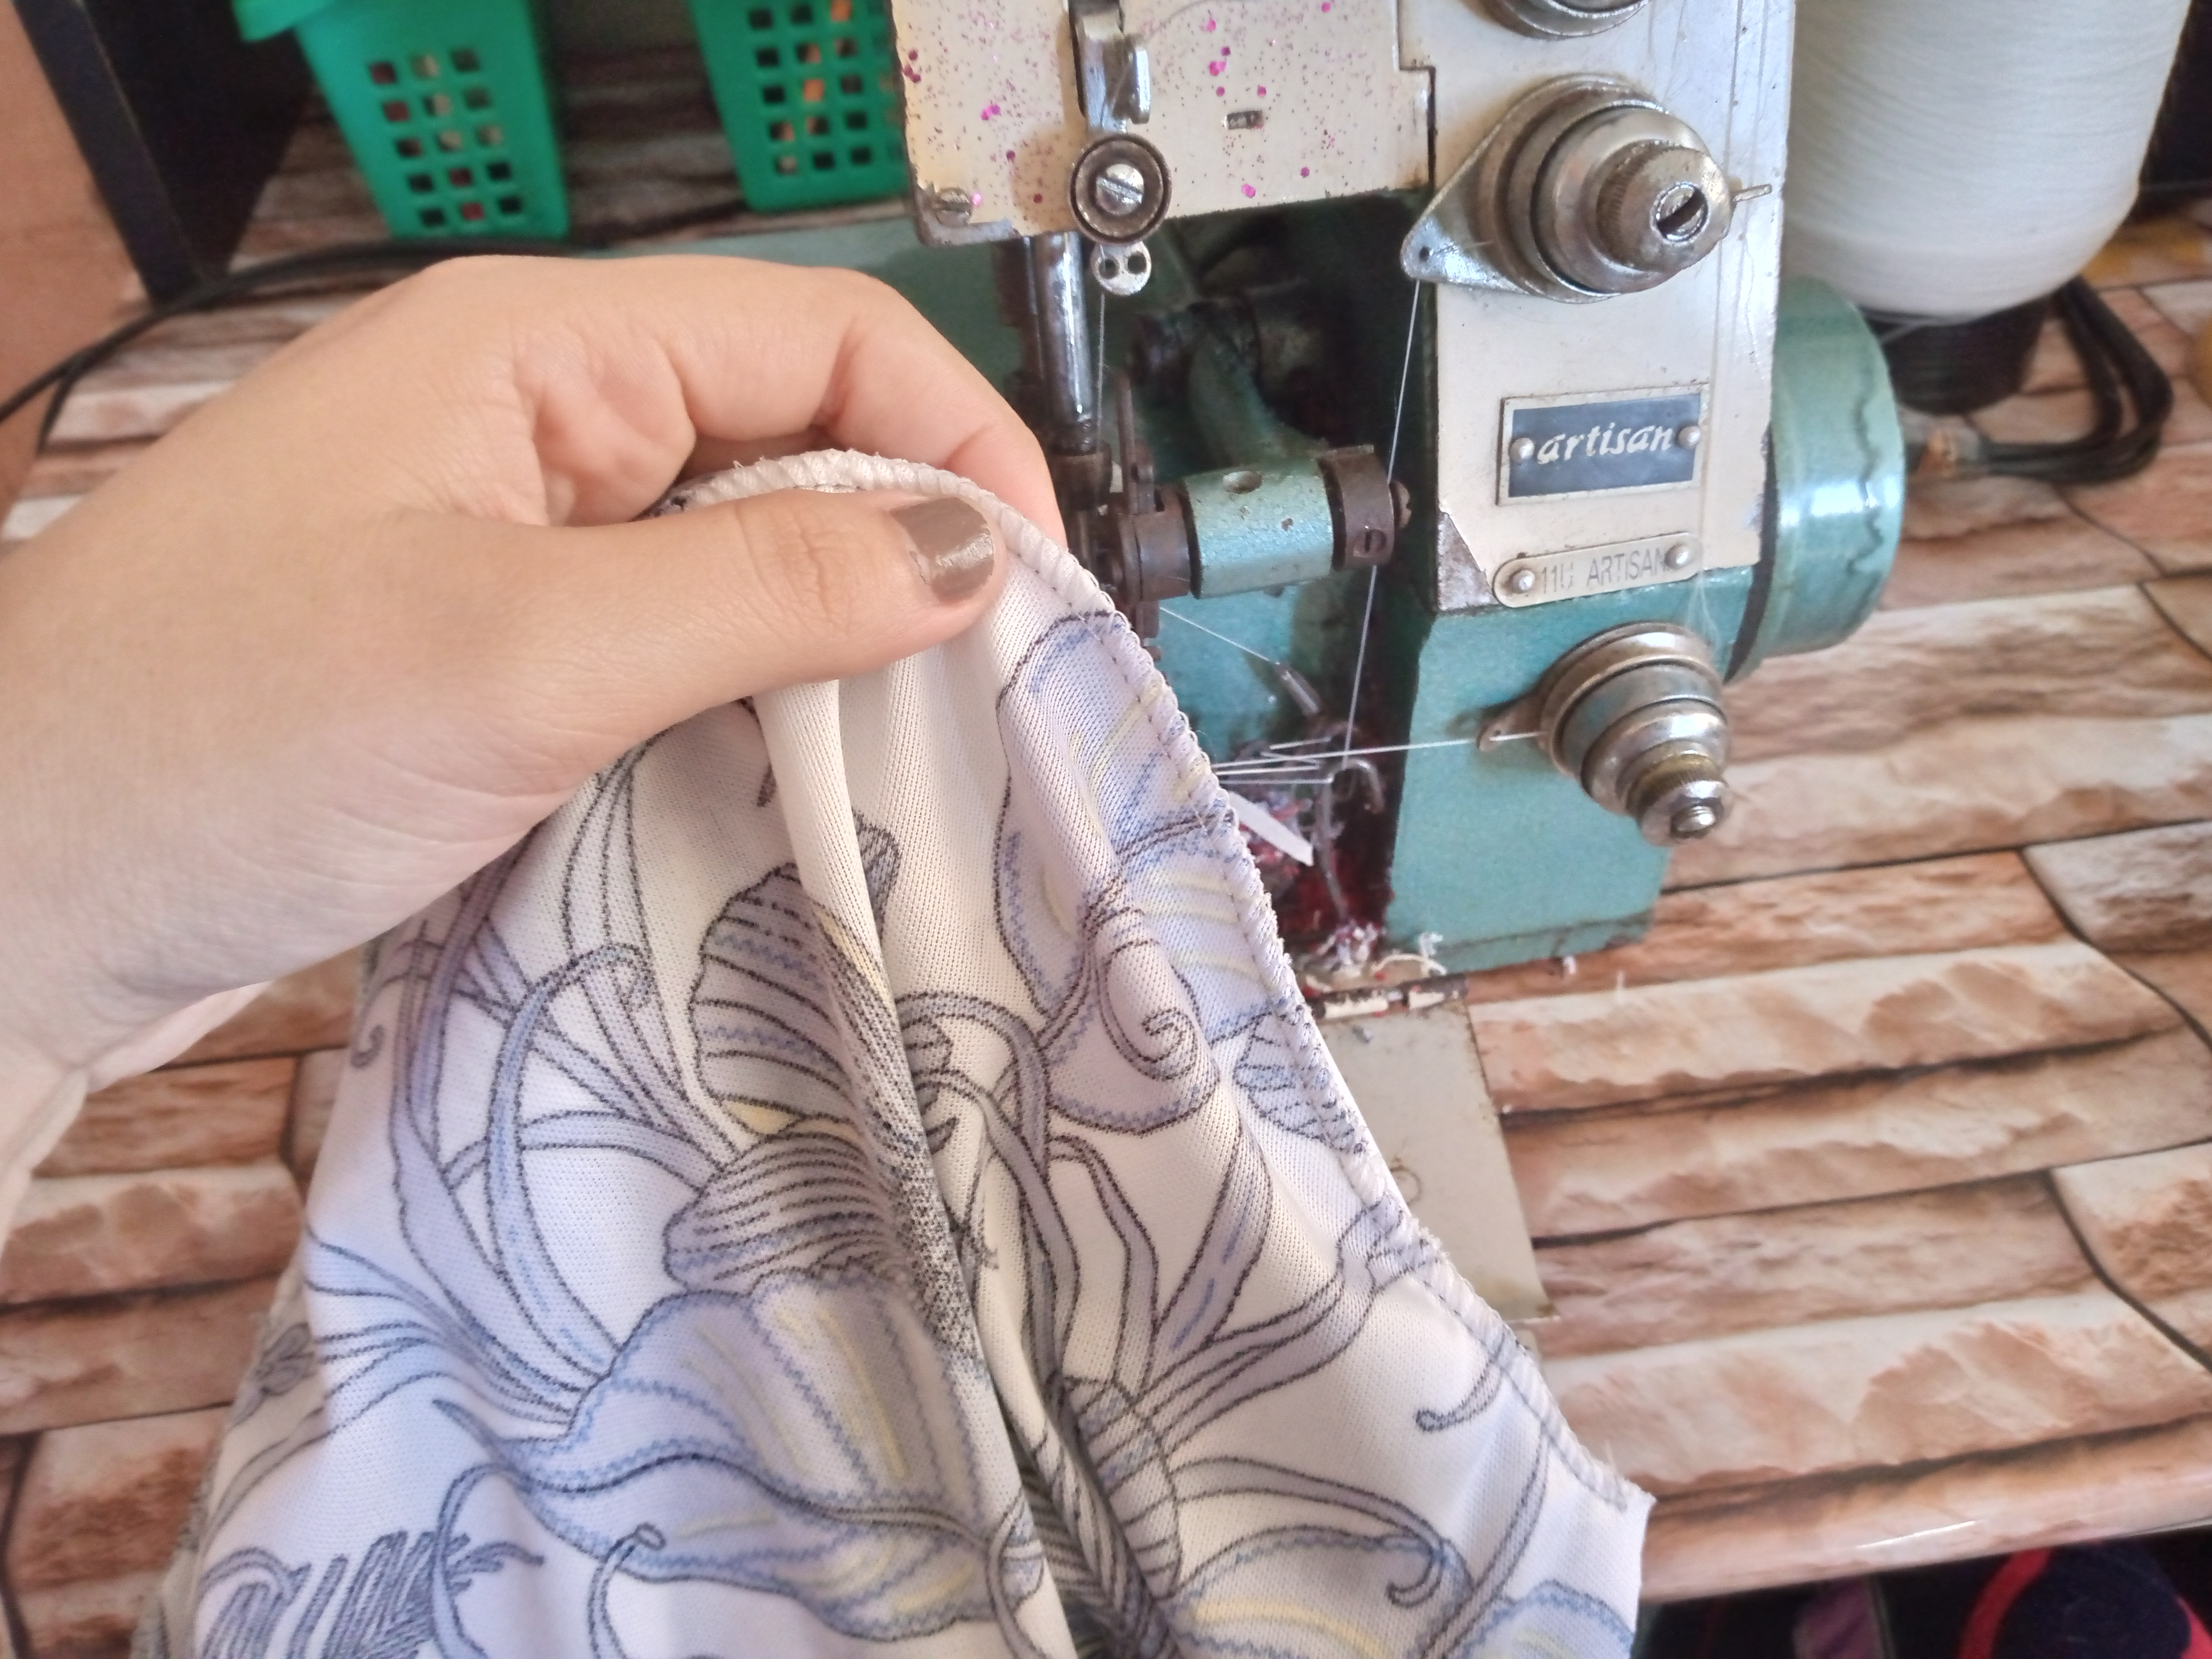
We will then sew each part of the shoulder piece separately with an overlock in this case, then we will join both pieces to seal the shoulder part, we do this on the normal machine with a straight stitch.

Paso 03
Step 03
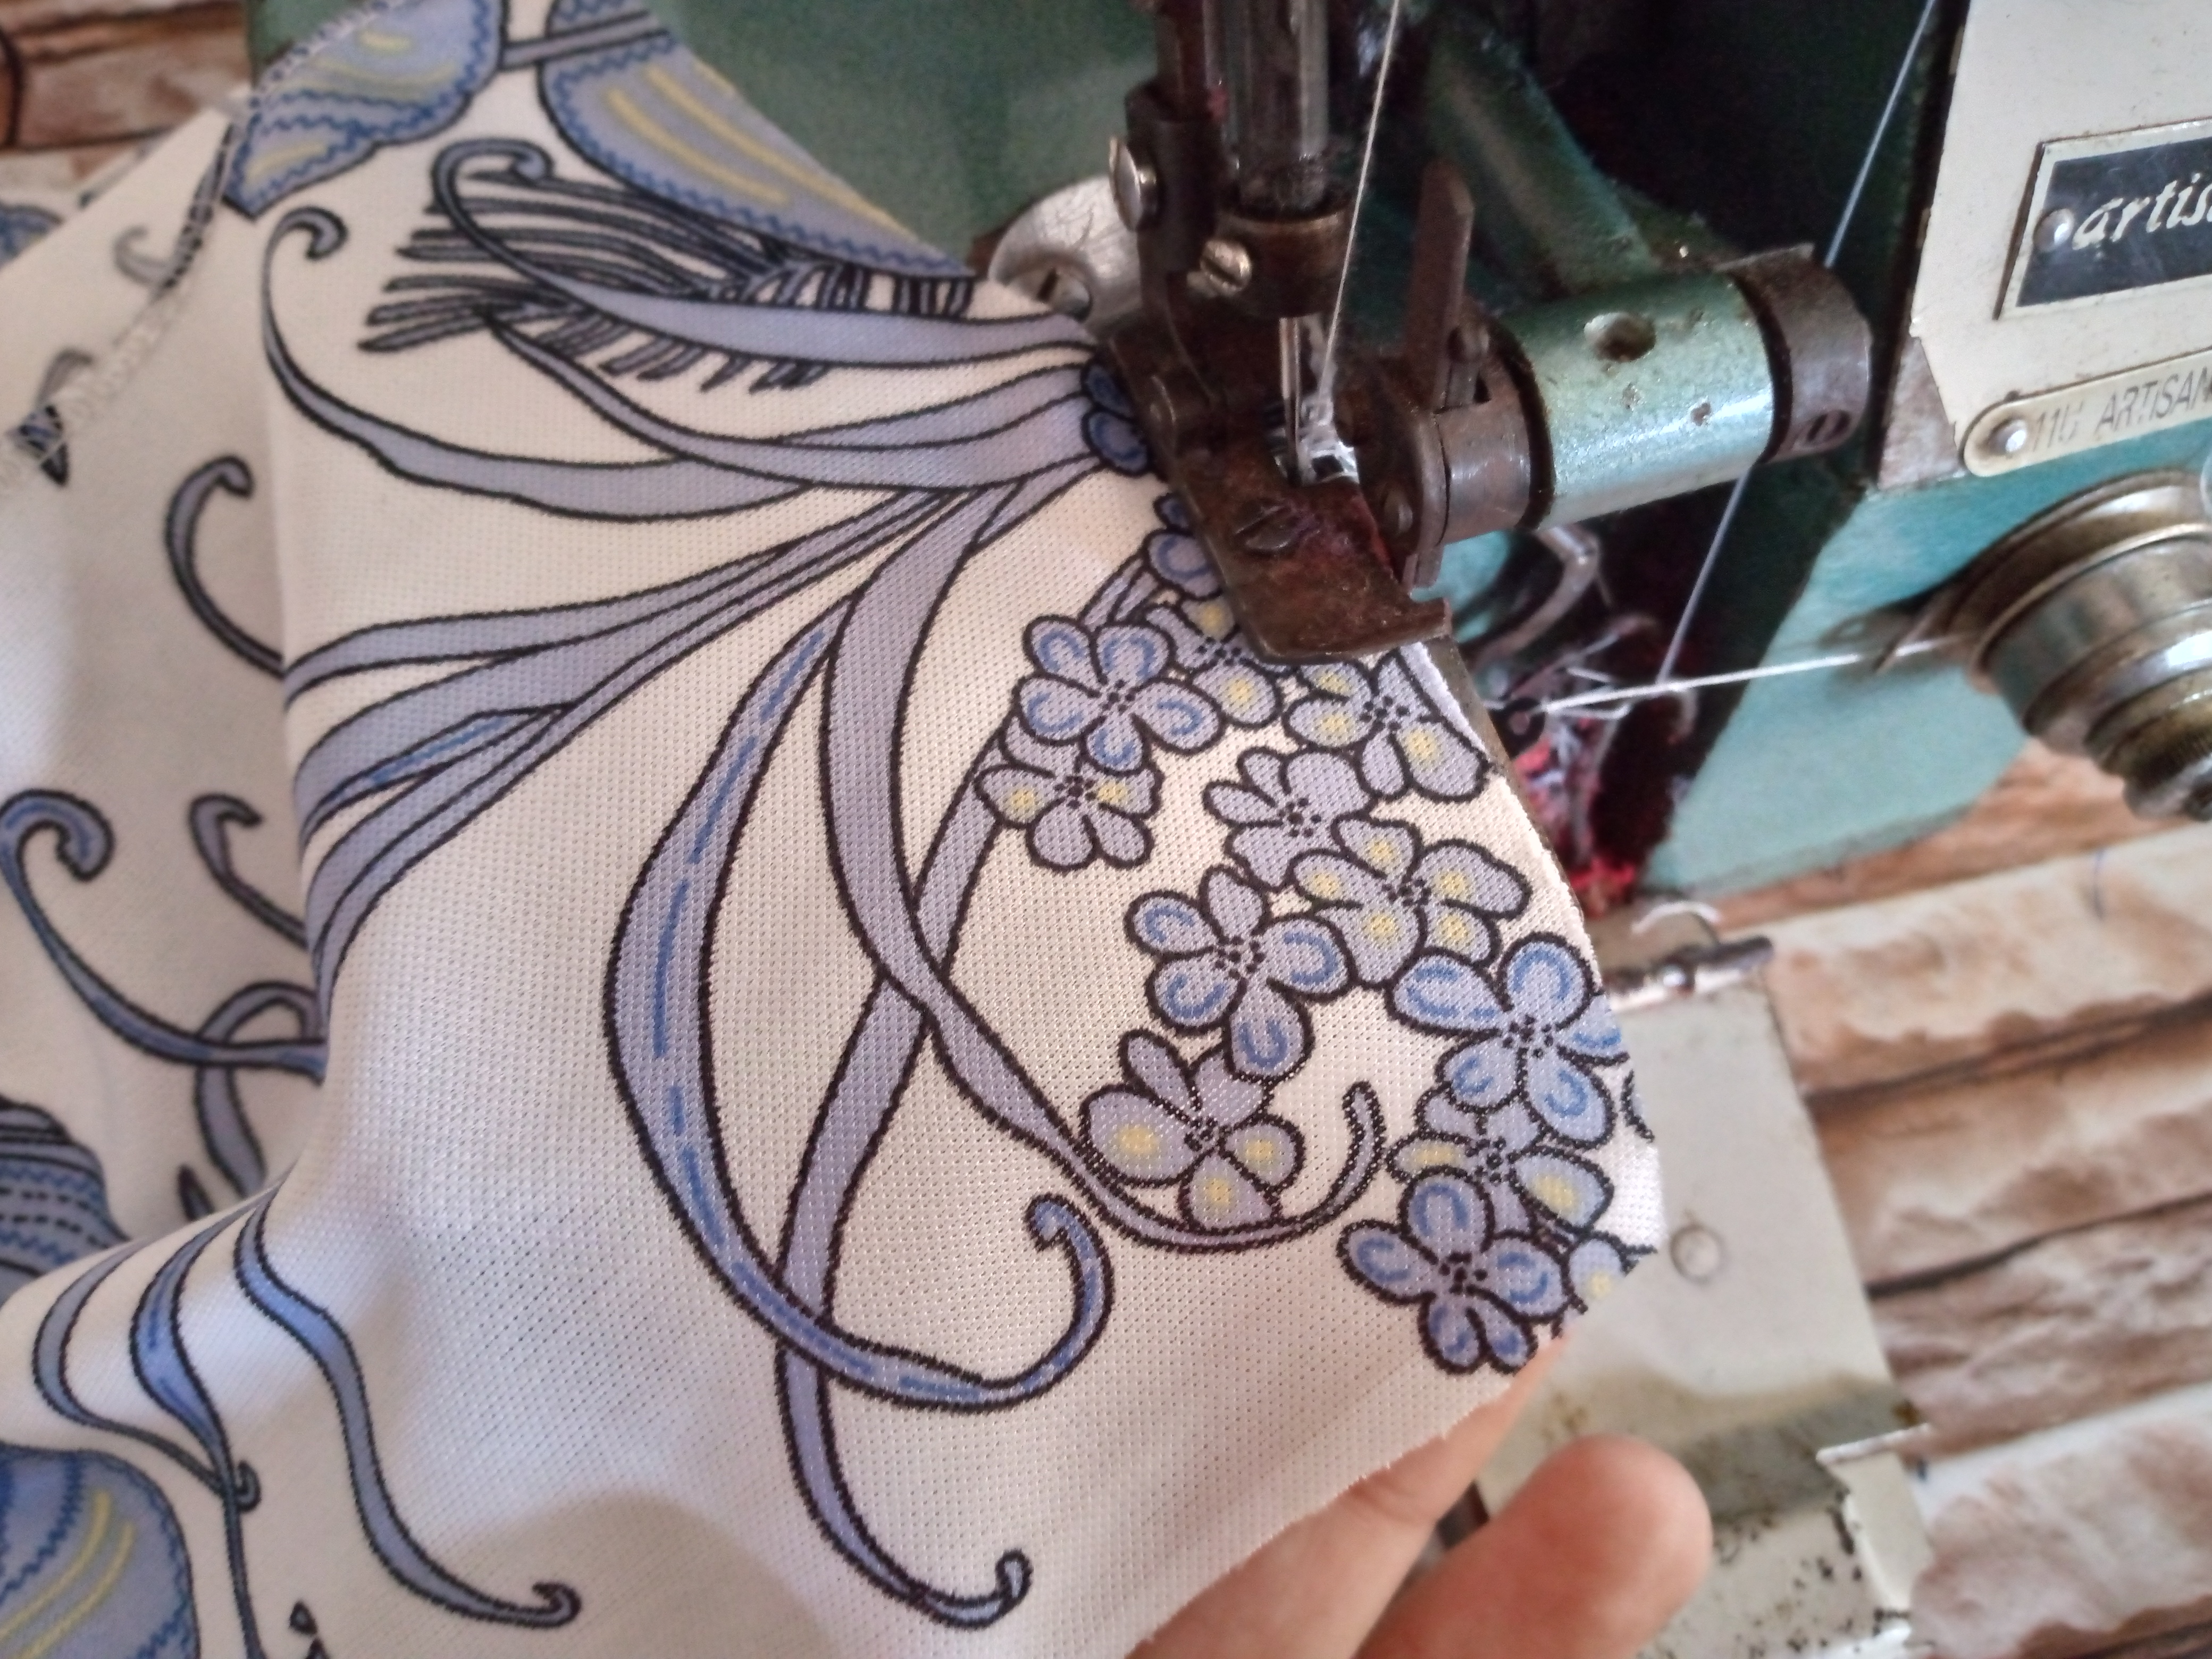
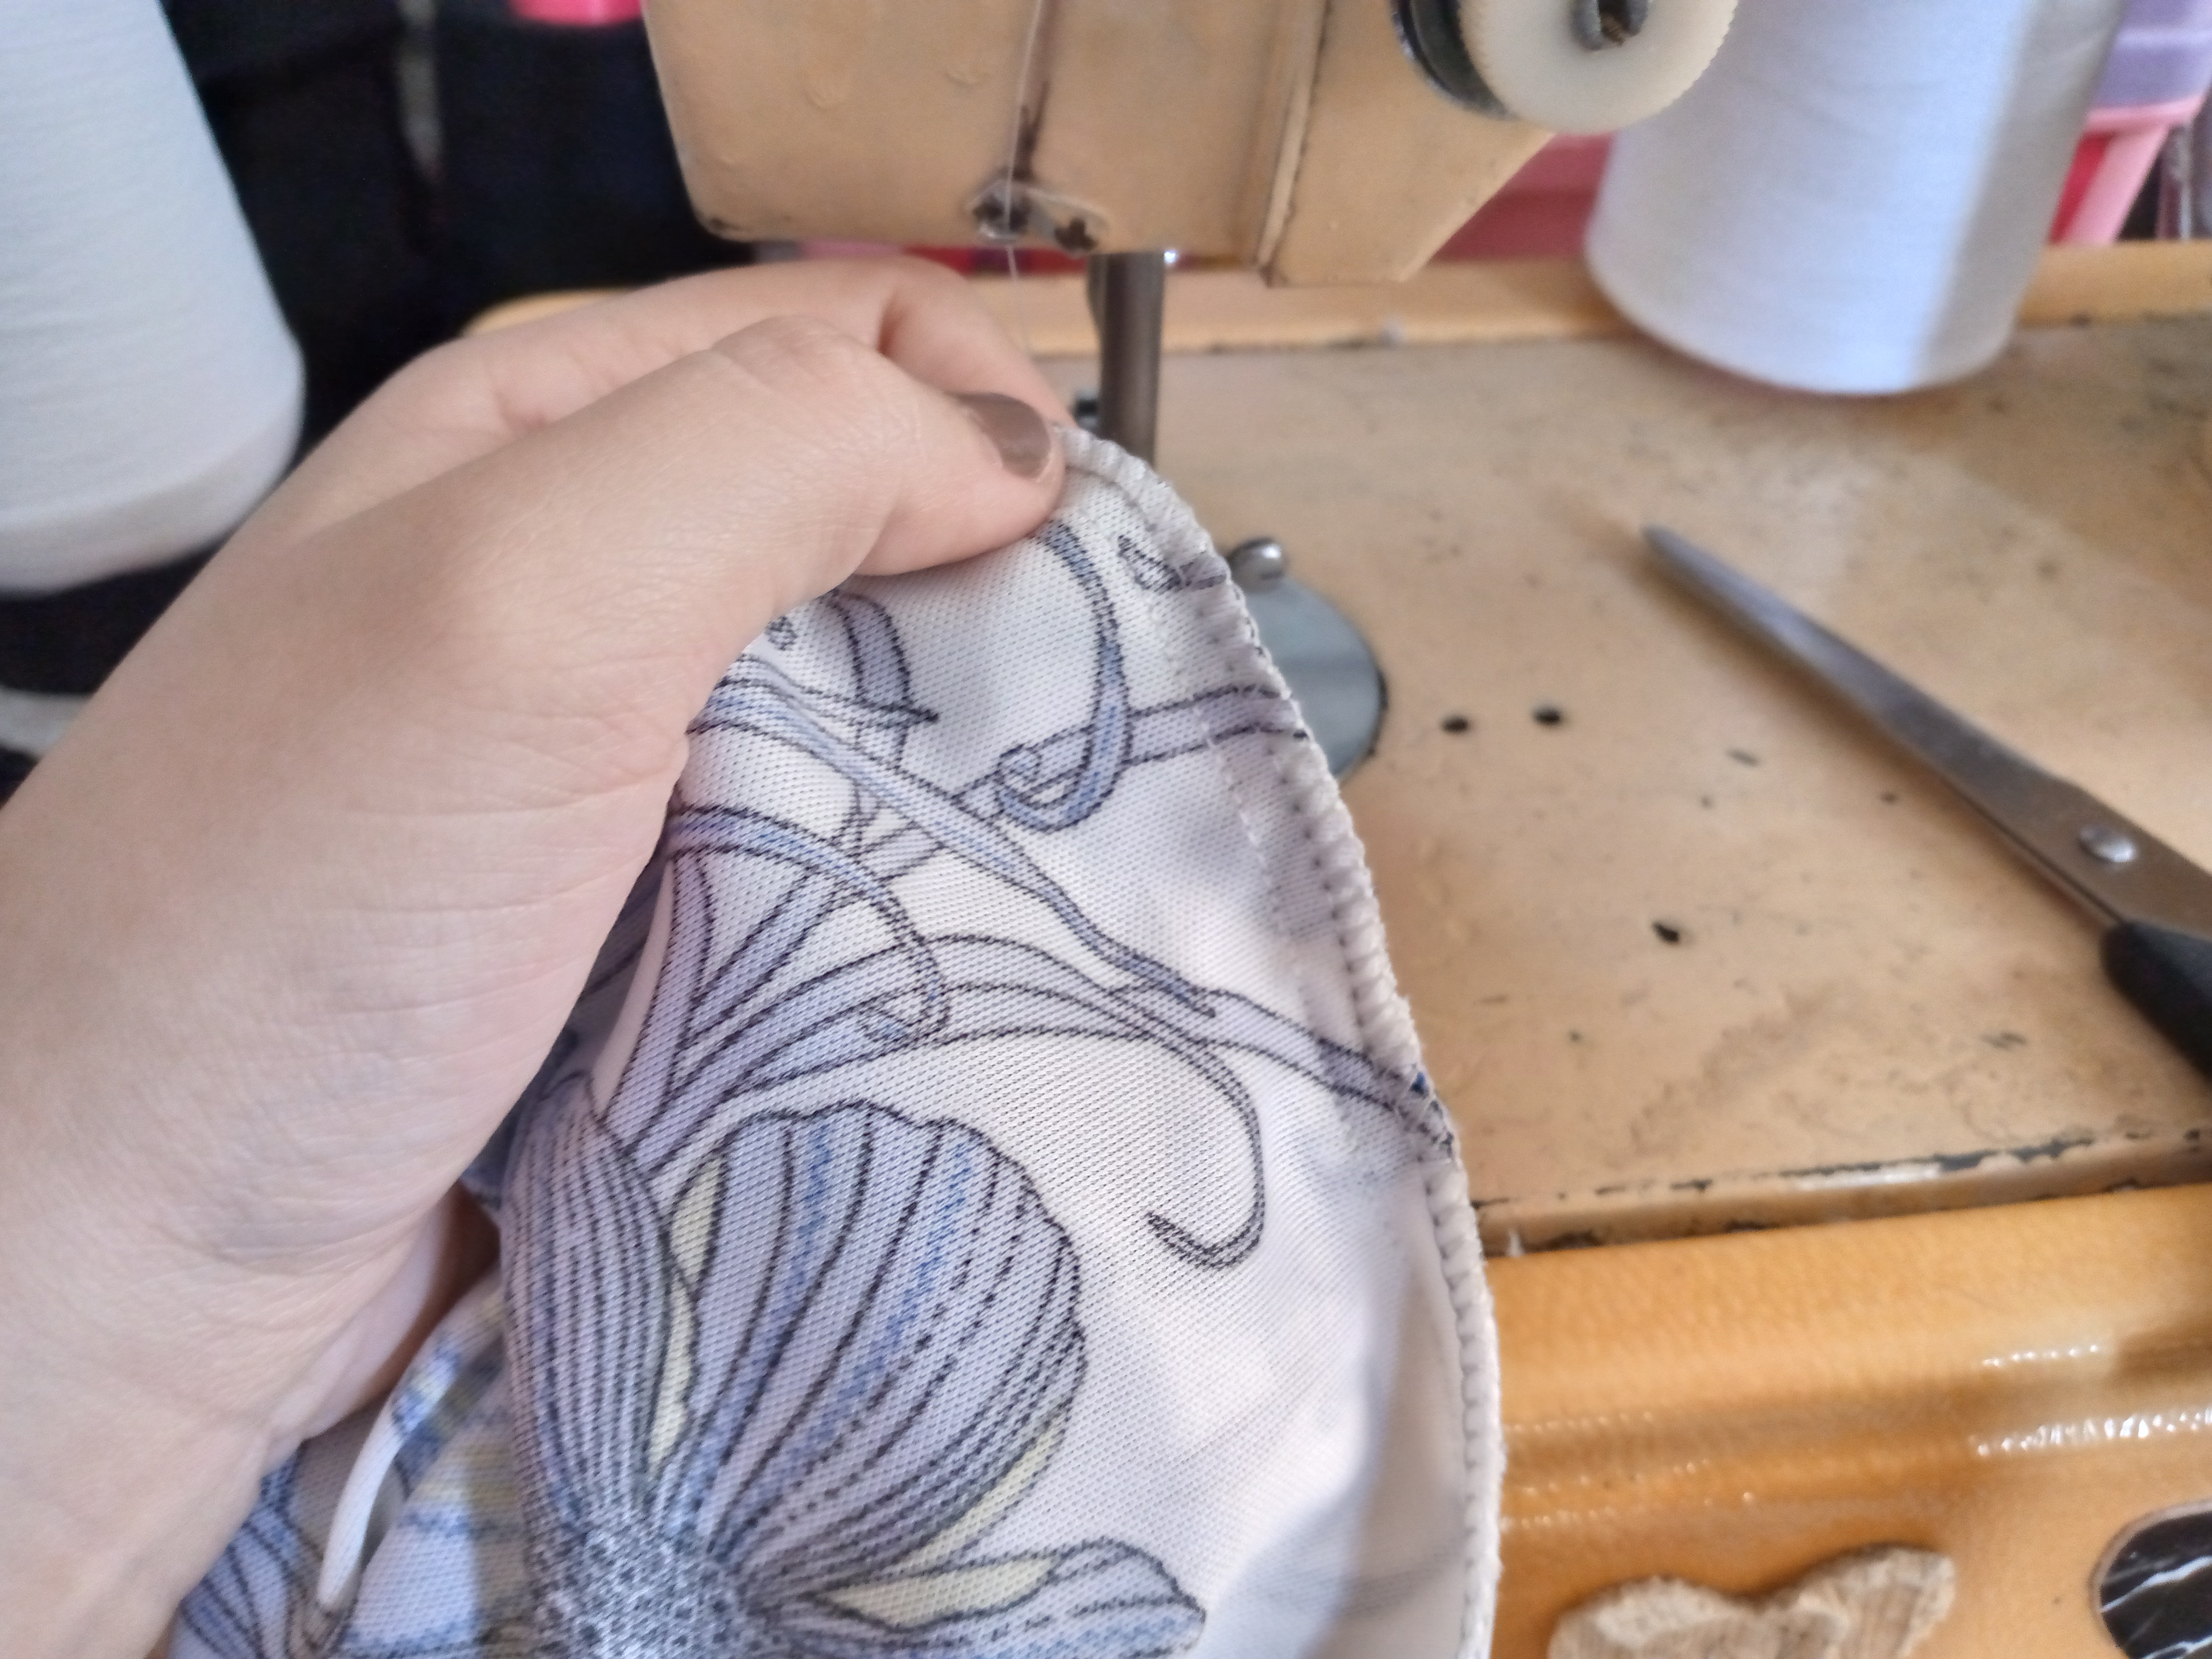
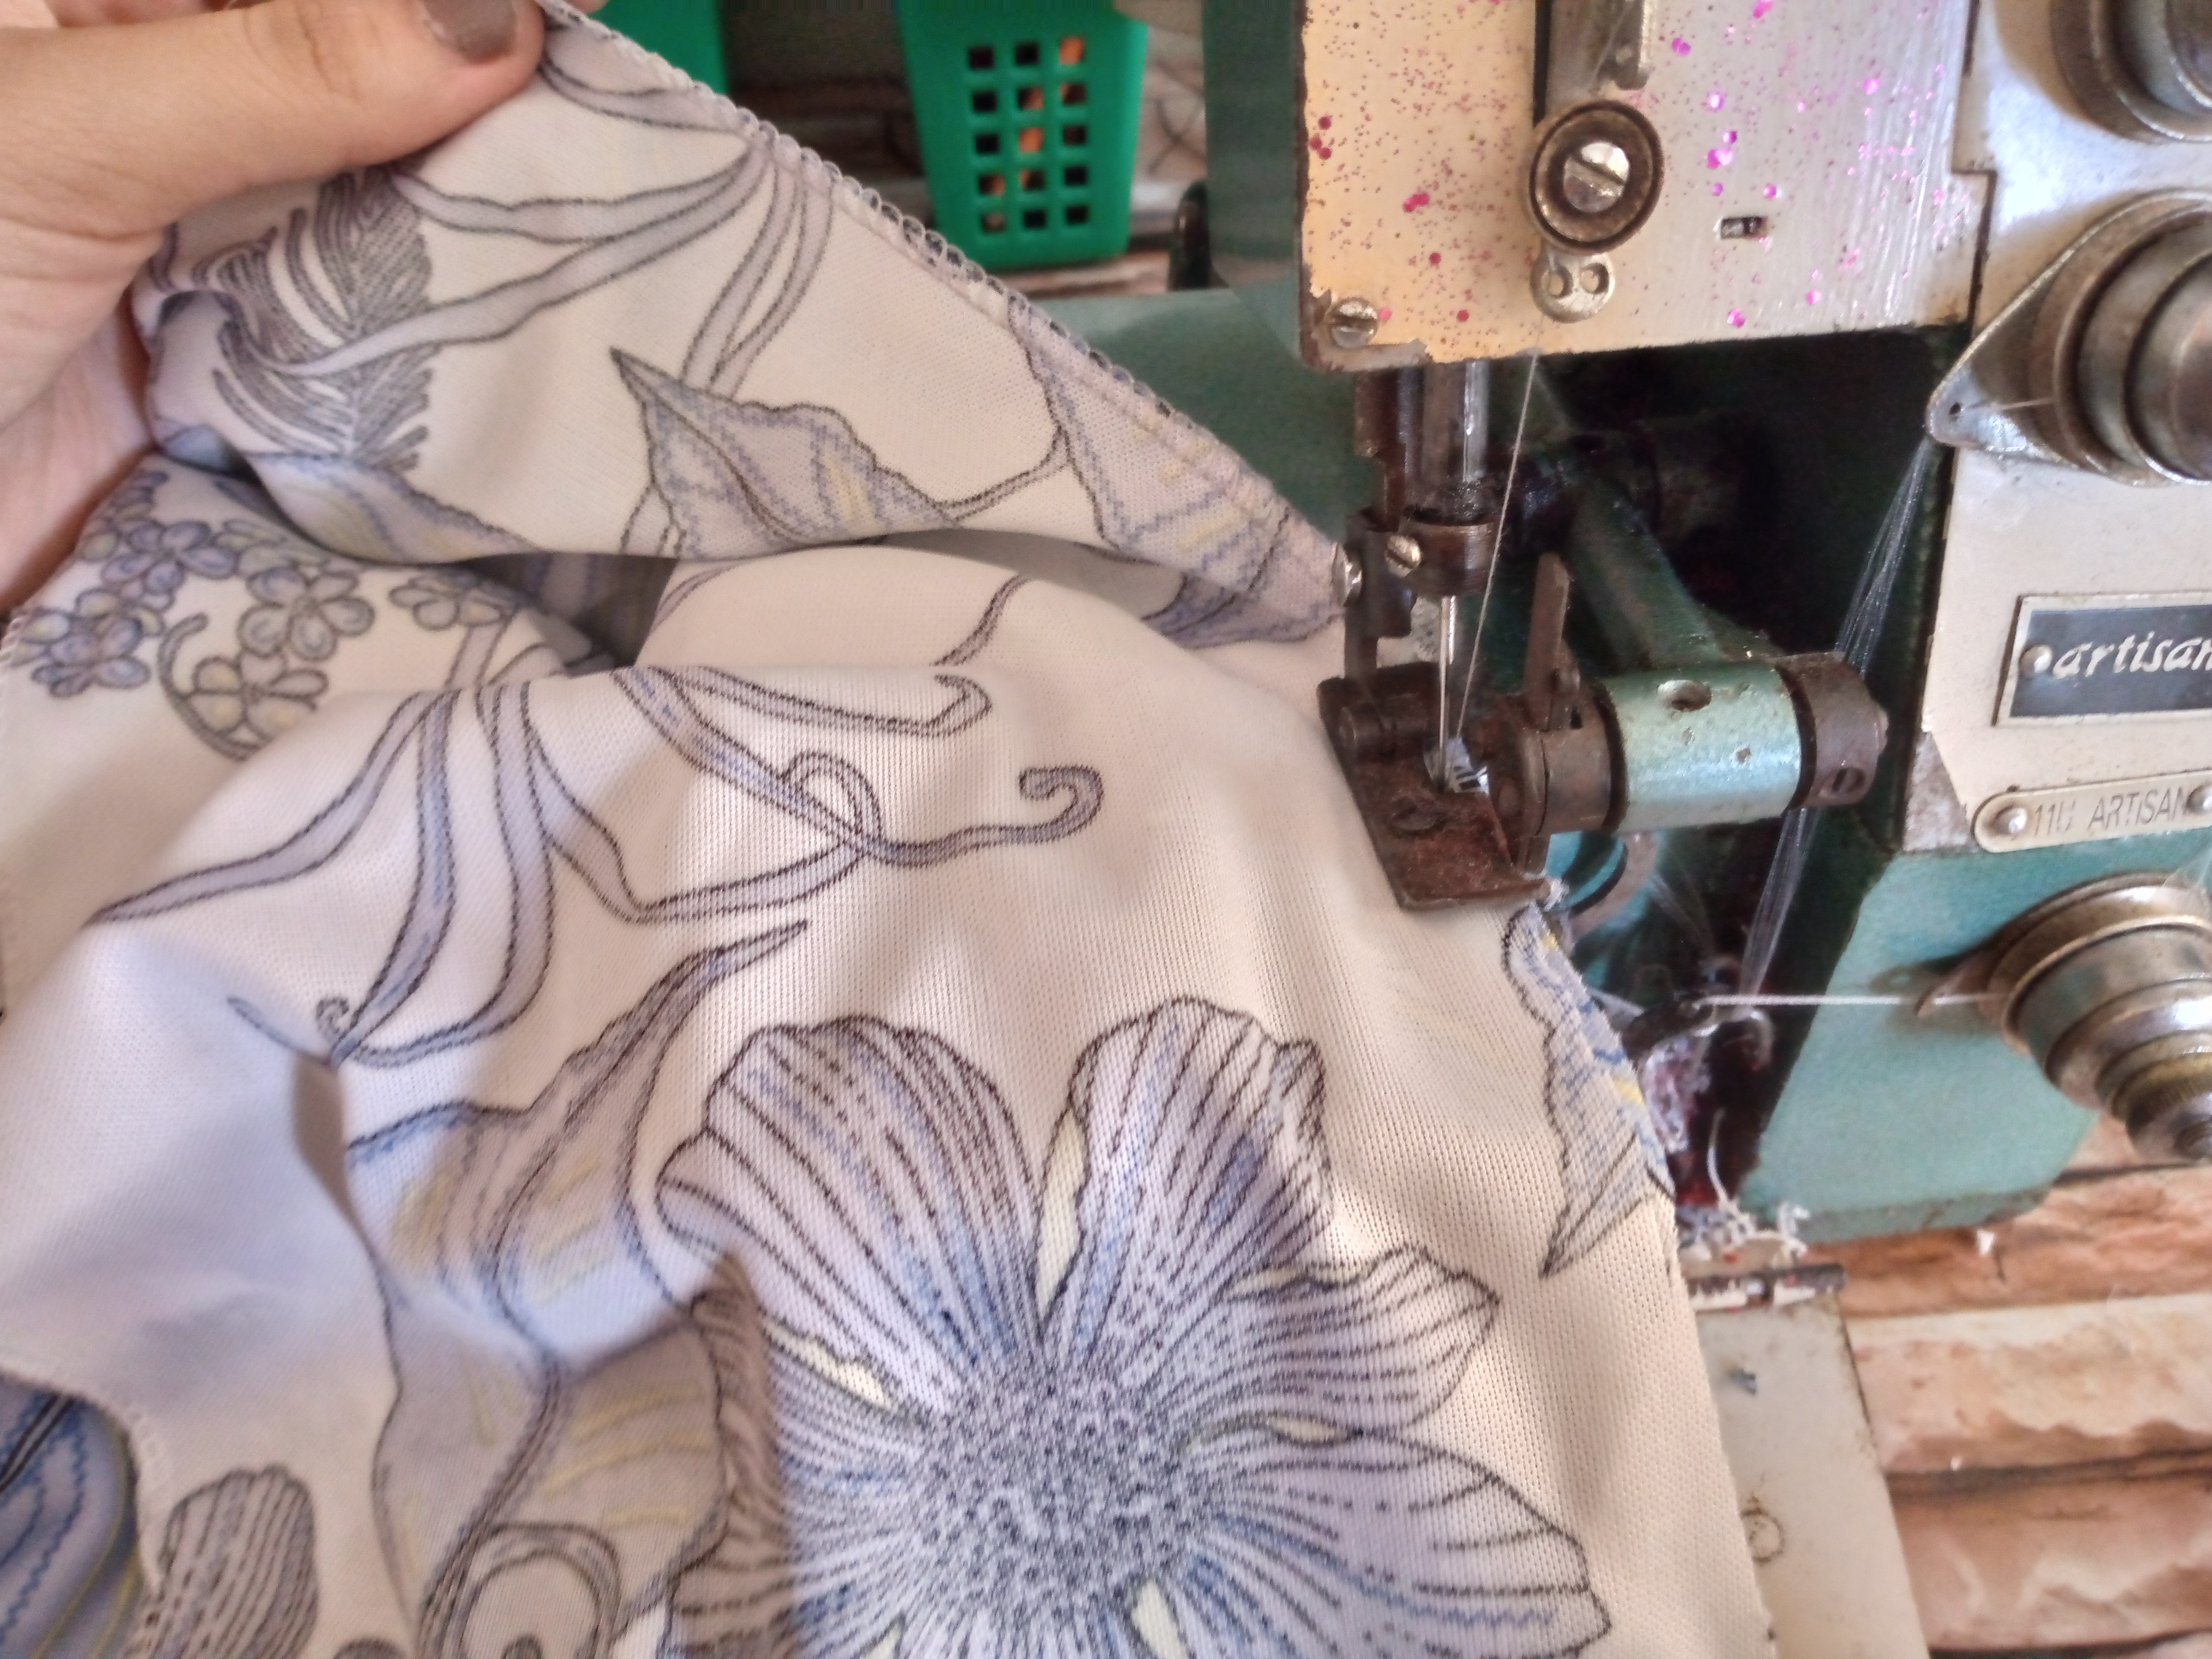
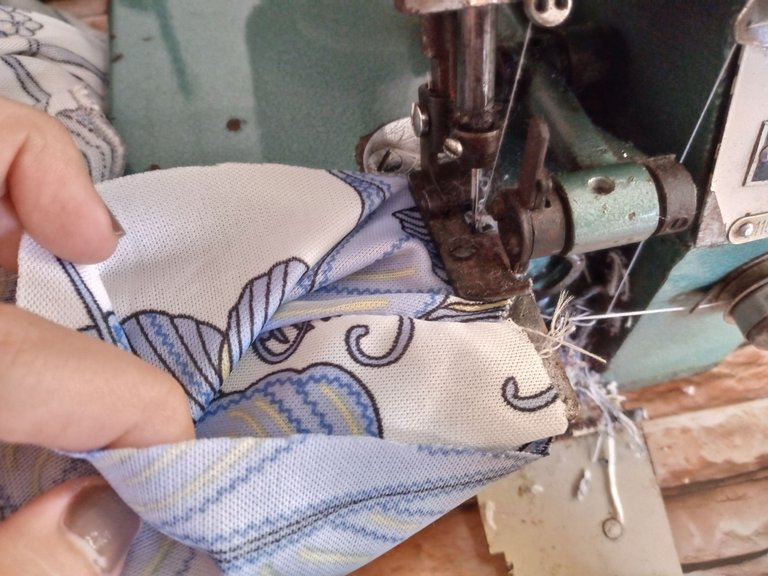
Now we are going to sew our sleeve to the armhole and we will also sew the other sleeve to the armhole and we will seal the sides of the dress as well as the back with an overlock and straight stitch to reinforce it.

Paso 04
Step 04
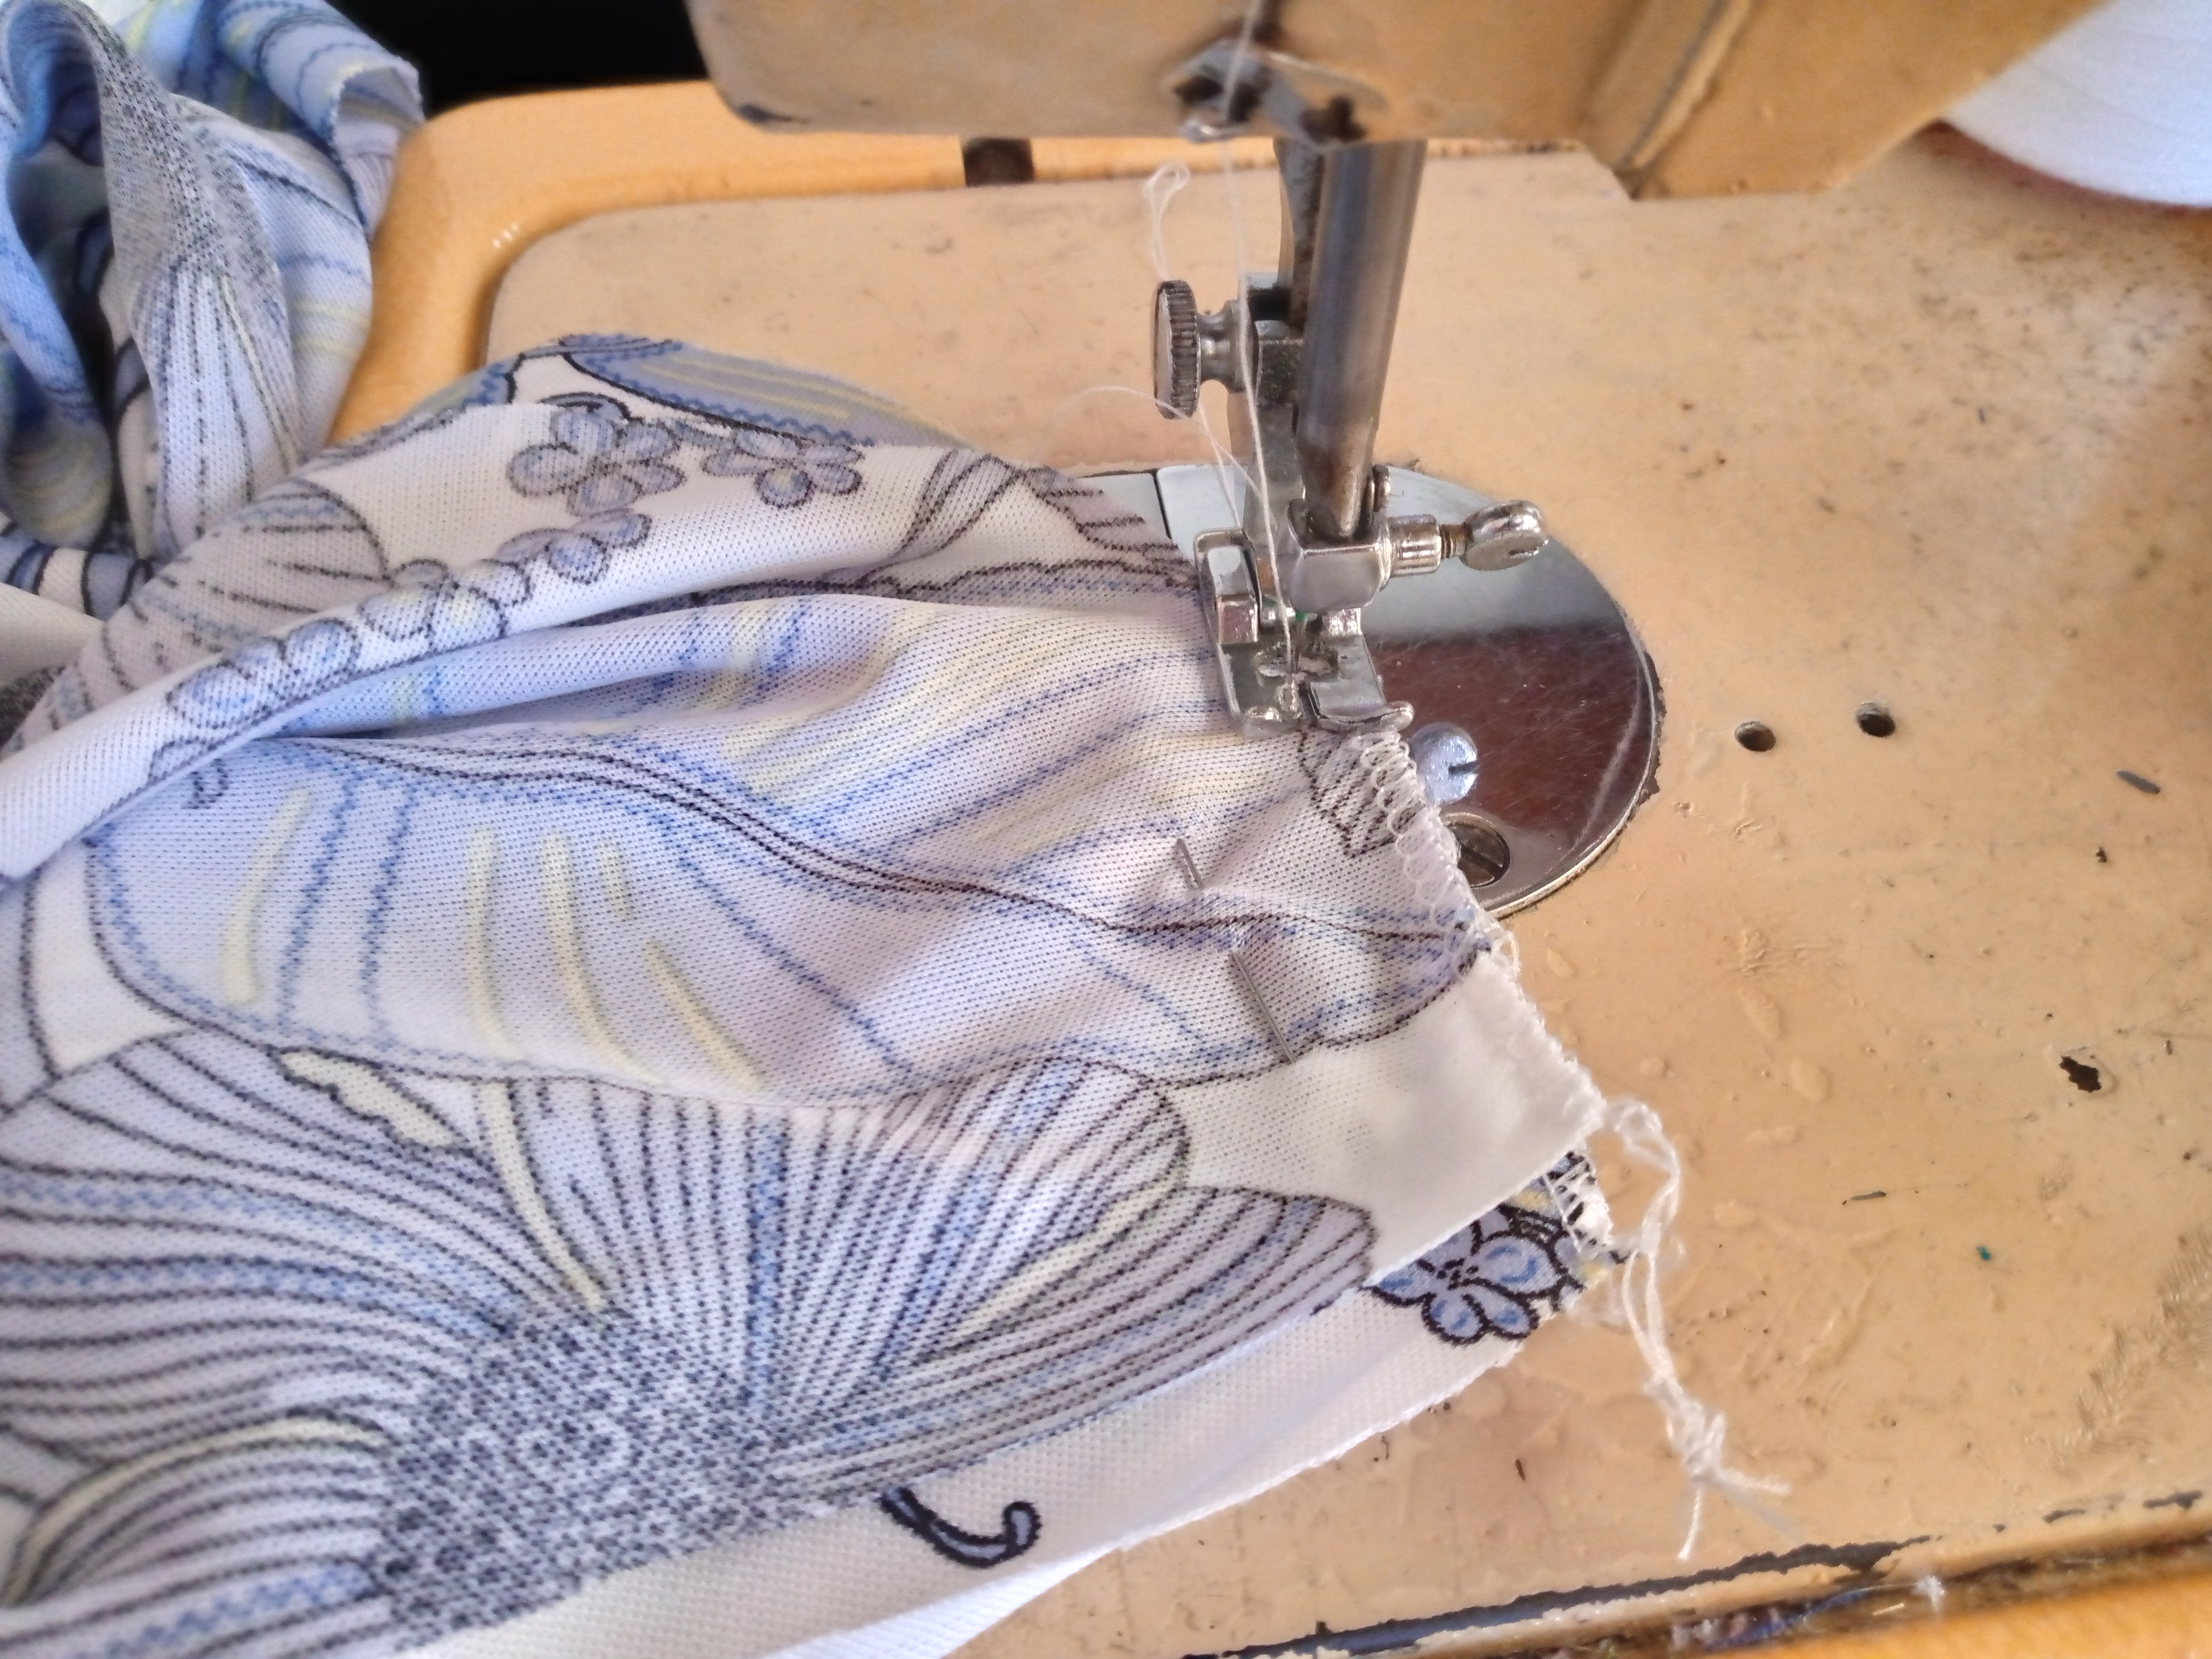
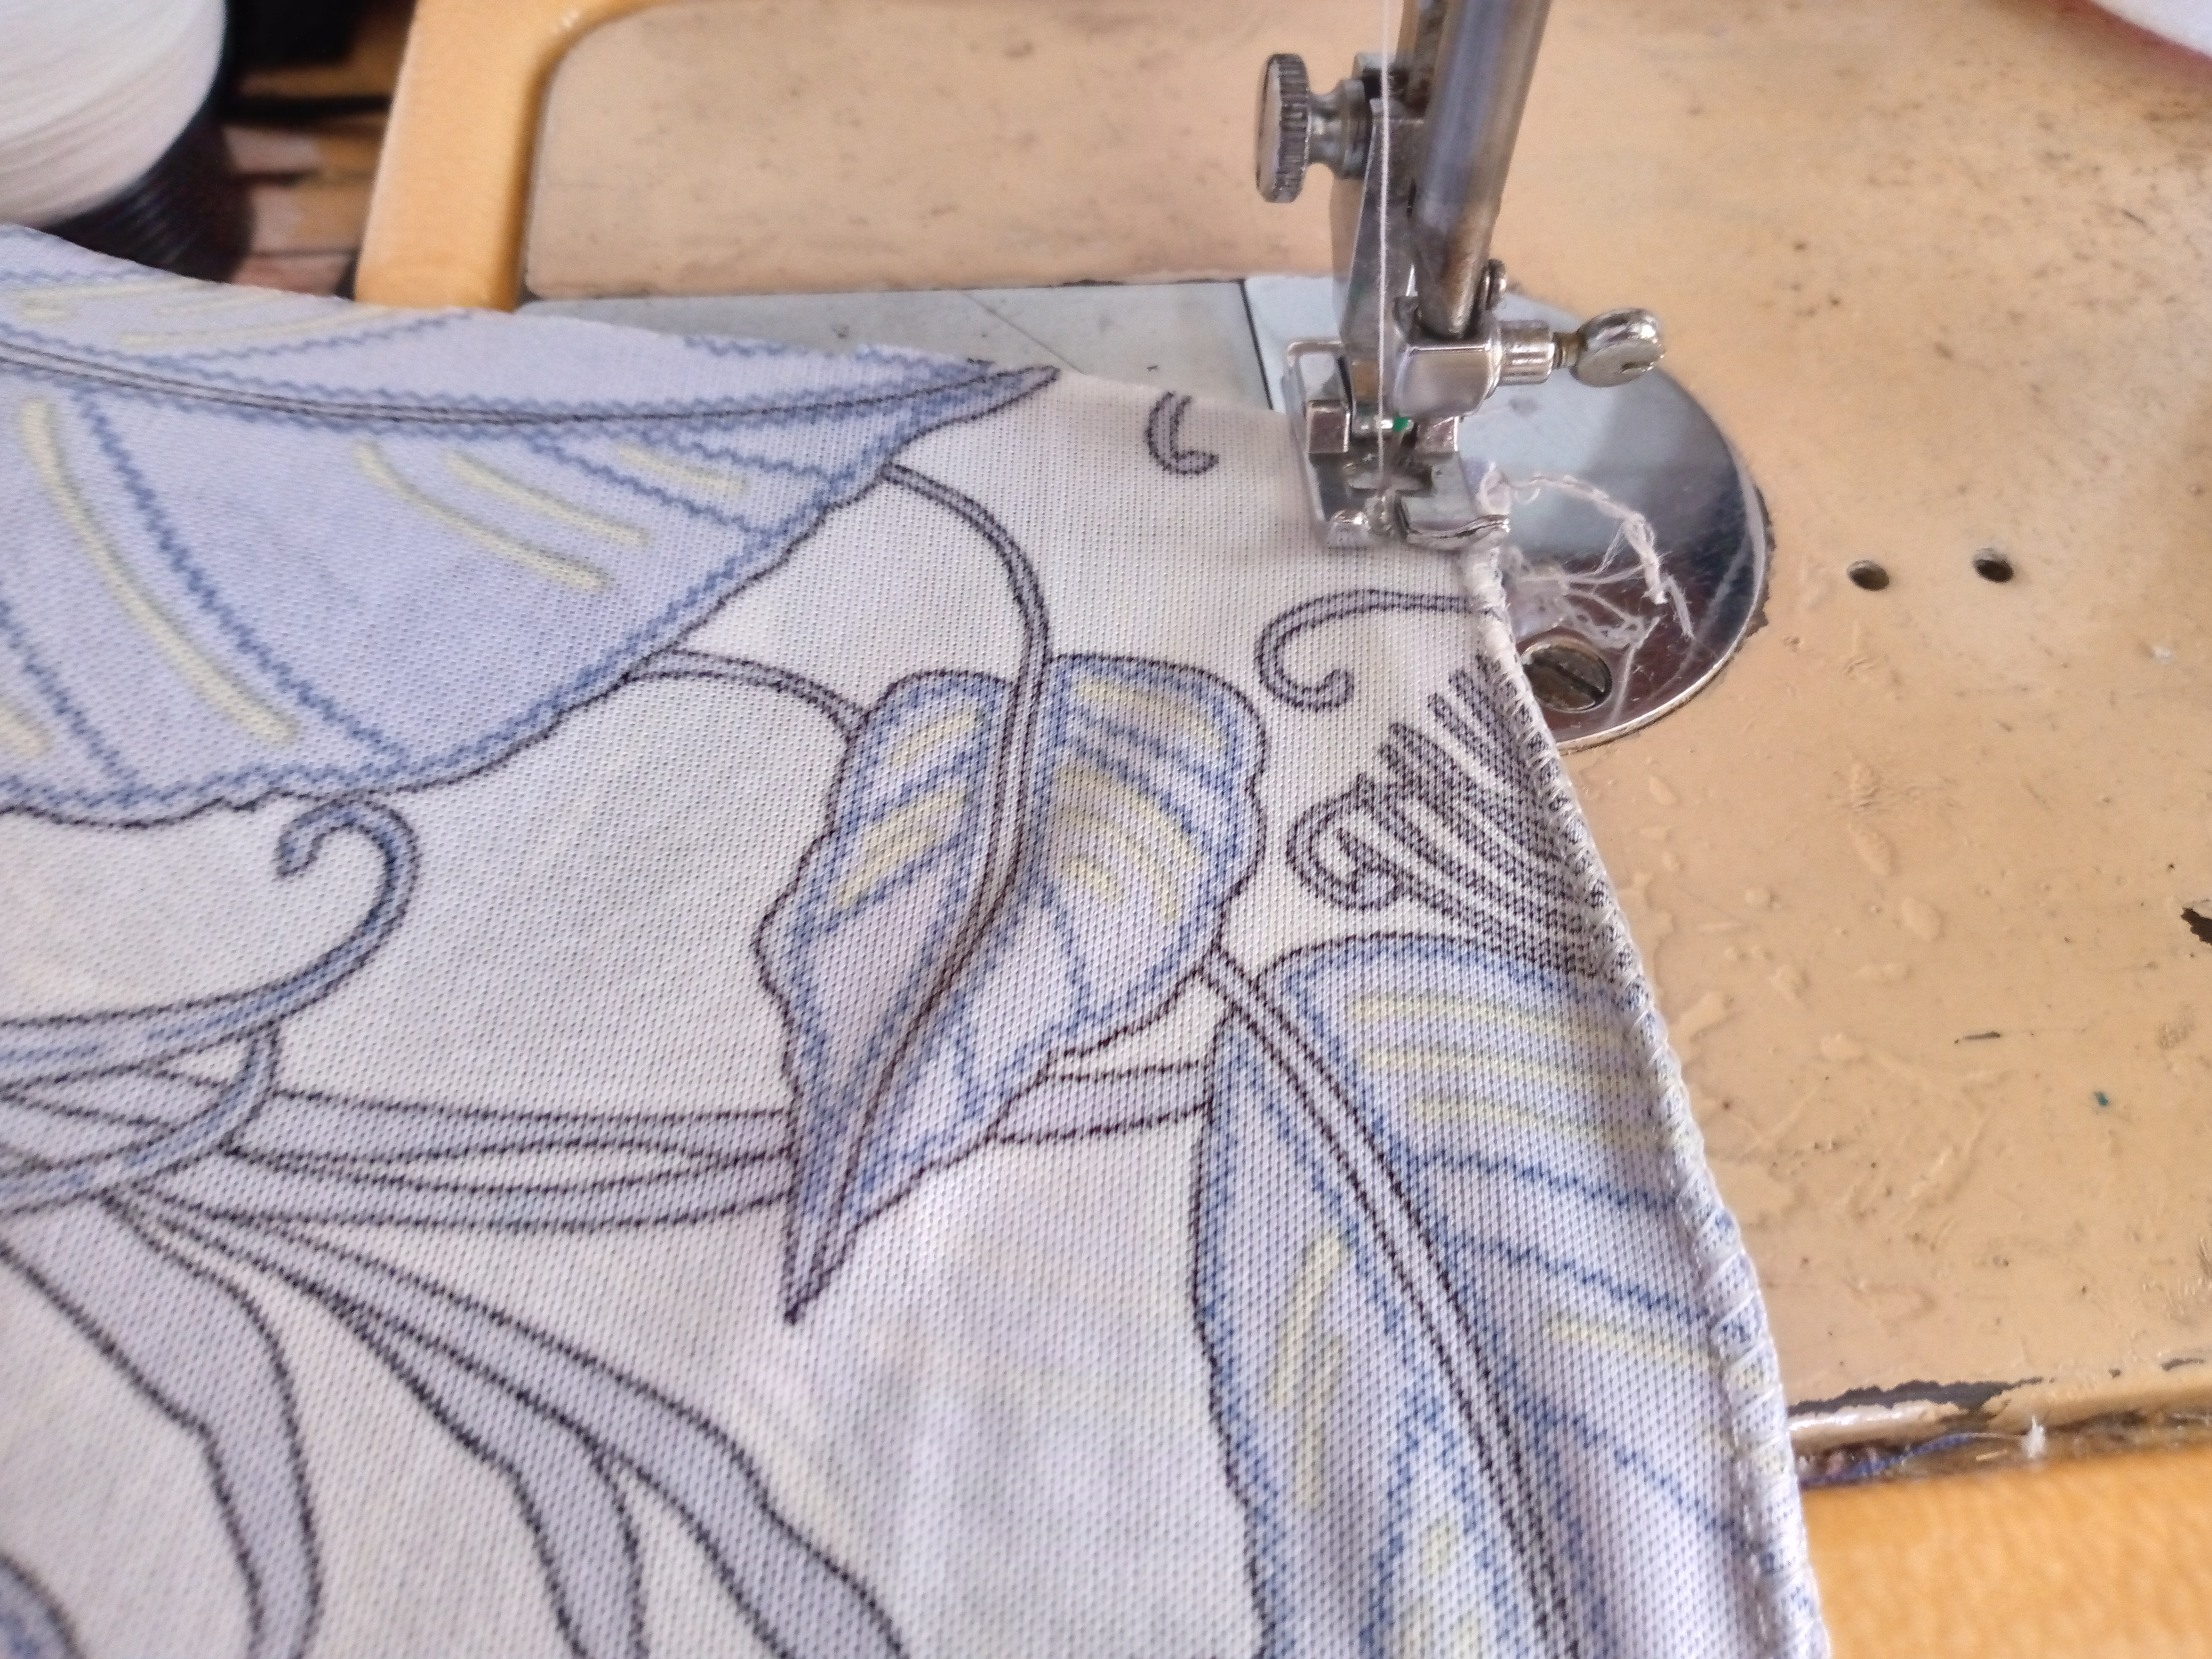
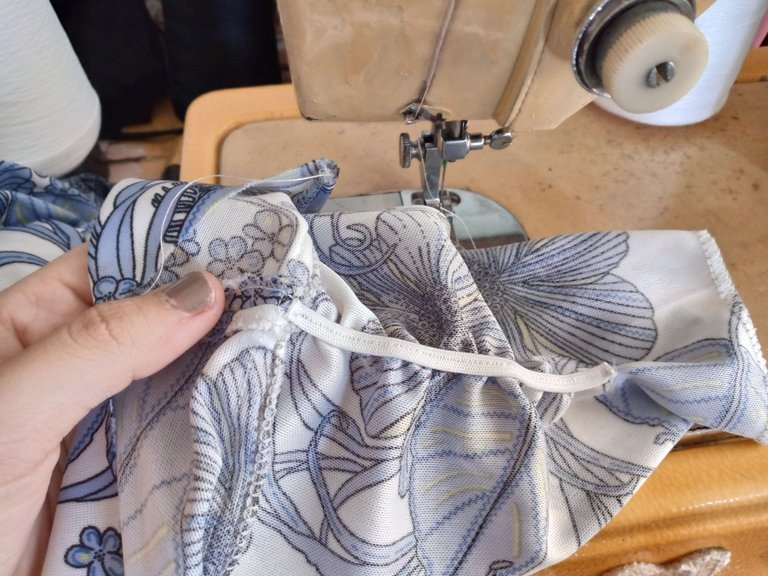
Until this step we continue joining the dress where necessary with a straight seam, then along the bottom edge of the dress we sew it the same way around the outline of the sleeves to make a 1 cm hem on the sleeve as well as the bottom of the dress. On the sleeve I wanted to sew a gathered design with a piece of elastic, what I did was sew it from above the shoulder part, stretching it downwards, leaving 5 cm of elastic unsewn on the sleeve, just for a detail.
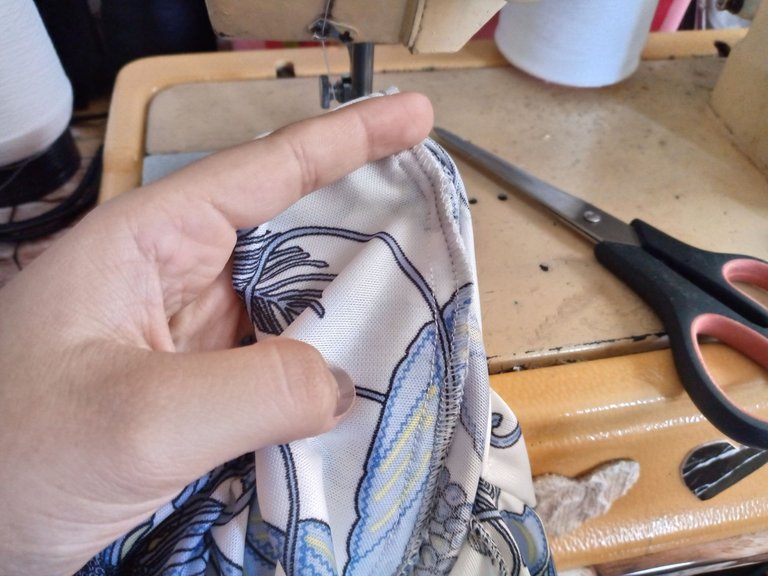
Paso 05
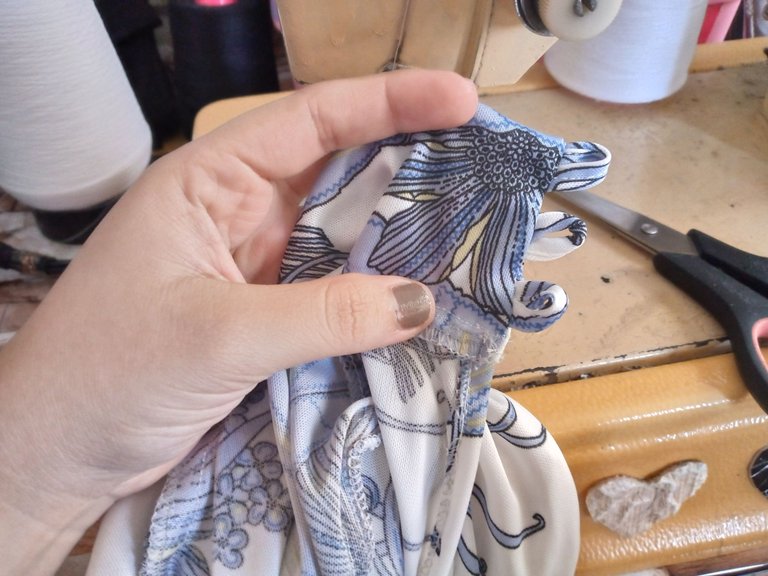
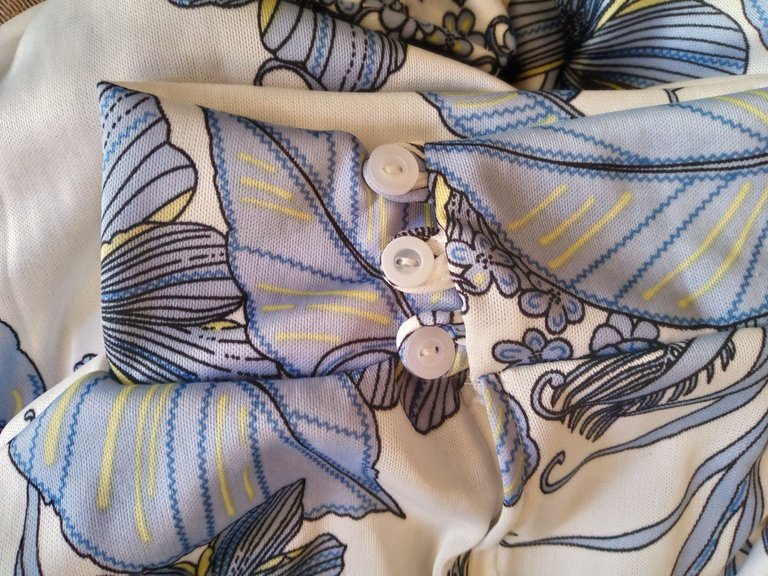
Step 05
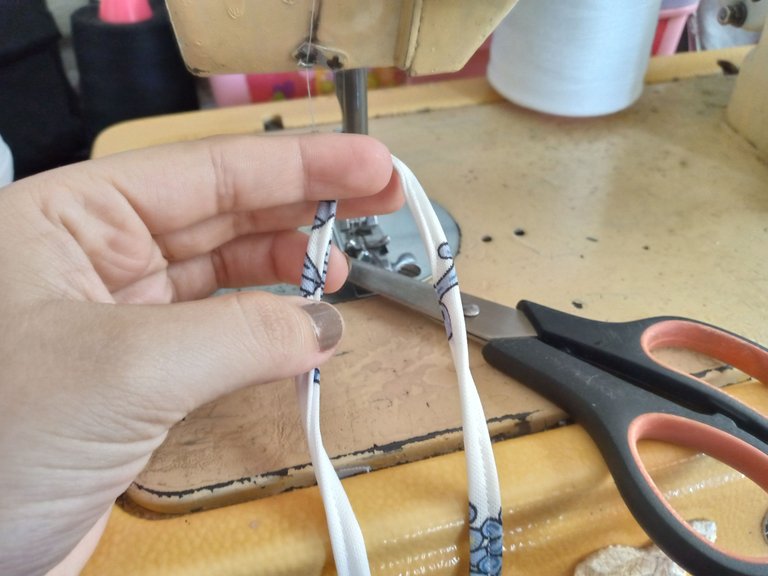
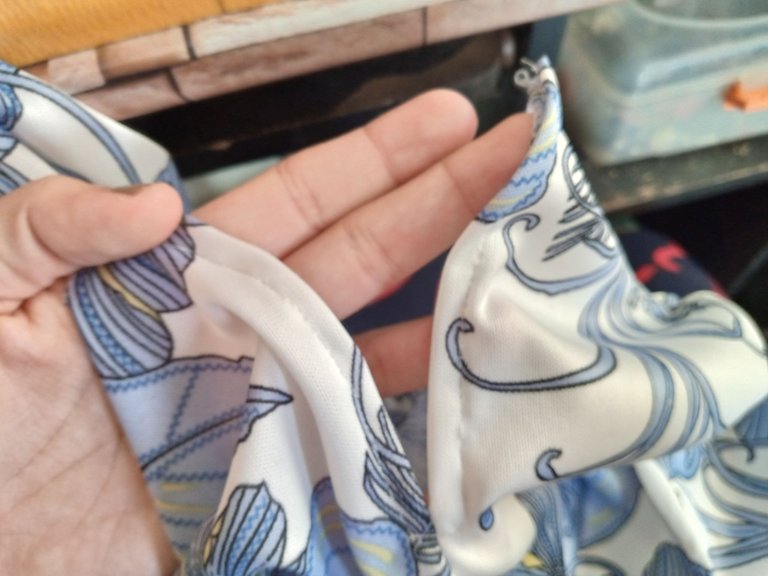
To finish sewing this beautiful dress I am going to sew the bias, well one of the biases and I will sew a long ribbon and I will cut it 4 cm each to form the buttonholes then I will fold them and place them in a corner of the neck and I will sew them along the bottom the same with the other end, then I am going to sew it directly to the neck leaving an opening a little above the dress of 8 cm long once I have sewn it I finish sewing each button and the dress is finished.
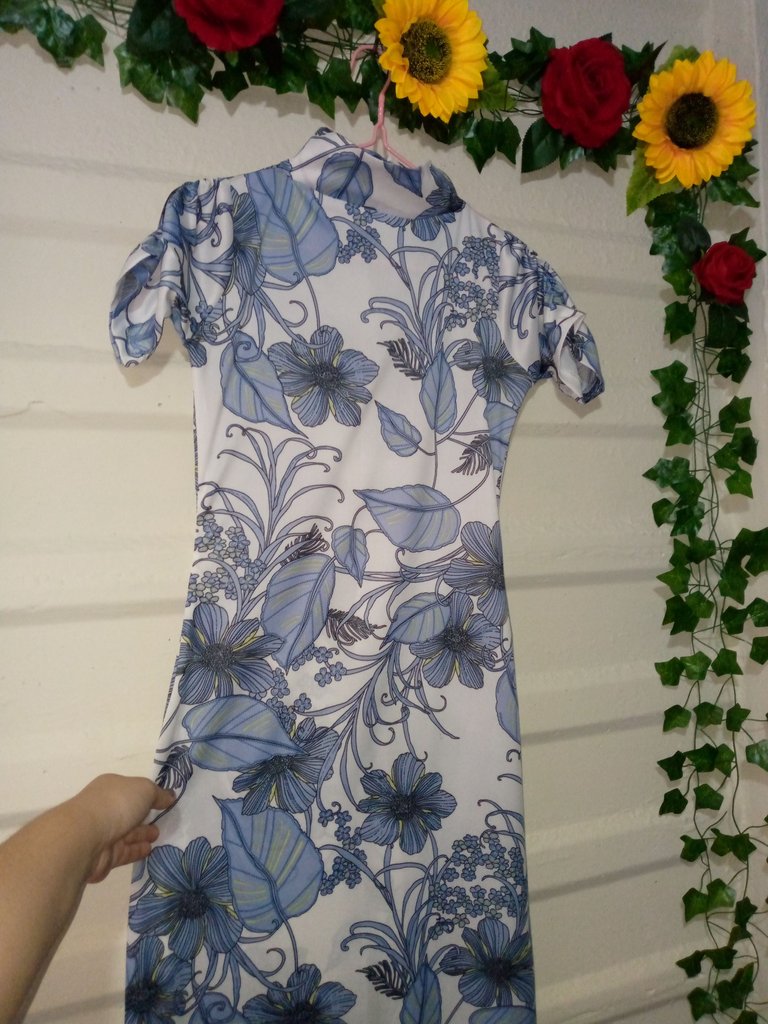
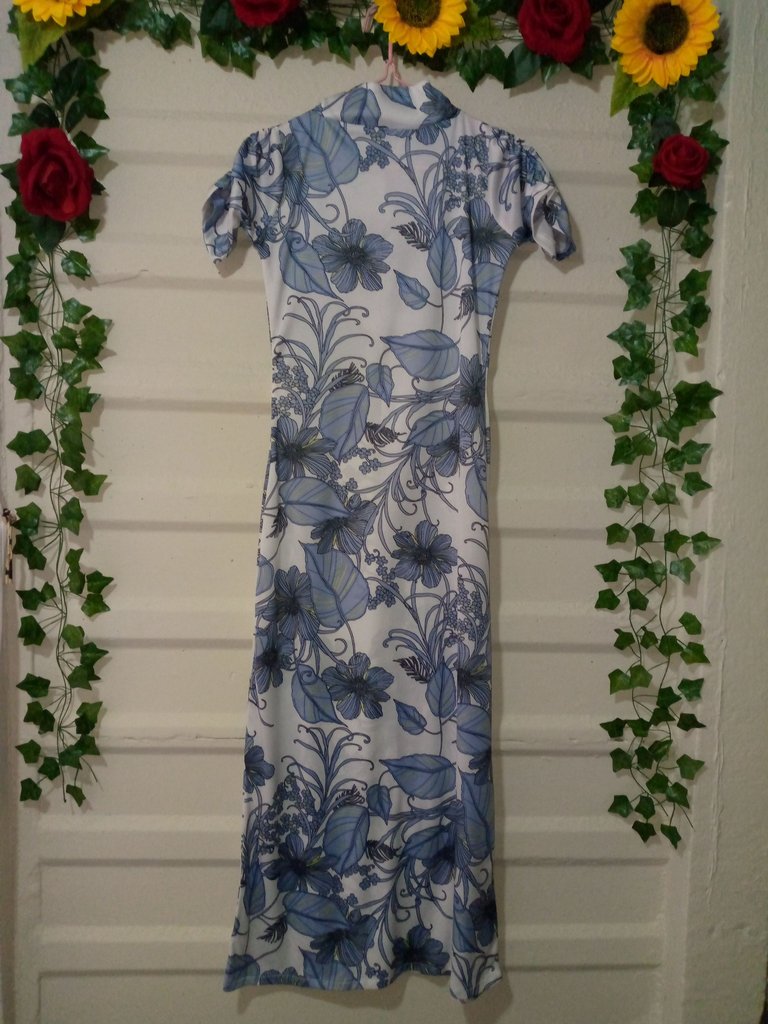
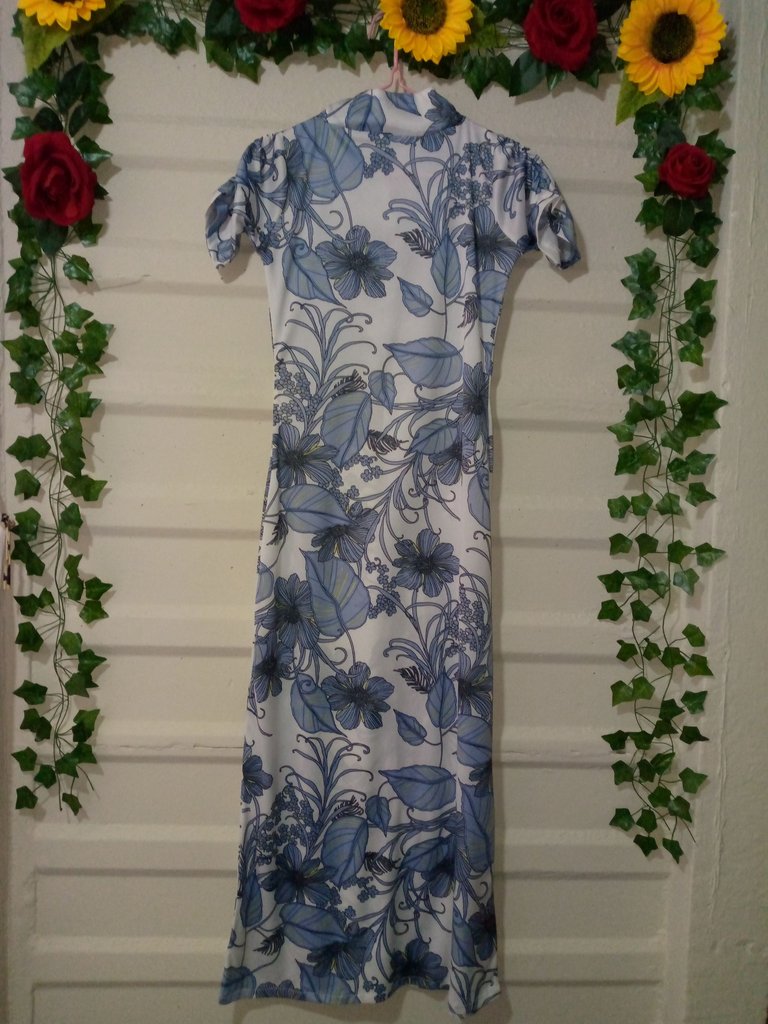
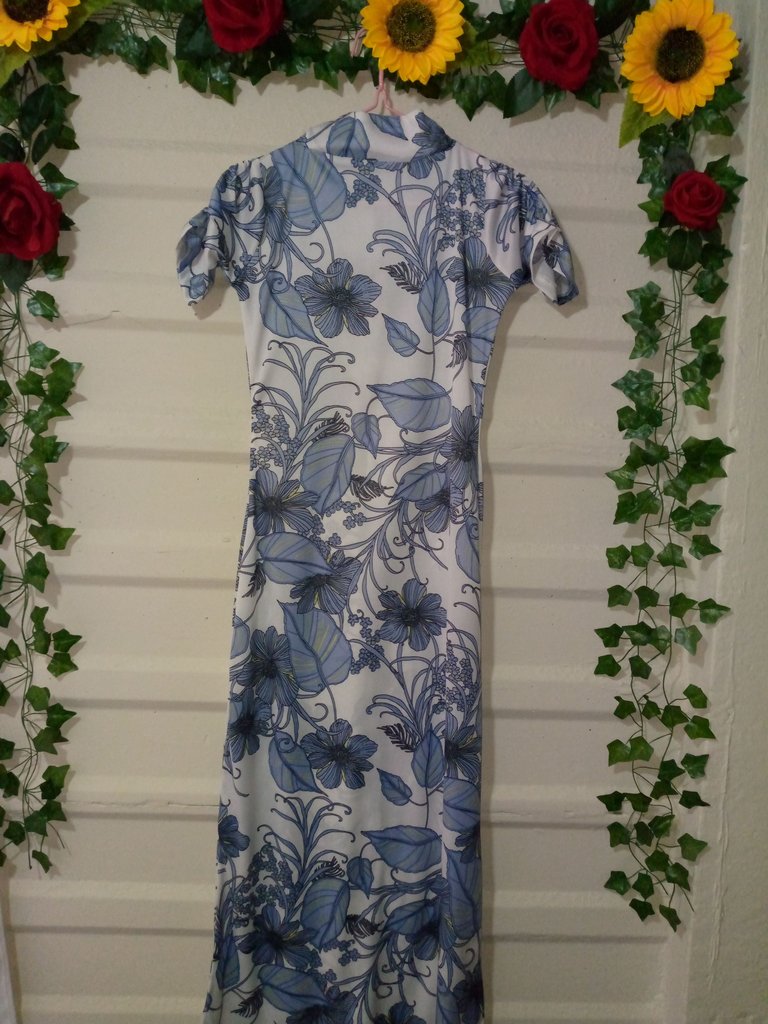
Resultado:// Result:
These are the final results of how the dress looks👗🪡, I would be happy to know that you liked this tutorial and I hope it helps you a lot to sew simple clothes, I say goodbye until another next blog and it was a pleasure to share this work for me 👋🏻🥰Tell me what you thought ??👀.
Creating things with love 🌷❤️
🦋✨ All the images in this publication are my author ,📱taken with my TecnoSpark8C cell phone |📸Photos edited in PicsArt and Canva. Text translated in Google Translate.
The floral pattern on the material is lovely, and you did a good job, I’m sure she will recommend you.
Thanks for sharing
Muchas gracias por tu comentario espero que sí 🤭