✨♥️Confección de short de dama tipo piyamero🪡🧵 //✨♥️Making pajama-style ladies' shorts🪡🧵[Esp~Eng]

in NeedleWorkMonday2 days ago

Picsart_25-02-25_21-37-15-604.jpg

¡Hola lindo día ⛅!un gusto saludarte ,espero se encuentren muy bien queridos y apreciados amigos ,les doy una cálida bienvenida a un nuevo blog donde les estaré compartiendo el proceso creativo de lo que haremos aquí paso a paso , siéntanse cómodos y gracias por estar aquí leyendo este blog.✨❤️

Hello, beautiful day! It's a pleasure to greet you⛅. I hope you are all doing very well, dear and appreciated friends. I warmly welcome you to a new blog where I will be sharing with you the creative process of what we will do here step by step. Feel comfortable and thank you for being here reading this blog.✨❤️

Picsart_24-10-28_22-05-05-895 (1).jpg

Quiero enseñarles mis apreciados amigos y amigas costureras cómo es que hice en cuatro pasos este short de dama tipo piyamero de tela microdurazno especial para dormir cómodamente ,a mi me encanta hacer estos short sobre todo cuando utilizo falda porque prefiero usarlos así que usar solo un medio fondo así que llegaron para solucionarme la vida desde que aprendí a hacerlos, independientemente de para que tú quieras hacerlo, o usarlo,aquí te comparto el tutorial donde verás como aprender a hacerlo,vamos con los materiales.

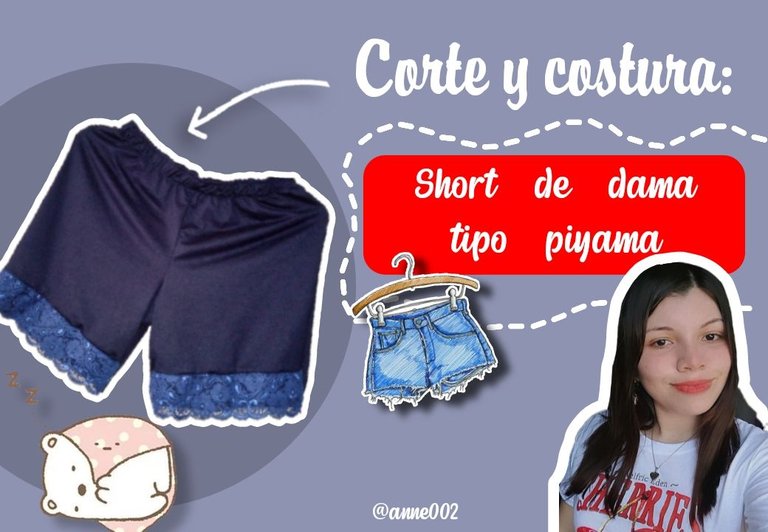
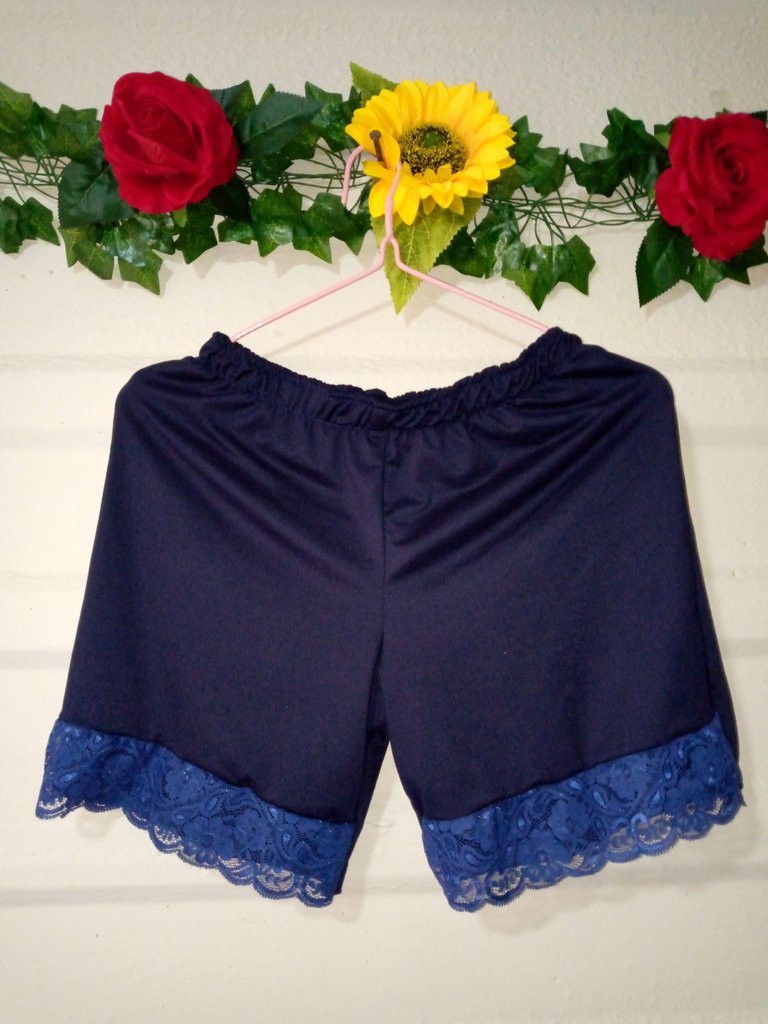
I want to show you, my dear sewing friends, how I made these pajama-style ladies shorts made of micropeach fabric, special for sleeping comfortably, in four steps. I love making these shorts, especially when I wear a skirt, because I prefer to wear them like this than just a half-bottom, so they have come to make my life easier since I learned to make them, regardless of what you want to make them for or wear them for. Here I am sharing the tutorial where you will see how to learn how to make them. Let's get to the materials.


IMG_20250219_095133_271.jpg

Picsart_24-10-28_22-05-05-895 (1).jpg

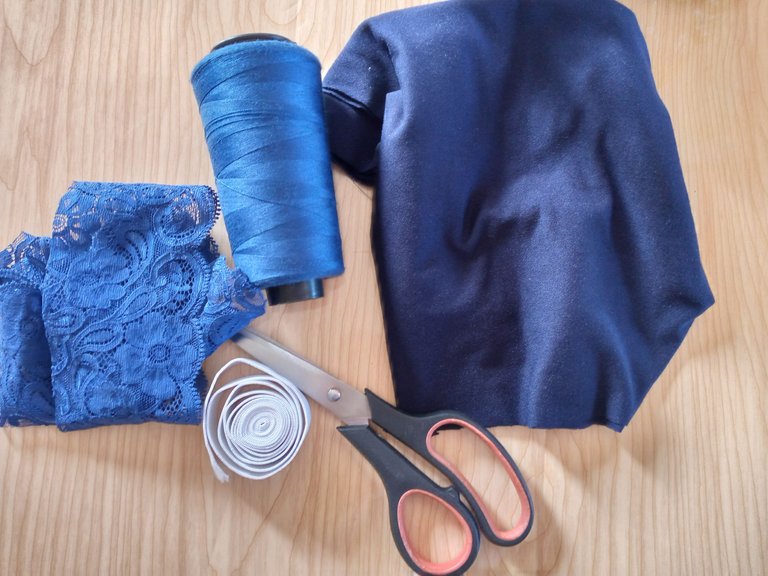
Materiales:// Materials:

  • Elástico de 2 cm
  • 50 cm de tela microdurazno
  • Tijeras
  • Encaje grueso
  • Máquina de coser
  • Hilo

  • 2 cm elastic
  • 50 cm micropeach fabric
  • Scissors
  • Thick lace
  • Sewing machine
  • Thread

Picsart_24-10-28_22-05-05-895 (1).jpg

Pasos a seguir://Steps to follow:
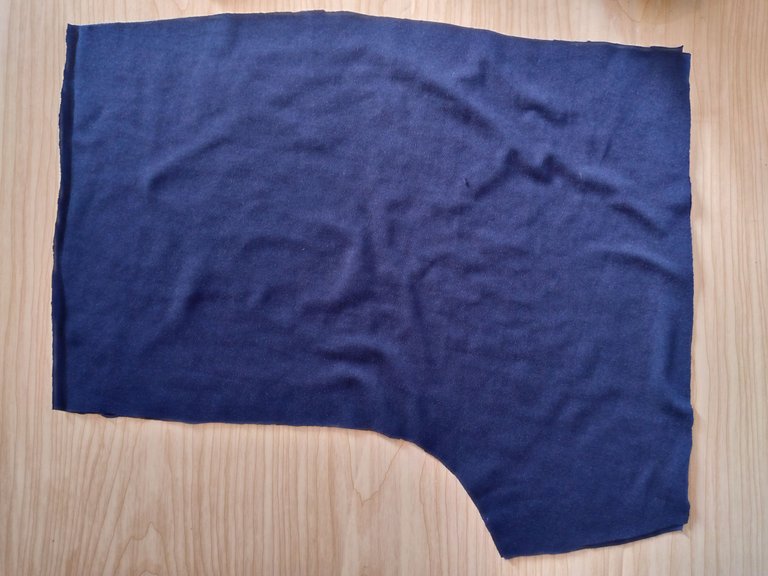
IMG_20250219_095628_327.jpg

IMG_20250219_095612_958 (1).jpg

IMG_20250219_095650_428.jpg

Paso 01

Vamos a comenzar a cortar las piezas del short dos piezas delantera y traseras,la pieza delantera en la pierna le hice un corte porque en esa parte vamos a colocarle el encaje es por eso que lo corté así un poco más corto que la pieza de atrás.

Step 01

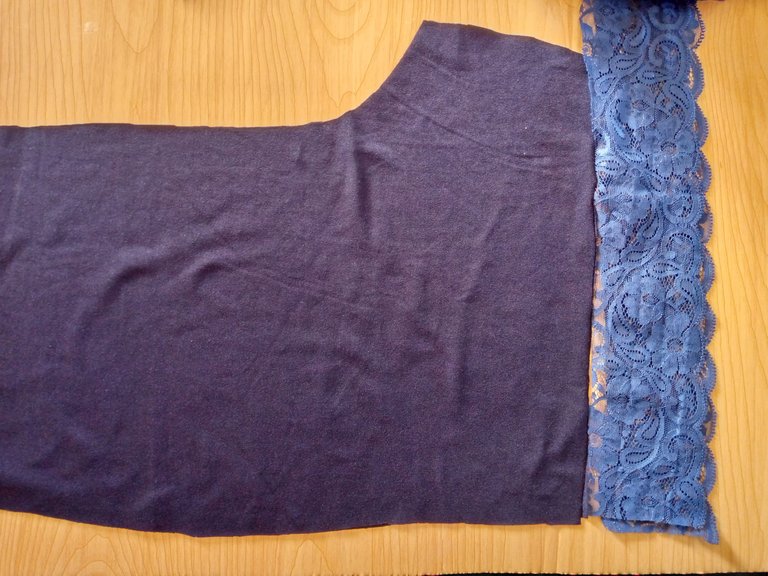
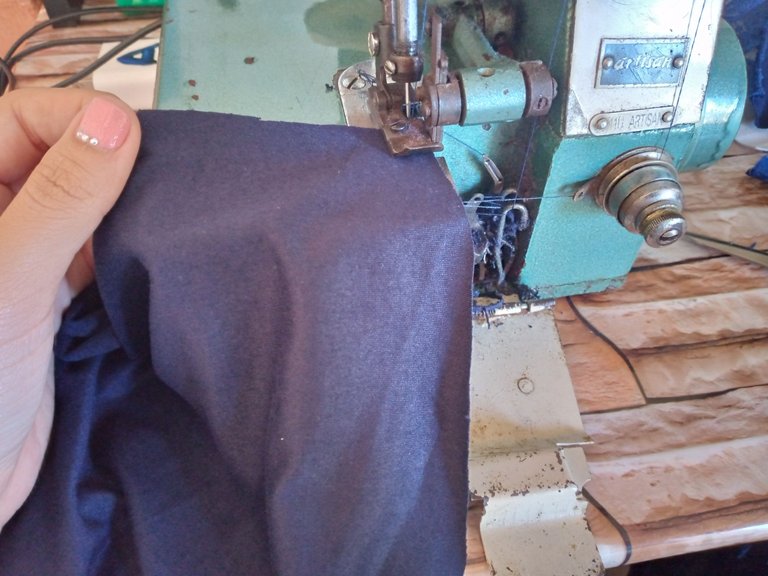
We are going to start cutting the shorts pieces, two front and back pieces. I made a cut in the front leg piece because that is where we are going to place the lace, that is why I cut it a little shorter than the back piece.
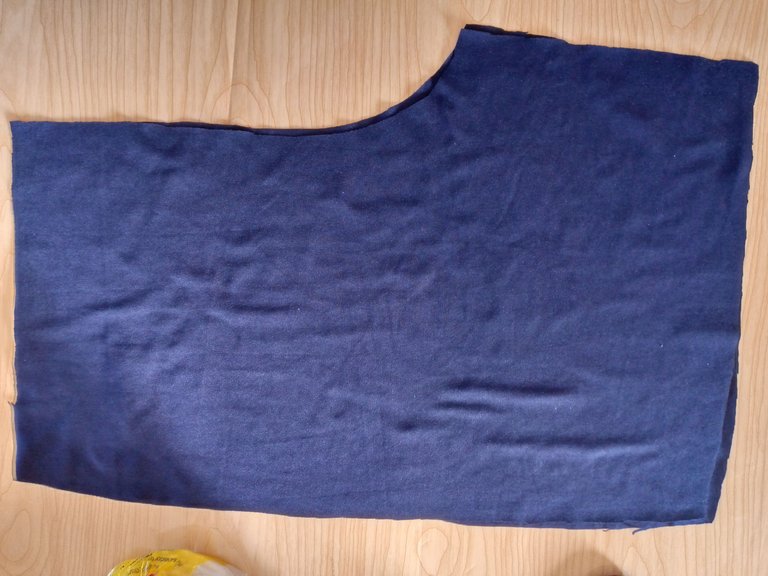

IMG_20250219_095943_070.jpg

IMG_20250219_100309_592.jpg

IMG_20250219_100652_041.jpg

Paso 02

Vamos a pasar a coser el encaje con la pieza delantera ambas piezas luego empatamos las piezas de la parte trasera.

Step 02

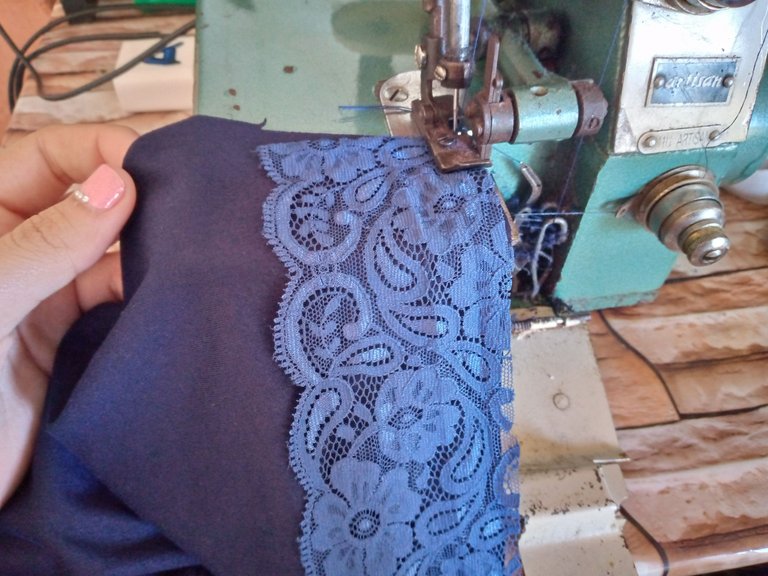
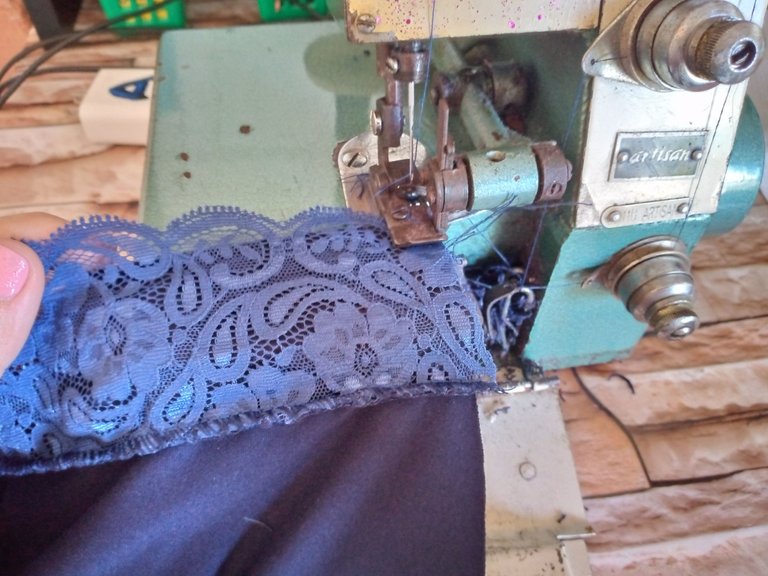
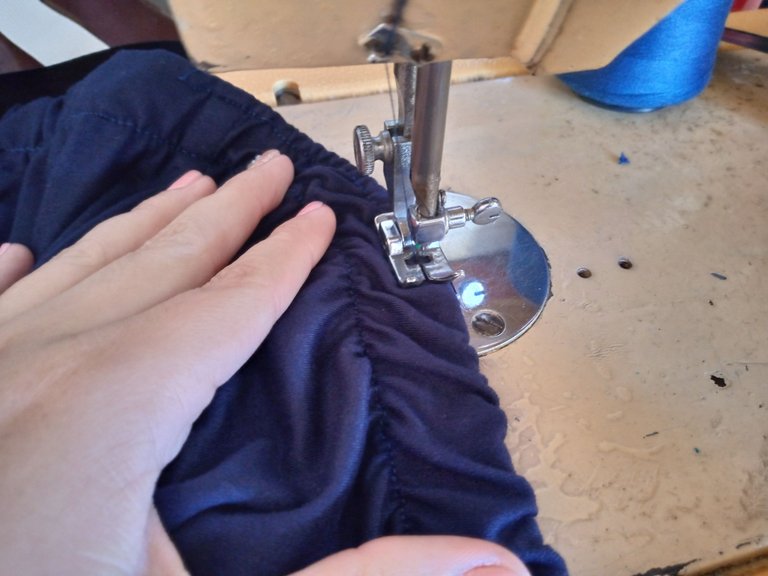
We are going to sew the lace with the front piece, then we will tie the back pieces together.


IMG_20250219_100853_705.jpg

IMG_20250219_101933_247.jpg

Paso 03

Luego pasamos a coser las piezas de atrás en la parte de la pierna cosemos con overlock para hacer el dobladillo en la parte de abajo después unimos las piezas por los costados de ambas piernas.

Step 03

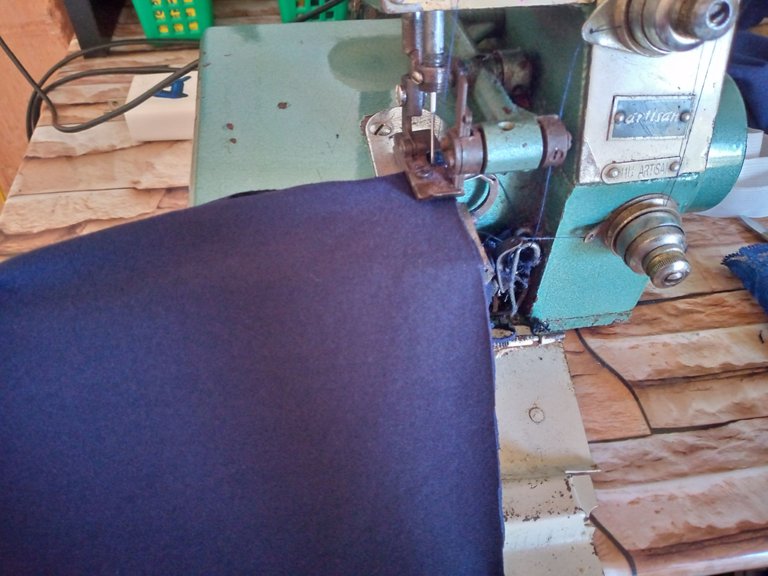
Then we sew the back pieces on the leg part. We sew with an overlock to make the hem at the bottom, then we join the pieces on the sides of both legs.


IMG_20250219_102447_877.jpg

IMG_20250219_105335_268.jpg

IMG_20250219_105822_154.jpg

Paso 04

Vamos a unir después nuestro elástico del tamaño de nuestra cintura ,y entonces lo que haremos será ubicarlo en la parte de atrás de mi pieza trasera del short por dentro y cosemos por el contorno con la overlock y luego repisamos por encima con costura recta y cosemos el dobladillo de las piezas de atrás para finalizar.

Step 04

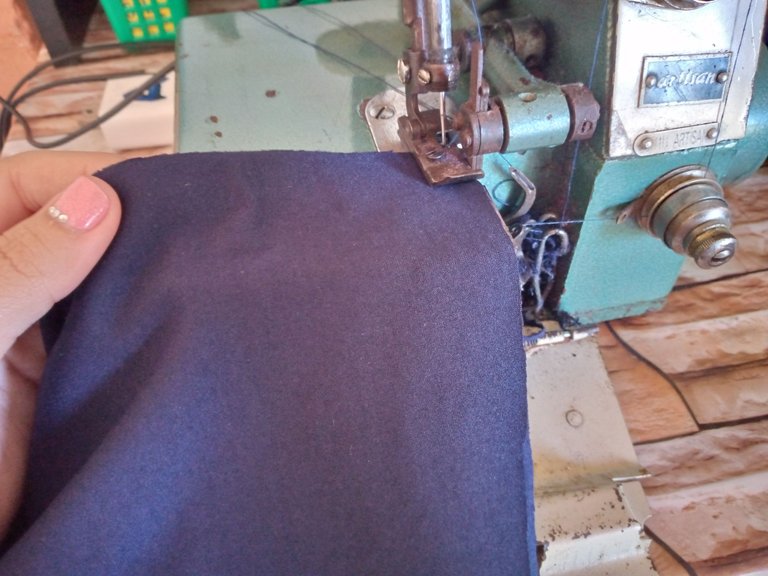
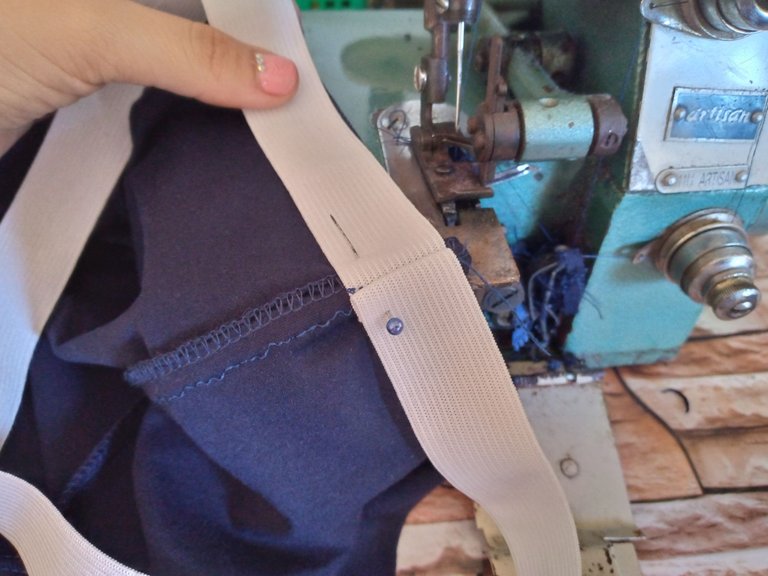
We are going to join our elastic the size of our waist next, and then what we will do is place it on the back of my back piece of the shorts on the inside and sew around the outline with the overlock and then go over it with a straight stitch and sew the hem of the back pieces to finish.


Picsart_24-10-28_22-05-05-895 (1).jpg

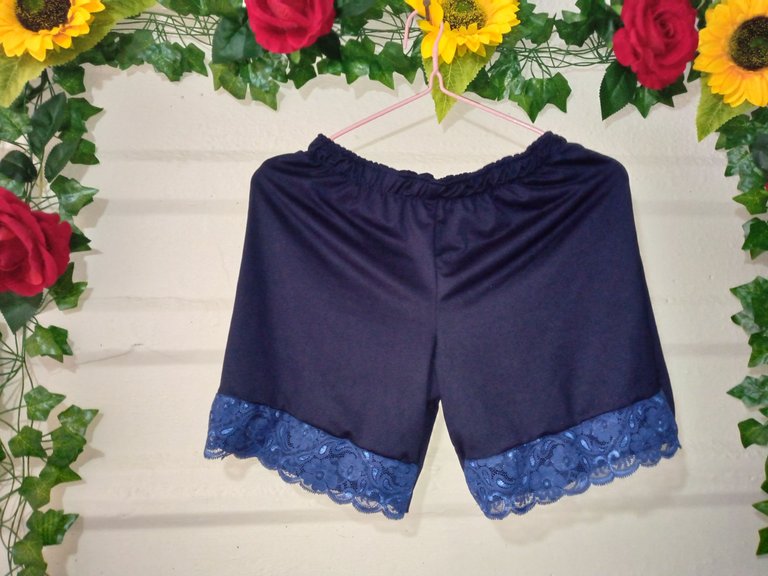
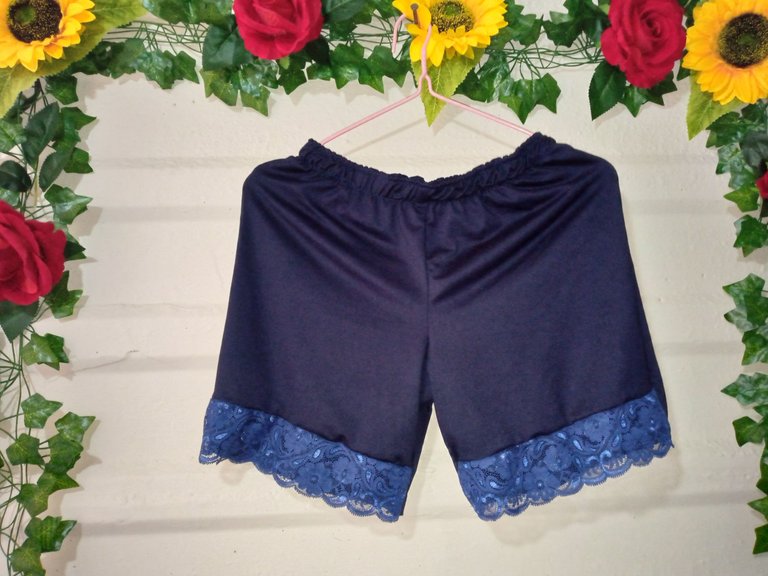
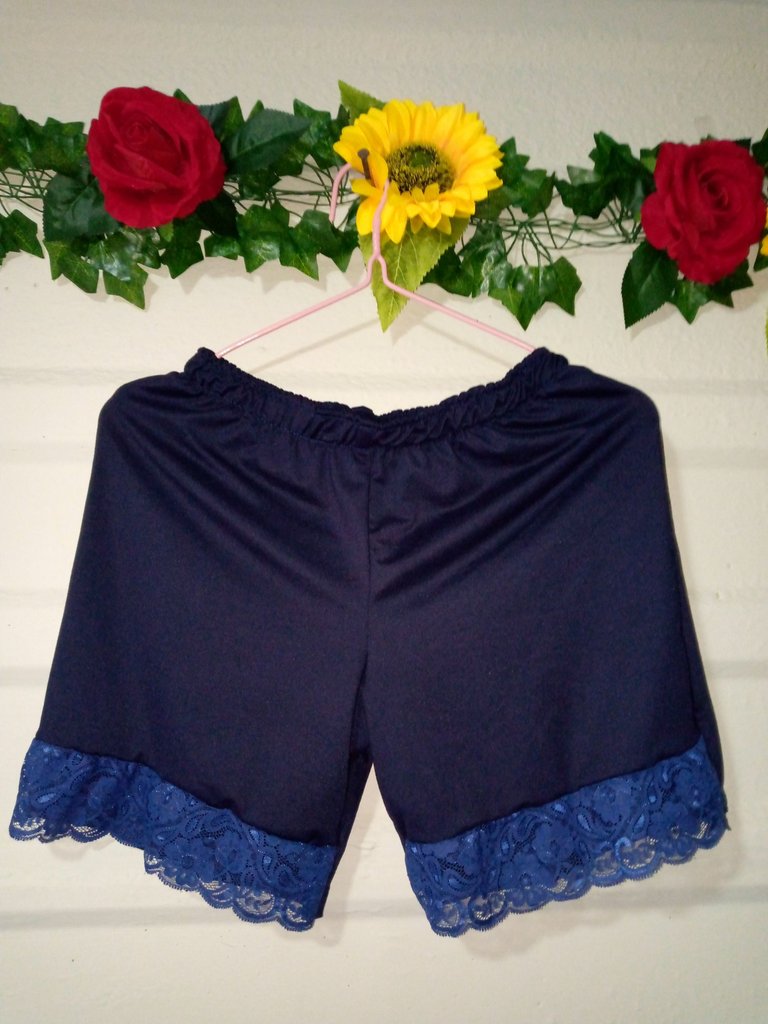
Resultado:// Result:

De esta forma terminamos de hacer y confeccionar este short listo para usar 🤭me quedó bien este short porque lo hice de mi talla y con una medida ,espero te guste esta confección de hoy y me cuentes que tal te ha parecido.🥰Les deseo un feliz día y gracias por estar nuevamente aquí conmigo en este tutorial sencillo,nos vemos hasta otro próximo tutorial.

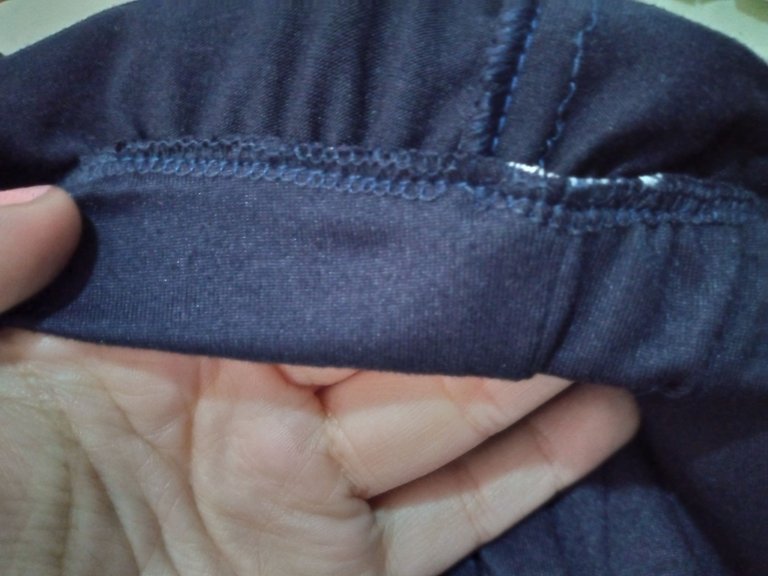
In this way we finished making and sewing these shorts ready to wear 🤭These shorts fit me well because I made them in my size and with a measurement, I hope you like today's creation and tell me what you think of it. 🥰I wish you a happy day and thank you for being here with me again in this simple tutorial, see you until another next tutorial.

IMG_20250219_110252_154.jpg

IMG_20250219_110250_237.jpg

IMG_20250219_110210_573.jpg

IMG_20250219_110229_424.jpg

Picsart_24-10-28_22-05-05-895 (1).jpg

Creando las cosas con amor 🌷❤️

🦋✨Todas las imágenes de esta publicación son de mi autoria ,📱tomadas con mi celular TecnoSpark8C |📸Fotos editadas en PicsArt y Canva. Texto traducido en el traductor de Google.

Creating things with love 🌷❤️

🦋✨ All the images in this publication are my author ,📱taken with my TecnoSpark8C cell phone |📸Photos edited in PicsArt and Canva. Text translated in Google Translate.


Gracias por visitar mi blog_20241117_145338_0000.png


Sort:  

The final result is pretty cool. It is beautiful and stylish. It's good to see each step of making this. Nice work!

Thank so much @diyhub for the support ♥️🙆🏻‍♀️