Hello friends, it's a pleasure to greet you. I hope you are still enjoying the day and the night. I want to share with you a job that I finished just on Friday and that I couldn't do yesterday and I'm only sharing it with you today. Note that I had a sweater in my wardrobe that I felt was too wide on top, tight at the waist and a bit short, but I wanted to transform this piece into a simple blouse to wear at home because the hot season is coming and at those times you just want to wear fabrics that are comfortable and soft.

What I will do is cut out the shape of the blouse and sew it with my overlock machine, so I can have a piece that is more transformed from a sweater. It was super easy for me to do it, although I really didn't have much experience transforming something from a sweater, but you know that here I solve things and I try to do things patiently so that the result is very good and I am of course satisfied with it.
Don't miss out on seeing the process and how it turned out, let's get to work and make this sweater a work of art in sewing.🧵🪡
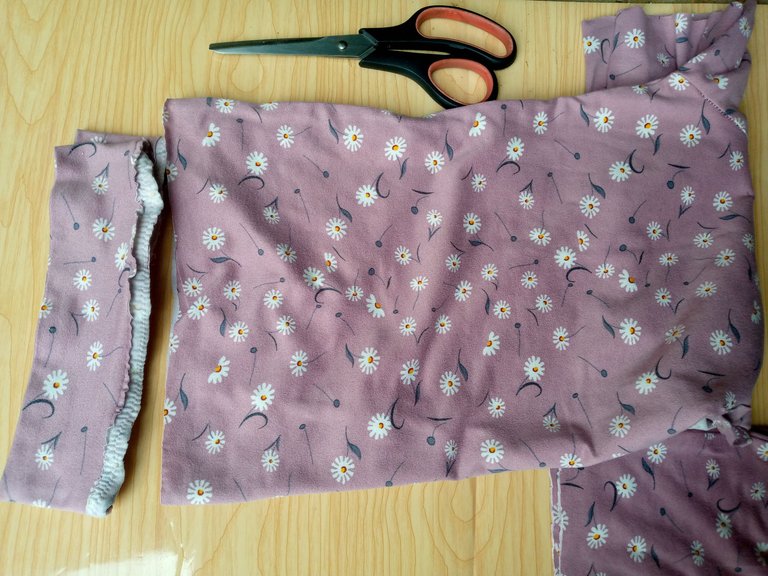
Before starting to cut and transform I used my scissors, some thread cutters, my sewing machine and my thread, also a measuring tape if necessary because since this sweater is wide I will be reducing the measurement of what it is.
It is also important to keep in mind that we are going to transform or work with this type of fabric, in this case the one that the sweater is made of is micropeach, so it is important that when I cut my sweater to the measurement of my body,I cut it exactly to the measurement, so that is what I wanted to tell you, so let's go with the process.
Pasos a seguir://Steps to follow:
Paso 01
Step 01
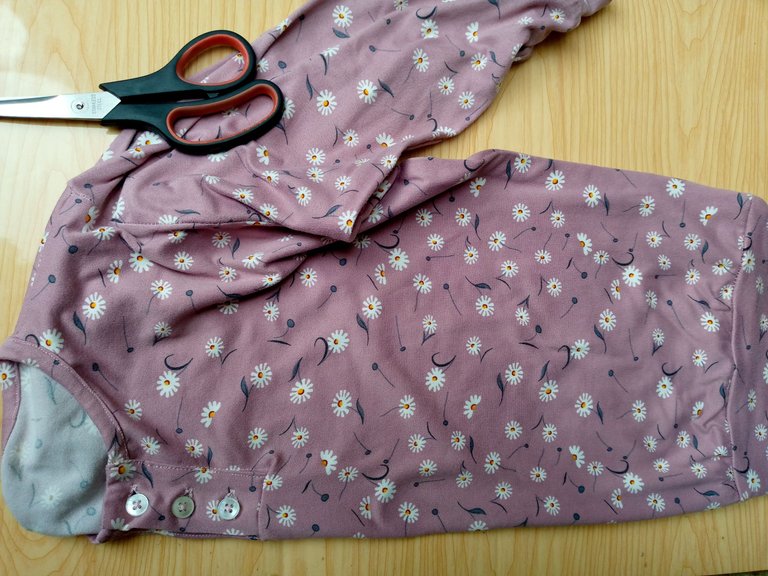
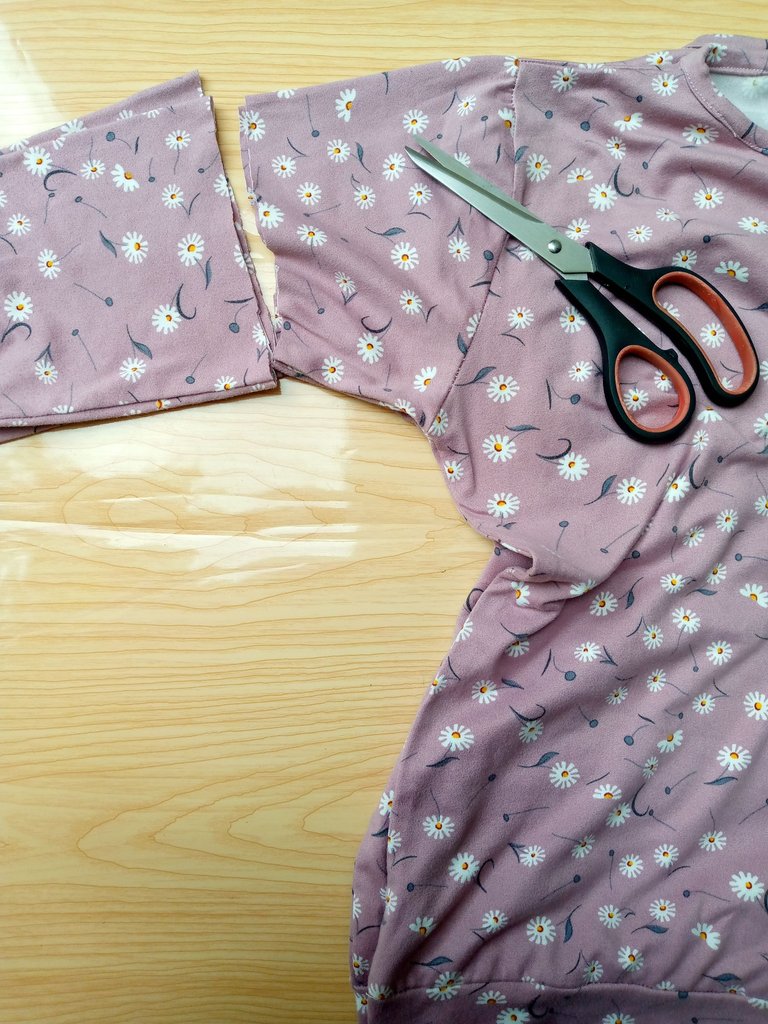
We start by cutting the sleeves. I will measure them to the length I want to cut them. Then, since this sweater had a waistband at the bottom, I also cut that piece so that my sweater top would be wide and so I could cut it well, of course, with a measurement that I know fits me well.
Paso 02
Step 02
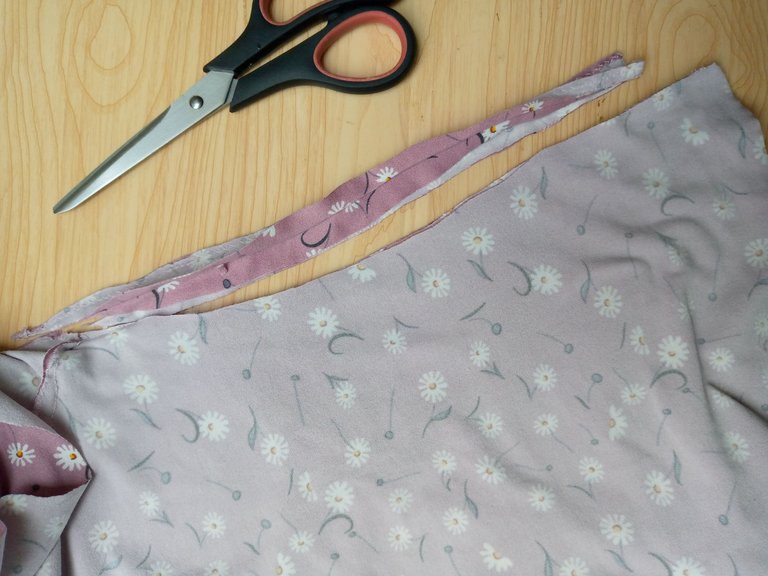
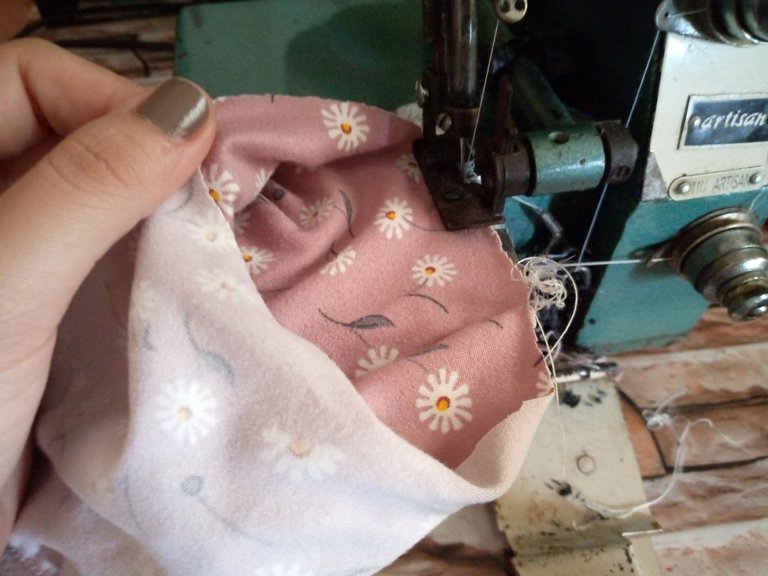
Once I have my piece with the measurement I want, I cut the sides because this sweater, as I mentioned, was too wide for me, so I only cut off about 2 cm of excess. The truth is that it doesn't make much of a difference, but we cut what I wanted to cut hahaha 🤭, then we sew the pieces together. In this case, I wanted to finish the armhole seam that was made with a zigzag with an overlock.

Paso 03
Step 03
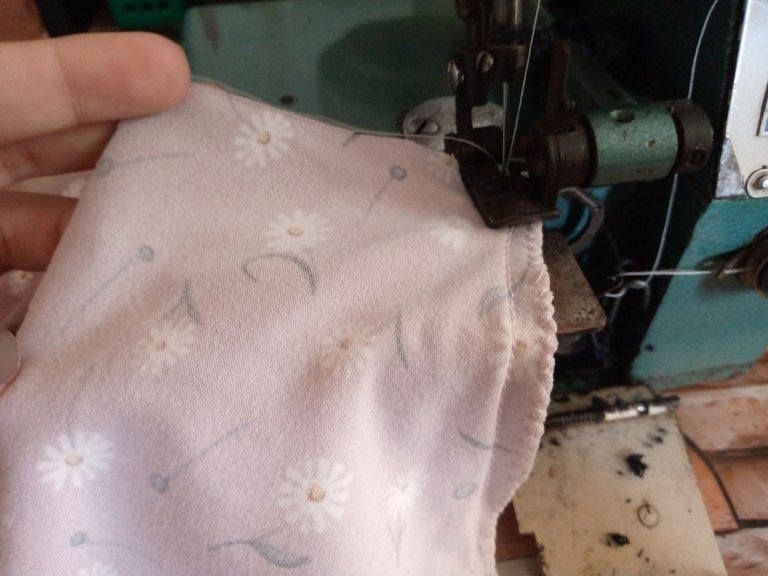
We close the blouse on the sides and sew from the tip or end of the sleeve down, then we sew the hem to make our gathered seam ☺️.
Paso 04
Step 04
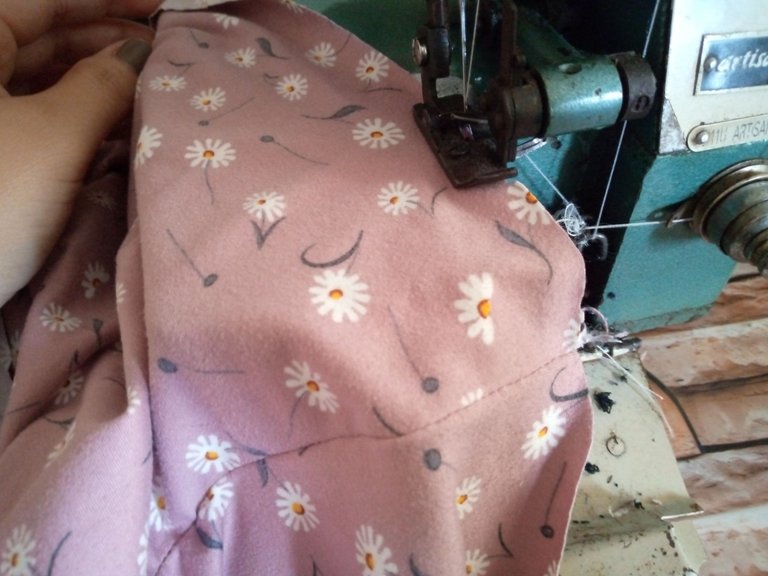
We do the same procedure with the sleeves and we double-stitch, stretching the fabric well so that the finish is nice and we have lettuce gathers. I call this seam that way 🥬🧵.
Resultado:// Result:


I have already finished making it👚 I hope you like this transformation a lot my dear needle lovers🪡 and tell me what you think, it is a great idea 💡to do when you want a different garment from some clothes you have available at home and you want to transform it✂️, I say goodbye to you I wish you a nice night💤 a happy rest😴 and see you soon 👋🏻.
Creating things with love 🌷❤️
🦋✨ All the images in this publication are my author ,📱taken with my TecnoSpark8C cell phone |📸Photos edited in PicsArt and Canva. Text translated in Google Translate.