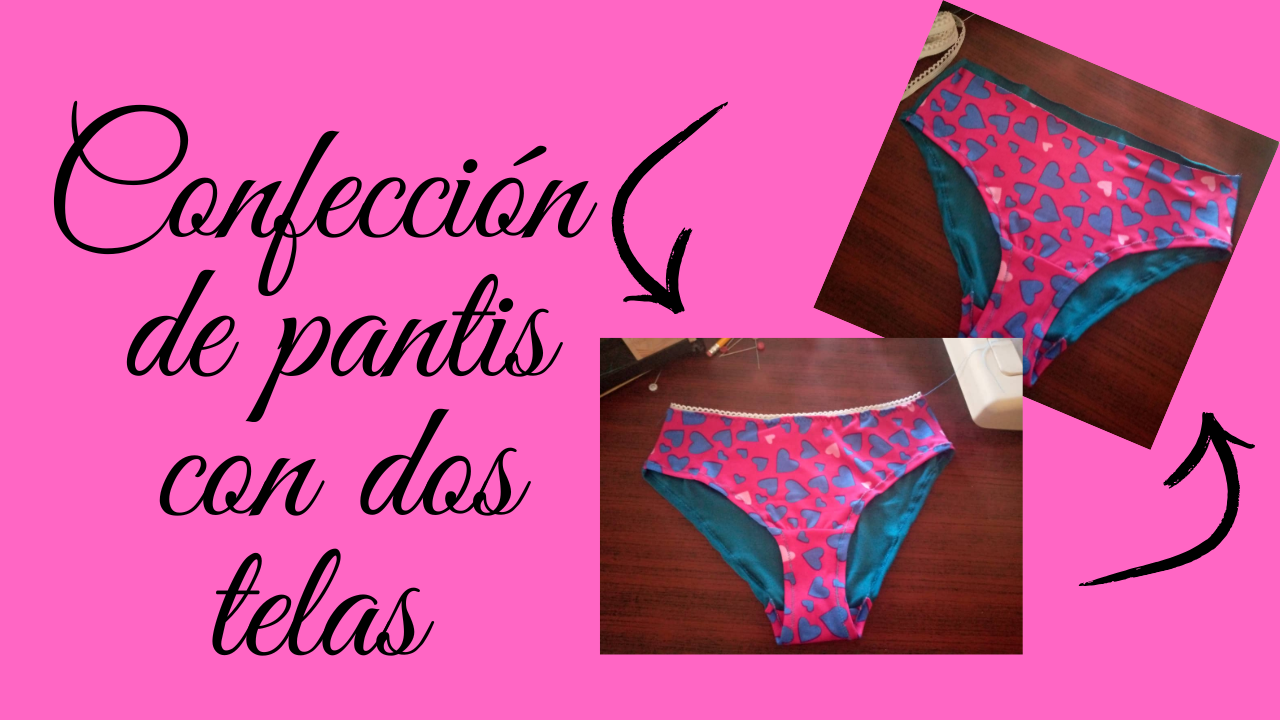
Hello NeedleworkMonday community! It is my pleasure to join you on this occasion to share a detailed tutorial on making tights using two microfiber fabrics. This project is not only practical, but also allows you to explore the versatility of fabrics and develop sewing skills.
Tights are a versatile and comfortable garment that has become essential in the female wardrobe. Their tight and elastic design allows great freedom of movement, making them an ideal choice for both everyday use.
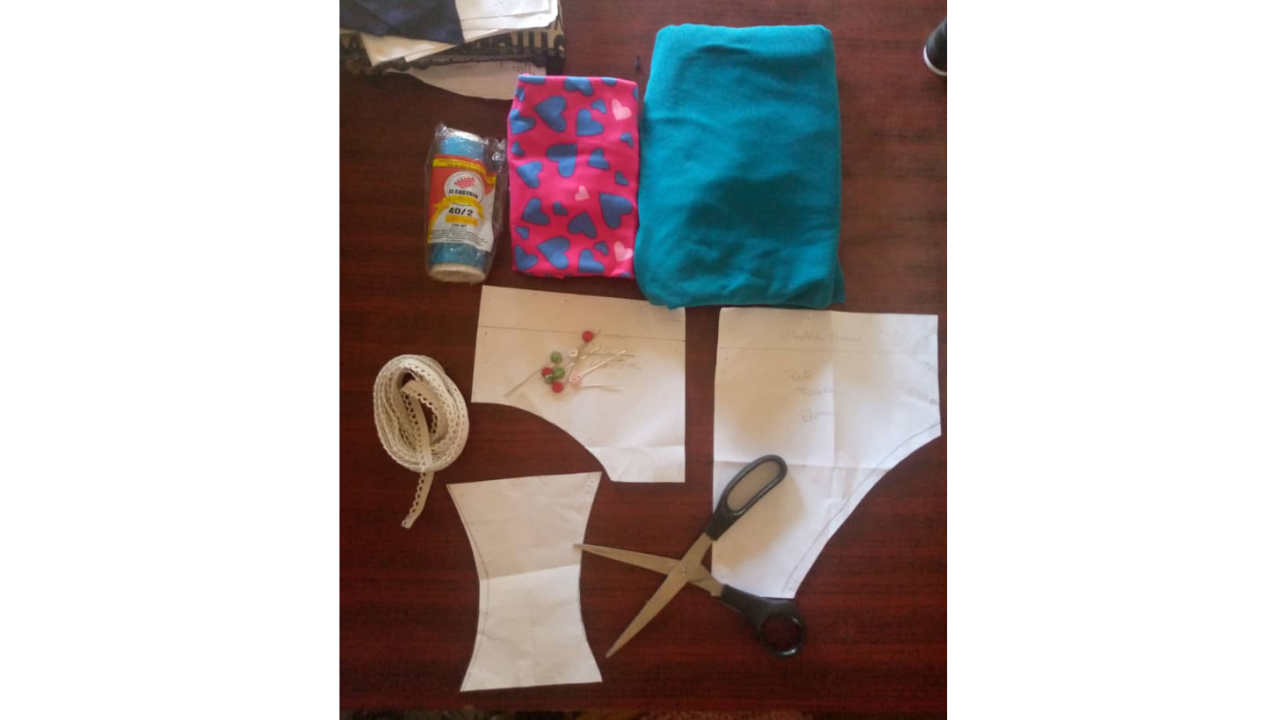
(Materiales📝:)||(Materials📝:)
- Tela microdurasno de estampado de corazones y azul
- Tijeras
- Hilo color azul
- Alfileres
- Patrón de pantis
- Liga elástica
- Máquina de coser
- Microfiber fabric with a heart and blue print
- Scissors
- Blue thread
- Pins
- Pantyhose pattern
- Elastic band
- Sewing machine
(Procedimiento:)||(Procedure:)
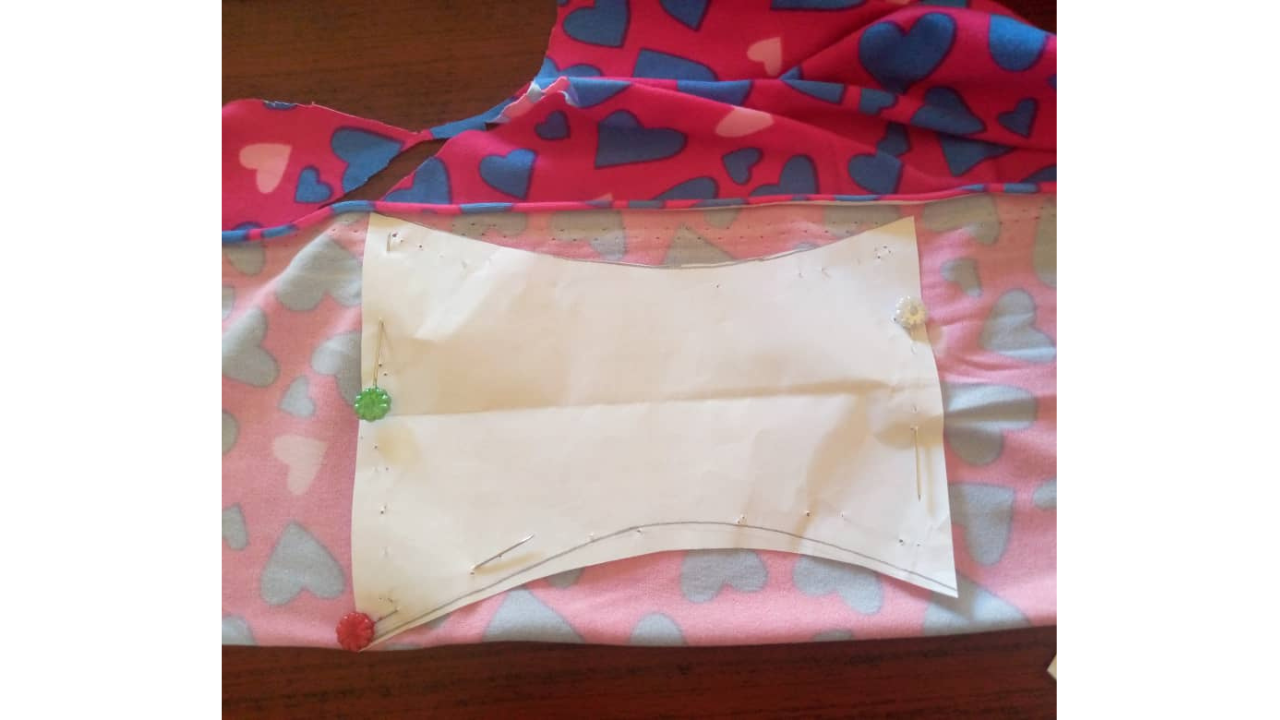
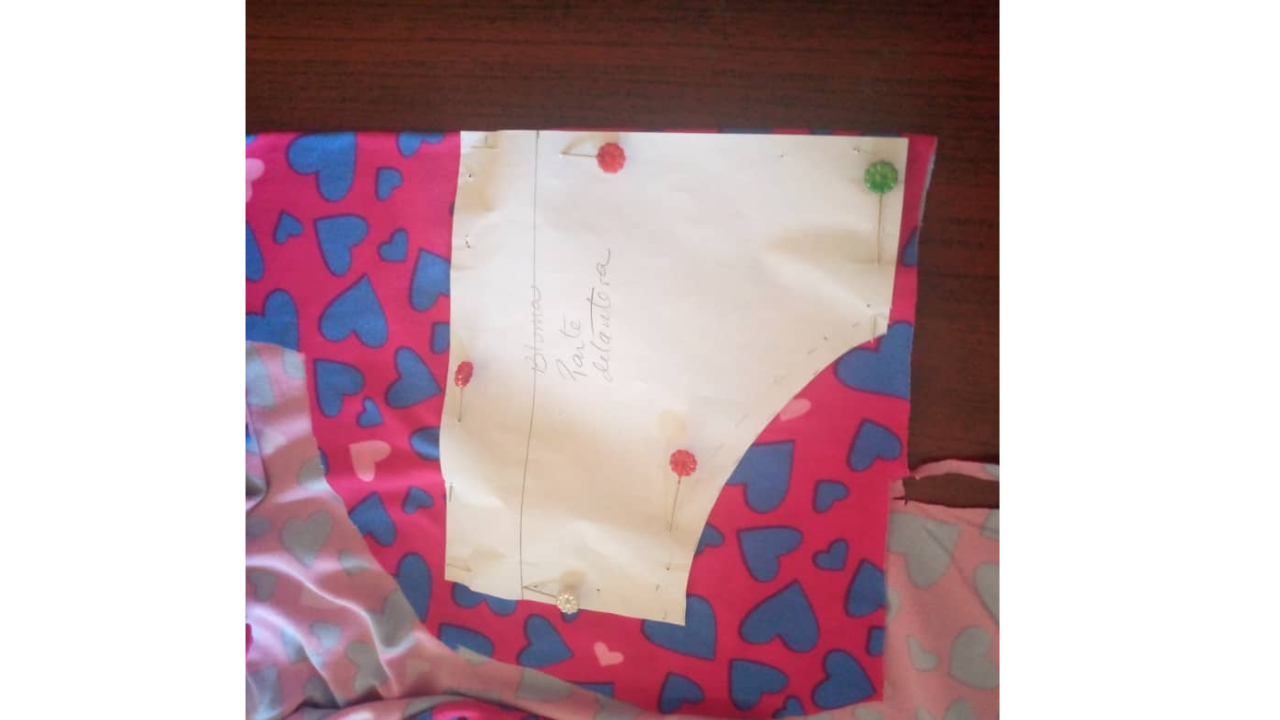
Paso nro 1
Paso nro 1
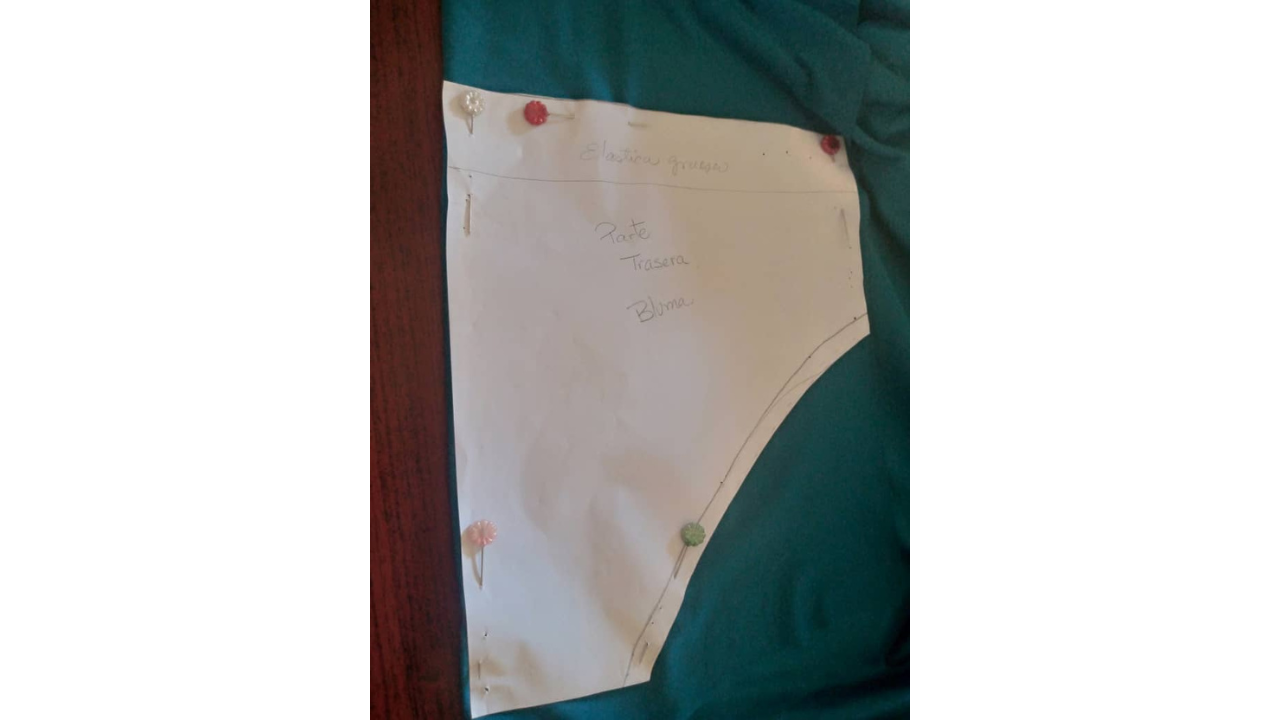
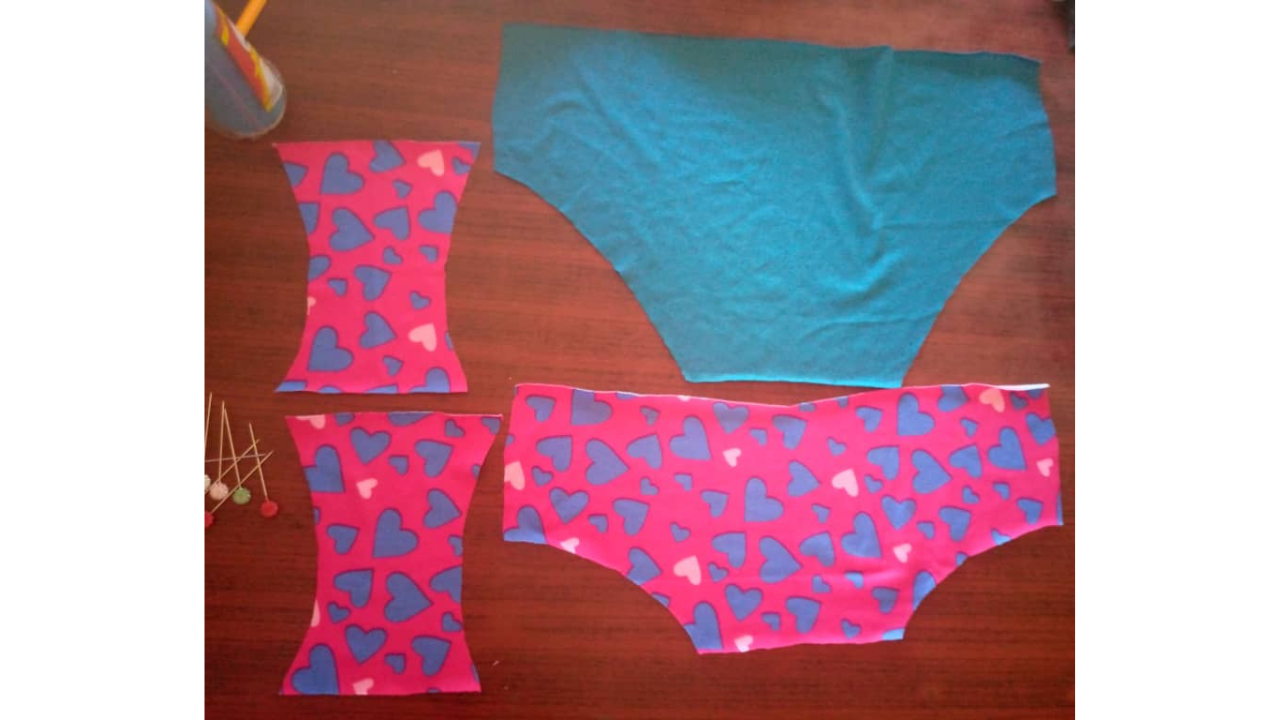
I started by marking the pattern on the fabric, holding it with pins so I could cut the fabric more precisely. I cut the front, the back and the crotch part.
Paso nro 2
Paso nro 2
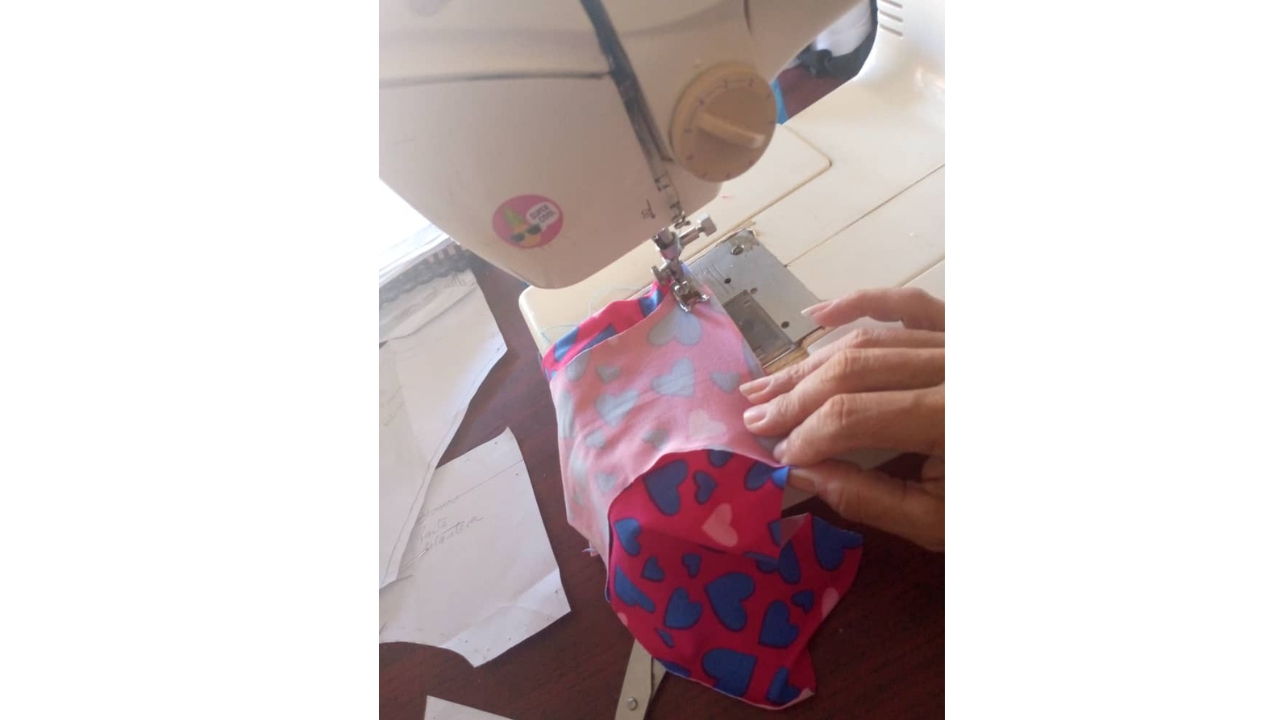
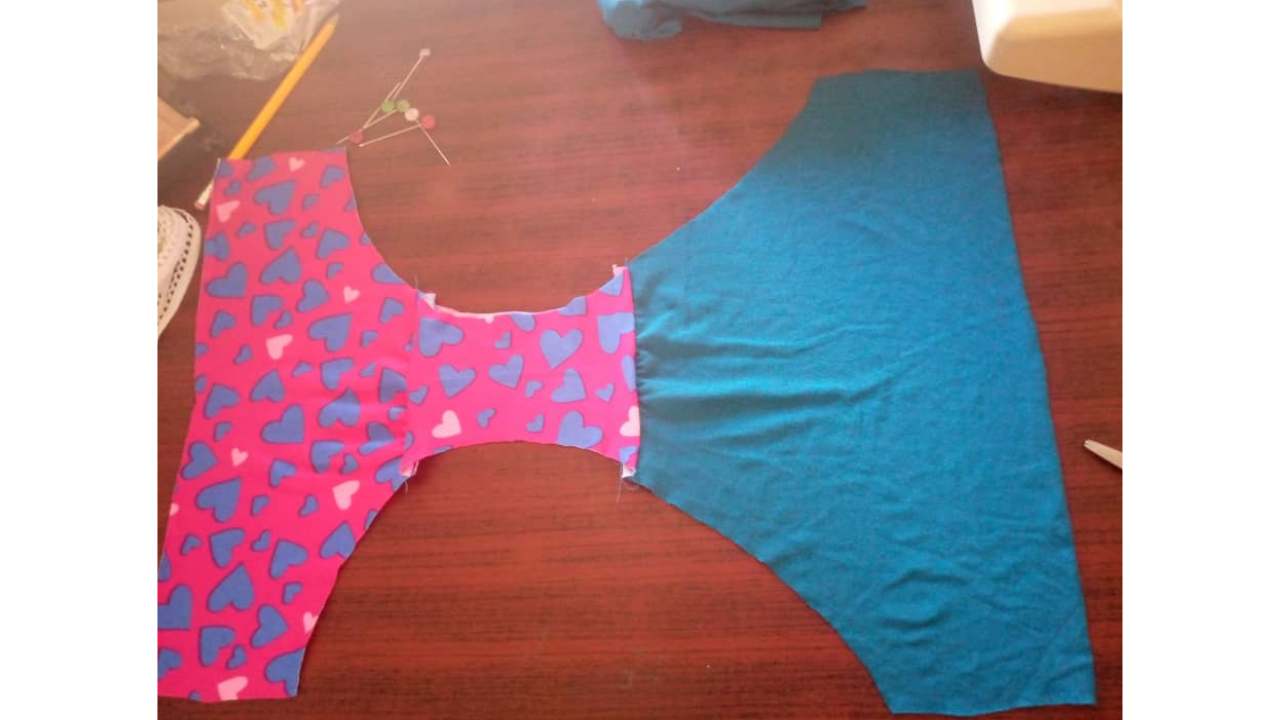
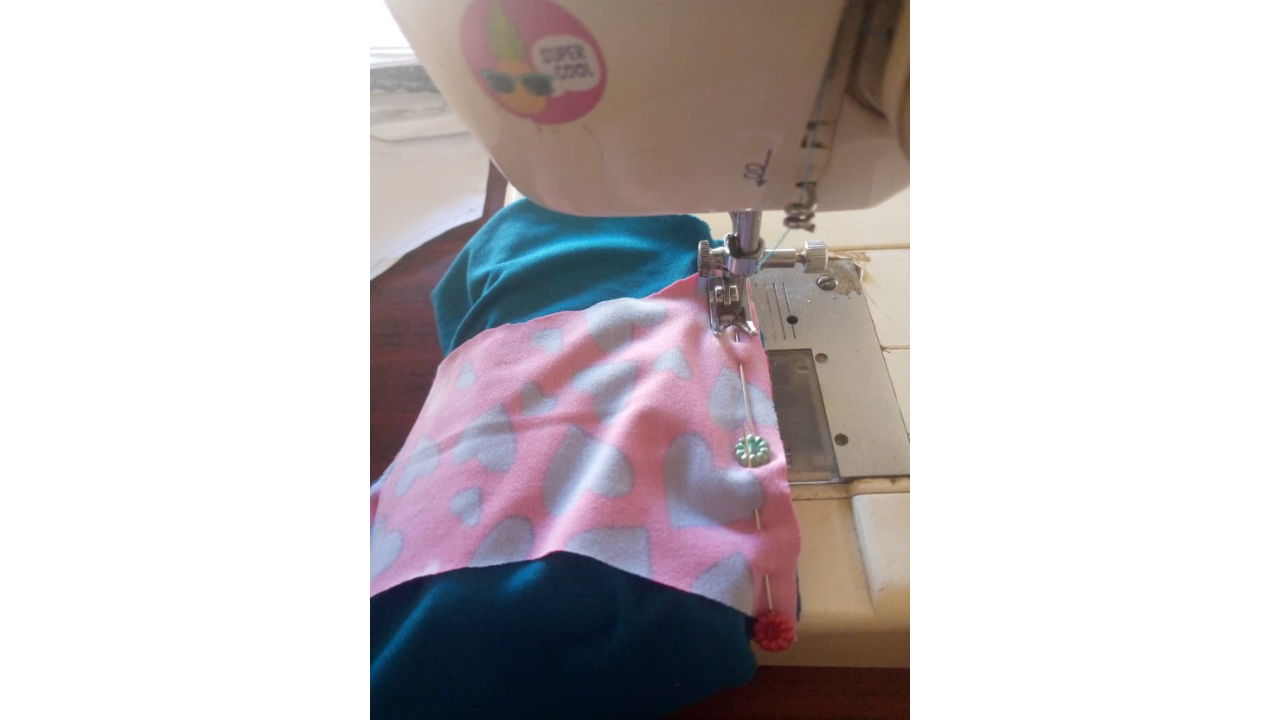
First, we started by closing the crotch by placing the front piece in the middle of the 2 crotch pieces, closing with a straight seam. And then we do the same with the back piece, placing it in the middle of the 2 crotch pieces and then turning it over.
Paso nro 3
Paso nro 3
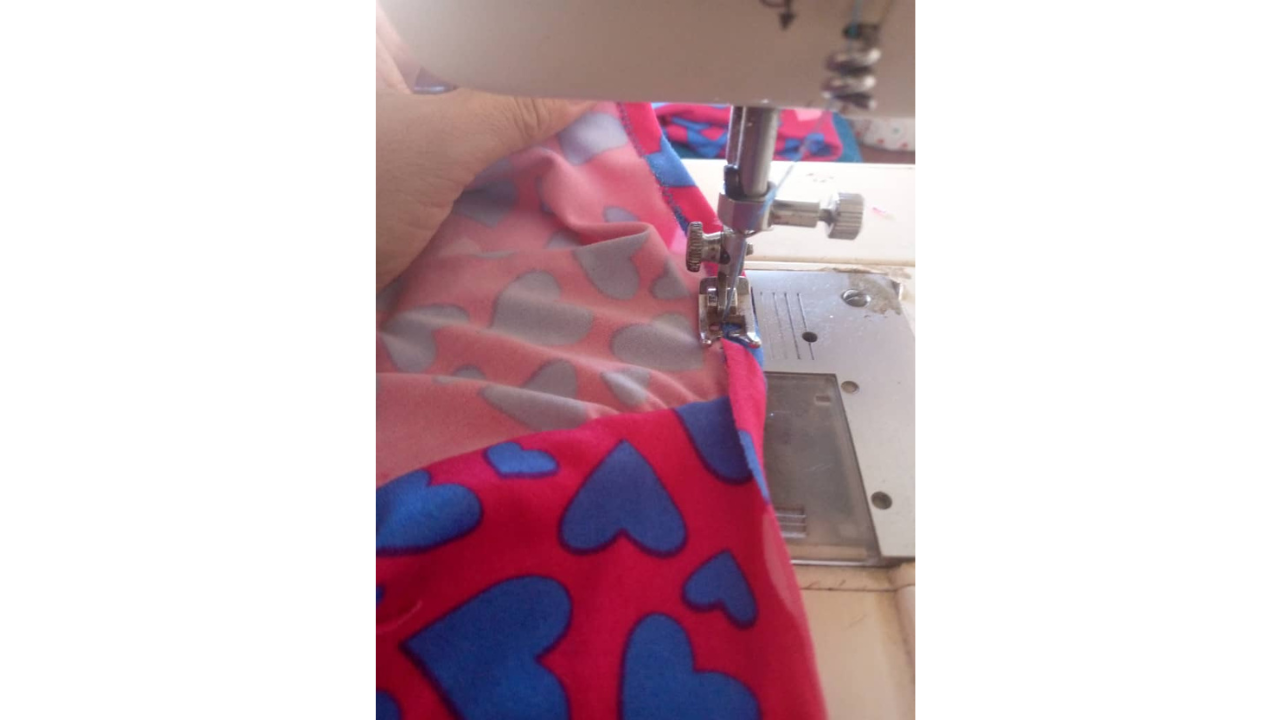
Now that we have the crotch sewn in place, we are going to sew the two sides with a straight seam and a zigzag seam to give it a better finish and to secure the seam well so that it does not come loose.
Paso nro 4
Paso nro 4
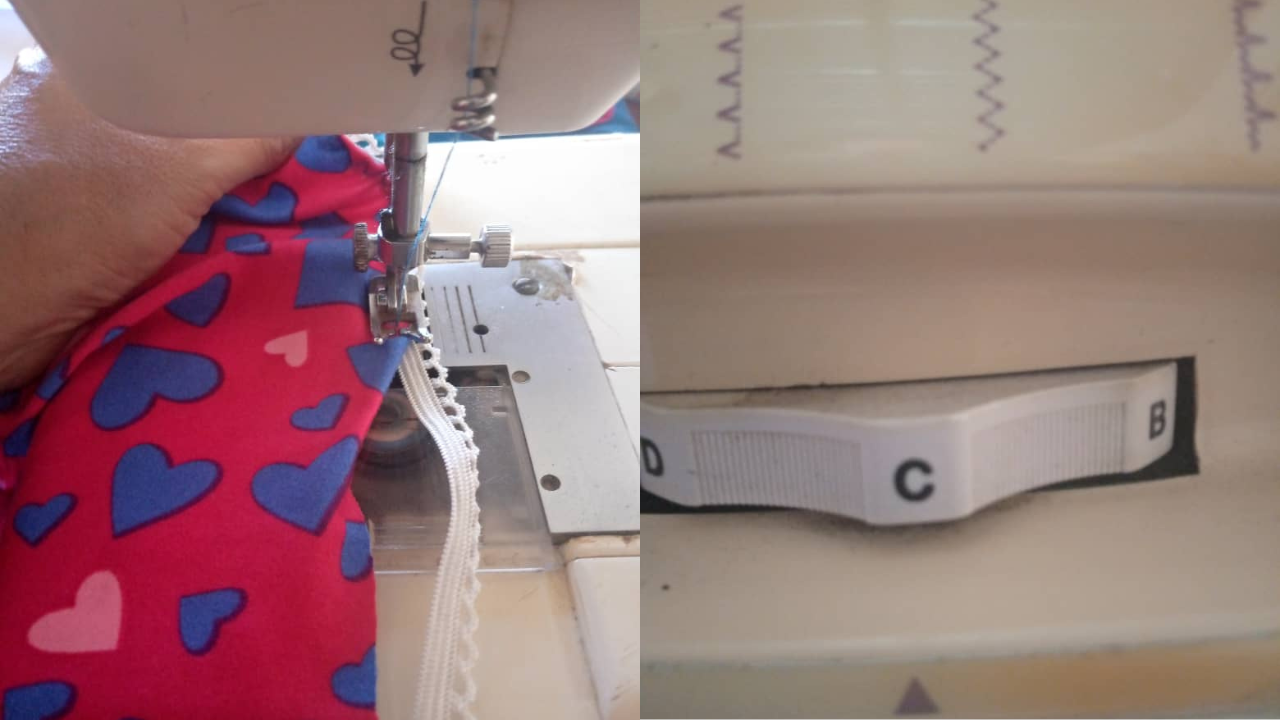
Now I'm going to grab the hem for this I will use a zigzag stitch all around.
Paso nro 5
Paso nro 5
Finally, I will add elastic on the top using a C zigzag so that it looks very well detailed on the top.
(Resultado final:)||(Bottom line:)
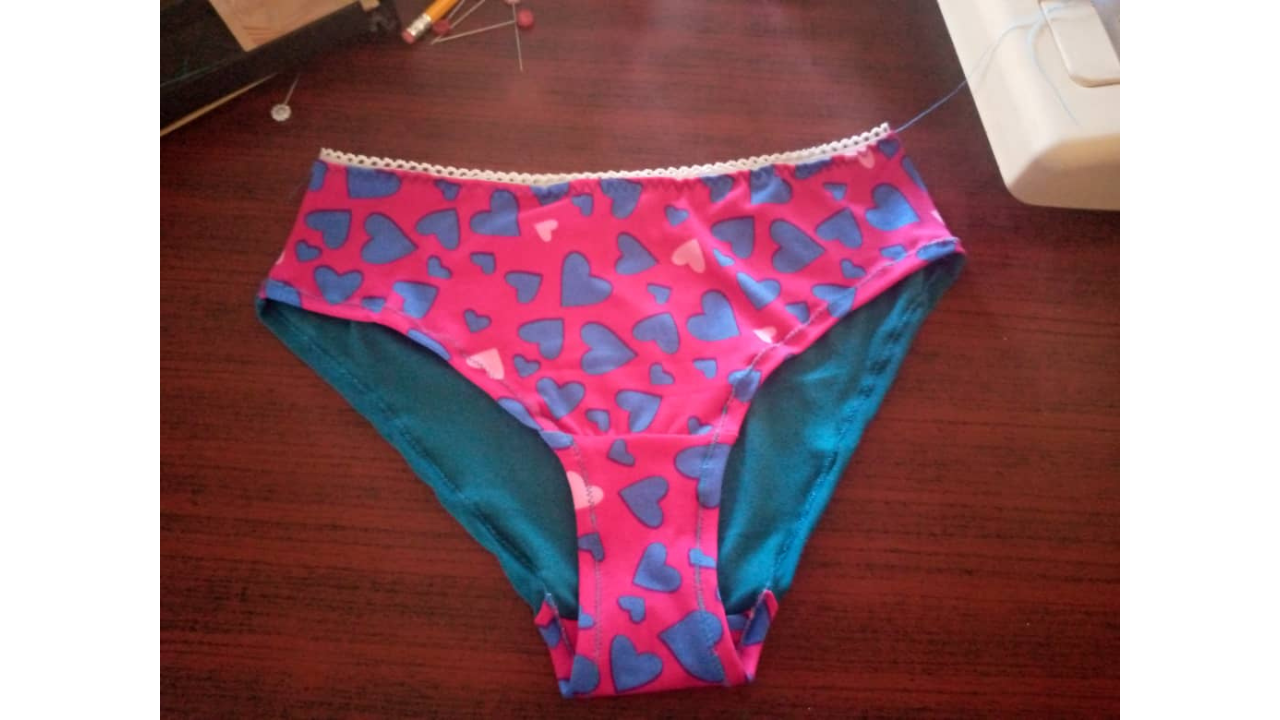
And so I finished this underwear, I can tell you that it is a very comfortable underwear since it does not squeeze the legs, but it does not move either. I highly recommend it. I hope you like it, we will see you again another time.
The photos presented in this blog are my own. The images have been edited using Canva. The photographs were taken with my Infinix Hot 10 cell phone. The content has been translated with Google Translate.
Congratulations @bet1977! You have completed the following achievement on the Hive blockchain And have been rewarded with New badge(s)
Your next target is to reach 30 posts.
You can view your badges on your board and compare yourself to others in the Ranking
If you no longer want to receive notifications, reply to this comment with the word
STOPNice proyect, thanks for sharing the creative process with the community.
Thank you, I am very happy to be here and to be able to show you my knowledge.