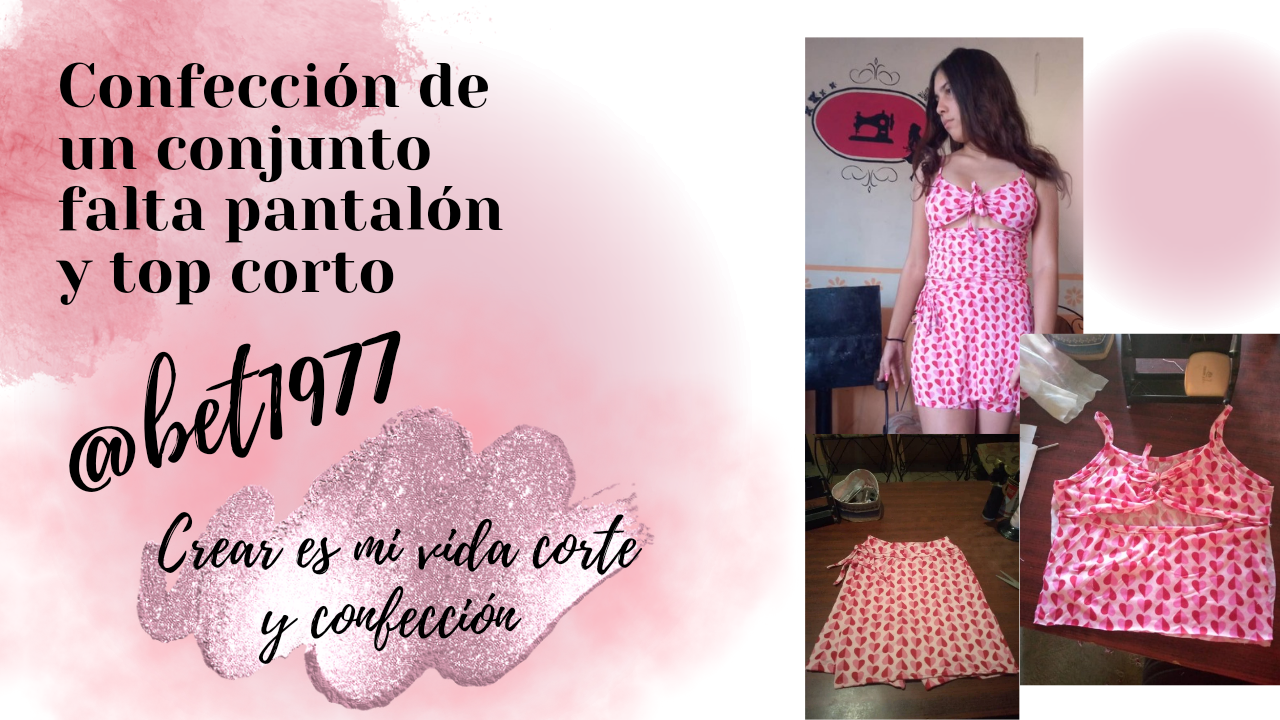
Hello, hello everyone at Needlework Monday. I'm so excited to have you here! Welcome to my blog, where I share my passions for fashion and design. This time, I'll be showing you how I made a skirt, pants and crop top set, which I'm sure you'll love.
This design is youthful and daring, ideal for the days when the heat is approaching. With the arrival of spring and summer, it is the perfect time to wear fresh and comfortable clothes. The combination of the skirt and pants is not only versatile, but also allows you to play with different styles and accessories. For this outfit, I used microdurano fabric with a charming heart print. This fabric is soft and light, making it perfect for warm temperatures. In addition, the print adds a fun and youthful touch to the outfit.
(Materiales:)||(Materials:)
- Hilos (rosado claro y blanco para la overlock)
- Alfileres
- Regla
- Tijeras
- Lápiz
- Threads (light pink and white for the overlock)
- Pins
- Ruler
- Scissors
- Pencil
(Procedimiento:)||(Procedure:)
Paso nro 1
Paso nro 1
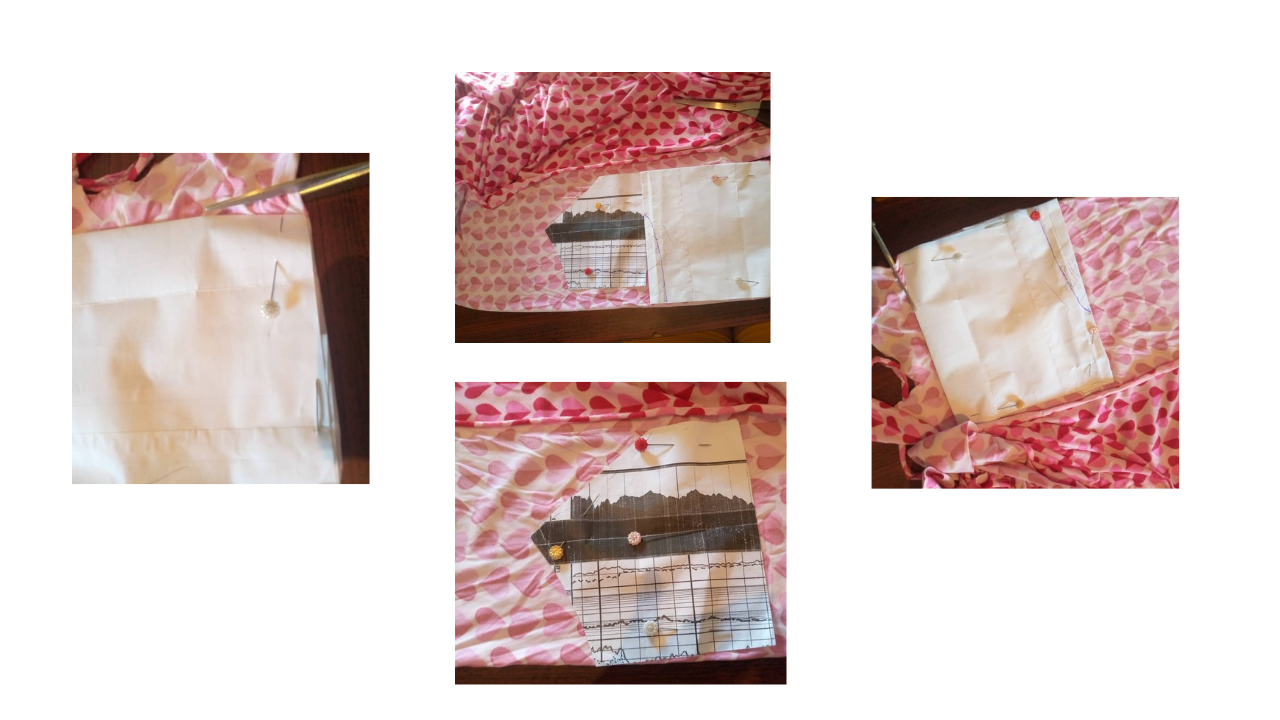
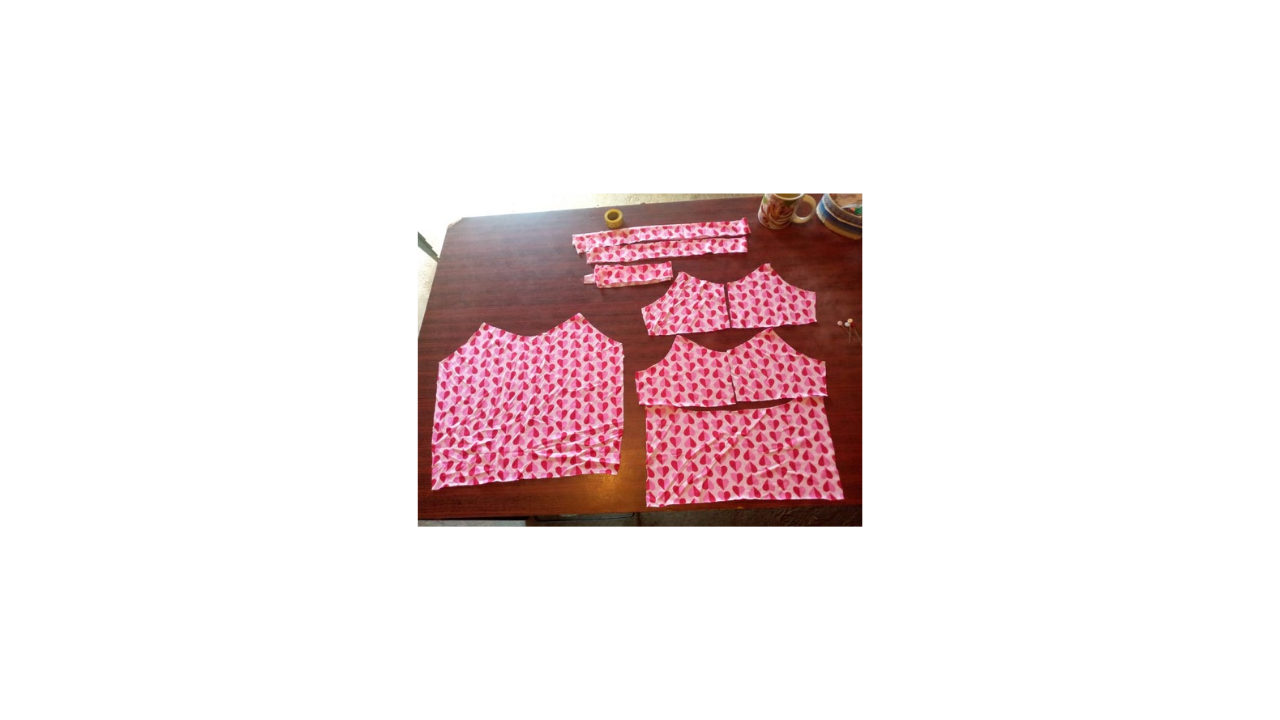
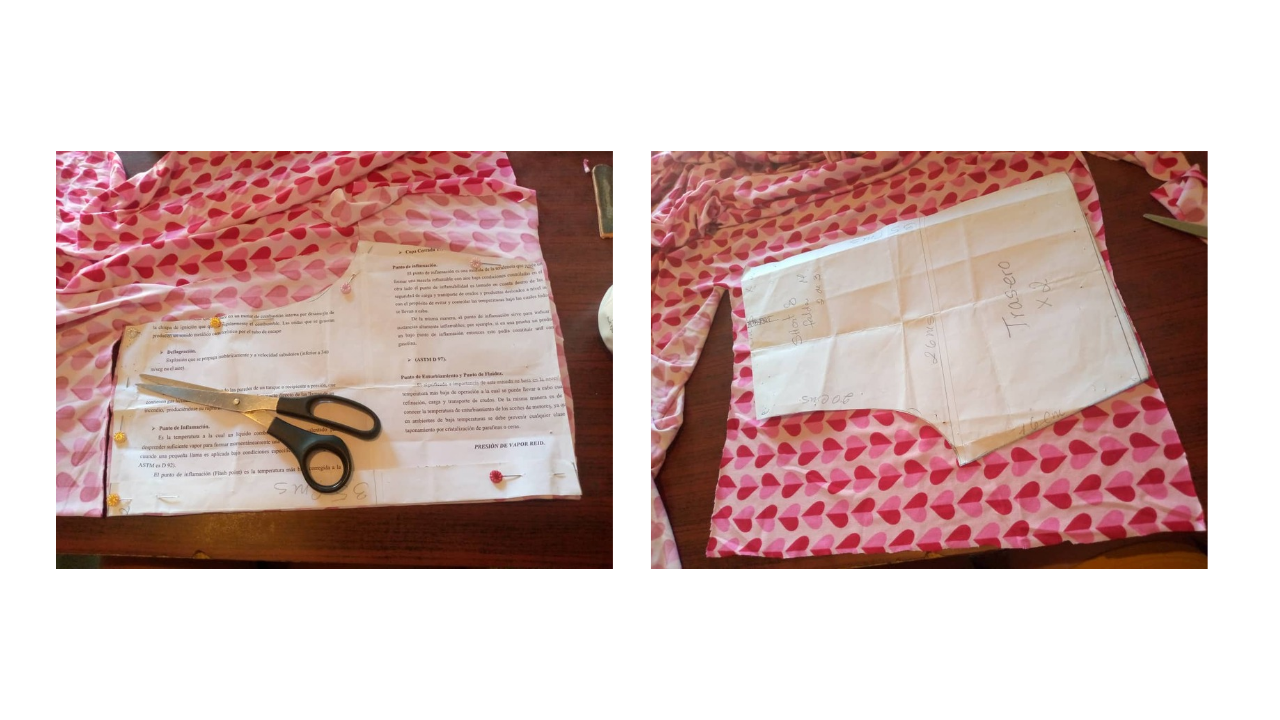
I cut 4 front pieces of the crop top and the bottom of the top. Using the same pattern, I cut the back, I also cut the bias for the straps.
Paso nro 2
Paso nro 2
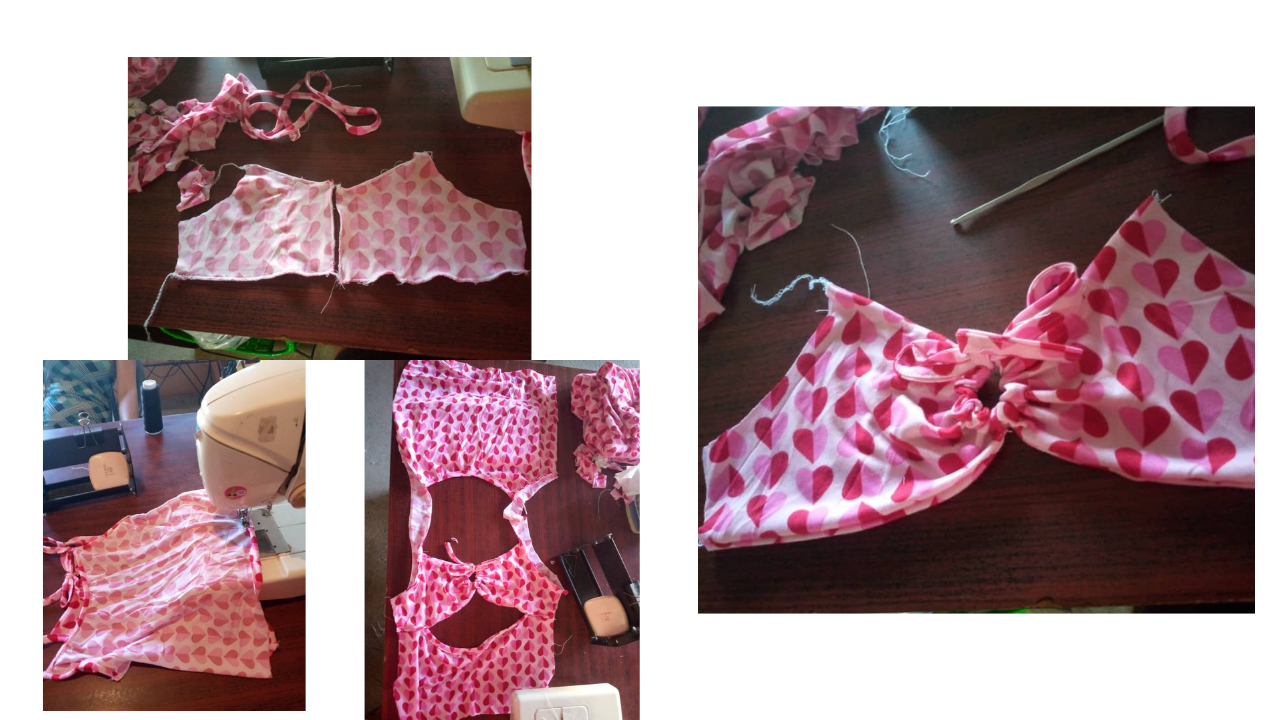
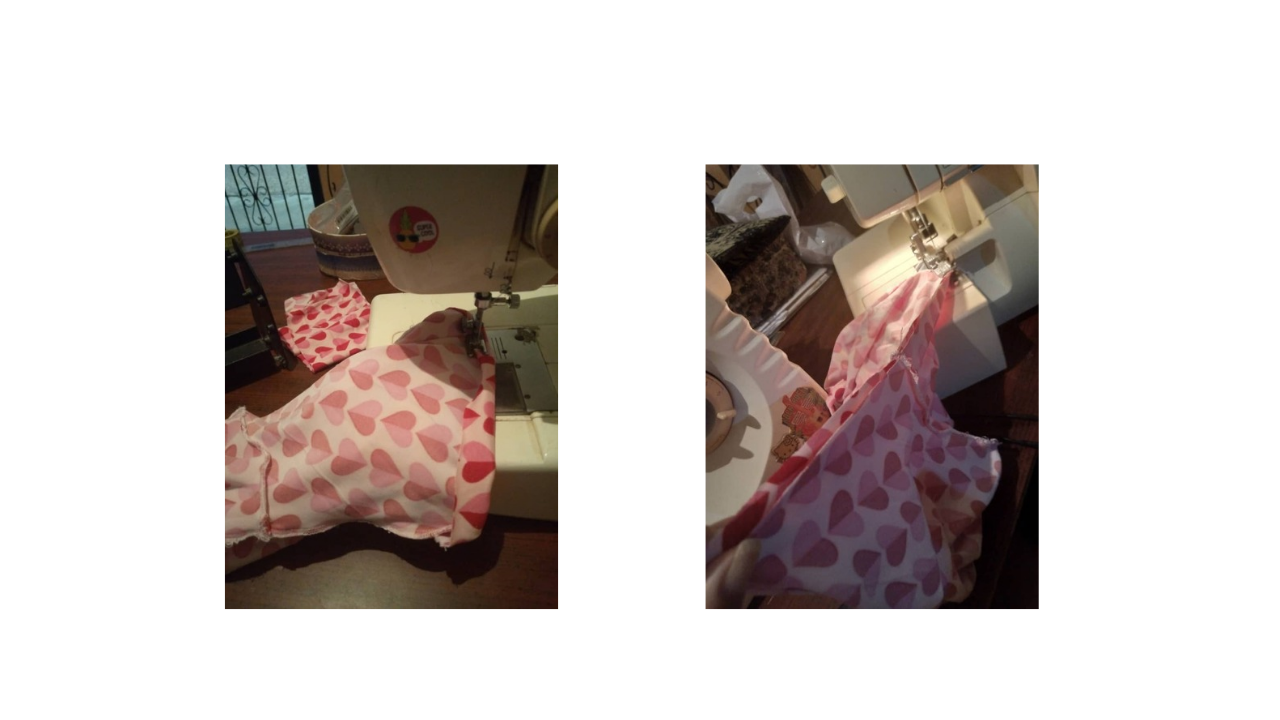
First, I sewed the strip that joins the two front pieces of the top. Then, I attached this piece to the bottom of the top. Afterwards, I moved on to attach the bias binding to make the straps of the crop top. With the bias binding already attached, I joined the sides from the armhole down, using the overlock and straight stitch machines so that the seams would be strong and not come loose. Finally, I sewed the hem with a straight stitch.
Paso nro 3
Paso nro 3
For the pants, I used a pattern, considering that the front part would be lower than the back. Always placing the fabric double and making sure it stretched vertically. With the same pattern, I obtained the top of what would be the skirt. I cut the waistband and the bias to be used.
Paso nro 4
Paso nro 4
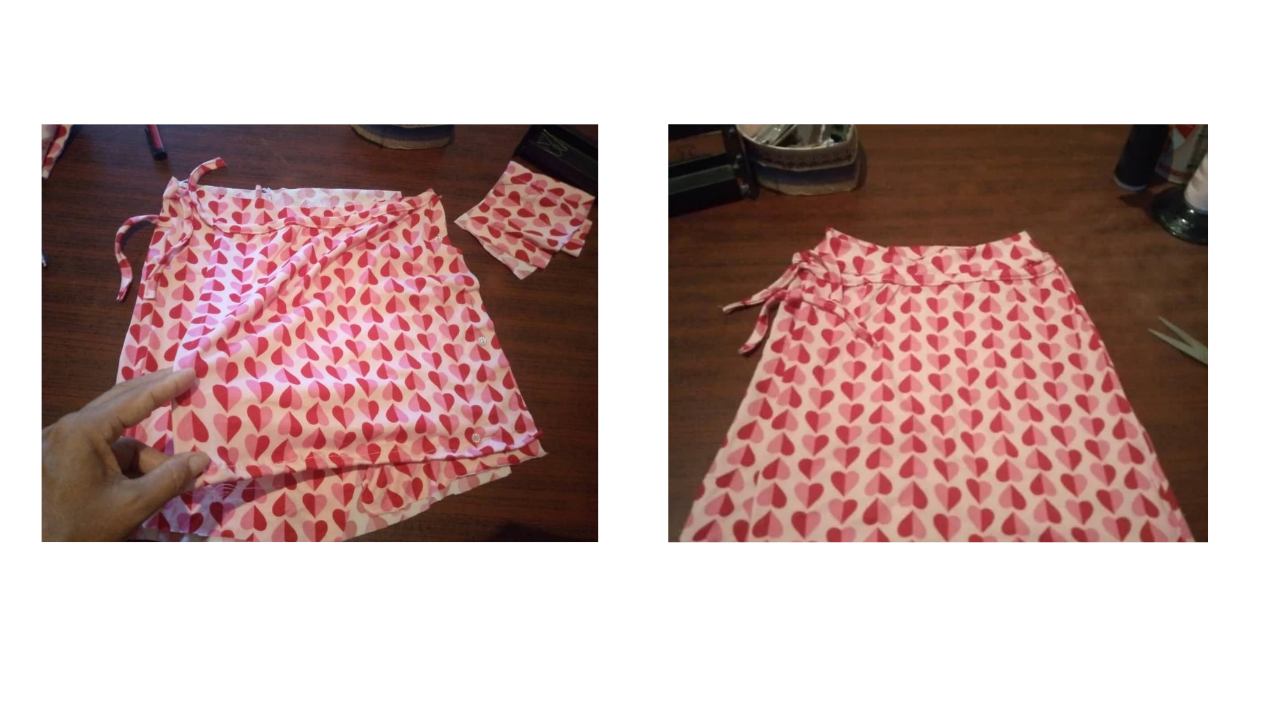
I started with the skirt part, placing the bias at the top and making the hem. This part needs to be ready before joining it to the sides of the pants, which will already be closed at the front and back.
Paso nro 5
Paso nro 5
Then, I closed the crotch and hemmed the pants. Finally, I placed the waistband, and this is how the skirt-pants turned out.
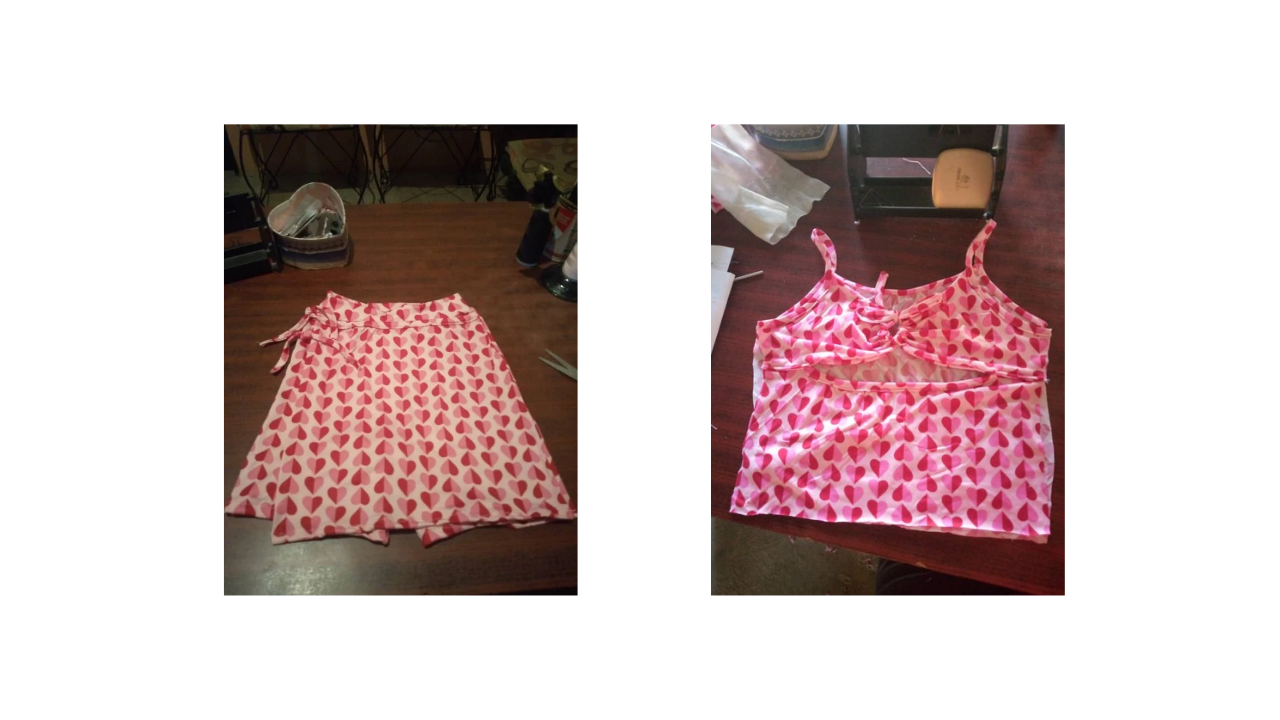
(Resultado final:)||(Bottom line:)
This is how this beautiful outfit turned out. By the way, the model in the photo is my daughter and the outfit is for her, she herself thought of the design, and since I had already imagined what the outfit would be like, I got to work and it turned out beautiful. I hope you liked this outfit. See you another time when I will be sharing more about my work with you.
The photos in this blog are my own|The images are edited in canva|Photographs taken on my infinix hot 10 cell phone|The content is translated in Google Translate.
This post was shared and voted inside the discord by the curators team of discovery-it
Join our Community and follow our Curation Trail
Discovery-it is also a Witness, vote for us here
Delegate to us for passive income. Check our 80% fee-back Program
Wow, it such a beautiful and nice set, the material looks so nice, I love the style, thanks for sharing with us.
Hello, greetings, I'm glad you liked the set, thank you very much
Está muy bonito tu trabajo y muy bien explicado, obtuviste un excelente resultado final y la piyama de luce mucho a tu hija.
Solo me gustaría dejarte como sugerencia el uso adecuado de los collages, trata de colocar las fotos que cubran todo sin que quede ningún marco, o también puedes usar tablas para colocar foto por foto, puedes visitar algunos de mis posts en mi blog si quieres guiarte.
!discovery 40
Hola, gracias por tu recomendación lo tomaré en cuenta saludos
A very nice job with a very well-crafted final result, thanks to you for letting us know your step-by-step and creative process.
Hello, thank you very much to you
Congratulations @bet1977! You have completed the following achievement on the Hive blockchain And have been rewarded with New badge(s)
Your next target is to reach 2500 upvotes.
Your next target is to reach 100 replies.
You can view your badges on your board and compare yourself to others in the Ranking
If you no longer want to receive notifications, reply to this comment with the word
STOPCheck out our last posts: