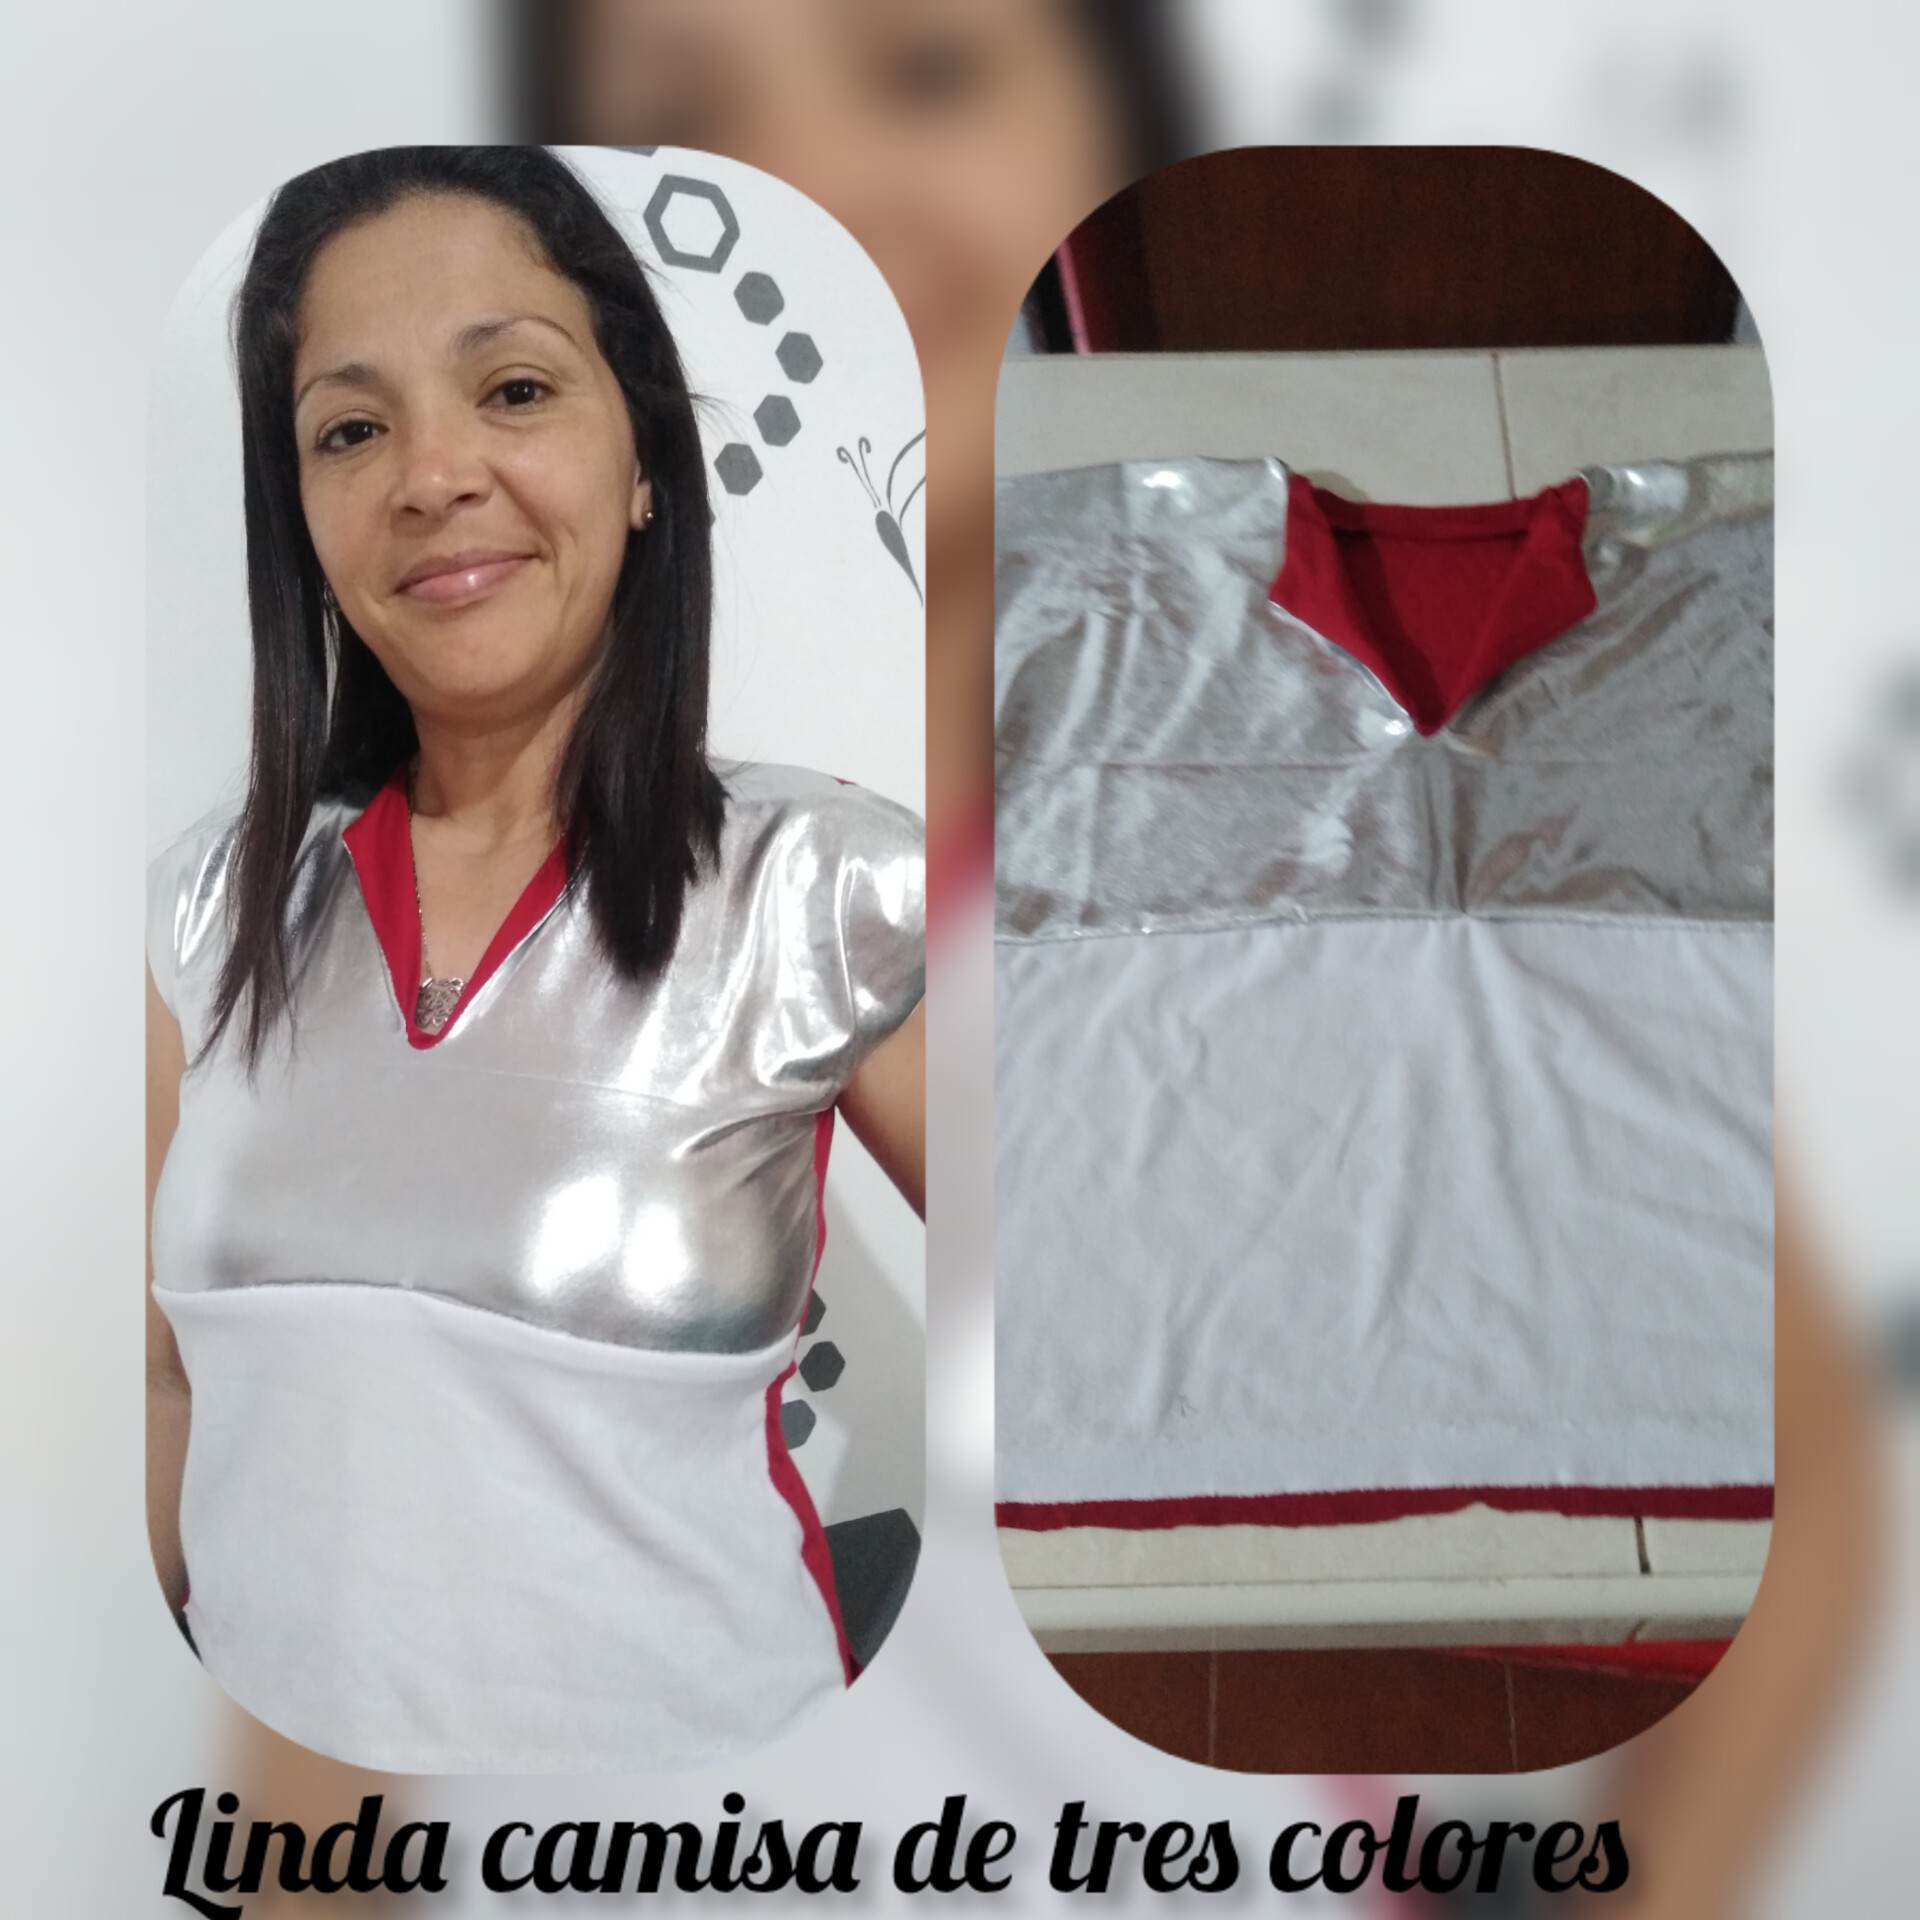
Hello friends of hive, welcome everyone once again to my blog here at hive where through this great community that gives us the opportunity to share edifying content for us, Today I am happy to share a small tutorial on how to make a simple 3 color shirt, I used scraps of fabric to create something new and unprecedented, something I hope you like a lot so let's see the step by step.
.jpg)
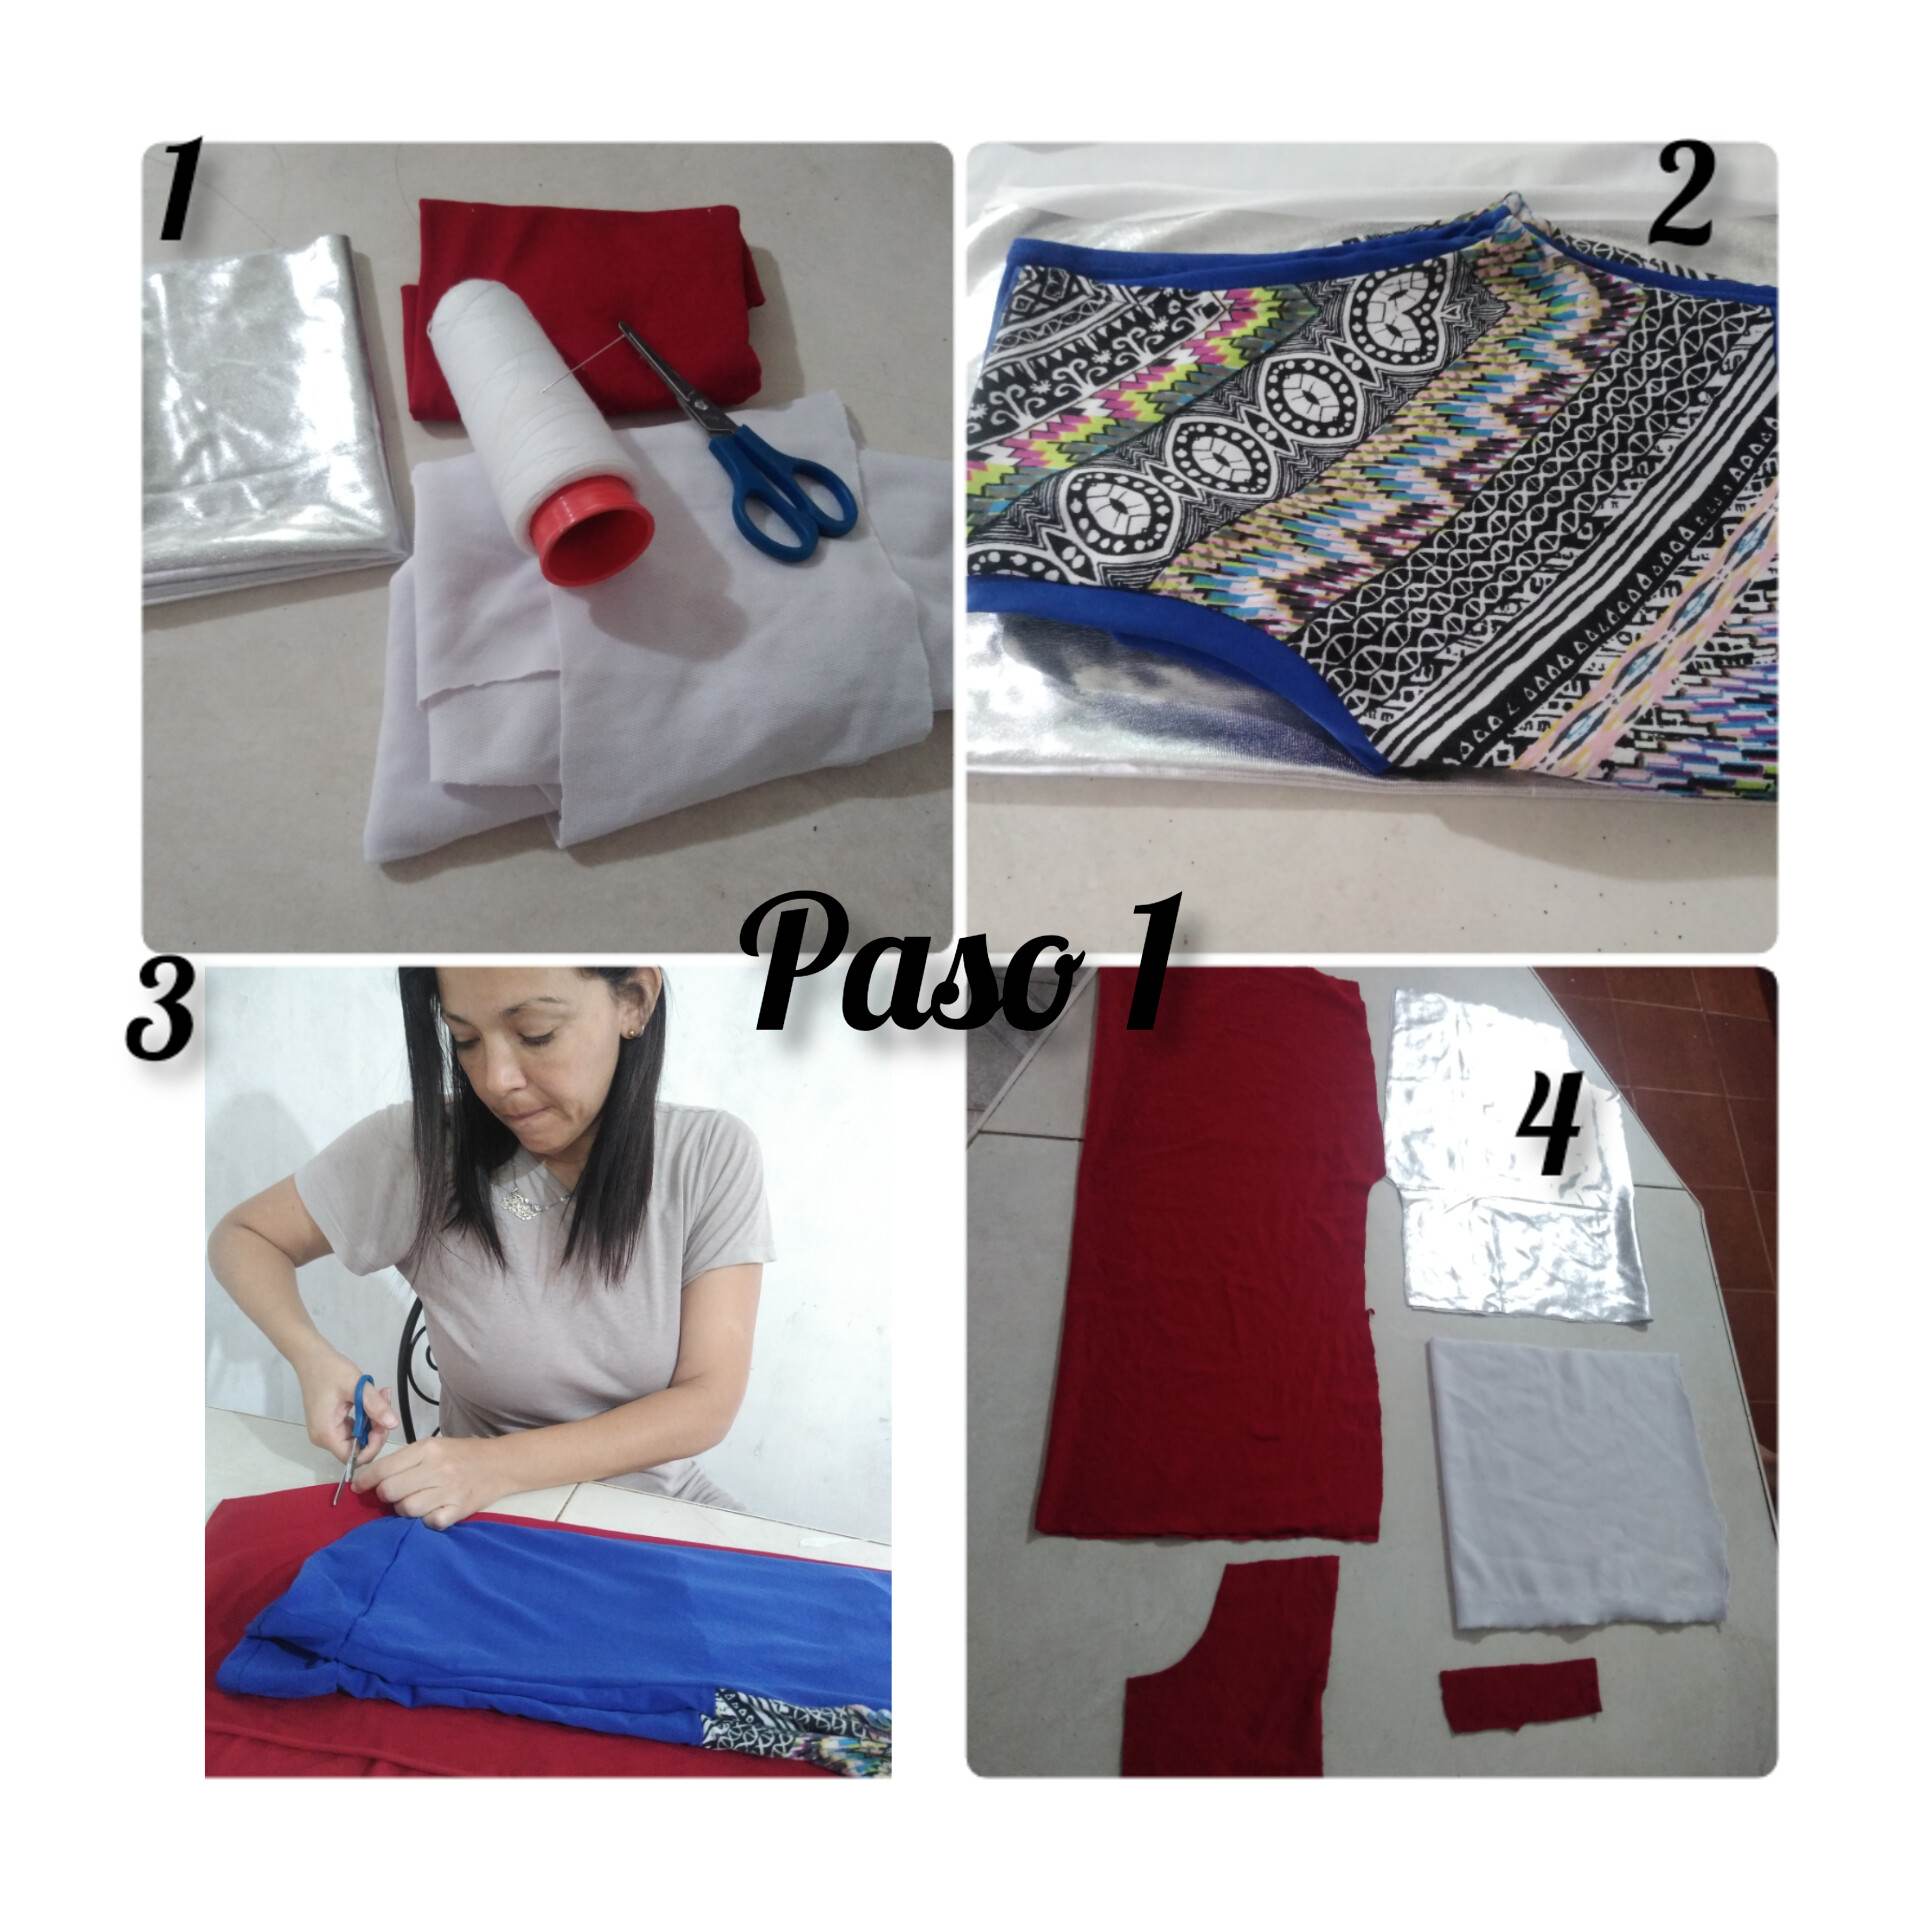
Paso 1: para hacer esta camisa vamos a necesitar los siguientes materiales: 3 distintas telas ya que haremos una camisa de 3 colores a menos de que ustedes la quieran hacer de un solo color, para hacer esta camisa usaré tela de color roja, una blanca y una plateada, voy a necesitar una camisa de medida para cortarla a la medida correcta. Procedí a cortar la parte blanca en la tela que será usada en la parte delantera de la camisa, la parte roja será para la parte trasera en la espalda, y así tendremos todas las piezas, la parte plateada será usada para el pecho de la camisa.
Step 1: to make this shirt we will need the following materials: 3 different fabrics since we will make a shirt of 3 colors unless you want to make it of only one color, to make this shirt I will use red fabric, one white and one silver, I will need a shirt to cut it to the right size. I proceeded to cut the white part in the fabric that will be used in the front part of the shirt, the red part will be for the back part in the back, and so we will have all the pieces, the silver part will be used for the chest of the shirt.
.jpg)
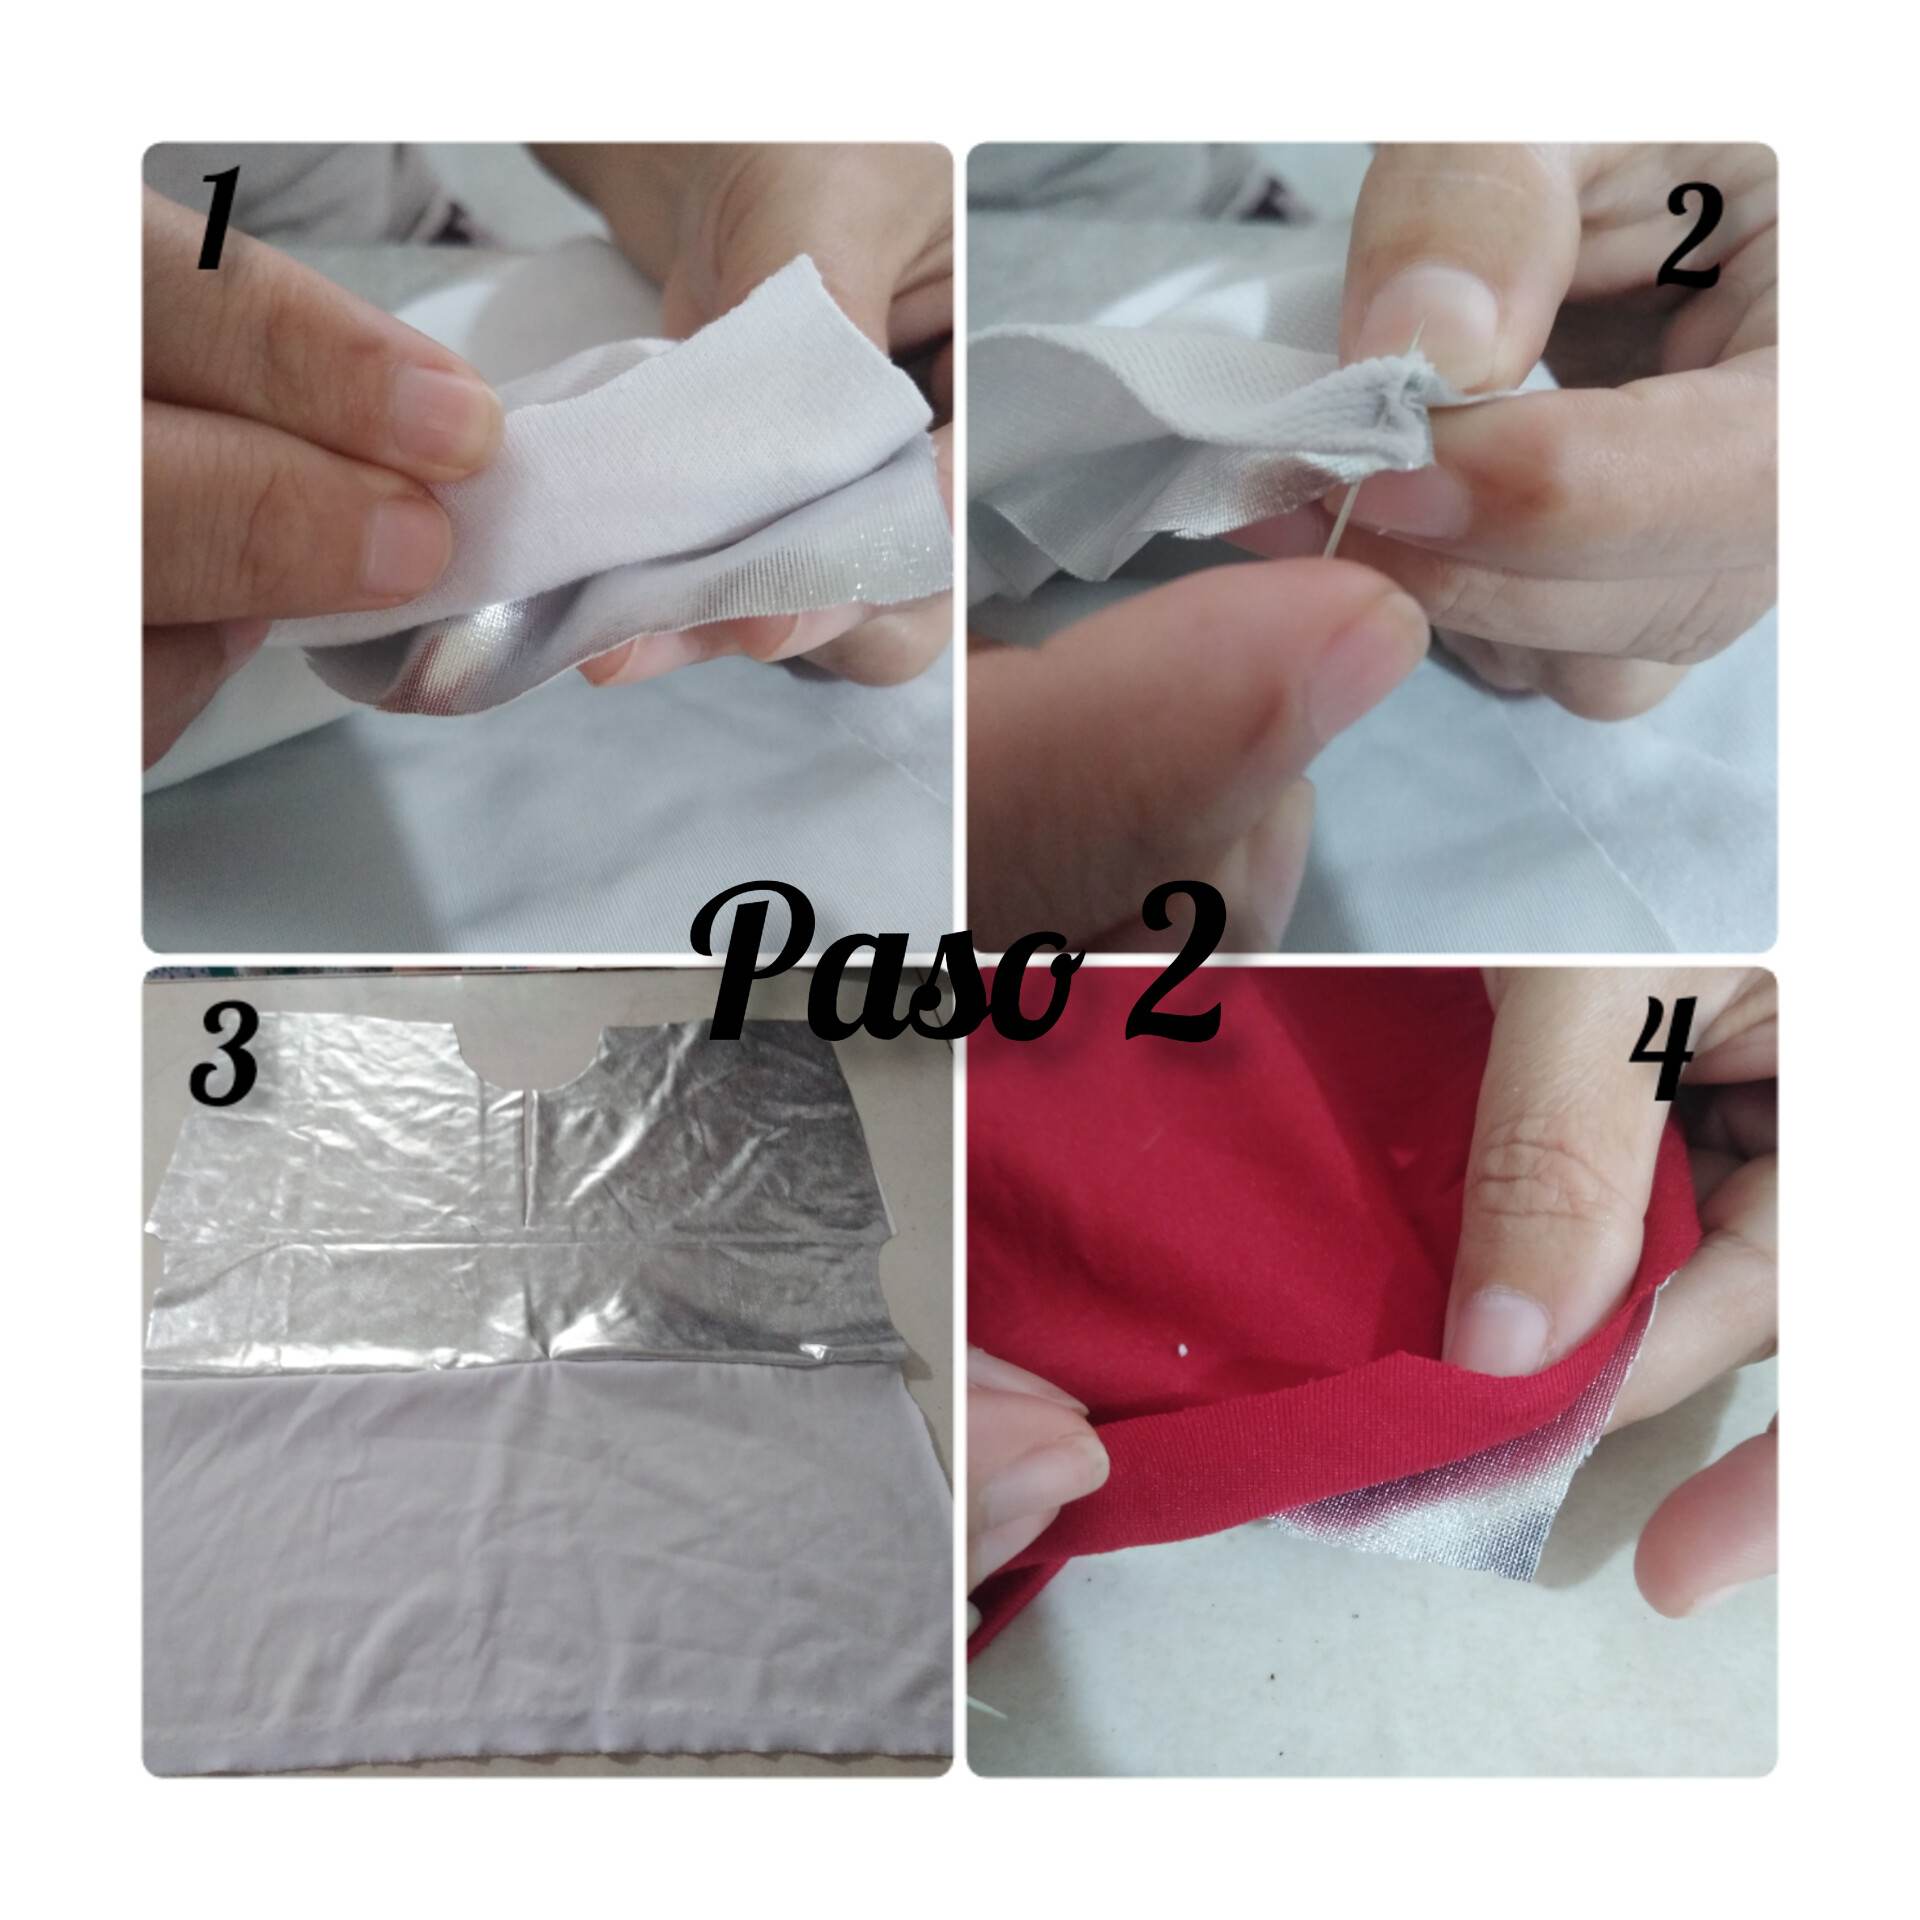
Paso 2: lo que haremos será comenzar a coser a mano y poco a poco la tela de la parte delantera, colocaremos la tela blanca y la platead y comenzaremos a coser en la unión de ambas telas, dividida una en la parte de arriba y la otra en la parte de abajo, así como aparece en la imagen. Ahora procederemos a coser hombro con hombro.
Step 2: what we will do will be to start sewing by hand and little by little the fabric on the front, we will place the white fabric and the platead and we will start sewing at the junction of both fabrics, dividing one at the top and the other at the bottom, as shown in the image. Now we will proceed to sew shoulder to shoulder.
.jpg)
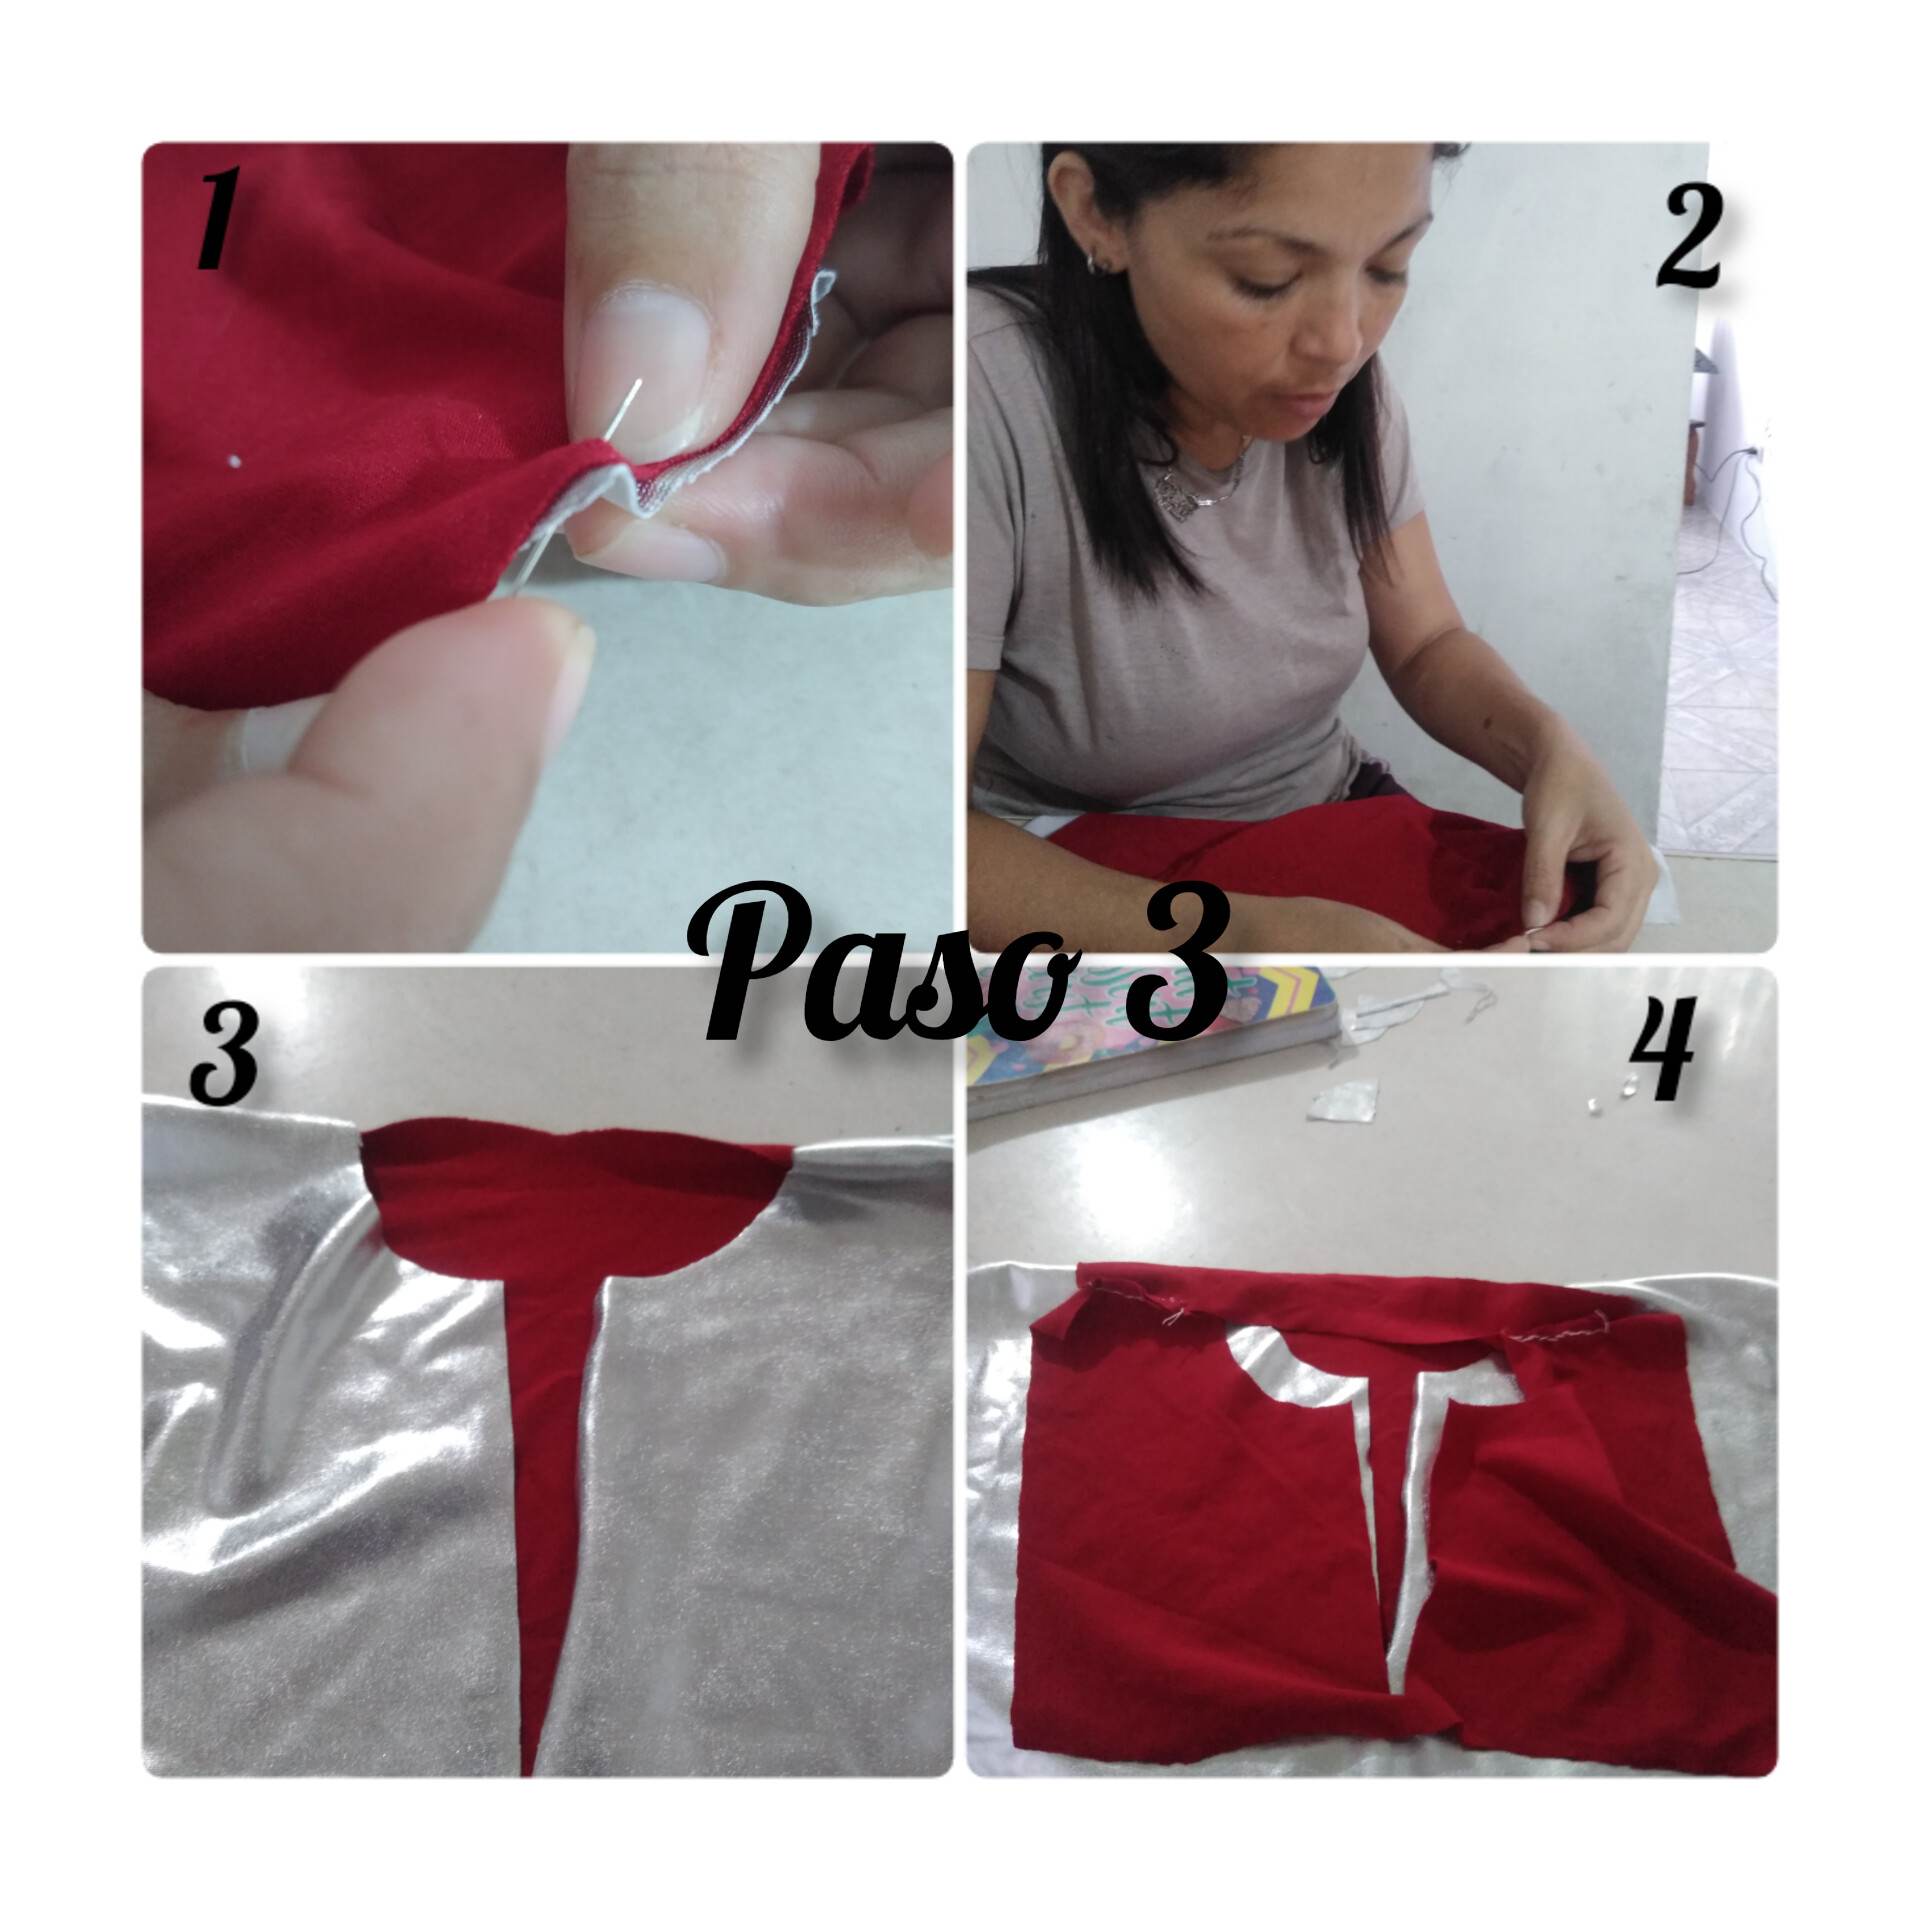
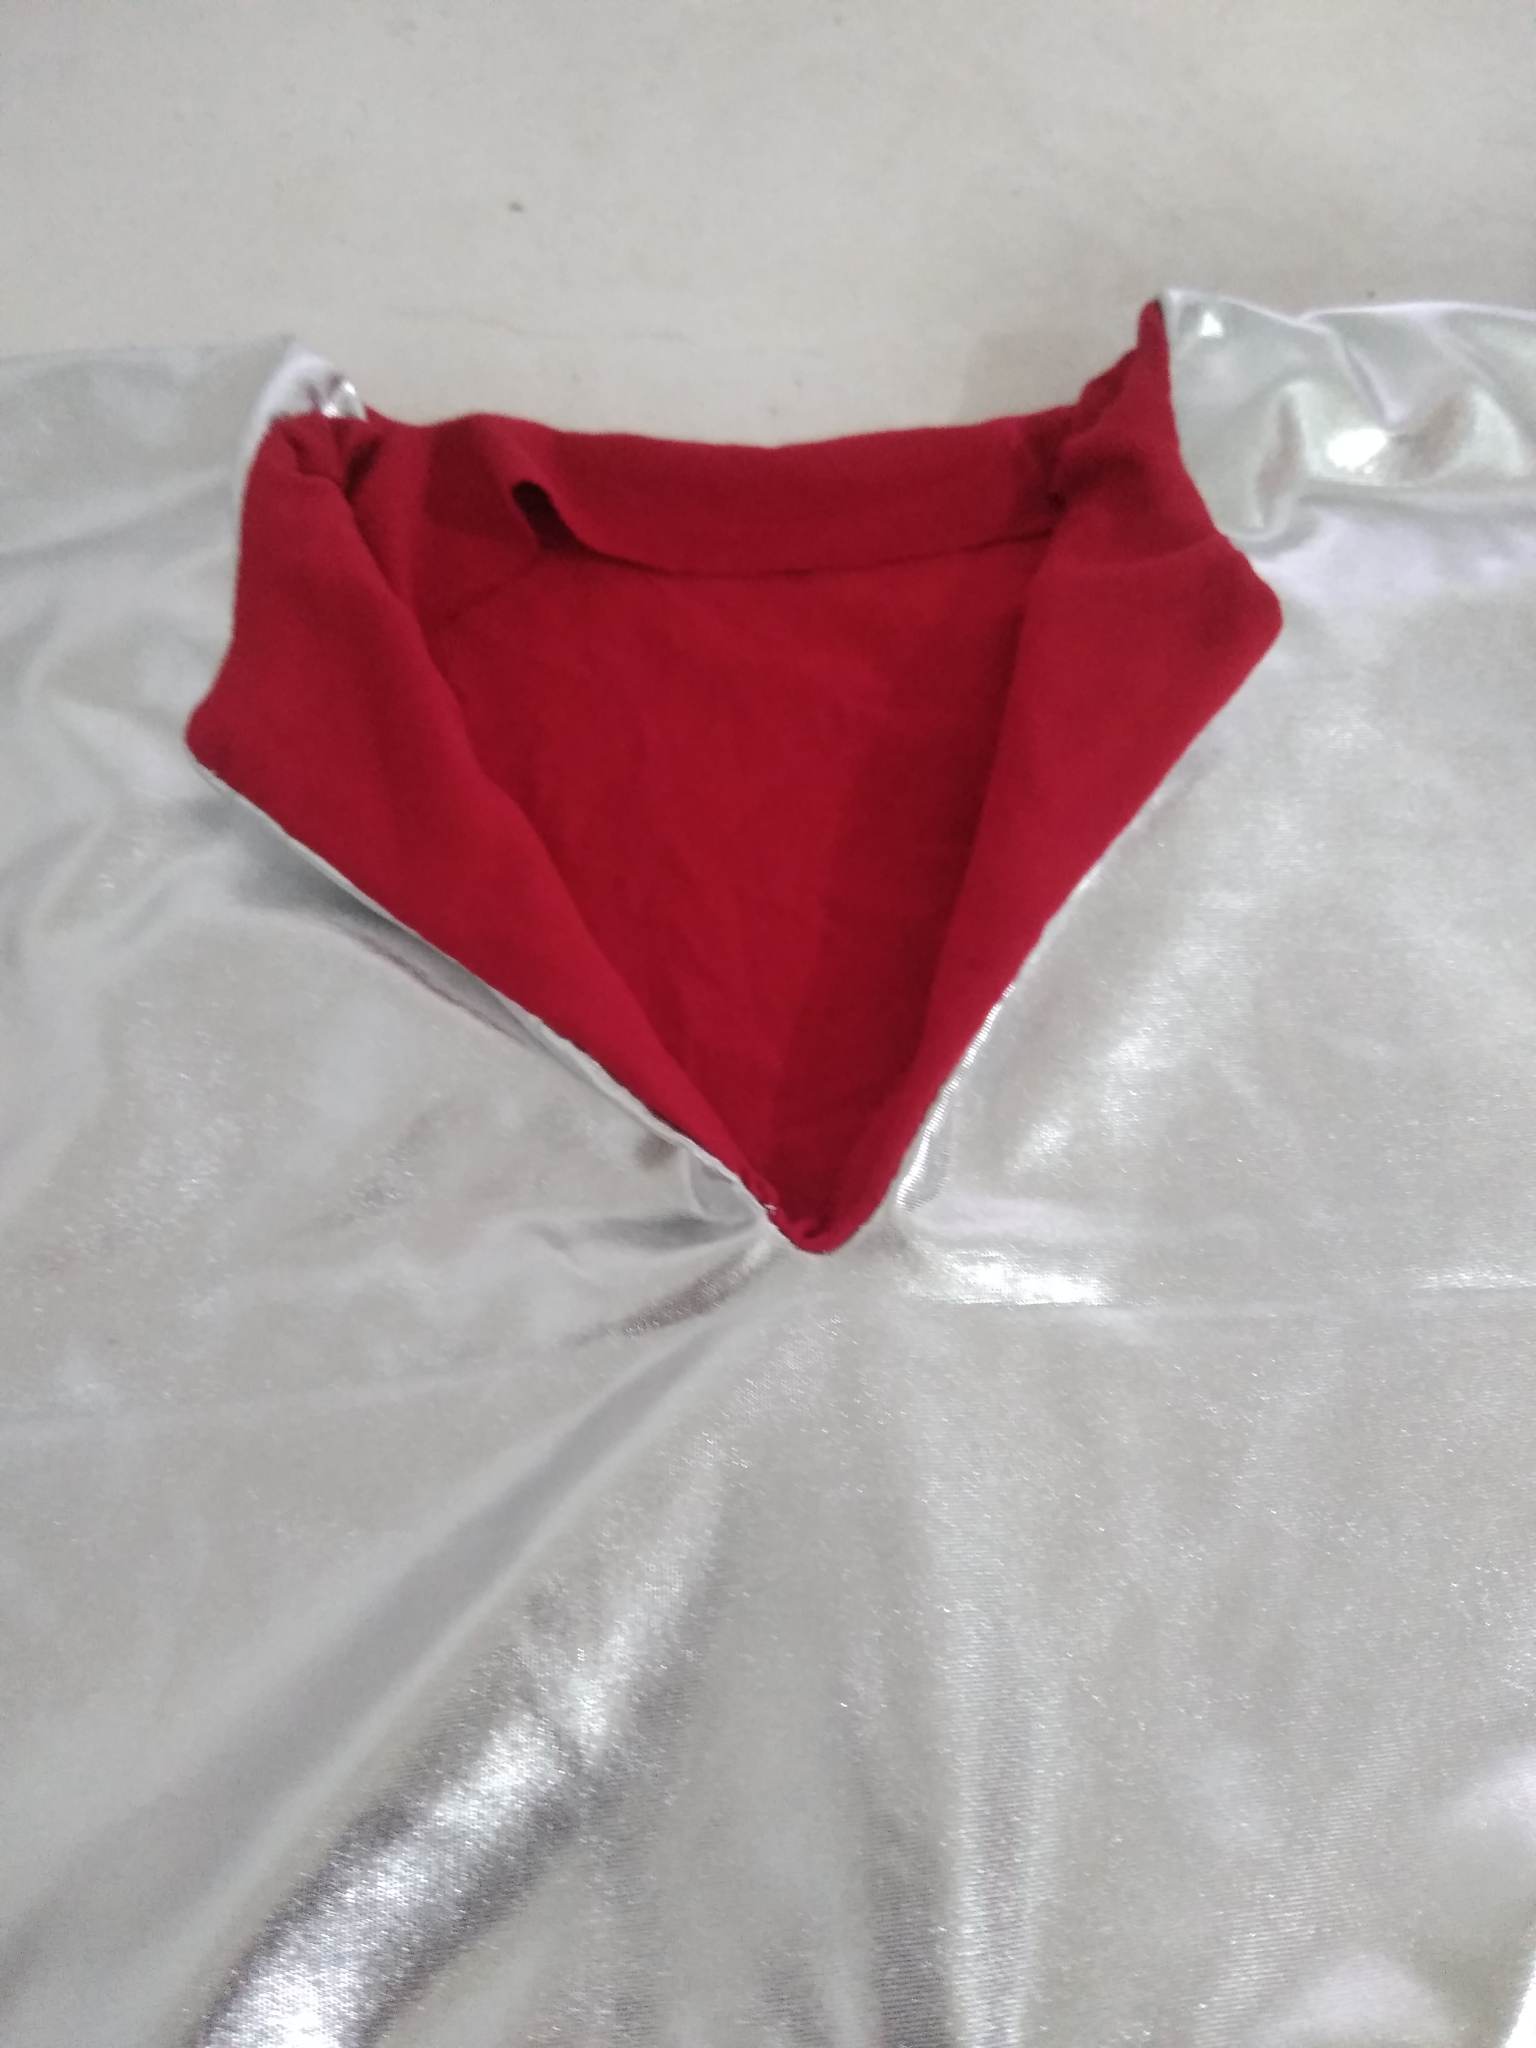
Paso 3: coseré poco a poco uniendo los hombros y luego la parte trasera a los lados que ya cosí de la tela blanca y plateada. Irá quedando así como aparece en la imagen, miren el cuello que diseñé para esta camisa, espero que les guste mucho así es por dentro, coseré el ruedo para luego voltearla y tener así una costura pulcra. así que paciencia porque coser a mano no es fácil.
Step 3: I will sew little by little joining the shoulders and then the back part to the sides that I already sewed of the white and silver fabric. It will be as it appears in the image, look at the collar I designed for this shirt, I hope you like it very much, I will sew the hem and then turn it inside out to have a neat seam, so patience because sewing by hand is not easy.
.jpg)
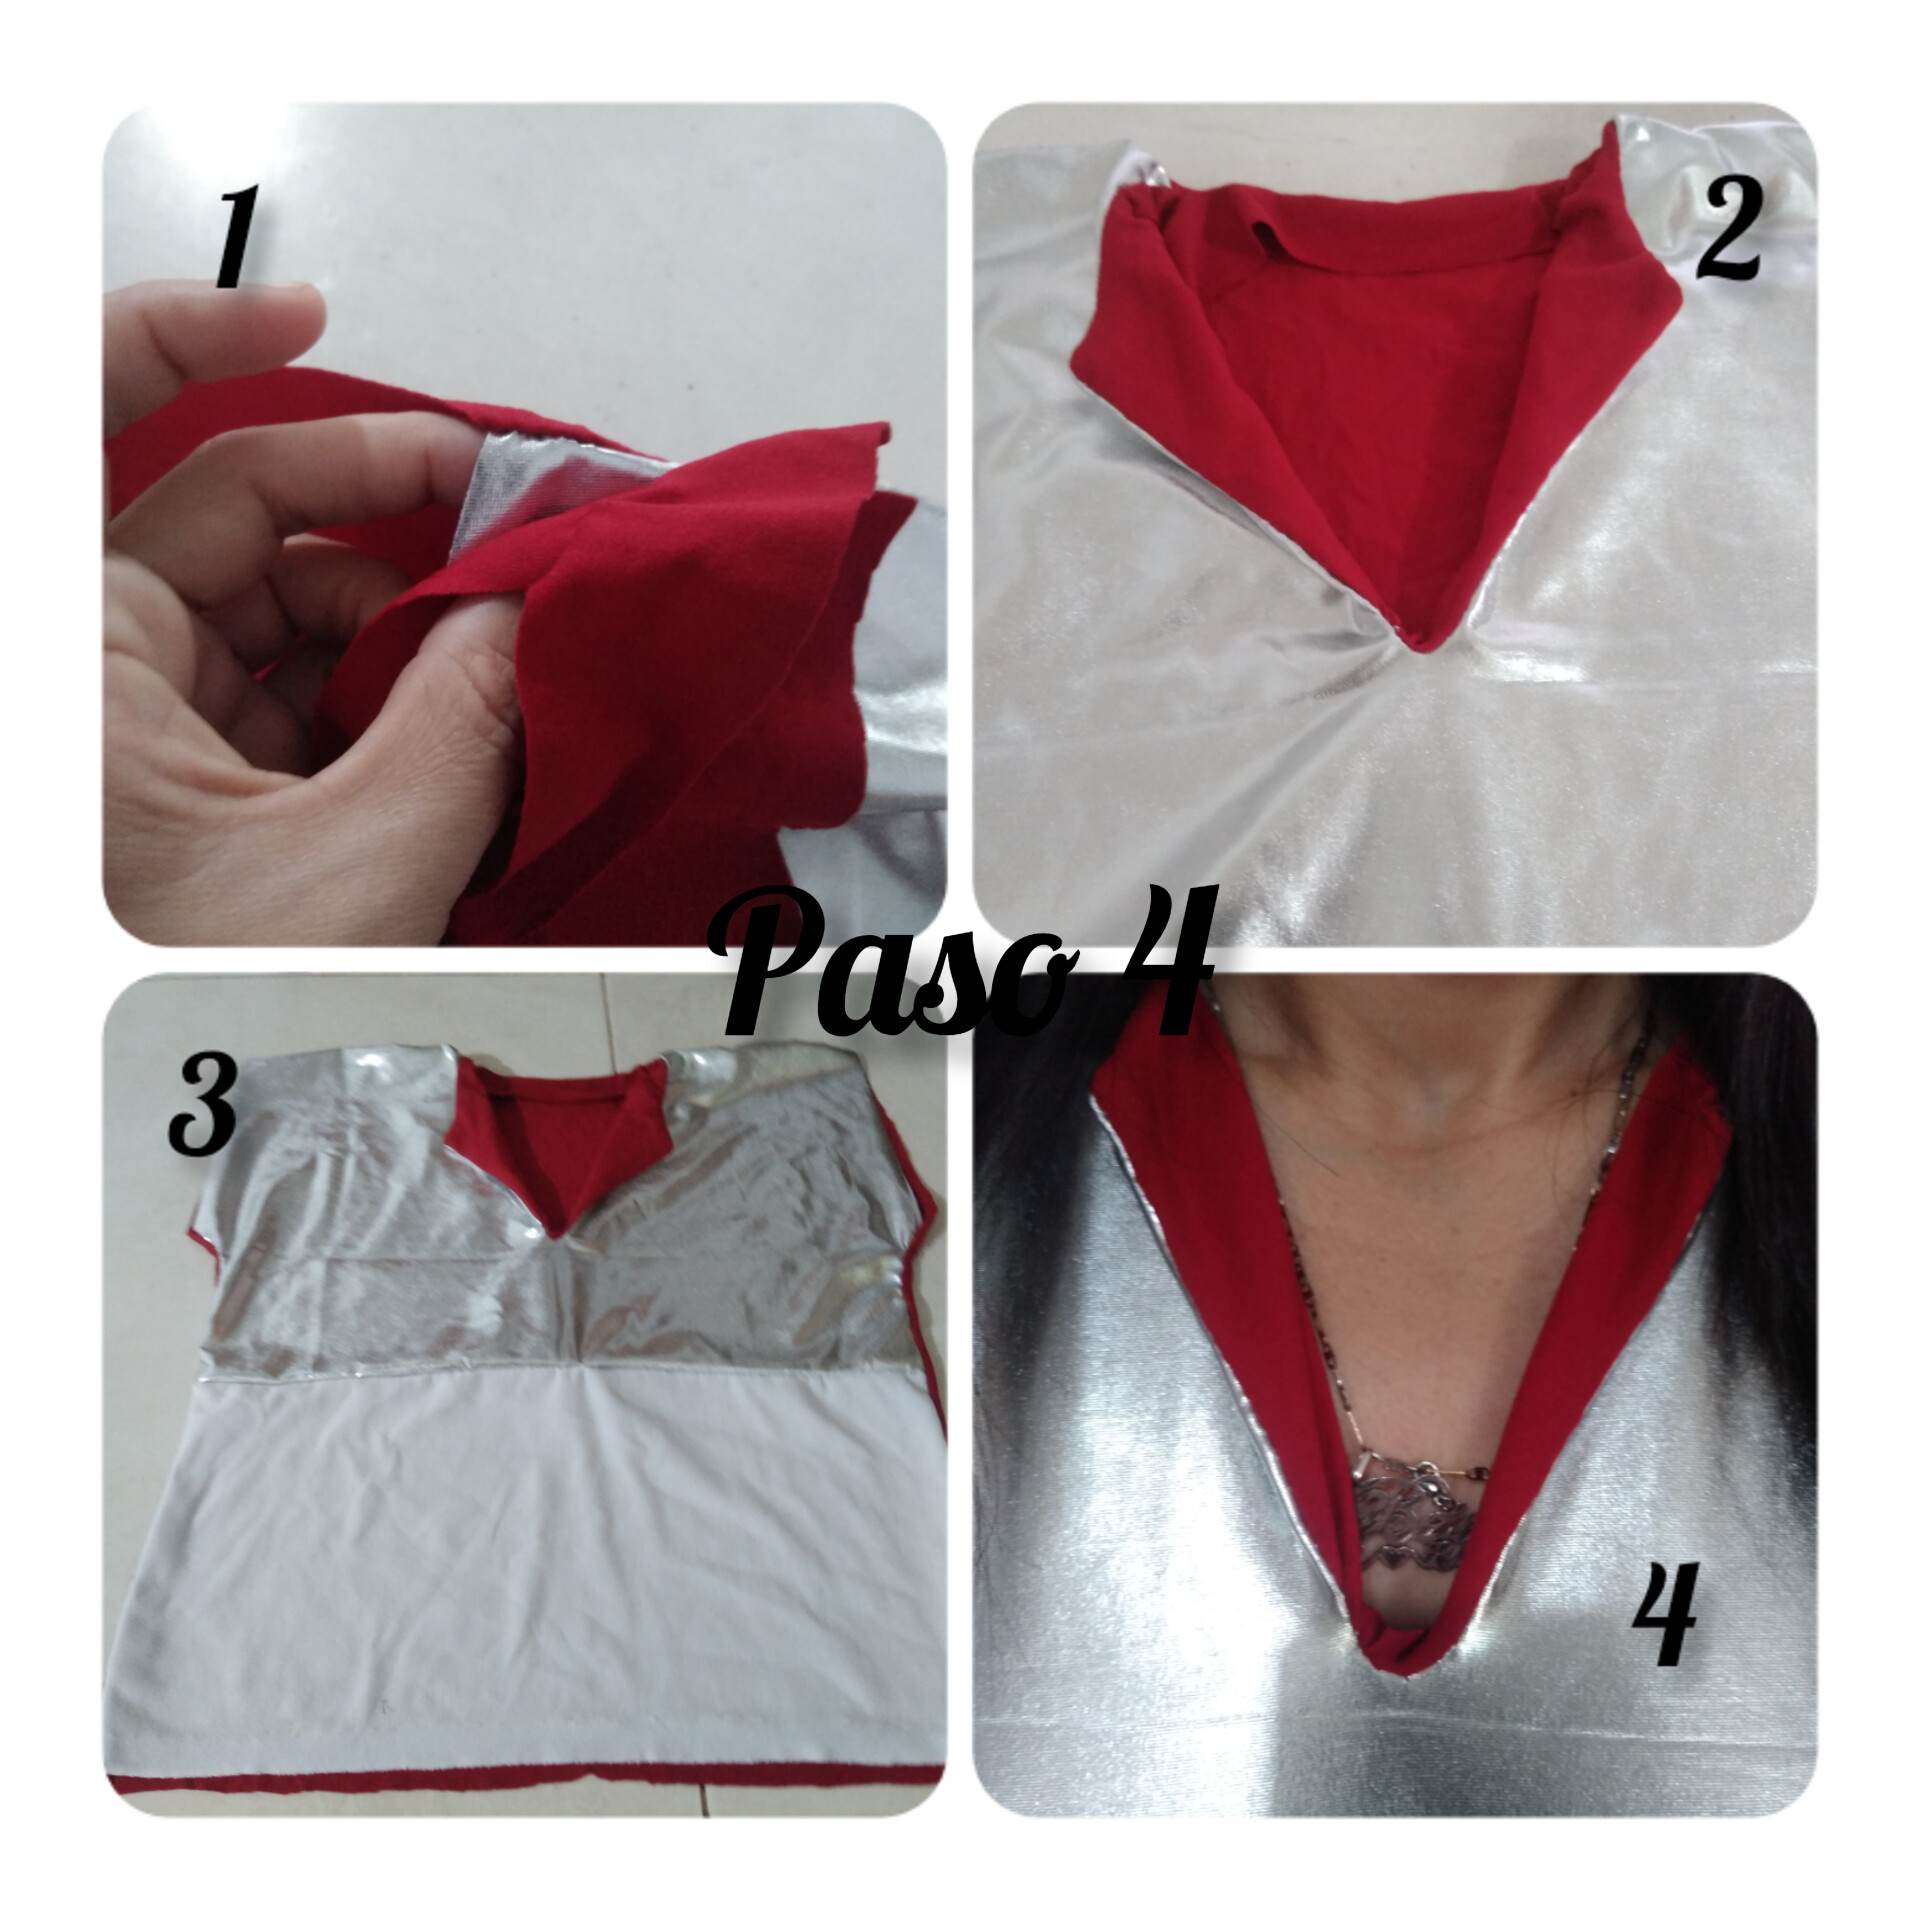
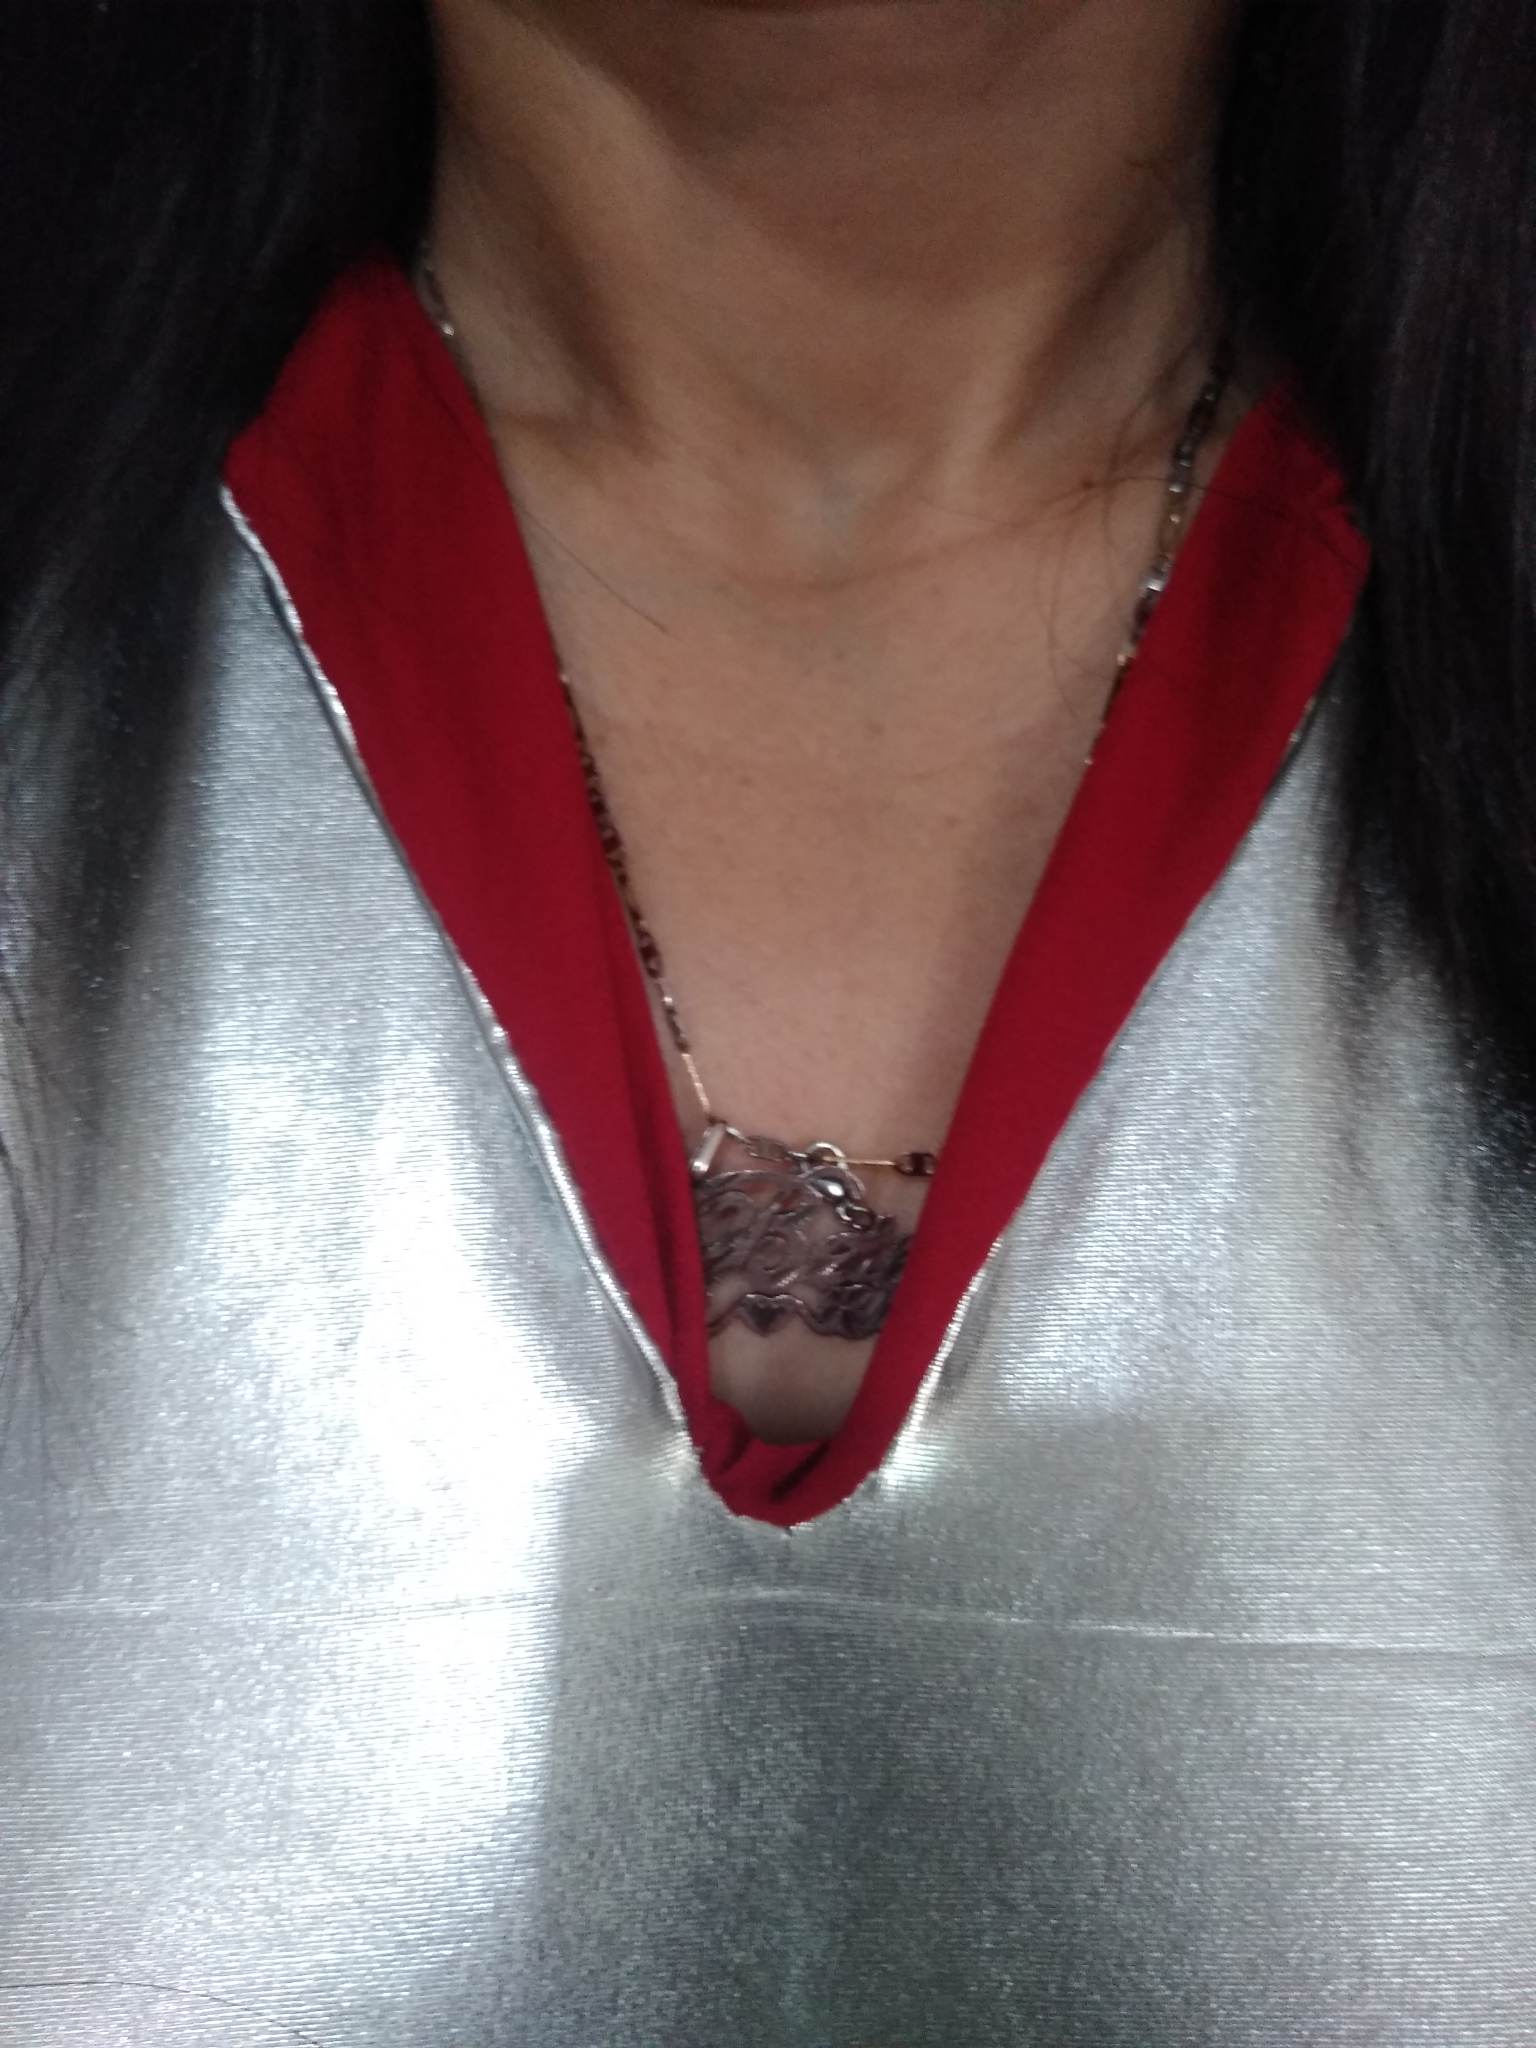
Paso 4: ahora coseré la parte roja cuidadosamente, coseremos el ruedo en la parte de las mangas y en la parte de la camisa a lo último, así quedará el cuello listo así como aparece en la imagen. Espero que este tutorial les haya gustado mucho y les pueda servir de mucha ayuda.
Step 4: now I will sew the red part carefully, we will sew the hem on the sleeves part and on the shirt part at the end, so the collar will be ready as shown in the picture. I hope you liked this tutorial and I hope it will be very helpful.
.jpg)
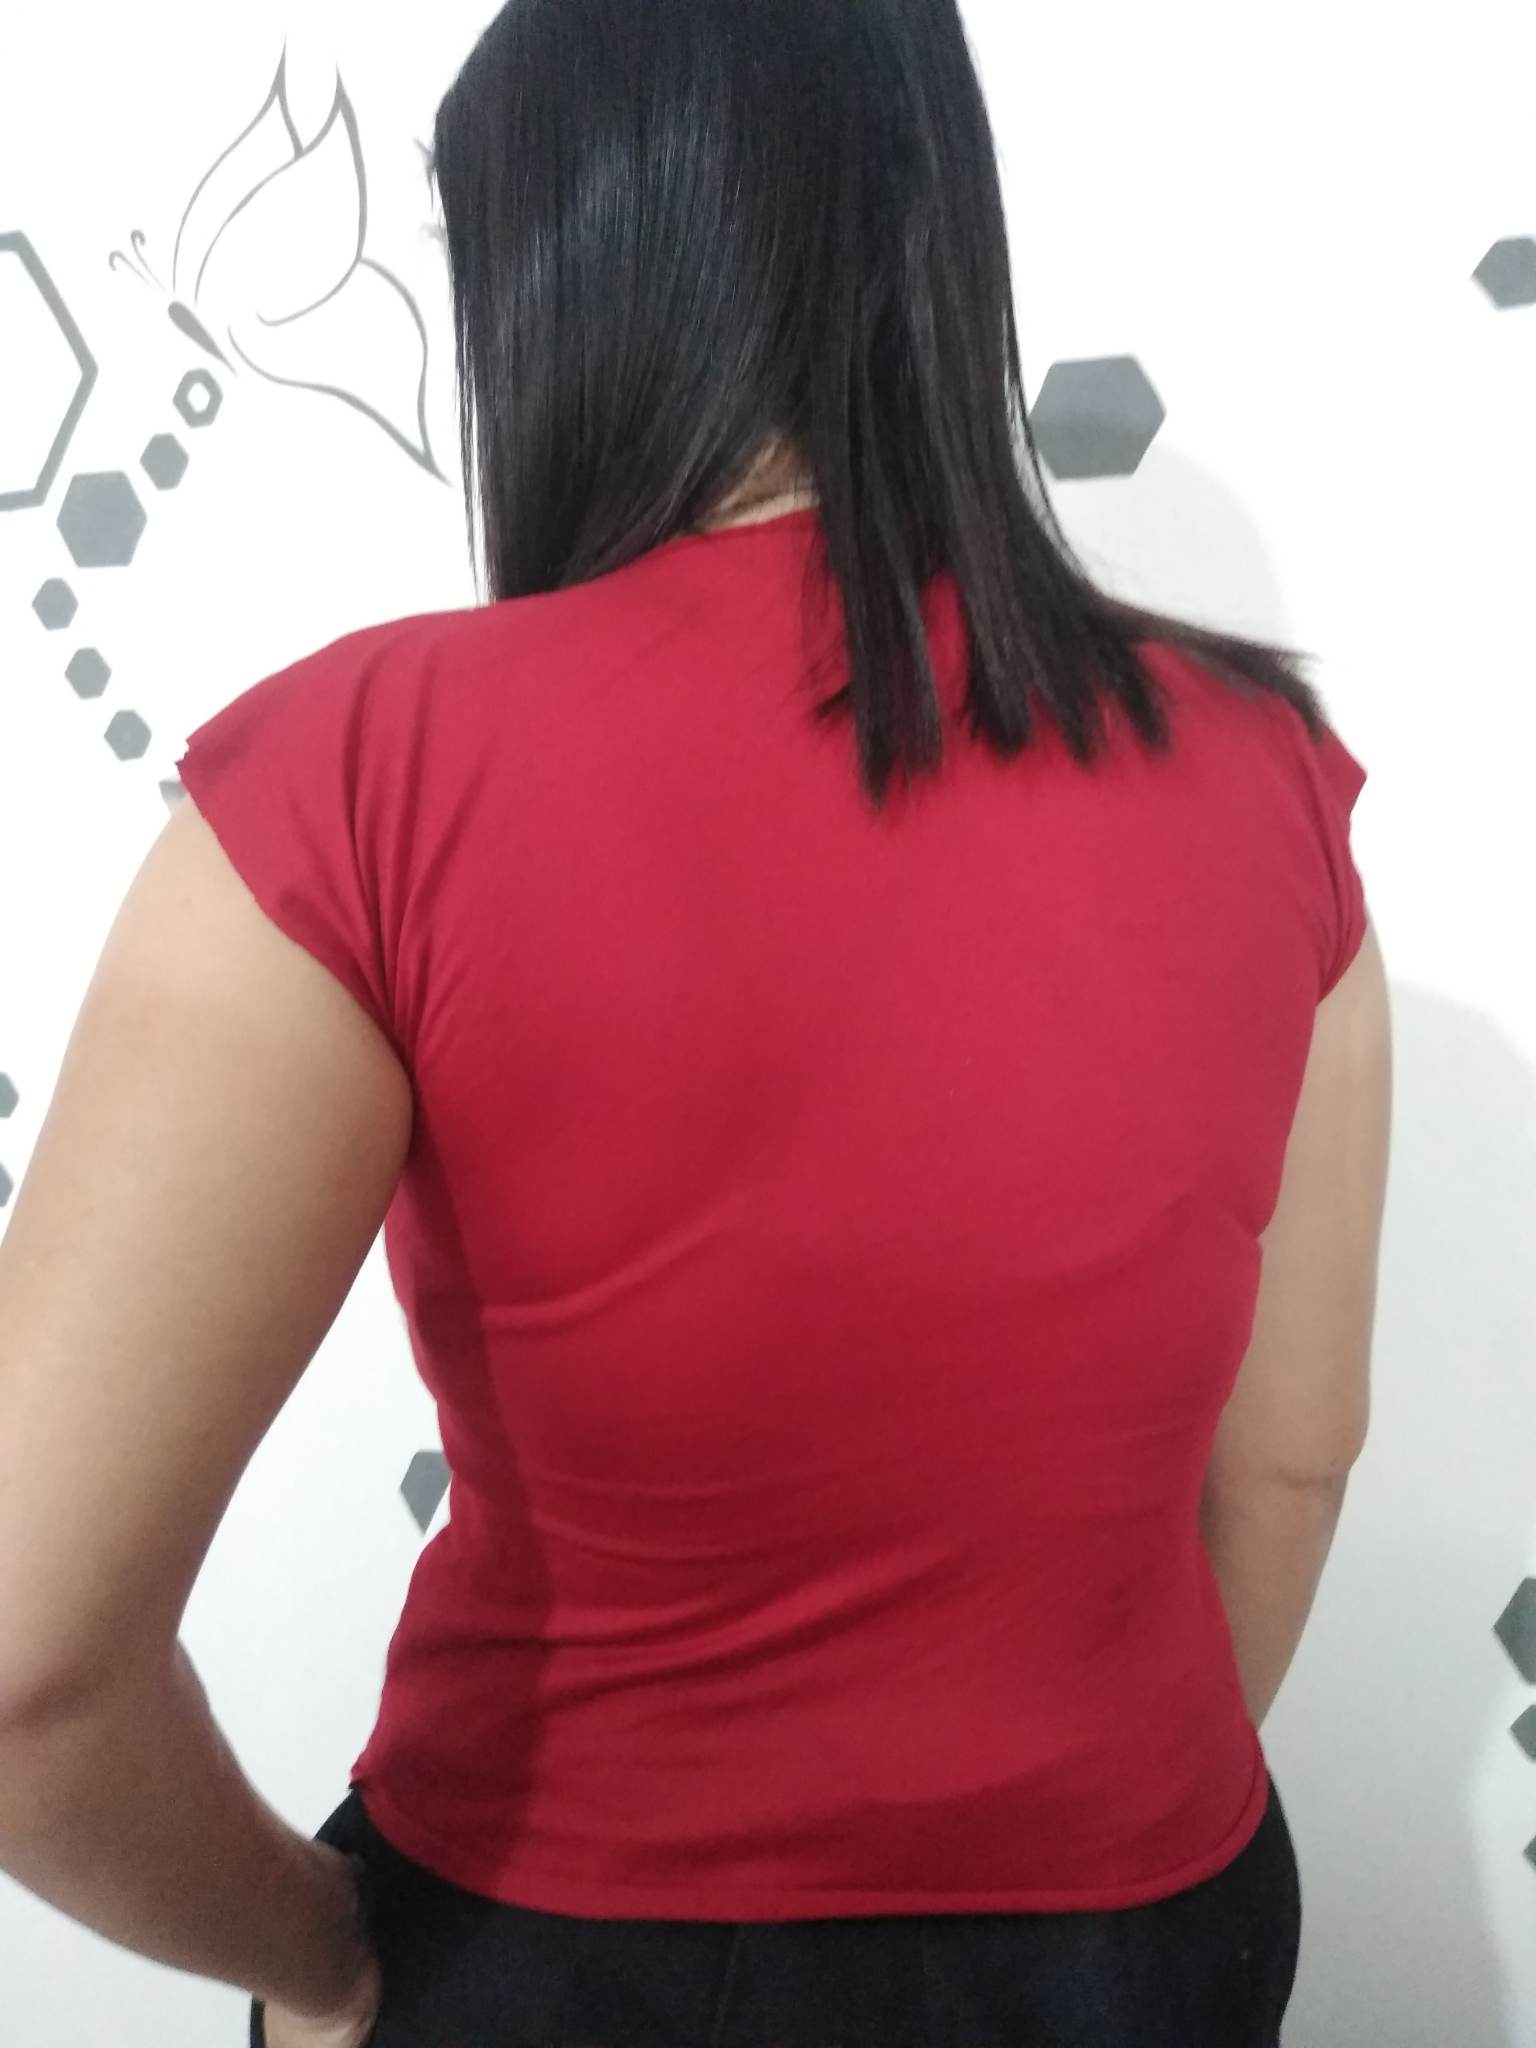
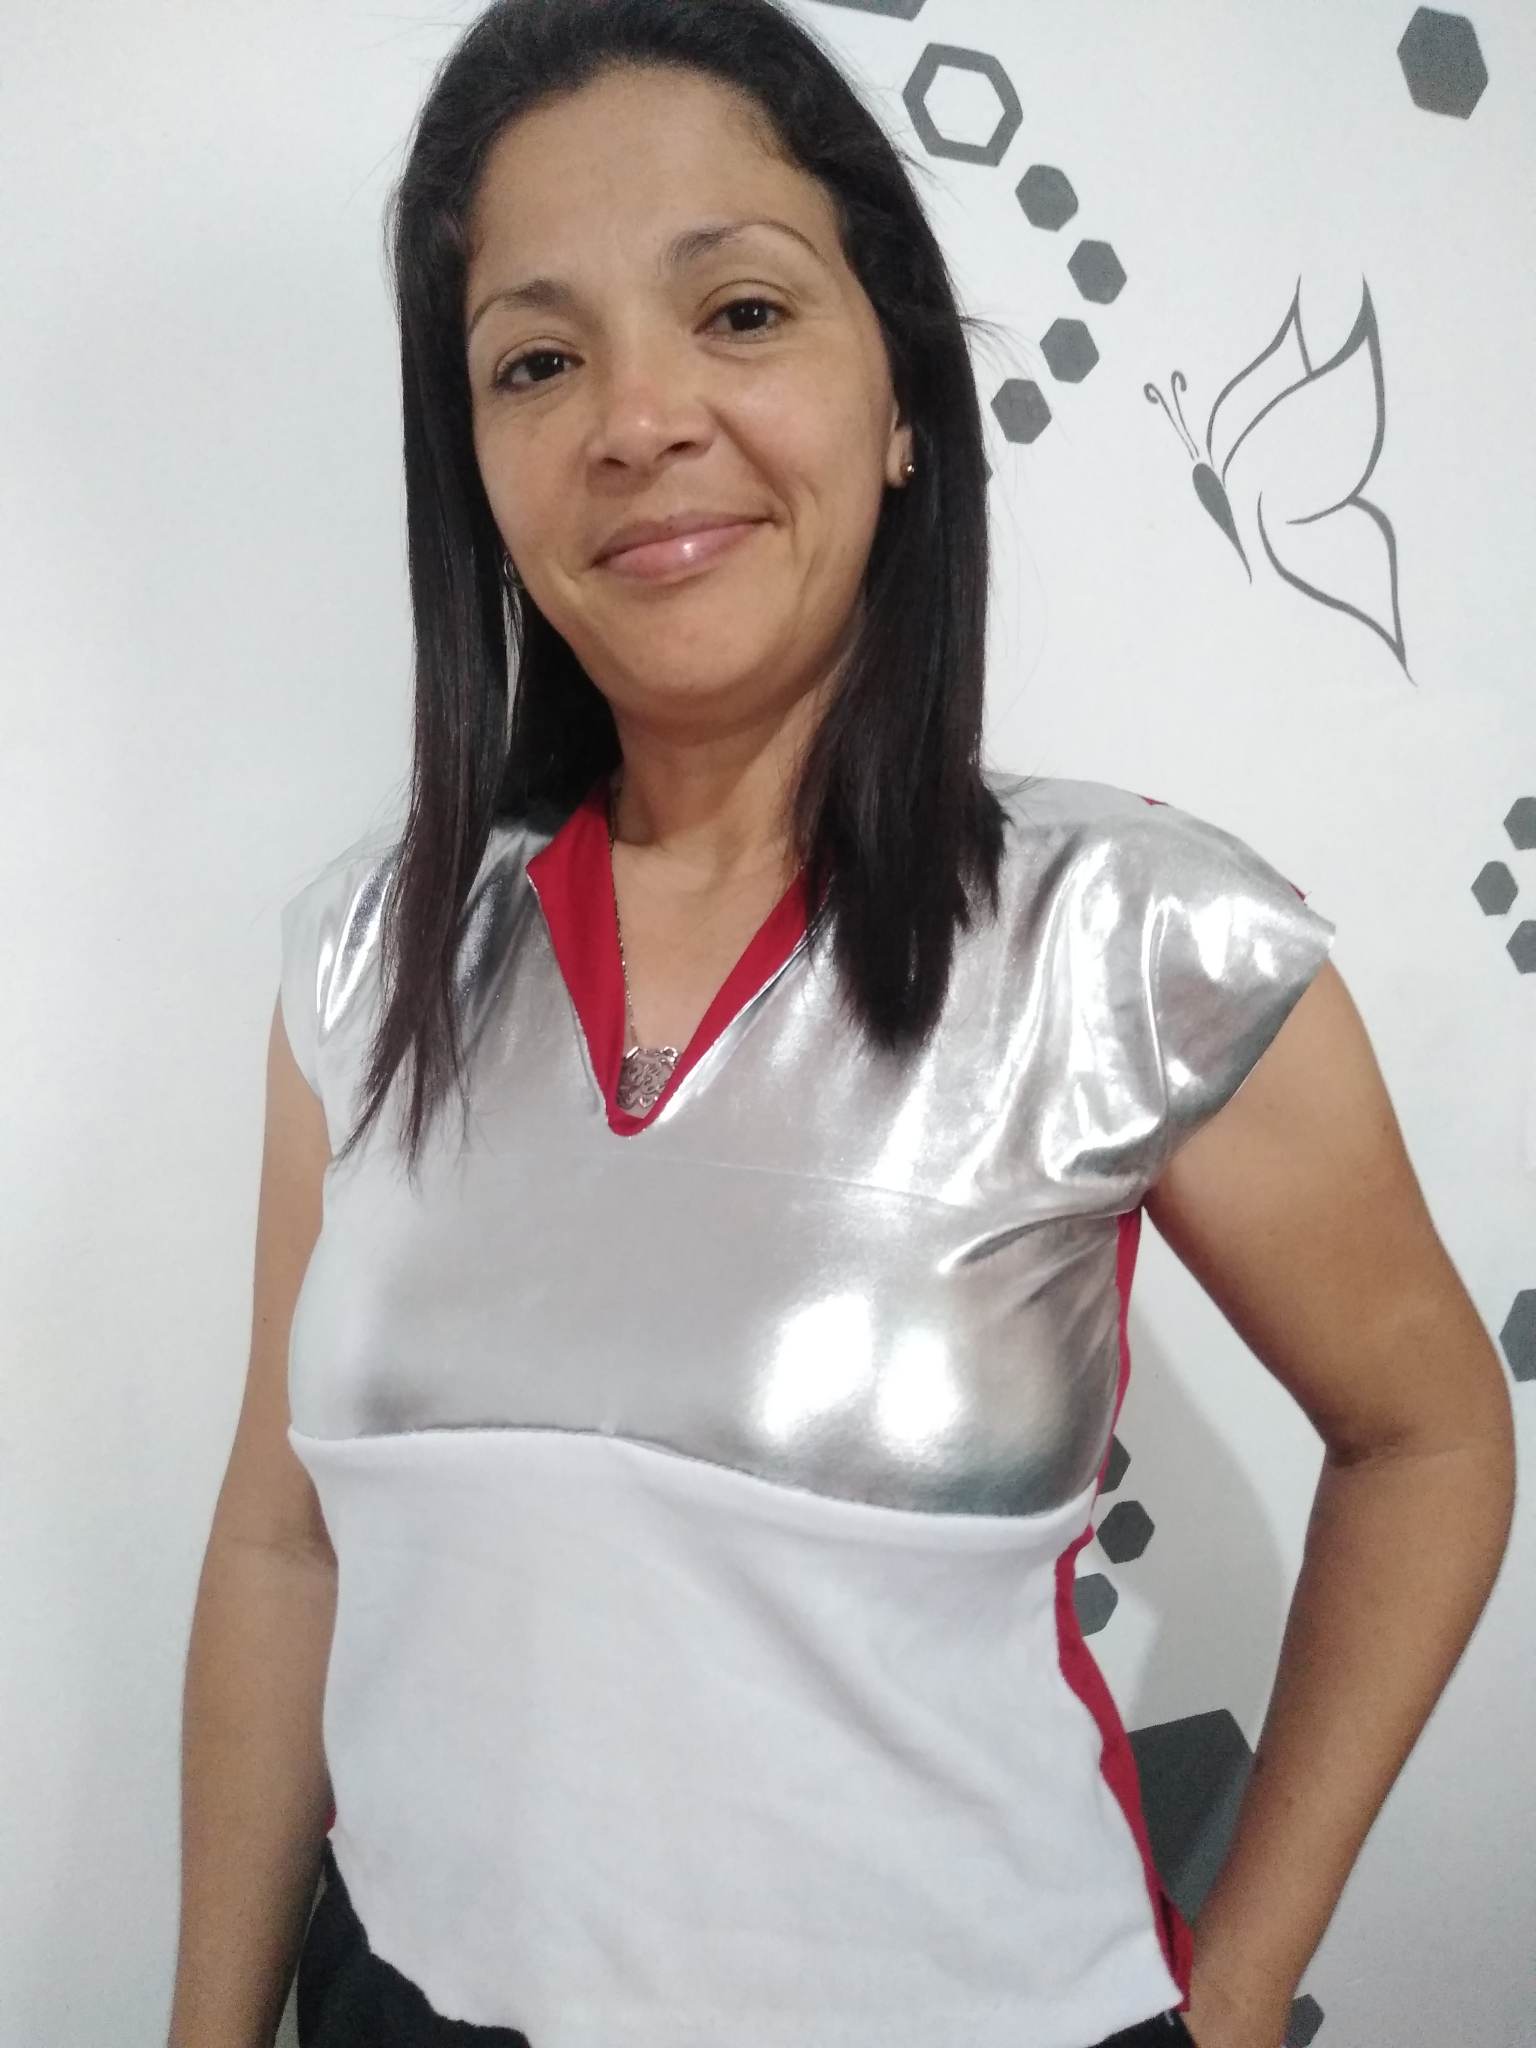
Final Result.
.jpg)

The design is great, the color combinations is nice