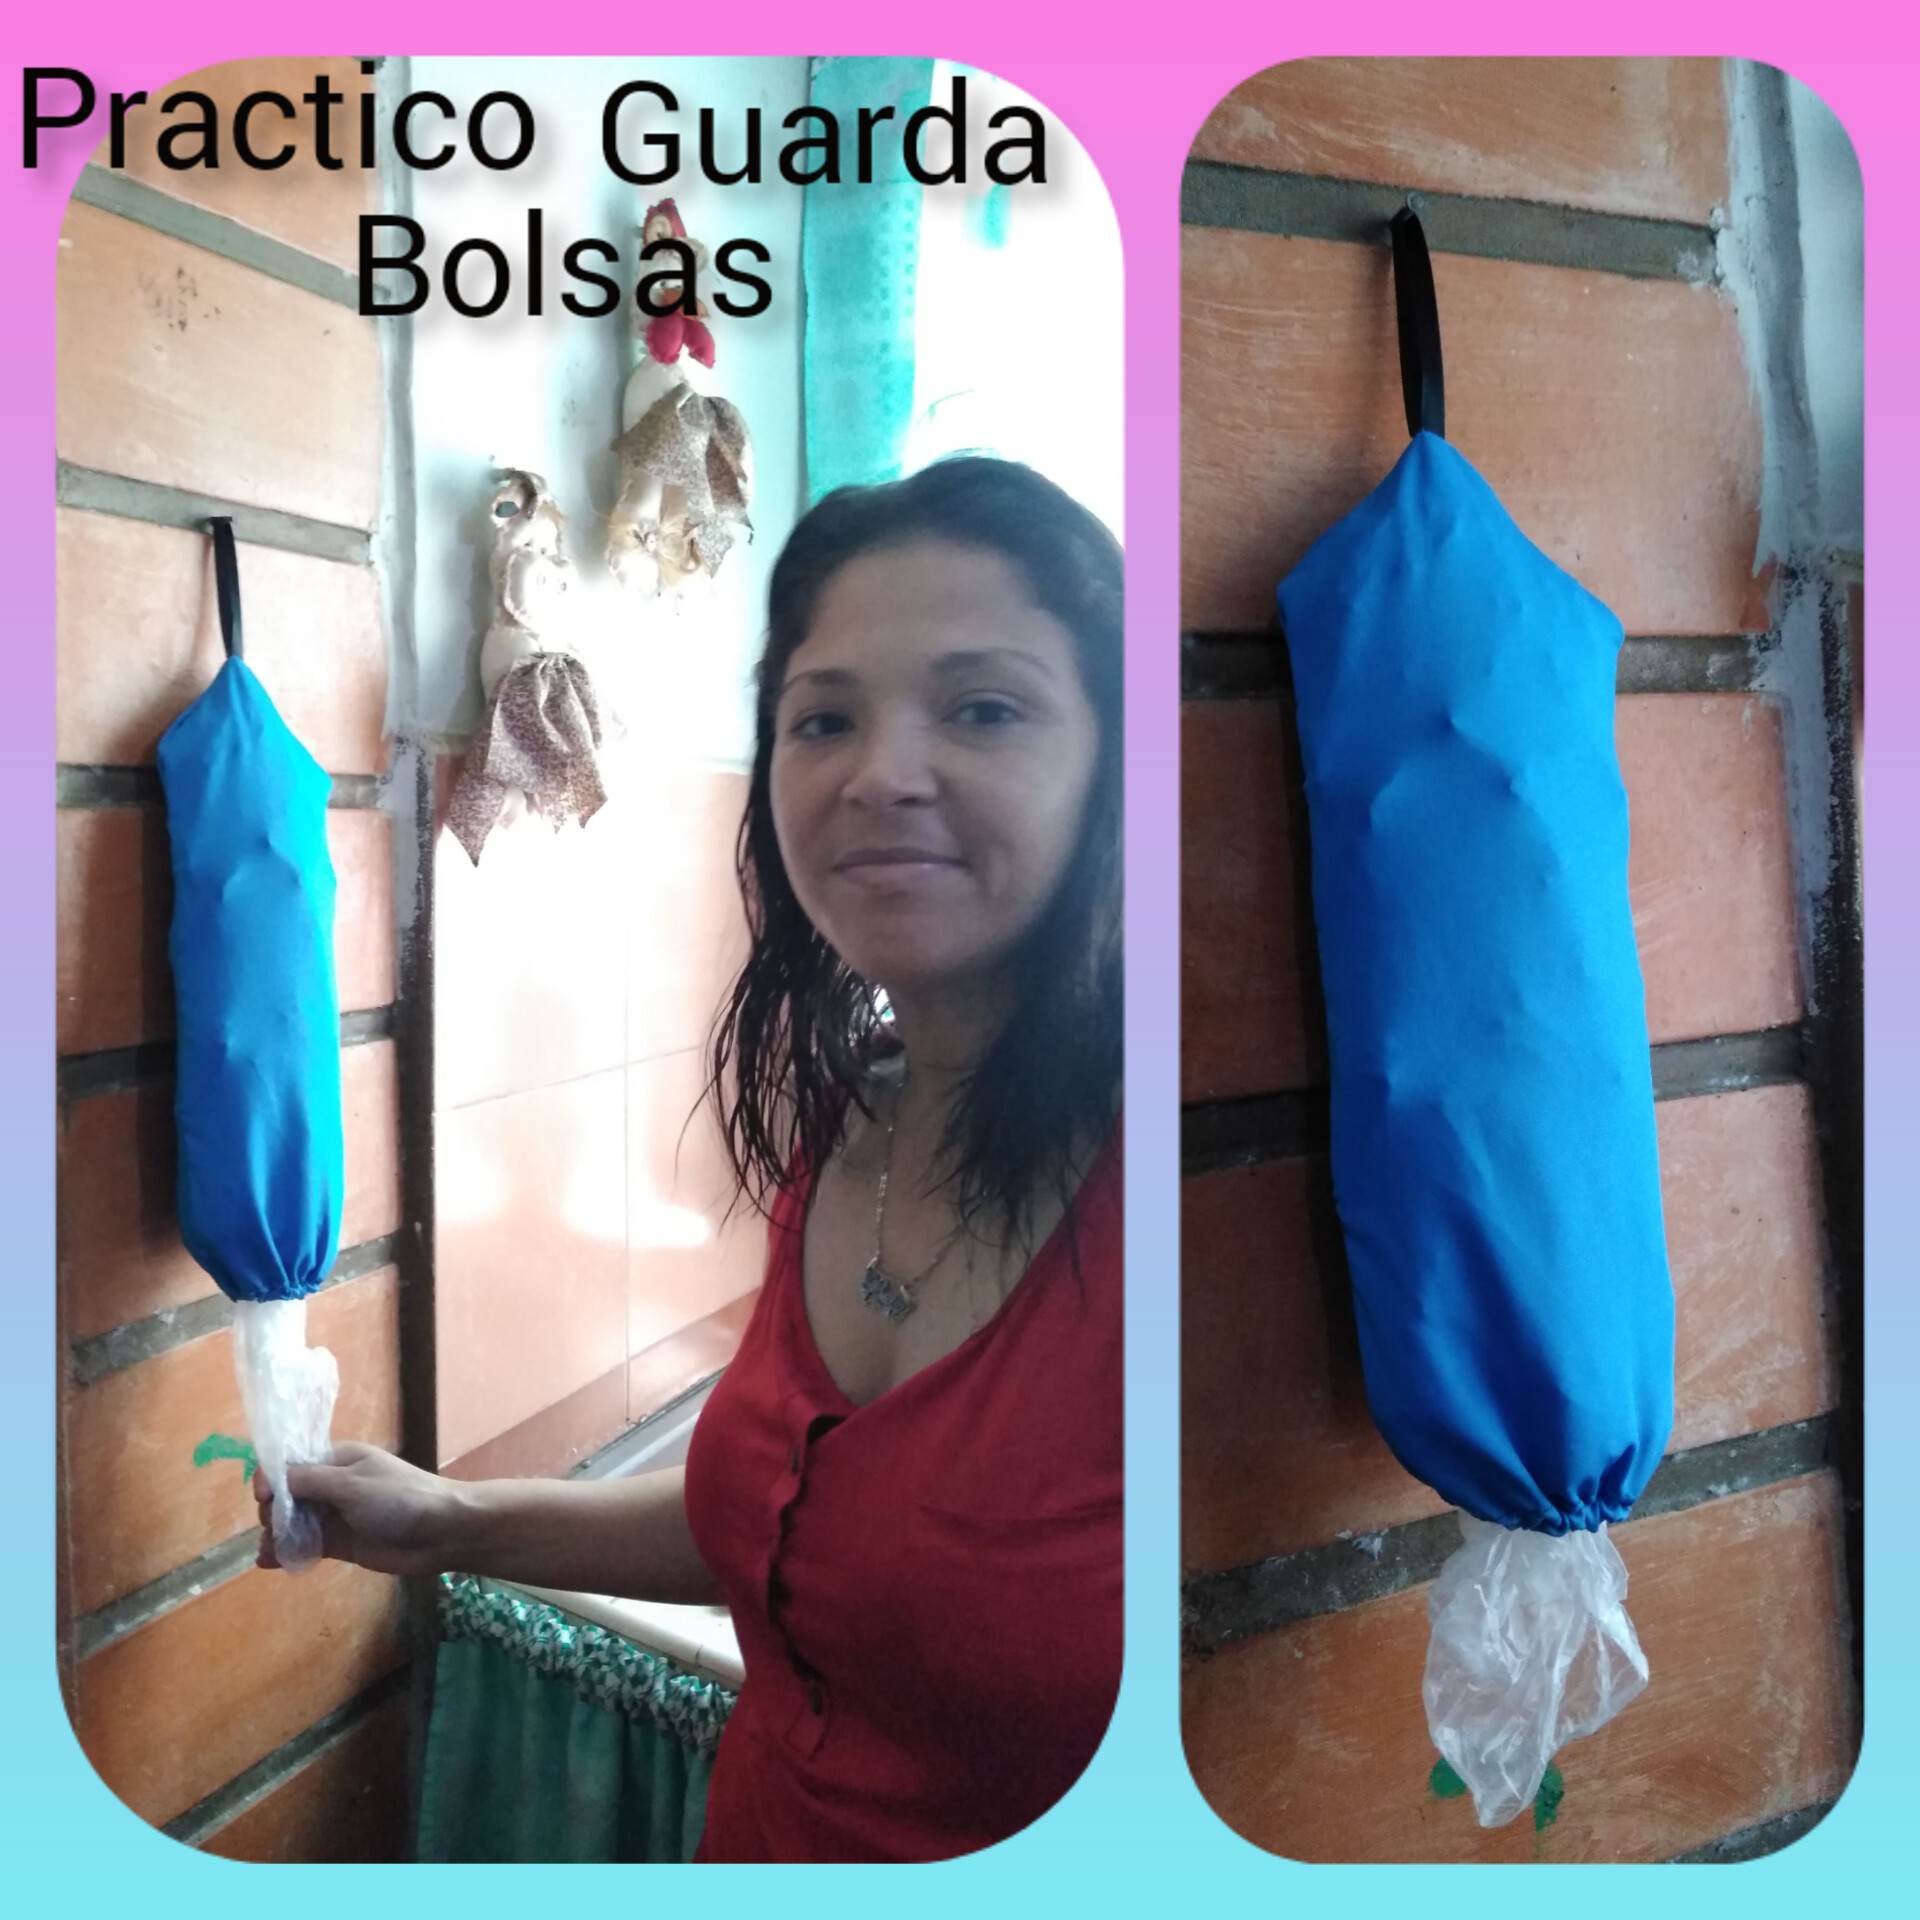
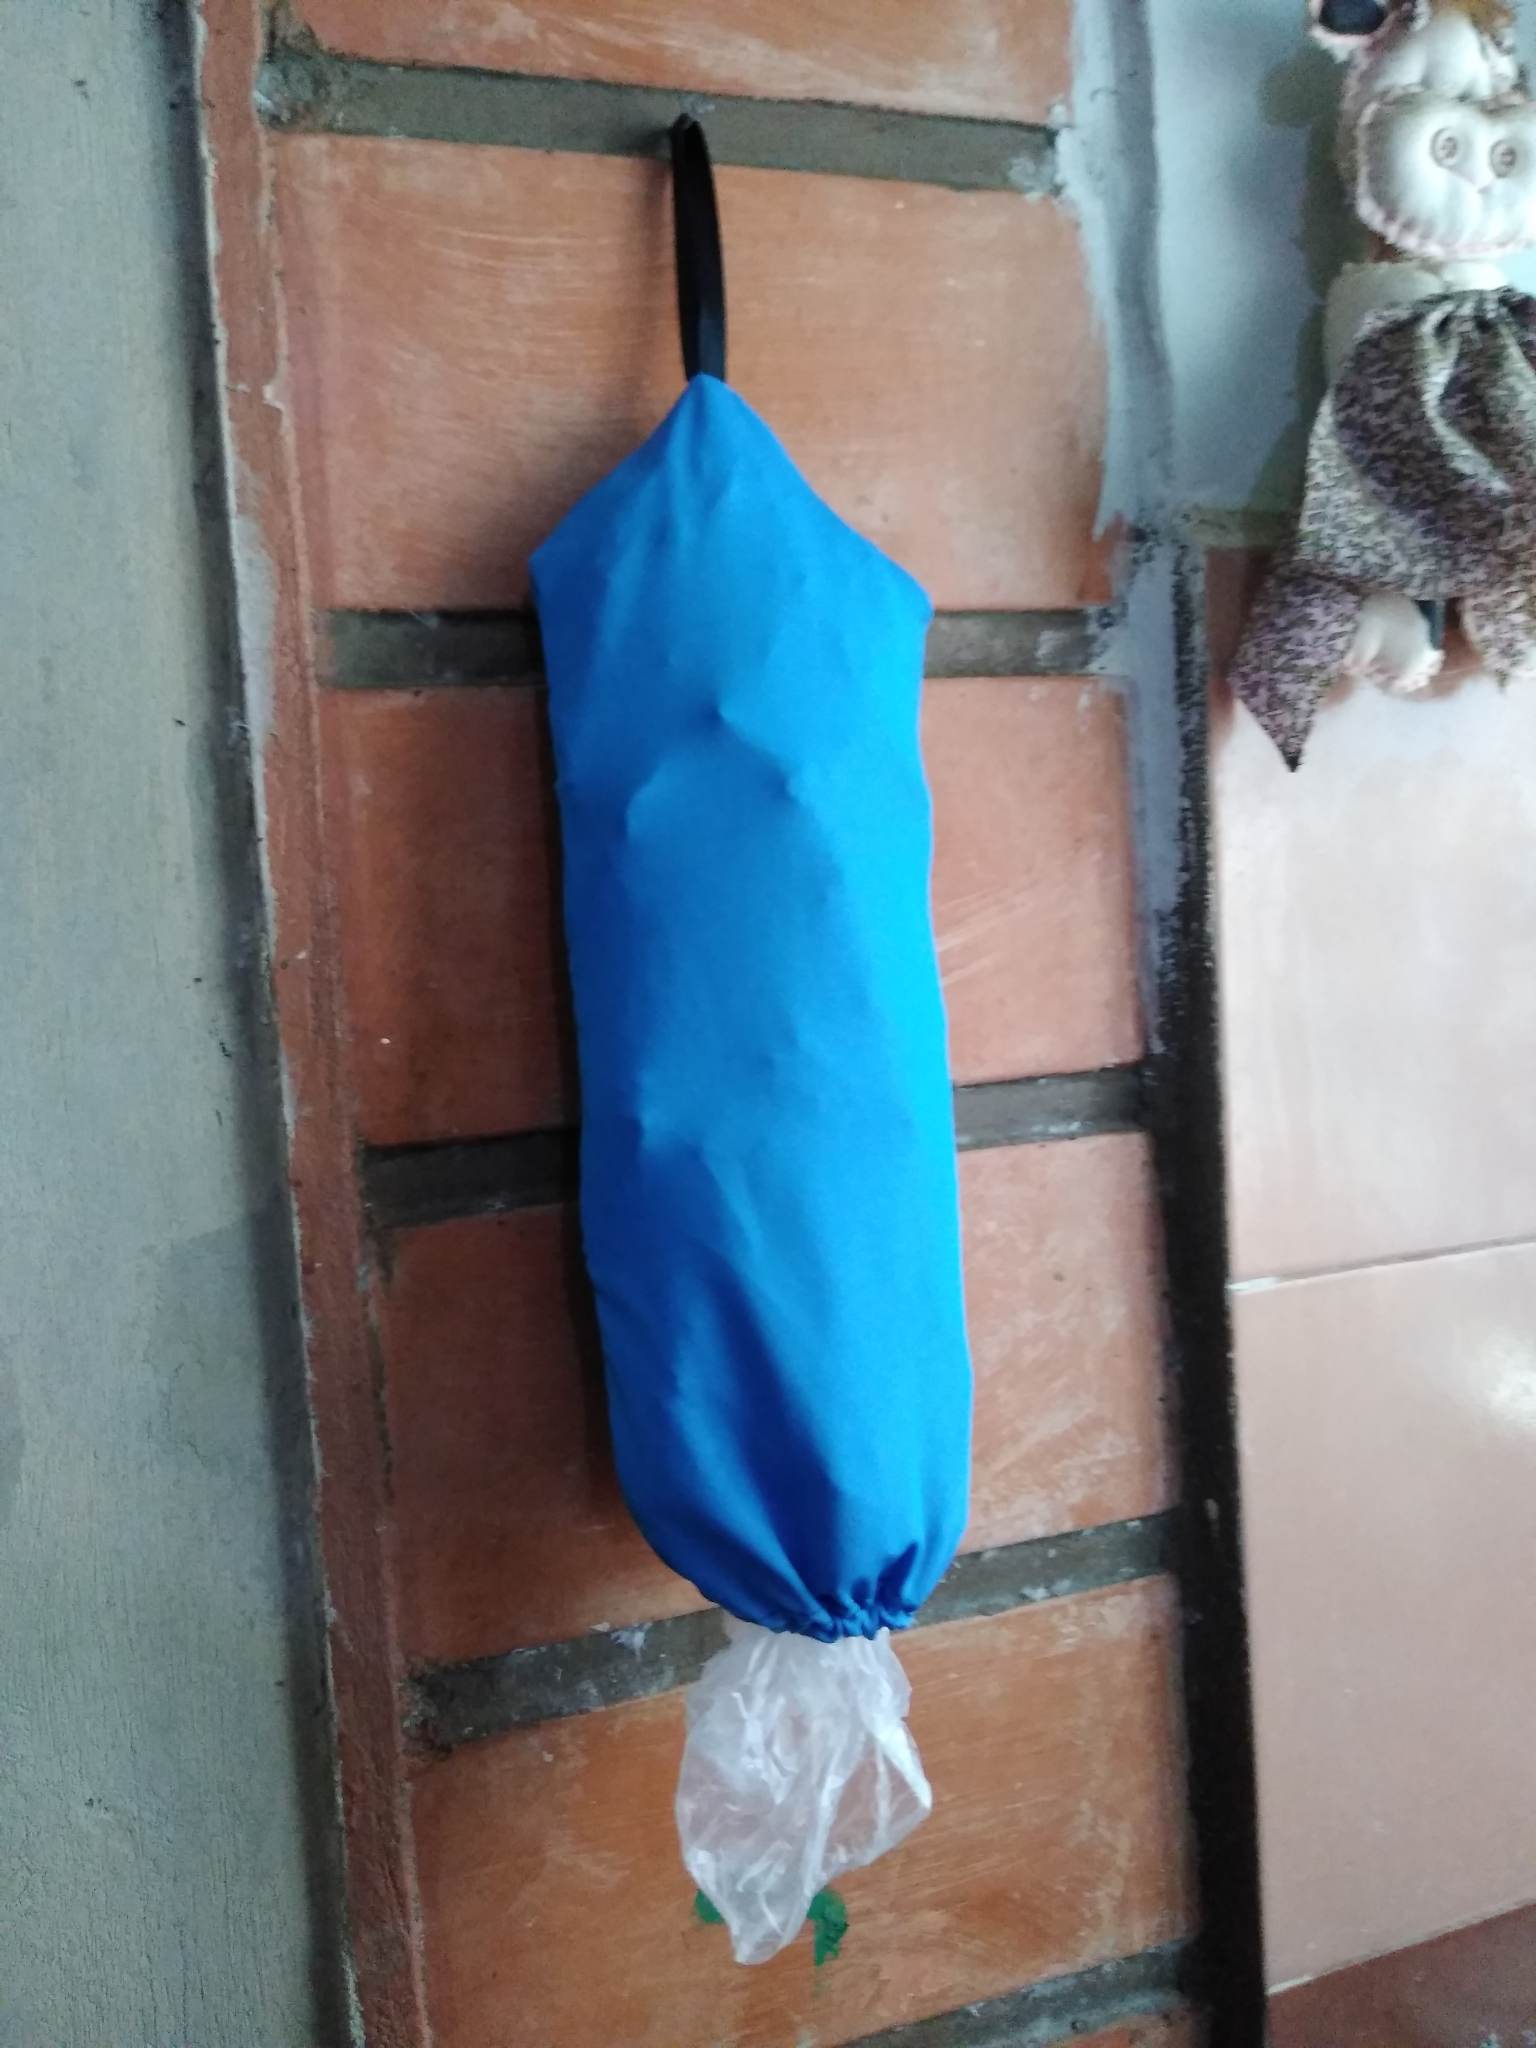
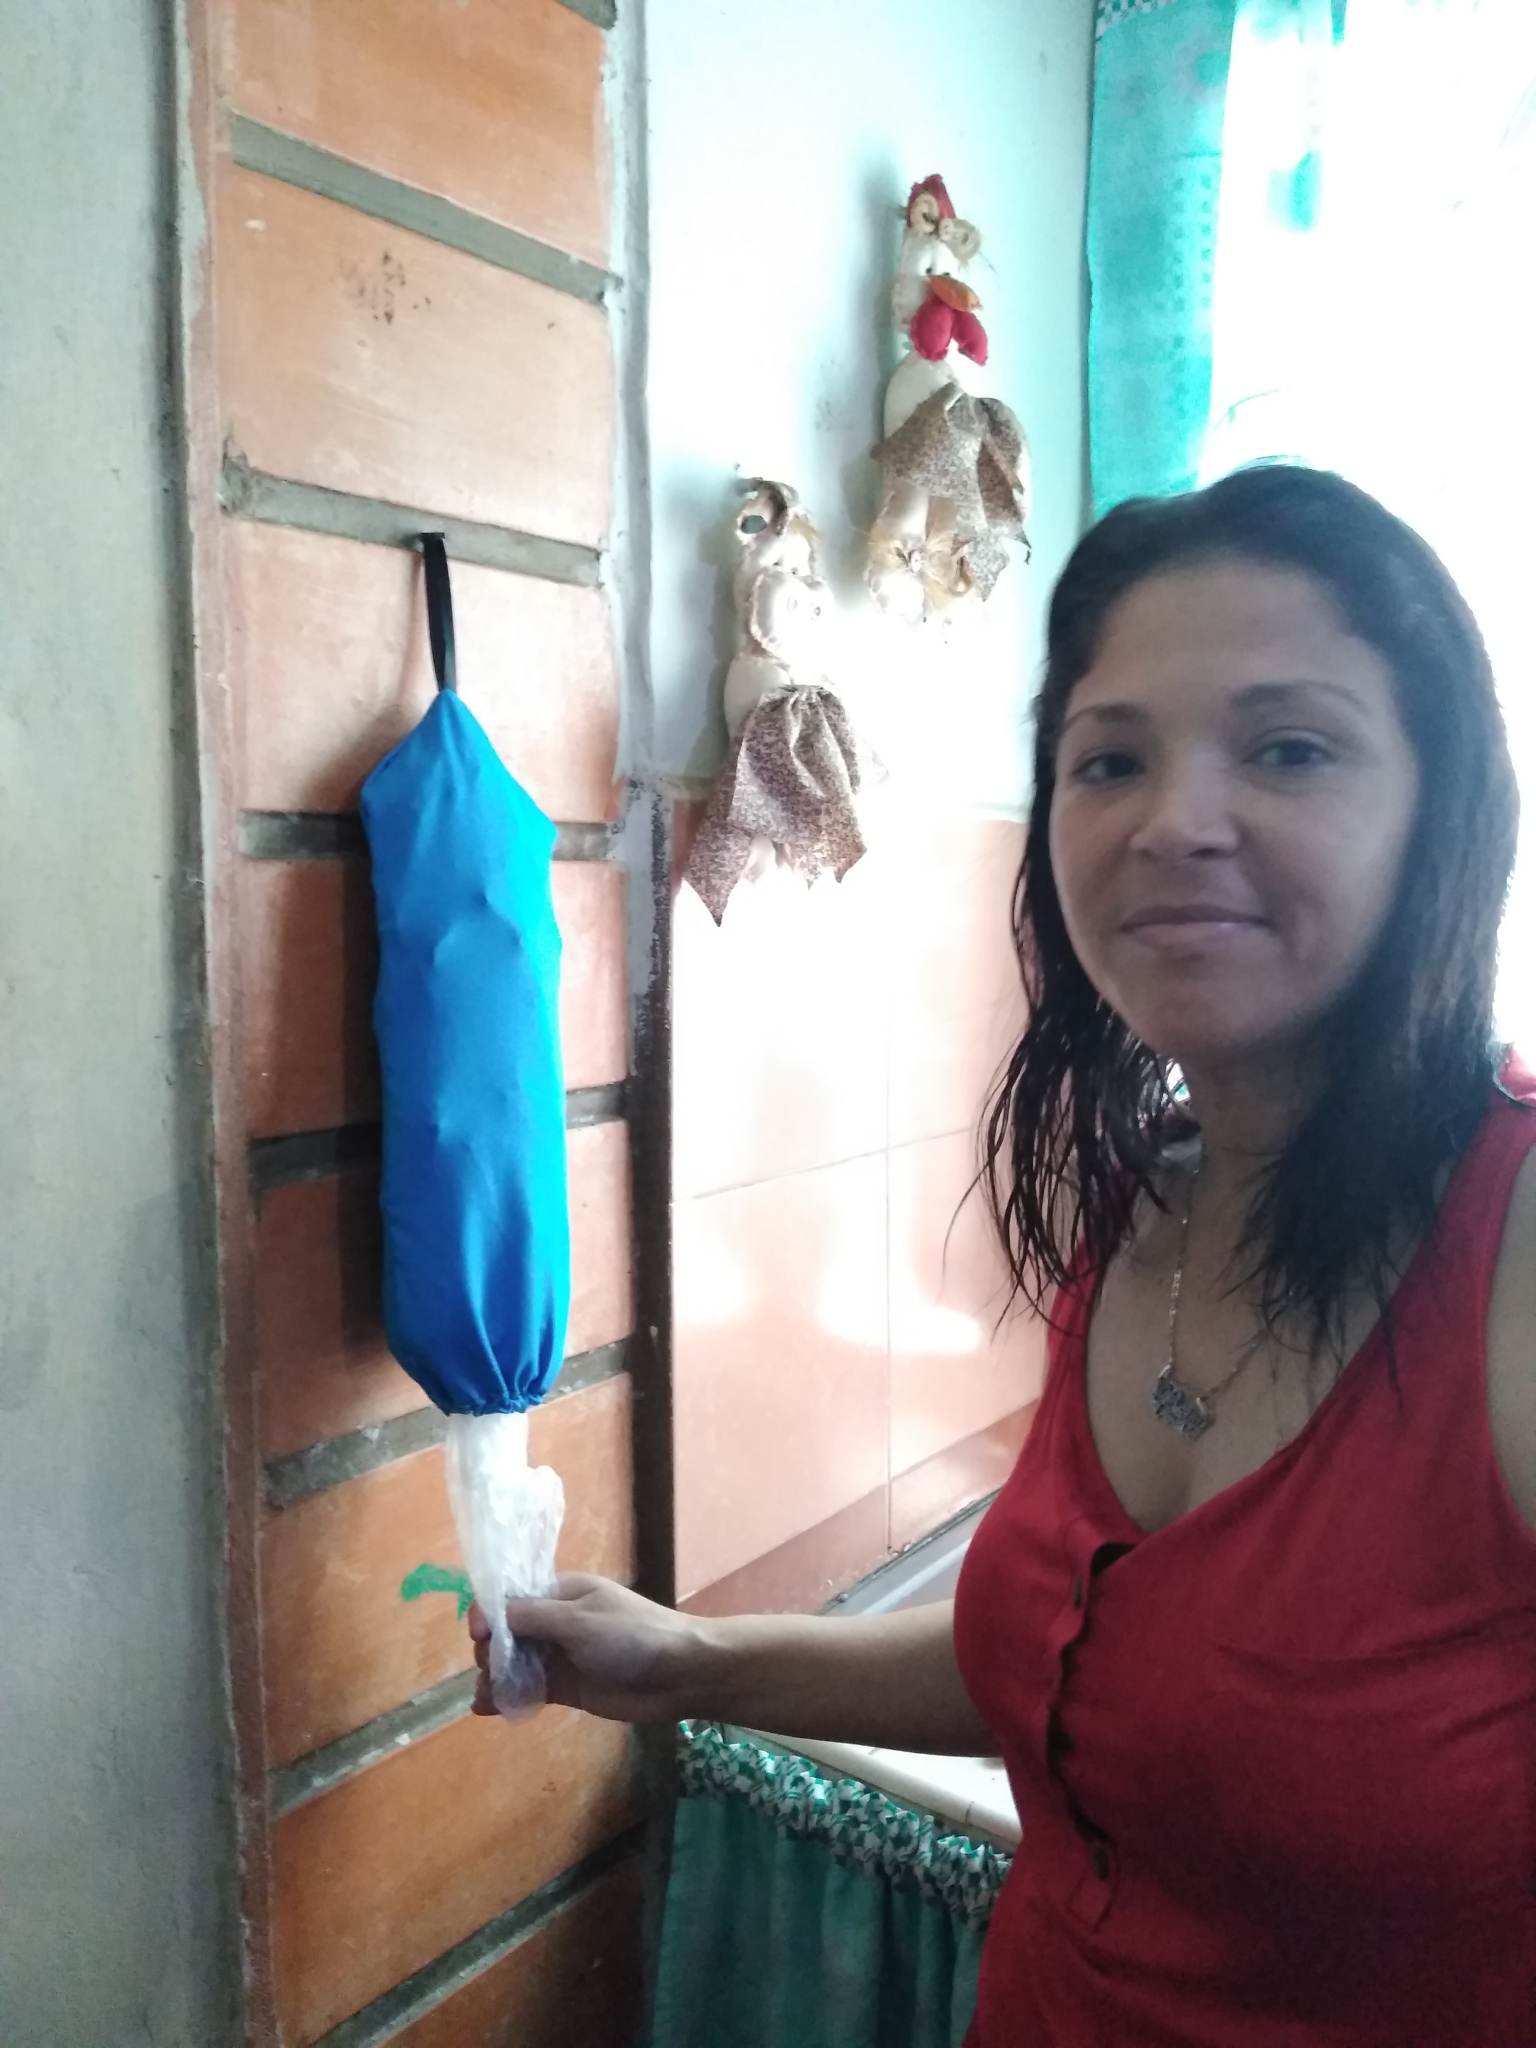
Hello my beautiful people of hive, many blessings to all of you, I hope you are all very well, happy to be here again with all of you and to share with my hive family a great idea that is necessary in the home. Thinking today about what I could make for a post today, I thought of making a Bag Holder, it is a bag that goes on the wall of our kitchen where we will keep the bags that we will need in our home for all the necessary things, so let's see the step by step, it is super simple.
.jpg)
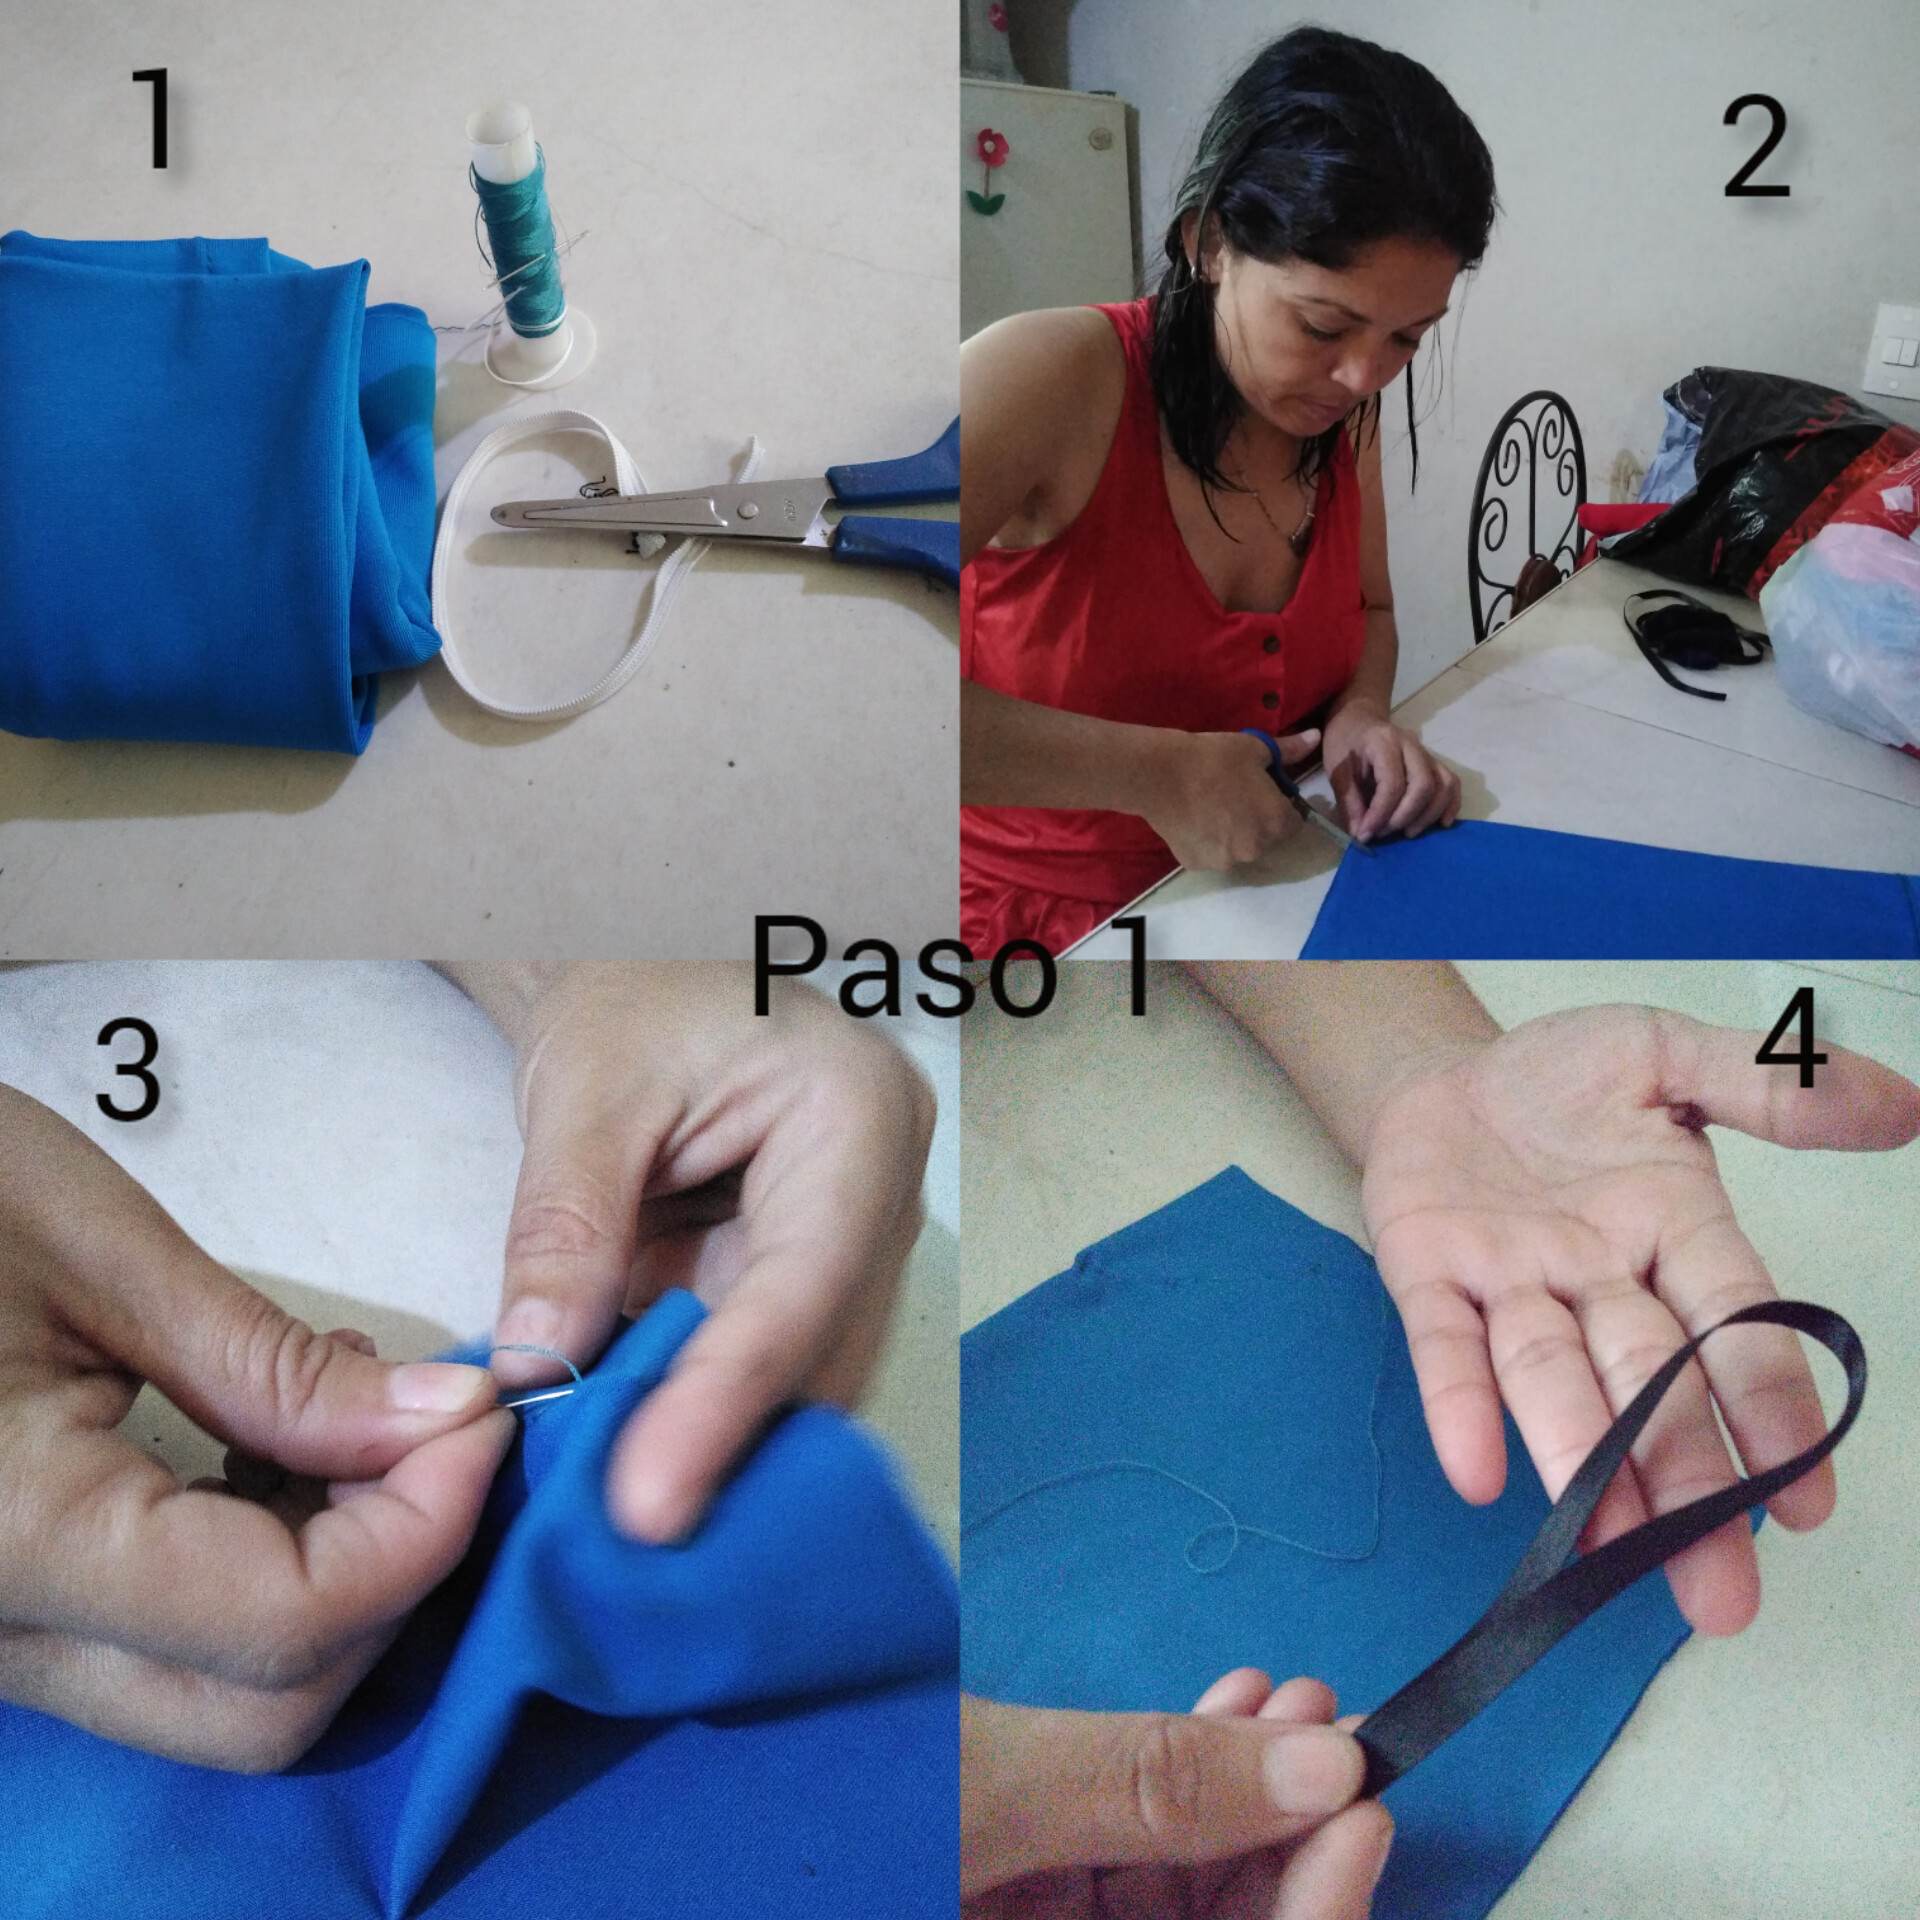
Paso 1: Para realizar nuestro porta-Bolsas vamos a necesitar la tela que deseemos, elástica, tijera, hilo y aguja, vamos a coser a mano ya que mi máquina de coser está dañada y todo lo estoy cosiendo a mano para o dejar de hacer post en hive, así que vamos a cortar la forma de nuestro porta-bolsas, lo cortaremos de manera rectangular y triangular en la punta donde irá la cinta para guindarlo. Procederemos a coser los bordes y el ruedo de nuestra creación.
Step 1: To make our bag holder we will need the fabric we want, elastic, scissors, thread and needle, we will sew by hand since my sewing machine is damaged and I am sewing everything by hand to stop making post in hive, so we will cut the shape of our bag holder, we will cut it rectangular and triangular at the tip where the ribbon will go to hang it. We will proceed to sew the edges and the hem of our creation.
.jpg)
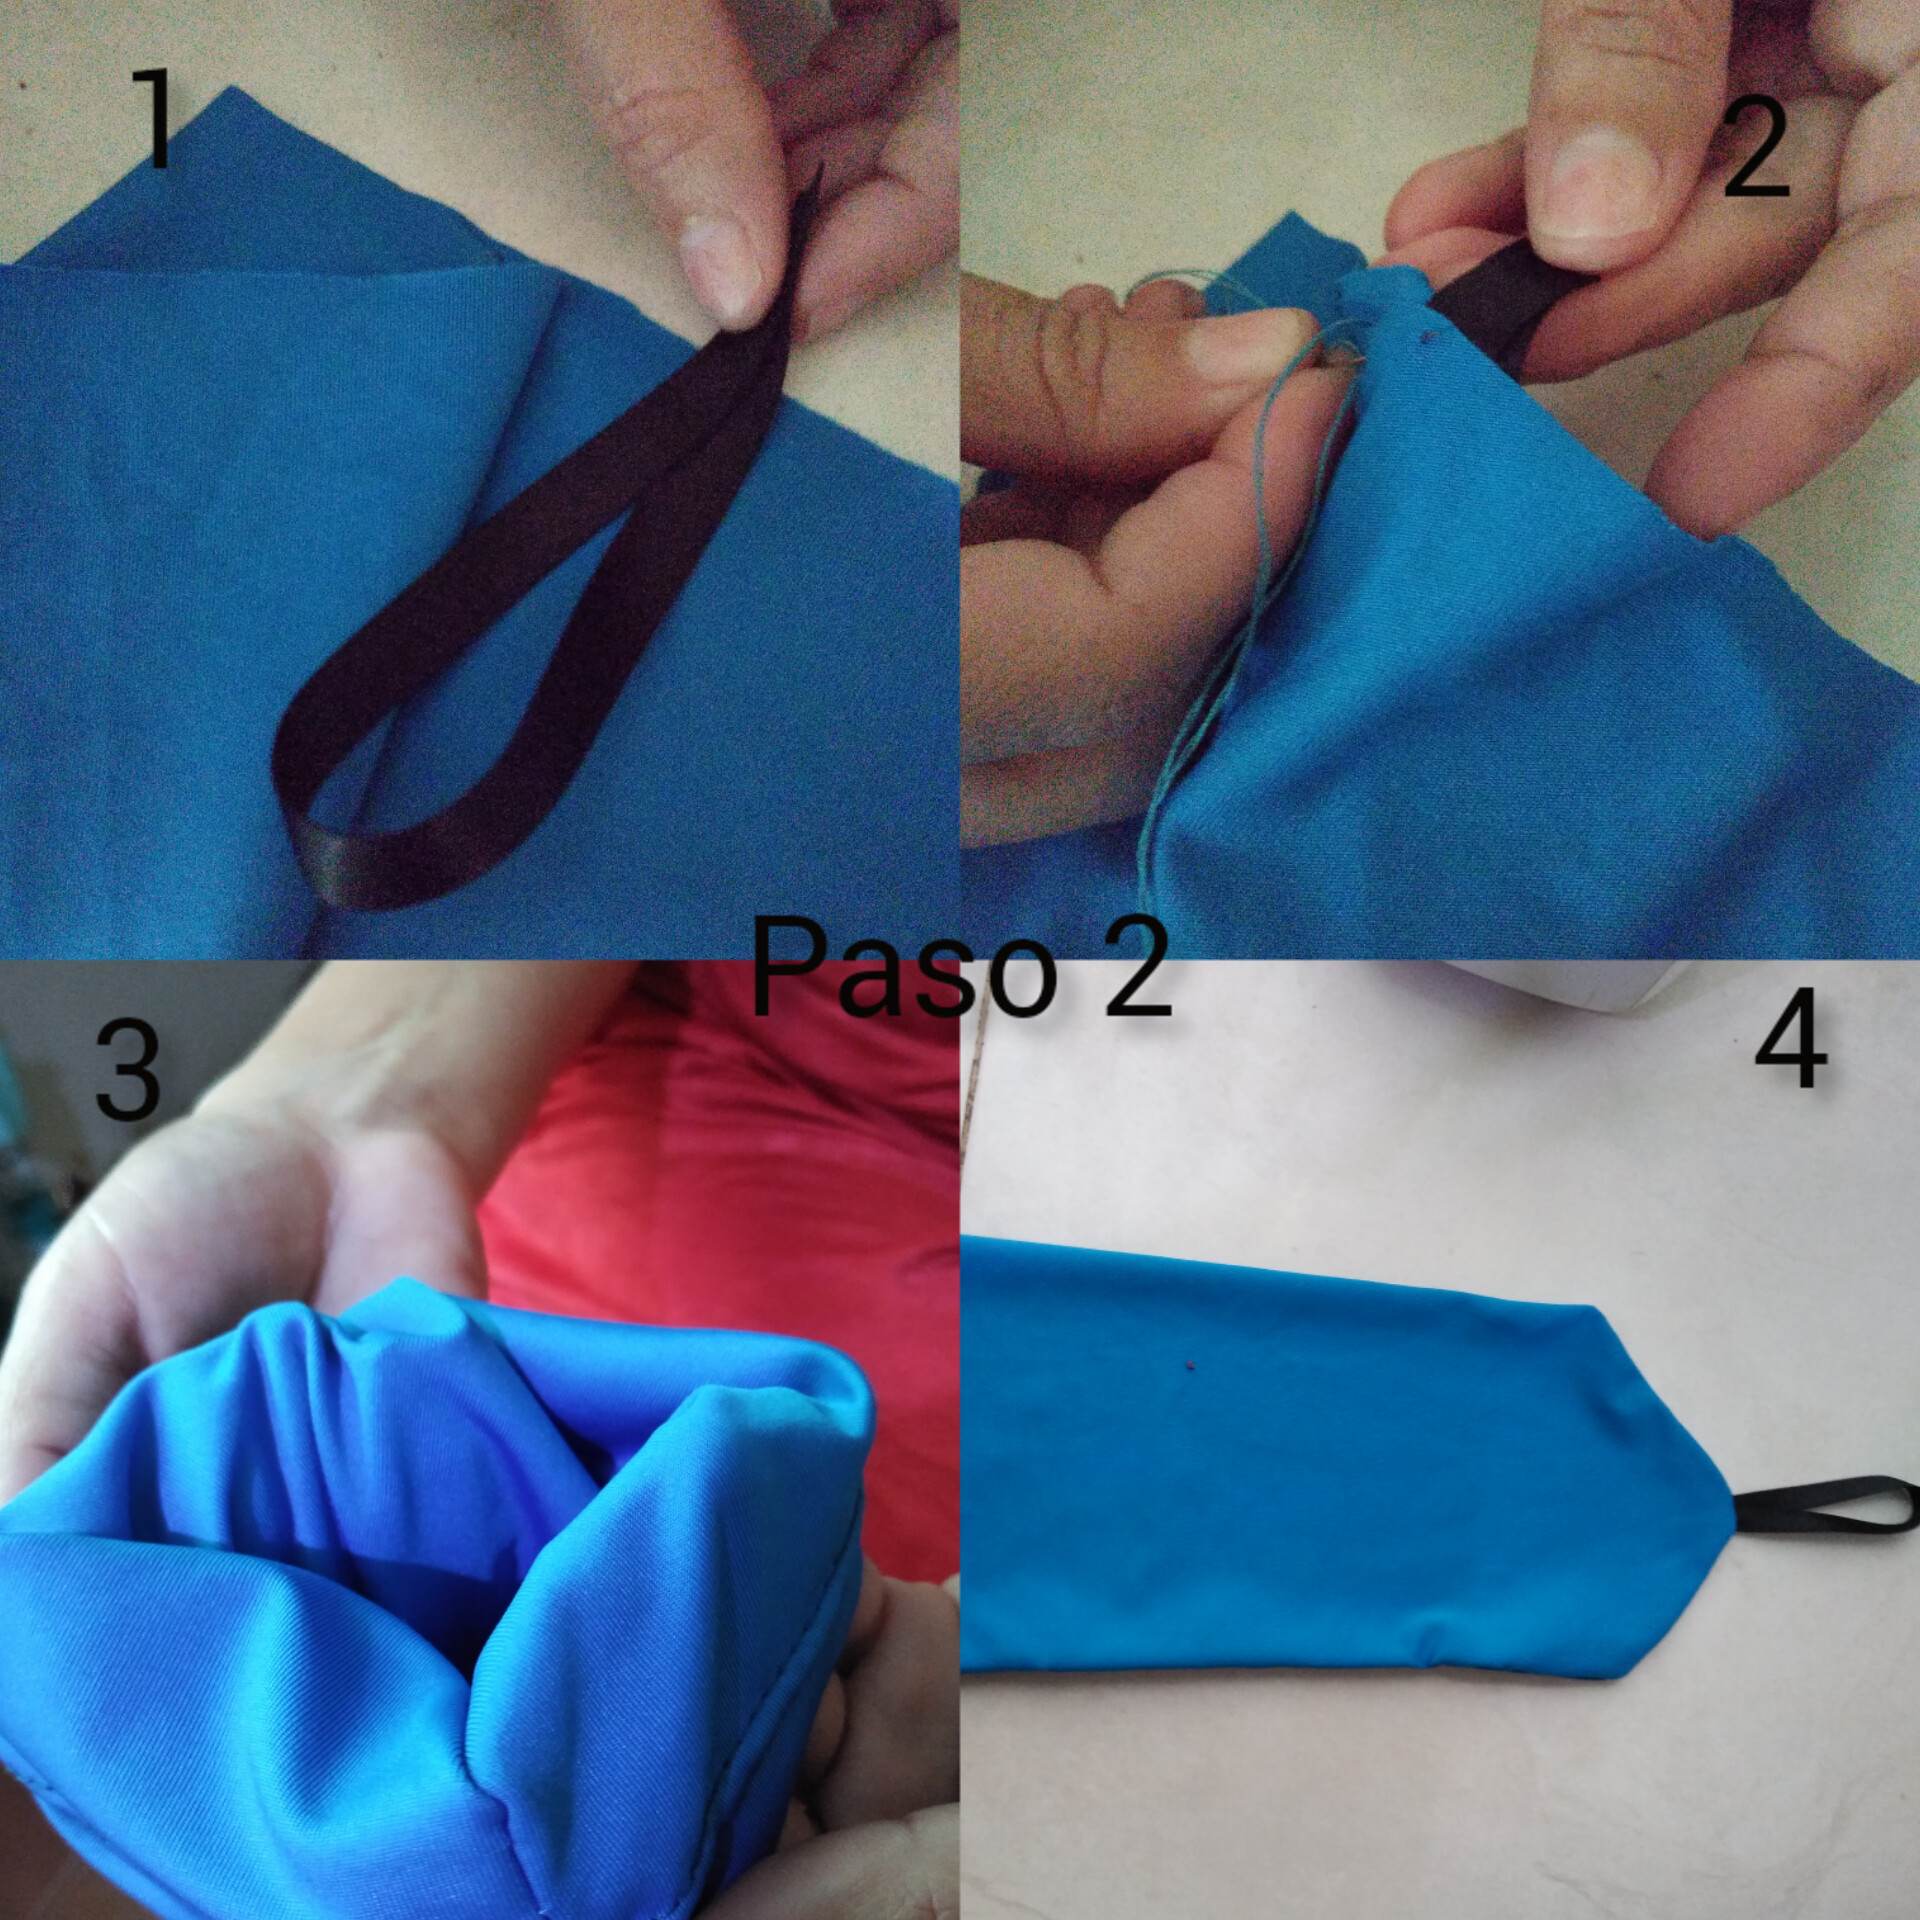
Paso 2: Luego de haber avanzado en la costura, procederemos a coser la cinta que irá arriba por donde se sostendrá nuestro porta-bolsas, lo coseremos cuidadosamente y luego ya de haber cosido vamos a voltear nuestro bolso ya cosido y quedará así como lo muestro en la imagen.
Step 2: After having advanced in the sewing, we will proceed to sew the ribbon that will go on top where our bag holder will be held, we will sew it carefully and after having sewn it we will flip our bag already sewn and it will look like this as shown in the image.
.jpg)
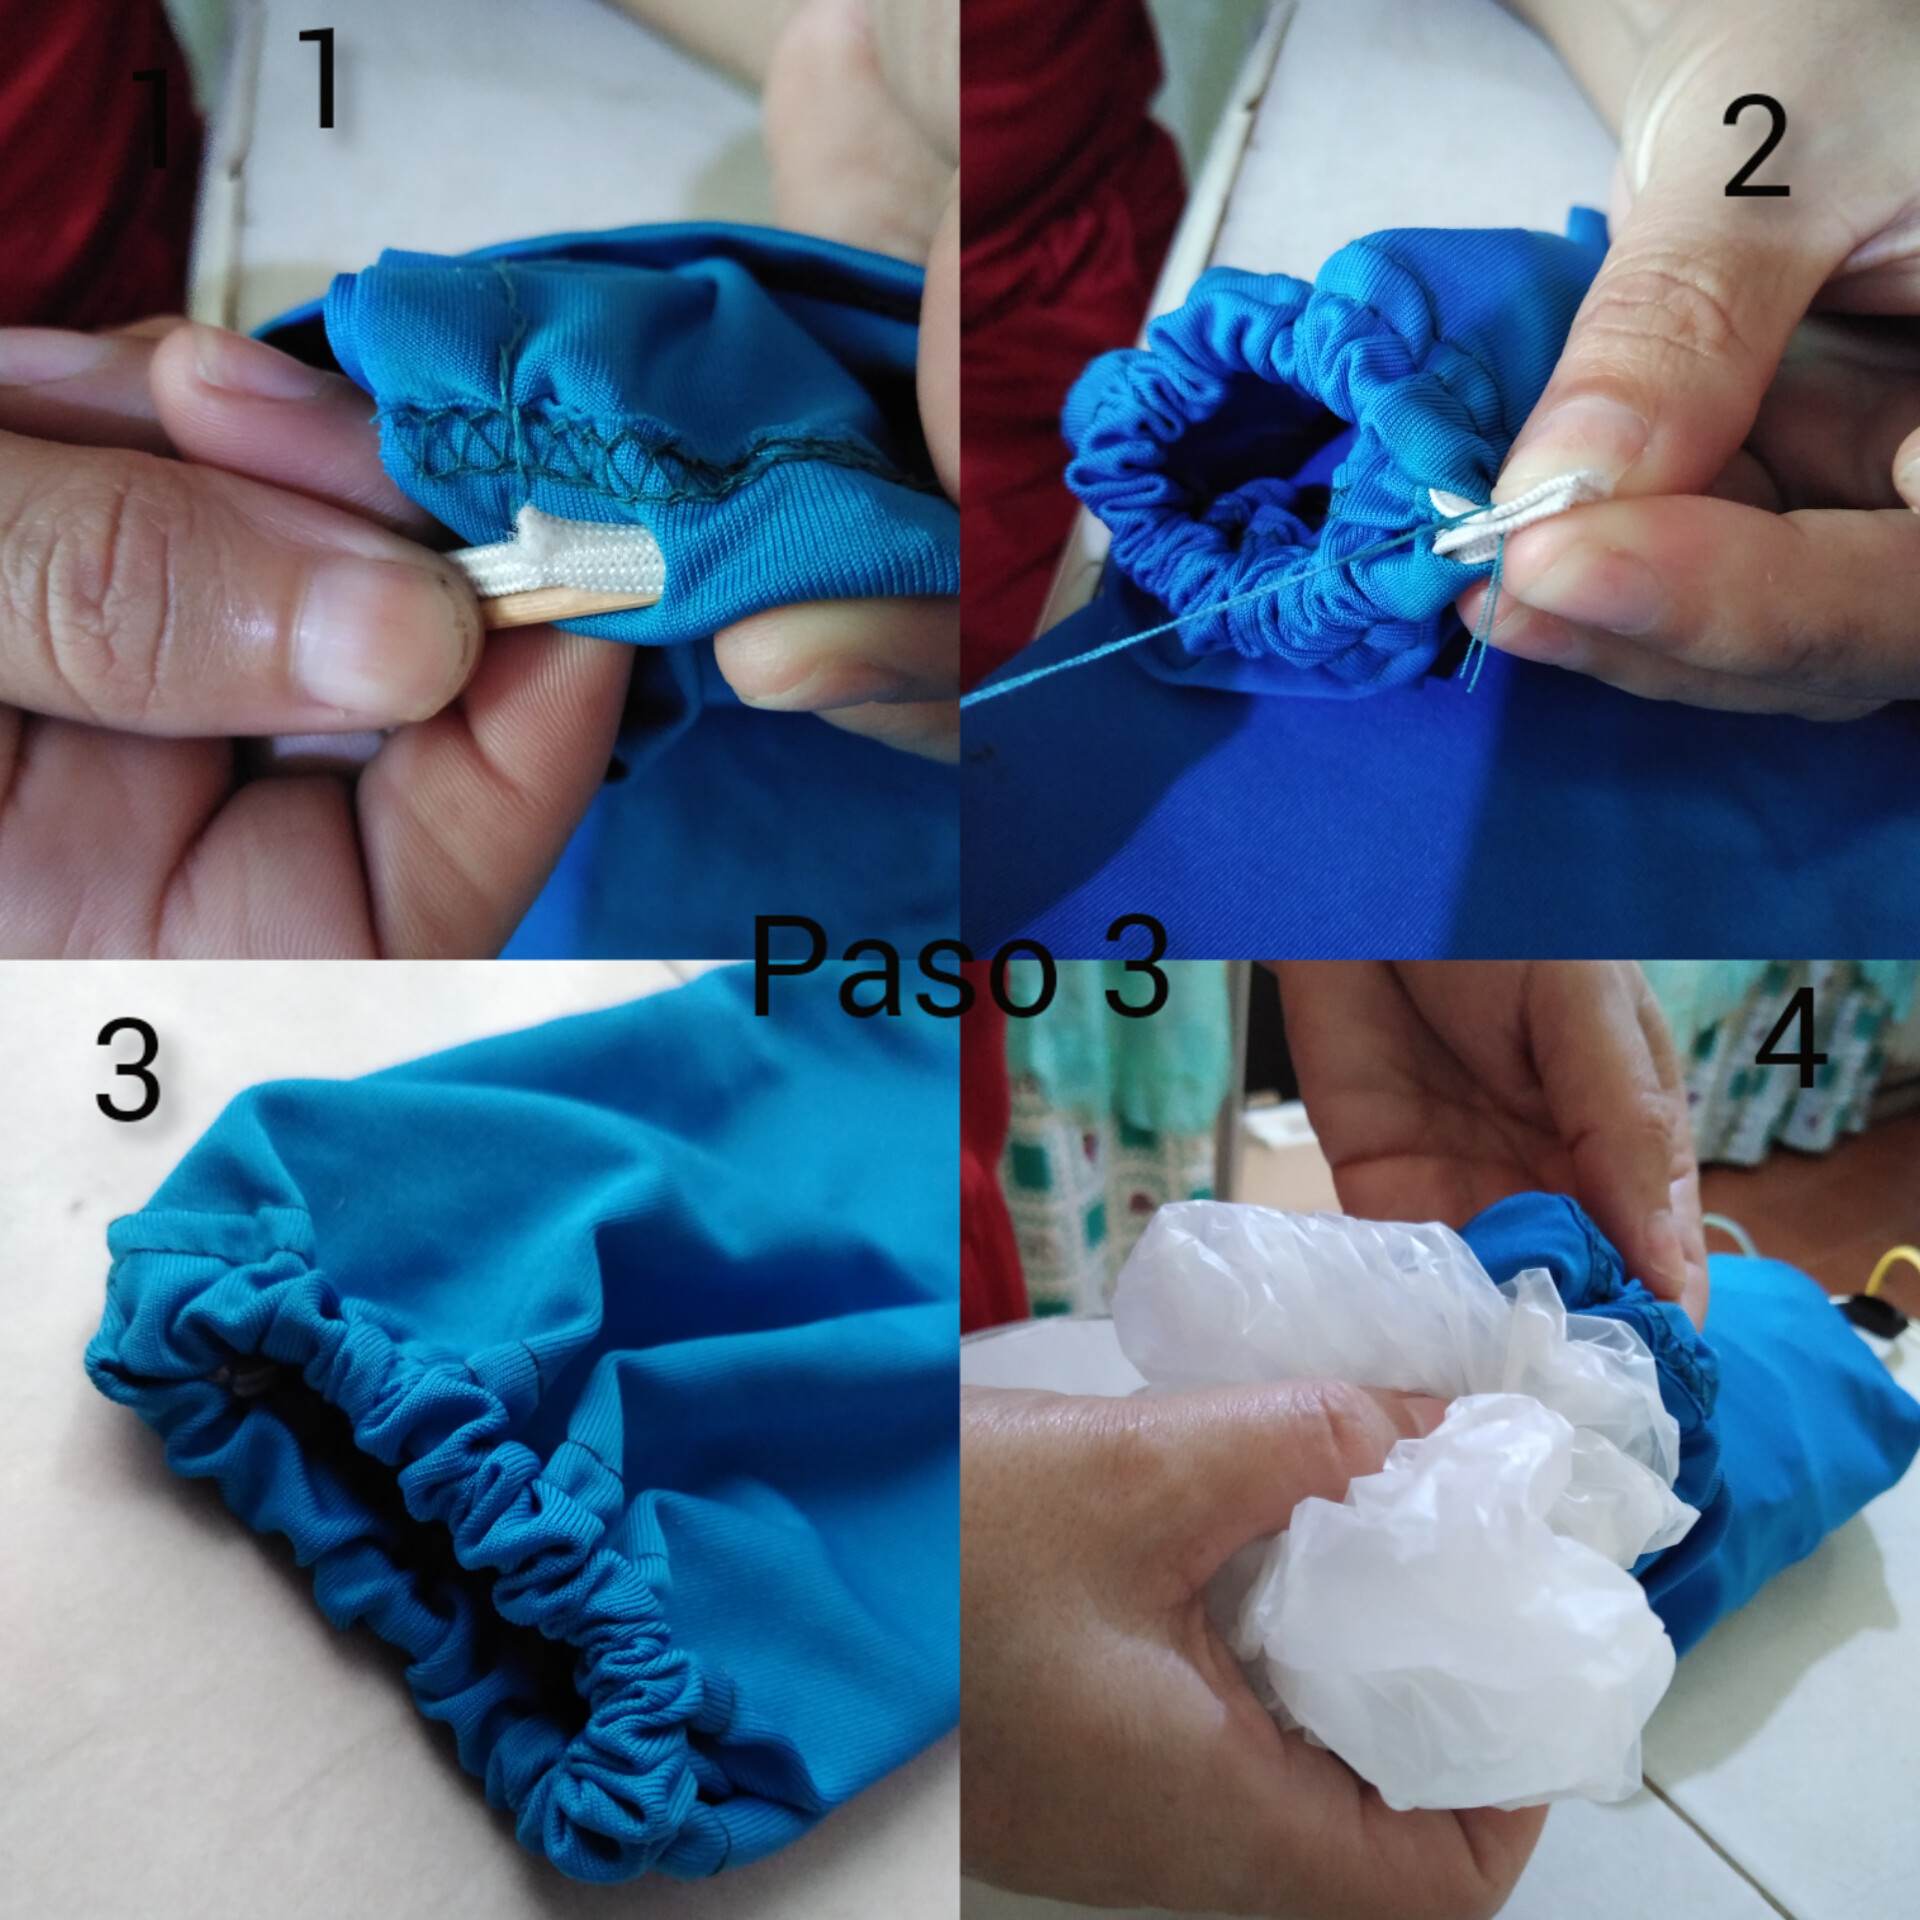
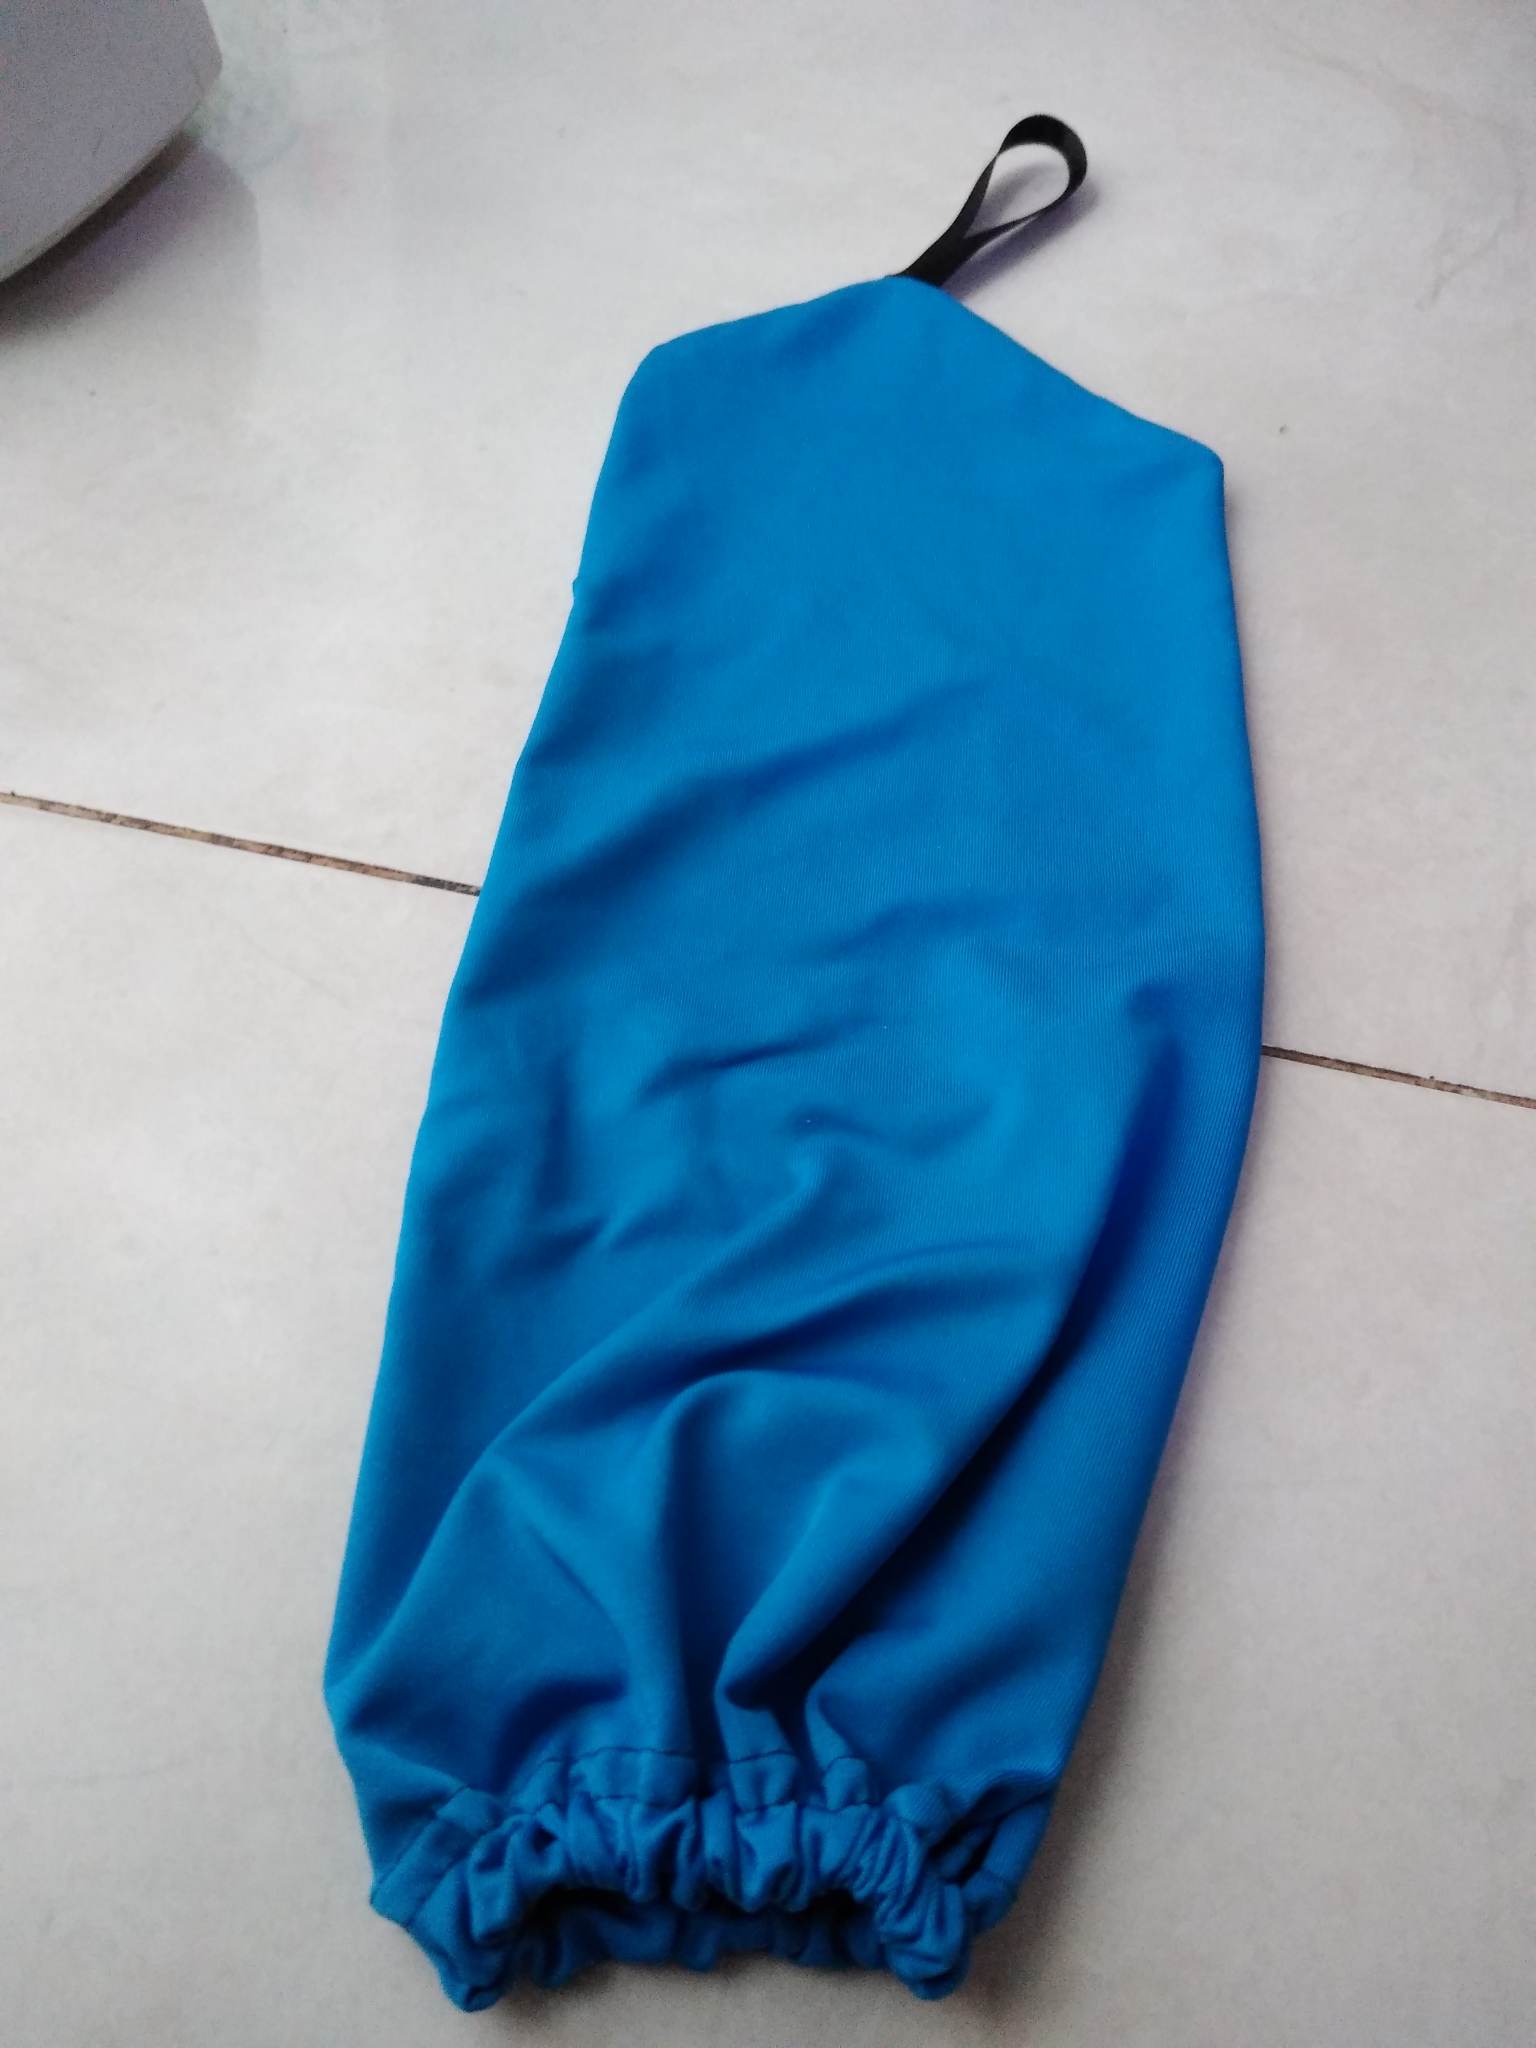
Paso 3: Luego de ya haber cosido la mayoría de nuestro bolso, lo que haremos será coser la elástica en el borde o en la boca del bolso, procederemos a introducir la elástica con un palillo, lo introducimos y procederemos a coser la elástica y quedará como lo muestra la imagen. Luego ya de haber cosido nuestro bolso procederemos a buscar todas las bolsas que tengamos en nuestra casa para estrenar nuestra creación.
Step 3: After having sewn most of our bag, what we will do is sew the elastic on the edge or at the mouth of the bag, we will proceed to introduce the elastic with a toothpick, we introduce it and proceed to sew the elastic and it will be as shown in the image. After having sewn our bag we will proceed to look for all the bags we have at home to use our creation for the first time.
.jpg)
Final Result.
.jpg)

La solución perfecta para guardar todas las bolsas, me encantó la idea y ahora que he recuperado mi máquina de coser, voy a guiarme de ti.!!
Que bueno querida amiga, es una idea muy útil y dinámica, espero que la tuya te quede muy hermosa y la disfrutes.
This is a very useful project. Thank you for sharing the process :)
Un placer poder compartir con todos ustedes, gracias por el gran apoyo.
Thank you for sharing this post on HIVE!
Your content got selected by our fellow curator semarekha & you just received a little thank you upvote from us for your great work! Your post will be featured in one of our recurring compilations which are aiming to offer you a stage to widen your audience within the DIY scene of Hive. Stay creative & HIVE ON!
Please vote for our hive witness <3