Hello everyone
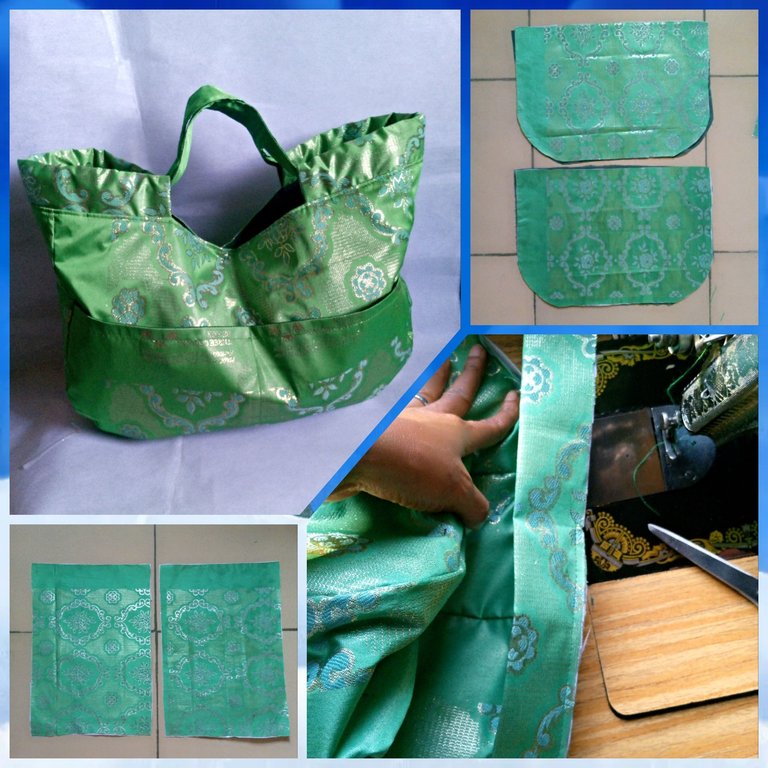
A beautiful and lovely monday to you all in this community @needleworkmonday, I hope you are doing great just as I am, it's my pleasure to share with you this simple and easy fabric bag I made for myself for my trip.
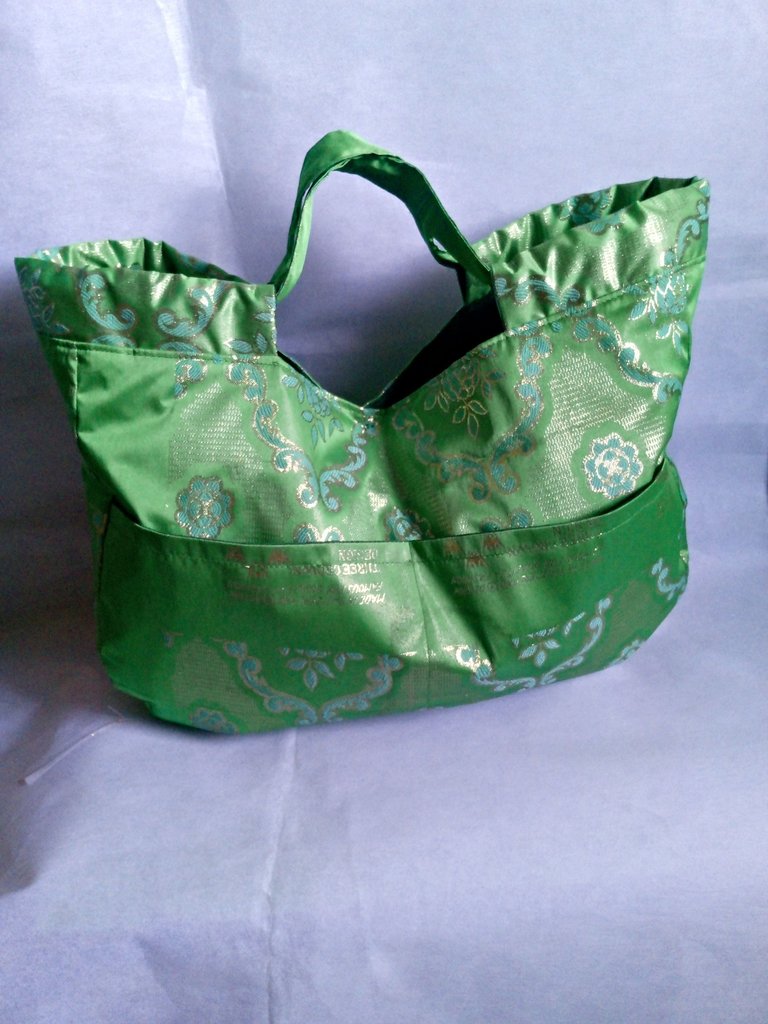
I am planning to go spend few days with my mother in-law and as I am getting myself prepared, I will be needing a bag for my clothes and other things to travel with, since I won't be staying long there, so I decided to make this fabric bag for myself instead of buying from the store, thank God I can make this myself, it would have cost me extra money to buy the expensive ones out there, this is so nice and I feel good using one of my hand made bag.
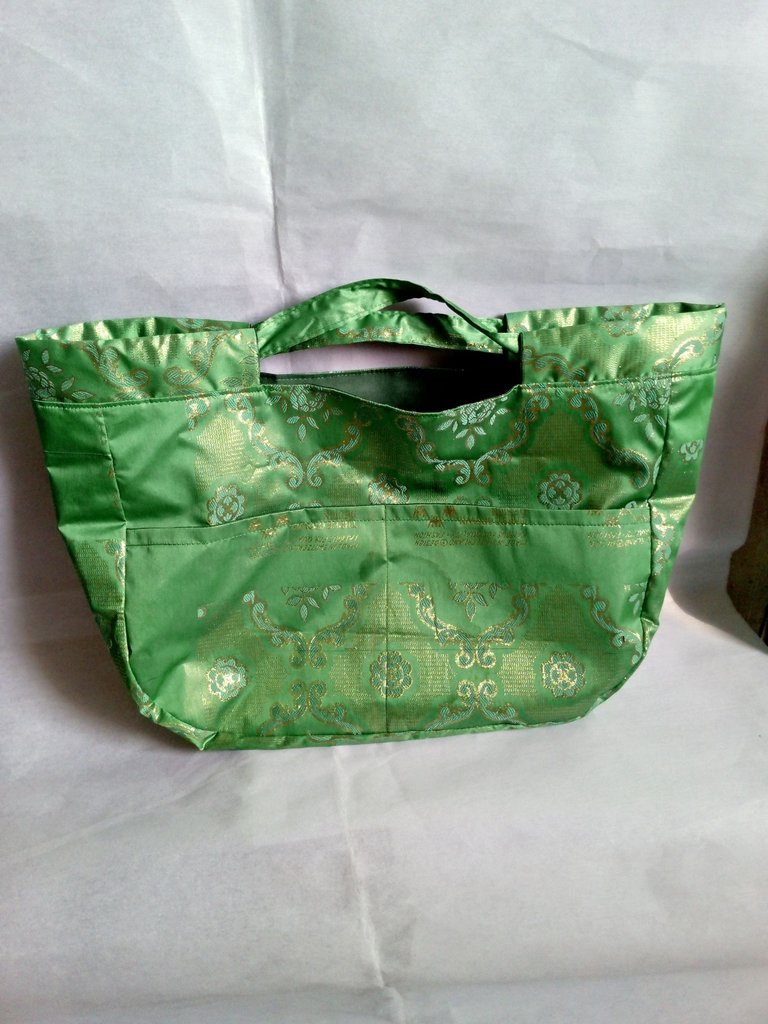
Join me as I take you through the step by step process of making my fabric bag for my travel needs.
Cutting process
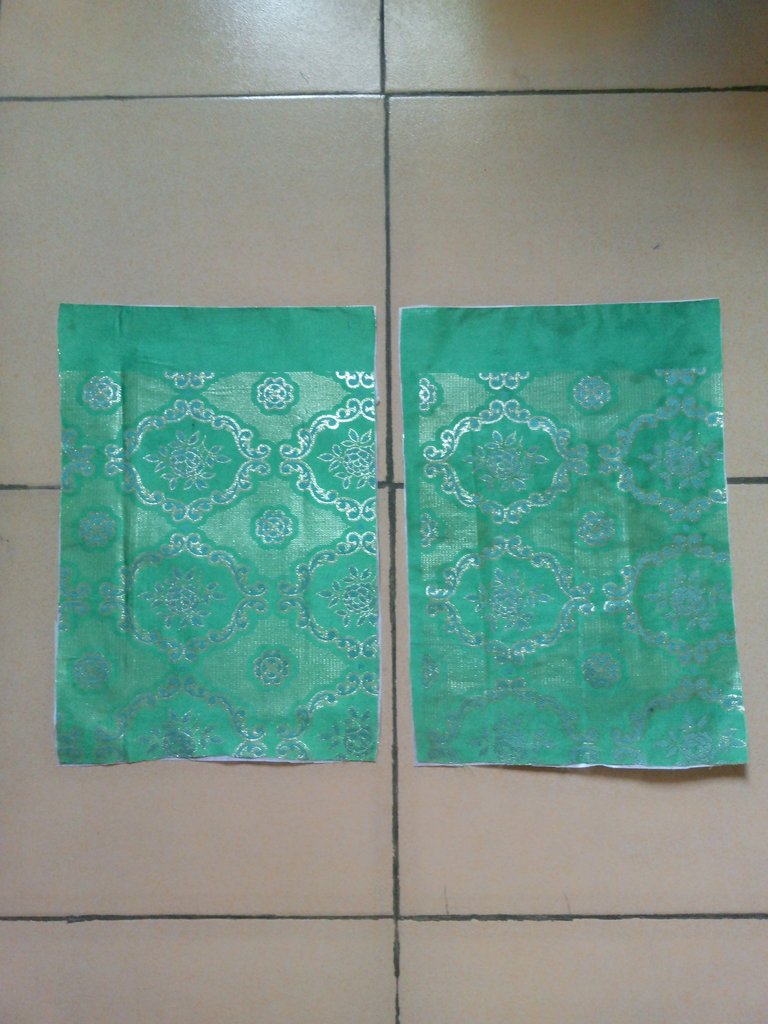
For the outer pocket, I measured and cut out 17½ x 8" of fabric with lining and interfacing, the interfacing was ironed to the wrong side of the main fabric.
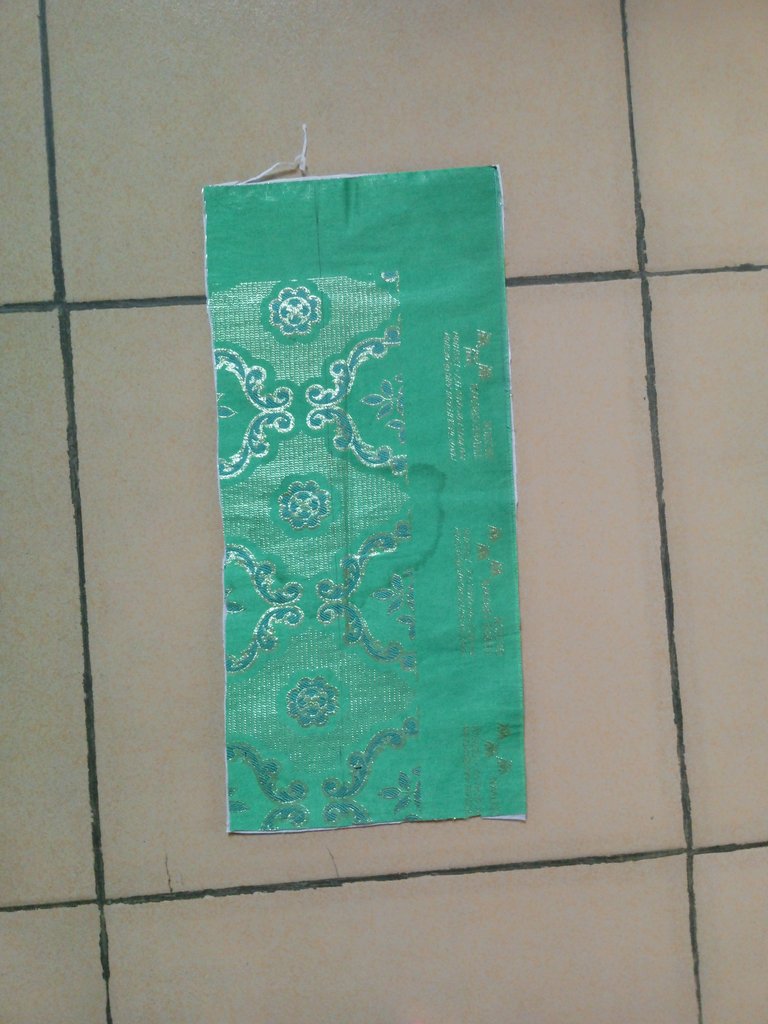
For the main body of the bag, i measured and cut out two pieces of 17½ x 12" with lining and interfacing, the interfacing was ironed on the wrong side of the main fabric
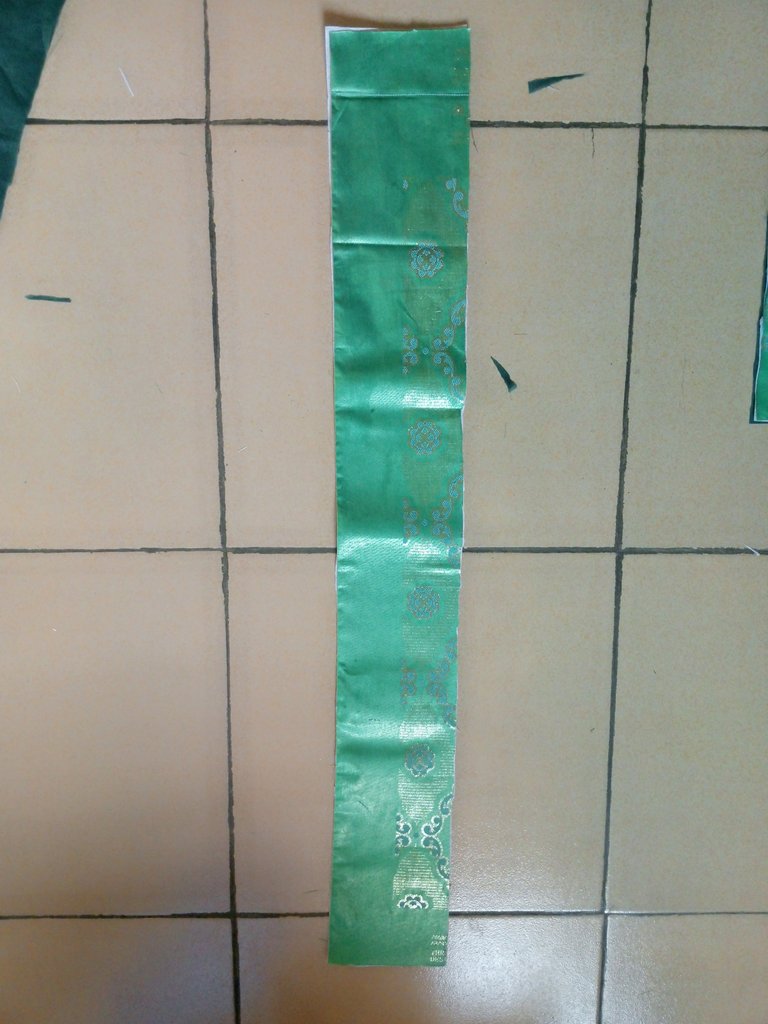
Another piece of 39 x 5" was measured and cut out with lining and interfacing ironed to the wrong side of the main fabric
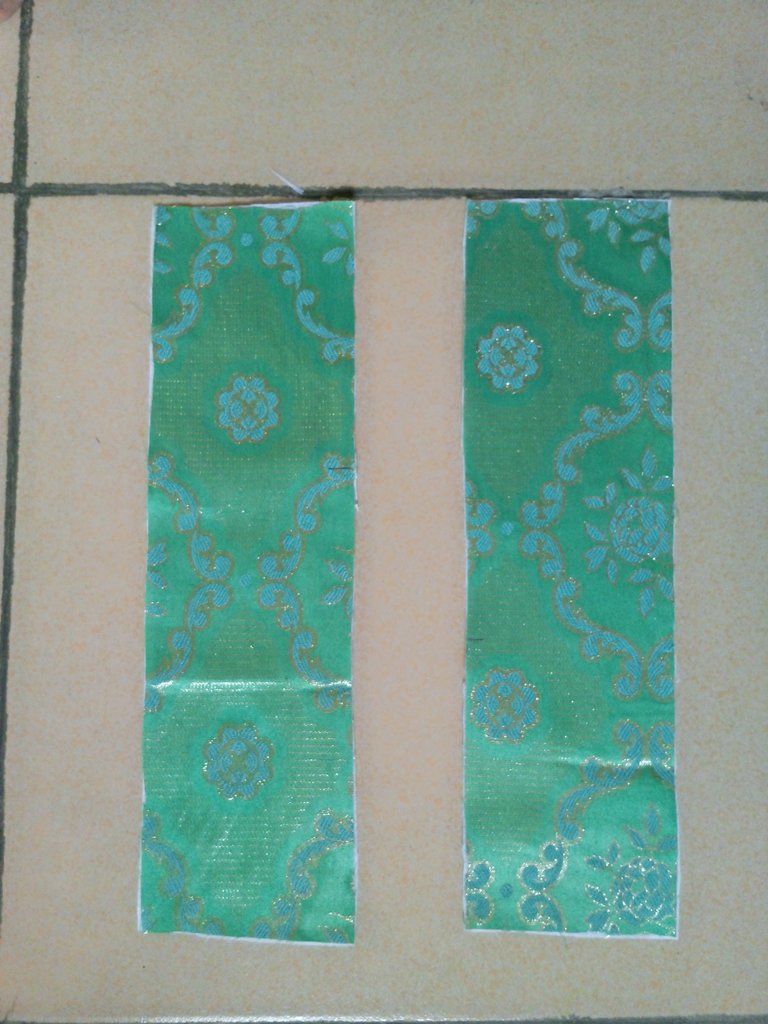
For the handle loop, 2 pieces of 4 x 14" was measured and cut out with interfacing ironed on the wrong side.
sewing process
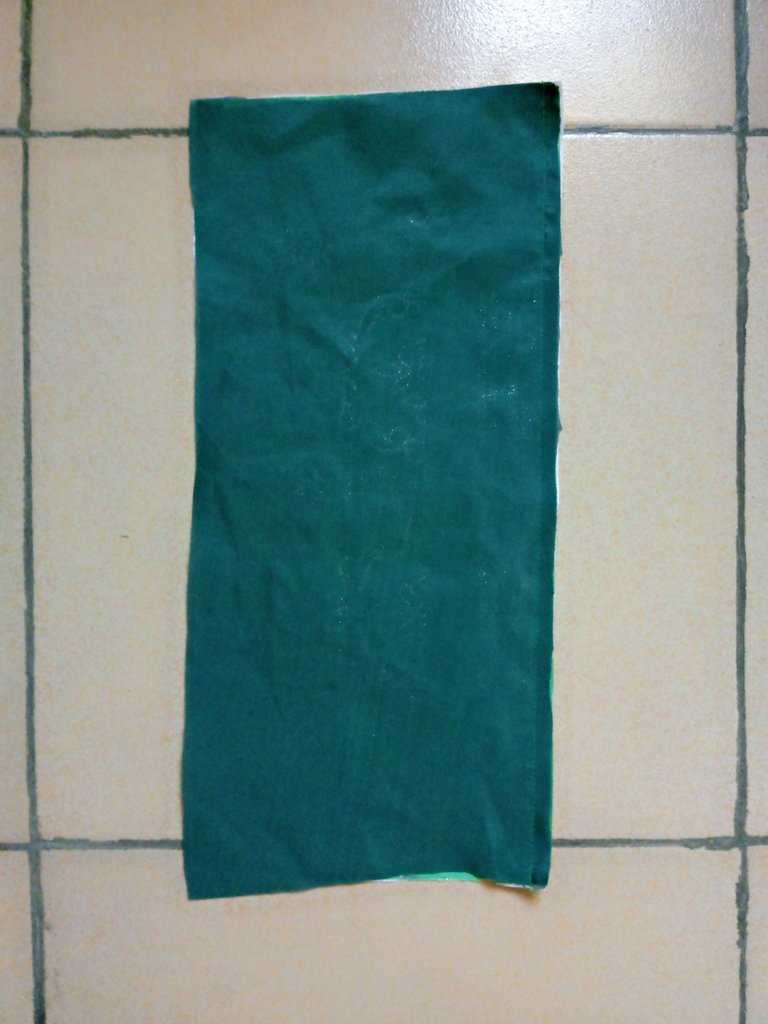
I took the piece for the outter pocket, placed the lining on the right side and sew it at the tip, it was ironed and turned to the right side before it was top stitched on with ½"
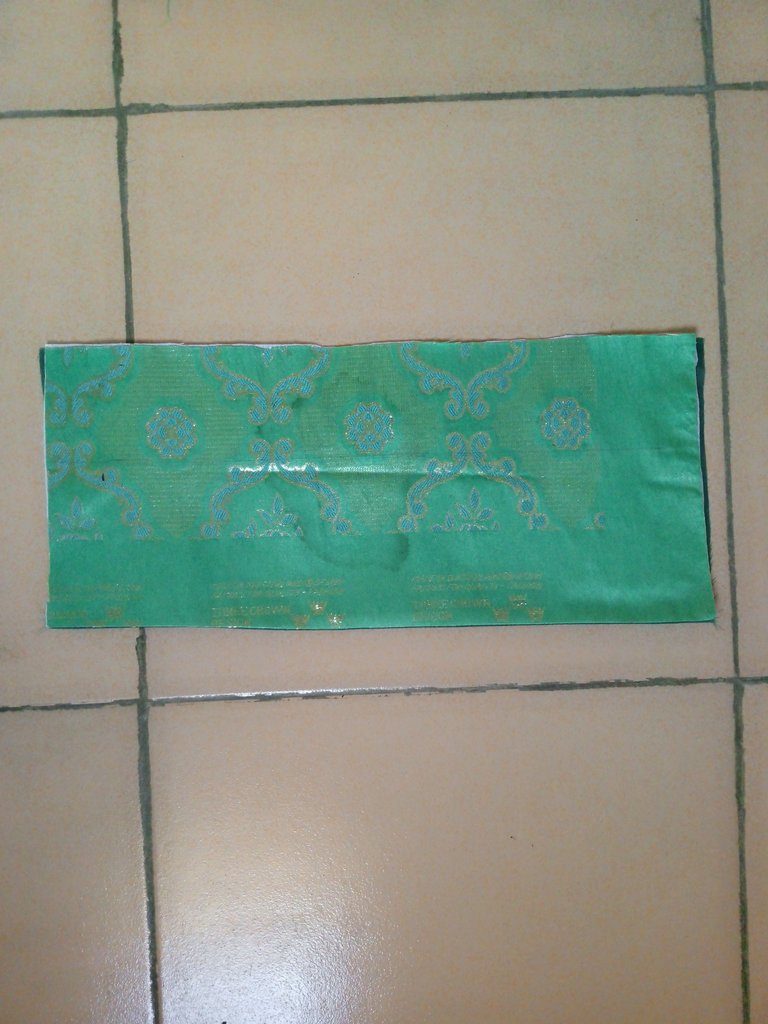
One of the two pieces that was cut out for the main bag was folded in two, I placed a flat plate on the corner and used it to make a curve on it.
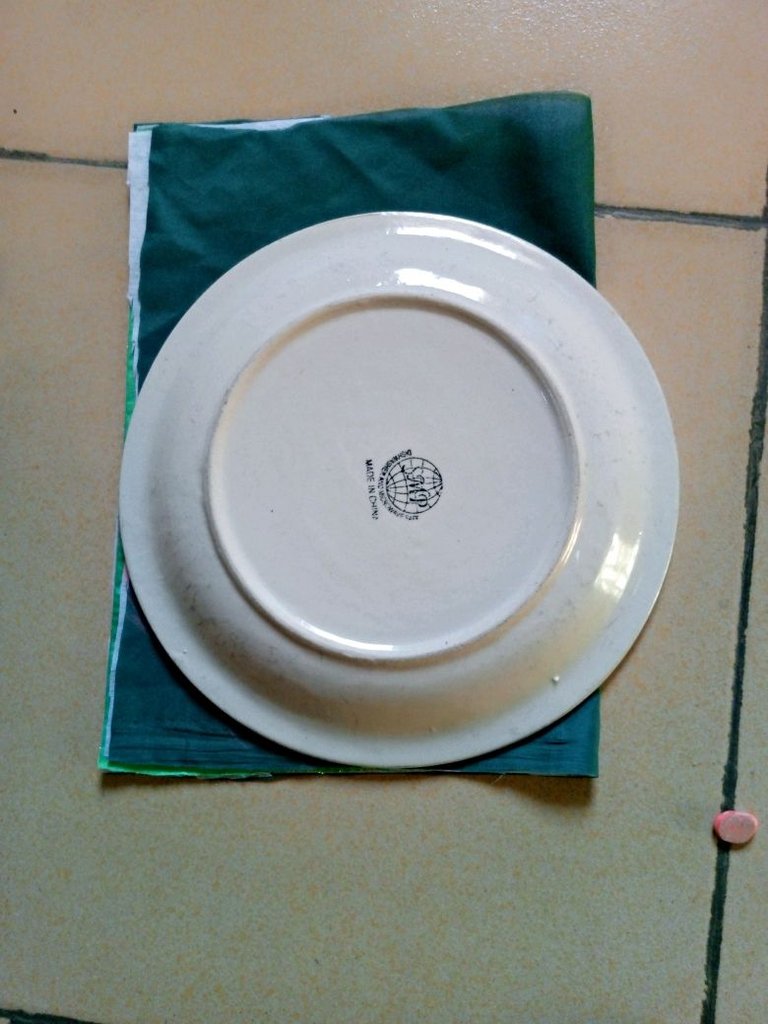
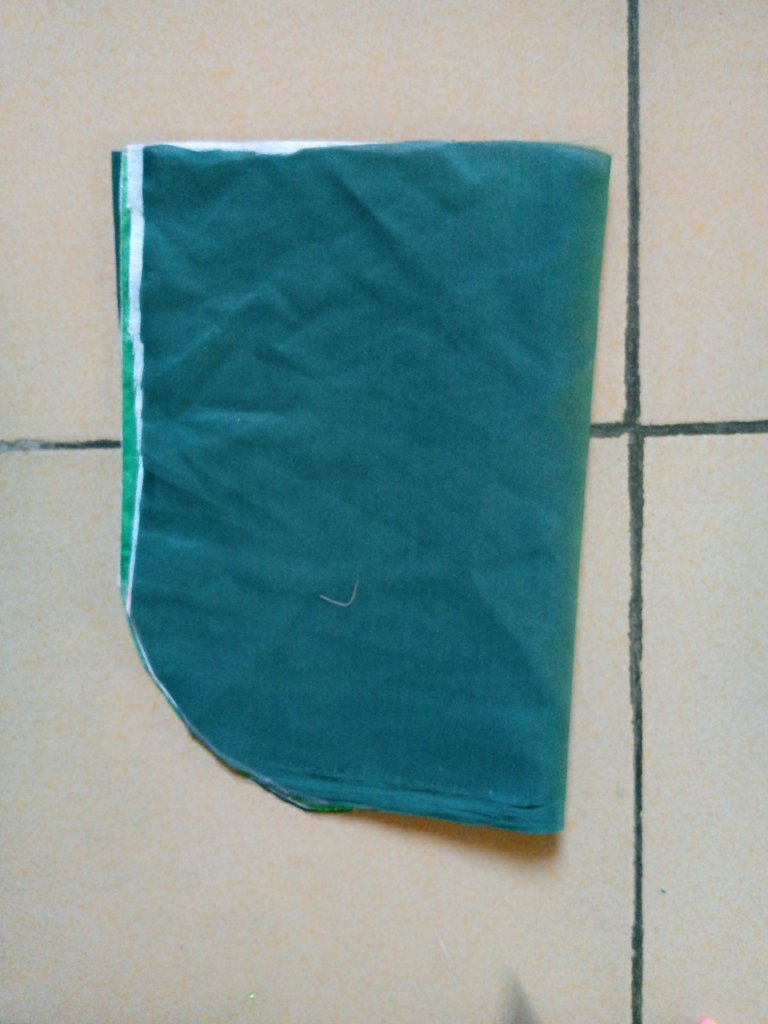
It was used to cut out same shape on the other piece and the lining as well.
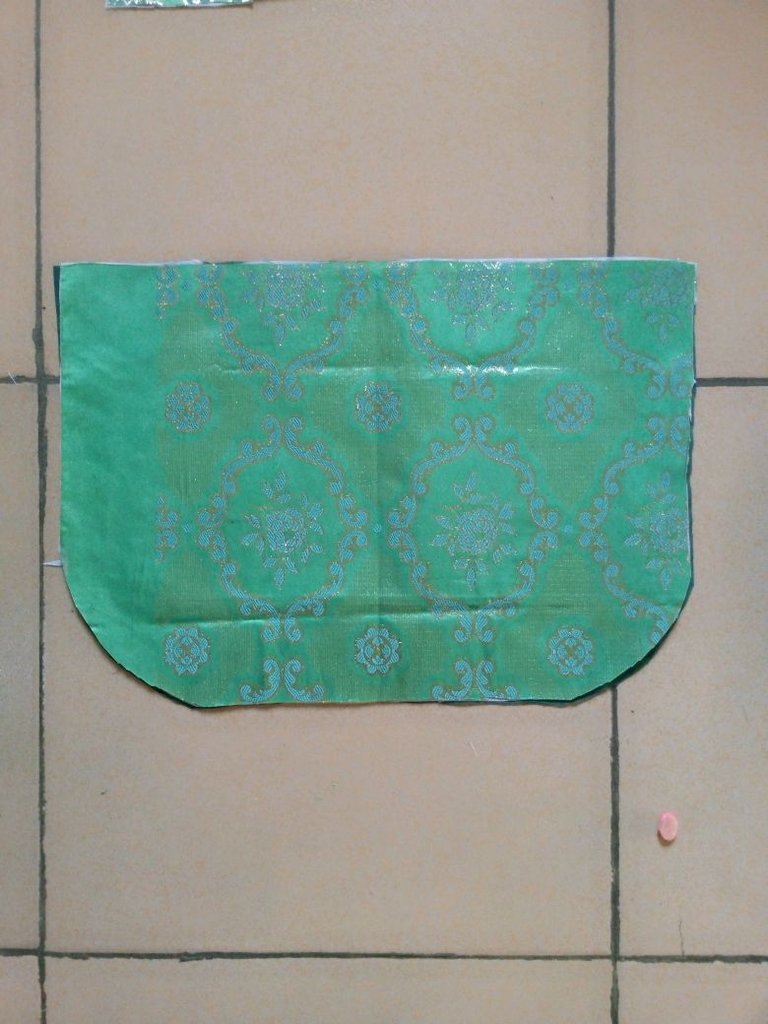
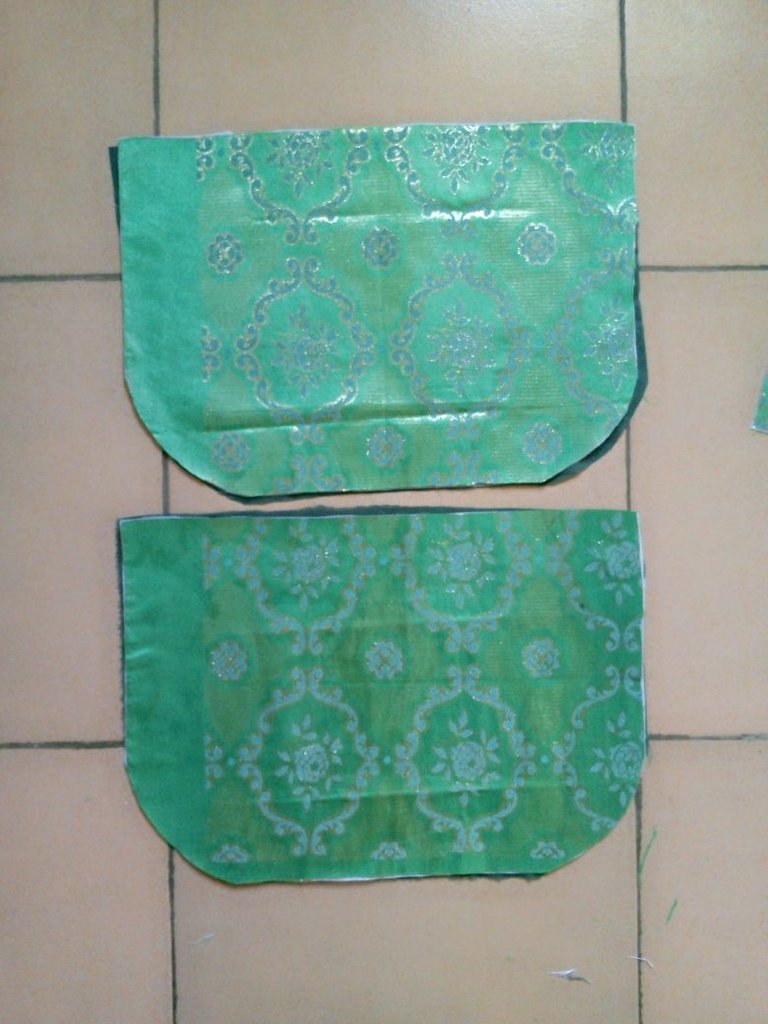
I placed the piece for the outter pocket on one of the main bag piece and sew on it following the shape of the main bag piece.
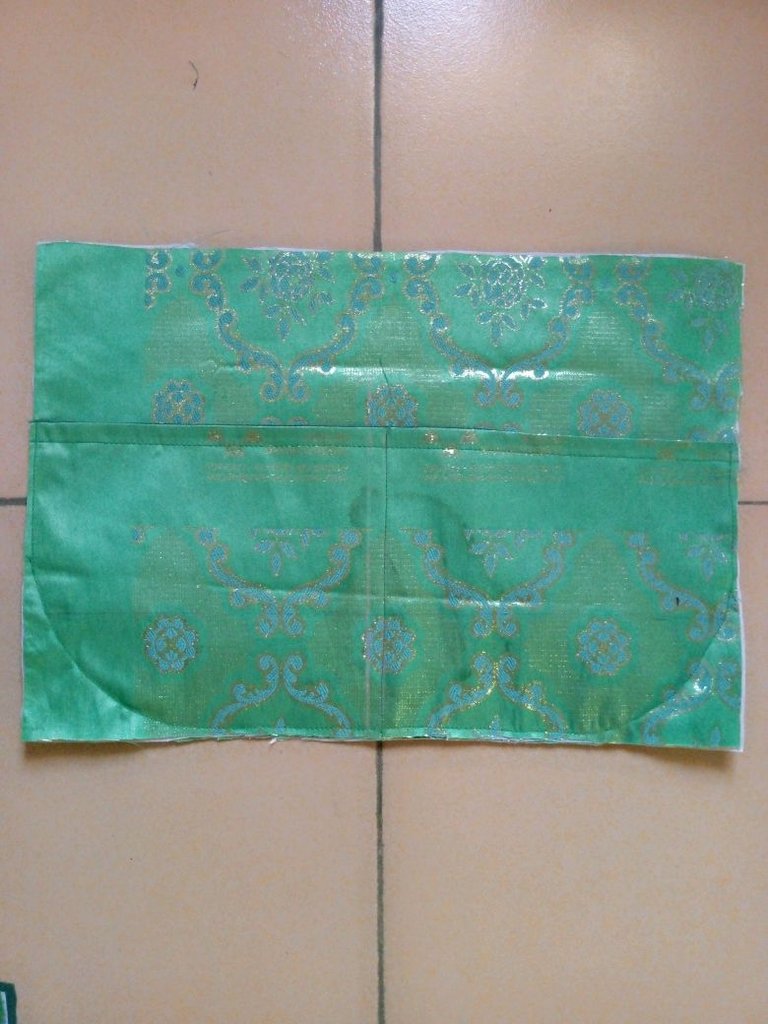
The excess were trimmed off and I sew on the middle to demarcate the pocket.
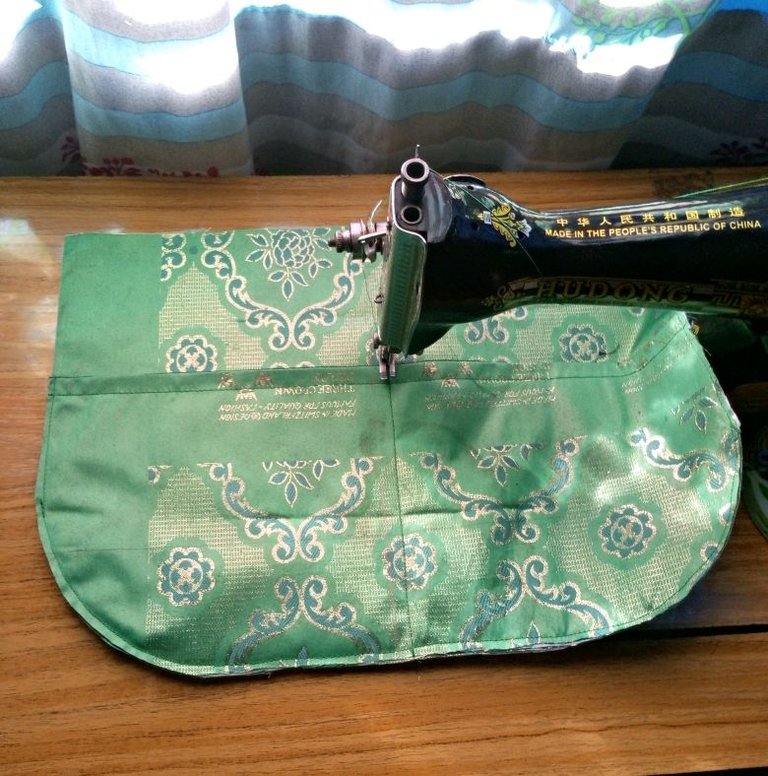
I picked up the long piece of 39 x 5" folded it in two to locate the mid point and same was done to the main bag piece as I sew on it round, mid point to mid point.
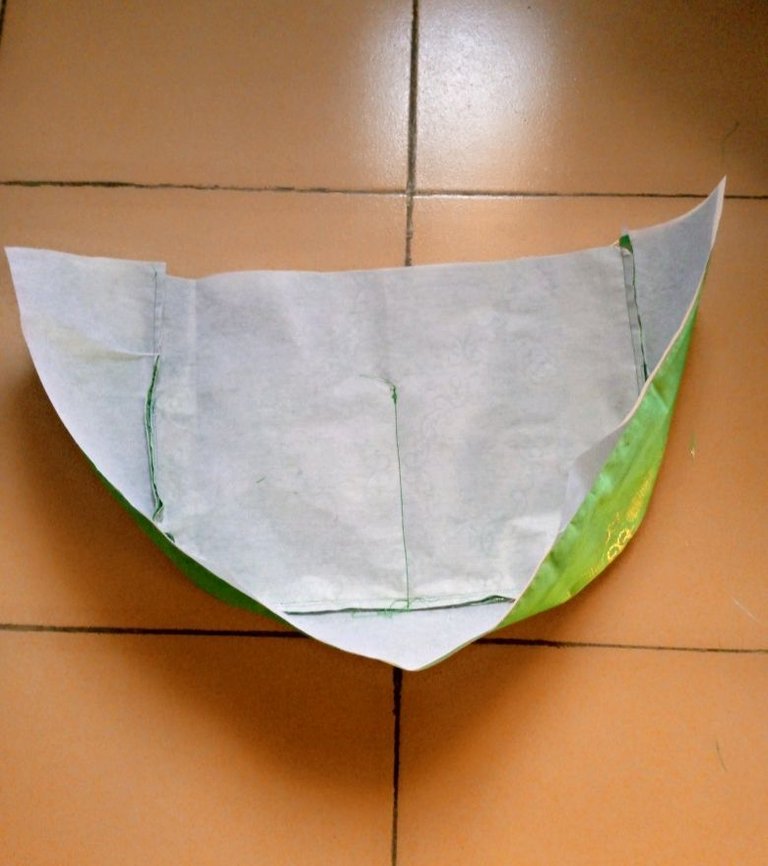
The other piece was sewn to the other side as well.
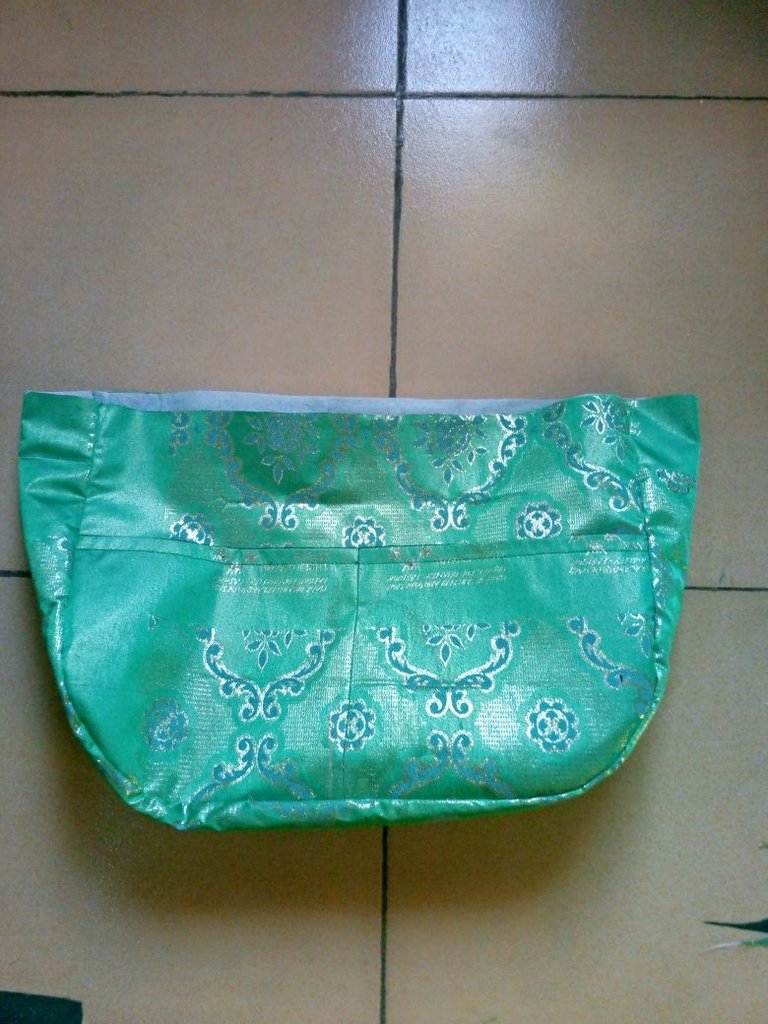
The same process was repeated on the lining and set aside.
To make the handle loop, I placed the lining on the main fabric of the pieces for the loop and sew on both sides on the wrong side.
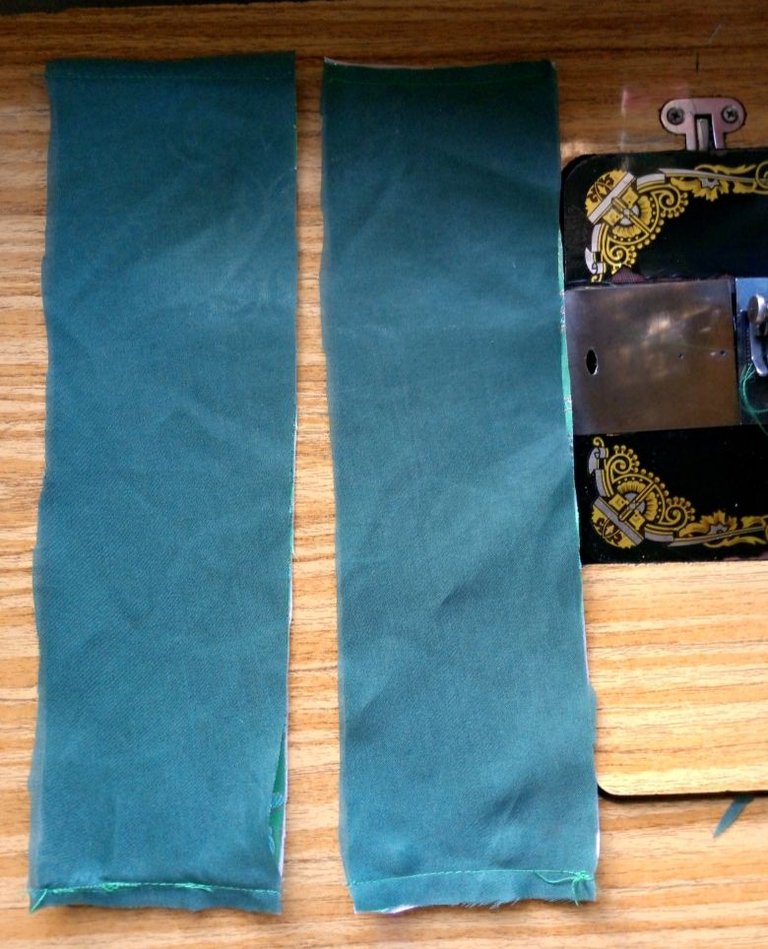
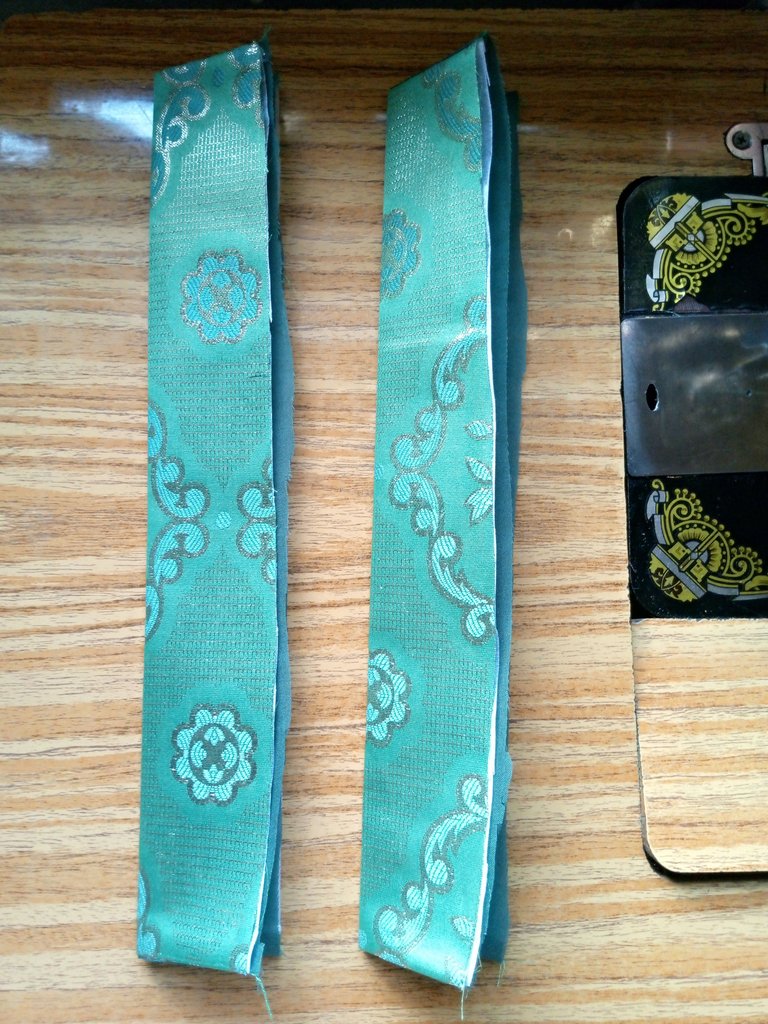
It was turned to the right side ironed and folded in two.
The mid point on the side of the main bag was notched and on the loop before it was being seen sewn together on both sides
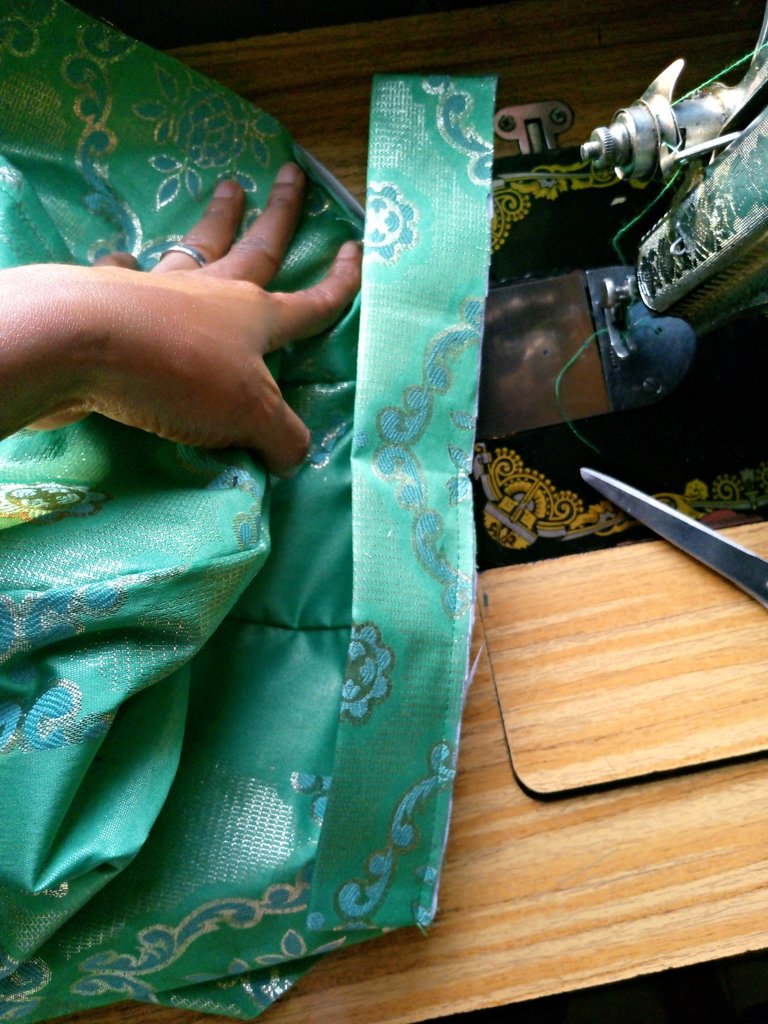
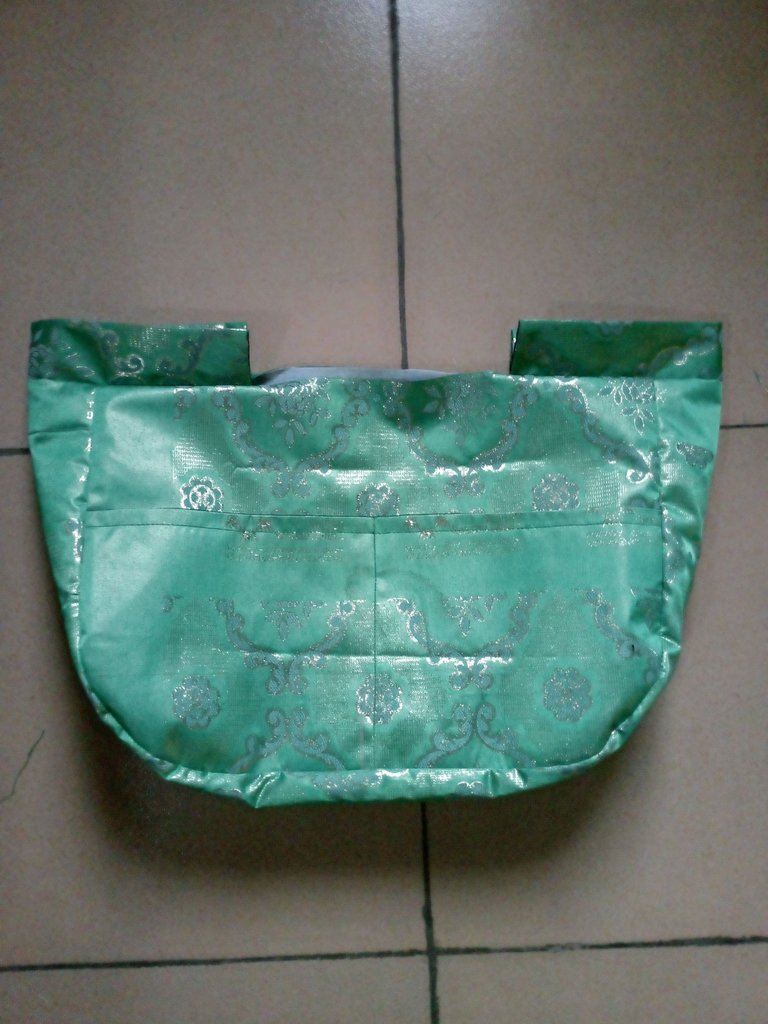
The main fabric was placed in the lining the was set aside and sewn round the top, it was turned to the right side and top stitched round.
Finally, I took the measurement of the bag circumference and it was used to cut out a long piece for the handle with 4" wide, it was folded and sewn together.
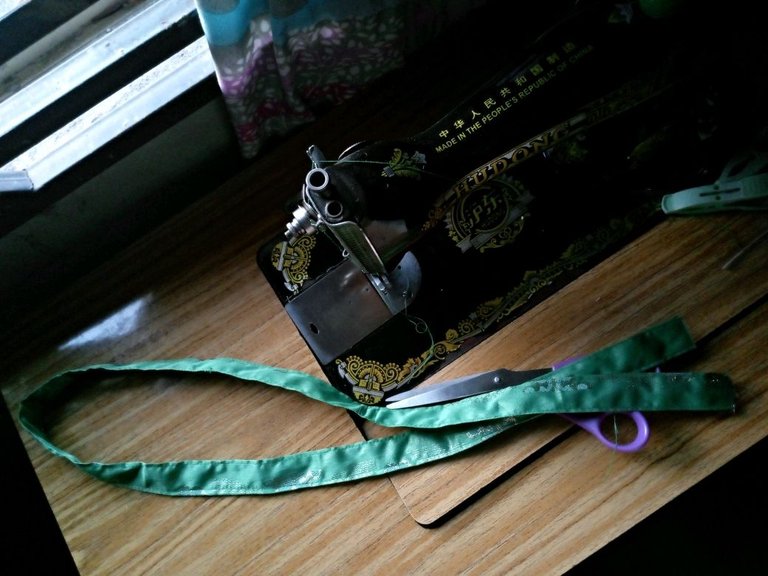
It was inserted into the loop round the bag and sewn together at the tip, this is the final outcome.
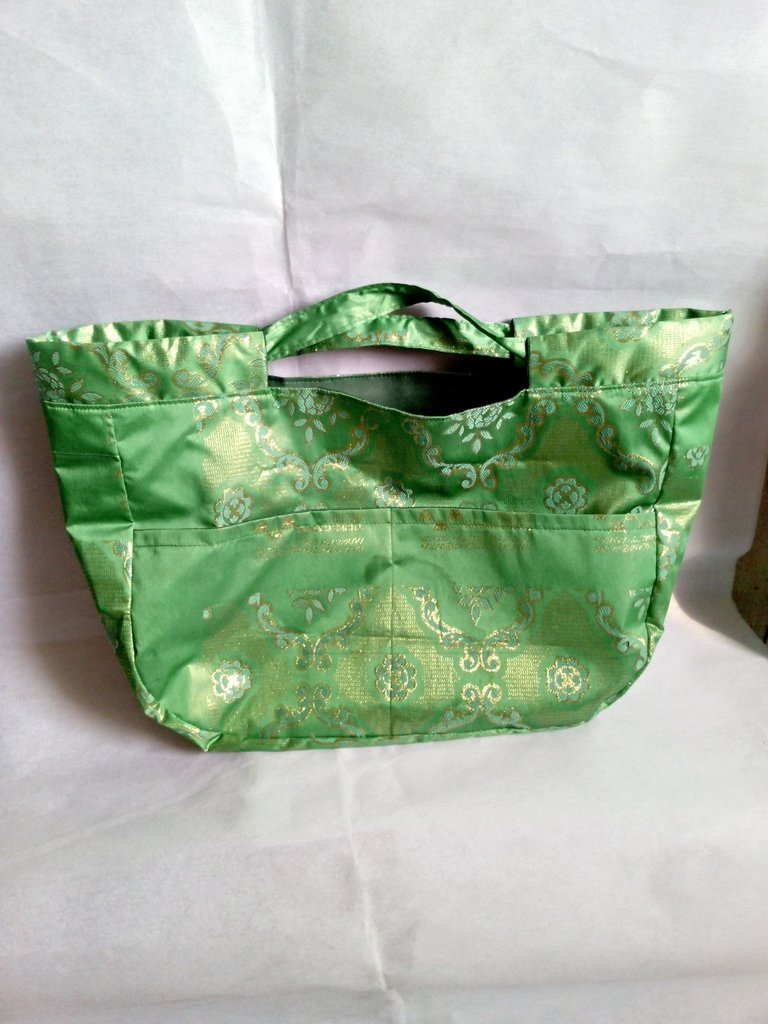
I used my hand needle and thread to attach a pressing button to it to make it clip to secure things that will be kept in it.
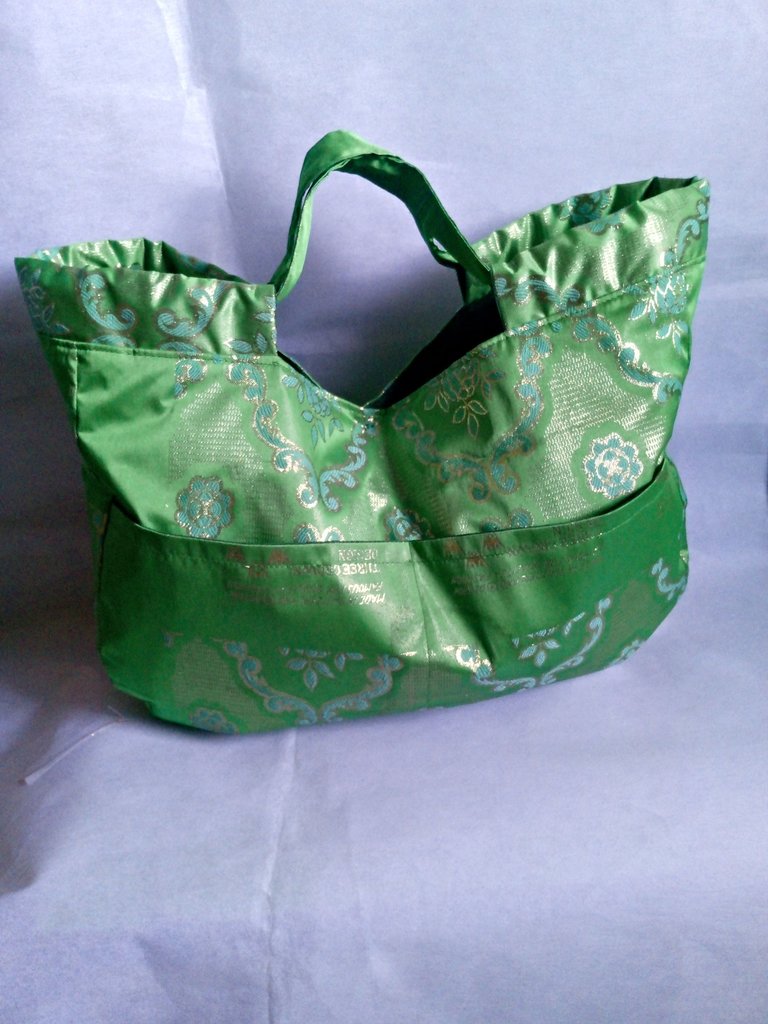
I hope you like this just as I so much love the beautiful outcome, it is just as I wanted it.
Looks like everyone is on a bag project this week hehe.
The project came out nicely. You really did a good job. Well done.
It is a good thing to make hand made bag like this to ones preference, it saves cost and I'm glad I was able to achieve this. Thanks so much.
Thanks so much @ewkaw and @qurator for your support.
Wow, such a lovely bag.
I like the color specially
Thanks so much @monica-ene I'm glad you like it.
It turned out very beautiful and functional. Thanks for sharing it. Congratulations 💐 Blessings 🙏🏻
Thanks so much for appreciating my work.
It is my pleasure to share, thanks for the feedback.
WOW! It is elegant and beautiful. You are good at making bags. It shows your creativity and talent. Great work! Thanks!
Thanks so much @diyhub for your comment and support