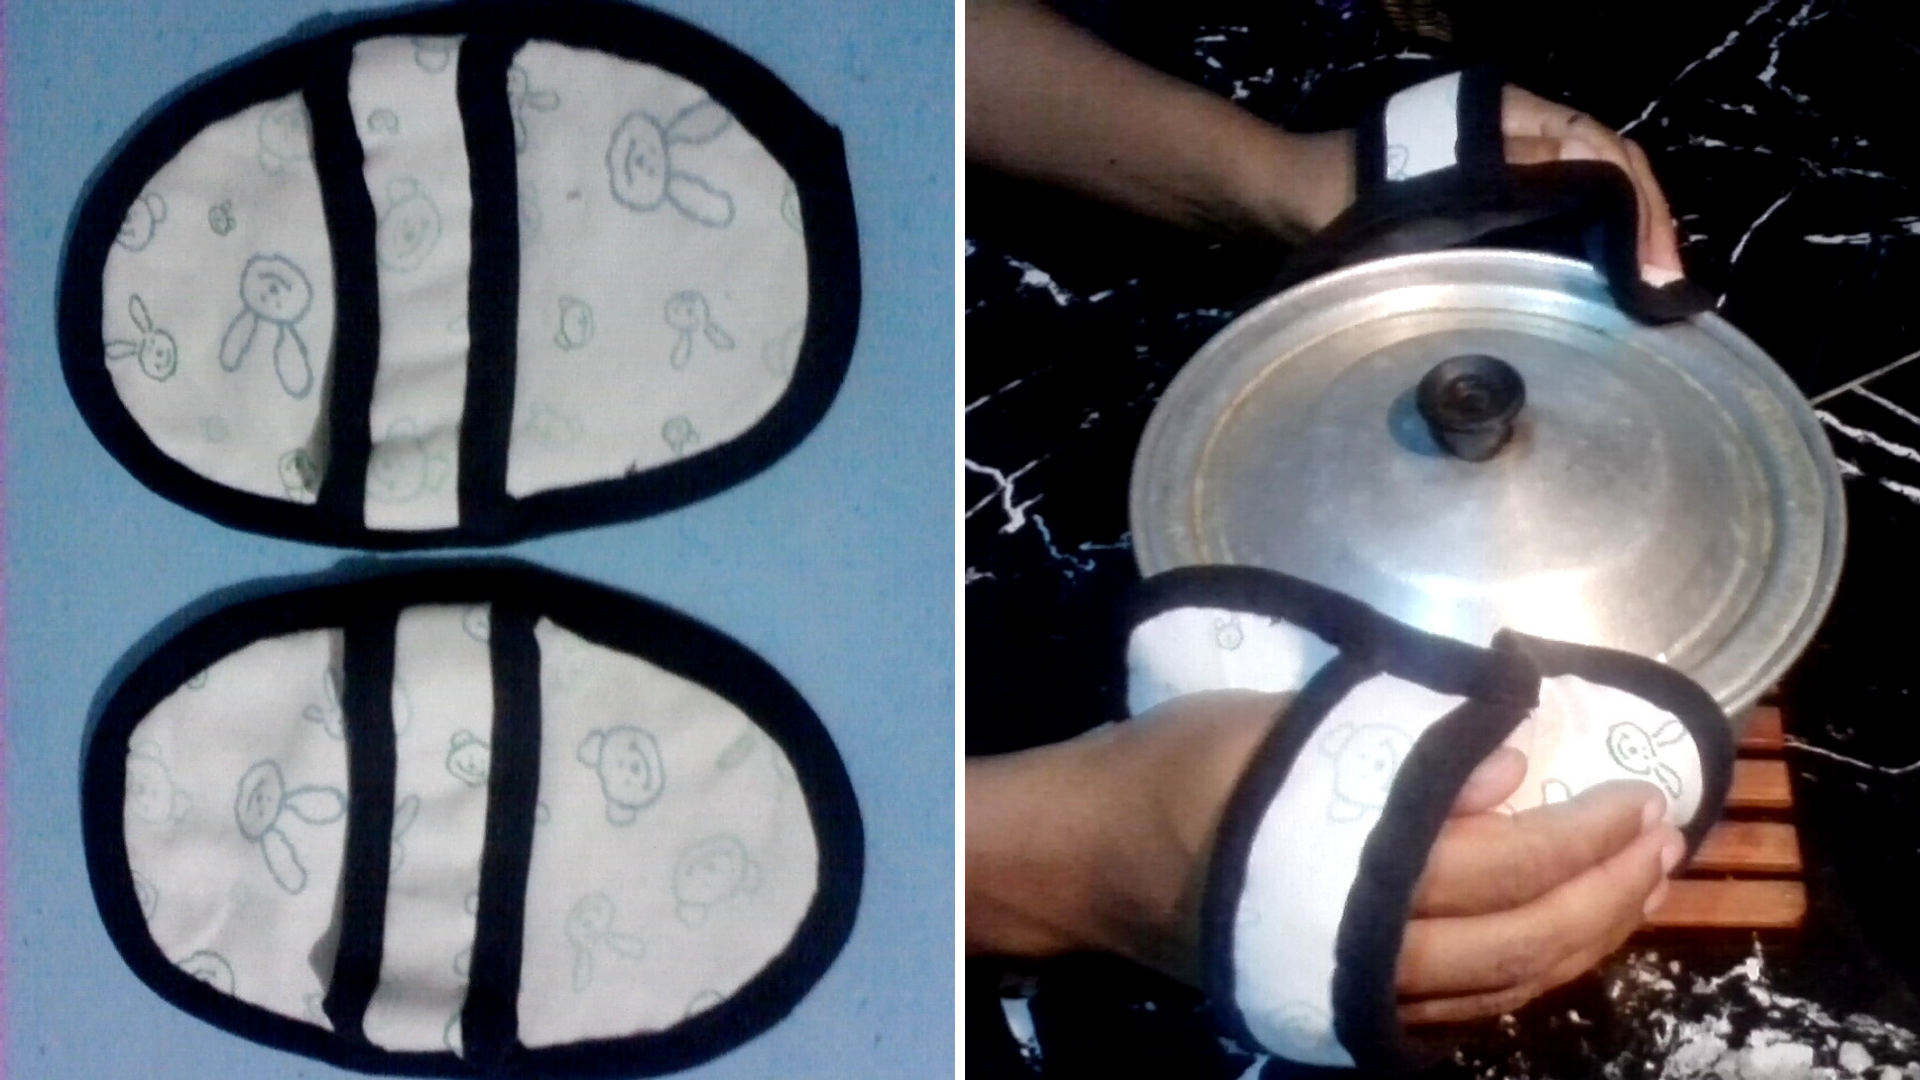
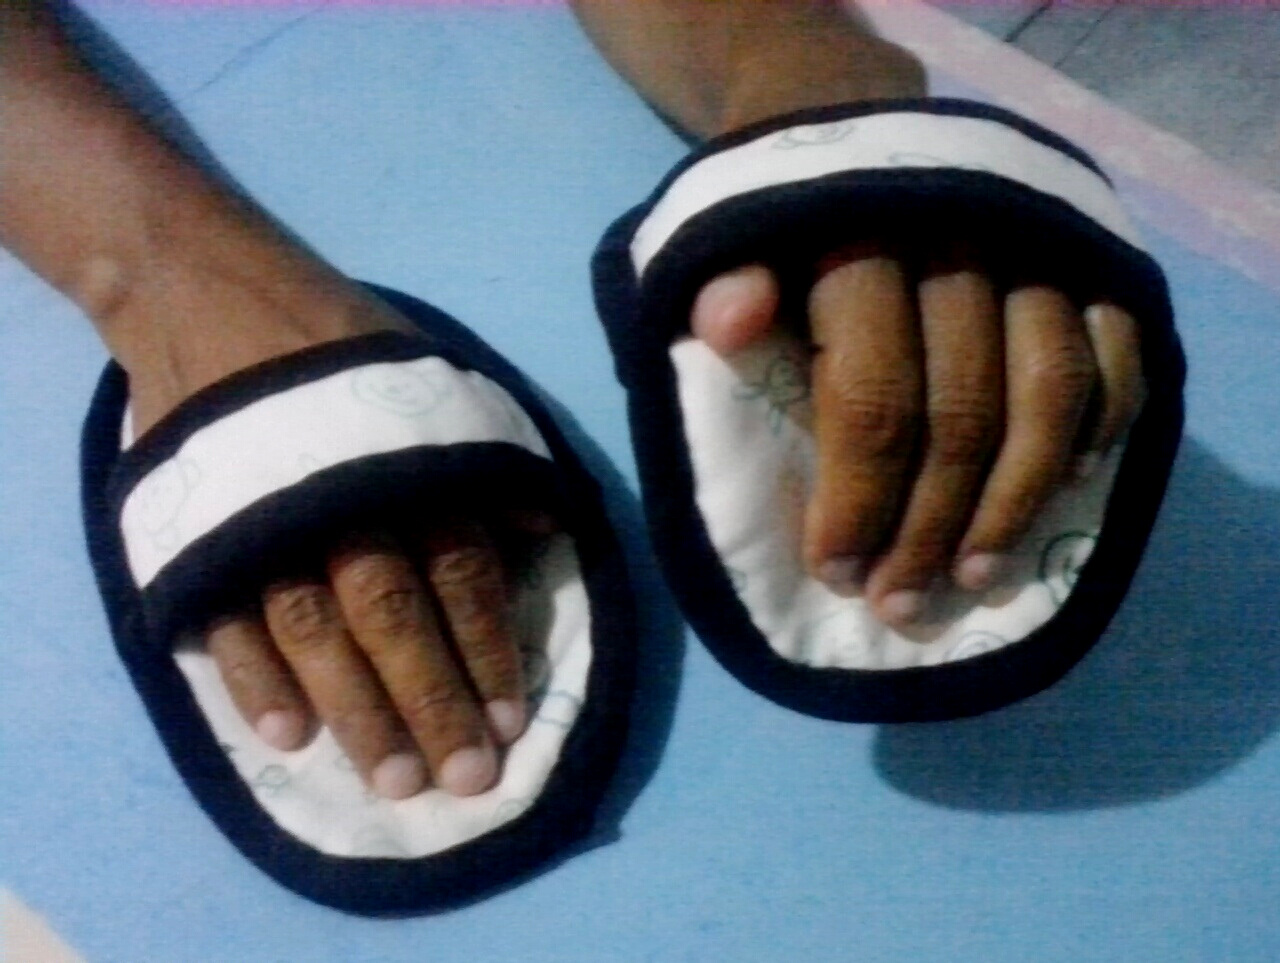
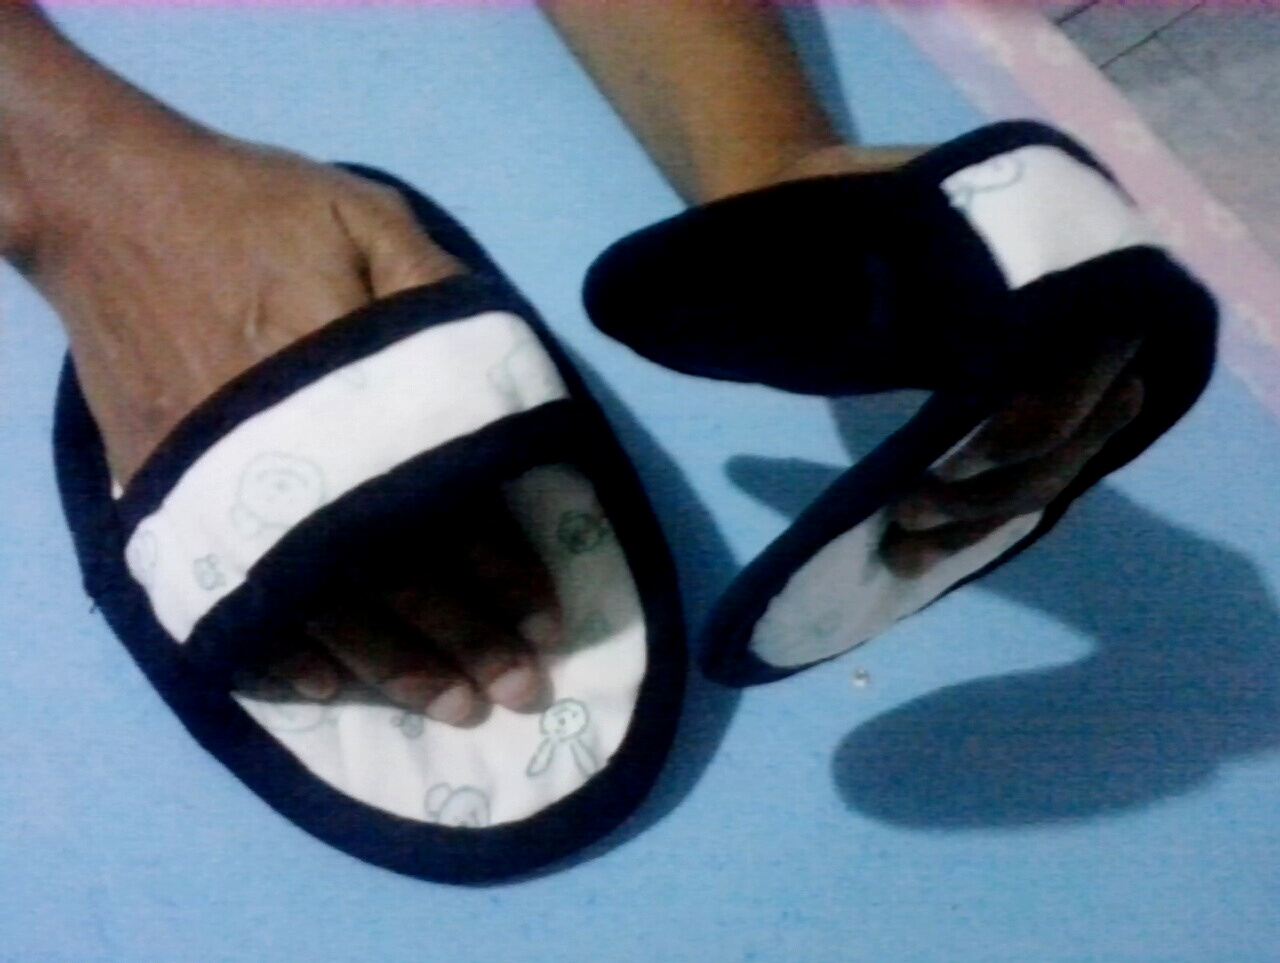
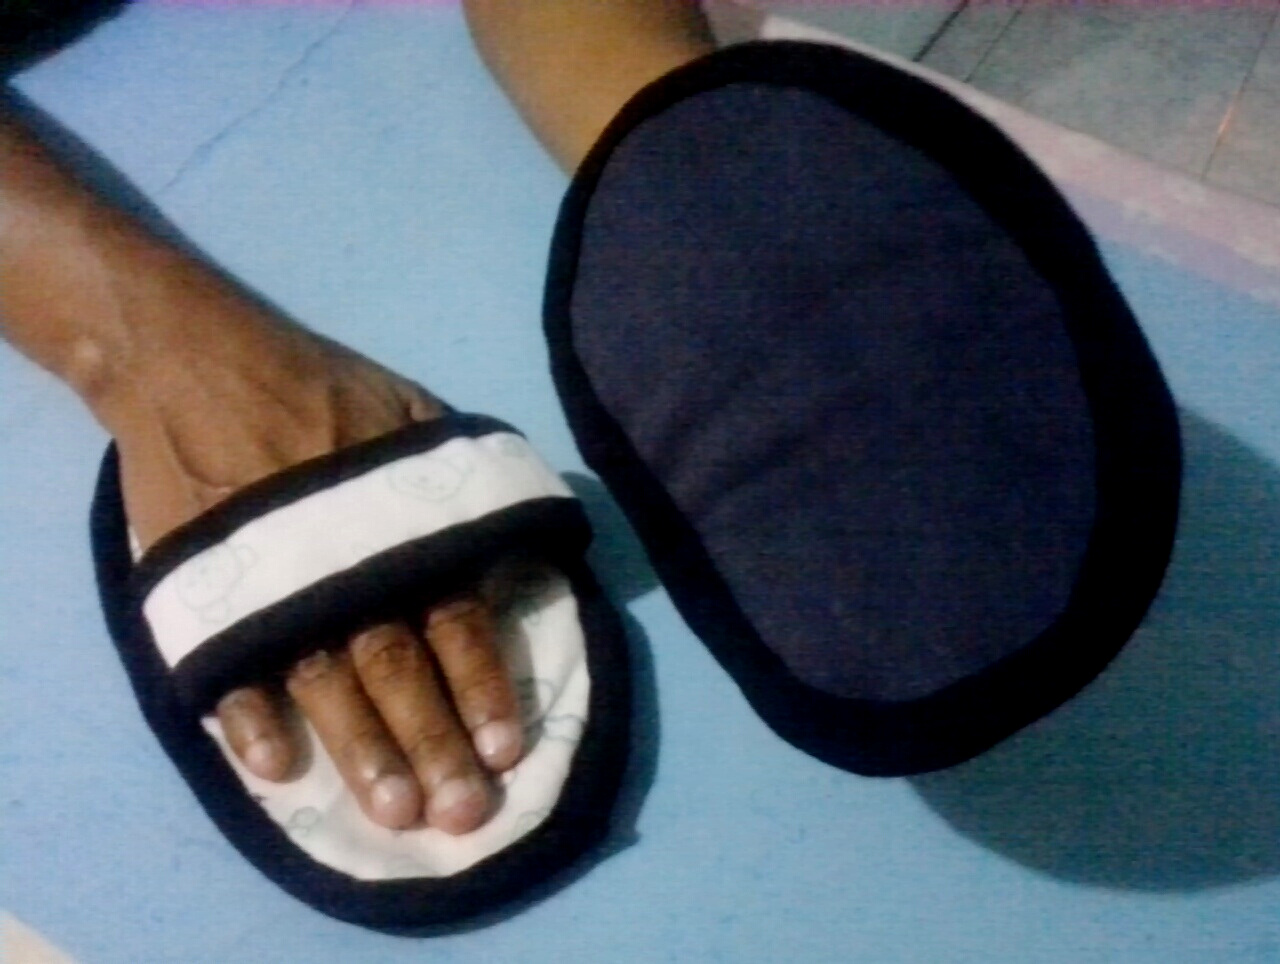
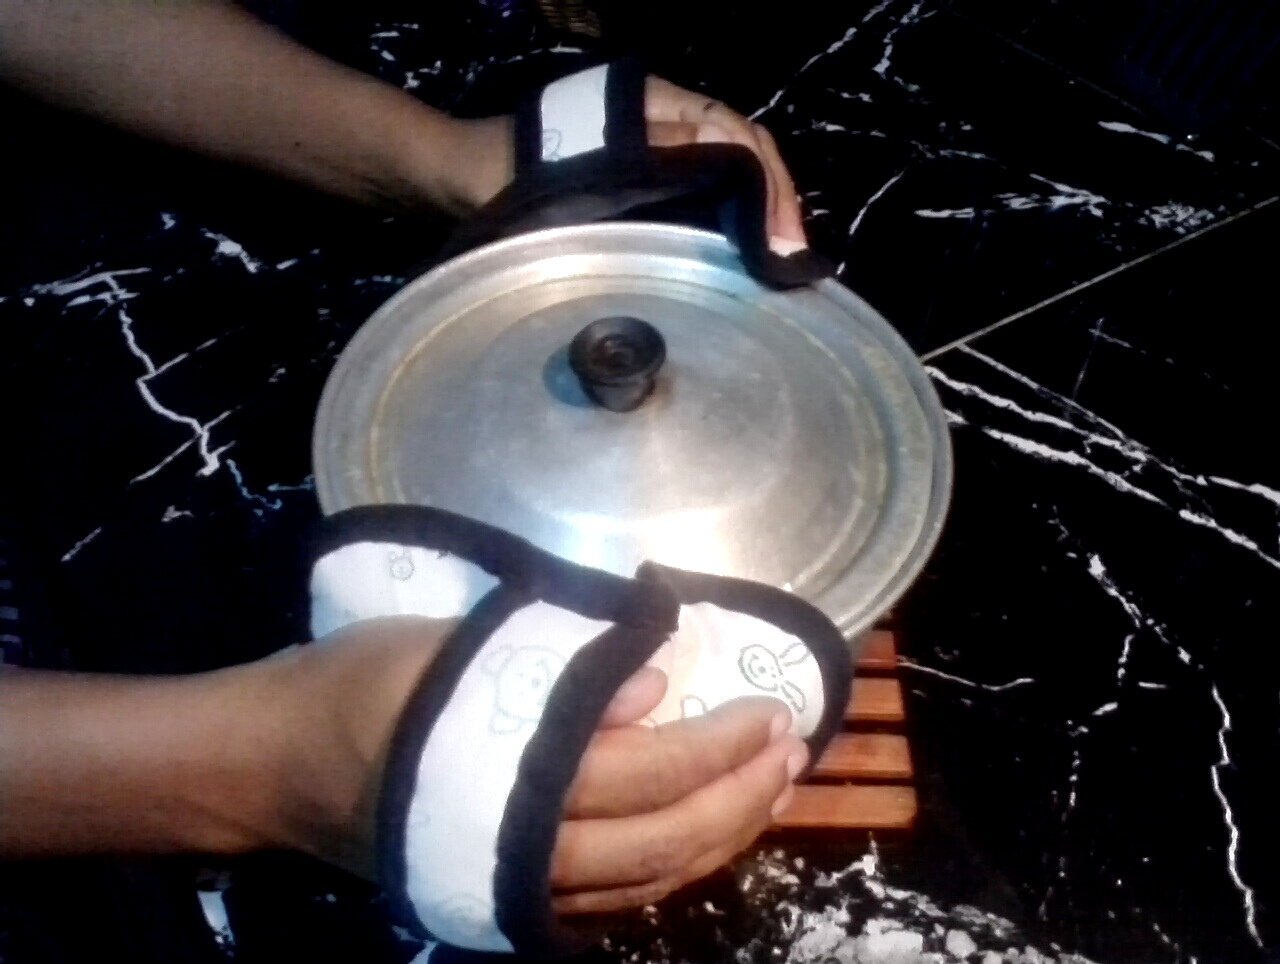
Hello my dear friends, greetings and blessings to all who make up this beautiful family, today I am pleased to share some pot holders in the form of ovals, it is easy to perform, very practical and comfortable when using it, let's start.
Español:
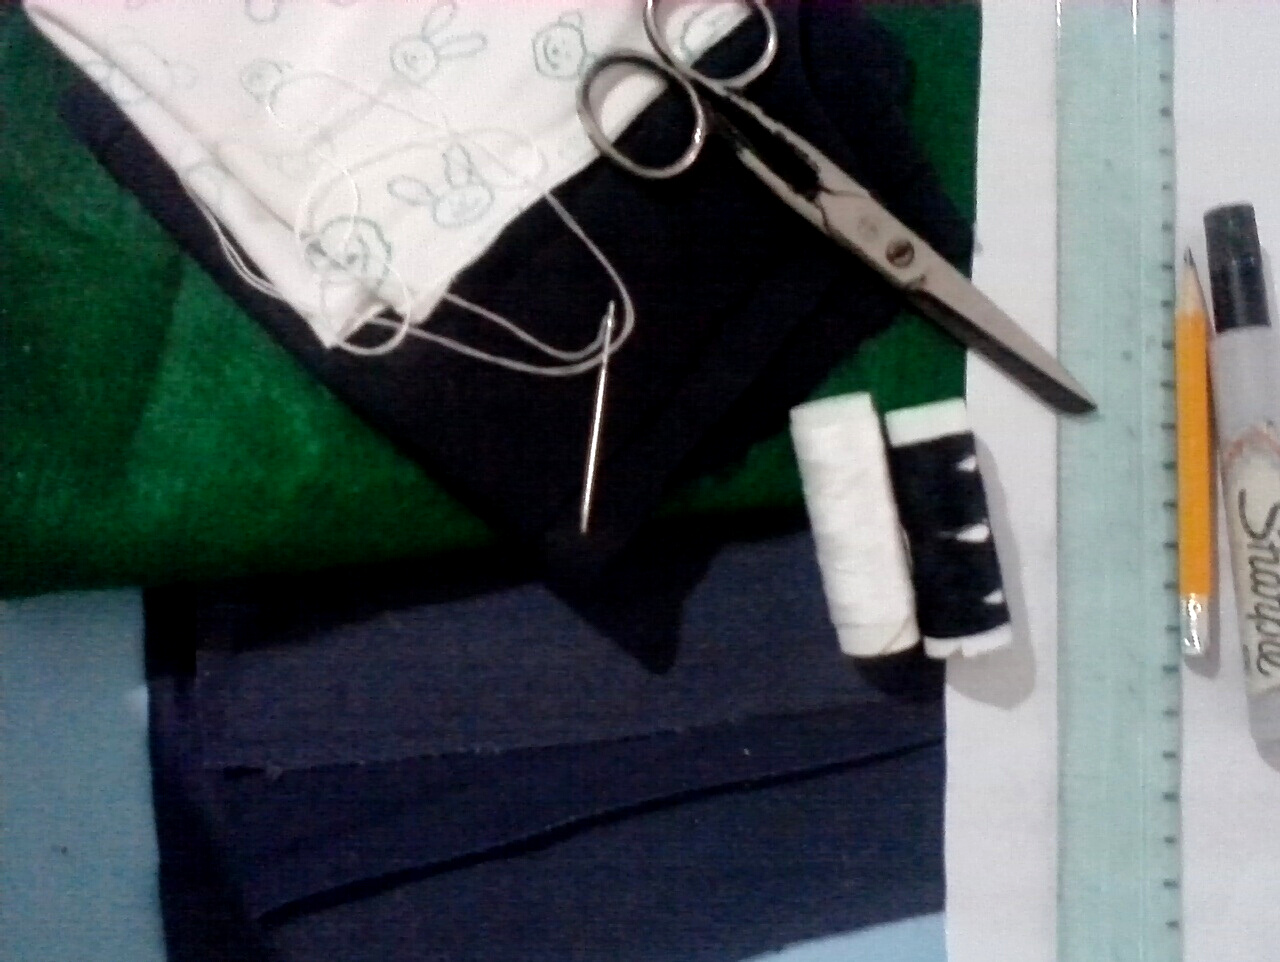
Materiales:
- Retazo de telas, del color de su preferencia, preferiblemente telas gruesas que soporten lo caliente, yo utilice azul oscuro, negro, blanco con muñequitos y fieltro.
- Hilos.
- Aguja.
- Regla.
- Tijera.
- Lápiz.
- Marcador.
- Una hoja blanca.
English:
Materials:
- Piece of fabric, the color of your choice, preferably thick fabrics that can withstand the heat, I used dark blue, black, white with dolls and felt.
- Threads.
- Needle.
- Ruler.
- Scissors.
- Pencil.
- Marker pen.
- A white sheet of paper.


Español:
Paso 1:
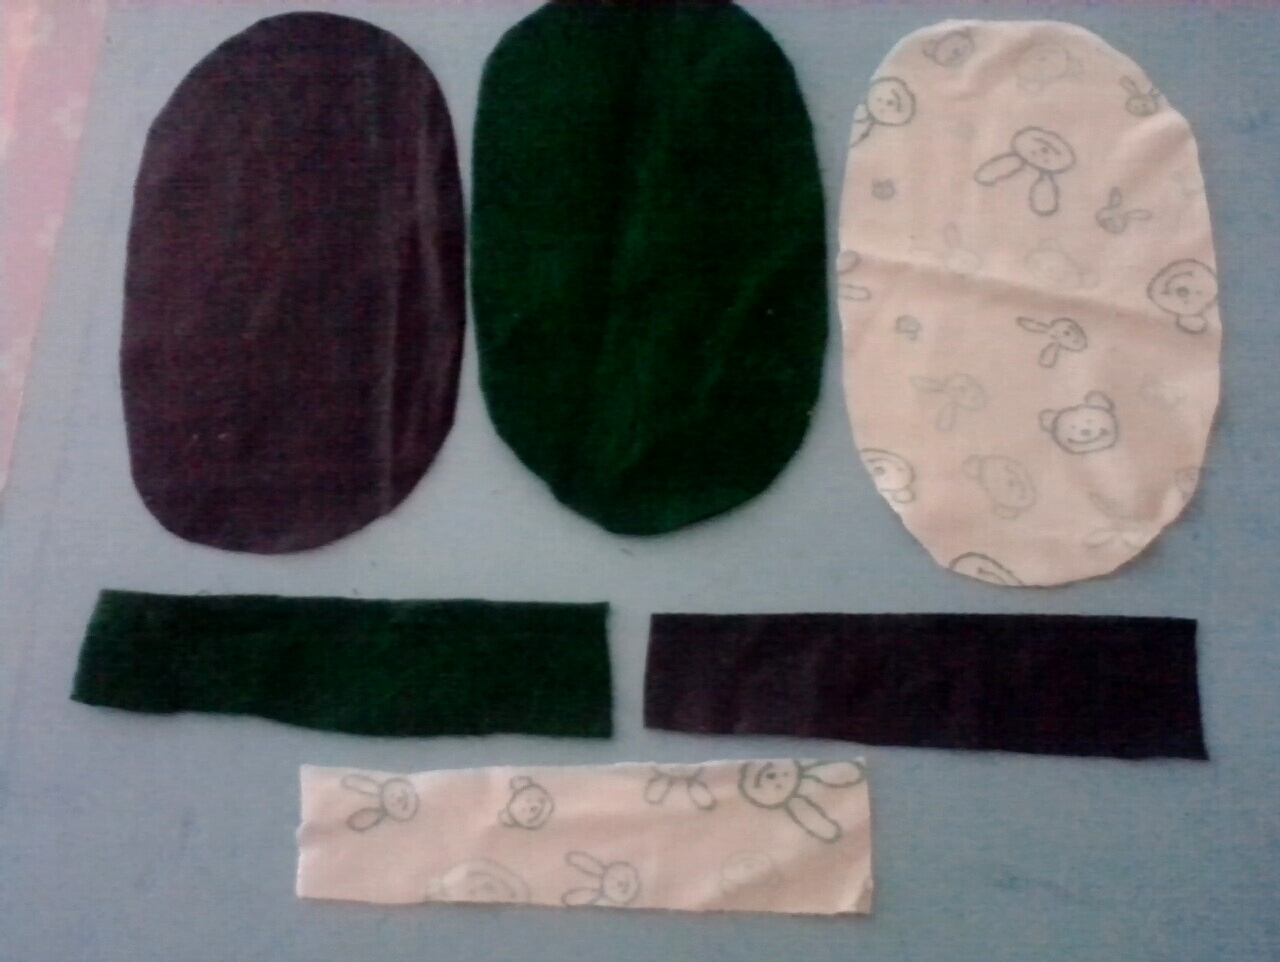
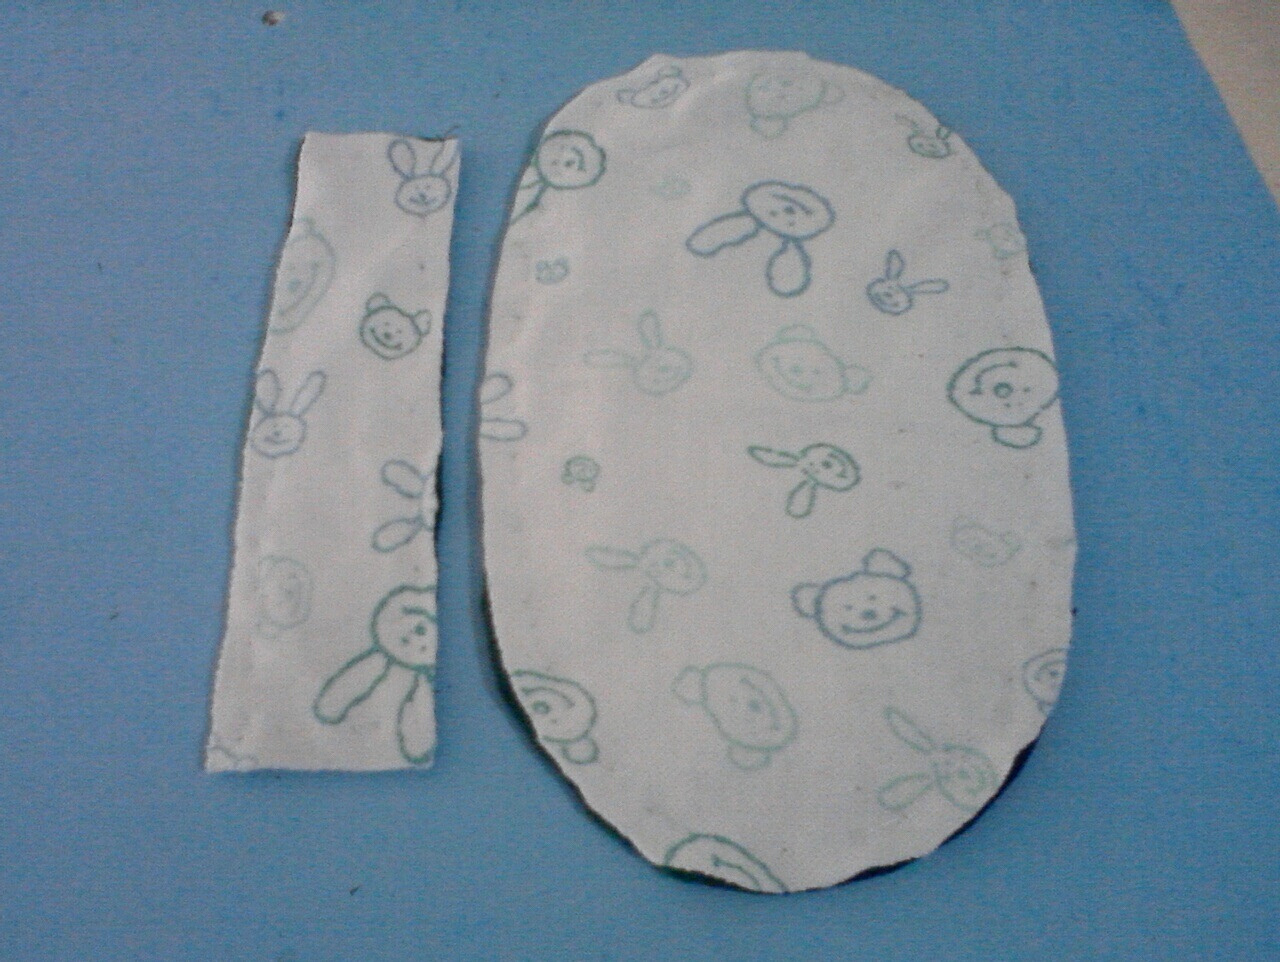
- Dibujamos en la hoja blanca, las dos piezas que vamos a utilizar como patrón, una en forma de óvalo tomando en cuenta el tamaño de tu mano, y la otra en forma de rectángulo de 4 cm de ancho. Luego lo marcamos a la tela y recortamos, sacando tres piezas iguales para cada mano, es decir vendrían siendo 6 para cada una.
English:
Step 1:
- We draw on the white sheet, the two pieces that we are going to use as a pattern, one in the shape of an oval taking into account the size of your hand, and the other in the shape of a rectangle 4 cm wide. Then we mark it on the fabric and cut it out, making three equal pieces for each hand, that is to say, 6 for each one.

Español:
Paso 2:
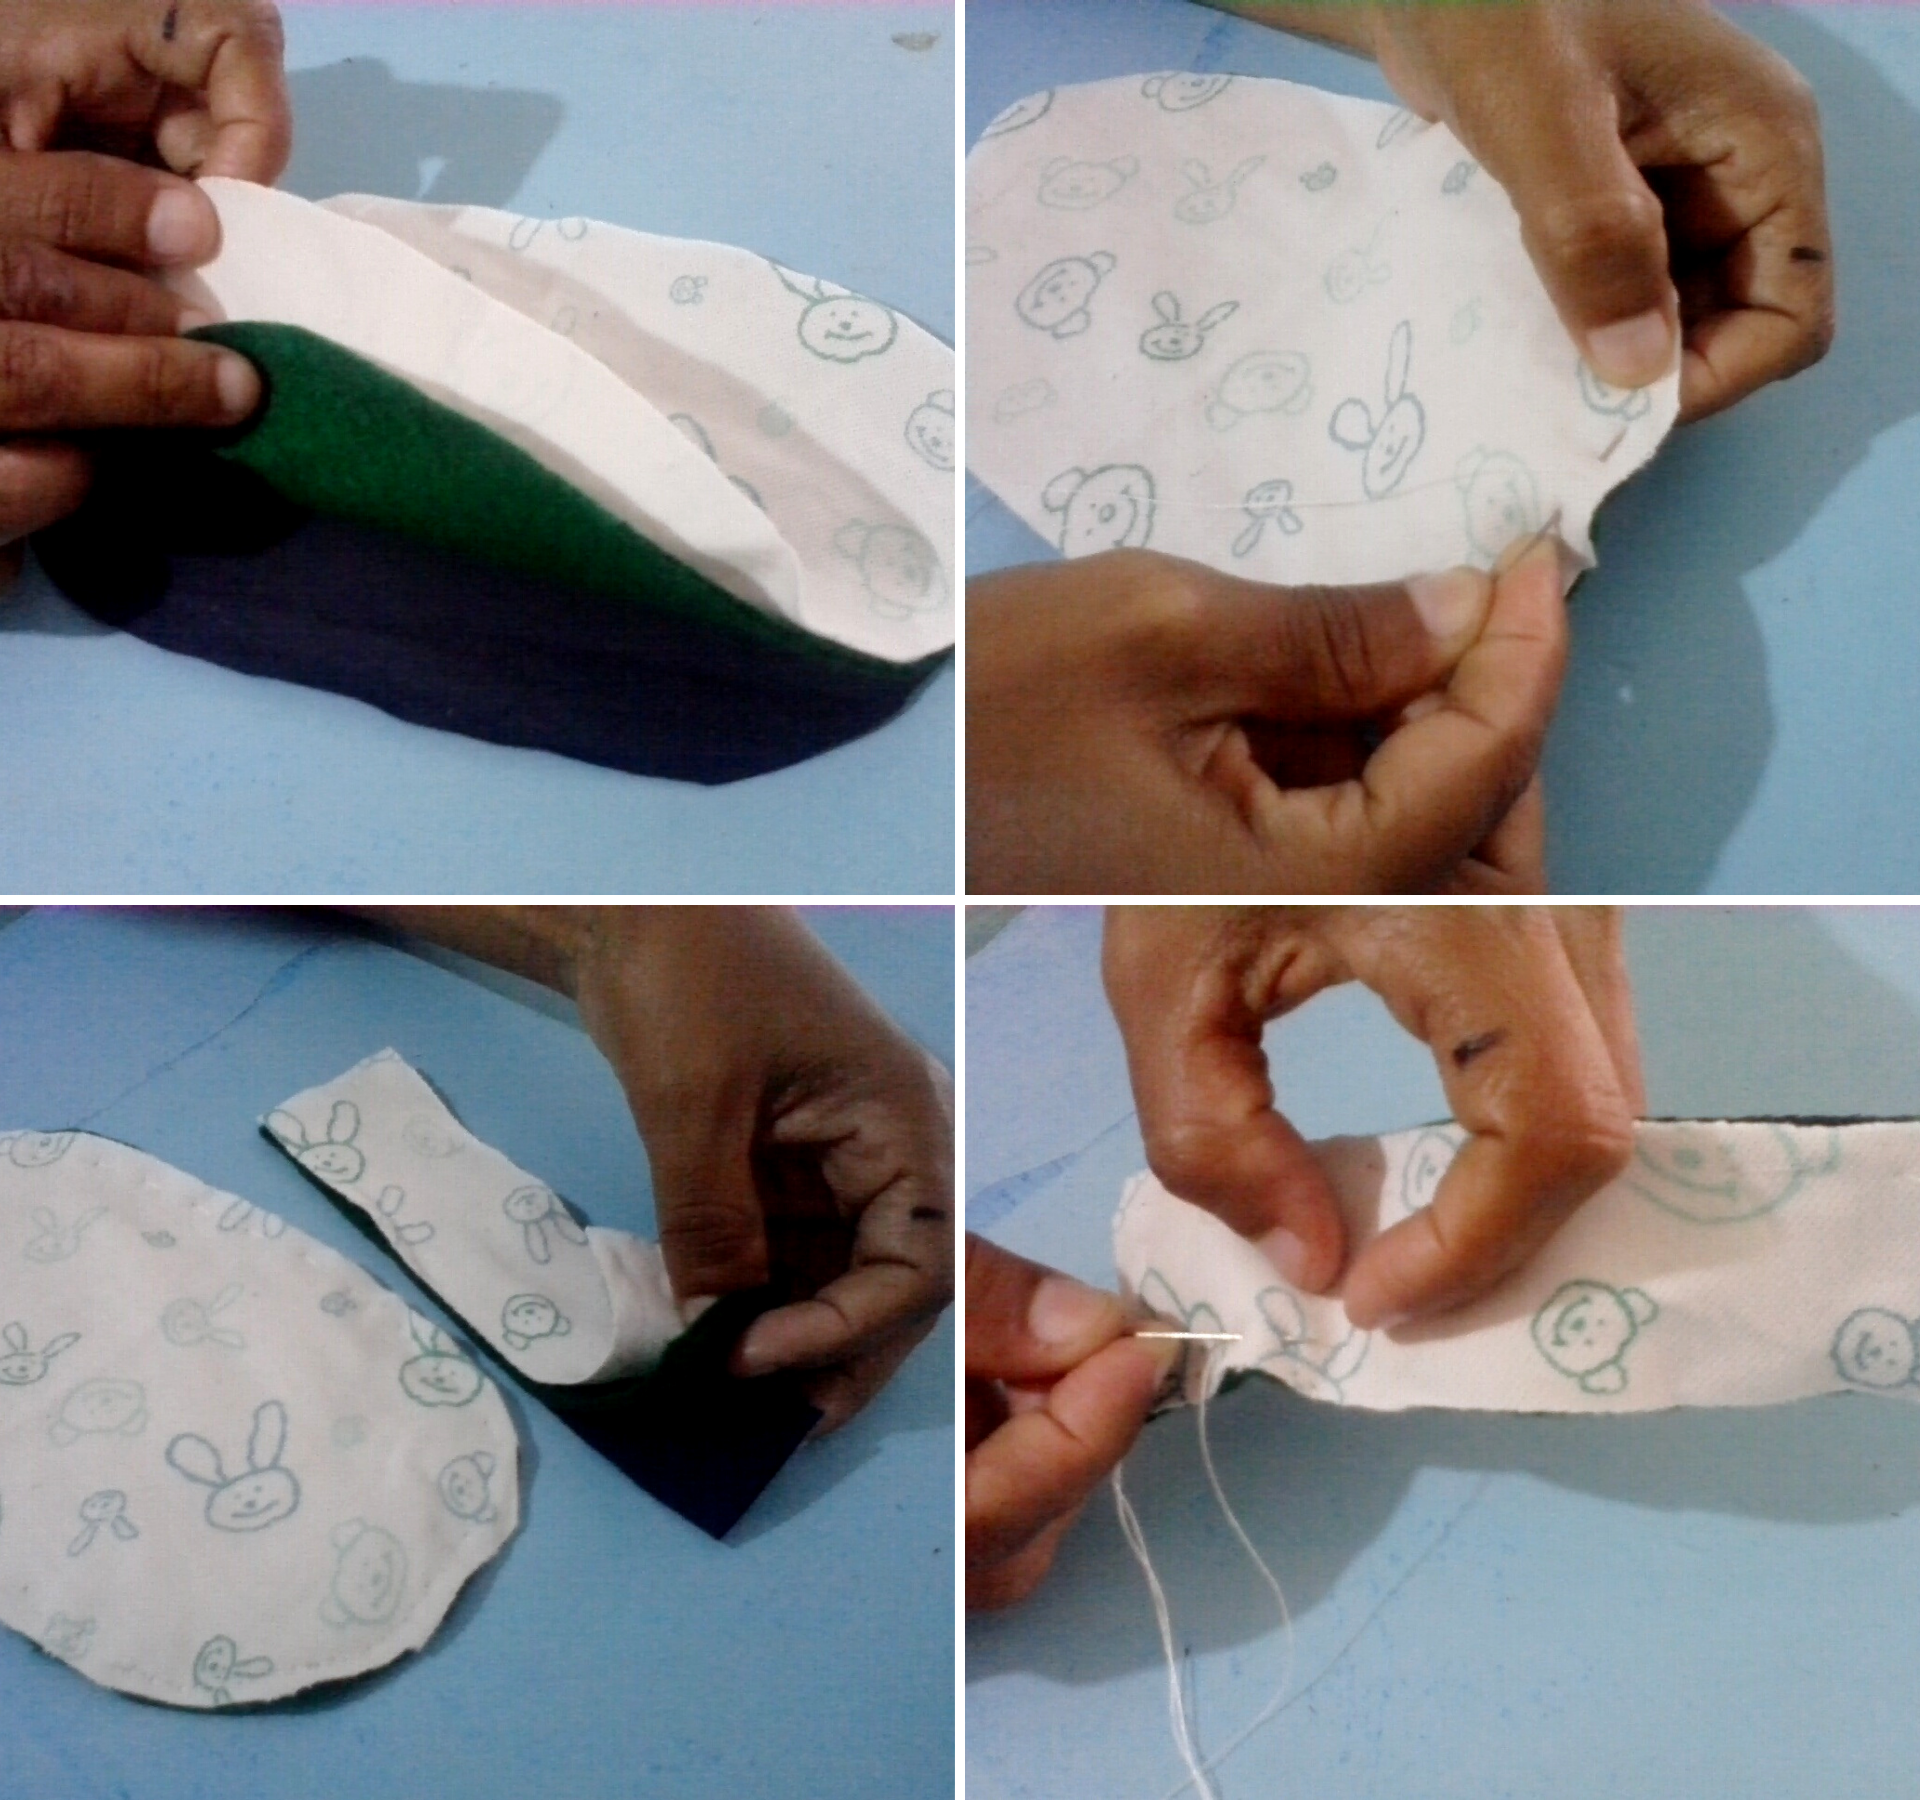
- Ahora colocamos las tres piezas en forma de óvalo, una encima de la otra, colocando la de fieltro en el centro, luego procedemos a coser, del mismo modo lo hacemos con las tres tiras rectangulares y cosemos.
English:
Step 2:
- Now we place the three pieces in the shape of an oval, one on top of the other, placing the felt piece in the center, then we proceed to sew, in the same way we do with the three rectangular strips and sew.

Español:
Paso 3:
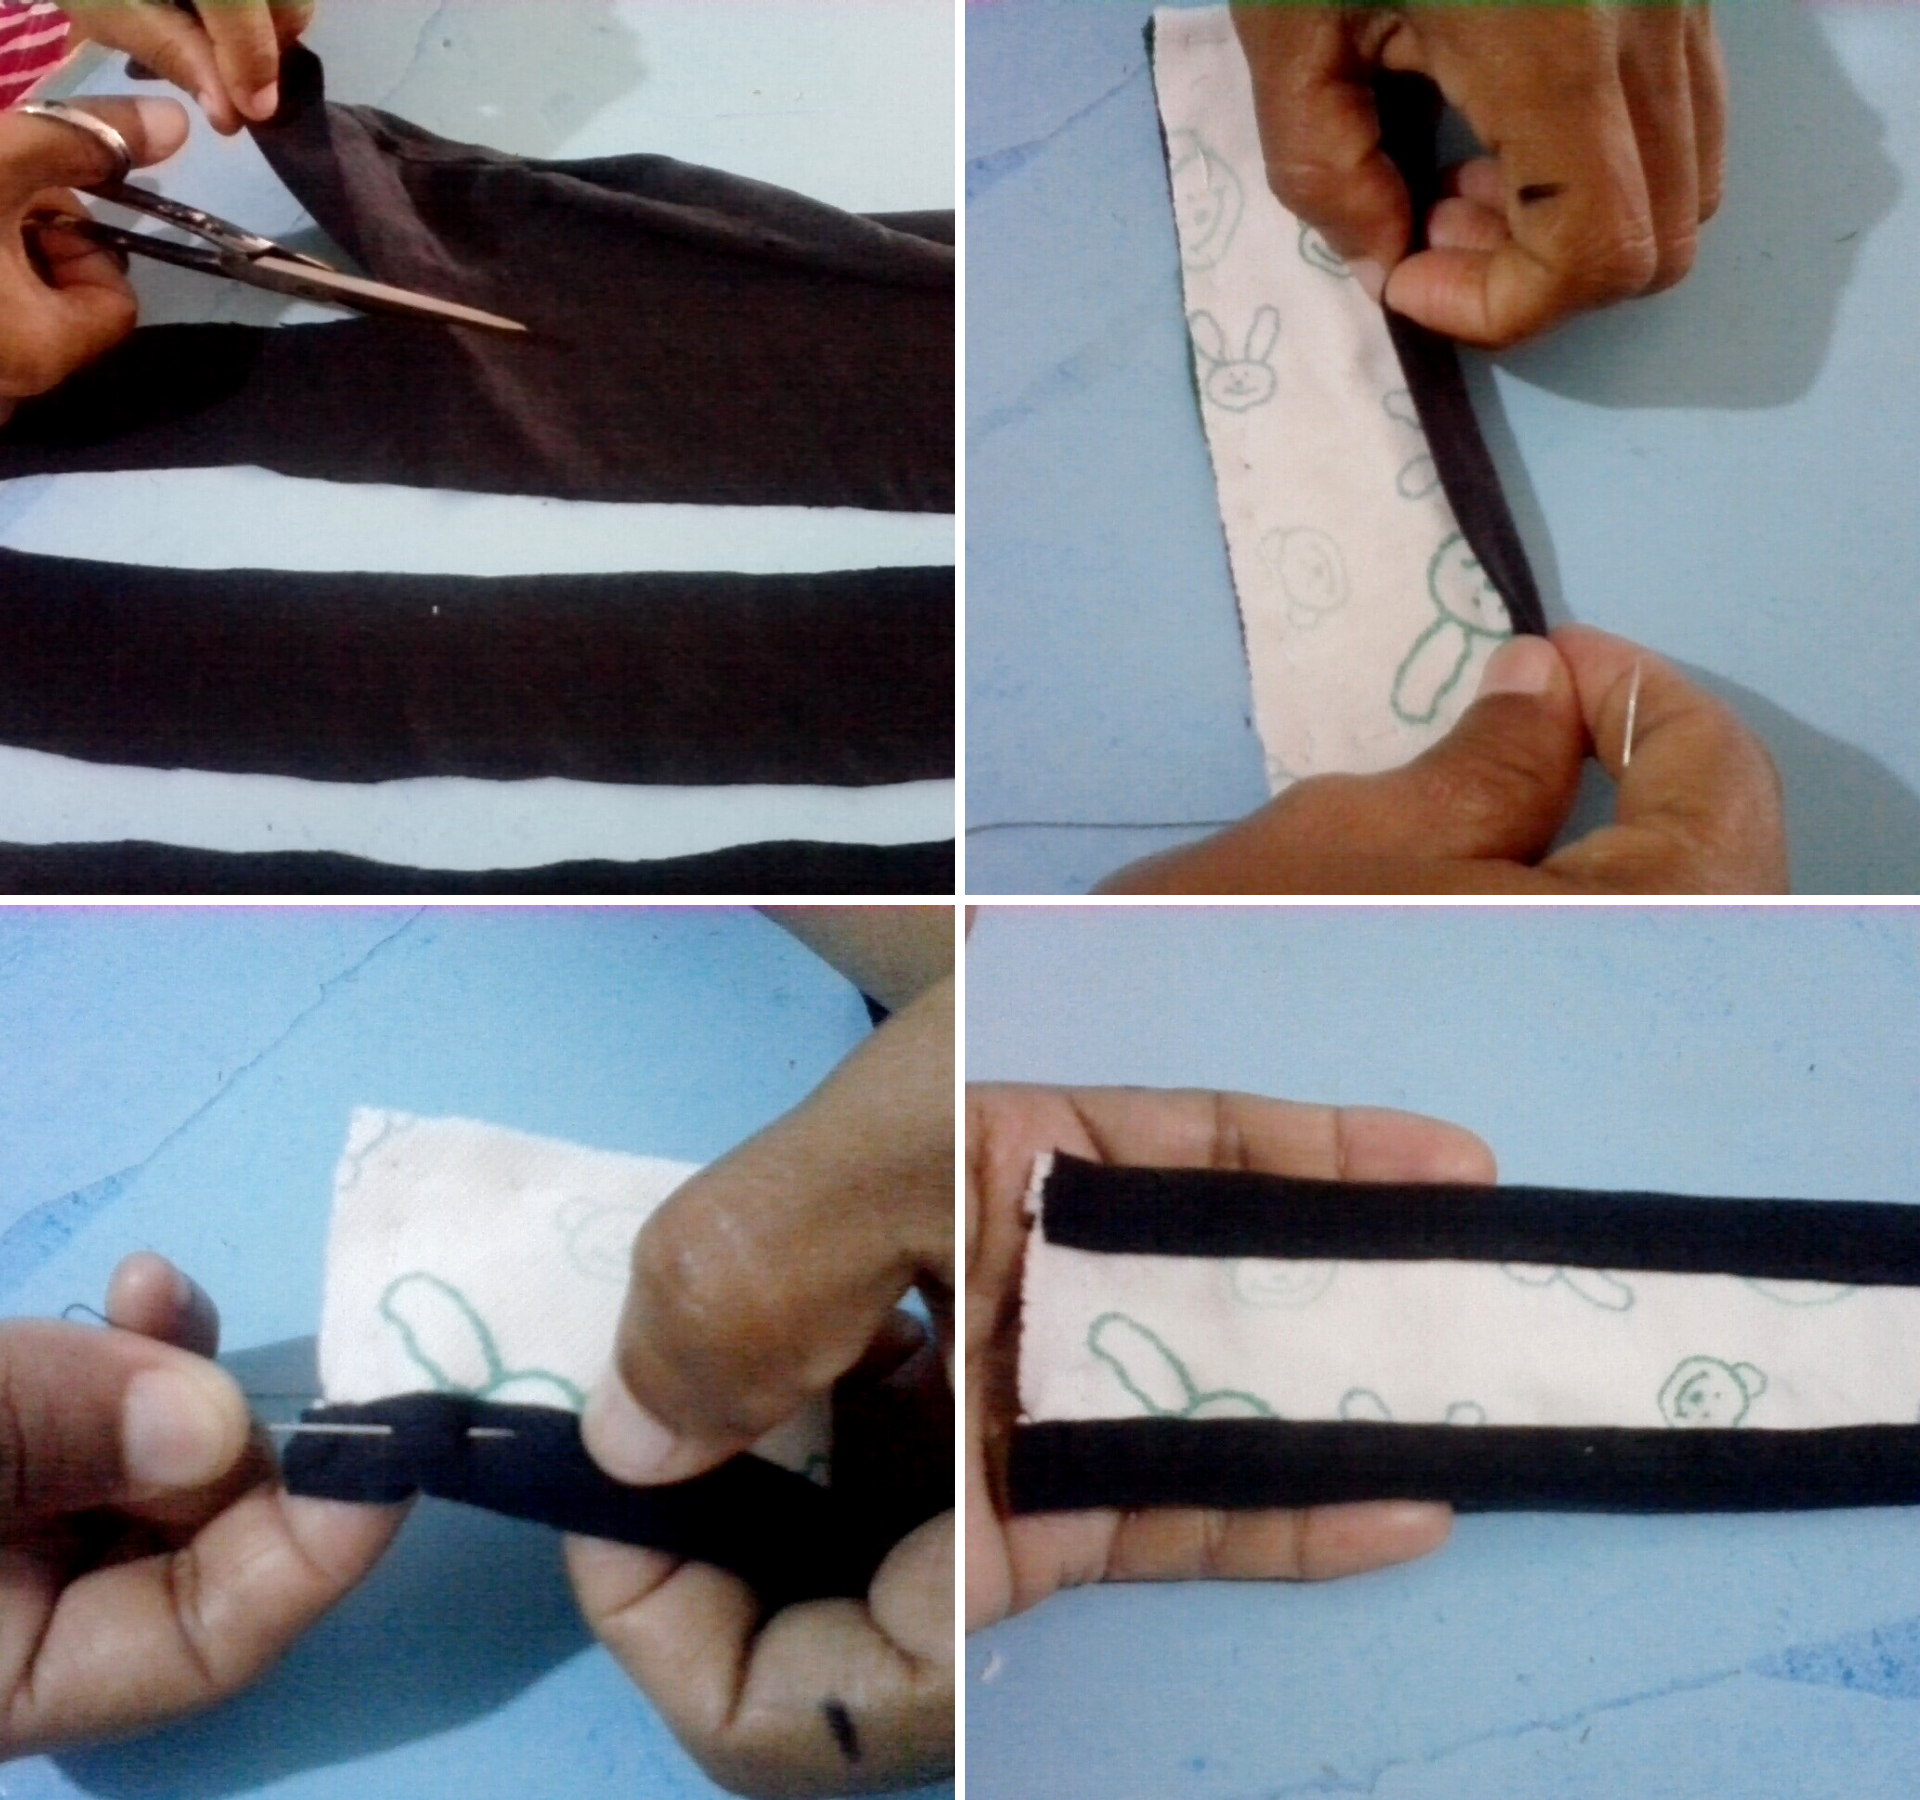
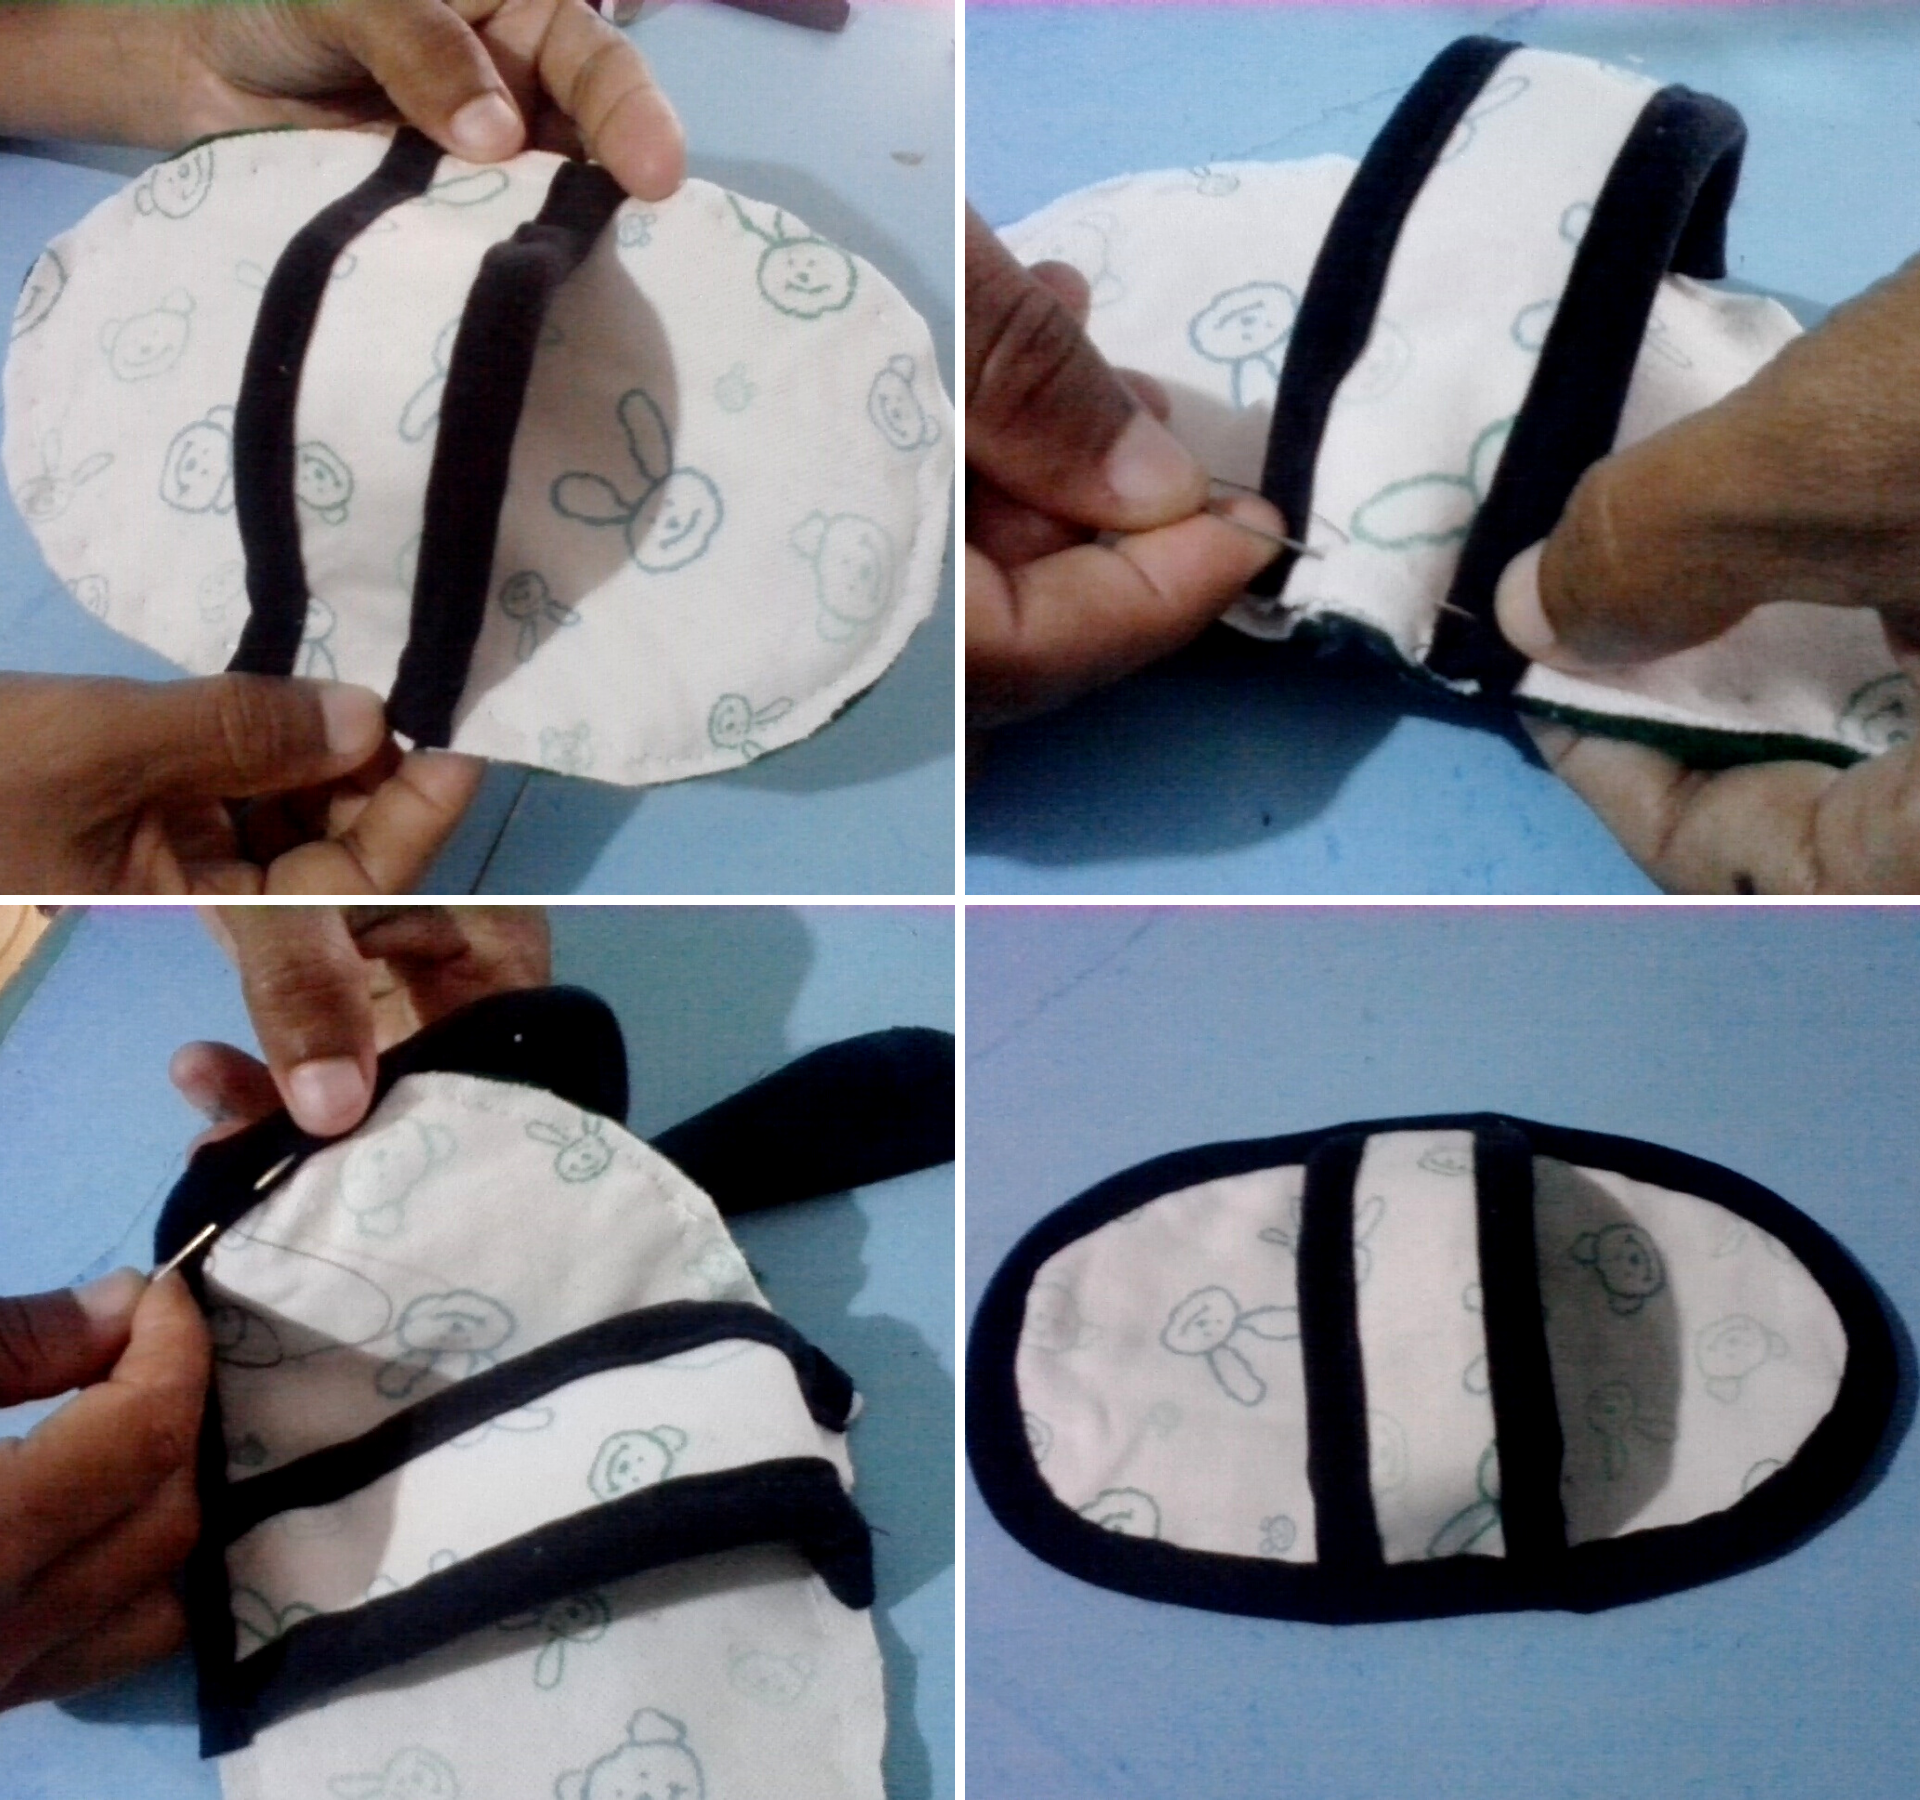
- Después, cortamos tiras de 4 cm de ancho en la tela negra, y la cosemos primeramente en la tira rectangular, por los dos lados, haciendo un pequeño dobles hacia dentro en la parte de arriba como la de abajo, luego cosemos. Continuamos con una puntada de costura, fijamos encima de la tela ovalada en ambos lados, para que así se nos haga mas fácil coser todo el borde de la base del agarra ollas con la tela negra.
English:
Step 3:
- Then, we cut strips of 4 cm wide in the black fabric, and we sew it first on the rectangular strip, on both sides, making a small double inward on the top and bottom, then we sew. We continue with a stitching stitch, we fix on top of the oval fabric on both sides, so that it will be easier to sew the entire edge of the base of the pot holder with the black fabric.

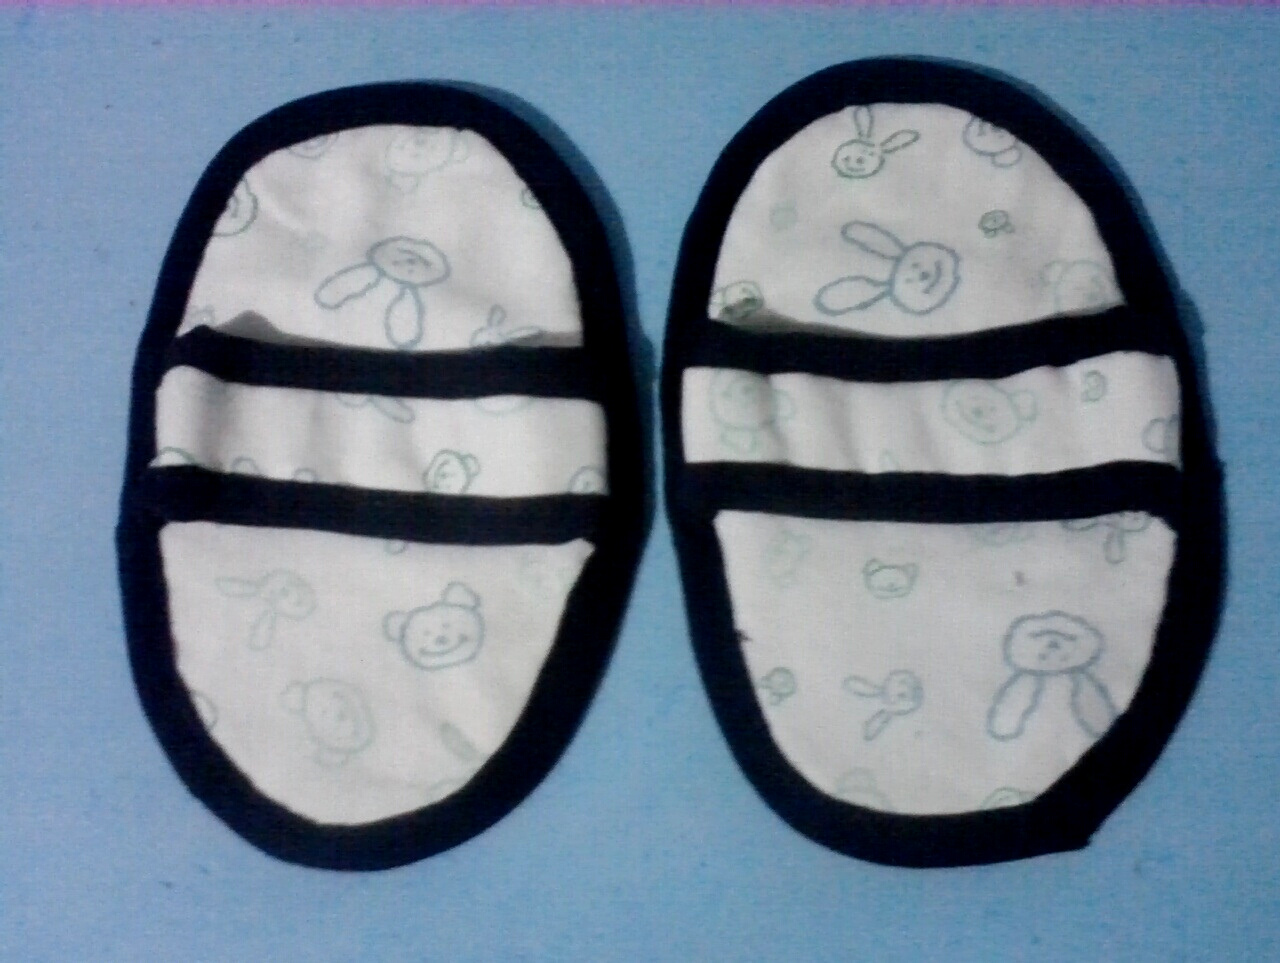
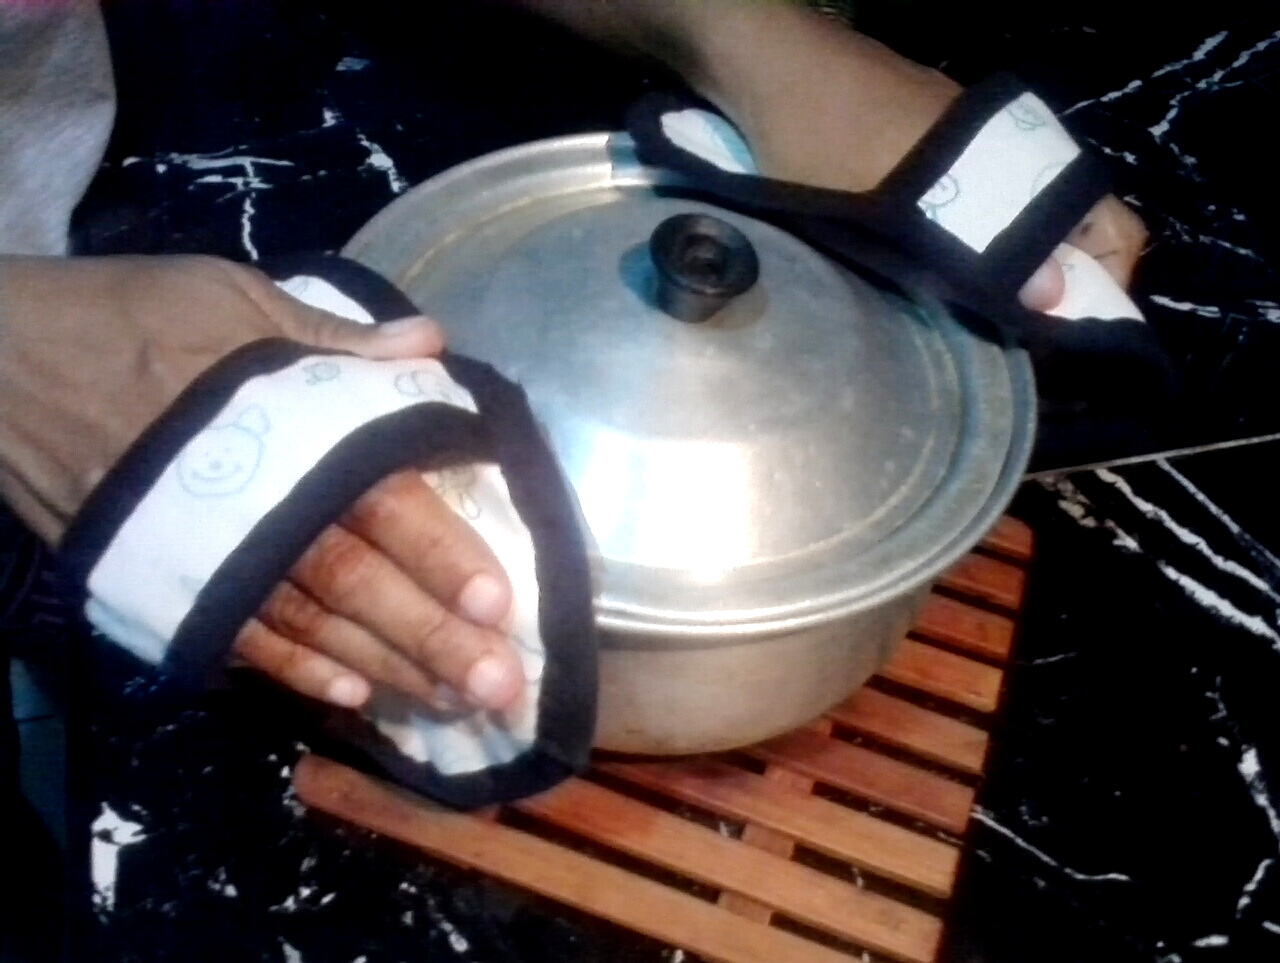
Aquí esta el resultado final, espero que les haya gustado.
Here is the final result, I hope you liked it.
.png)
.png)
.png)
.png)
.png)

Todas las fotos son de mi autoria y editadas con Canva.
All the photos were taken by me and edited with Canva.


Wow such creativity this is really beautiful @coromoto20
Thank you for your good comment, greetings and blessings, friend @smilestitches
Your product is very useful and can be used in any kitchen.
Potholders are always necessary in a kitchen. Bravo!