Hello Philippines and Hello world,, your Cebuana crafter is back ,crafthing her future' it's me again lovely readers and bloggers @ Crafthy its my pleasure to entertain you all by reading my blog most proparably my passion in life and hobbies .Are you ready to discover the special talent that I have ? If yes ,come on be with me as I take you to my crochet world and paradise.
It's been a a month since I started my journey spreading positivity in this platform and to be a honest Iam enjoying every journey I've take how beautiful this platform is.
Today I will spreading again the beautiful craft that is meant to be shared to everybody because I always believe that sharing is caring . What if by reading my blog you've got interested and decide to start your journey in crocheting.
Girls are girls who loves cute stuff that they think, if they will wear this it gives them a stunning and unique looks that represents their identity.
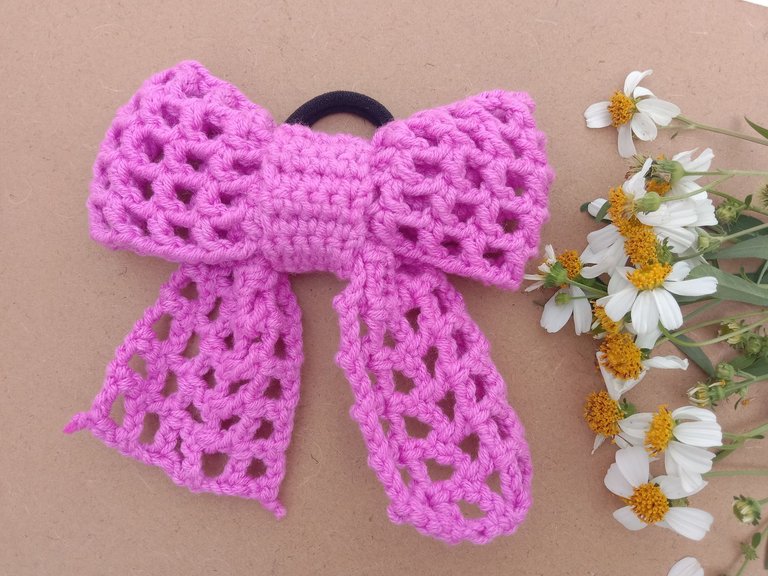
So today I will be sharing you the simple steps how I do and make this hair- bow tie.
First, we will need the milk cotton yarn (5 ply)the primary materials and a crochet hook (3.00mm),small black rubber band
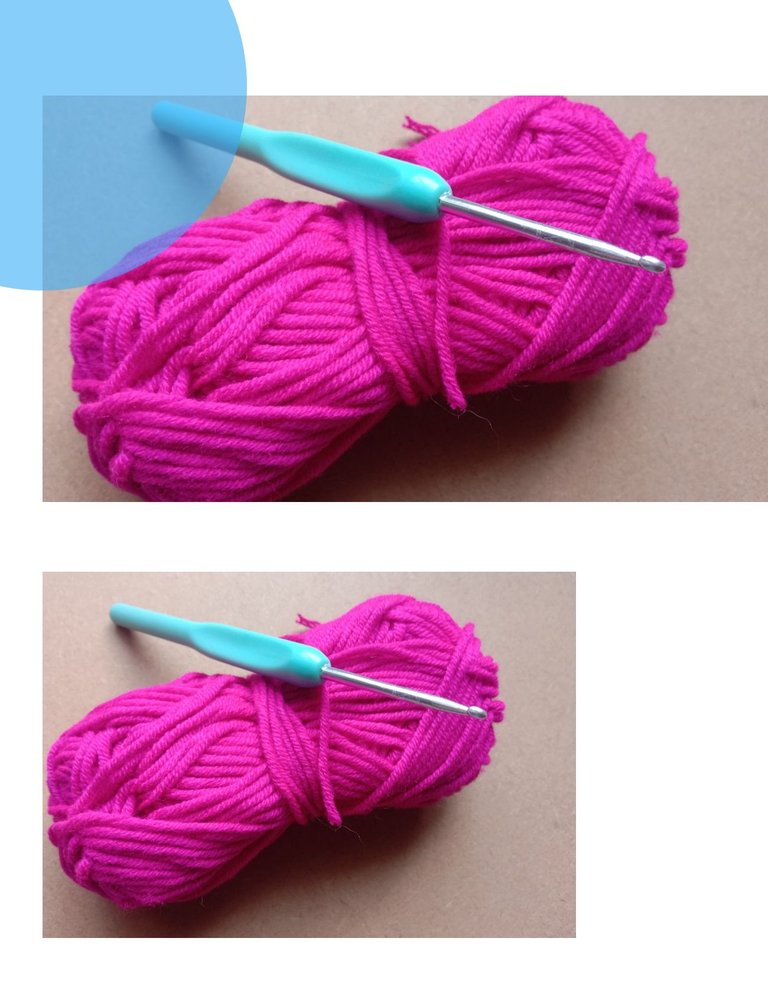
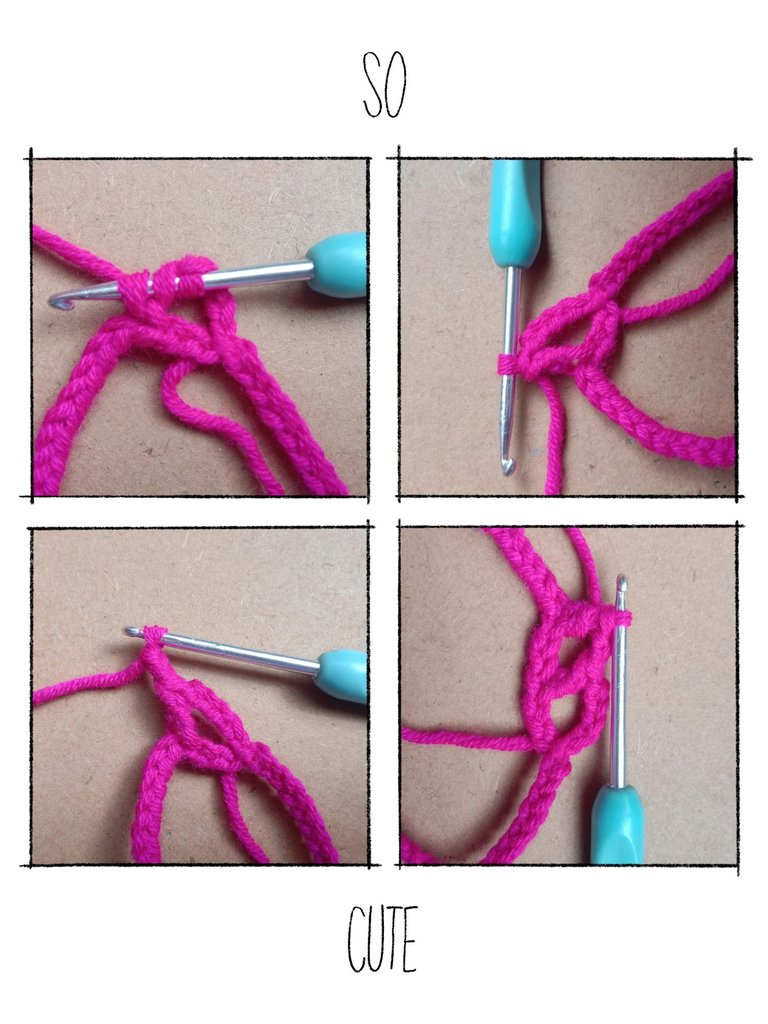
Second, hold your yarn in a way you want to hold the yarn as long as your comfortable controling the tensions of yarn when performing the stitches and chains.
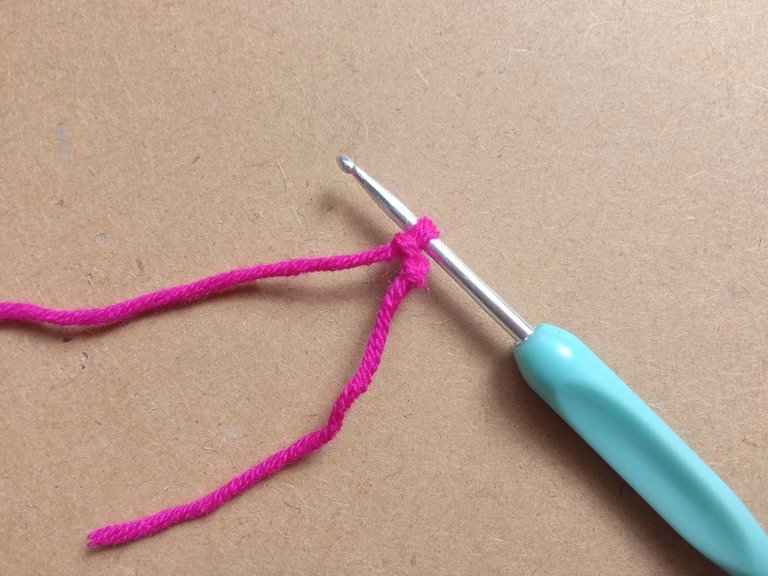
Make 64 chains,from the hook skip one chain and make 1double crochet then 2chains ,skip another chains.
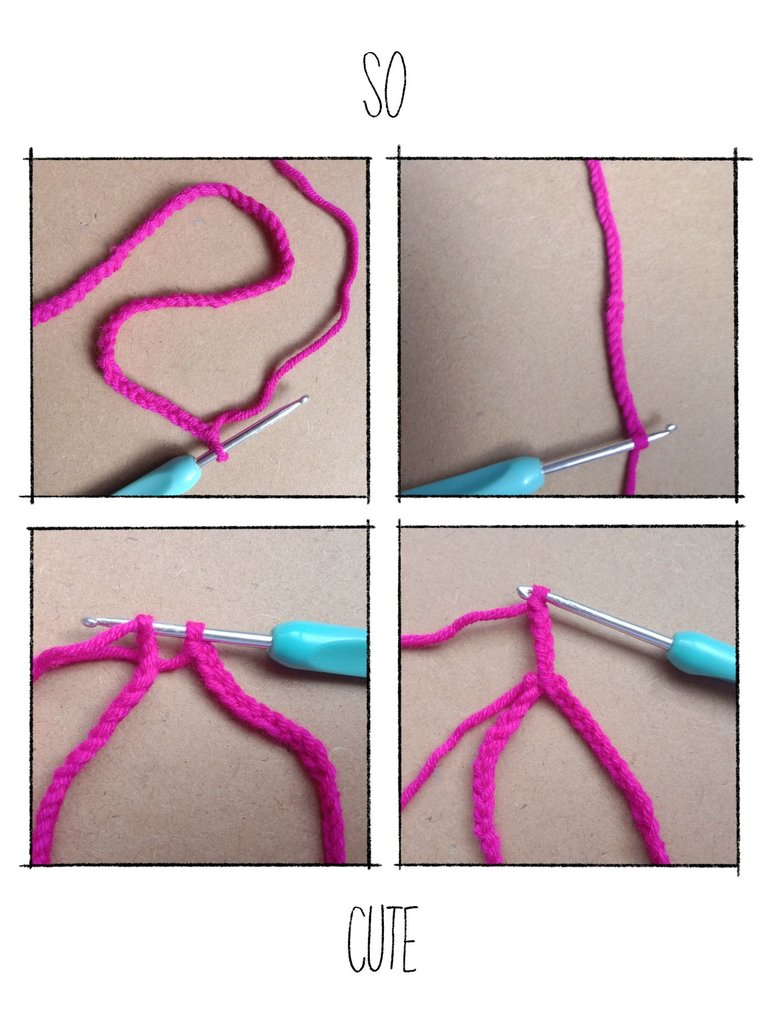
The abbreviation looks like these
R1 = 64sc
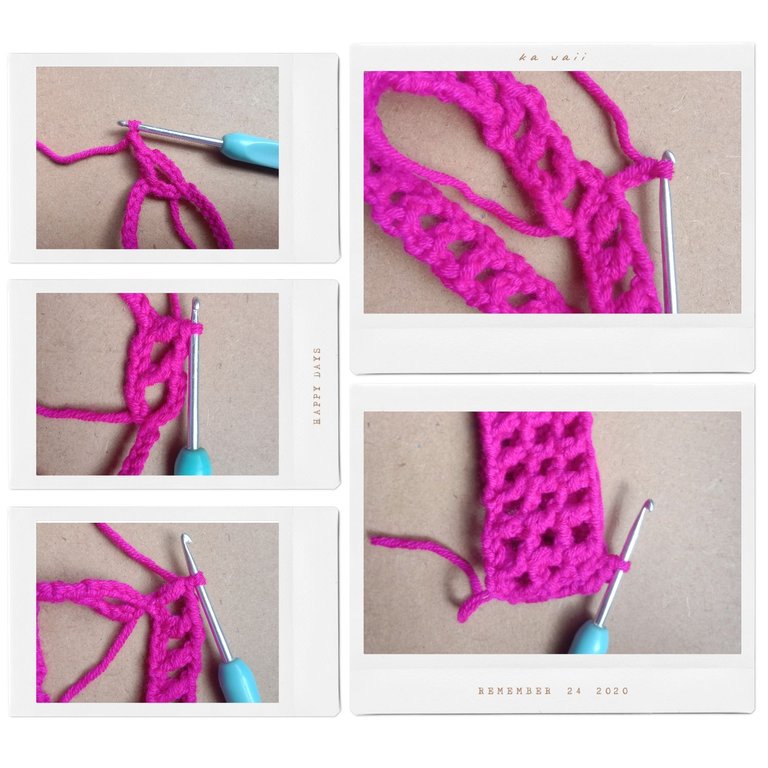
R2-5 = skip 2 chains( 1double crochet,2 chains) repeat
Leaning this stuff is just very simple just follow the pattern.Then there we go we are doing the right steps.Did you know what crocheting is like our life you have to figured out the right pattern in order for us to succes in our goals.
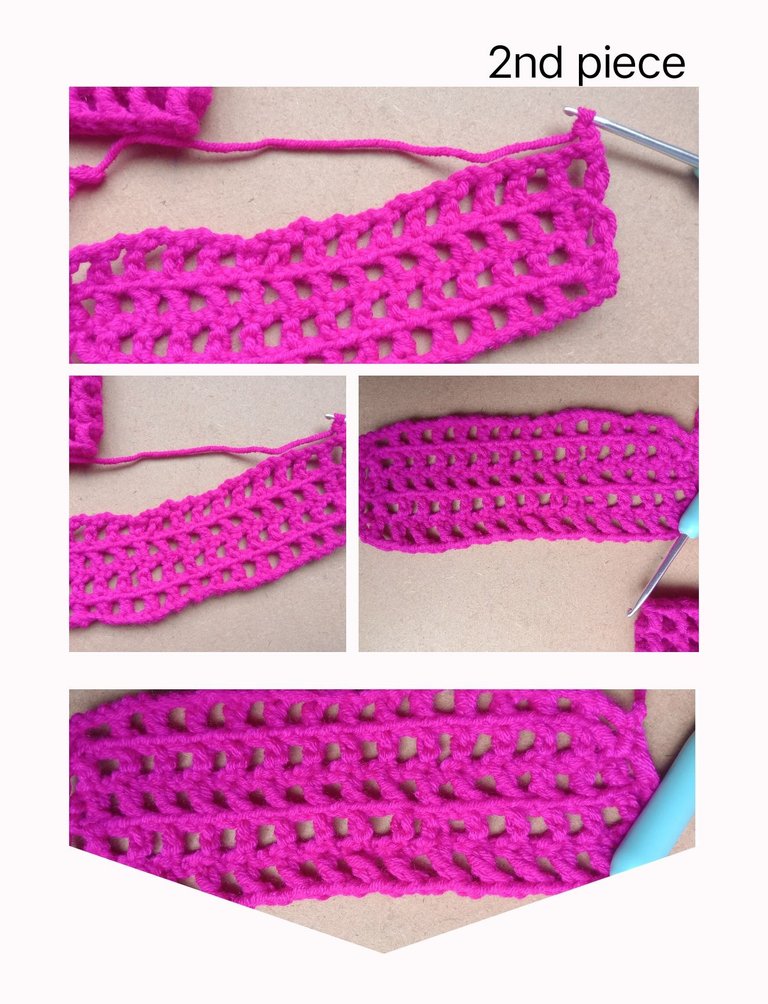
After you've finished the first piece
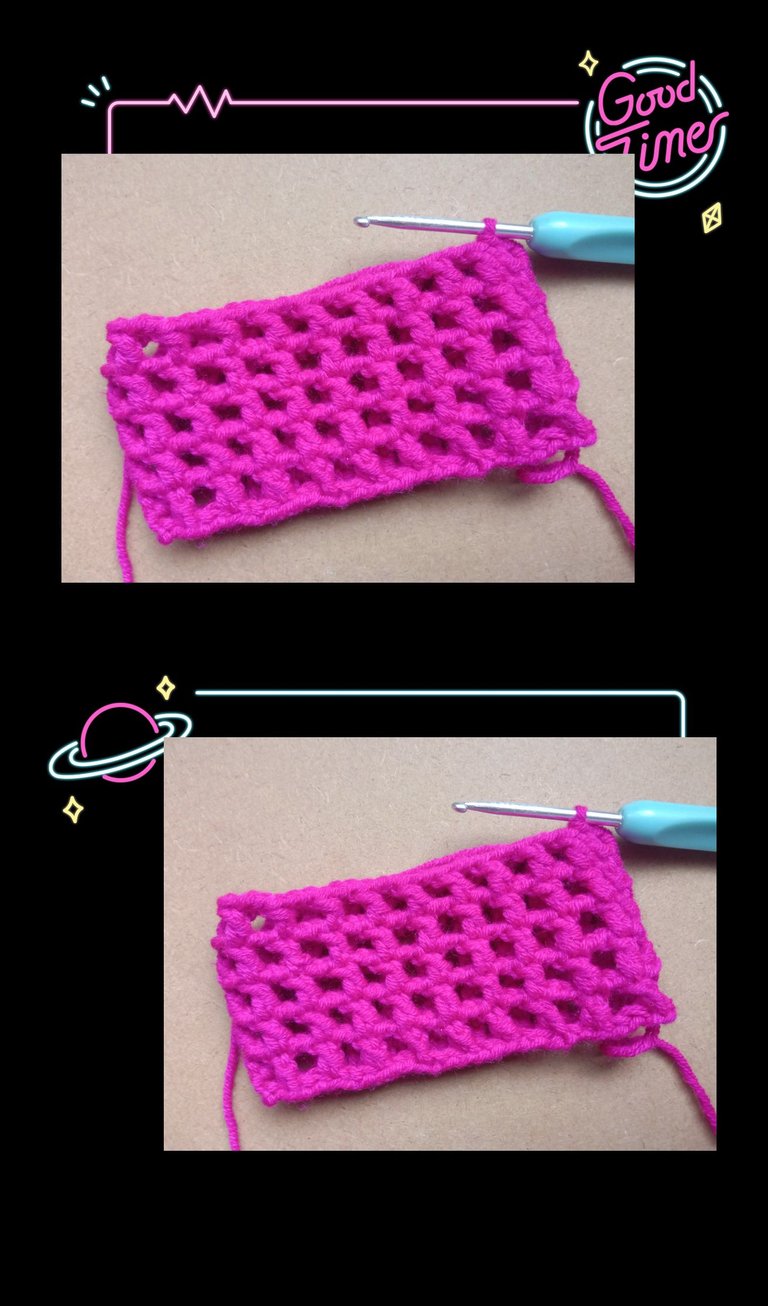
let's make another piece of hair bow tie ,just like in first piece process the pattern is the same ,but this time we don't have to make it into round ,we will just go straight until we've finished from round 1 to round 5.This piece will serve as the tale of the hair bow tie
The abbreviations looks like this,
R1= 54sc
R2-5= skip 2 chains( 1 double crochet, 2chains) repeat .
The only difference is that in the first piece the chain is 64 while in second piece the counting is decreased from 64 it will down to 54 ,later you will know why that Every step of the way you must be careful and watch your chains carefully because if one of that chain is wrong or you do it in a wrong way there's a possibility that your work will not exactly what you expected in the end .
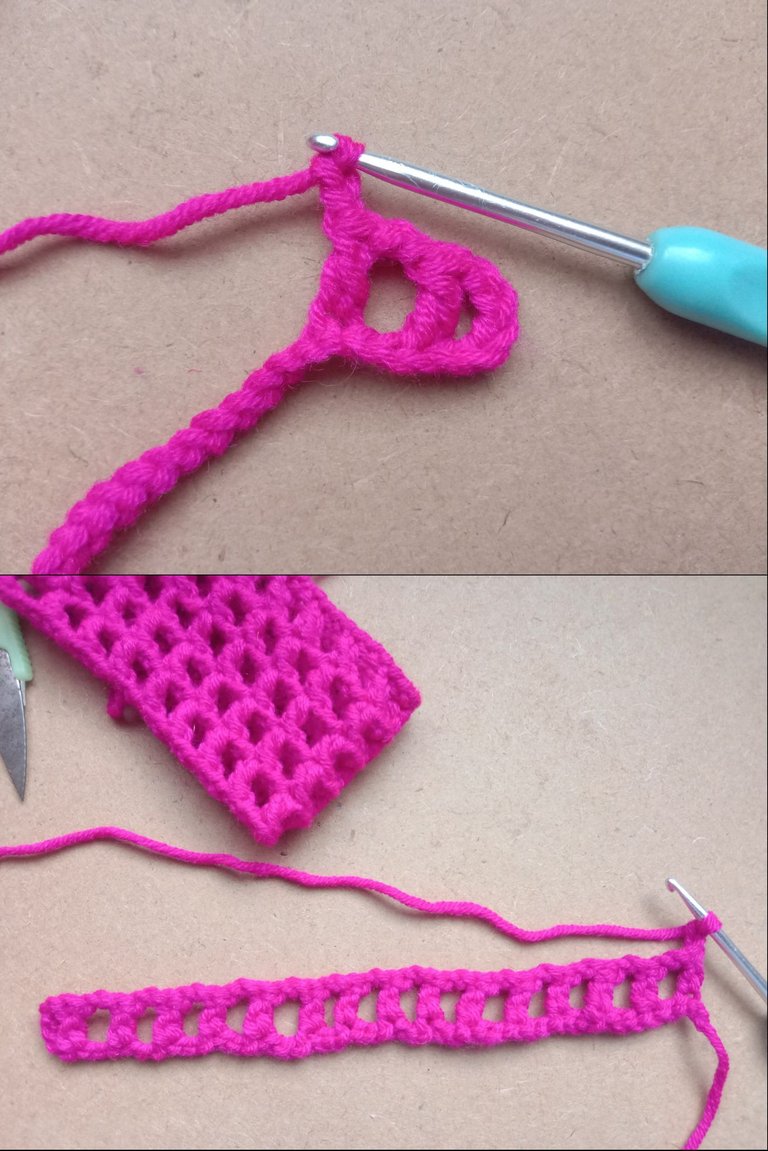
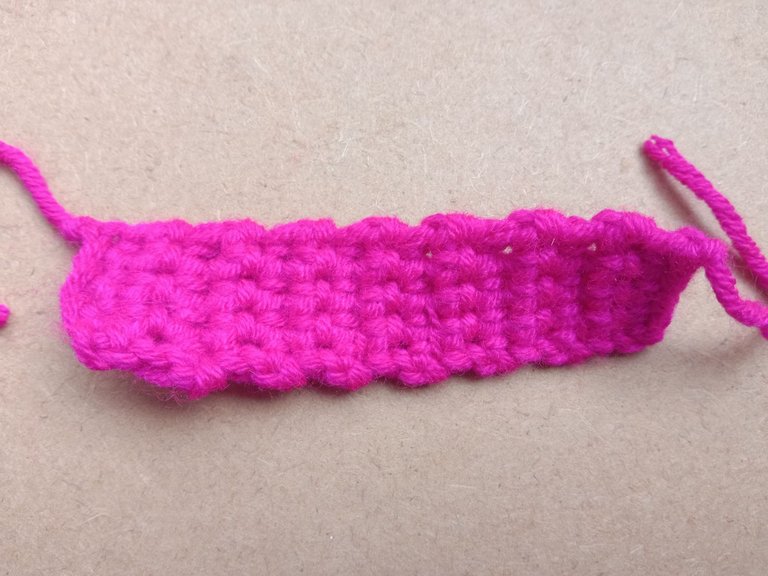
Third,the last piece we will be making to complete our hair bow tie.The phenomenal stitch.
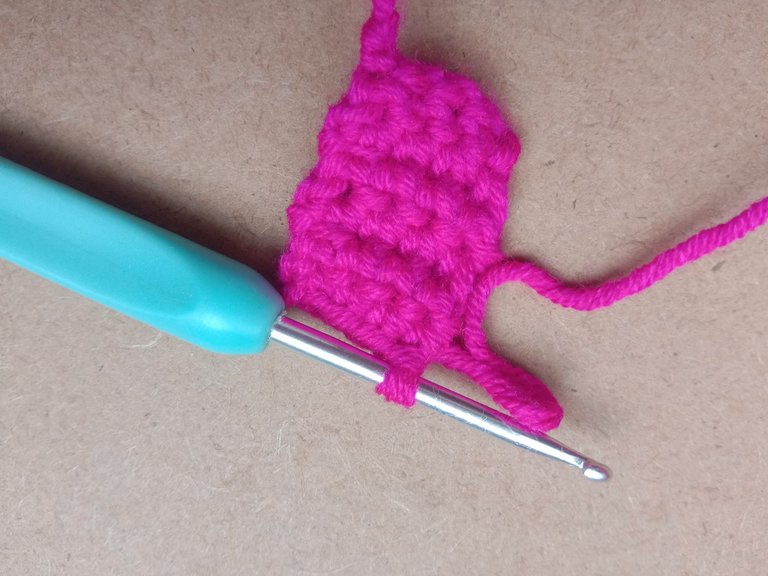
The phenomenal stitch in crochet is from the start you have to increase the height my maintaining the numbers of pattern.The abbreviations looks like this.Chain 5 ,from the hook skip 2chains,in the third chain ,make 1 double crochet until chain 5
R1=chain 5
R2=skip 2chains( 3 double crochet)slip stitch,
R3-19= chain 1 ,(turn your work then repeat).If you reach round 19 leave a long tail of the yarn we will used that in assembling them together.
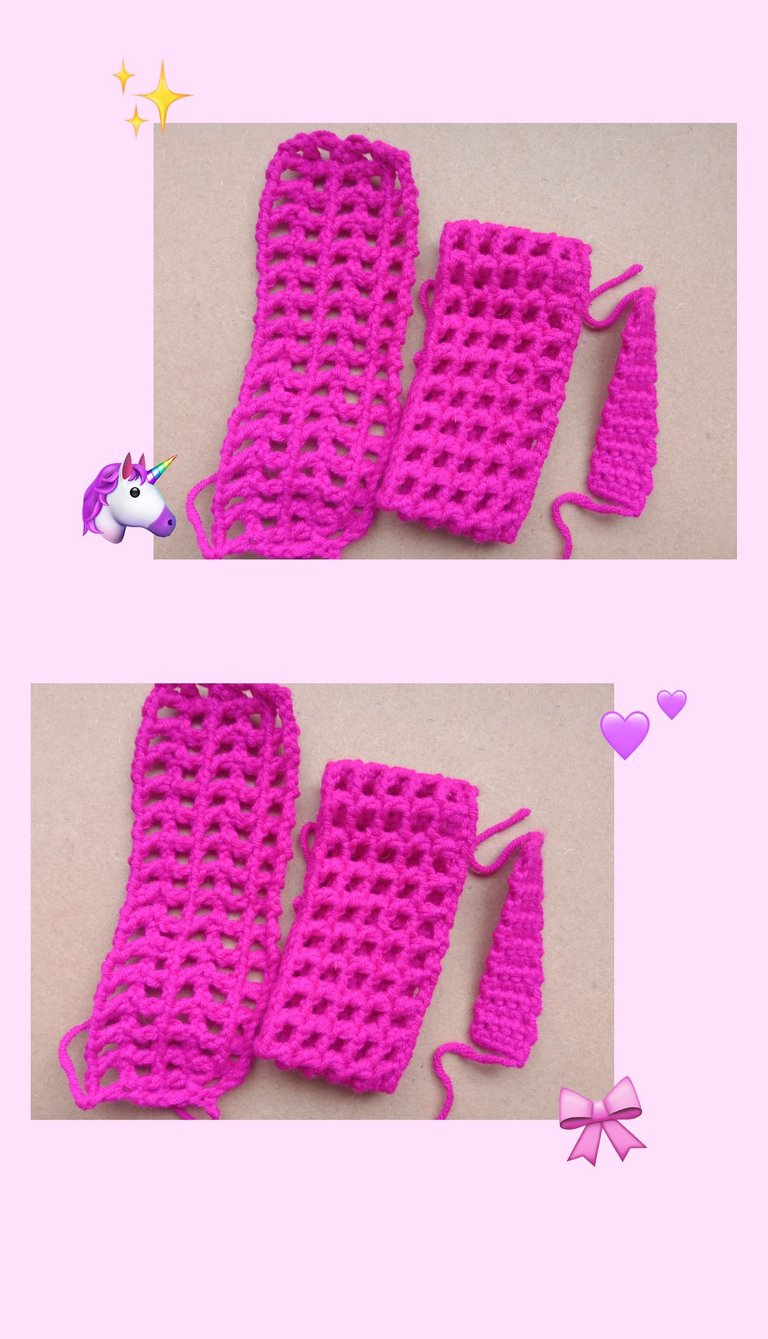
So ,we are done all the pieces in hair bow tie .Let's go to the exciting part . Assemble time
Hold the first piece fine the center of it then tie and fastened as you can until it will looks like a Ribbon,after you secured the first piece attachedthe second piece which is the tale of the ribbon,secured it properly and tie tightly so that our hair bow tie is durable to use for everybody except male genders,if you think that the two pieces is already secure,

next is the last piece to attach the center cover of the bow,put it in the center and sew it properly then adjust the needed parts that is need to adjust,if you think it is looks good and ready to wear that means we already done with our hair-bow tie.

So you see ,the pattern are so easy to follow and memorize,even younger kids can actually do it if an only if you know the basic stitches.
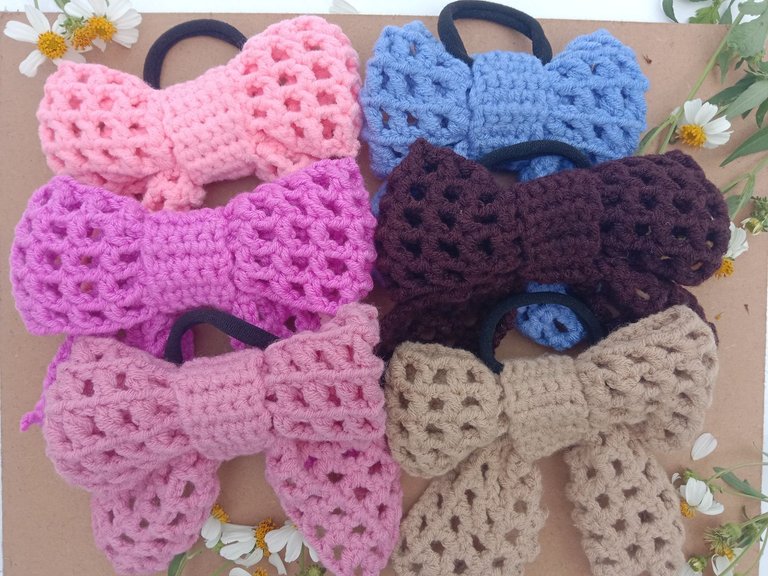
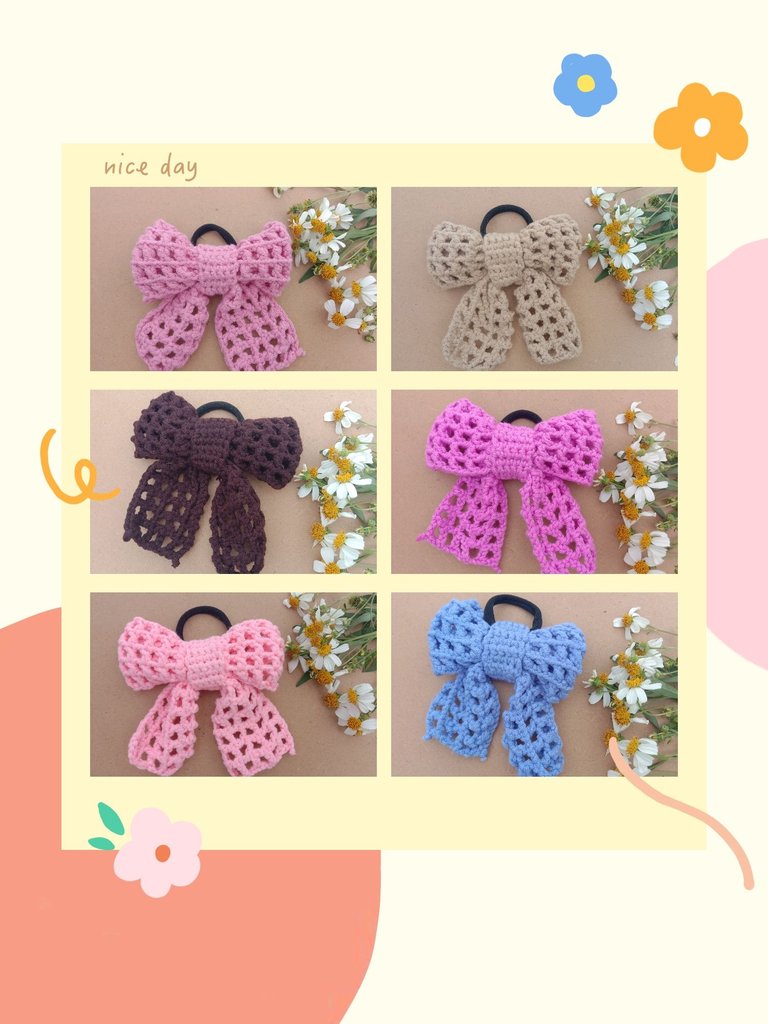
I made a lot of them because they look so cute and stunning to wear most of it are already sold,I tried to market them in social medias glad that they love my work and we are so grateful with that , somehow they appreciate and support my hobbies.
So much for that lovey crafters,if you want to look another crochet projects just follow and support my blogs for more updates and feature blogs to be shared.
This is @crafthy your Cebuana Crafter.
Love,love,love,
What a cute piece of art.
Thank you sir @intoy.bugoy
Thank you @qurator
Thank you
Neat bowtie, so cute. I love it, thanks for sharing it with us
Thank you @devyleona
These are really pretty crochet bow tie useful for my pretty ladies. Your color suggestions were nice and thank you for sharing a detailed tutorial, this is inspiring and makes me want to start a crochet journey too. Well done
You must try to make that one @monica-ene
Congratulations @crafthy! You have completed the following achievement on the Hive blockchain And have been rewarded with New badge(s)
Your next target is to reach 4750 upvotes.
You can view your badges on your board and compare yourself to others in the Ranking
If you no longer want to receive notifications, reply to this comment with the word
STOPBeautiful hair bow and the whole colours are very gorgeous.
Thank you,you should try make that one two @mah-jabeen
I loveee the pattern! I’ve been seeing this for a while and I didn’t think it was this easy and fast to make. I definitely will try my hands on it. Great job.
If you see the piece we will think it's too hard to make ,but if you know the pattern that is makes it more easy.Anyways thank you @abenad
This is just too beautiful and colourful
I guess am going to try this for my kids
Thank you @praiselove