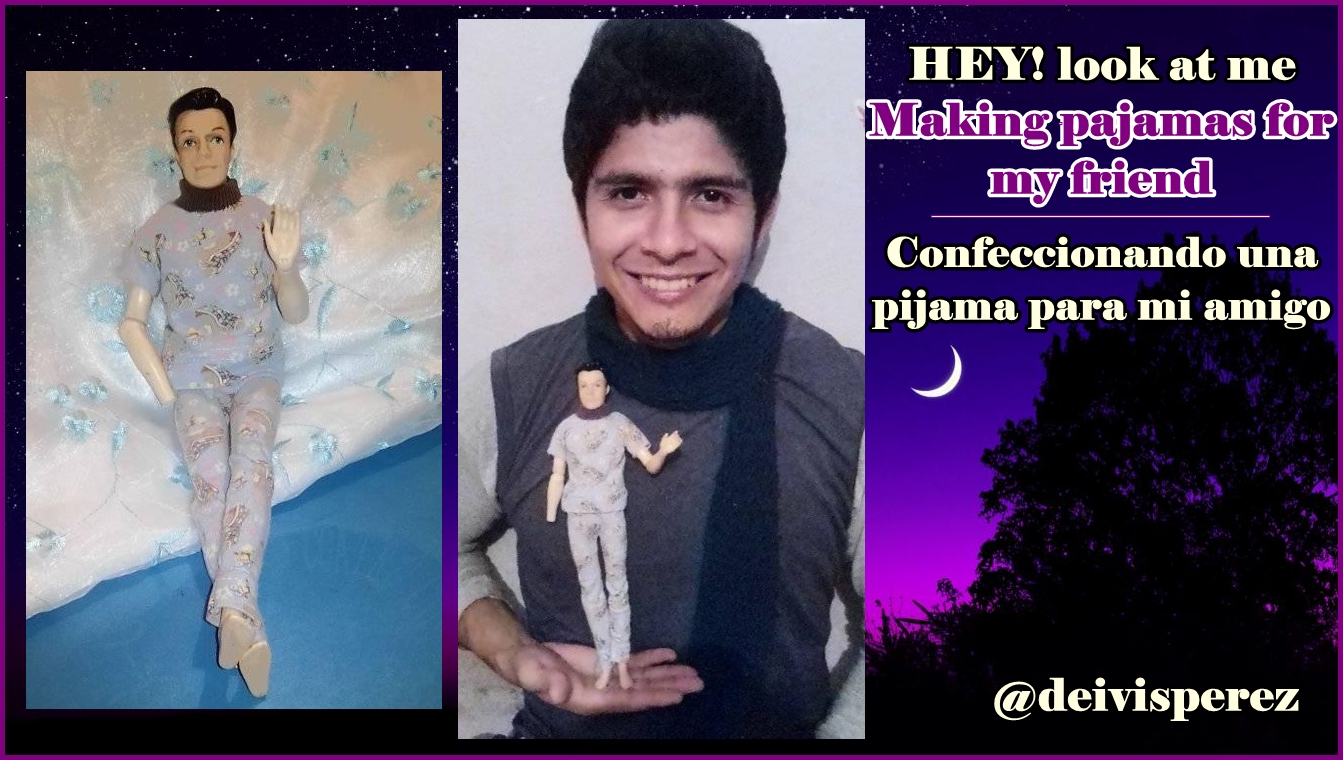
Hey que tal! Bienvenidos, que bueno contar con tu visita por mi contenido, es para mí un placer y me alegra compartir mi trabajo con ustedes. Hoy me siento muy feliz, porque hice un lindo atuendo de dormir para mi amigo (pijamas), ¡y claro!!! quiero compartir el material y los pasos que use, manos a la obra...


•Cloth or pajama shirt.
•Crayon pencil.
•Scissors.
•Thread and needle.
•Tela o camisa de pijama.
•Lápiz crayón.
•Tijera.
•Hilo y aguja.


•STEP 1: Draw on the fabric the shape of the shirt (use the crayon pencil).
•STEP 2: Cut 2 equal pieces of the shirt we just drew (use the scissors).
•PASO 1: Dibujamos sobre de la tela la forma de la camisa (usar el lápiz crayón).
•PASO 2: Cortar 2 piezas iguales de la camisa que acabamos de dibujar (usar la tijera).
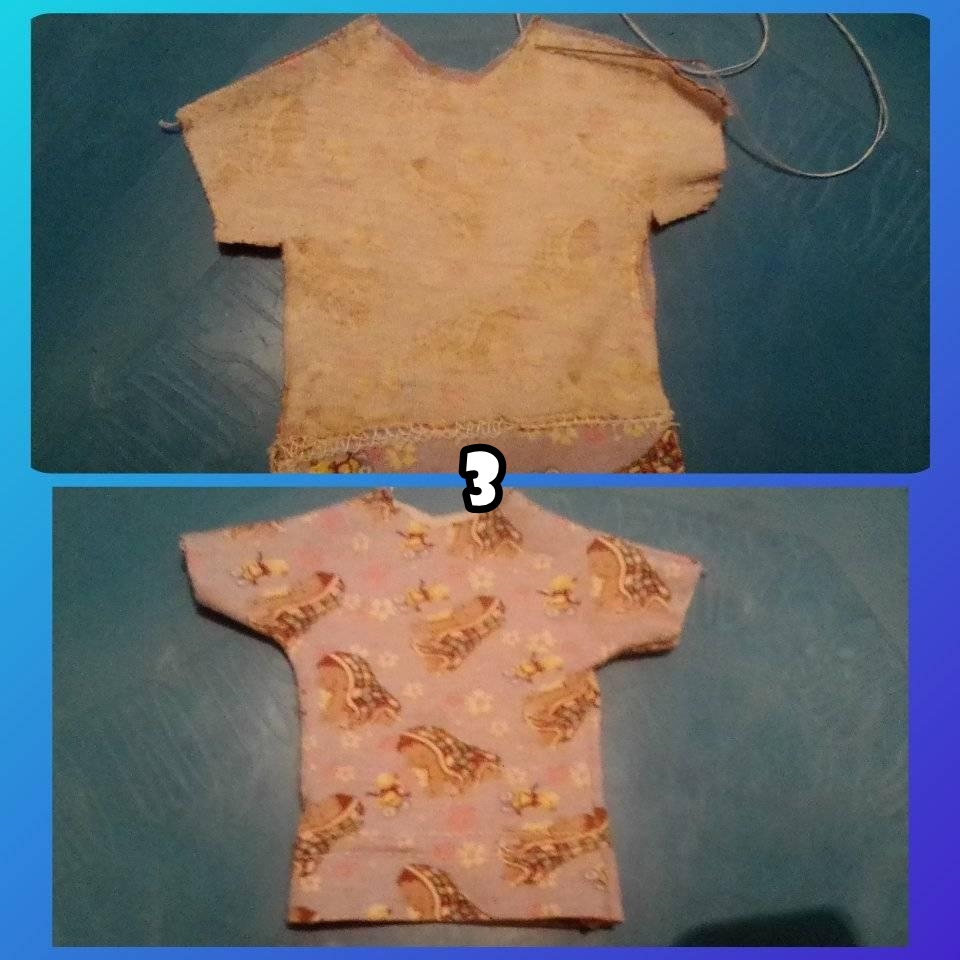
•STEP 3: We sew the 2 pieces together on the back side of the shirt we just cut (use thread and needle), then we turn the shirt inside out.
•PASO 3: Cosemos uniendo las 2 piezas por la parte reversa de la camisa que acabamos de cortar (usar hilo y aguja), seguidamente le damos la vuelta por la parte exterior.

•STEP 4: Cut a strip from the sleeve of the shirt or use a different fabric than the one we are using for our friend's shirt.
•STEP 5: Make a square with the strip we just cut to simulate the collar of the shirt.
•PASO 4: Cortamos una tira de la manga de la camisa o usar una tela diferente a la que estamos usando para la camisa de nuestro amigo.
•PASO 5: Realizar un cuadro con la tira que acabamos de cortar para simular el cuello de la camisa.
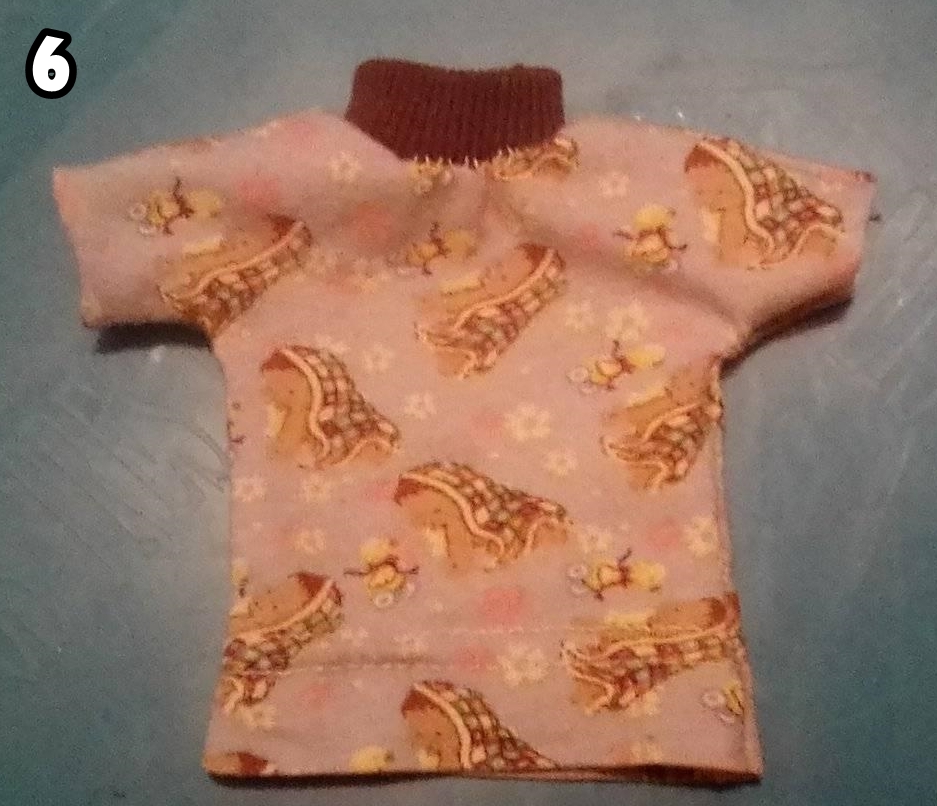
•STEP 6: We sew the strip we just cut to the collar of the shirt, with this step we finish the pajama shirt.
•PASO 6: Cosemos la tira que acabamos de cortar al cuello de la camisa, con este paso terminamos la camisa del pijama.


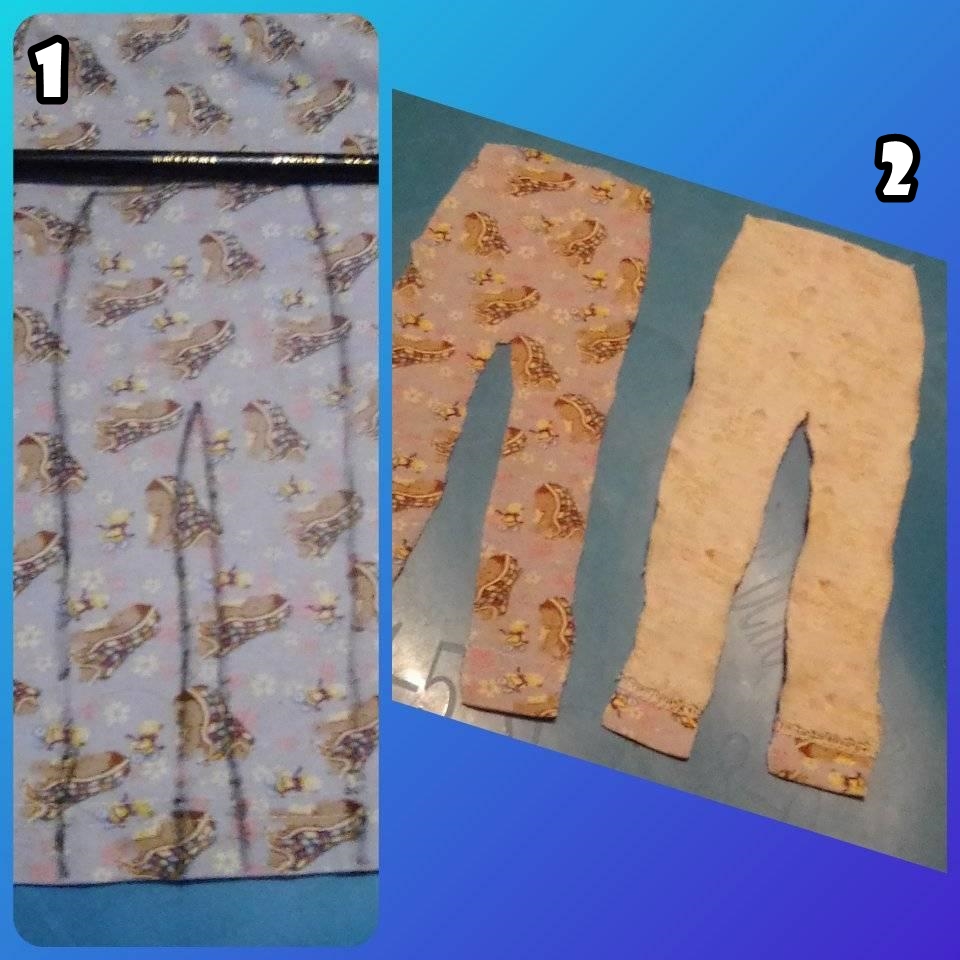
•STEP 1: Draw a pair of pants on the pajama fabric (use the crayon pencil).
•STEP 2: Cut out 2 equal pieces of the pants.
•PASO 1: Dibujamos un pantalón en la tela de pijamas (usar el lápiz crayón).
•PASO 2: Cortamos 2 piezas iguales del pantalón.

•STEP 3: Join the 2 parts of the pants together and sew on the inside using the thread and needle.
•STEP 4: on the inside of the pants, we fold the top a little to leave room for a strip or braid.
•PASO 3: Unimos las 2 partes del pantalón y cosemos por la parte interior usando el hilo y la aguja.
•PASO 4: por la parte interior del pantalón, doblamos un poco la parte superior para dejar espacio para una tira o trenza.

•STEP 5: Cut a braid-shaped strip from the remaining fabric (this will be the braid holding the pants), then insert the strip into the pants forming a strap.
•PASO 5: Cortamos una tira en forma de trenza de la tela restante (esta será la trenza sujetadora del pantalón), luego introducimos la tira al pantalón formando una correa.
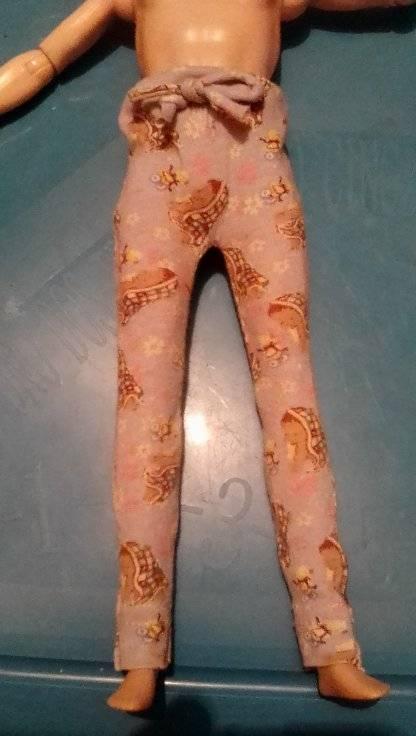

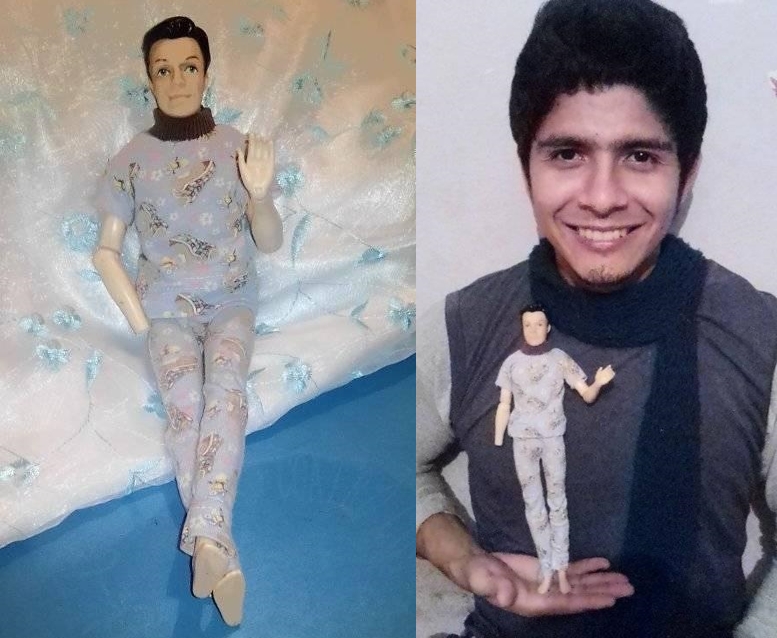
All photos are my own, edited in PhotoScape, translator used: DeepL.
Tu amigo seguro está feliz con sus nuevos atuendos.
Gracias por compartir tu contenido en esta comunidad.
Saludos!🤗Hola @deivisperez, veo que le has agarrado el gusto a la costura.
Que tal amiga @kattycrochet , asi es, y me gustaría aprender un poco de técnica, por ahora aprendiendo un poco y tratando de mejorar. Es agradable compartir las nuevas creaciones en esta gran comunidad. Saludos!
Congratulations @deivisperez! You have completed the following achievement on the Hive blockchain and have been rewarded with new badge(s) :
Your next target is to reach 2250 upvotes.
You can view your badges on your board and compare yourself to others in the Ranking
If you no longer want to receive notifications, reply to this comment with the word
STOPCheck out the last post from @hivebuzz:
Support the HiveBuzz project. Vote for our proposal!