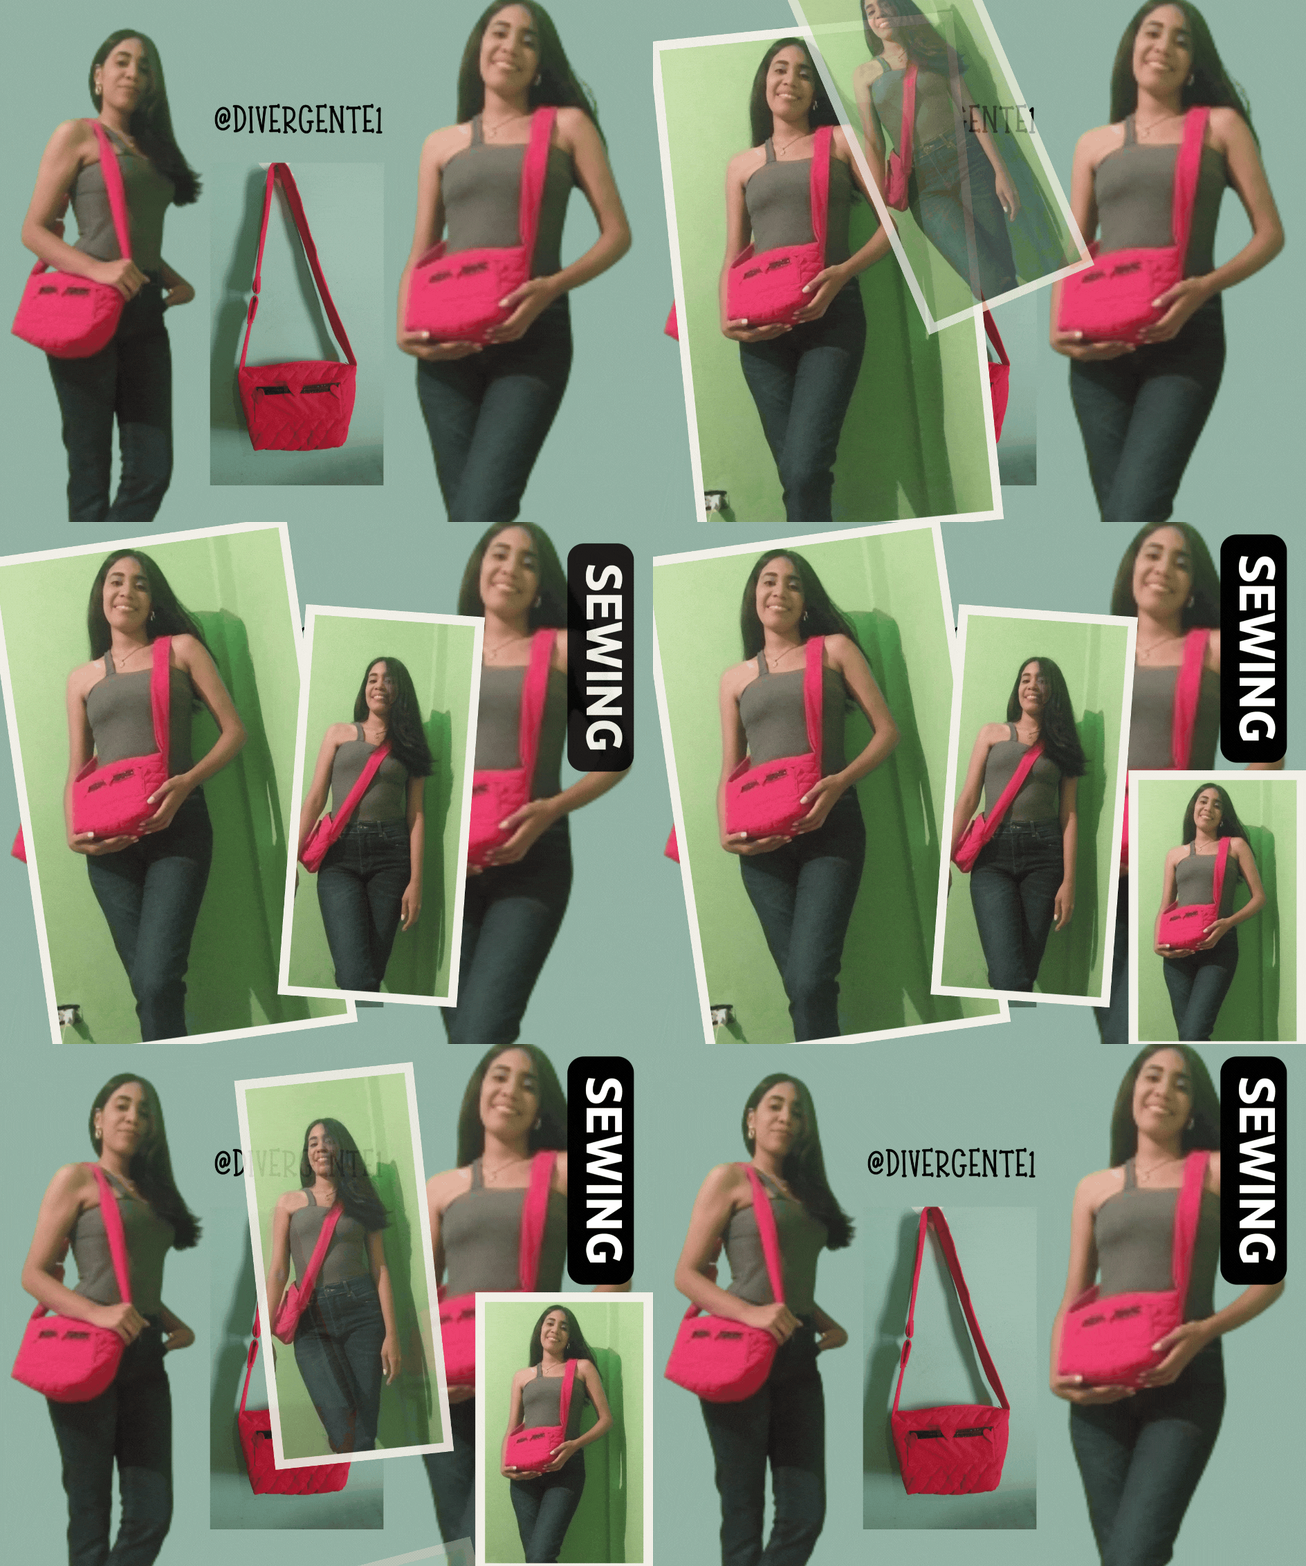
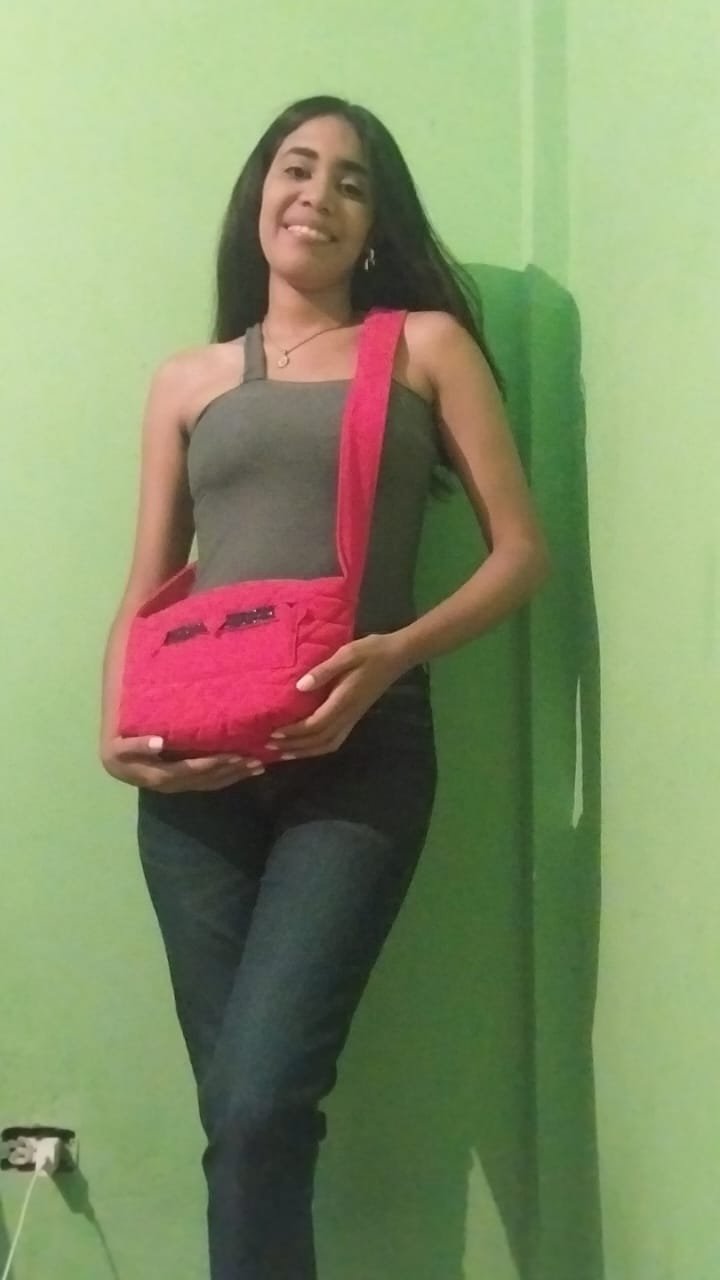
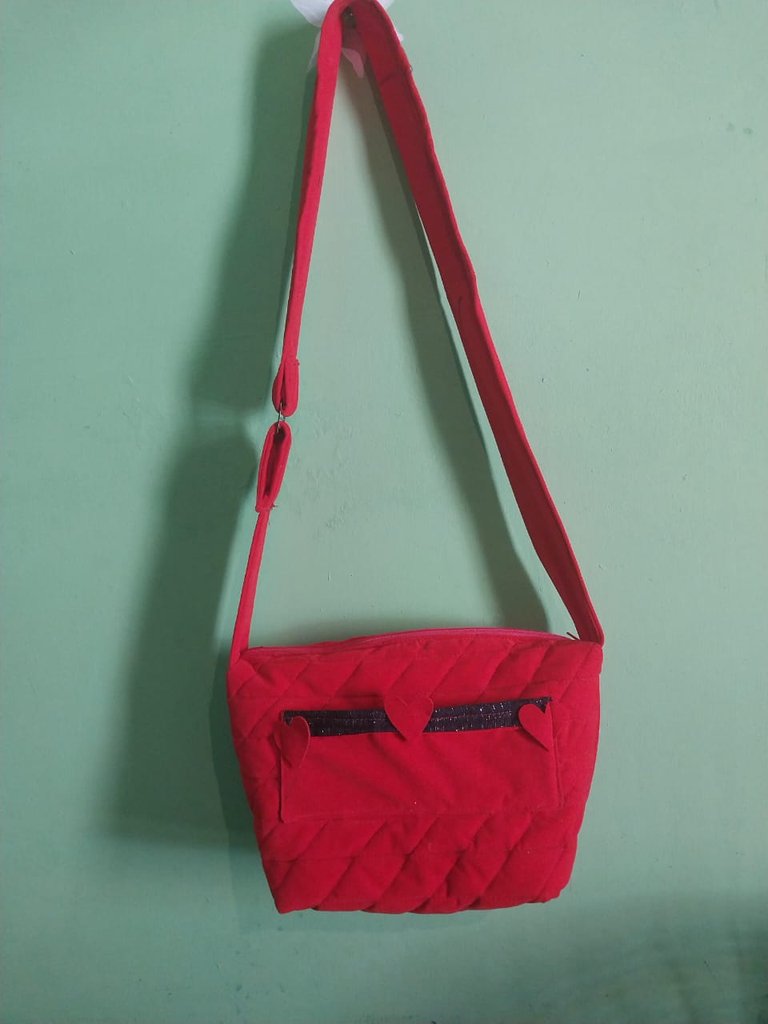
Hello friends. Happy evening everyone! I hope you are well that each of your projects come to life and also get to enjoy each creative process that you do every day with so much love and dedication. I am pleased to present some of the images of the design of my new bag, I hope you like it!
Materials
- Red suede fabric
- Black fabric
- Filling
- Threads
- Sewing machine
- Ruler
- Pencil
Step by Step
1
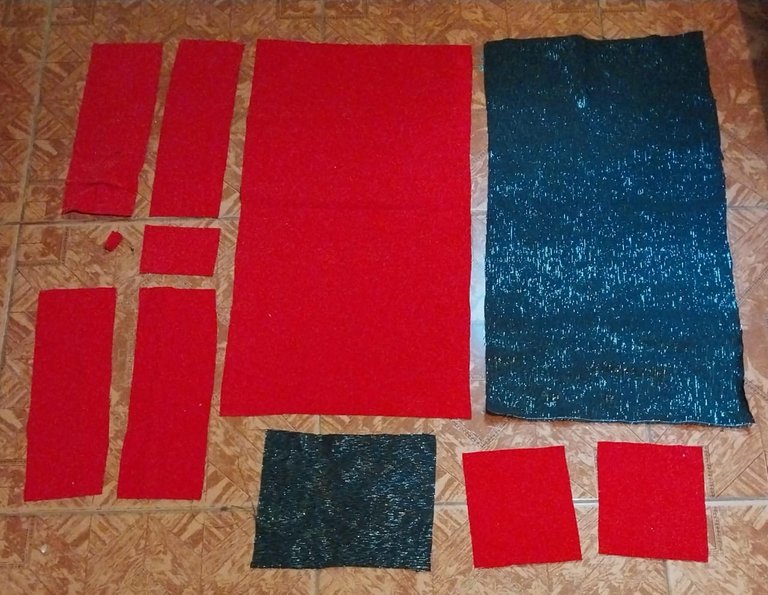
I start from 3 rectangles 14 X 60 inches one red and two black. two 5“ X 5” squares, plus 8“ X 6”. Plus a 70“ X 5” ribbon. However, the image only shows some cutouts in order to form the union of these.
2
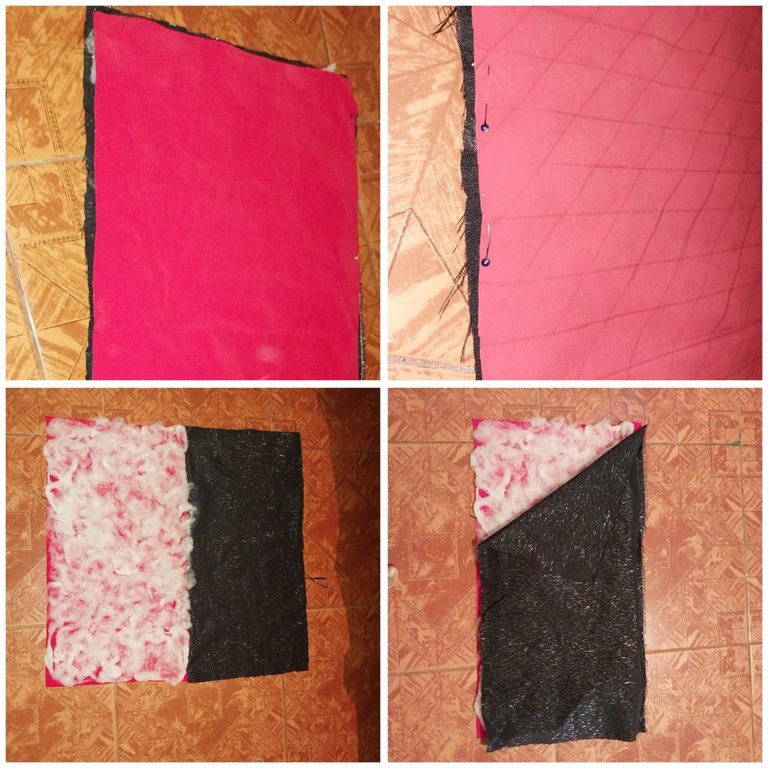
With the help of the ruler make crisscrossed lines on the red fabric, once they are made you must place the filling in the back area of the design of the lines and on this you must place the red fabric.
3
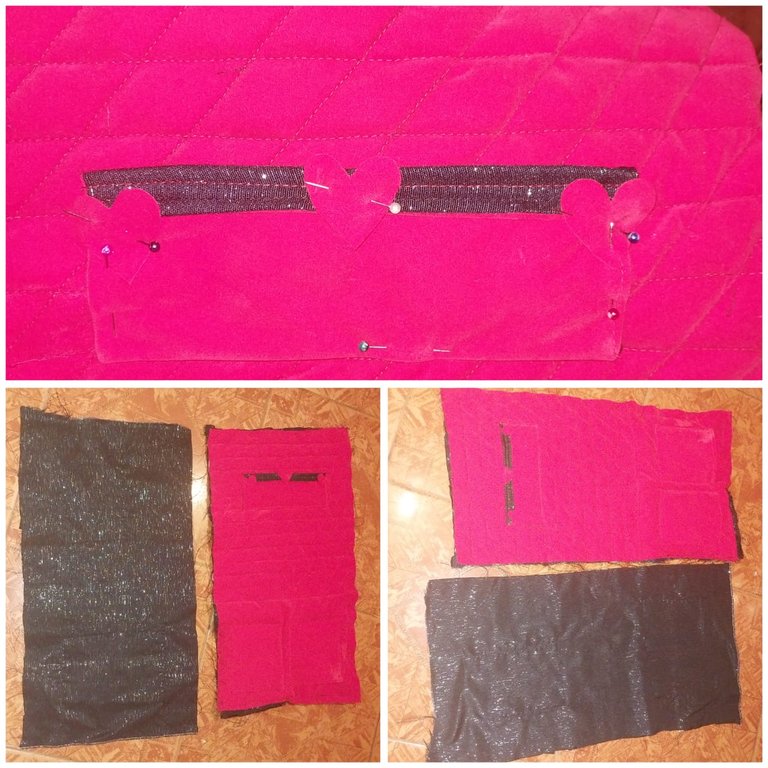
Then on the fabric we are going to sew exactly along the lines that we have designed, likewise I have added the pockets on the base of the red fabric and also some pockets on the black fabric.
4
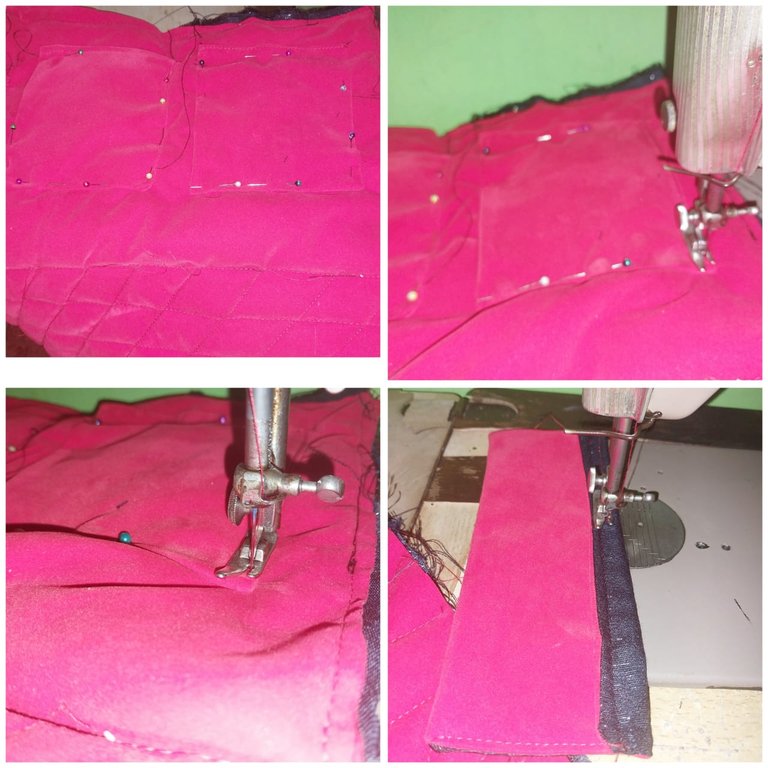
This way we also attach the back pockets of the bag.
5
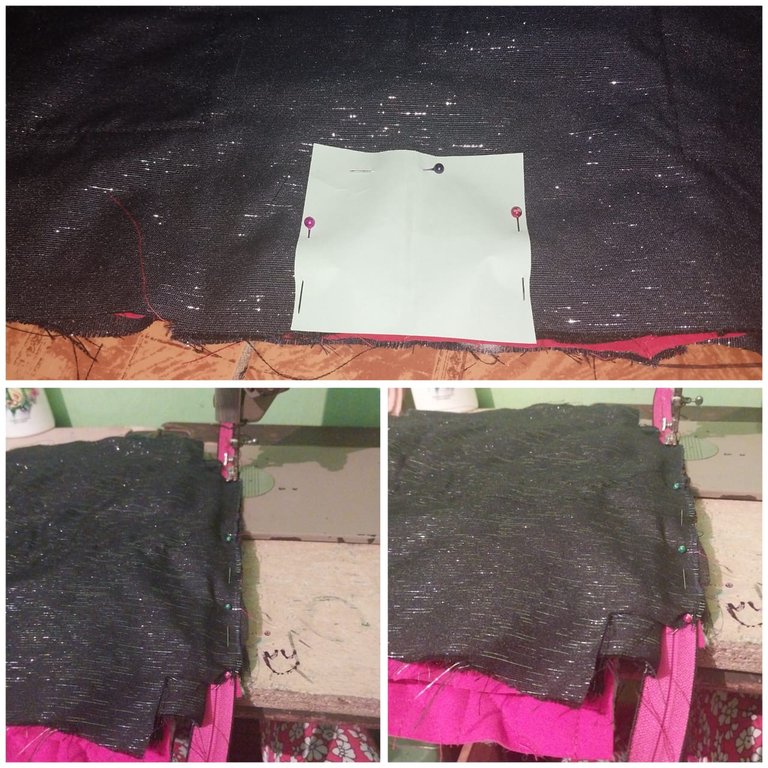
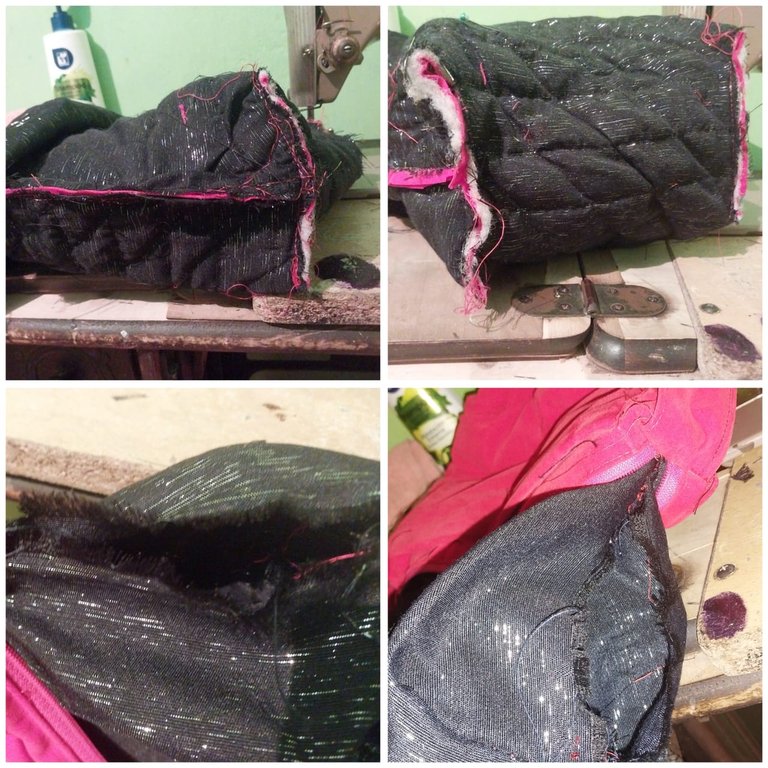
Then we join the pieces of the lining and the red base.
6
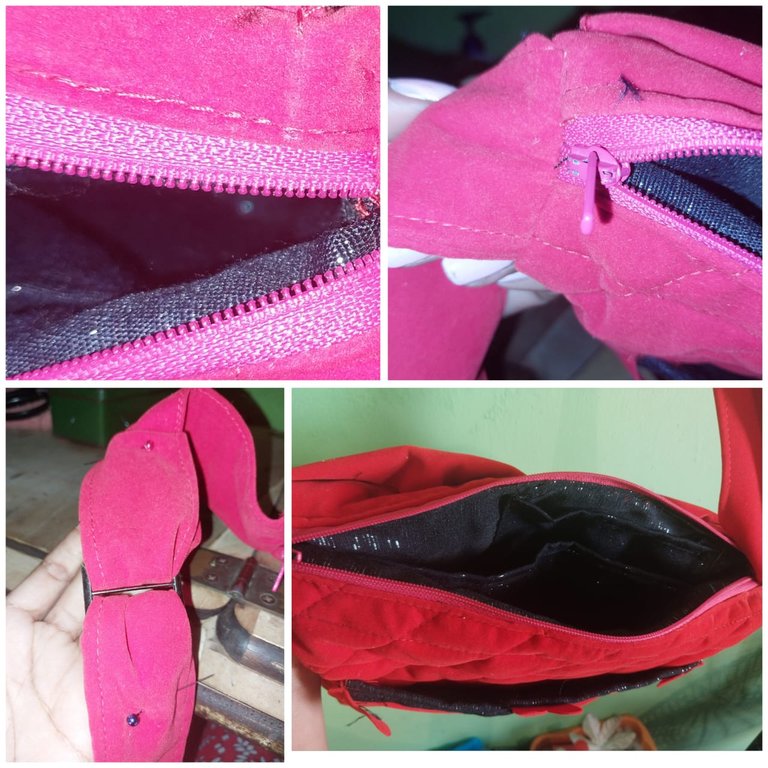
Finally we sew the zipper and the ribbon to hang the bag. I hope you like the final result!
*Thank you very much my dear friends!

Greetings

Hello friends. Happy evening everyone! I hope you are well that each of your projects come to life and also get to enjoy each creative process that you do every day with so much love and dedication. I am pleased to present some of the images of the design of my new bag, I hope you like it!
Materials
- Red suede fabric
- Black fabric
- Filling
- Threads
- Sewing machine
- Ruler
- Pencil
Step by Step
1

I start from 3 rectangles 14 X 60 inches one red and two black. two 5“ X 5” squares, plus 8“ X 6”. Plus a 70“ X 5” ribbon. However, the image only shows some cutouts in order to form the union of these.
2

With the help of the ruler make crisscrossed lines on the red fabric, once they are made you must place the filling in the back area of the design of the lines and on this you must place the red fabric.
3

Then on the fabric we are going to sew exactly along the lines that we have designed, likewise I have added the pockets on the base of the red fabric and also some pockets on the black fabric.
4

This way we also attach the back pockets of the bag.
5


Then we join the pieces of the lining and the red base.
6

Finally we sew the zipper and the ribbon to hang the bag. I hope you like the final result!


Thank you very much my dear friends!

Greetings
- Images belong to me
- Translator: Deepl Traslator
- Editing: Canva

Hola amigos. Feliz noche reciban todos! espero que esten bien que cada uno de sus proyectos cobren vida y que además logren disfrutar de cada proceso creativo que realizan día a día con tanto amor y dedicación. Tengo el gusto de presentarles algunas de las imágenes del diseño de mi nuevo bolso, espero que les guste!
Materiales
- Tela roja de gamuza
- Tela negra
- Relleno
- Hilos
- Maquina de coser
- Regla
- Lapiz
Paso a Paso
1

Parto desde 3 rectángulos 14 X 60 pulgadas uno de color rojo y dos de color negro. dos cuadrados de 5 " X 5", además de 8" X 6". Además de una cinta de 70" X 5". Sin embargo, en la imagen solo se muestran algunos recortes para poder formar la unión de estas.
2

Con la ayuda de la regla realice líneas entrecruzadas sobre la tela roja, una vez que se realizan se debe colocar el relleno en la zona trasera del diseño de las líneas y sobre esta se debe colocar la tela roja.
3

Luego sobre la tela vamos a ir cosiendo exactamente por las líneas que hemos diseñado, asi mismo le he agregado los bolsillos en la base de la tela roja y también algunos bolsillos en la tela negra-
4

De esta manera tambien fijamos los bolsillos traseros del bolso.
5


Luego unimos las piezas del forro y la base roja.
6

Por ultimo cosemos el cierre y la cinta para colgar el bolso. Espero que les guste el resultado final!


Muchas gracias mis queridos amigos!

Saludos
- Las imágenes me pertenecen
- Traductor: Deelp traslator
- Edicion: Canva
Looking good on you, good job
thanks my friend
👍
Cool .... I see you maid this bag very fell 😇😇👍 It even looks so good that at first I thought you bought the bag and just tweaked it a bit, but when I look closely, I can see that you made it 100% yourself, which is like a rare collectible bag what lot buy what very big price this days that can only be handmade.
I hope you can make more this bags , this idea looks very cool 😋😋🫡👍👍🥰
Thank you for your kind words and above all for your support!
This is an amazing work.
thanks friend!
This bag is so beautiful😍, id love to make one for myself too.
The steps are easy to follow, thanks for sharing 🥰
thank you friend! greetings
Amazing work! And it came with an adjuster too! But why do you fill the fabric between the black material?
Hello, it is to create the design of the lines and that these are with quilted texture.
Nice job
thanks
Wow this is amazing
Lovely
thanks
Quedó espectacular, se podría decir que mejor que comprado.e encantan tus creaciones 🥰💓
Good work👍
Beautiful bag... The color is great too🥰
So beautiful