¡¡Bienvenidos A Mi Blog!!
Welcome to my blog!!
🥳🥳🥳
Hola amigos de esta hermosa comunidad #needlework. Estoy agradecida por darme la bienvenida y seguir nuevamente con ustedes y darme la oportunidad de compartir contenidos educativos para niños y adultos de esta plataforma.
Hello friends of this beautiful #needlework community. I am grateful for welcoming me and continuing with you again and giving me the opportunity to share educational content for children and adults on this platform.
En esta oportunidad mi objetivo es mostrarles "Como Hacer Un Clavel Con Tela". Existen muchas formas de hacerlos pero les tengo una forma original que les gustará. Pueden hacerlo en unión con las niñas o niños que les guste el arte. Los materiales los pueden obtener en lugares donde venden telas o con materiales de desechos. Les aseguro que en su casa hay alguna telita guardada o camisa de algodón que no utilizan para este bello proyecto.
Vamos ahora a elaborar el proyecto.
This time my goal is to show you "How to Make a Carnation With Fabric". There are many ways to make them but I have an original way that you will like. They can do it together with the girls or boys who like art. The materials can be obtained in places where they sell fabrics or with waste materials. I assure you that in your house there is some saved fabric or cotton shirt that you do not use for this beautiful project.
Now let's build the project.
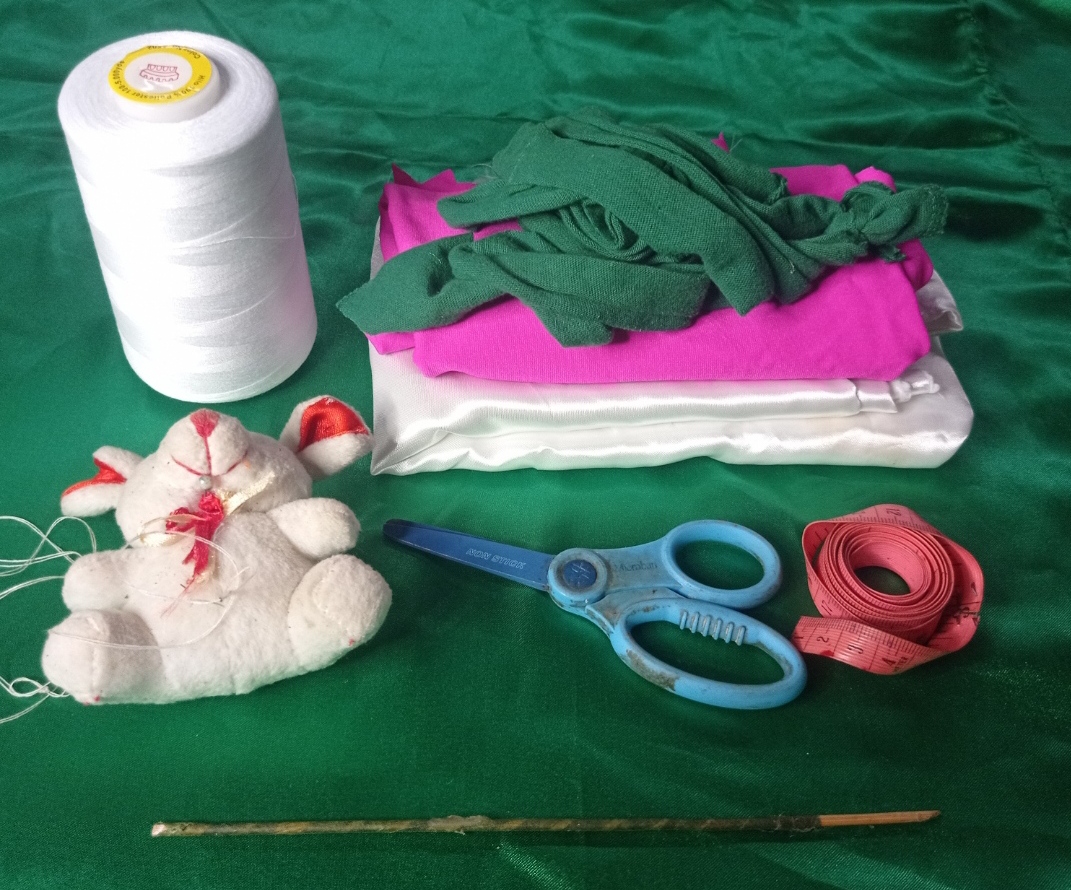
Materiales:
- Tela blanca
- Tela rosada
- Tela verde
- Hilo blanco
- Cinta métrica
- Un palo de altura
- Aguja
- Tijera
- Pueden utilizar Silicon para unir las partes respectivas o coserlas con hilo.
Materials:
- White cloth
- pink fabric
- Green cloth
- White thread
- measuring tape
- A tall stick
- Needle
- Scissors
- They can use Silicon to join the respective parts or sew them with thread.
Procedimiento:
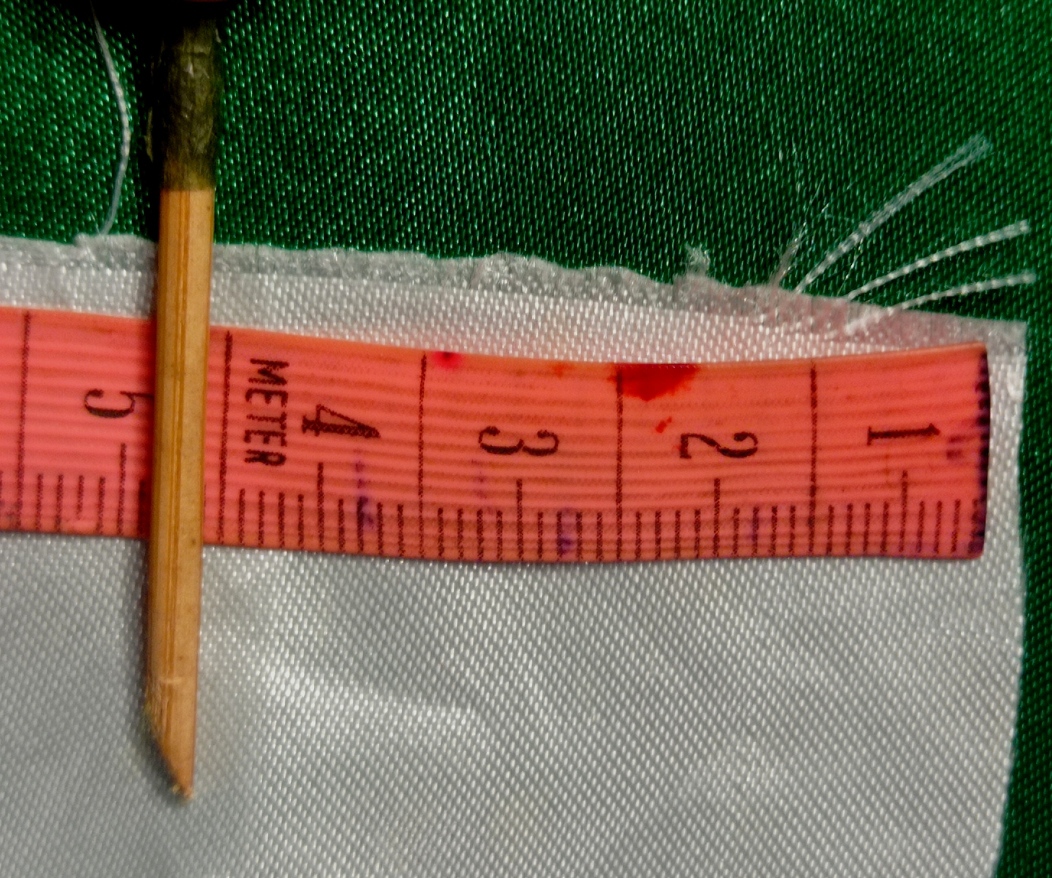
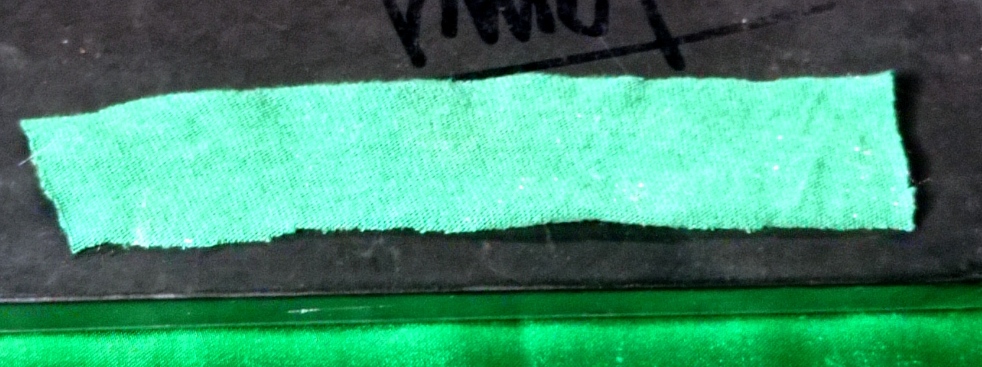
Primeramente tomamos la tela blanca y medimos dos rectángulo de (3 x 25) cm. Este procedimiento se realizará con la tela rosada tambien.
Nota: Como pueden observar está cinta métrica le falta el cero por lo que yo coloque 4 cm dando entender que son 3 cm tomando el 1 como cero.
Process:
First we take the white fabric and measure two rectangles of (3 x 25) cm. This procedure will be done with the pink fabric as well.
Note: As you can see, this tape measure is missing the zero, so I placed 4 cm, implying that they are 3 cm, taking 1 as zero.
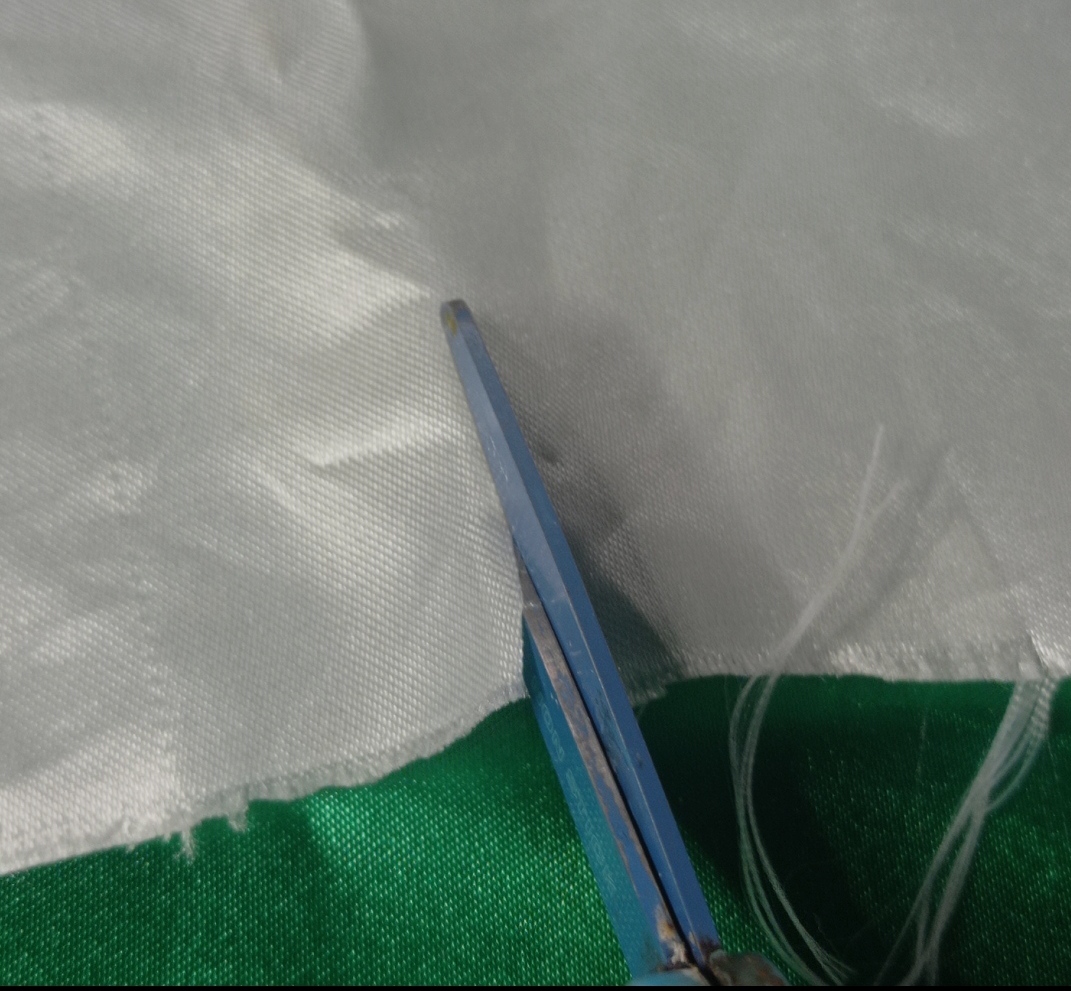
Picamos los rectángulos.
We cut the rectangles.
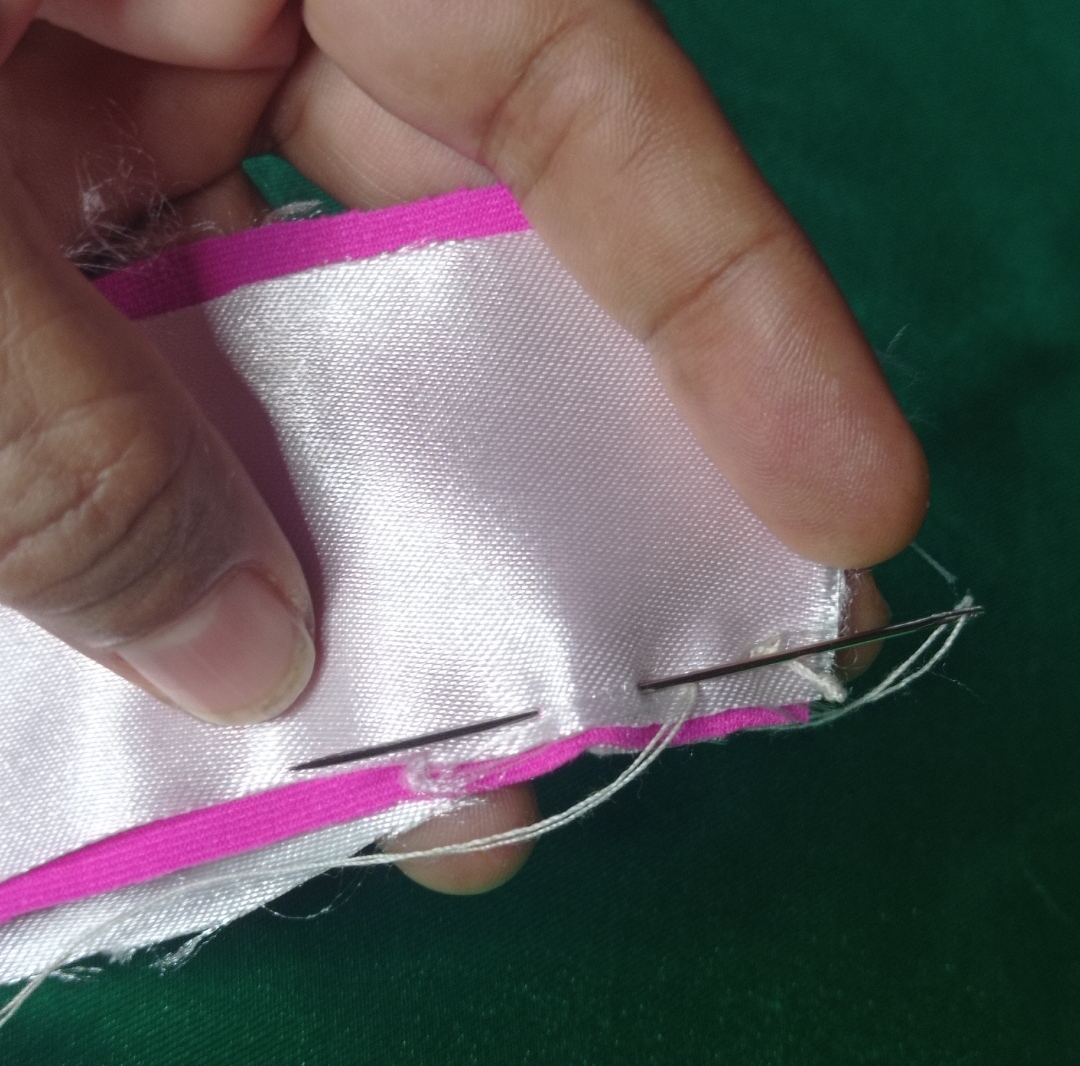
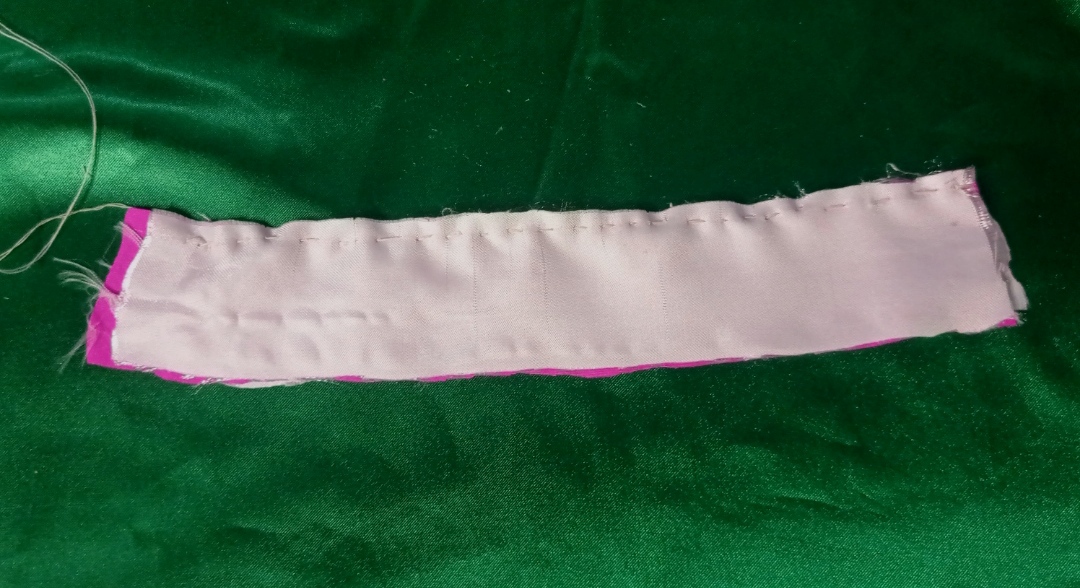
Cosemos los tres rectángulos juntos de esta manera: se coloca primero un rectángulo blanco, luego el rosado y por último el blanco, osea, alternado.
We sew the three rectangles together in this way: a white rectangle is placed first, then the pink one and finally the white one, that is, alternated.
Quedando de esta manera:
Being this way:
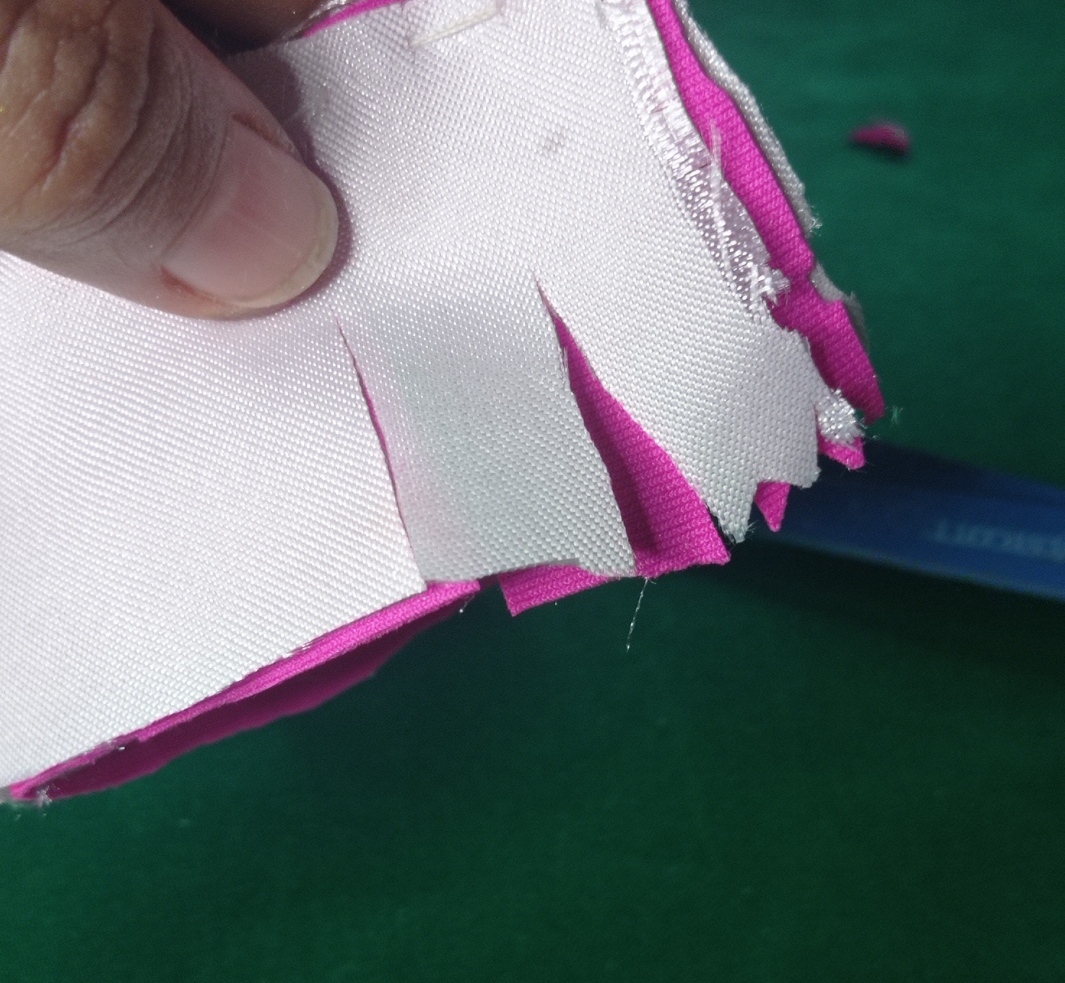
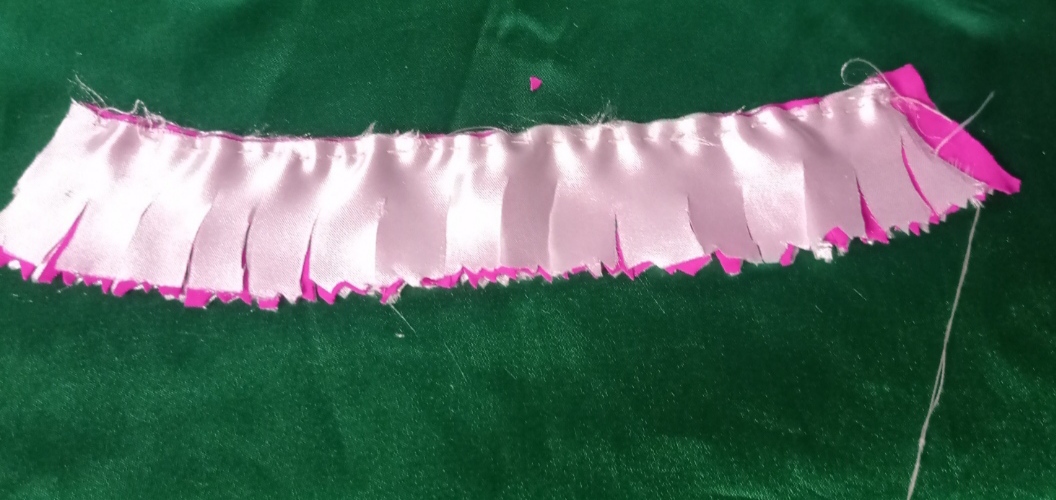
Luego picamos verticalmente al azar la tela y procedemos a picarla en las orillas en forma de zig- zag. Si tienen la tijera del zig-zag excelente.
Then we randomly chop the fabric vertically and proceed to chop it at the edges in a zig-zag pattern. If they have the excellent zig-zag scissors.
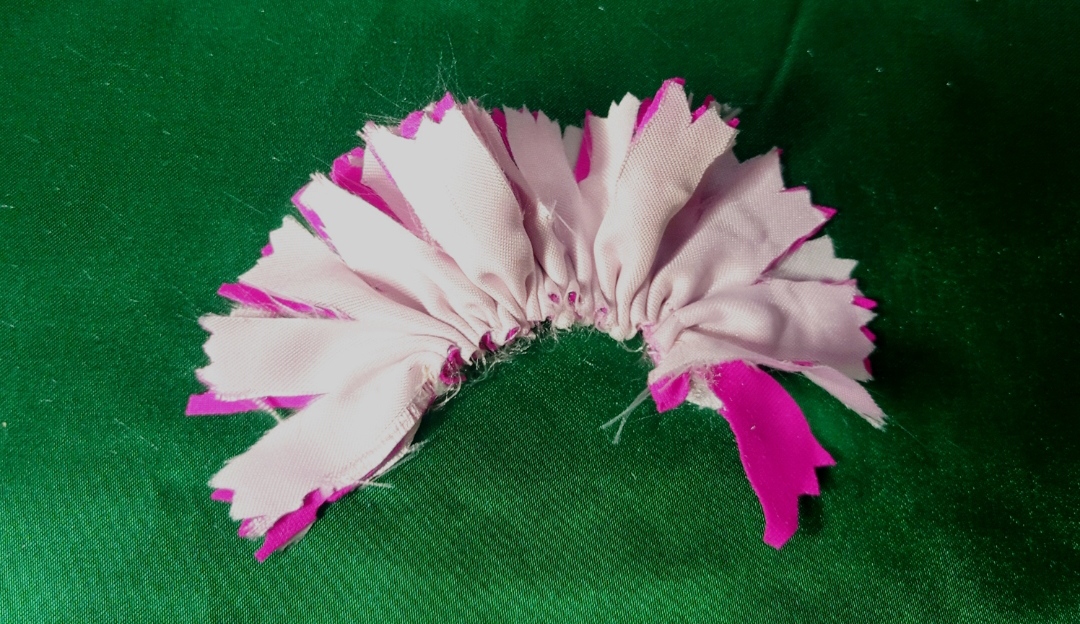
Quedando de esta manera
staying this way
Halamos el hilo y se amarra con el mismo hilo dándole vueltas y finalmente se remata quedando de esta forma:
We pull the thread and it is tied with the same thread turning it around and finally it is finished off, leaving it like this:
Aquí les muestro
Here I show you
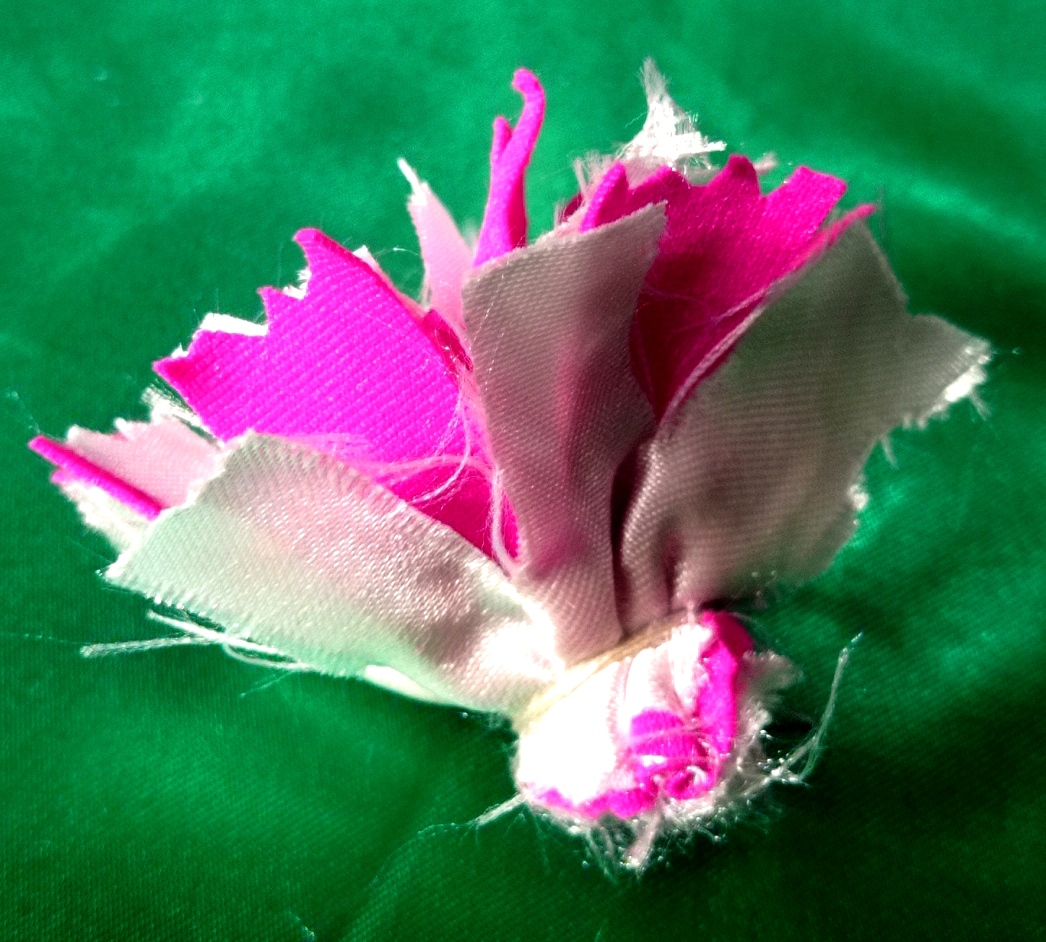
Introducimos el palo de altura entre los petalos.
We introduce the height stick between the petals
Picamos la base de la flor de la forma que quieras con la tijera y después se introduce por la parte baja del palo de altura y se rueda hasta la base de la flor.
We cut the base of the flower in the way you want with the scissors and then insert it through the lower part of the height stick and roll it to the base of the flower.
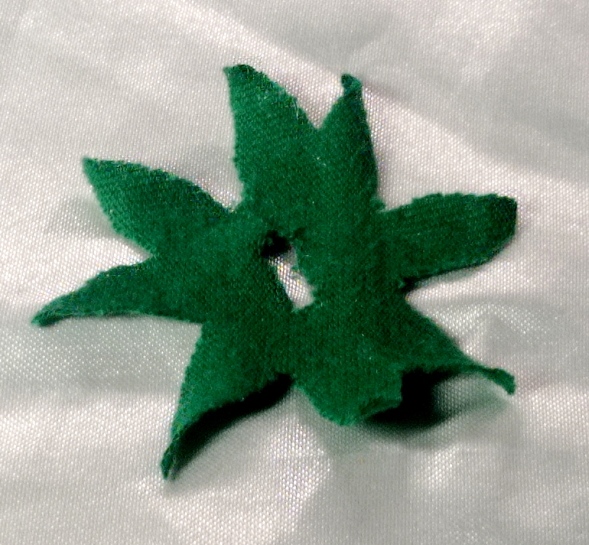
Se corta un rectángulo que cubra el palo de altura completamente y se pega con silicon desde la base de la flor y se va enrrollándola hacia abajo y listo.
Cut a rectangle that covers the height stick completely and glue it with silicone from the base of the flower and roll it down and that's it.
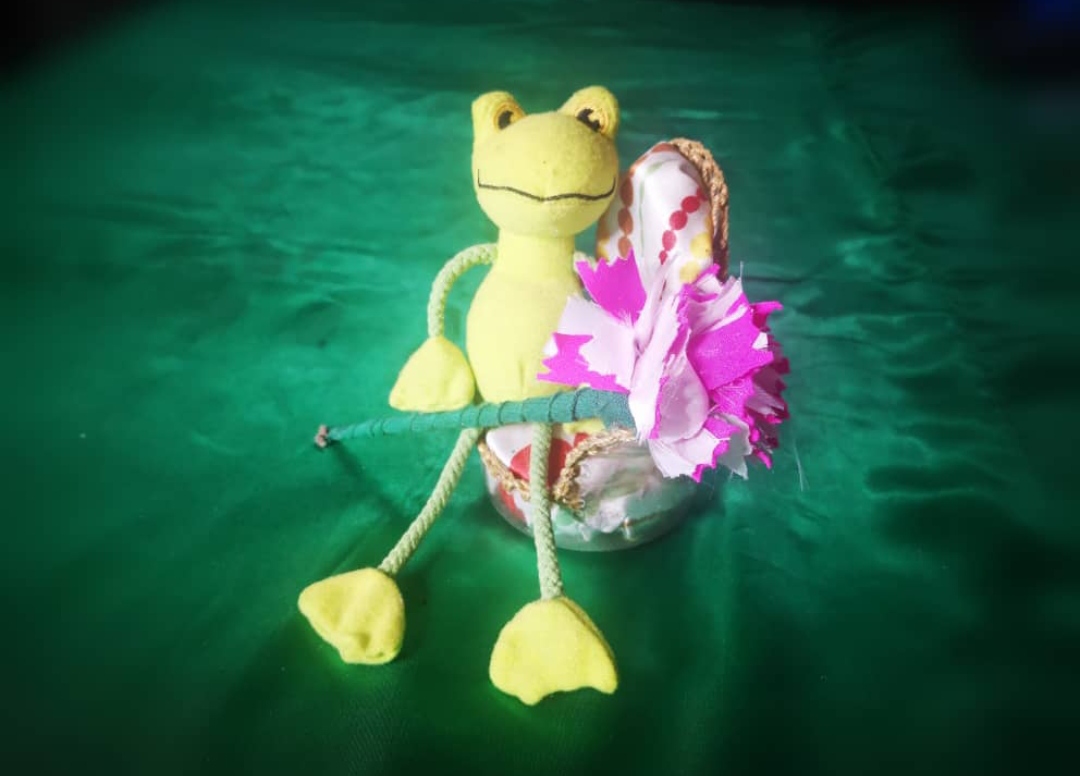
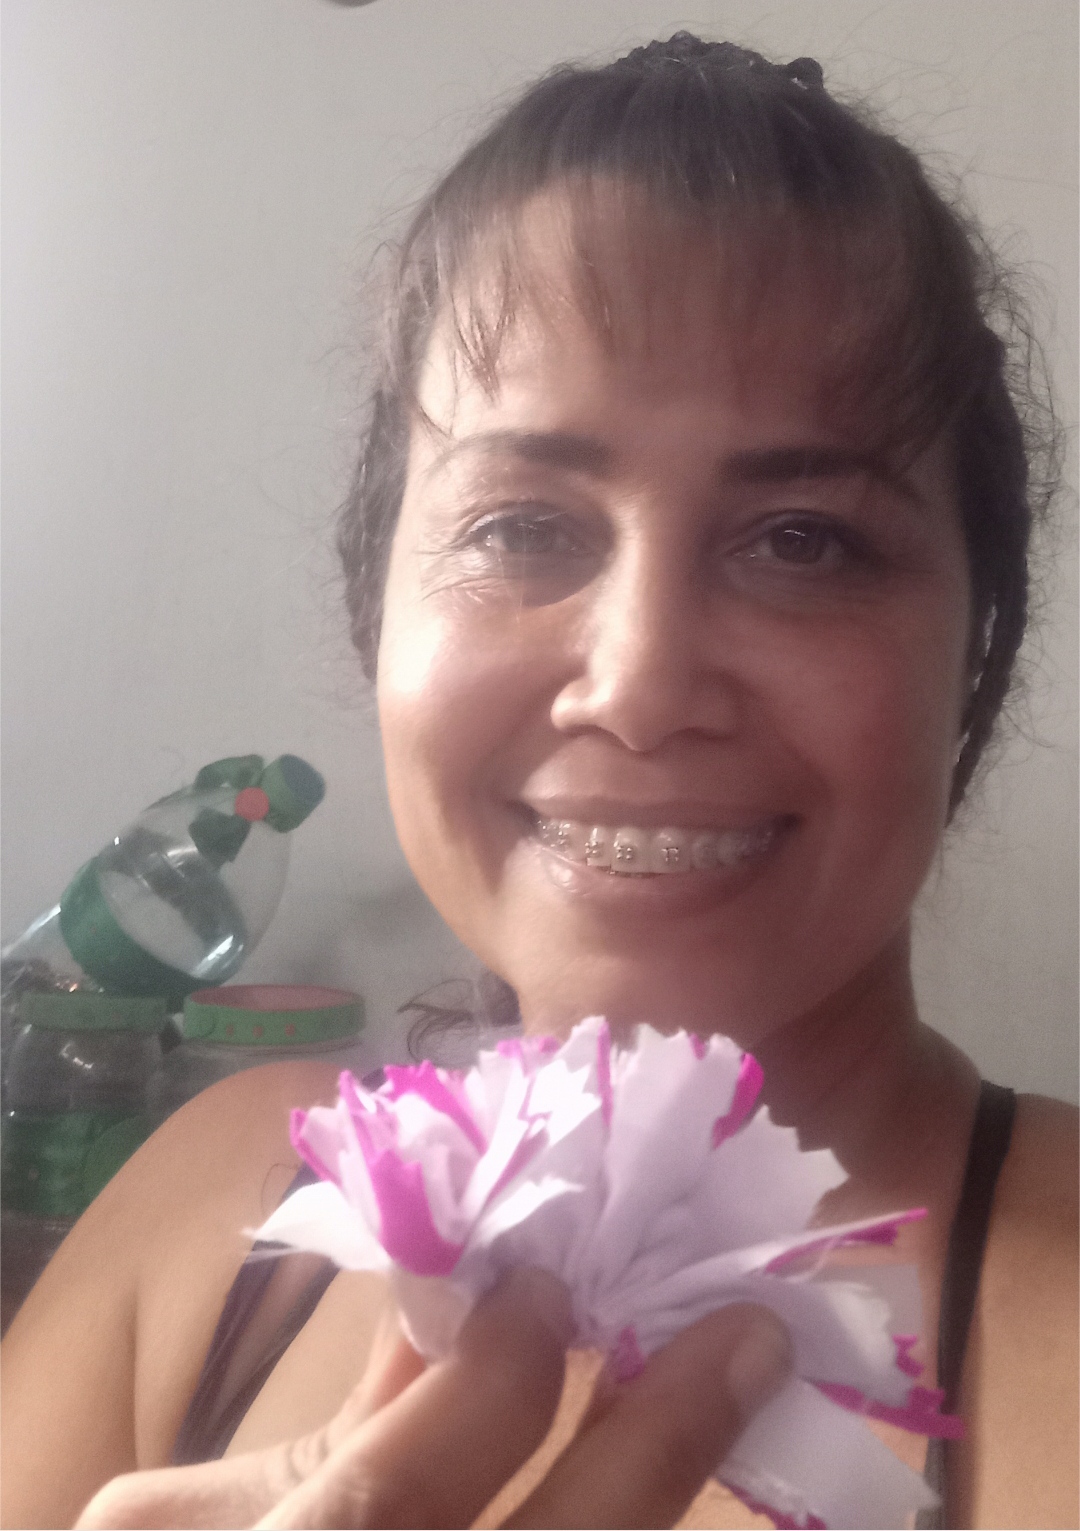
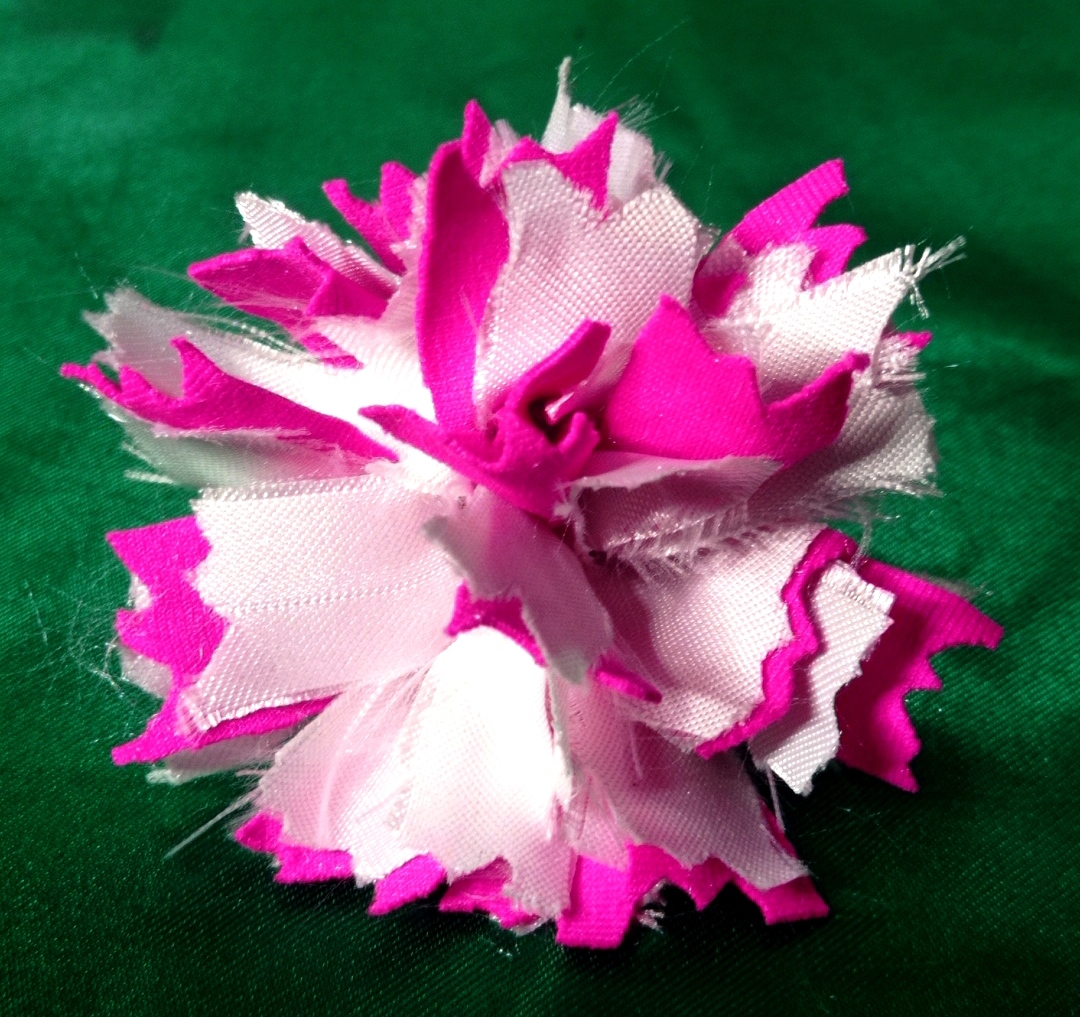
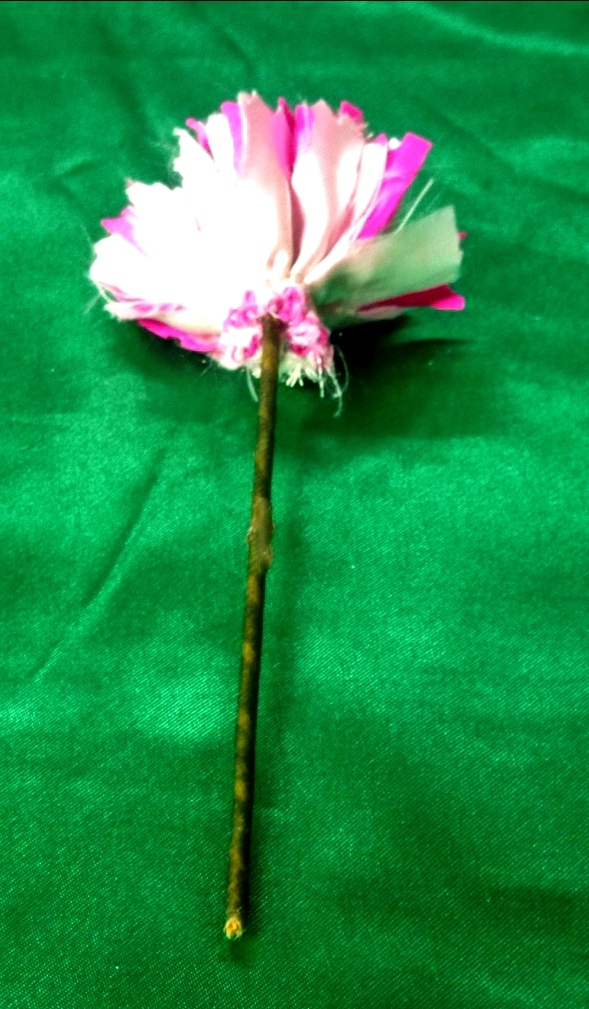
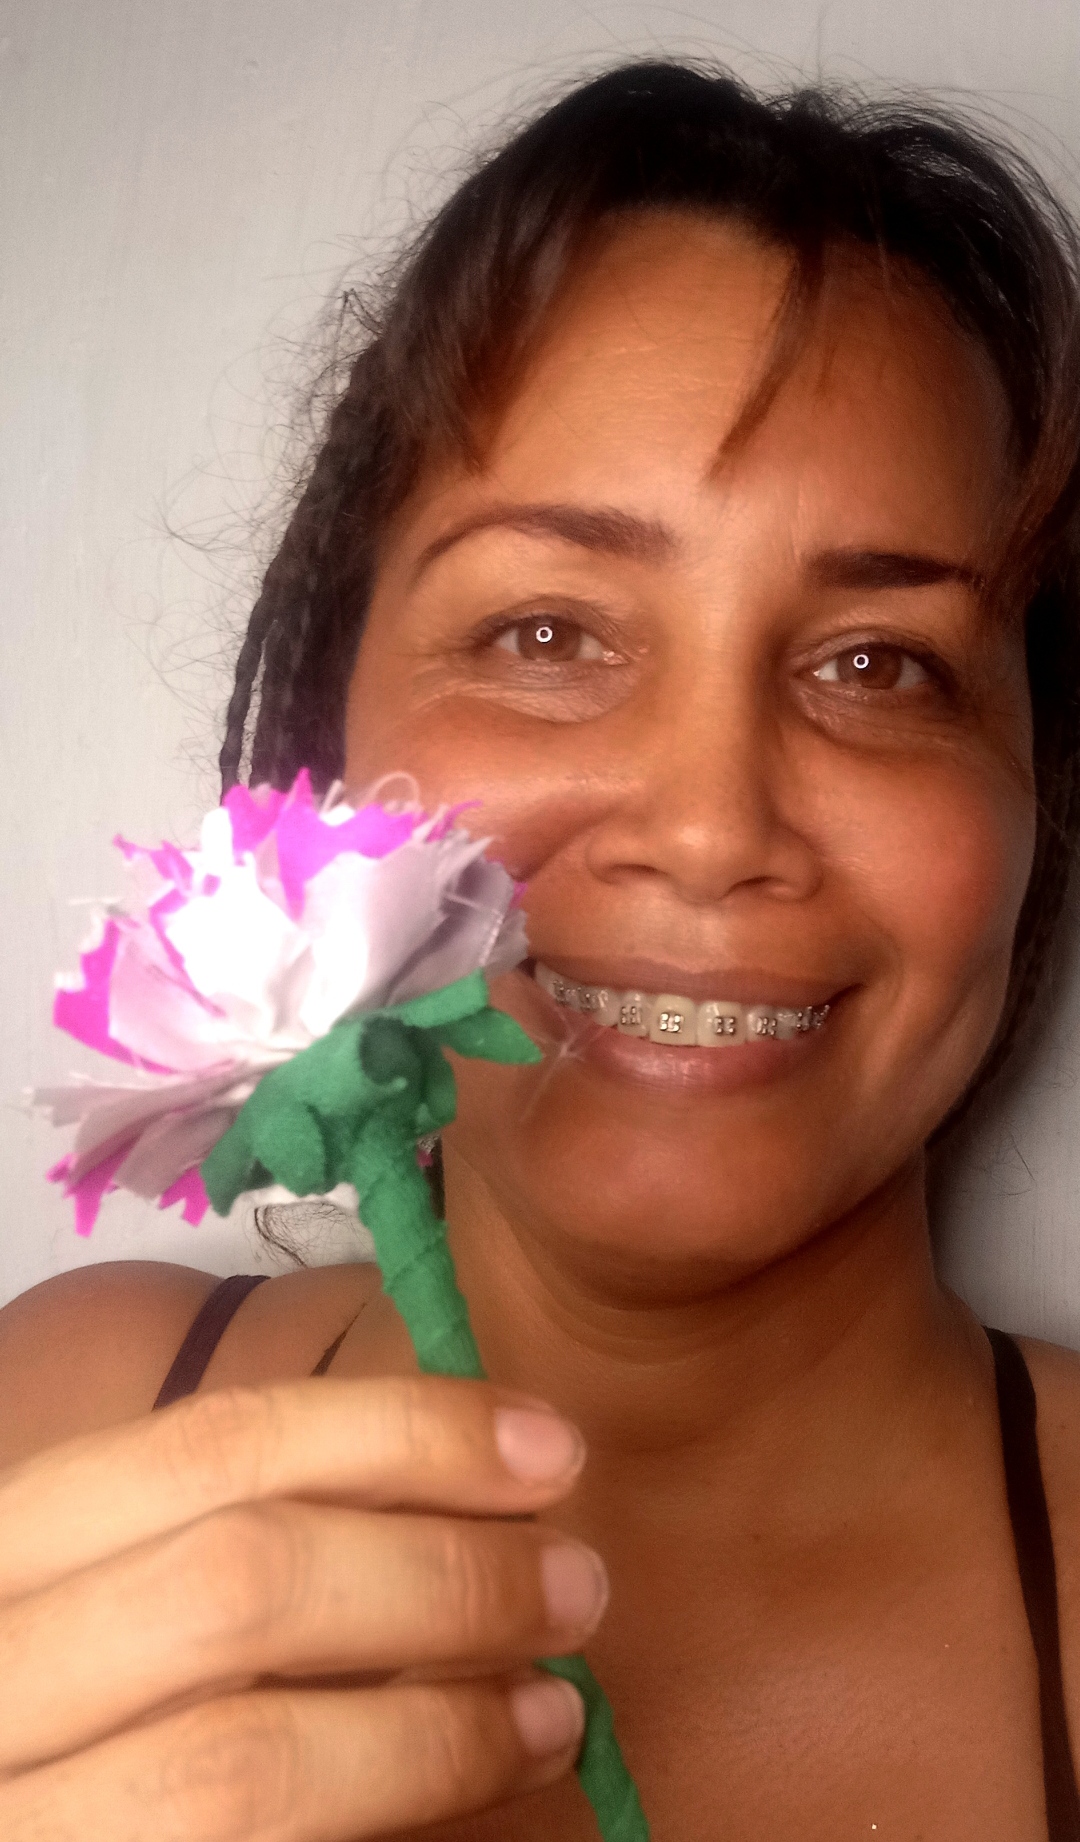
Aquí tenemos como quedó la hermosa flor.
Puedes utilizarla como quiera: en florero o
Here we have how the beautiful flower turned out.
You can use it as you like: in a vase or
Acompañada de un amiguito que le gusta la naturaleza La Rana René.
Accompanied by a little friend who likes nature La Rana René.
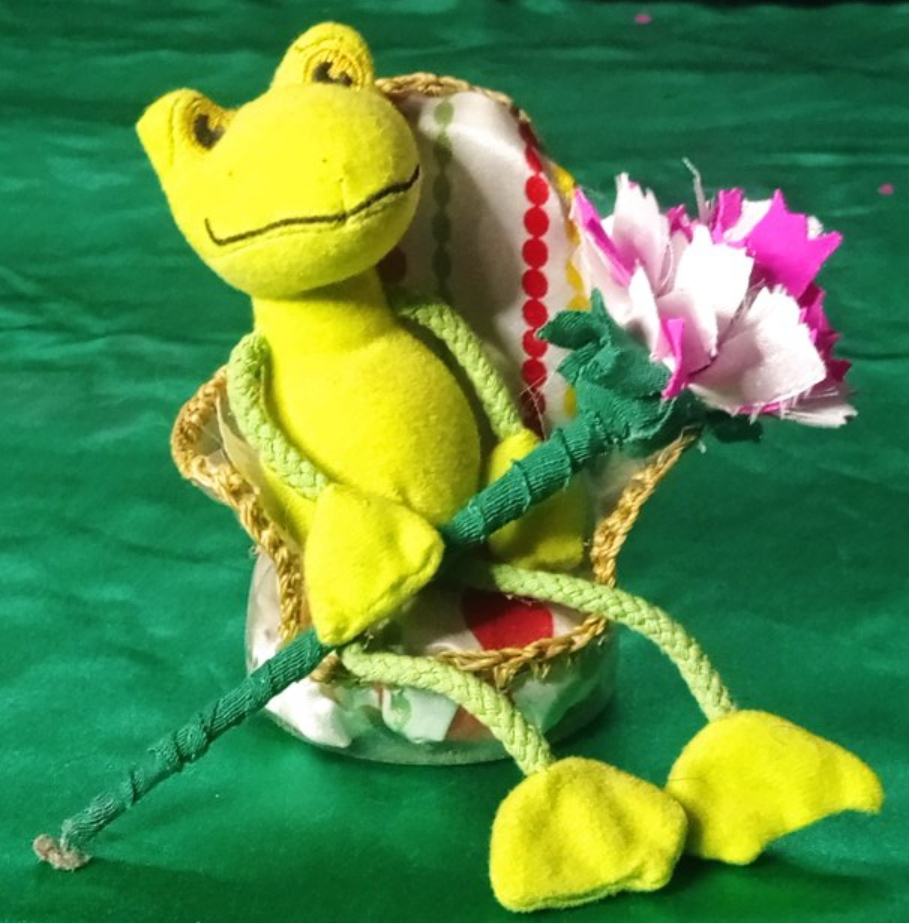
Aquí vemos la flor disfrutando de René jajajajaja jajajajaja jajajajaja.
Here we see the flower enjoying René hahahahaha hahahahaha hahahahaha.

Me dio mucho gusto el poder compartir este post con todos ustedes.
Espero haya sido de su agrado y bueno empiecen a elaborar un arreglo floral con claveles de tela para que decoren los espacios vacíos de su casas.
I was very happy to be able to share this post with all of you.
I hope it has been to your liking and well start making a flower arrangement with fabric carnations to decorate the empty spaces of your homes.
Las foto son tomadas por la cámara de mi teléfono Redmi Note 9
The photos are taken by the camera of my phone Redmi Note 9
Besos y abrazos
Hugs and kisses
¡¡Hasta la próxima!!
Until next time!!
Gracias Por Pasar Por Aquí
Thanks for stopping by here
Es un bonito detalle para regalar, además es muy fácil de hacer.
Gracias por compartinos @elinorrg .
Saludos y bendiciones.
Gracias @leidimarc por pasar por aquí. Si..lo puedes utilizar para lo que quieras porque es un arte que no es muy común y como dices fácil de hacer. Saludos y abrazos.
Wow, this is a perfect job you did and it really proves how good you are with the work of needlework. Good learning from you.
Thanks friend. It's good that you liked it. Thanks for stopping by here. Cheers