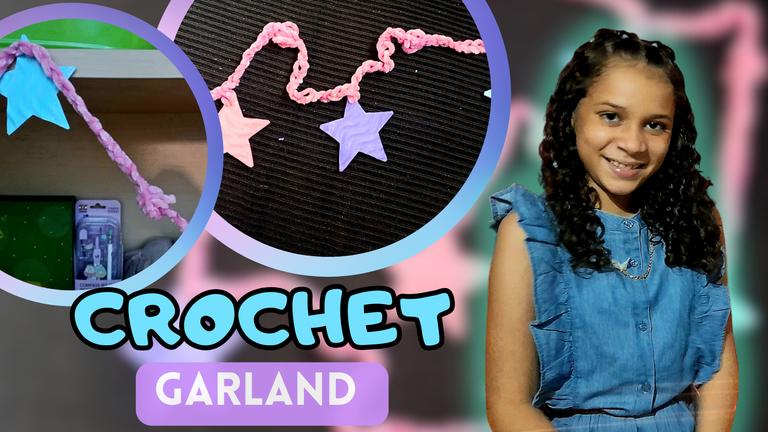
Hola amigos, ¡bienvenidos a mi mundo!
¿Cómo están todos? Hoy les vengo a mostrar una decoración que hice para mi cuarto que es una guirnalda de estrellitas que al fin la terminé hoy porque ayer compré el estambre que yo quería, entonces hoy les voy a enseñar como la hice y si a ustedes les gusta la pueden hacer.
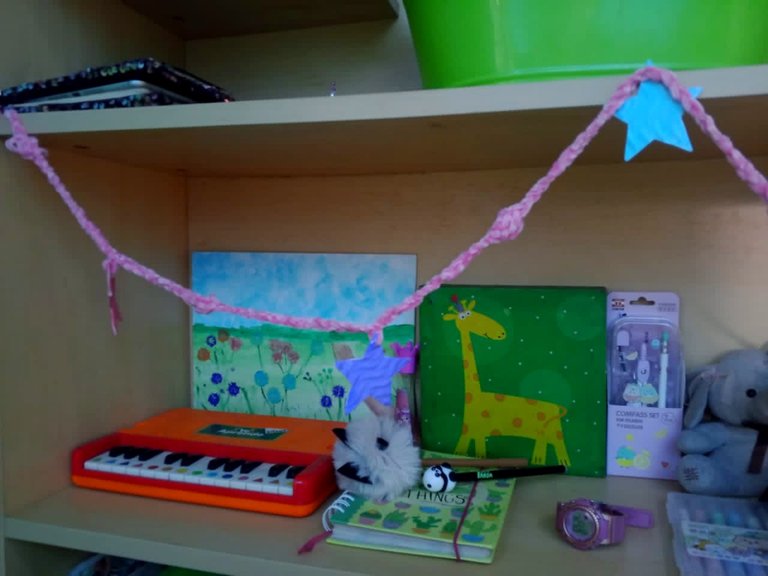
Esta guirnalda tiene estrellas de foami que era un foami blanco que tenía mi mamá para lo de navidad y como de ese no hay de colores yo las pinté con los colores que me gustan más y después las puse en una tira larga que es una cadeneta que hice yo misma y quedó bien bonita y la puse en la repisa de mi cama.
Bueno y ahora les voy a decir lo que necesitan y cómo se hace.
Vas a necesitar
Ahora el paso a paso
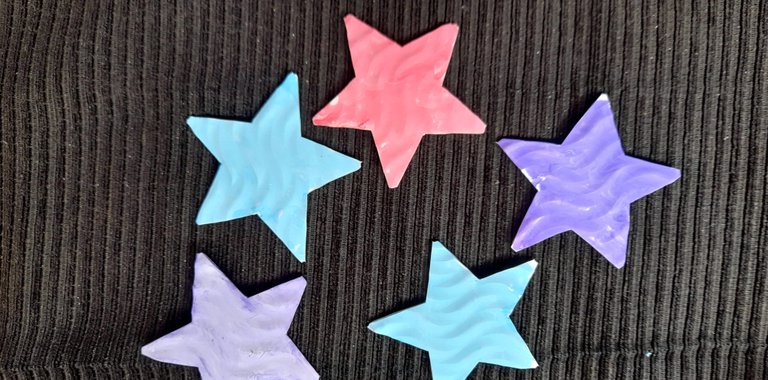
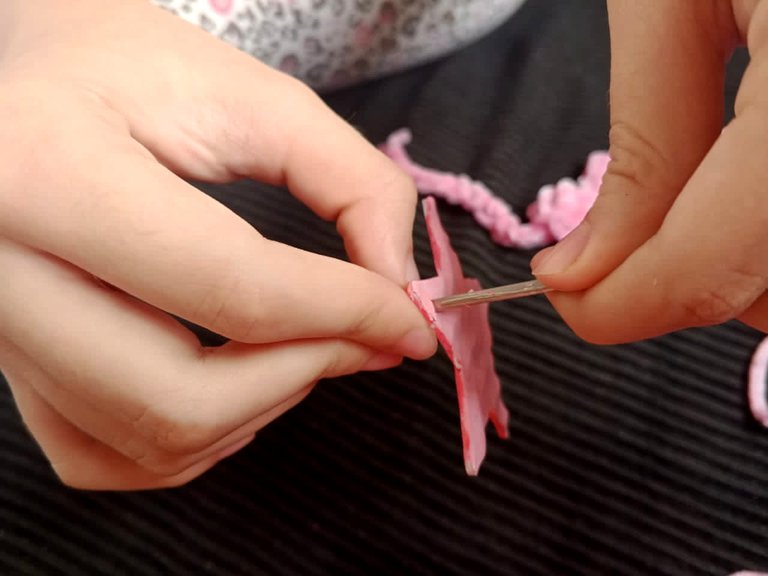
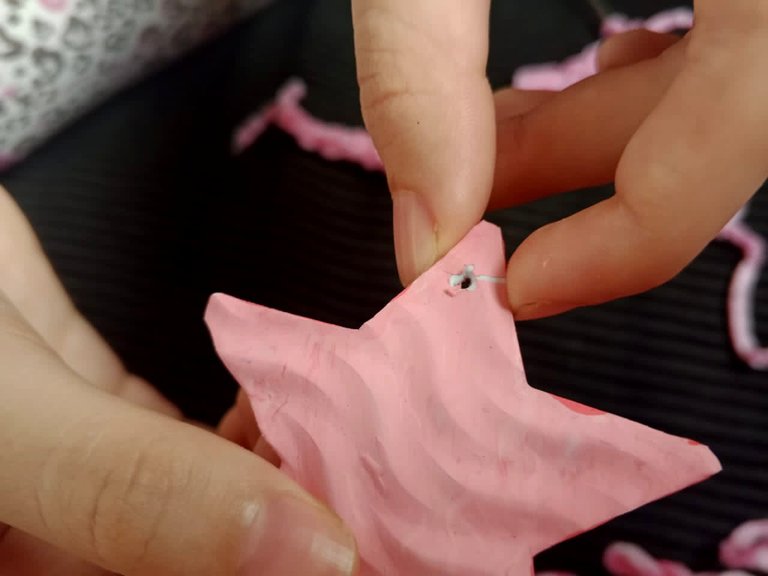
Lo primero es cortar las estrellas y pintarlas, yo les puse color rosado, morado y azul claro con el pincel pero si tienen foami de colores lo hacen con esos y le hacen un huequito, yo se lo hice con la aguja y quedó bien.
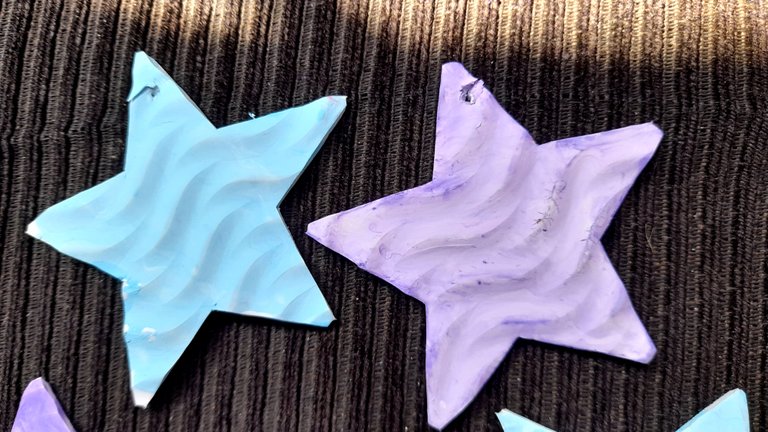
Después que las hice todas tuve que esperar a comprar el hilo de estambre que yo quería porque es como acolchado pero no lo venden por mi casa y con ese hilo hice una cadeneta que no es difícil de hacer.
Primero haces como una cosita para colgar y por ahí metes la aguja y halas el hilo y lo sacas por el huequito y se hace lo mismo y lo mismo varias veces para ir haciendo la cadeneta y de esos hice 12 puntos.
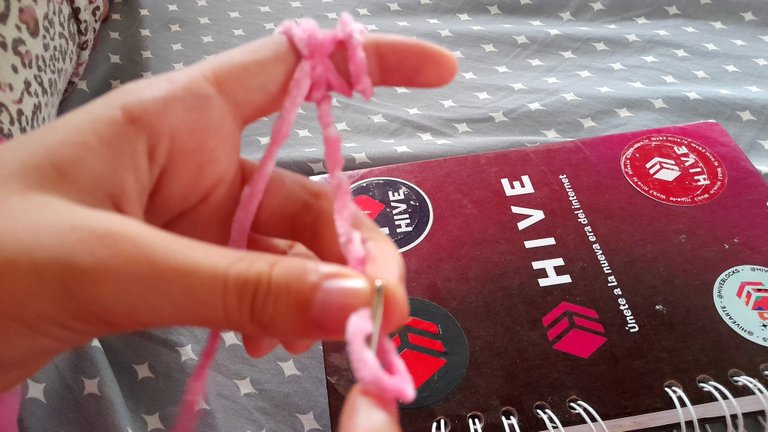
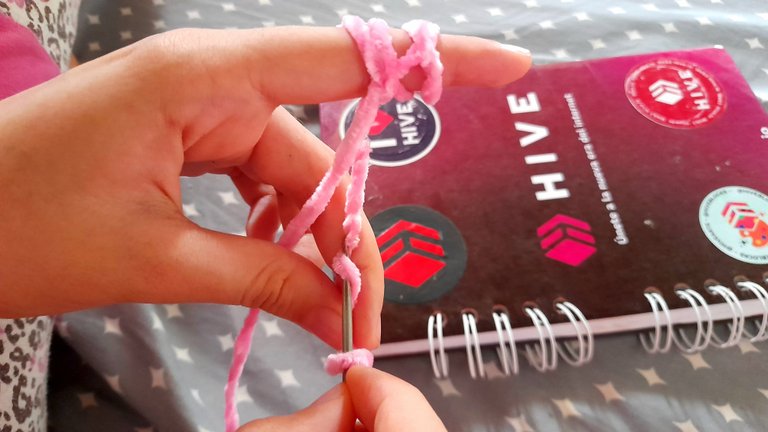
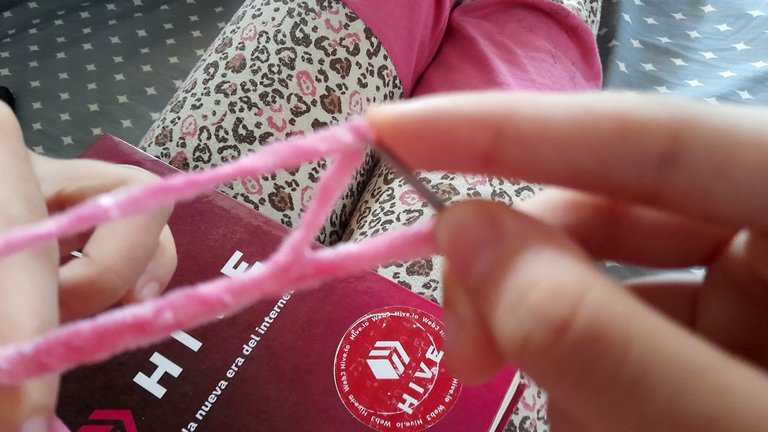
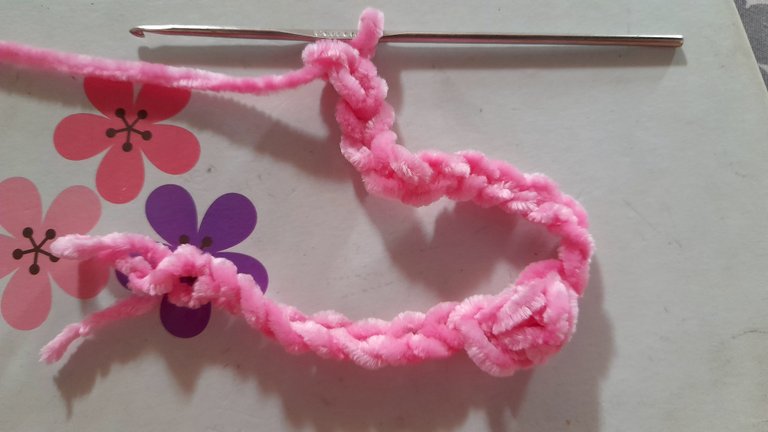
Yo quería hacerle unas peloticas como las que le hizo mi mamá a la guirnalda de navidad que hizo para el arbolito y lo que hay que hacer es que cuando haces el punto 12 de la cadeneta estiras ese punto como está en la foto.
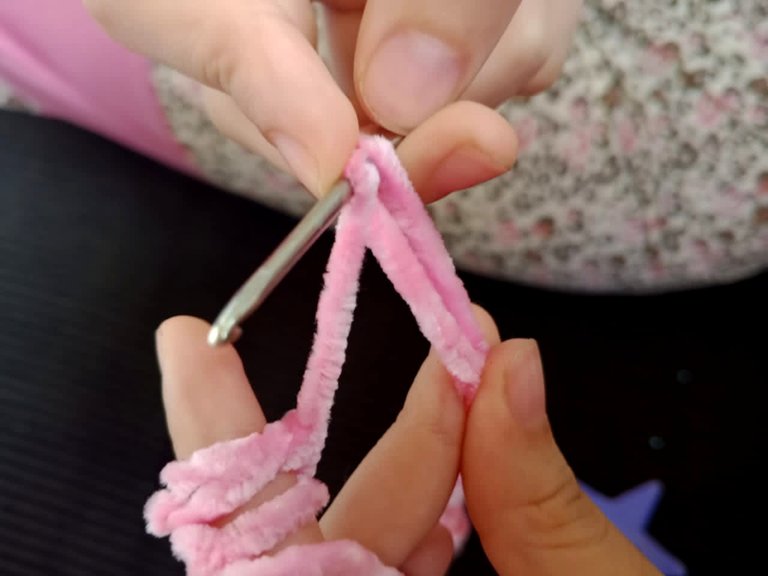
Después pasé la aguja por el punto de cadeneta que estaba antes y halé el hilo como para hacer la cadeneta pero lo hice largo también y volví a hacer lo mismo tres veces y se ve así como en la foto.
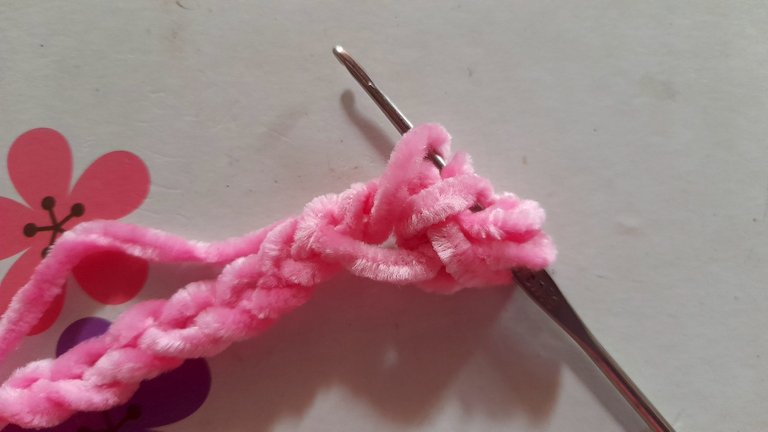
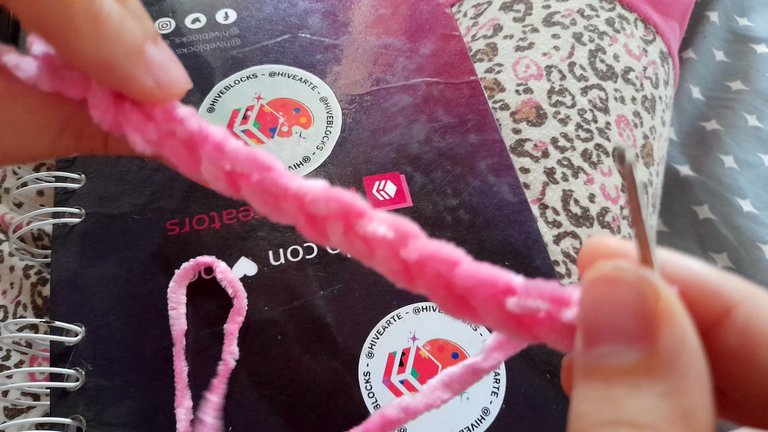
Después se mete la aguja por el huequito otra vez y se hala el hilo pero se tiene que pasar por dentro de todos los que había hecho como está en la foto y se ve como una pelotica, despues sigo haciendo 12 cadenetas más.
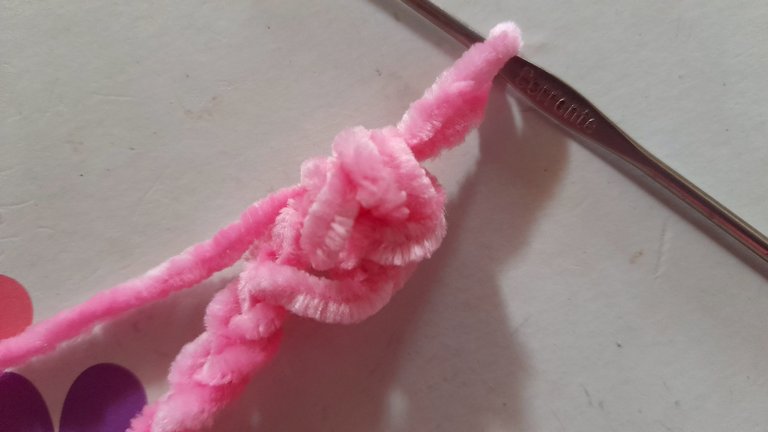
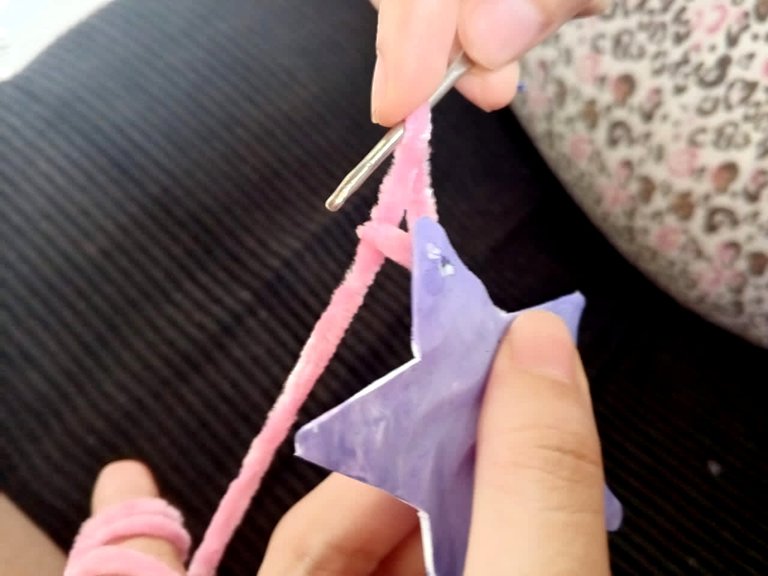
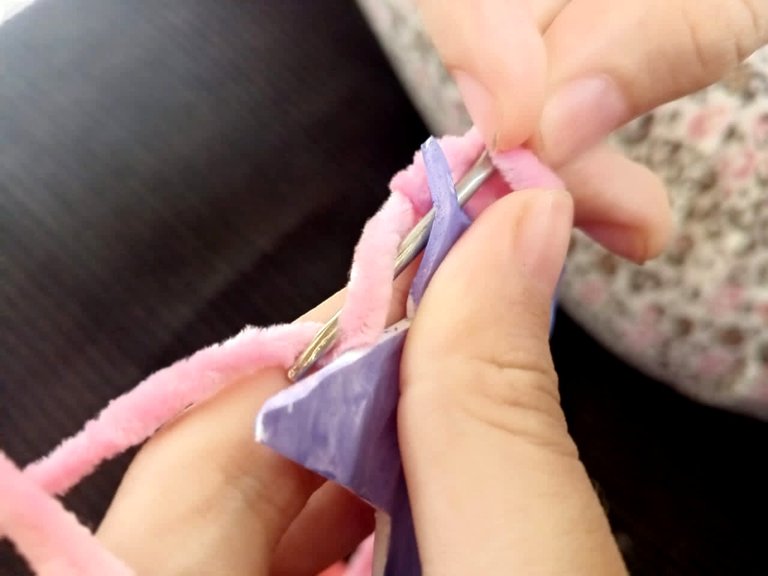
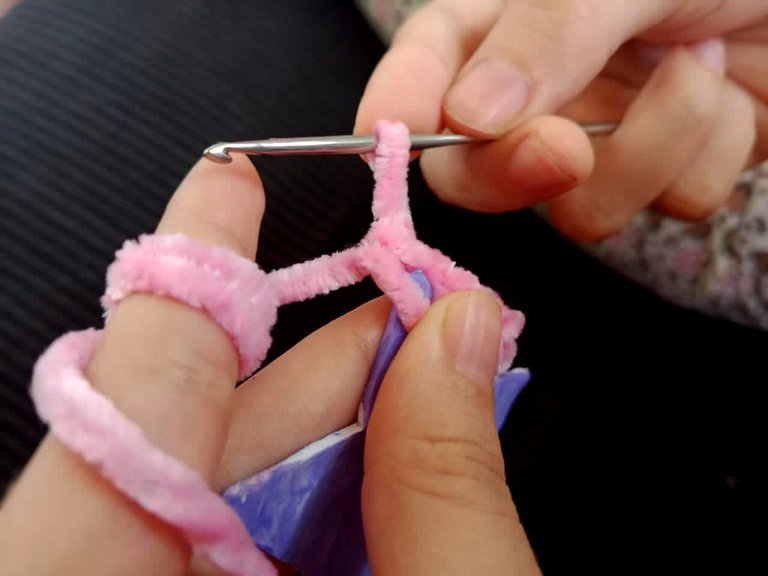
Ahora toca poner la estrella y esa parte es fácil pongo la estrella y meto la aguja por el huequito que le hice y halo el hilo por ahí y entonces quedan dos huequitos y por ahí vamos a meter la aguja y traer el hilo y queda otra vez uno y sigo haciendo la cadeneta con 12 puntos más y repito todo hasta que la tengo del largo que quiero.
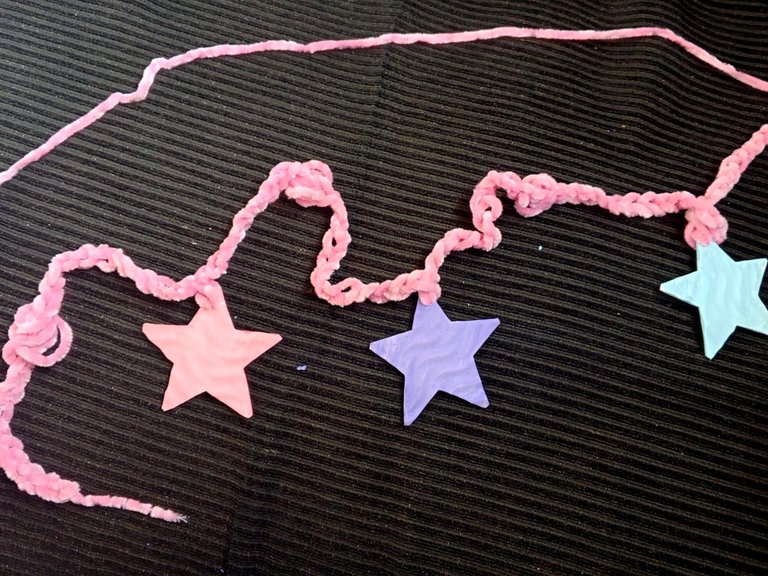
La probé en la repisa y cuando ya estaba lista la dejé y la puse en mi repisa con un adhesivo de los dobles que tiene mi mamá y que pegan por los dos lados y listo. ¿Qué les parece? A mí me gustó mucho y ahora quiero hacer otra pero ponerle tul en unas partes y así tengo dos para la repisa, así que si la hago yo se las enseño.
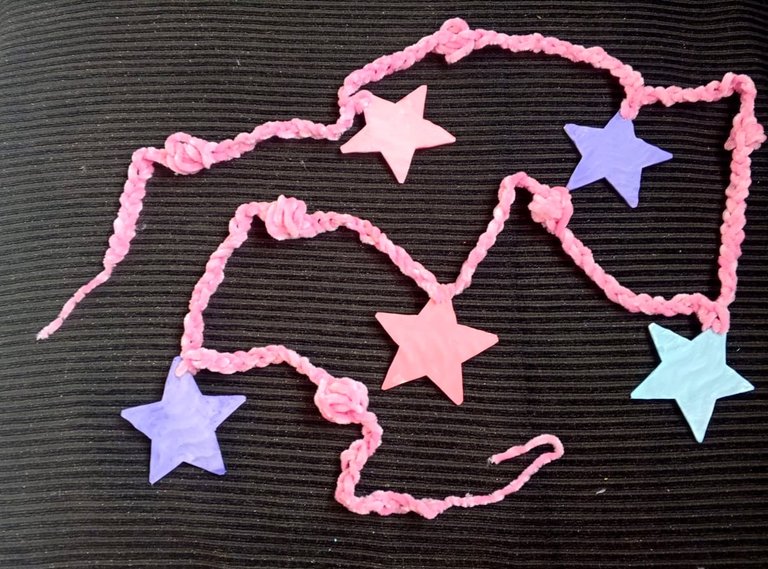
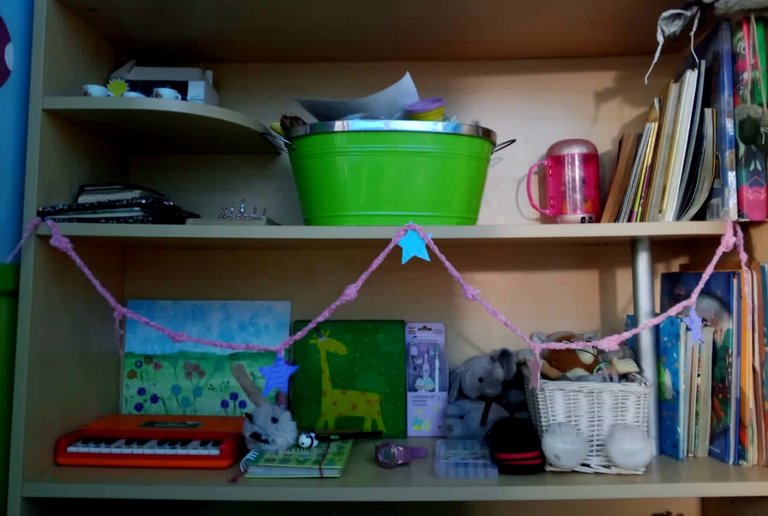
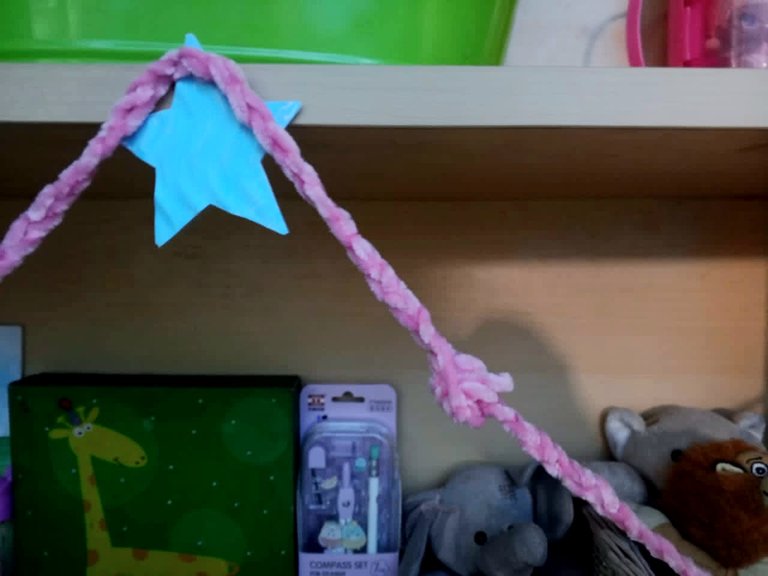
Y eso es todo amigos, gracias por leer mi post, que tengan feliz año 2025. Chaoooo ❤❤💕💕


Hello friends, welcome to my world!
How are you all? Today I'm here to show you a decoration I made for my room which is a star garland that I finally finished today because yesterday I bought the yarn I wanted, so today I'm going to show you how I made it and if you like it you can make it.
This garland has foami stars that was a white foami that my mom had for Christmas and as there are no colors of that I painted them with the colors that I like the most and then I put them on a long strip that is a chain that I made myself and it was very nice and I put it on the shelf of my bed.
Well and now I'm going to tell you what you need and how it's done.
You will need
Now the step by step
The first thing is to cut the stars and paint them, I put them pink, purple and light blue with the brush but if you have colored foami do it with those and make a little hole, I did it with the needle and it looked good.


After I made them all I had to wait to buy the worsted yarn I wanted because it is like quilting but they don't sell it in my house and with that yarn I made a chain stitch which is not difficult to do.
First you make a little hanging thingy and then you put the needle in and pull the yarn through the hole and then you do the same thing several times to make the chain stitch and I made 12 stitches out of those stitches.


I wanted to make some little balls like the ones my mom made for the Christmas garland she made for the tree and what you have to do is that when you make the 12th stitch of the chain stitch you stretch that stitch as it is in the picture.


Then I passed the needle through the chain stitch that was before and pulled the thread as to make the chain stitch but I made it long too and did the same thing three times and it looks like this as in the picture.

Then you put the needle through the hole again and pull the thread but you have to pass it through the inside of all the ones you had made as it is in the picture and it looks like a little ball, then I continue making 12 more chain stitches.


Now it's time to put the star and that part is easy, I put the star and put the needle through the hole I made and pull the yarn through it and then there are two holes and through there we are going to put the needle and bring the yarn and there is one more and I continue making the chain stitch with 12 more stitches and I repeat everything until I have it the length I want it to be.


I tried it on the shelf and when it was ready I left it and put it on my shelf with one of those double-sided adhesives that my mom has and that stick on both sides and that's it. What do you think? I really liked it and now I want to make another one but I want to put tulle on some parts and so I have two for the shelf, so if I make it I will show it to you.


And that's all folks, thanks for reading my post, have a happy new year 2025. Byeee
❤❤💕💕

A star garland is quite the craft. This came out very well. Nice work.
Thank you so much
This is beautiful
It's so unique.
Aww thank you so much
Congratulations @elmundodemiri! You have completed the following achievement on the Hive blockchain And have been rewarded with New badge(s)
Your next payout target is 4000 HP.
The unit is Hive Power equivalent because post and comment rewards can be split into HP and HBD
You can view your badges on your board and compare yourself to others in the Ranking
If you no longer want to receive notifications, reply to this comment with the word
STOPCheck out our last posts:
Pero qué creativa eres! Me encantó, muy original sin duda esa guirnalda princesa