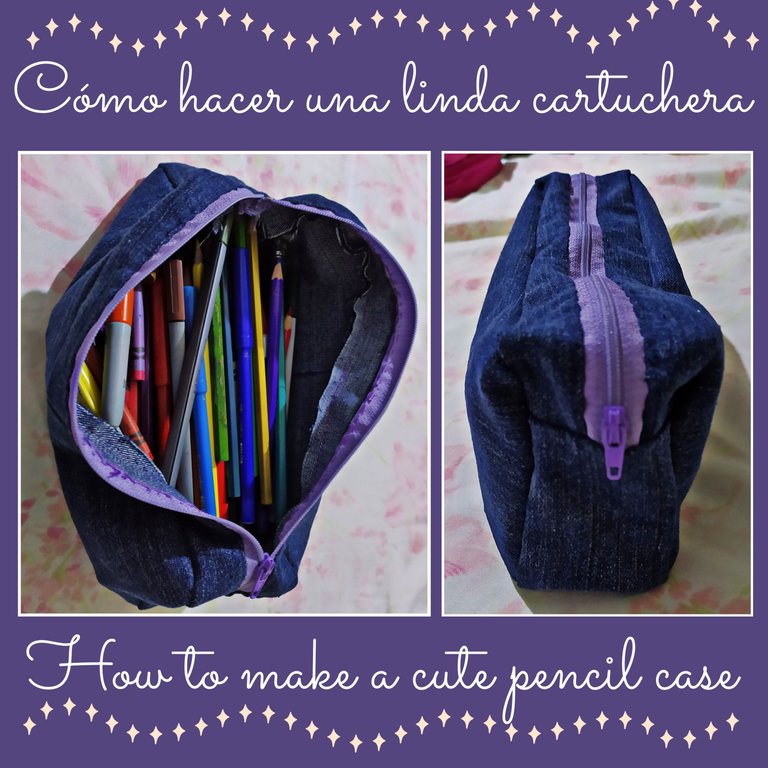

Hola amigos ❤️
Hoy vengo a mostrarles cómo hice esta linda cartuchera para guardar mis colores, y lo mejor fue que la hice con tela reciclada de un jean que ya no me servía.
Los materiales que utilicé fueron:
✅ Tela de jeans
✅ Cierre de 15cm plástico
✅ Hilo y aguja de coser
✅ Tijeras
✅ Papel y lápiz
Hello friends ❤️
Today I come to show you how I made this beautiful cartridge to keep my colors, and it was best that I did with recycled fabric from a Jean who was no longer serving me.
The materials I used were:
✅ Jeans fabric
✅ Closure of 15cm plastic
✅ Thread and sewing needle
✅ Scissors
✅ Paper and pencil
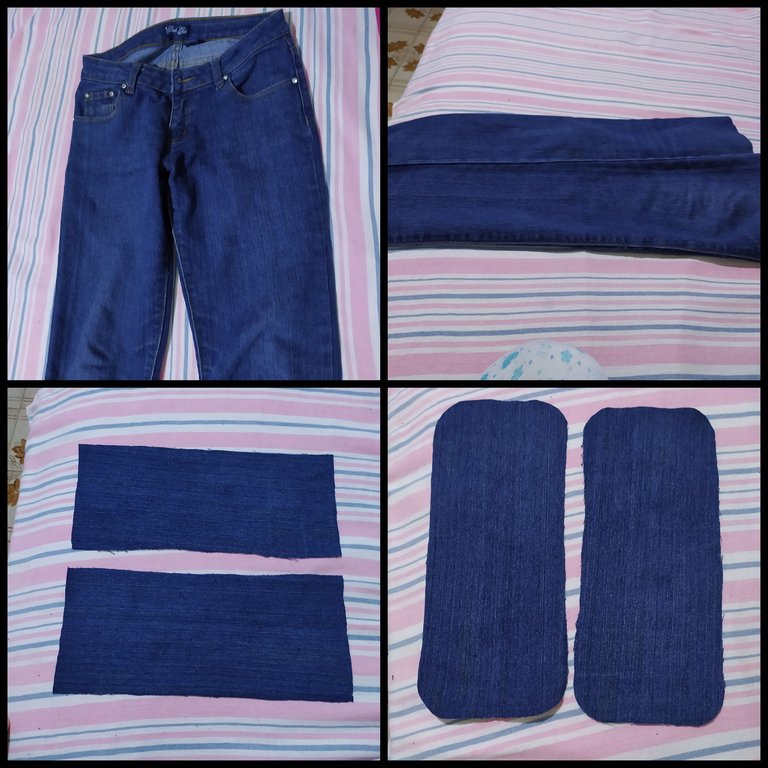
Lo primero que hice fue recortar una pierna del jeans que ya no me servía, y previamente en un papel tracé la forma rectangular que quería para mi cartuchera.
The first thing I did was cut a leg from the jeans that no longer served me, and previously on a role I tracked the rectangular shape I wanted for my cartridge.
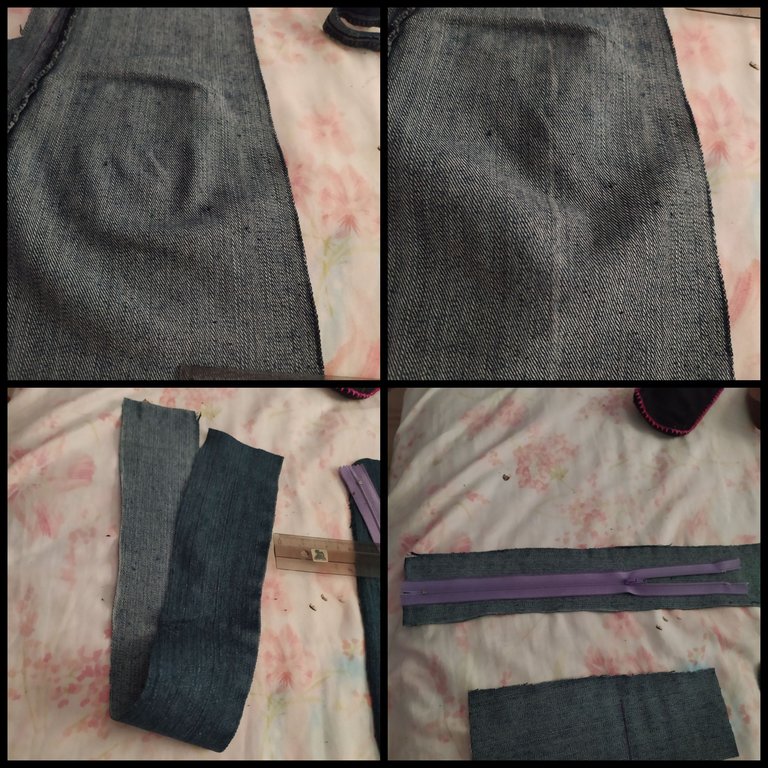
Luego, recorté unas tiras de 10 cm de ancho, y del largo de la circunferencia del rectángulo de la cartuchera y se divide entre el tamaño del cierre y lo restante.
Then, I cut some strips of 10 cm wide, and the length of the circumference of the cartridge rectangle and divide between the size of the closure and the remaining.
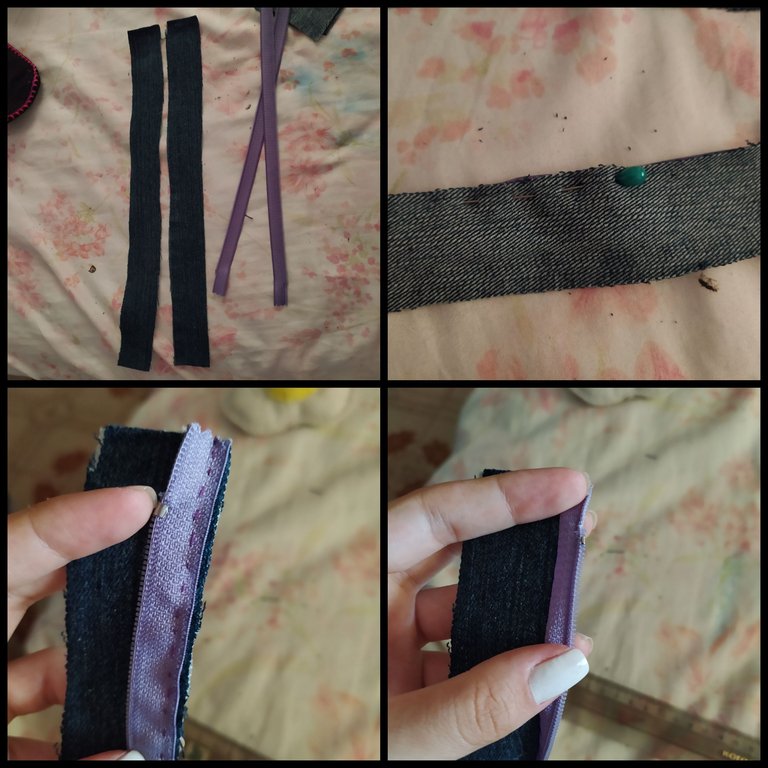
La tira del cierre la recortaremos a la mitad, y pegaremos las caras que iran por fuera de frente, de manera que al voltearlas quede la costura por dentro.
The strip of the closure we cut it in half, and we will stick the faces that go outside the front, so that when flipping the seam inside.
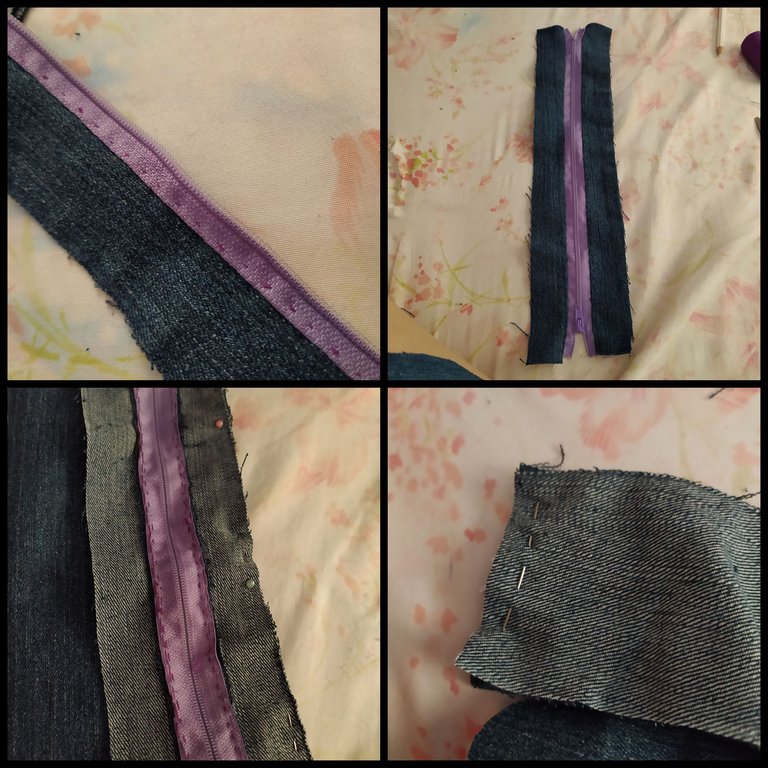
Vamos a unir la tira sobrante con la tira que lleva el cierre, y la unimos por los extremos.
We are going to join the excess strip with the strip that carries the closure, and we join it through the ends.
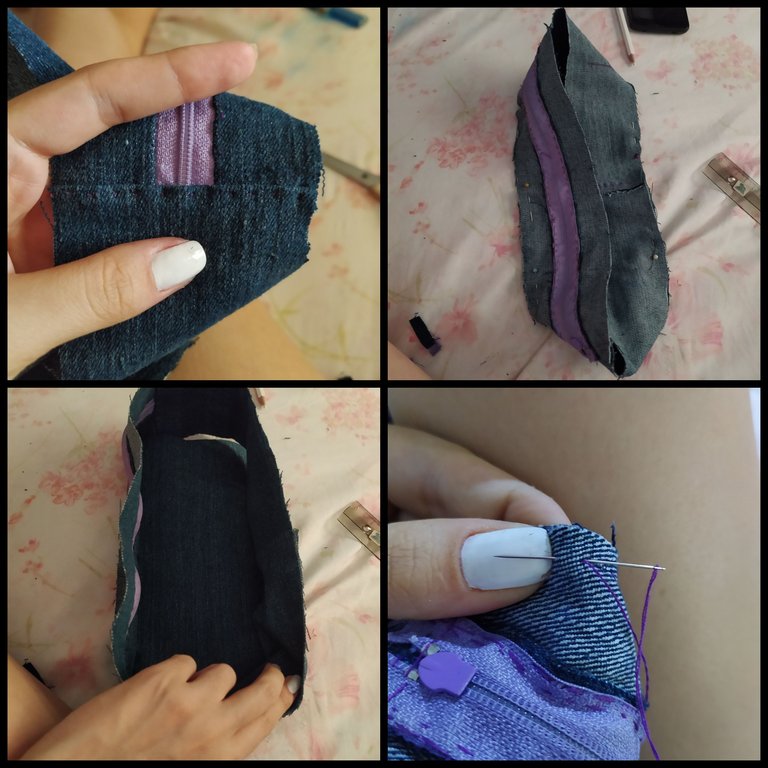
Ya teniendo la tira lista, la empezamos a coser por el alrededor del rectángulo o las caras de la cartuchera.
Already having the strip ready, we started sewing around the rectangle or the faces of the cartridge.
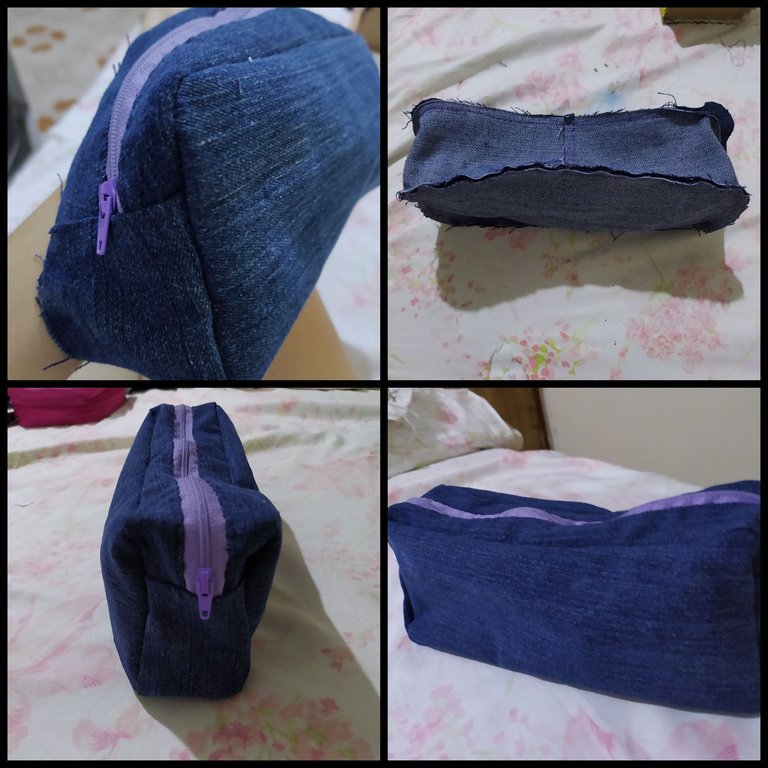
Ya después de coser la tira a las dos caras, solo nos queda voltear al derecho y tendremos lista nuestra carruchera.❤️
Already after sewing the strip on both sides, we only have to turn to the right and we will have our carruchra list .❤️
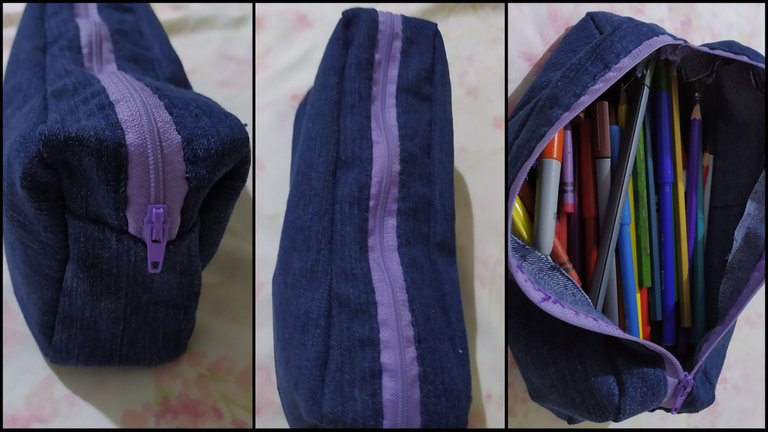
Este ha sido el resultado, espero les guste!
Nos vemos en un próximo post❤️❤️
This has been the result, I hope you like it!
See you in an upcoming post❤️
❤️🧵❤️🧵❤️🧵❤️🧵❤️🧵❤️🧵❤️🧵❤️🧵❤️🧵❤️
Traducido con DeepL
Fotos editadas con PicsArt App
Fotografías tomadas con mi Redmi Note 8
Translated with DeepL
Photos edited with PicsArt App
Photographs taken with my redmi Note 8
#posh @ocd @blocktrades @appreciator @neoxian @bdvoter
The rewards earned on this comment will go directly to the person sharing the post on Twitter as long as they are registered with @poshtoken. Sign up at https://hiveposh.com.
Wow! you did all that using justa a hand sew? amazing! i tried so many times incorporating zippers into a project but I fail everytime. Maybe I have topractice more
Hello, yes, I sew all my creations by hand. I really like sewing, and not having a sewing machine doesn't stop me. Greetings! ❤️ Thanks for reading me 🌸
Wow you’ve done an amazing job thanks for sharing