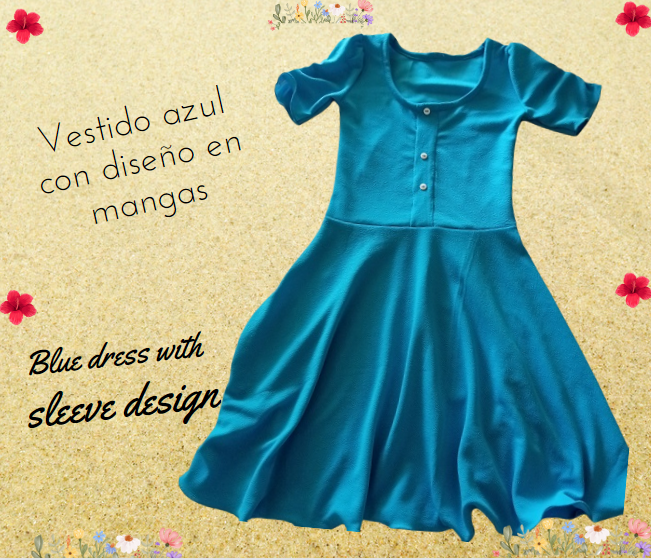

Sewing Monday, happy day to all of you, I hope you enjoyed your weekend, and this new week let's continue with enthusiasm in every project to be done.
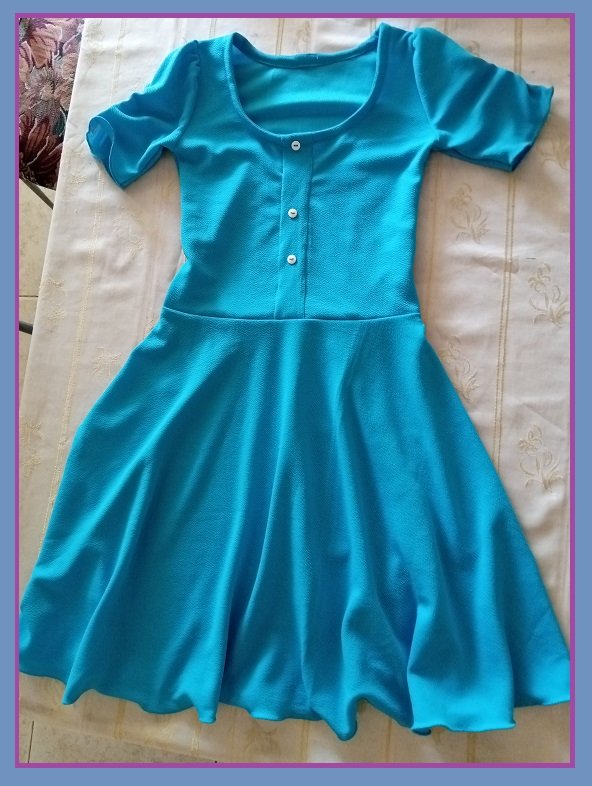
Today I am going to show you how I made this blue dress in flexible fabric, with wide skirt, and sleeves with elastic on the sides, it is a size 12 for a young girl, which her mommy asked if I could make her one just like the one she already had, only she wanted it a little bit longer.
With only one meter of fabric I told her that uff, I measured in front of her how I was going to place the skirt to see if it would give me enough to make the blouse, but if the fabric was well arranged it would come out.
Well, now that I have all the necessary materials, I am ready to make this design, so I start the process.

Lunes de costura, feliz dia para todos, esperando hayan disfrutado su fin de semana, y esta nueva semana sigamos con mucho entusiasmo en cada proyecto a realizar.
Hoy les voy a mostrar como hice este vestido de color azul en tela flexible, con falda ancha, y mangas con elástica a los lados, es una talla 12 para una jovencita, el cual su mami pide el favor si le podía hacer uno igual a otro que ya tenia, solamente que lo quería un poquito mas largo.
Solamente con un metro de tela le dije que uff, medí delante de ella como iba a colocar la falda para ver si me daba para hacer la blusa, pero acomodando bien la tela si sale.
Bueno ya con todos los materiales necesarios me dispongo a realizar este diseño, así que empiezo el proceso.

✂️Tela de color azul.
✂️Elastica delgada.
✂️Cinta metrica, alfileres, maquina de coser.
✂️Medida de otro vestido.

✂️Blue fabric.
✂️Thin elastic.
✂️Measuring tape, pins, sewing machine.
✂️Measurement of another dress.
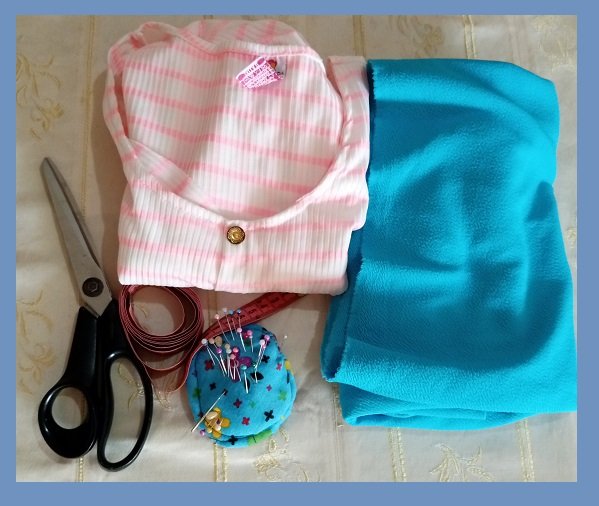

I sew the folded fabric and place the pattern dress on top of it, marking the entire width of the dress and 10 centimeters longer.
Cocolo la tela doblada y encima le coloco el vestido de patrón, voy marcando todo lo ancho del vestido y de largo 10 centímetros mas largo.
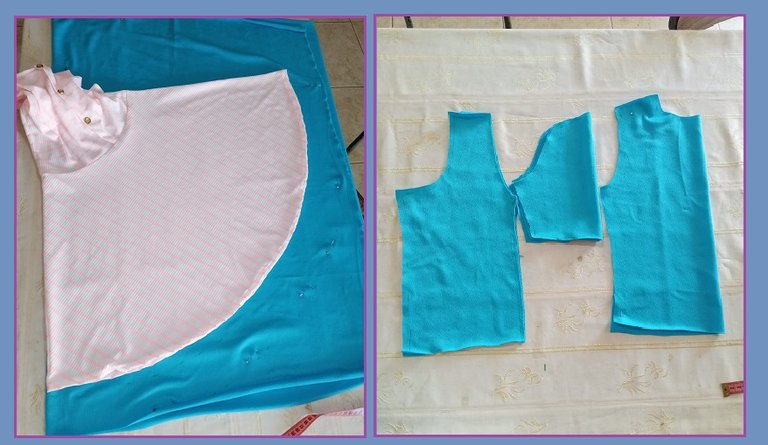
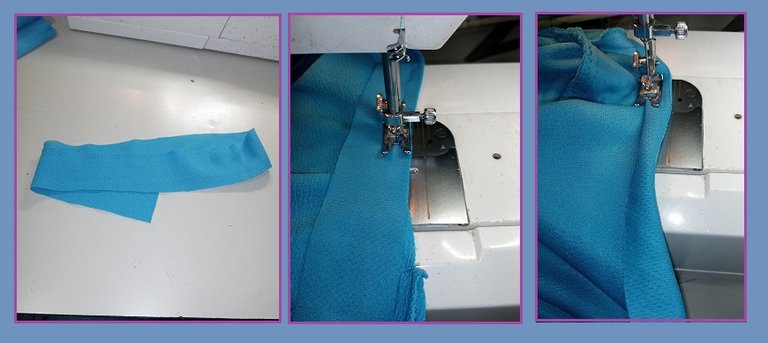
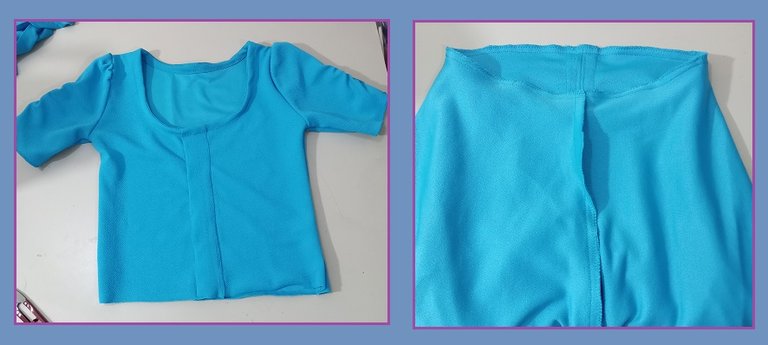
Then I take out the part of the blouse, first I cut the part of the back, and the front part I cut it in two parts and I put another strip of the same fabric to cover the seam.
I close the front part and place this strip, then I put some decorative buttons.
Then I join the back part with the front part by sewing the shoulder part.
For the sleeves, I place an elastic in the middle of the sleeve, just to gather this part as a design.
I glue each sleeve in place and close the whole blouse, to make the collar.

Luego voy sacando la parte de la blusa, primero corto la parte de la espalda, y la del frente la saque en dos parte y el cual le pongo otra franja de la misma tela para tapar la costura.
Cerrando la parte delantera y colocarle esta franja, luego le pongo unos botones de adorno.
Asi voy uniendo la parte de atras con la parte del frente cosiendo la parte de los hombros.
Para las mangas le coloco a la mitad una elástica solamente que arruchara esta parte como diseño.
Pego cada manga en su lugar y cierro toda la blusa, para hacer su cuello.
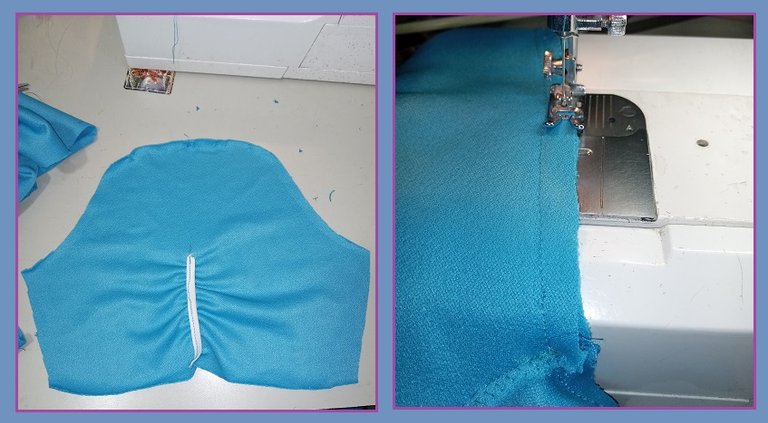
With the blouse ready, which is the part that has more pieces, now I join it to the skirt part, positioning it very well, pin it with the pins, and sew it.
It was not necessary to place elastic, it simply adapts to the body.

Con la blusa lista, que es la parte que tiene mas piezas, ahora la uno a la parte de la falda, ubicándola muy bien, la prenso con los alfileres, y voy cosiendo.
No fue necesario colocar elástica, simplemente se adapta, al cuerpo.


Thanks for your time, until the next publication, keep having a great time, bye!
Gracias por tu tiempo, hasta la próxima publicacion, sigue pasandola muy bien, chau!

Bellísimo trabajo @eylis !! 🌼 Me gusta mucho la decisión de tu vecina de replicar este bonito diseño y que seguramente habrá quedado super contenta con este resultado! Te felicito🌷🌷
The fabric and color is so pretty. You did a very nice job on this dress. Thanks for sharing your work this week ~ 😊
Muchas gracias amiga por su aprecio, saludos.
You’re welcome ~
Una idea genial, para quienes no sabemos realizar patrones de ropa! Gracias por compartir!
Hola @leticiapereira, gracias por tu visita, y comentario, feliz dia.
Wao...todo un reto solo con un metro de tela. Quedó hermoso. Sobre todo el movimiento de la falda. Es un bello diseño, se ve fresco y jovial.
Saludos amiga, fue un reto pero si pude sacar las piezas completas, ya le dije, que para la proxima oportunidad un poquito mas de tela, asi se trabaja mejor, gracias por tu visita.
Wow no puedo creer que solo con un metro de tela haya alcanzado, quedo muy hermoso. Saludos
Asi es, acomodando bien la tela y sacando cada pieza, pude lograr armar este vestido de falda ancha, gracias @irenenavarroart, saludos.