Hi, after several days of making, I came back and I brought you the children's shirt mold. The sizes range from 1 year to 14 years, with the colors that represent it.
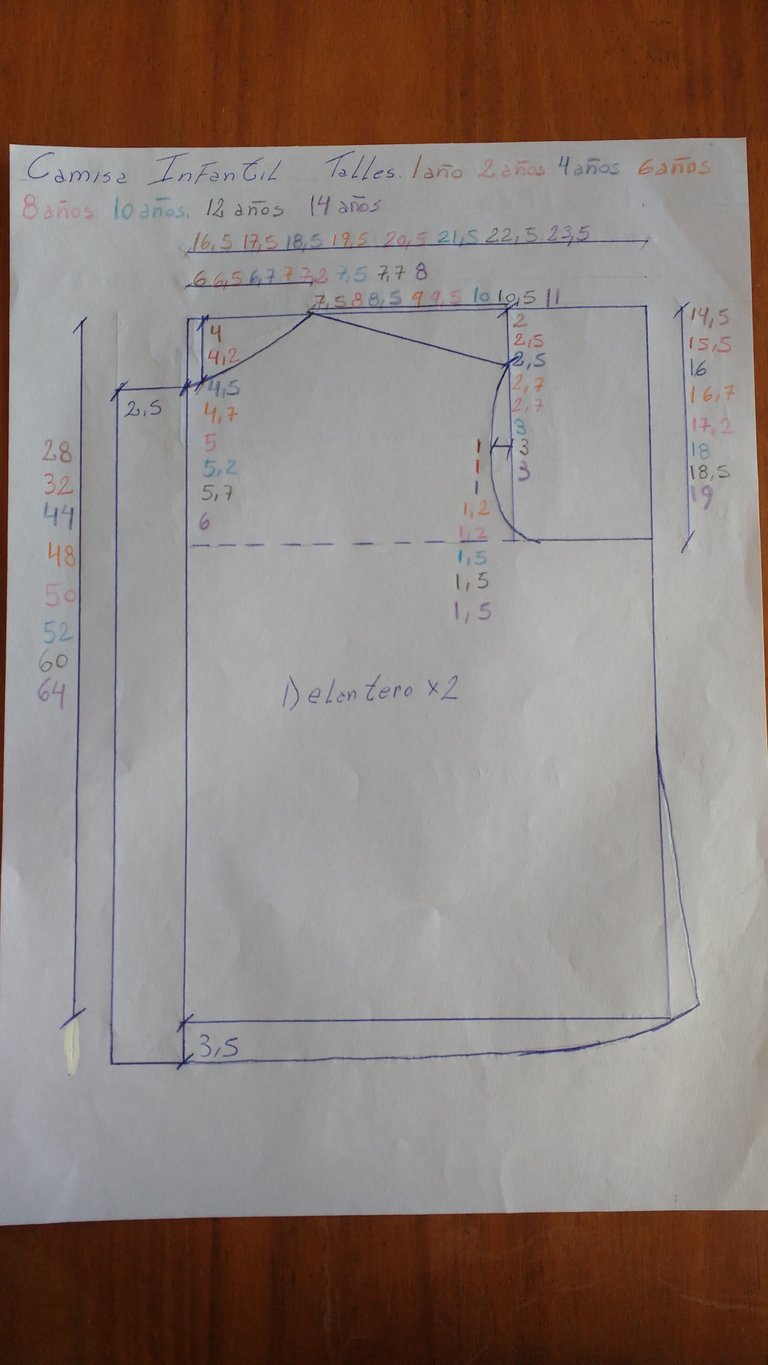
In the front mold, pen measurements are not modified according to size.
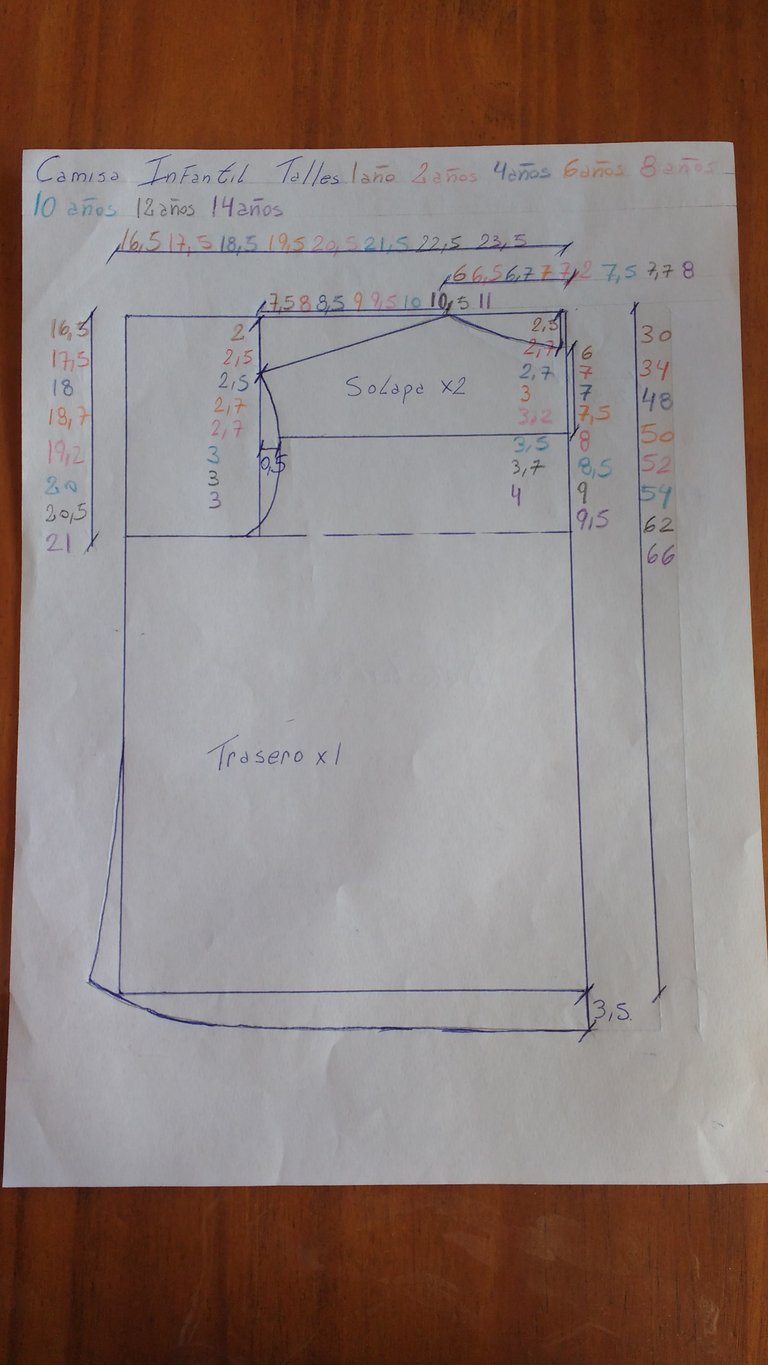
The same happens in the rear mold. I am missing the measurement of the clamp in the back of the mold, it is the same measurement that the front mold has for the buttons.
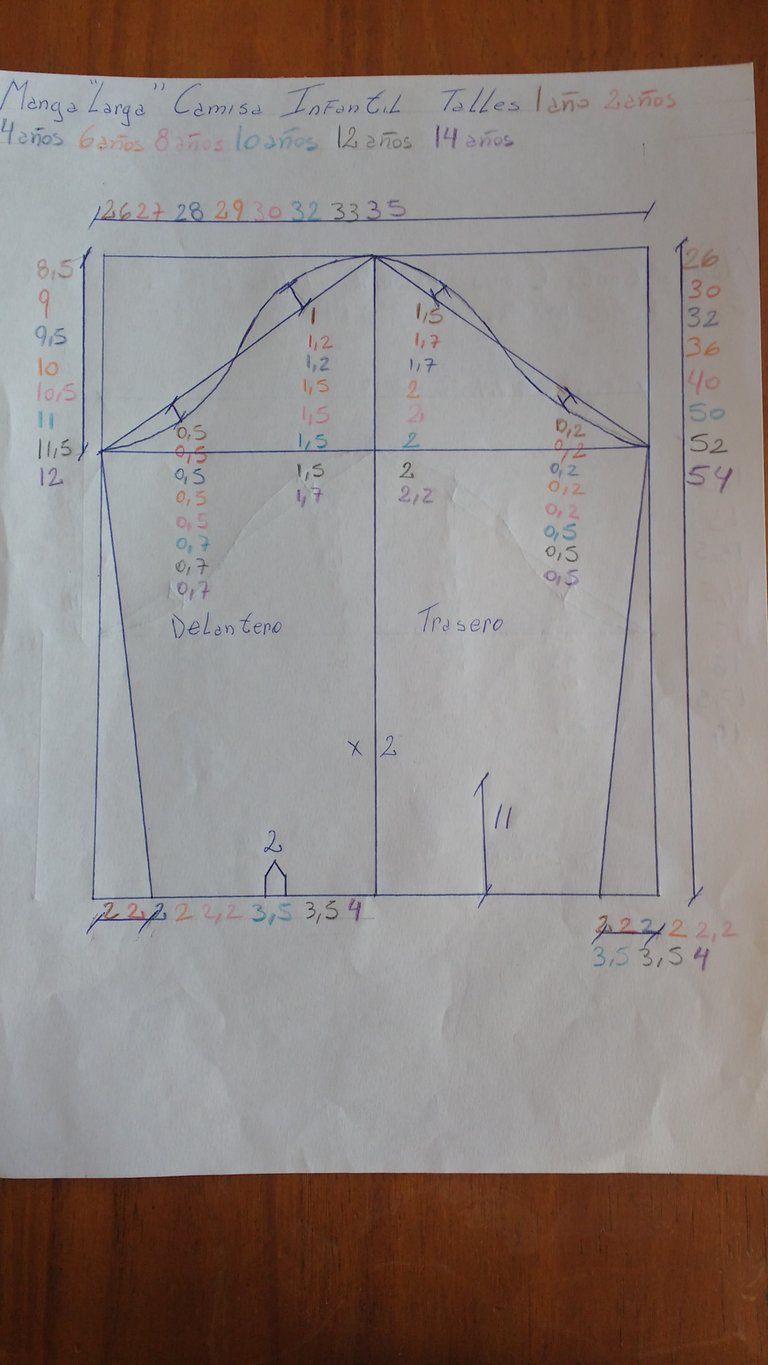
This shirt has two types of sleeves, the image corresponds to a long sleeve mold.
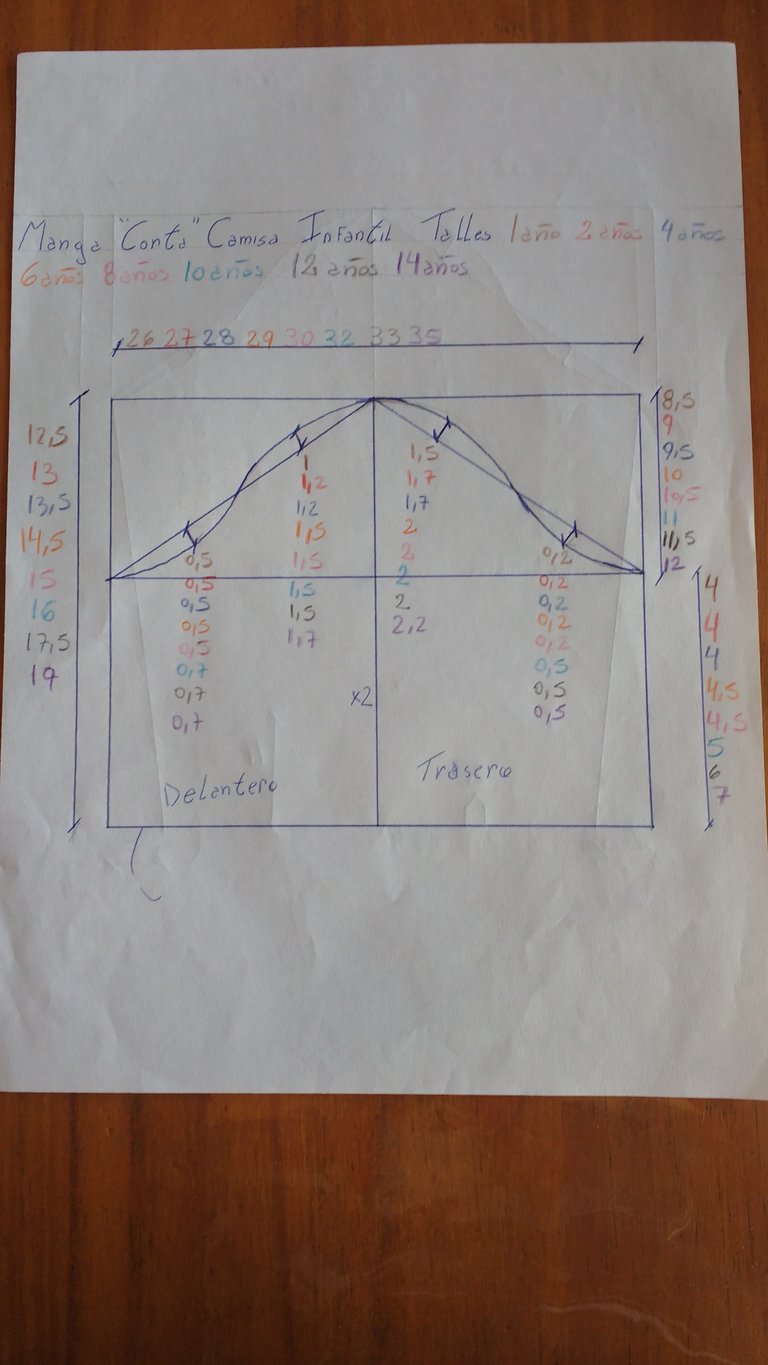
Short sleeve mold.
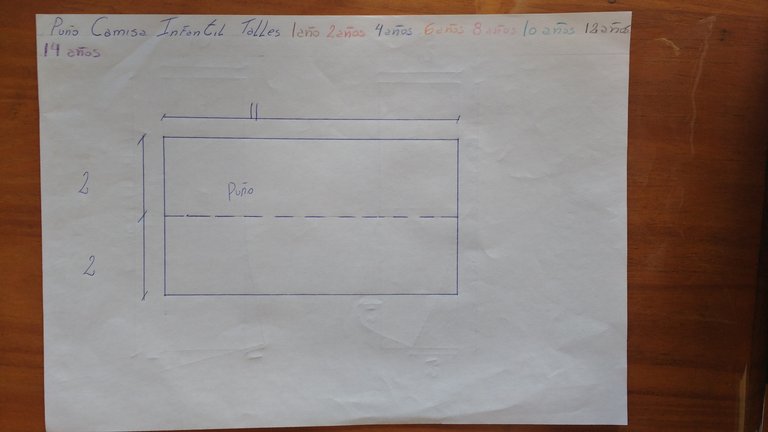
In the case of making long sleeves, the cuff would follow these measurements.
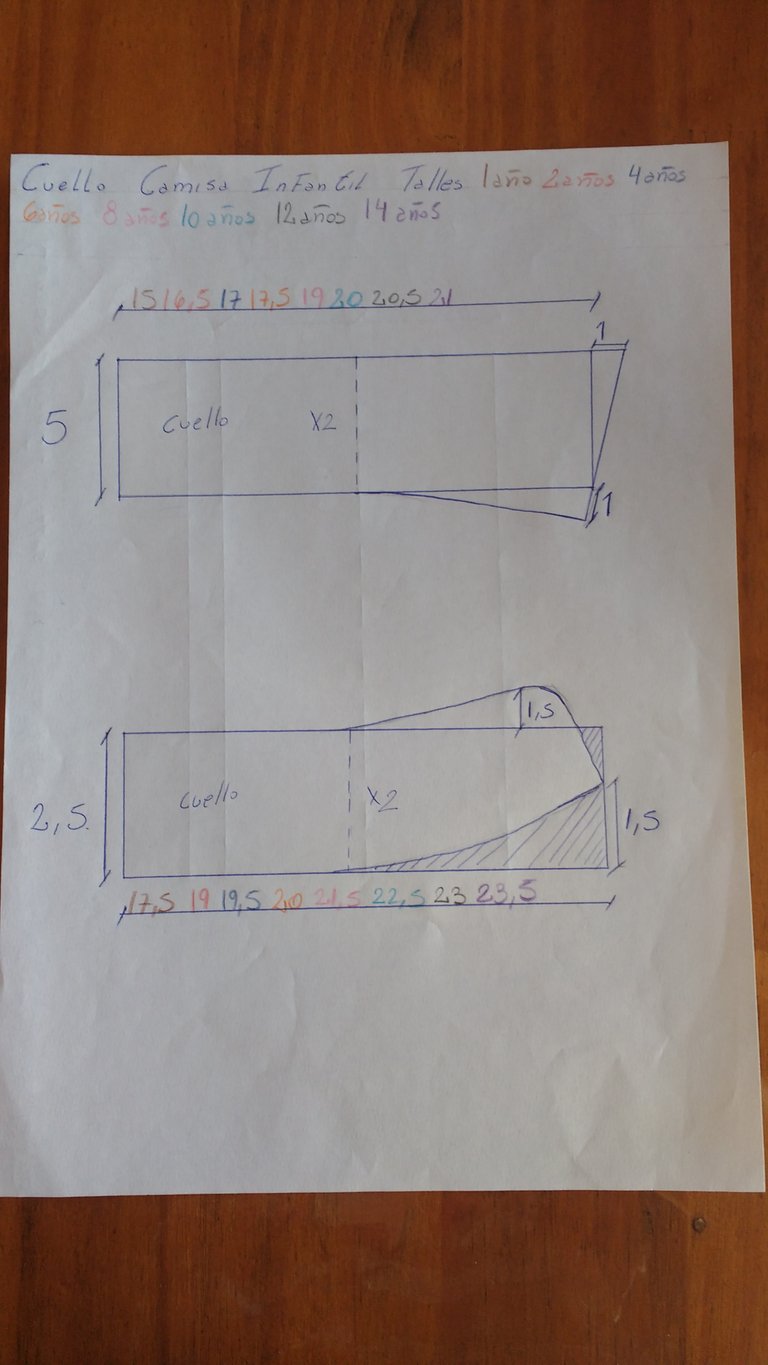
Neck measurements.
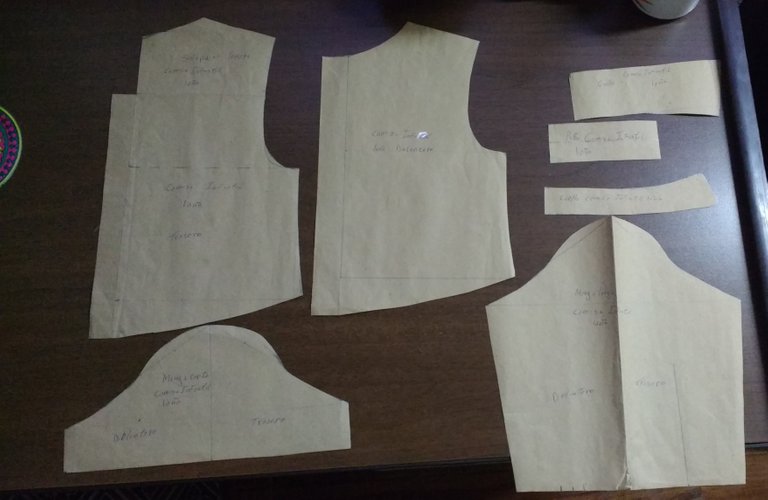
This is how the mold would look once cut, remember to leave 1.0 cm for the seam allowance. In this case I made a 1 year short sleeve shirt.
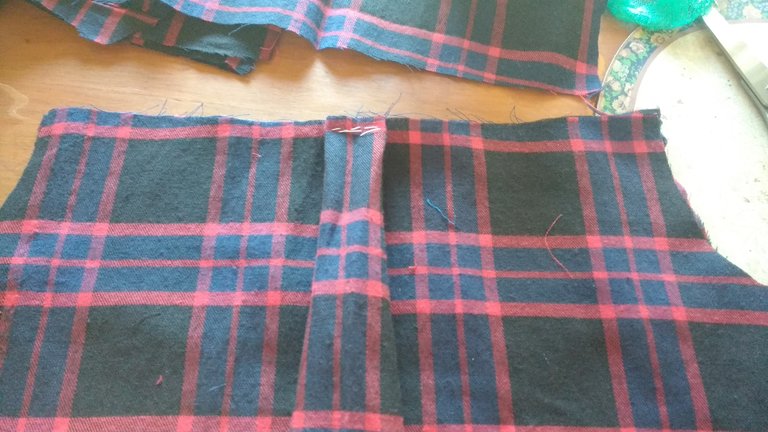
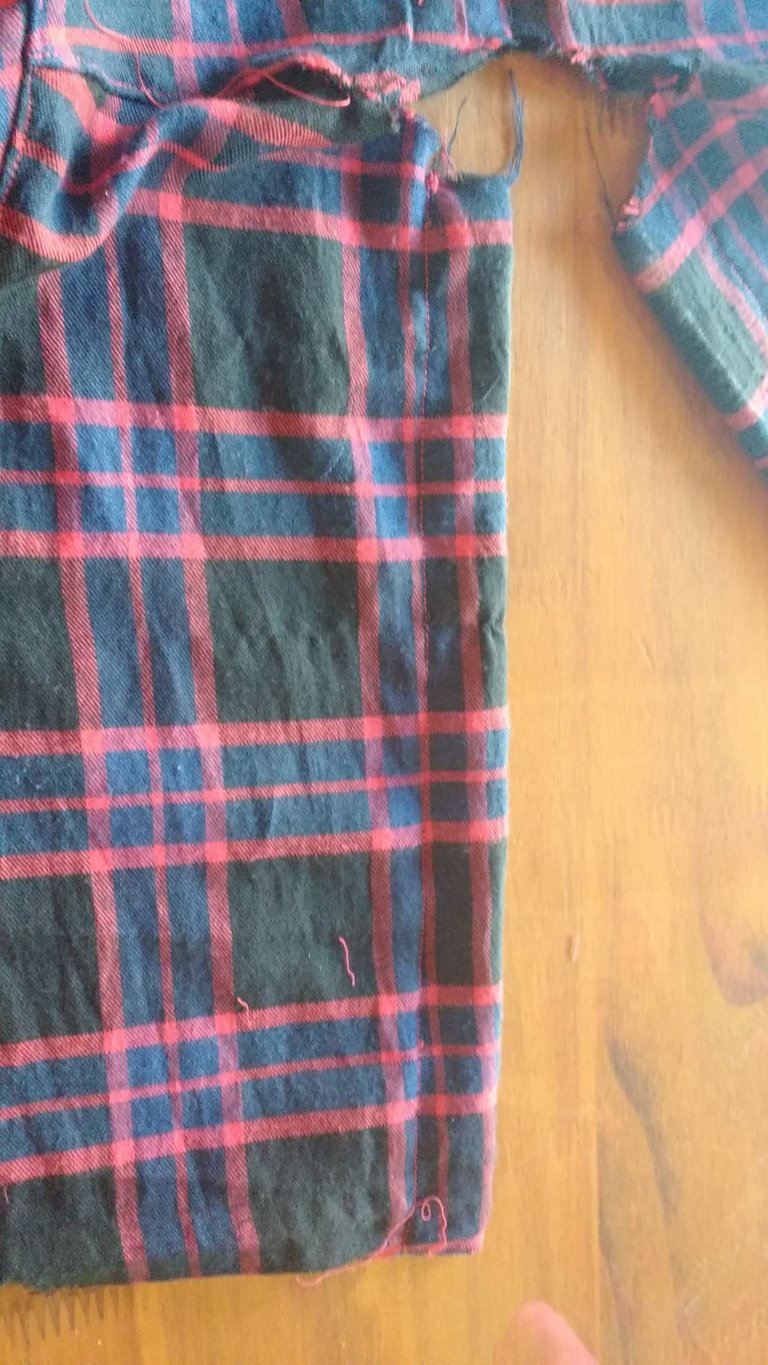
Well, once we have everything ready, we start making. The first thing we are going to do is secure the clip on the back of the shirt, as seen in the image.
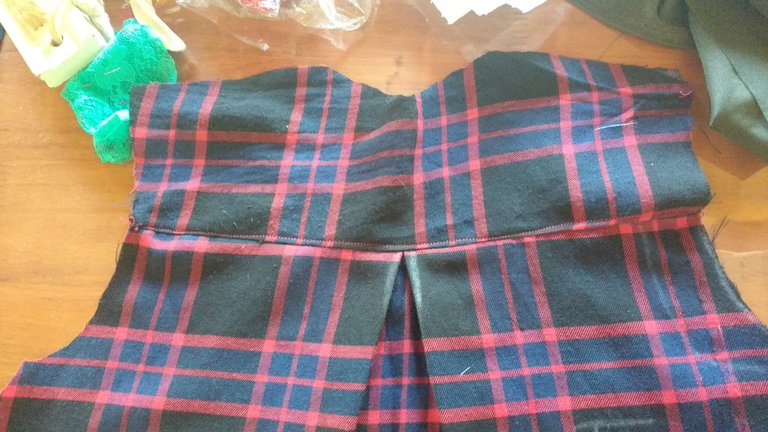
Then we put the flap, they must be 2 since one goes on each side, we sew and secure the seam, as seen in the image.
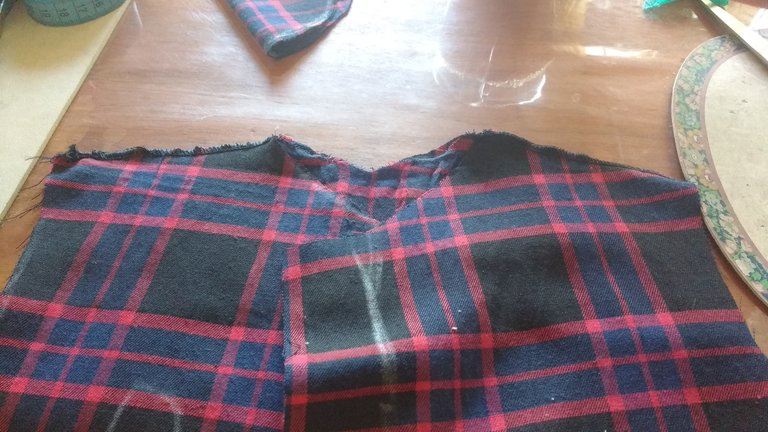
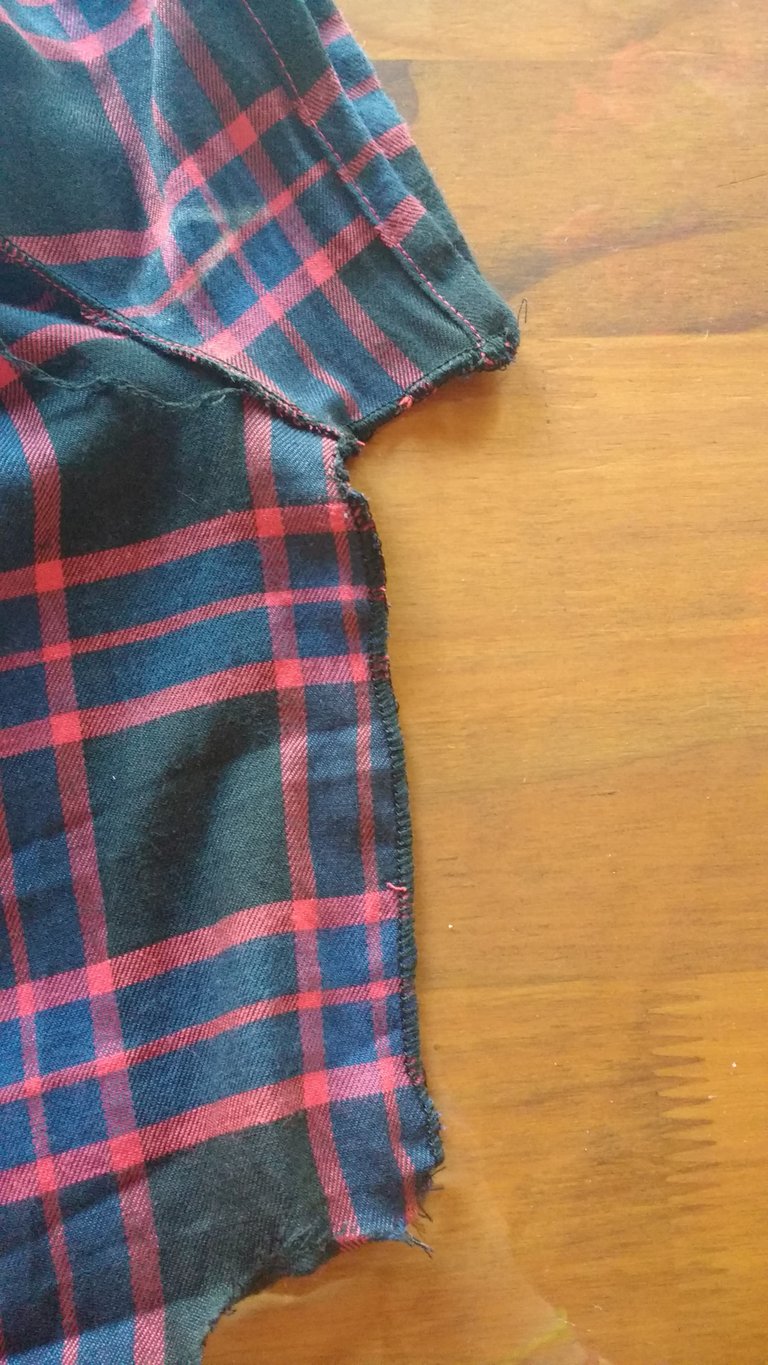
Then we put the front and sew them to the back of the shirt, as seen in the image.
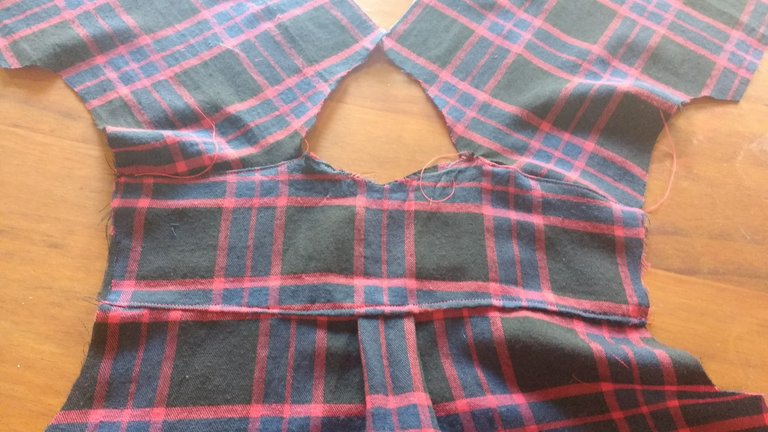
We secure the seams, as we did with the flap.
To place the sleeves, what we do is mark the middle of it, then we secure it to the middle of the shirt and sew. It should look like the image. They can also make the hem of it, since in this case, being short sleeves, it does not have a cuff.
In the front part, we fold the edge and sew it, there we will place the buttons on one side and the buttonholes on the other.
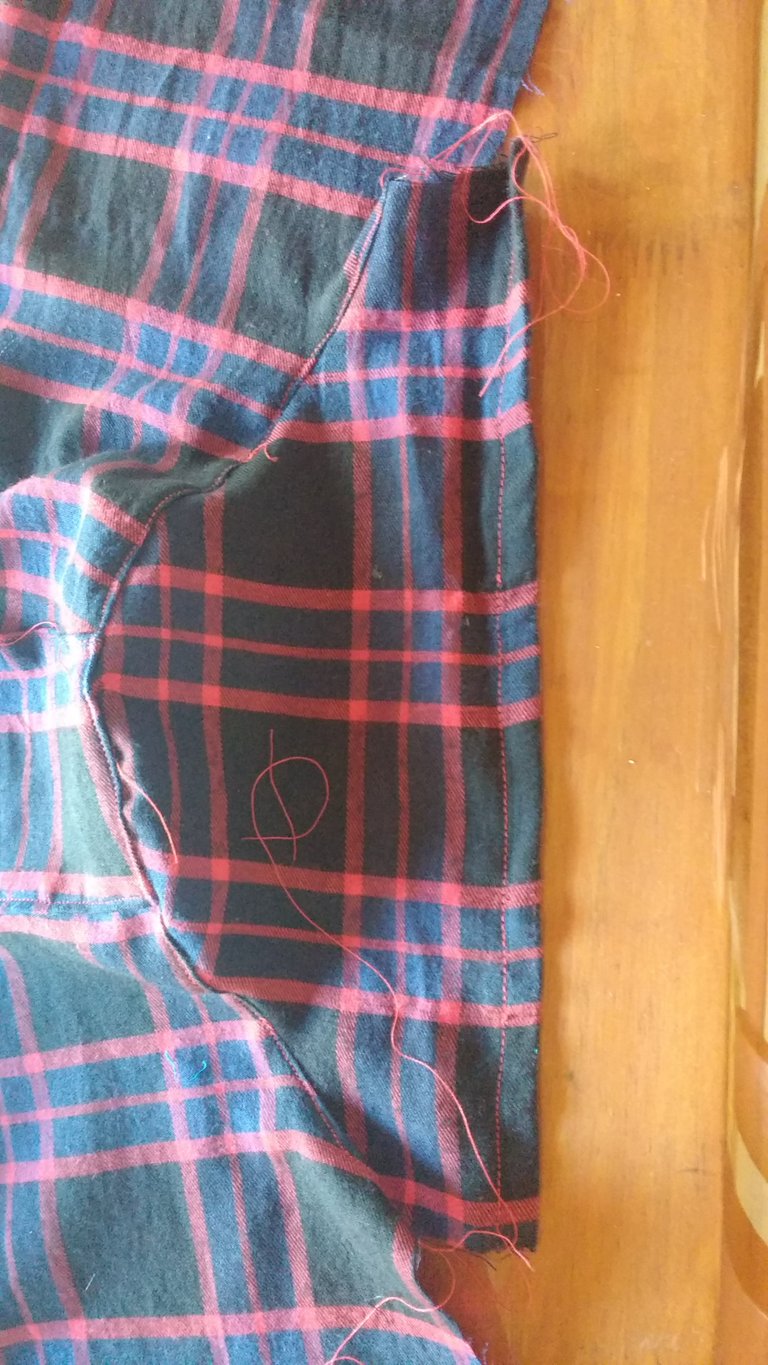
Having all this, we can sew the sides of both sides.
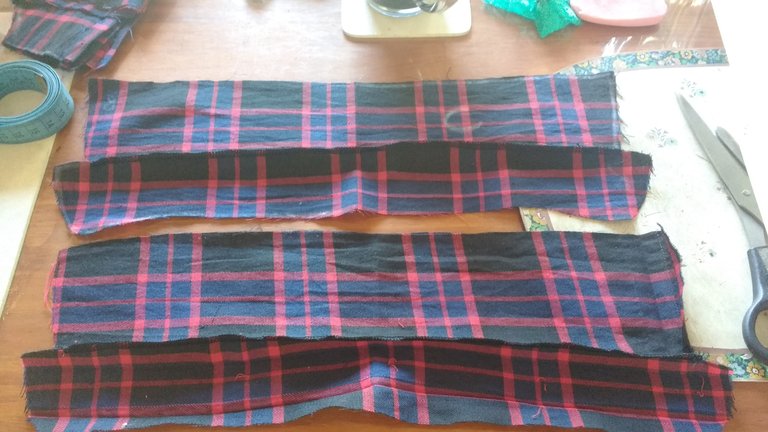
Time to make the neck, for this we sew both sides, as seen in the image, and then we join them.
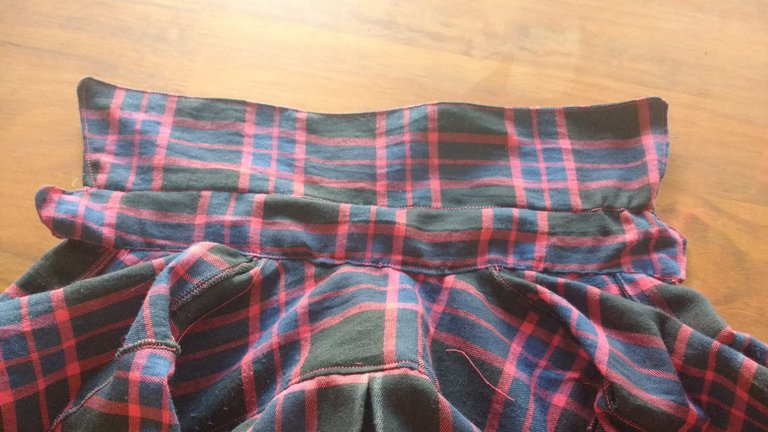
Having the neck ready, as in the sleeves, we mark the center and secure it in the center of the shirt, then we sew it from end to end, as seen in the image.
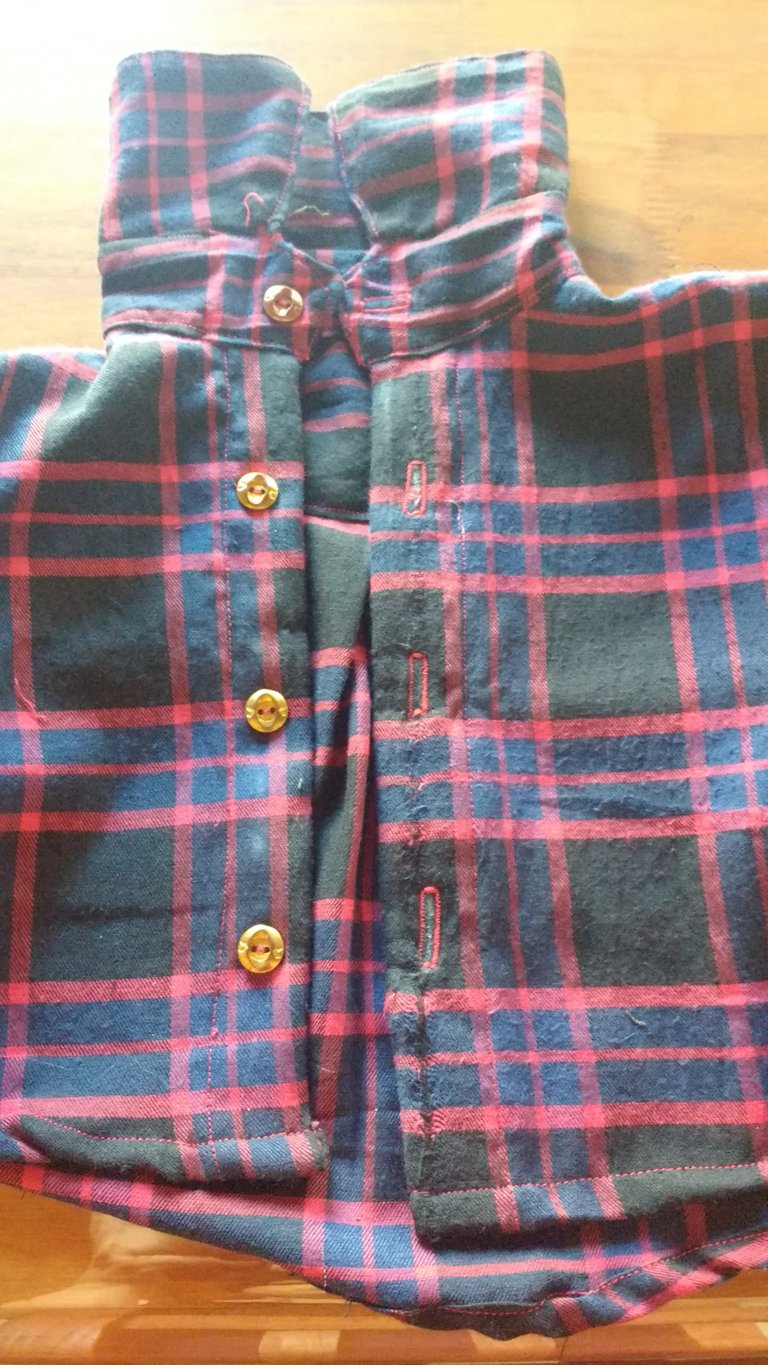
The distance of the buttons will vary according to the size of the shirt they make, they are usually 8.0 cm, in the case of a shirt for adults, but in this case I reduced that measurement since it would not be aesthetically neat.
The buttonholes must be marked at the same distance as the buttons, so that they are not too large, what they must do is measure the diameter of the button and pass this measurement to the buttonholes.
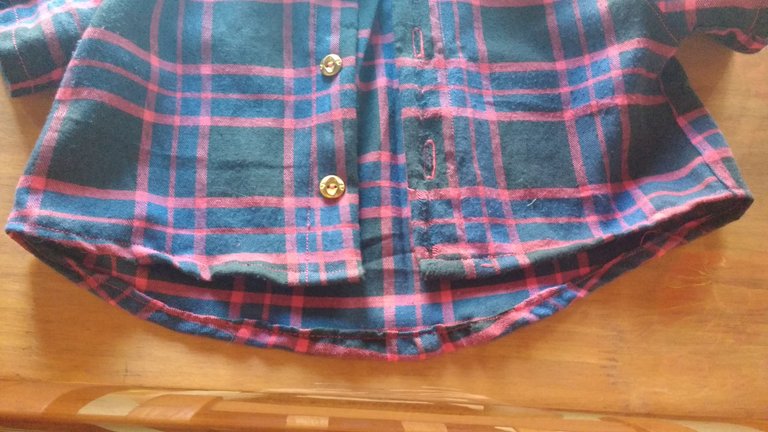
Finally, we make the hem around the contour of the shirt, for this we just have to fold the fabric and sew.
In case you want to make a long-sleeved shirt, you can check one of my previous posts where I make a shirt for adults, there you will find the step by step of how to make it.
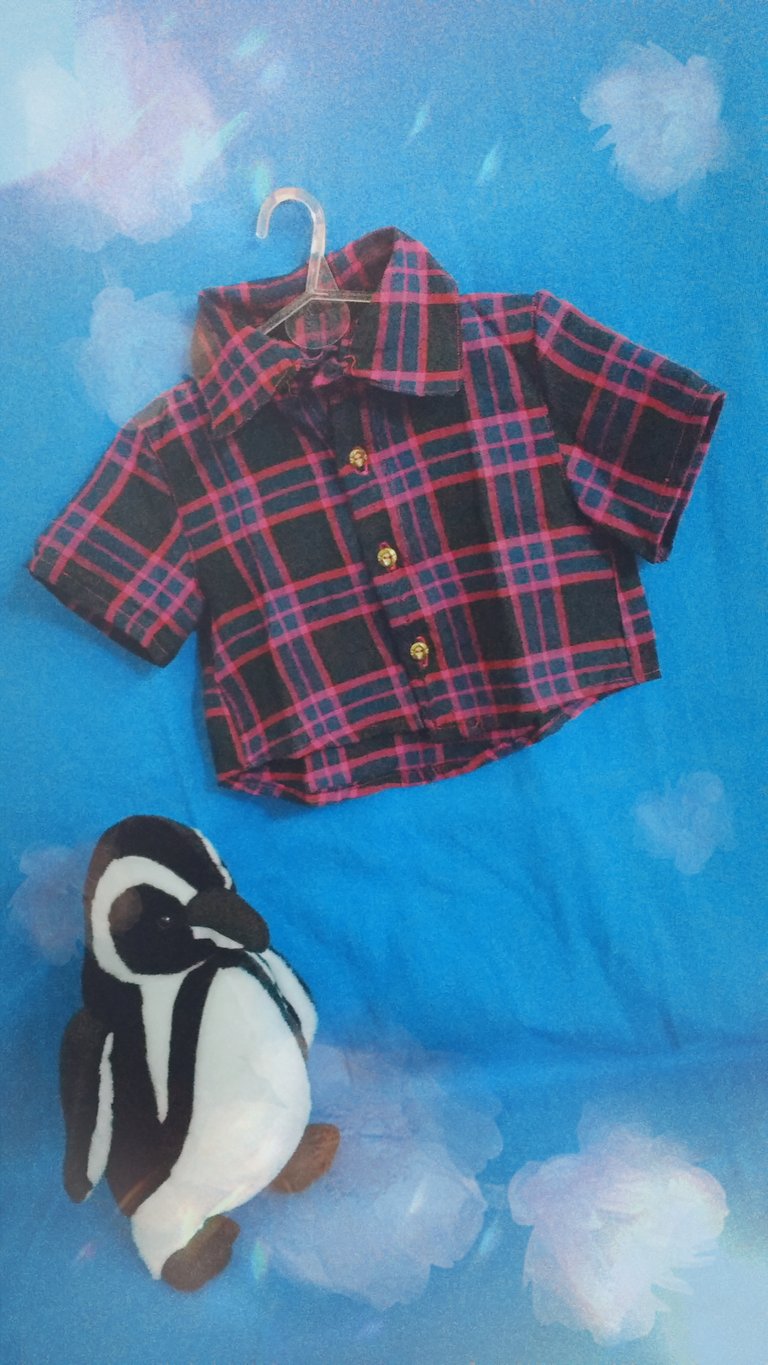
Image that I will soon be publishing on my Instagram @fire_rabbit.
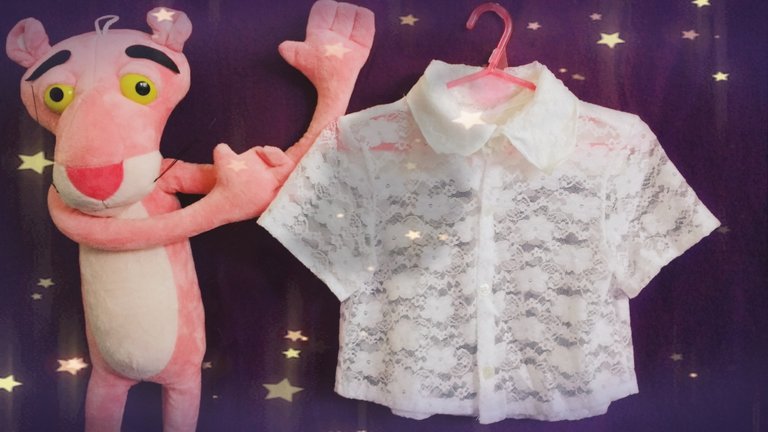
Image that I will soon be publishing on my Instagram @fire_rabbit, in this case the shirt is made with lace.
The shirt turned out really cute!
@crosheille
I am glad to read that 😊
Congratulations @firerabbit! You have completed the following achievement on the Hive blockchain and have been rewarded with new badge(s) :
You can view your badges on your board and compare yourself to others in the Ranking
If you no longer want to receive notifications, reply to this comment with the word
STOP