Hello, the last mold that I bring you (for this year that ends) is the classic trousers, the sizes go from 36 to 56, with the colors that differentiate them.
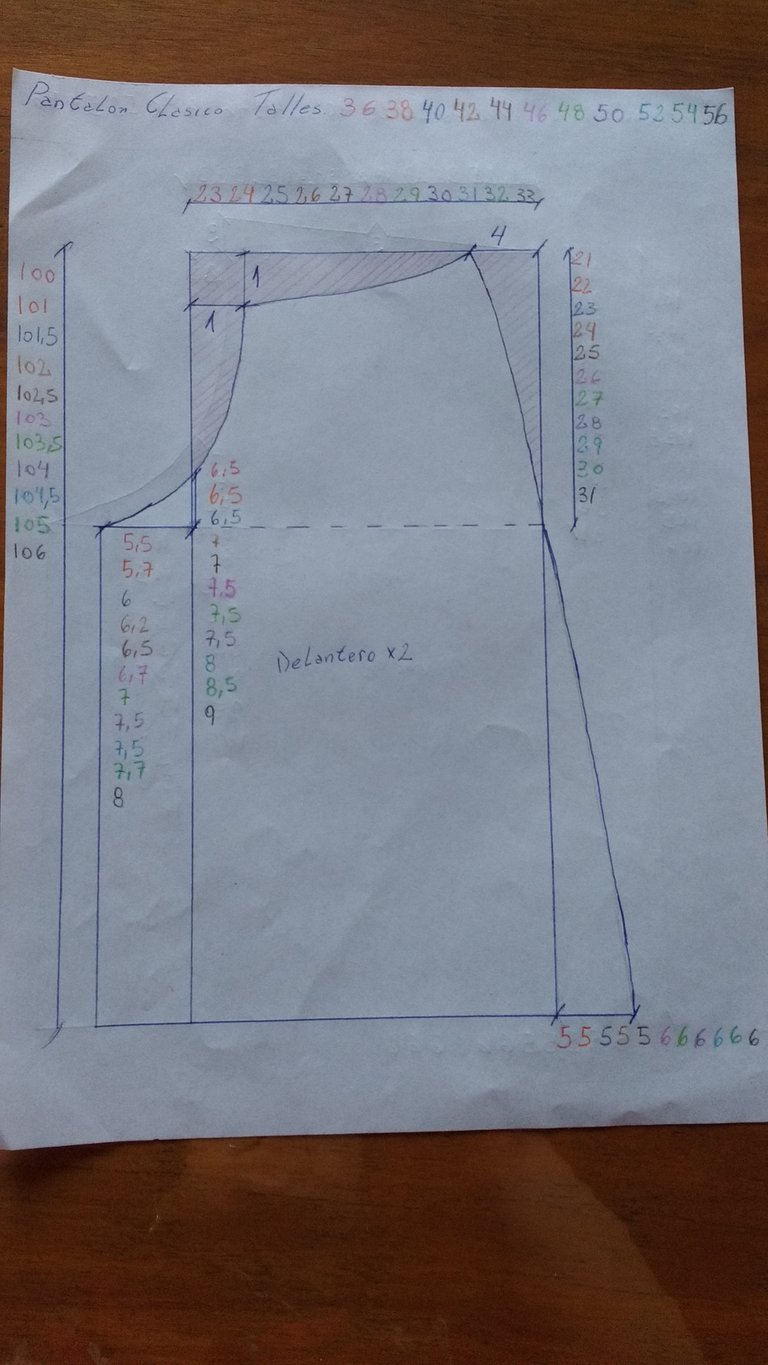
Front mold.
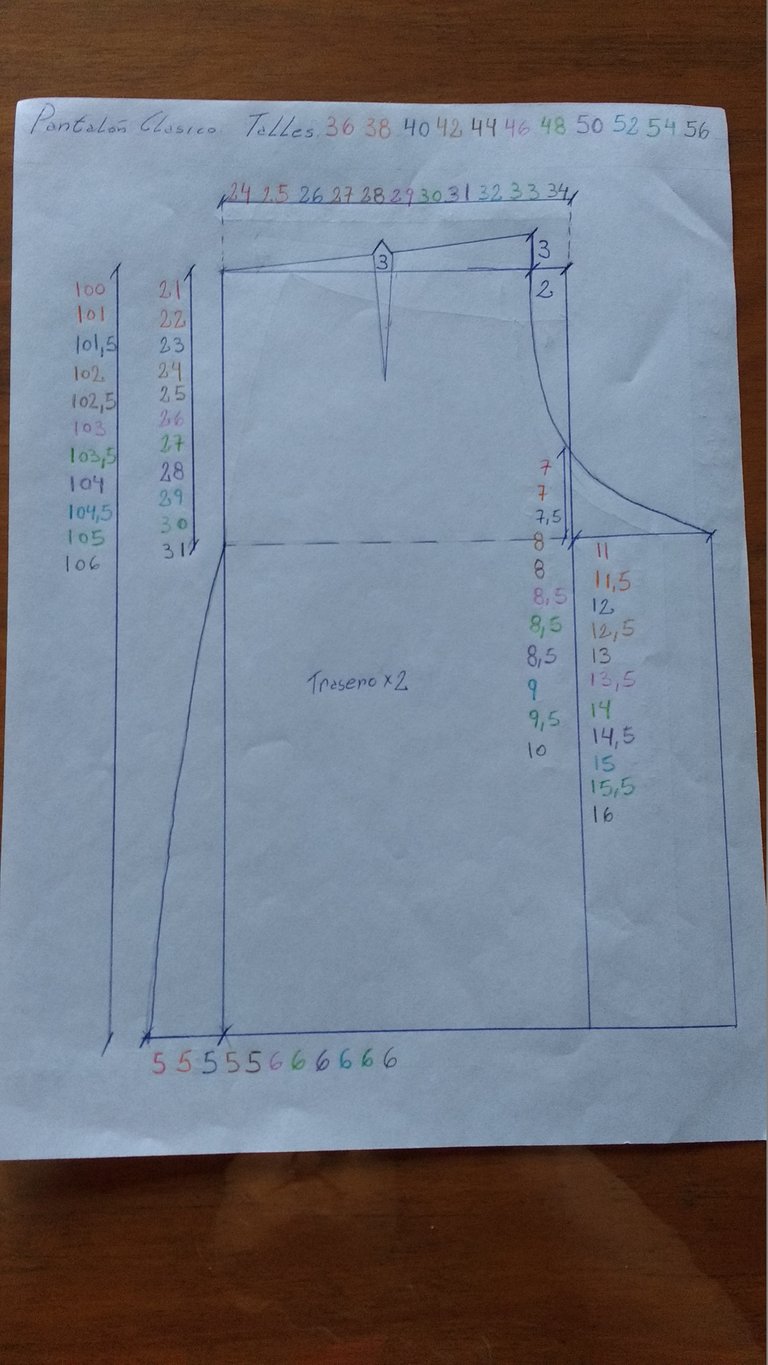
Rear mold, in both (front and rear) the measurements that are in the pen are not modified according to the size.
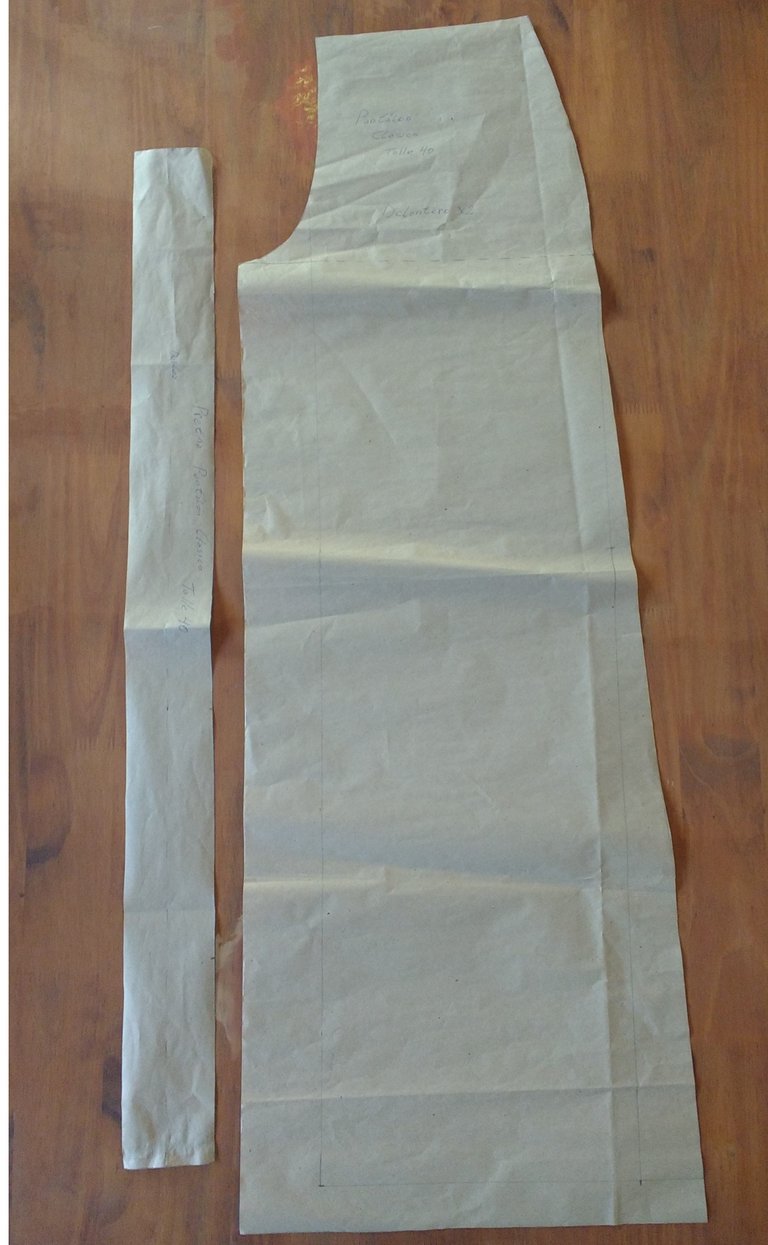
Mold already cut, front.
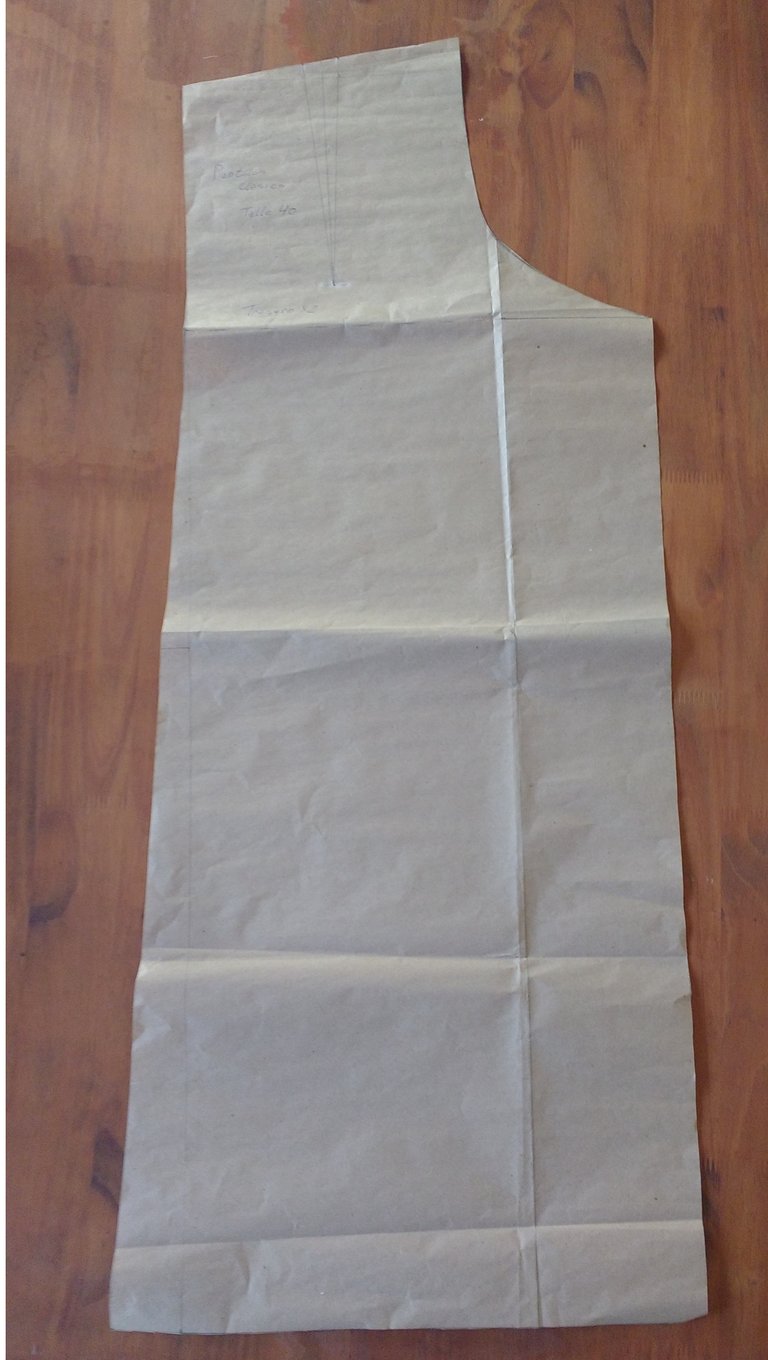
Rear. For the waistband, the measurements will be written to you:
Size: 36 Strip of 77.00 cm,
38 strip of 81.00 cm,
40 strip of 85.00 cm,
42 strip 89.00 cm,
44 strip of 93.00 cm,
46 strip of 97.00 cm,
48 strip of 101.00 cm,
50 strip of 105.00 cm,
52 strip of 109.00 cm,
54 strip of 113.00 cm,
56 strip of 117.00 cm.
All strips must measure (folded) 3.5 cm. The closure of all sizes is 20.00 cm.
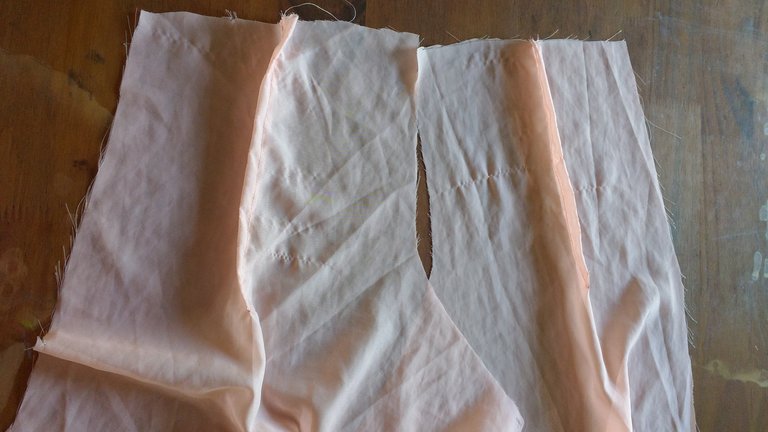
At the time of making, the first thing we are going to do is sew the rear darts on each side, as seen in the image.
Then we sew the back shot.
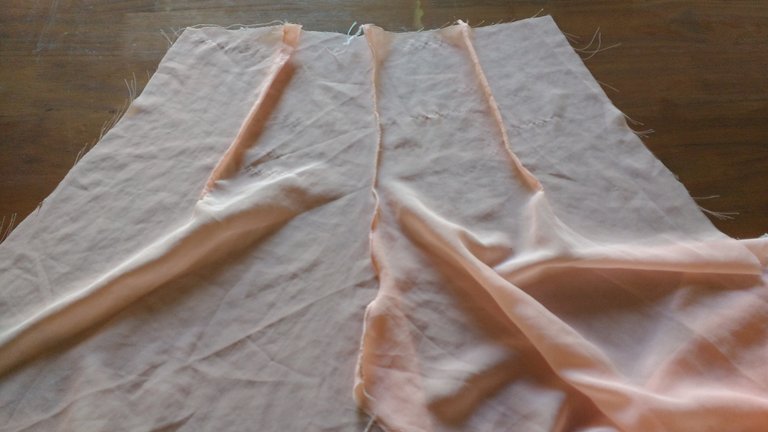
Next, we sew the shot of the front part and join the inner sides of the pants, as seen in the image.
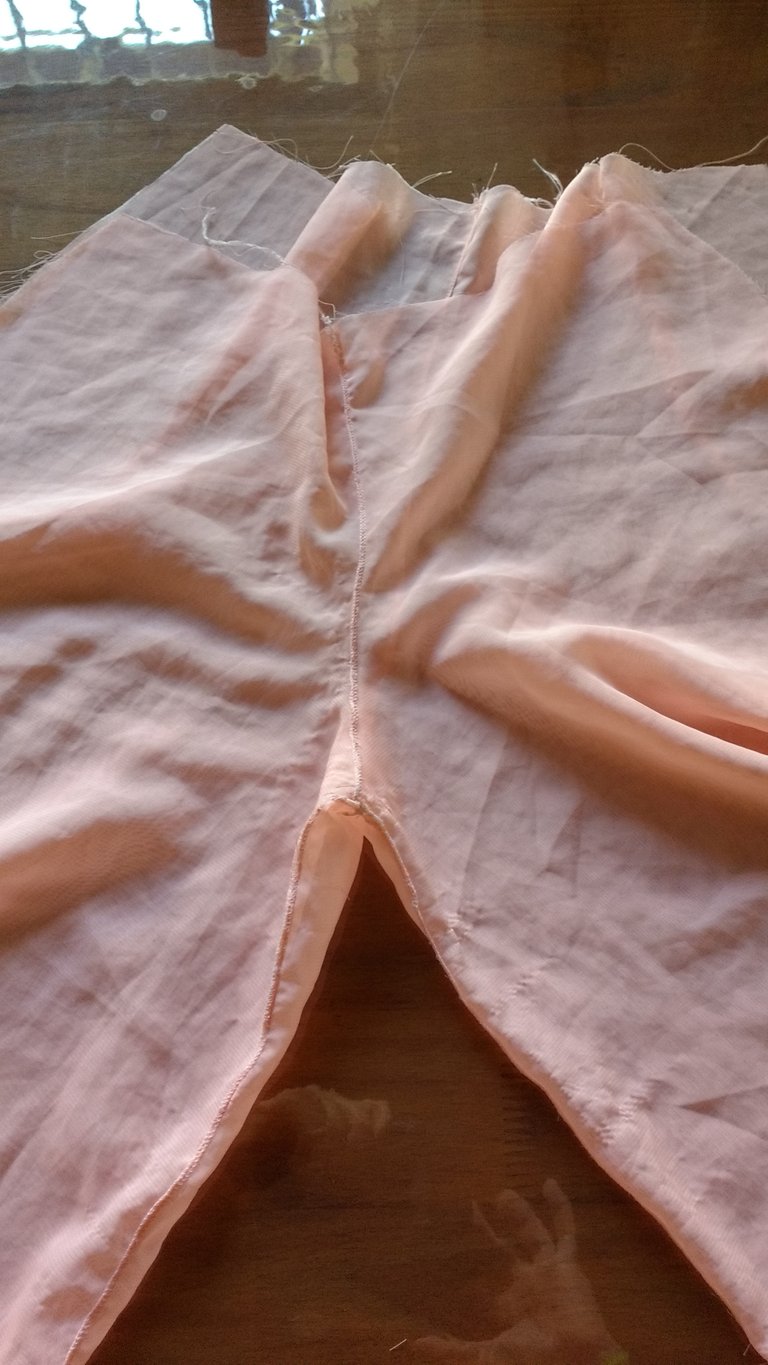
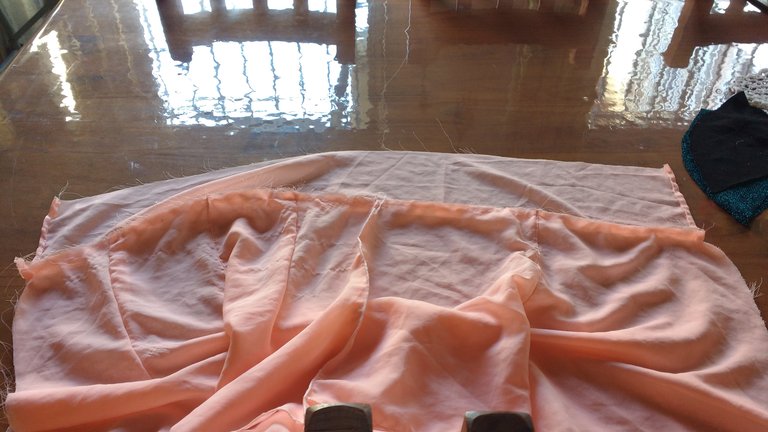
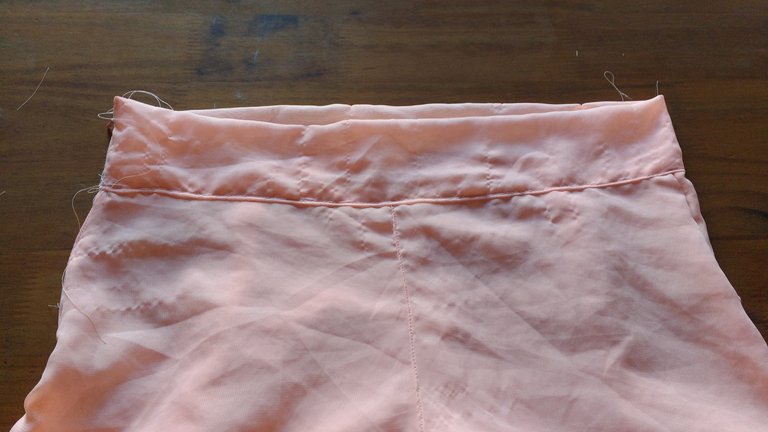
In this case, as the fabric is quite translucent, what I did was cut a shorts with the same measurements and then sew it to the pants. Keep in mind that before attaching it, you must sew the shot and the internal part, to later be able to sew it next to the sides of the pants. As seen in the image.
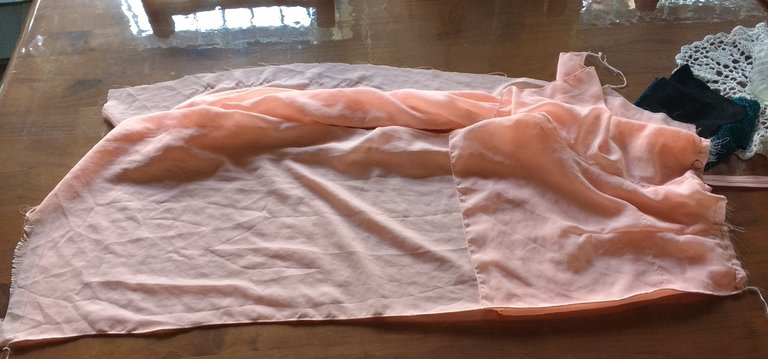
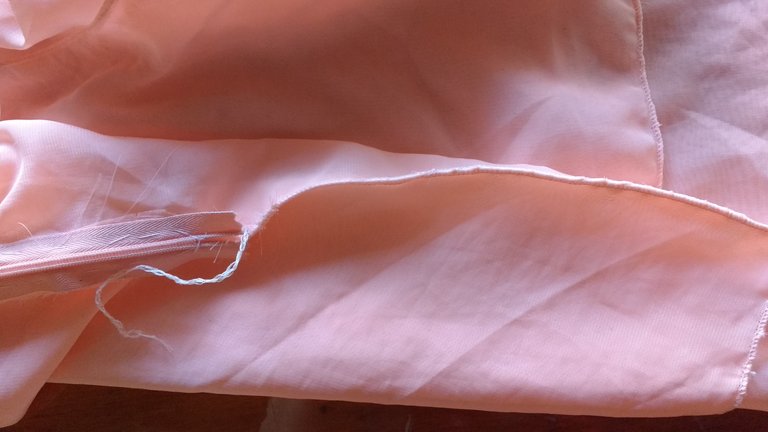
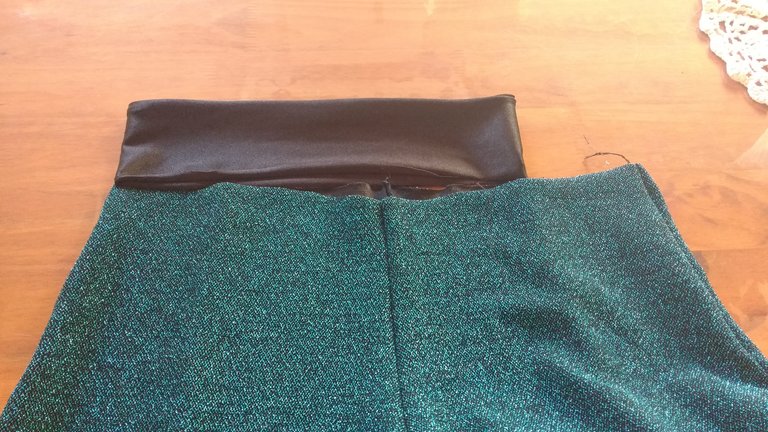
When putting on the waistband, remember that as these pants have a closure, you only need to sew one side. The waistband should be placed along the entire waist, as seen in the image, I place it open to make it easier for me.
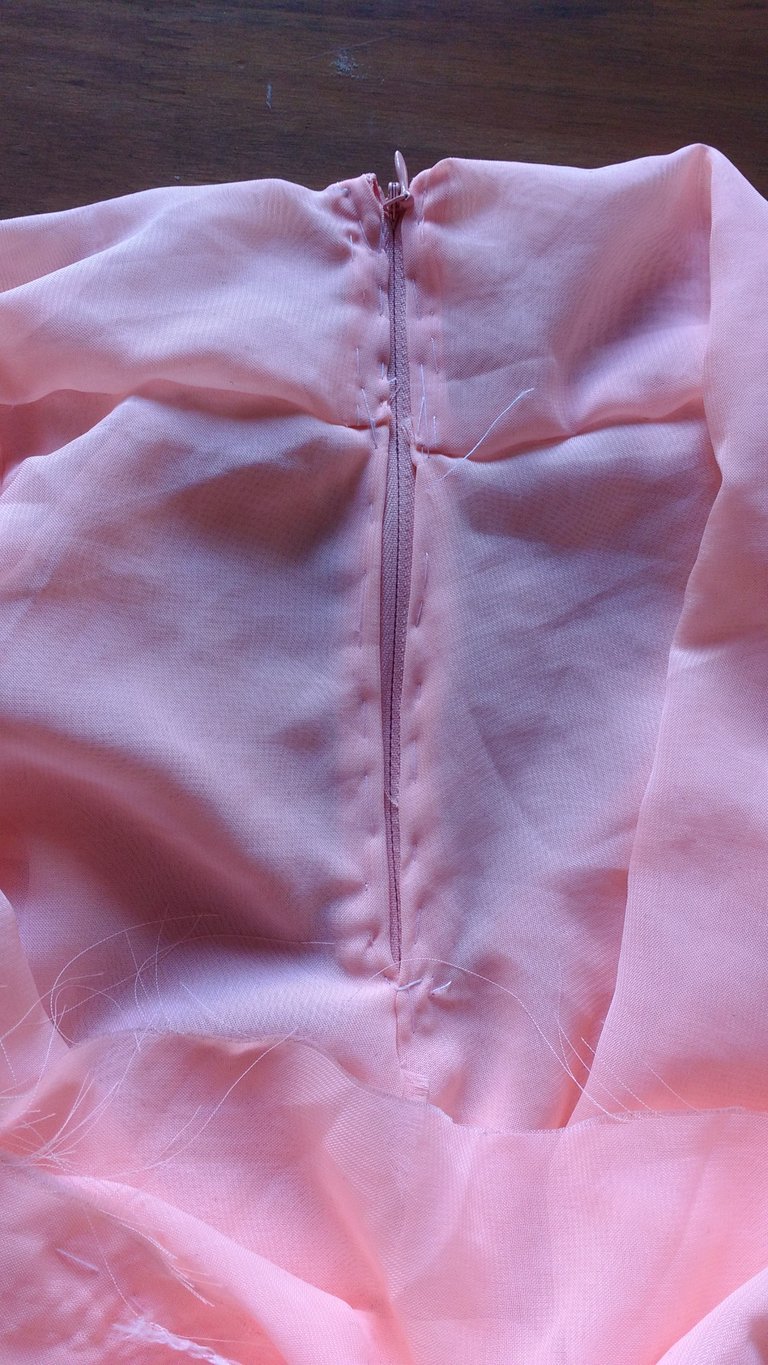
After having secured the waistband, they put the closure on, and since the waistband was not folded, what they must do is wrap the closure with it. As seen in the picture, with the rest, they just need to fold and wrap the closure. To later sew it.
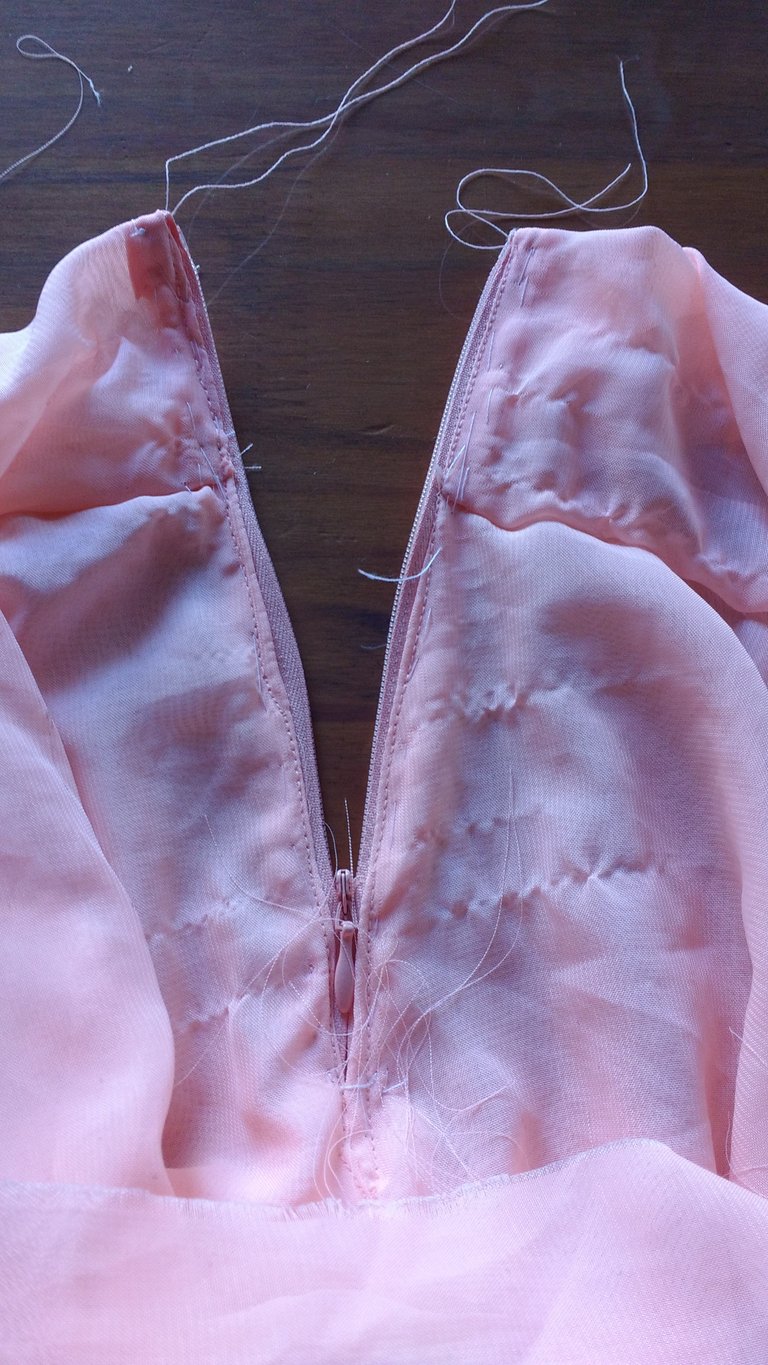
Below the limit of the closure, already secured and sewn, what they must do is close the side. As seen in the image.
This is how the closure should be, in this case I use an "inverted" closure, that is, the teeth of it go on the inside of the garment.
Once the closure is in place, they fold the rest of the waistband and sew the entire waist. Finally they make the hem and voila, they finished a classic pants.
Data, in the event that you want to use an elastic fabric and a waistband of the same type of fabric, what you must do is eliminate the closure. As for the waistband, they should cut it between 5.00 and 6.00 cm less. Then they sew it to the pants, as in other molds that I have shown you.
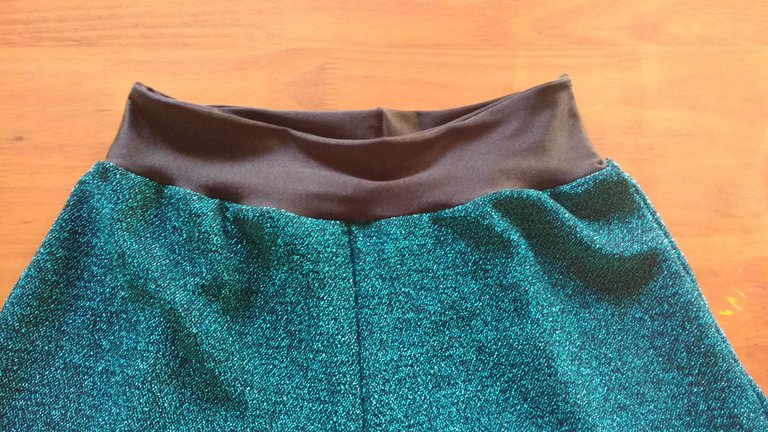
This is how the elastic waistband would be once placed.
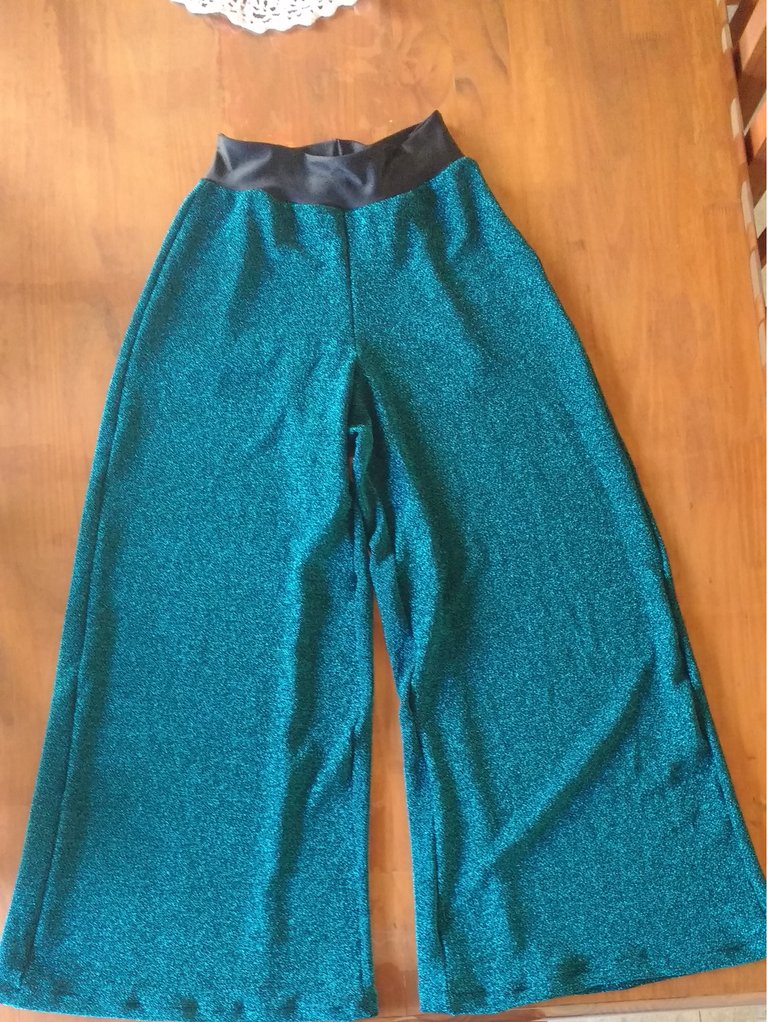
Finished pants.
I love the wide legs in these pants and how the waistband looks. These are really cute. Thank you for the tutorial and all of the tips you provide :)
Have you considered making your final result photo as your cover image? Us needleworkers appreciate seeing patterns and written drawings and designs and understand it. It may not be that same way for those who are not familiar with needlework. What draws people and intrigues them to the work we do is seeing that finished product...the final results of how our projects turn out. If you show that as the first photo (cover image) you may attract more attention and interested readers to your blog to check out all the process work and love you put into your craft ;)
There’s no harm in trying and see if you get different results as far as interaction and support on your posts :)
Hello, sorry for the delay in my response, I hope you had an excellent end of the year. Thank you very much for the advice and I will take it into account for the next time I upload a garment model. Thanks again, I really appreciate all kinds of advice you give me. 😊
It's okay no apologies ;)
I had a really nice time bringing in the new year with my family :)
It’s no problem at all but a pleasure to help ~
Congratulations @firerabbit! You have completed the following achievement on the Hive blockchain and have been rewarded with new badge(s) :
You can view your badges on your board and compare yourself to others in the Ranking
If you no longer want to receive notifications, reply to this comment with the word
STOPDo not miss the last post from @hivebuzz: