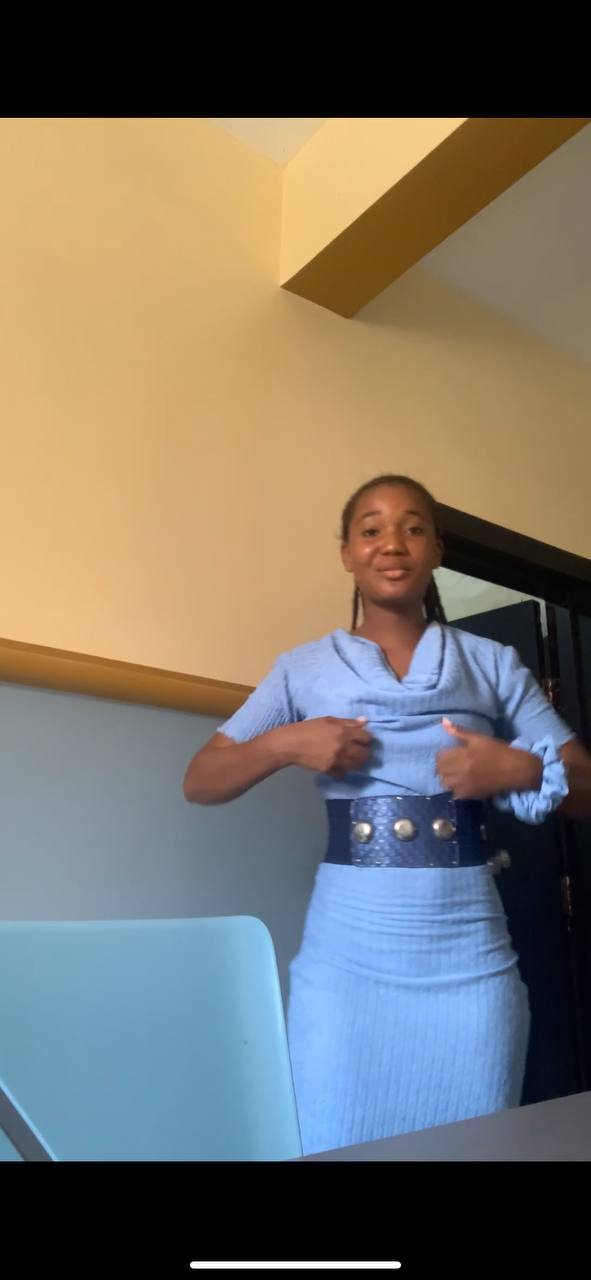
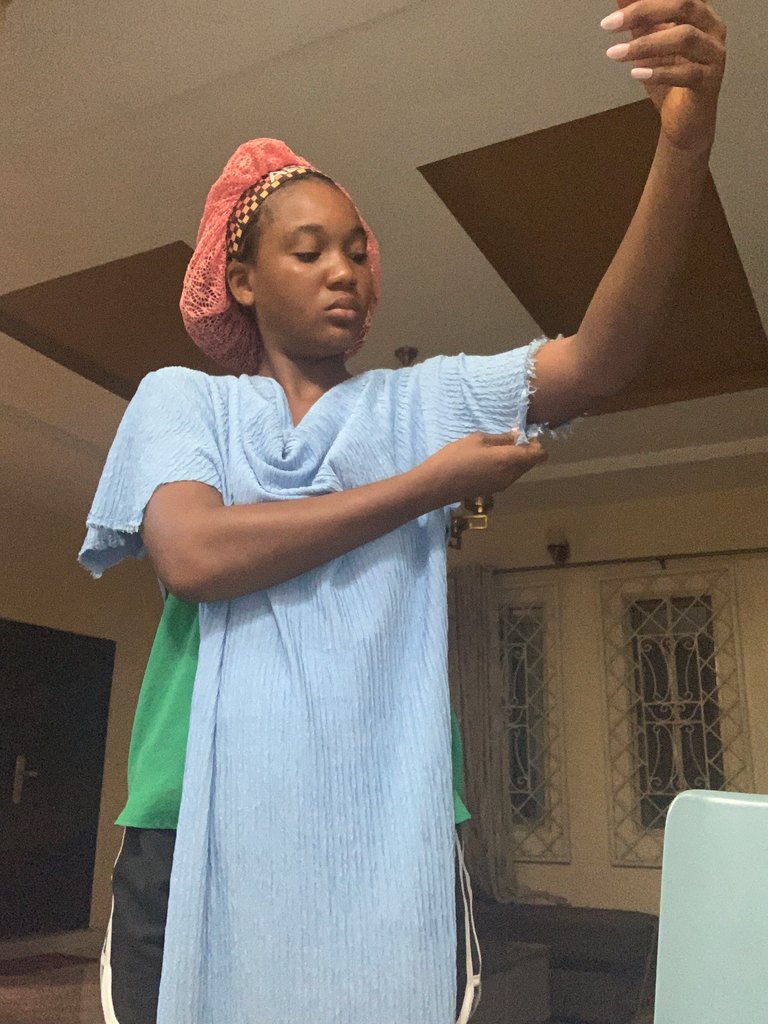
Hey there wonderful people of Needlework Monday, and a happy Monday to you all. Let me take you down the not so long journey of how I made this lovely sky blue dress.

Before I kick off, I would like to dive a bit into my intention of making this dress in the first place. It was inspired by my deep love for natural blue sky and a desire to create a monochrome, which did not turn out as expected, as the outfit didn’t really match with the navy blue belt and didn’t give the effect I wanted, but the dress, however, came out perfect. Better than I expected.
For recreating this dress, all you need are
- A stretchy fabric of your choice of about two to two and a half yards.
- A thread of a matching color with your fabric.
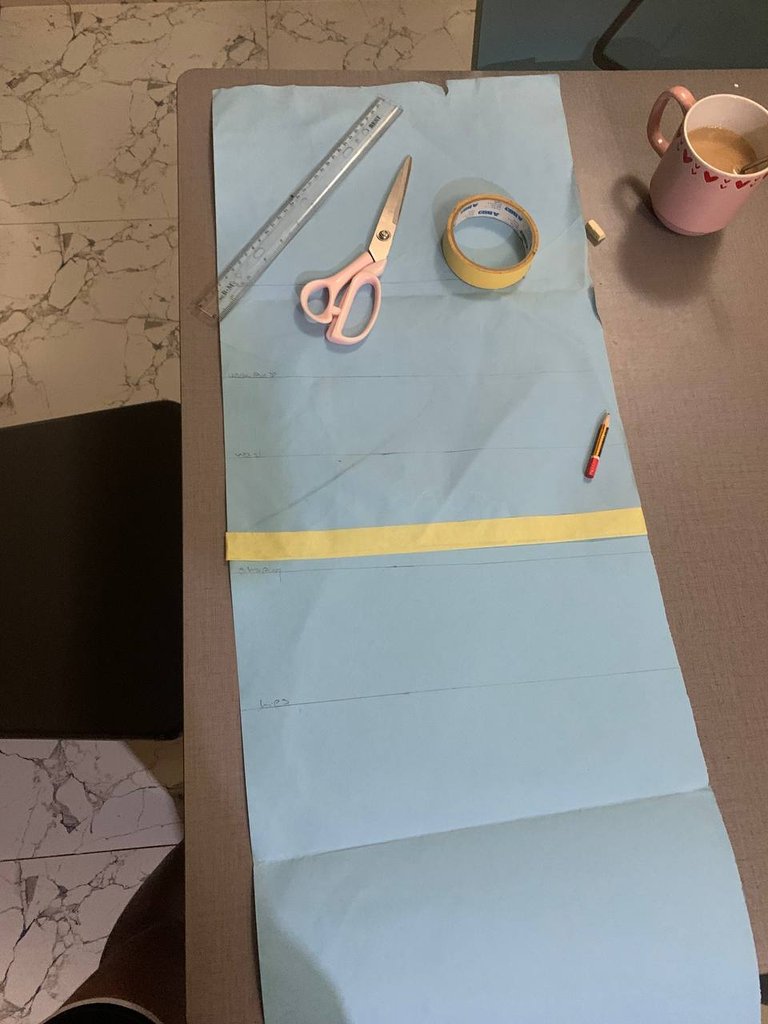
Your cutting paper for your pattern - A paper tape
- A ruler (straight and a curved ruler)
- A pen for markings
- And a scissor
STEPS
I. Step one:
Draft out your appropriate measurement on the pattern paper. To do that, you will be needing the following measurements:
Length
Shoulder
Bust
Underbust
Waist
Body shaping
Hips

And also what I would like to call point measurements, which includes ;
shoulder to bust
The shoulder to under bust
The shoulder to waist
The shoulder to body
Shoulder to hips
Hip length
Basically, this is what this is for. To know the starting points of all your measurements and the ending points. So I call it points because it best helps me understand that I do really know what it is conventionally called by other fashion designers, but I guess point works for me.
Also for those who do not understand what I mean by shaping or body, well, it is simply your lower waist. This measurement is especially for people like me who have a very long stomach area, and I want the dress to fit on every side, but if you are trying this style and you feel you probably don’t need it, then I believe it will come out perfectly regardless. However, I do recommend it for people with long waits like myself.
II. Step two:
After drawing out on your pattern paper, you can use the pattern to cut out just the back. Note we will not be using a zipper because it is a stretchy fabric, and plus the cowl makes it much easier to wear.
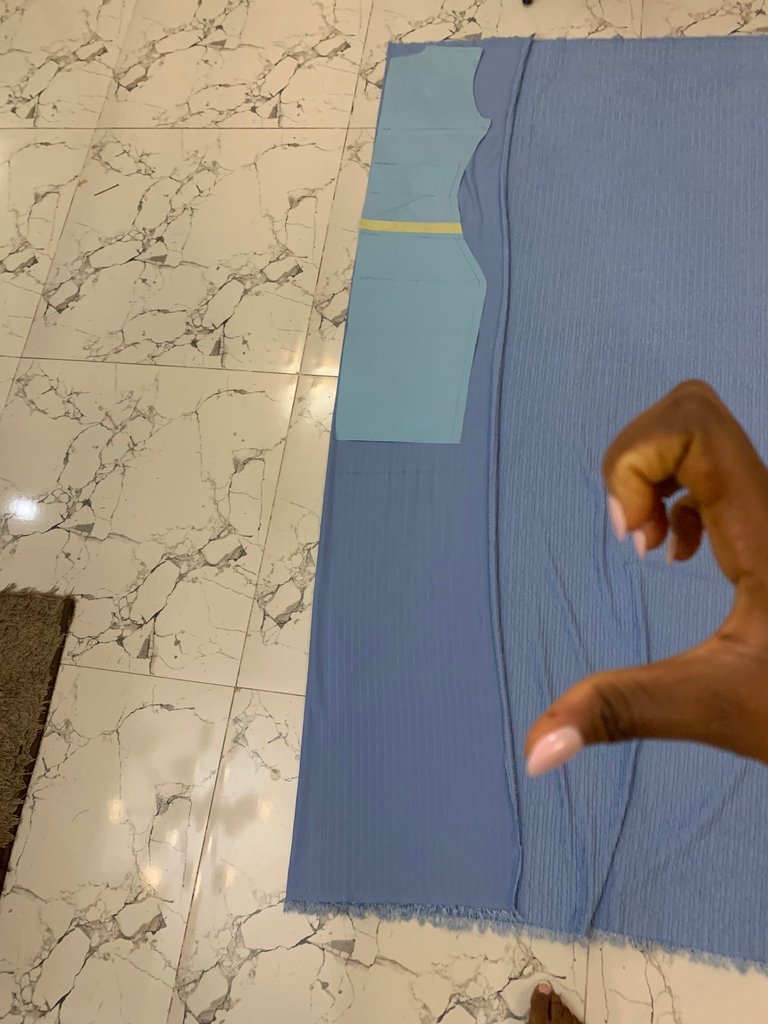
III. Step three:
When you are done with the back piece, keep it aside and get your patterns.
Using your scissors, cut horizontally along the chest line down to the armhole. For a lot of people who may have questions like, Why horizontal? Well, quite frankly speaking, I do not know because the first time I tried this style, I made a vertical line and still had the same result. Anyway, since most of the styles I make, I get guides from the internet, plus the knowledge I already have, I guess it won’t hurt to be spontaneous.
Most of the things I say may sound off if you haven’t read my previous article where I spoke about how I picked up the skill of sewing. If you have, then I’m sure you will understand why I don’t have too many explanations in regards to sewing, because most of the time I’m just like being spontaneous.
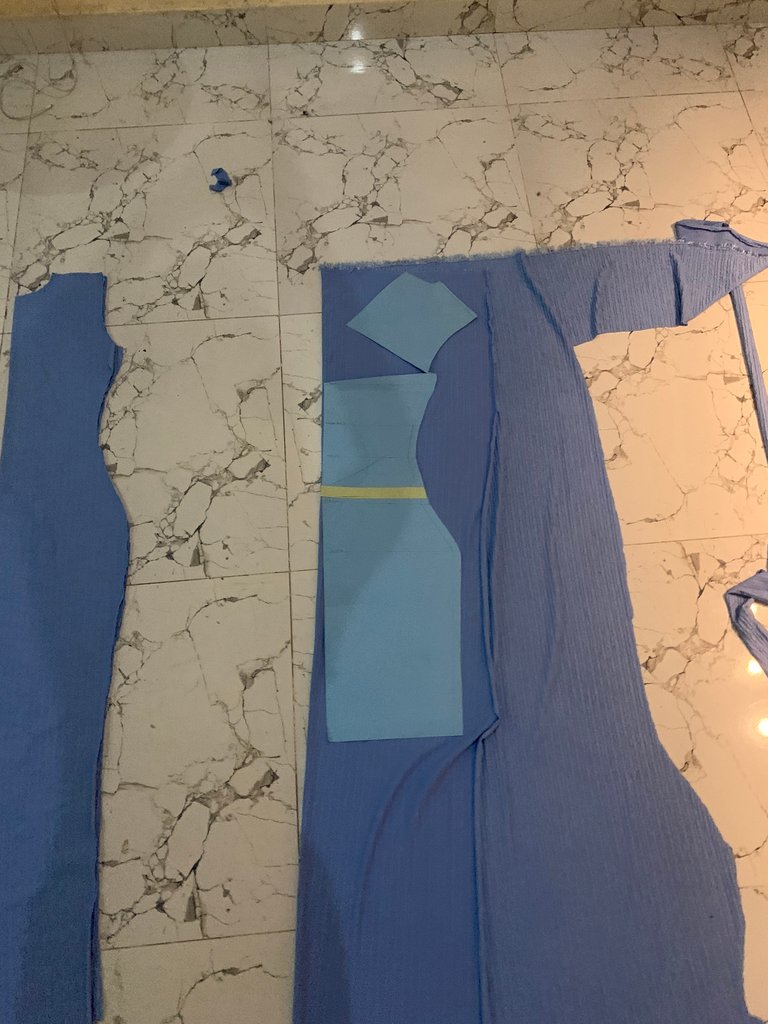
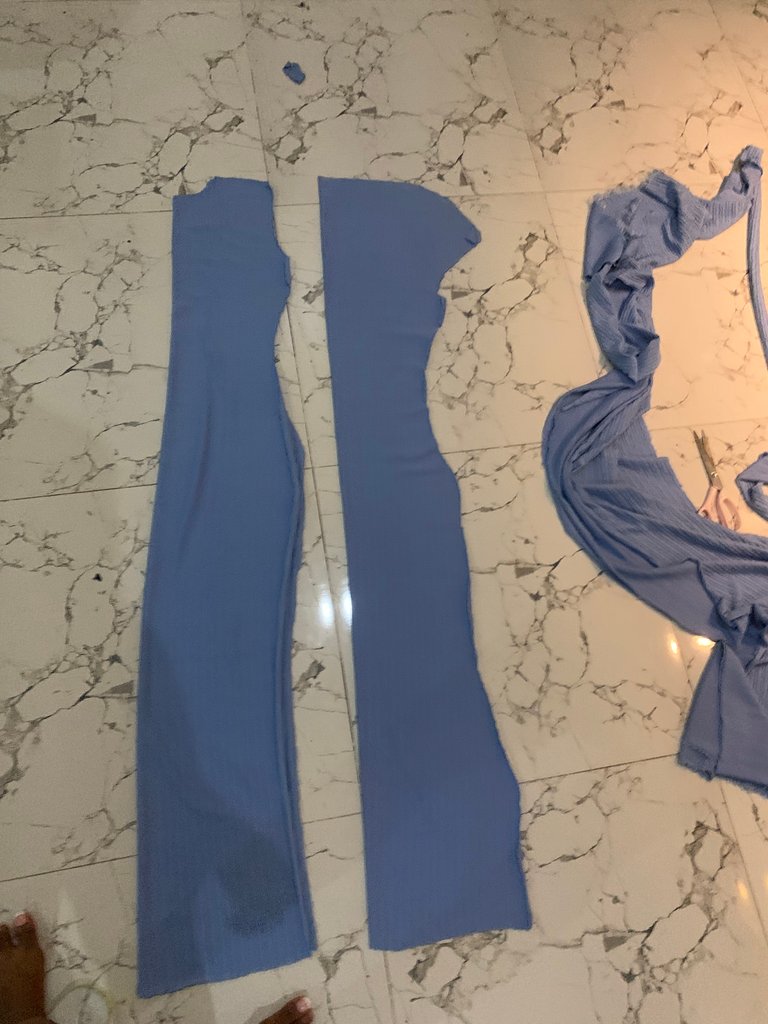
IV. Step four:
After doing the slash, the next thing for you to do is the spread method, whereby you spread your pattern patterns about eight to ten inches wide, all regarding how low you want it to be. As for me, eight was more than enough.
V. Step five:
You get your front piece, spread it out, and cut a similar pattern for it, but it should be shorter, like underbust length, because it will be used as a lining for the neck area.
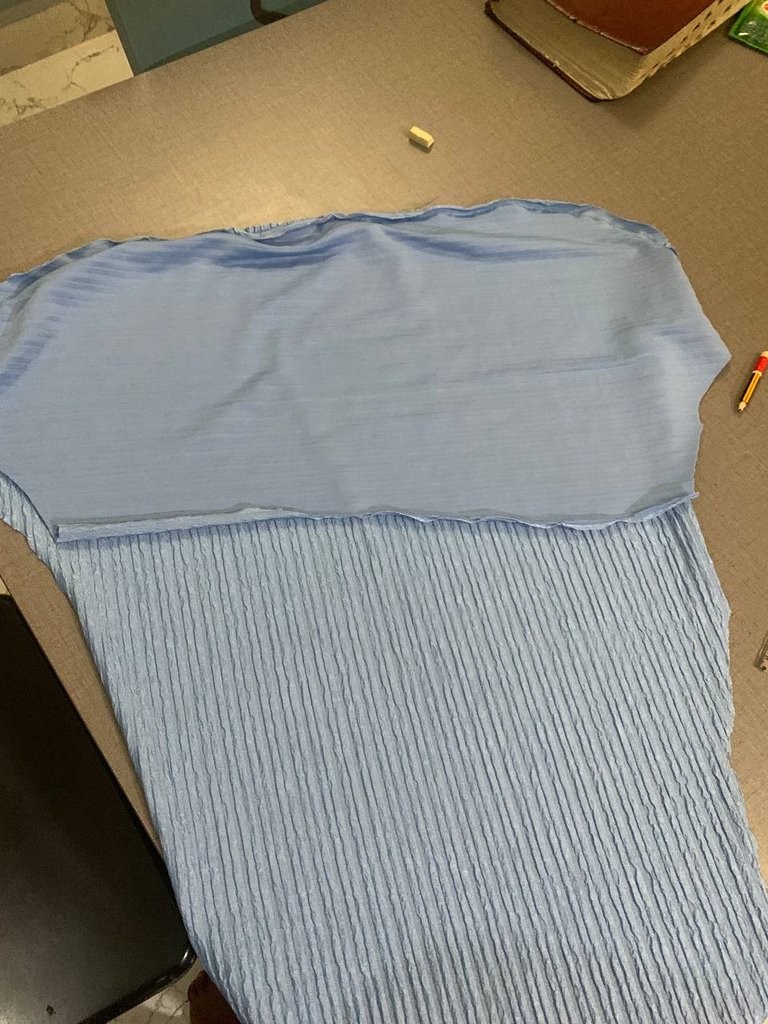
Also get the back piece, and using the fabric as a bias, you can go ahead and pipe the neckline or just fold it with or without a bias; whatever works for you, but I prefer the pipe method, and plus folding clothes is one of my witnesses 🤫as a fashion designer 😂. Also, don’t forget to sew the lining you cut out with the fabric to the front piece, and you’ll already see it coming together.
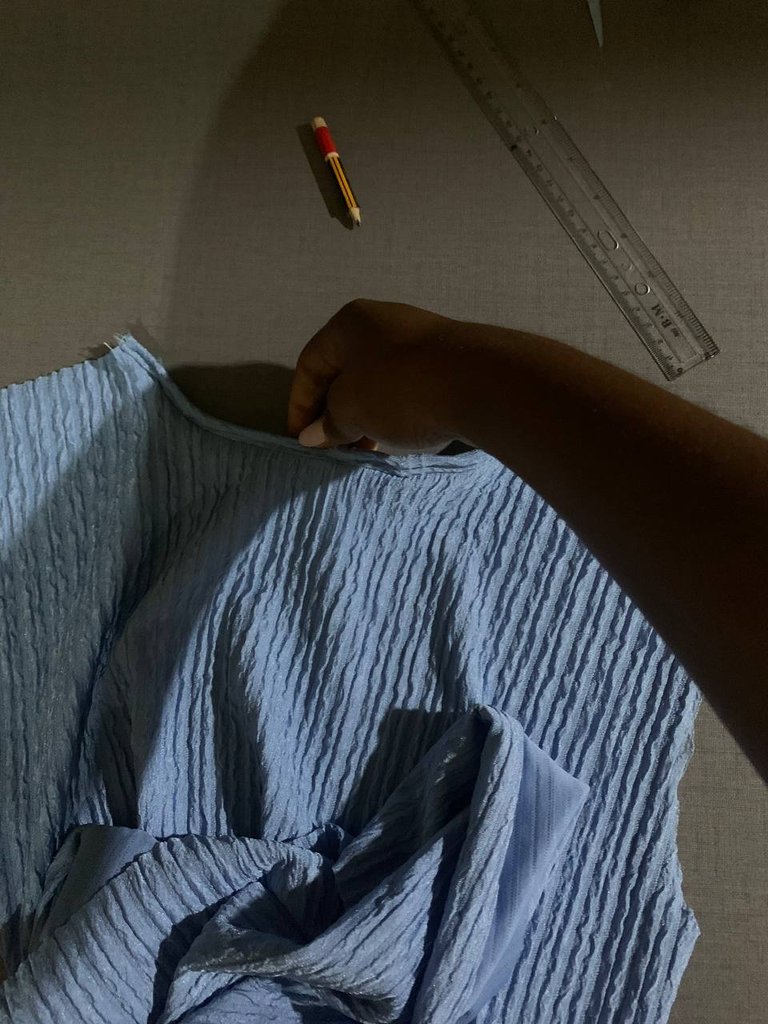
VI. Step six:
Get the front and back pieces and join them all the way to the end. As for me, I decided to leave a side slit that was so last minute minute as I remember how jovial I get after serving. 😉.
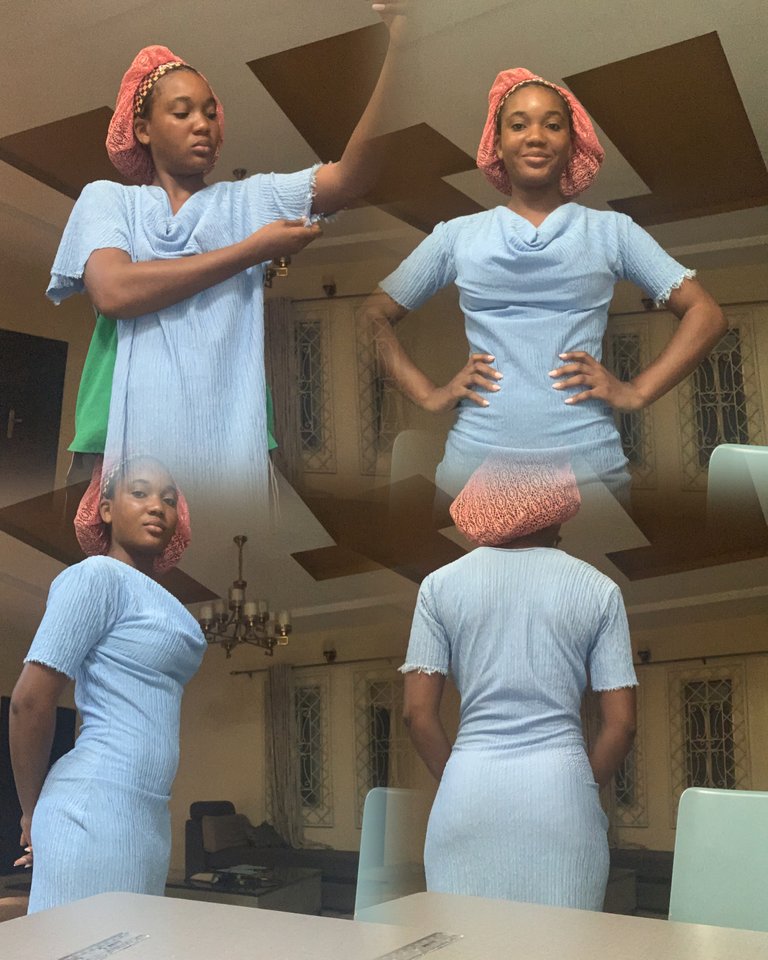
this picture was wdited by me with the help of a app called capcut
Anyways, thank you so much for taking your time to read till next time. I still remain @gemangel. 😊🌹
It's such a beautiful and nice dress, good work and greetings.
It is so elegant, stylish, and beautiful. It is well-fitted. Its design stands out. Thank you for sharing this.