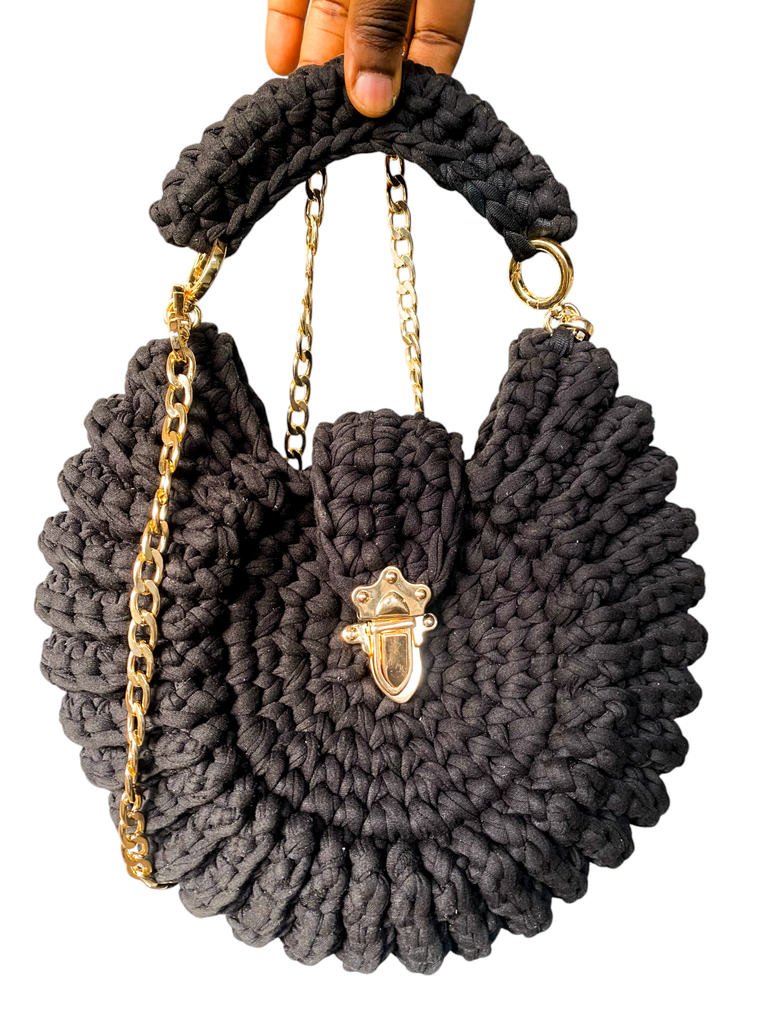
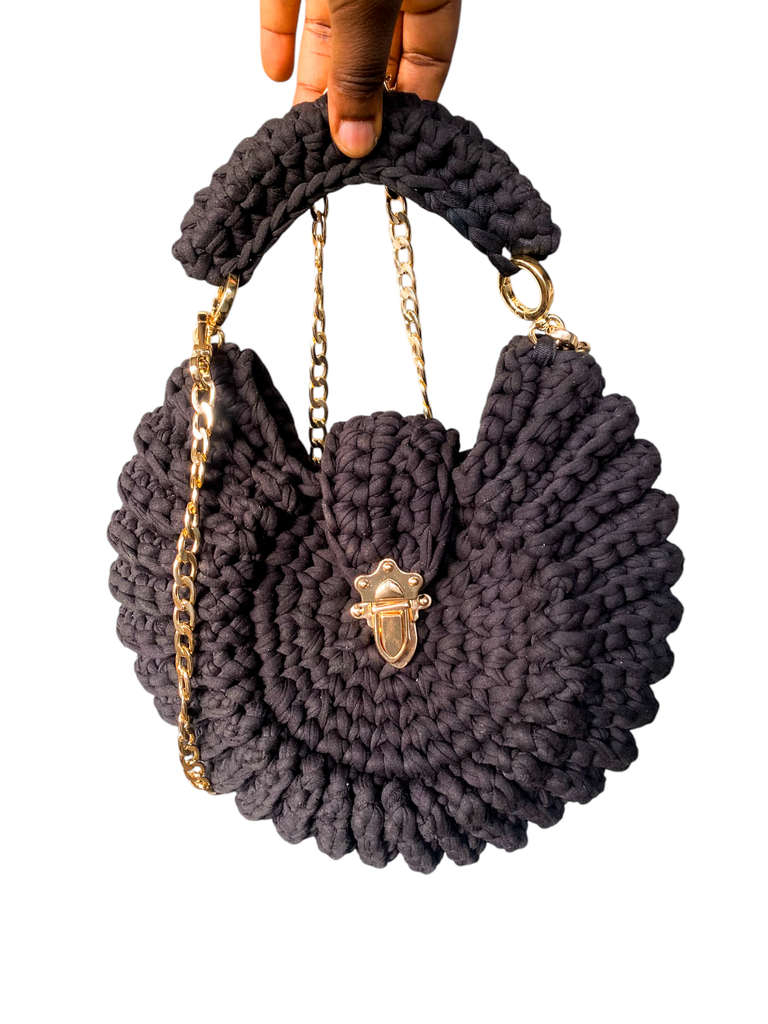
I am thrilled to share my latest creation with you, a beautifully crafted Oreo crochet bag. For those who know me, you’re already familiar with my love for artistry. As a leather bag maker, a beaded bag artisan, and now, a crochet bag maker, I am always drawn to the beauty of crafting. My passion for learning and exploring new techniques keeps my creativity alive.
Over the past two weeks, I’ve been unwell, which made it difficult for me to paint. But I couldn’t let that time pass unproductively. So, I decided to finally learn the art of crocheting, a craft I’ve admired for ages.
I purchased the materials online, a process that was an investment, costing me about ₦14,500 ($9) at today’s exchange rate. Once I had everything, I dove into the process. I’ll admit, it wasn’t all smooth sailing. I made several mistakes at the start, unraveling and reworking parts of the design more than once. The process was intricate and a bit challenging, but the joy of completing the bag made every effort worthwhile.
Materials Used
- 1 pack of T-shirt yarn
- 6.0 mm crochet hook
- Darning needle
- Bag hook
- Stitch markers
- Chain
- O-rings
The Creative Process
- Forming the Base:
- I began with 5 single stitches, pulling the yarn to form a small circle.
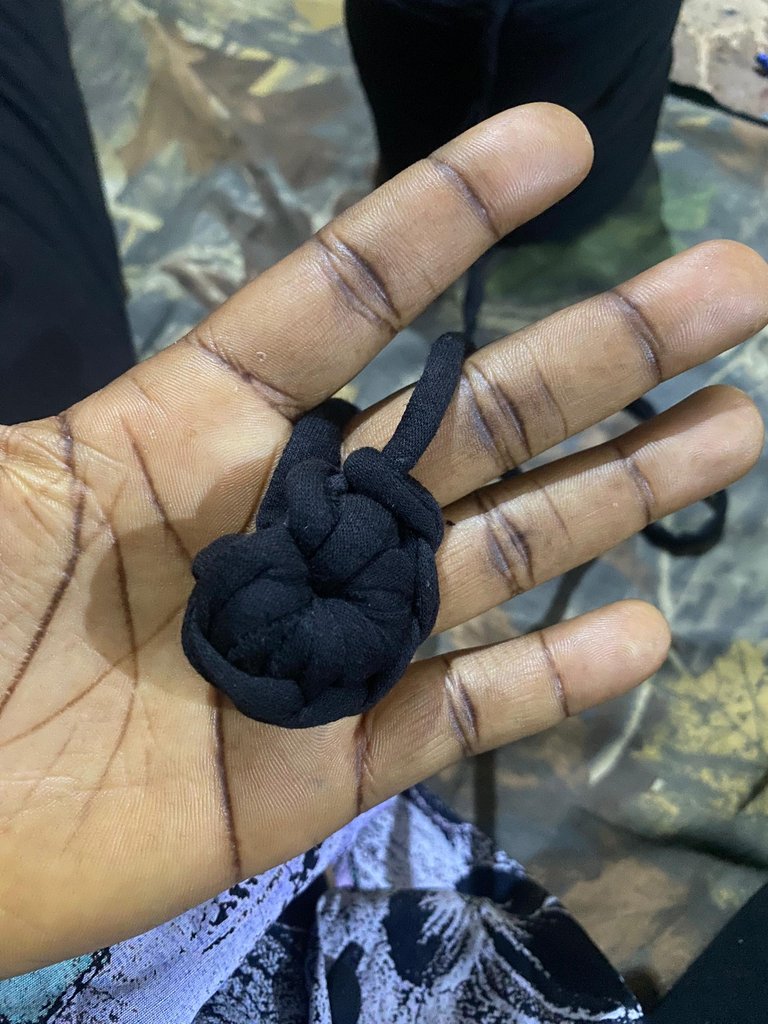
- Gradually, I increased the stitches to form 12 rings in the second round, then 18 in the third, maintaining an increment of 6 stitches per round.
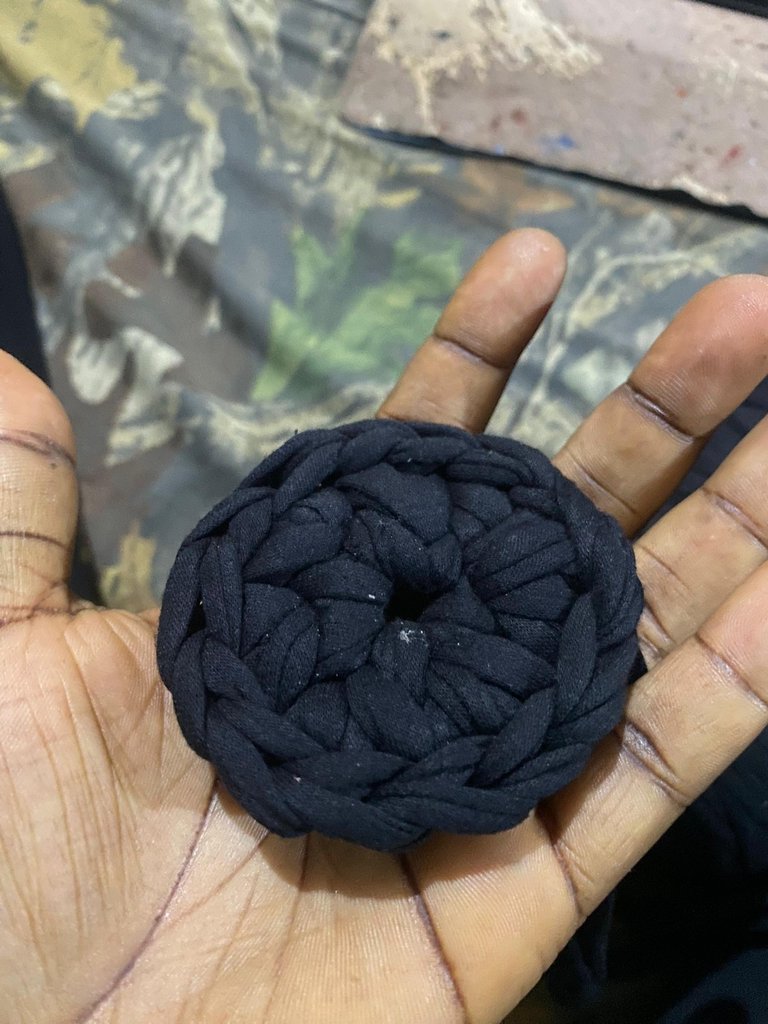
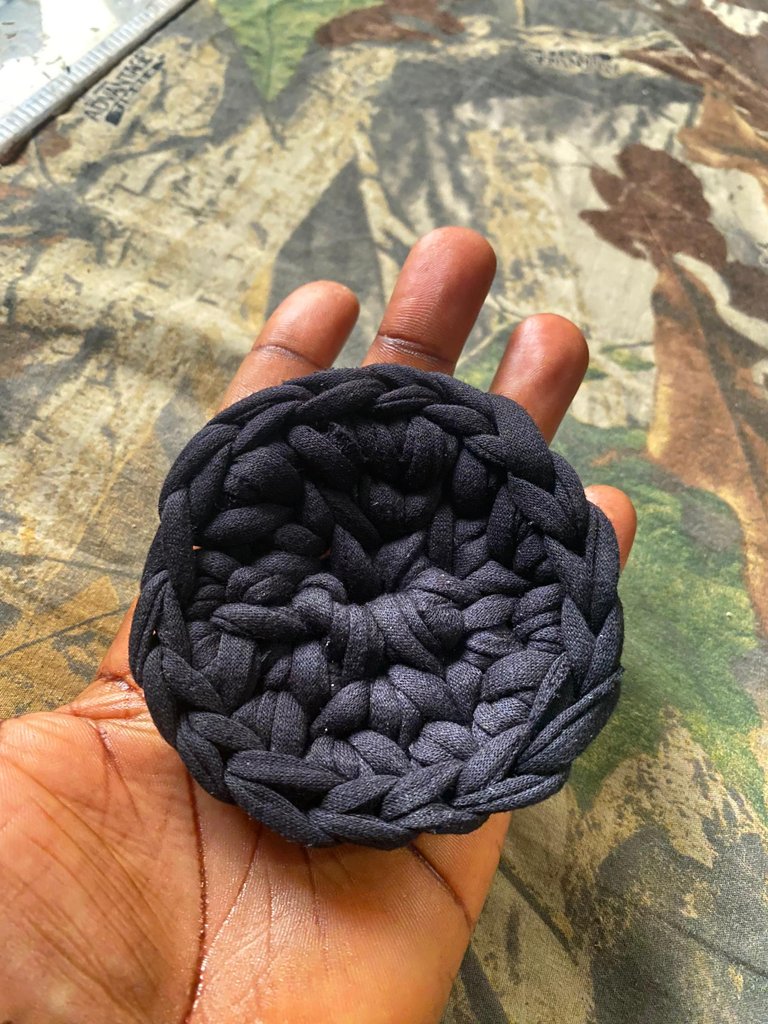
- After creating 6 rings, I tied off the yarn and repeated the process to form another circular base, creating two identical bases.
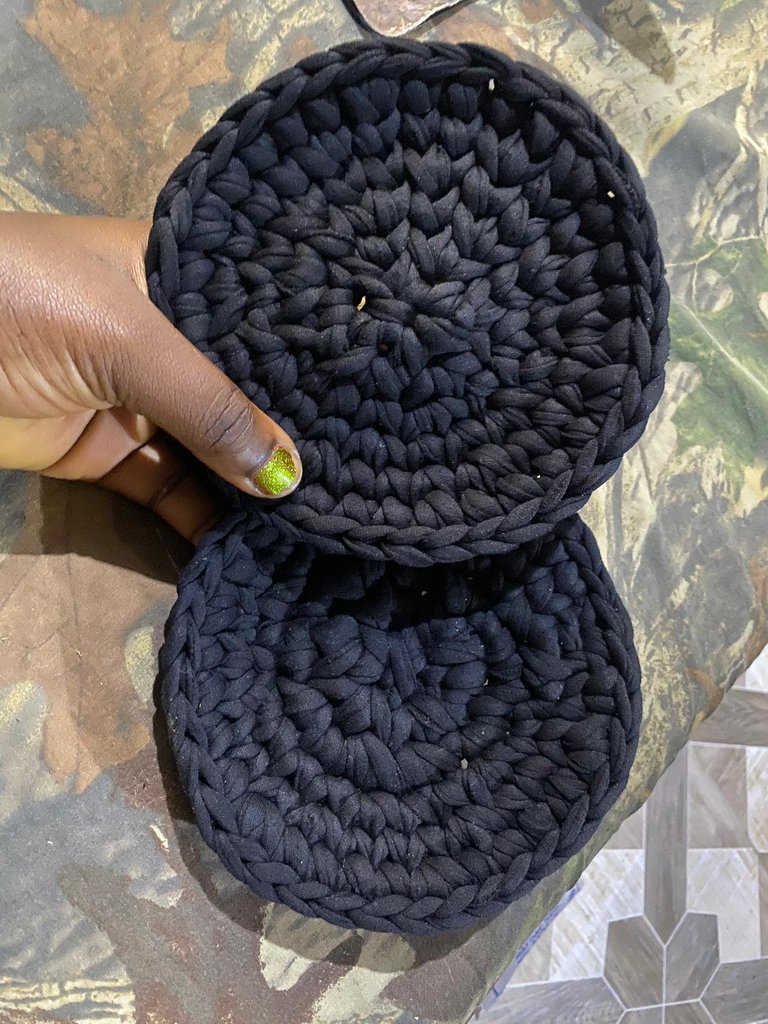
- Joining the Bases:
- Using stitch markers, I marked 6 single stitches on each base for the bag’s opening.
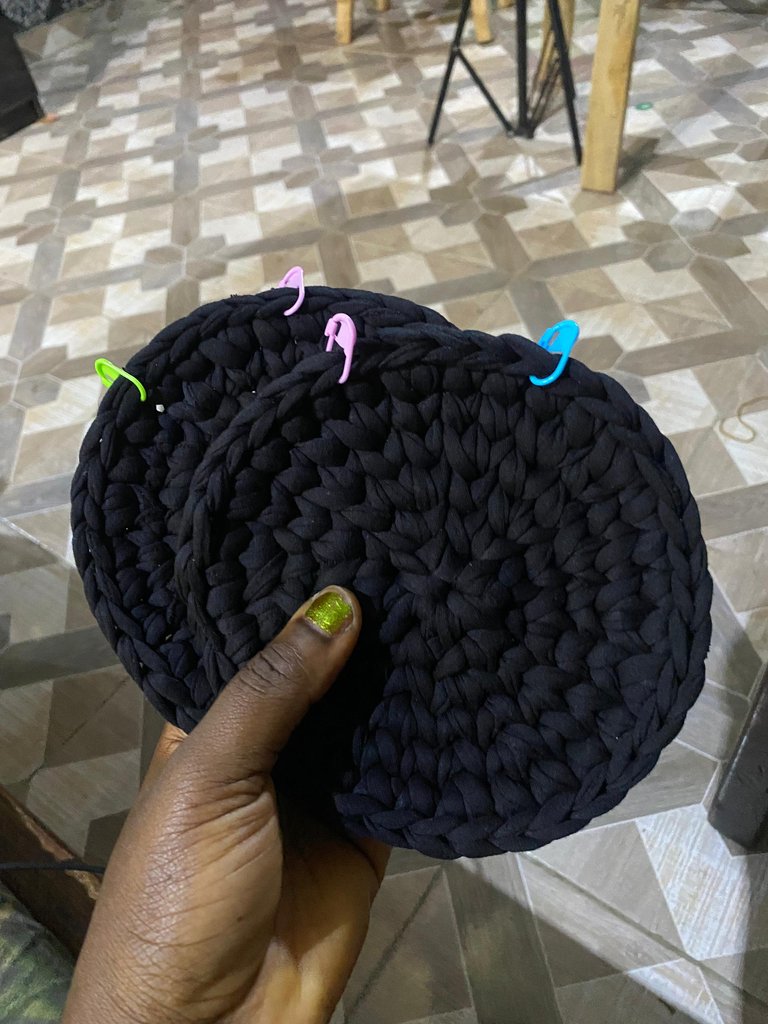
- I joined the two circular bases with single stitches, working around the edges until the bag began to take shape.
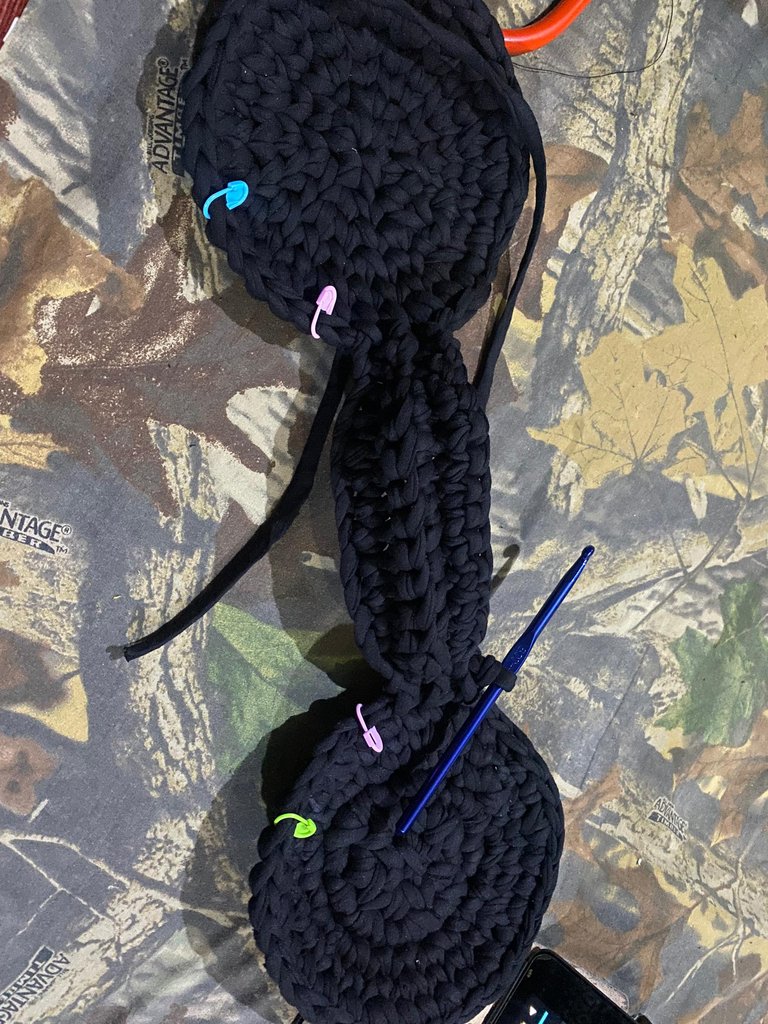
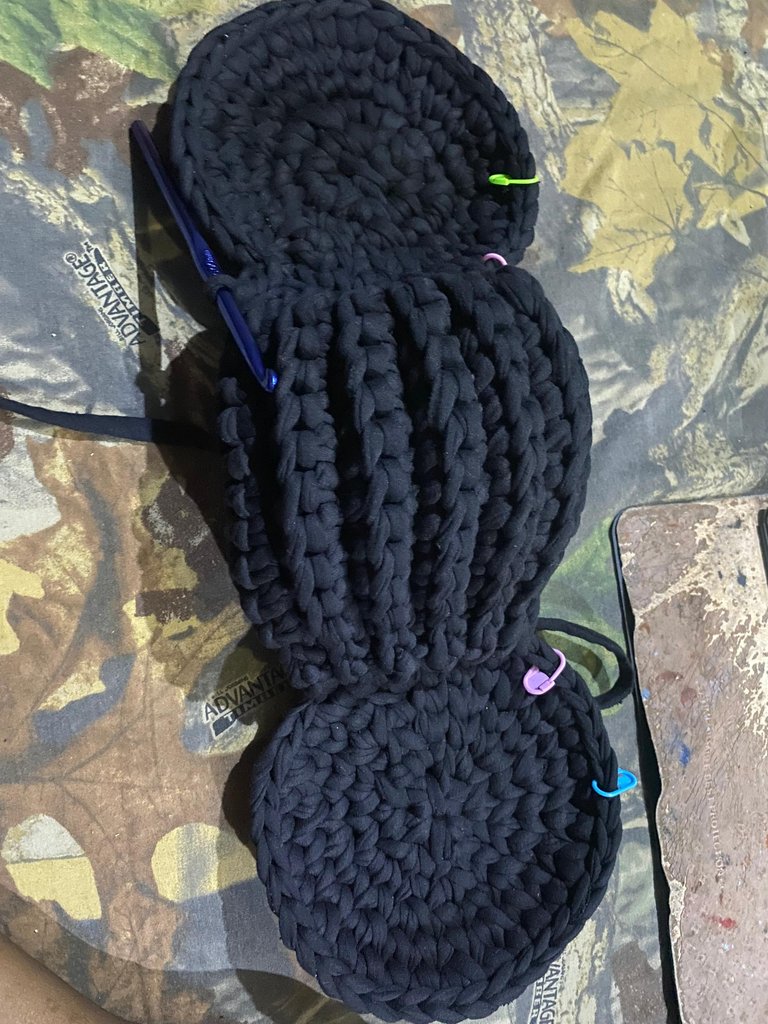
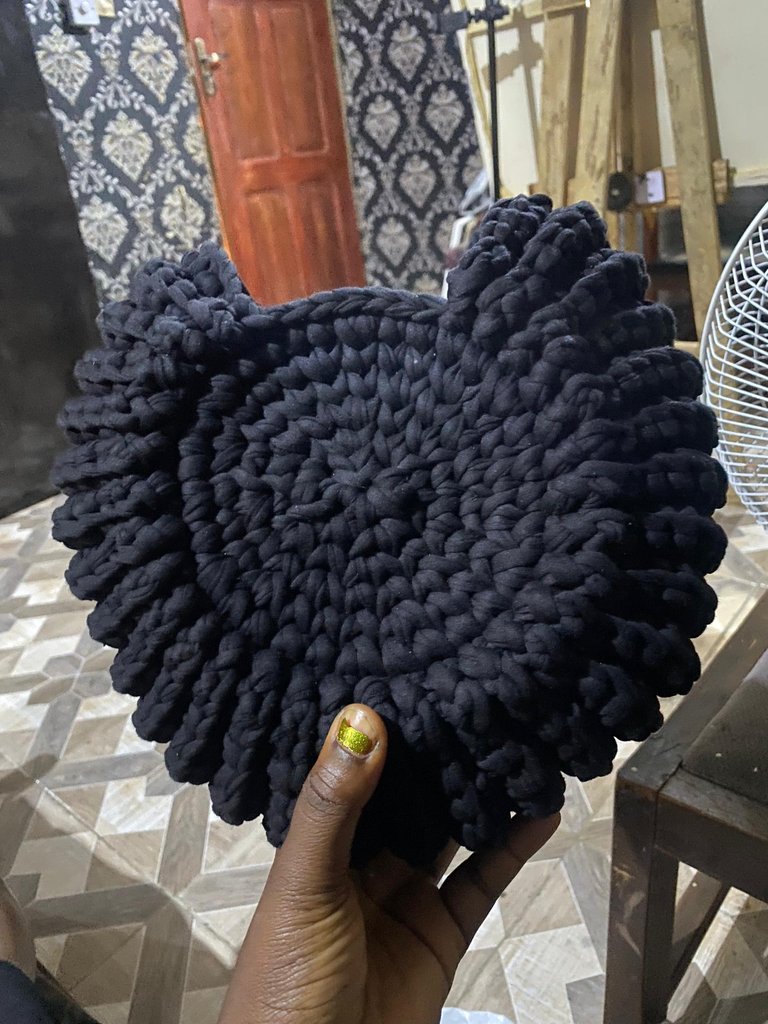
Adding the Cover:
- I crocheted the bag cover and attached it seamlessly to the main structure with the bag hook.
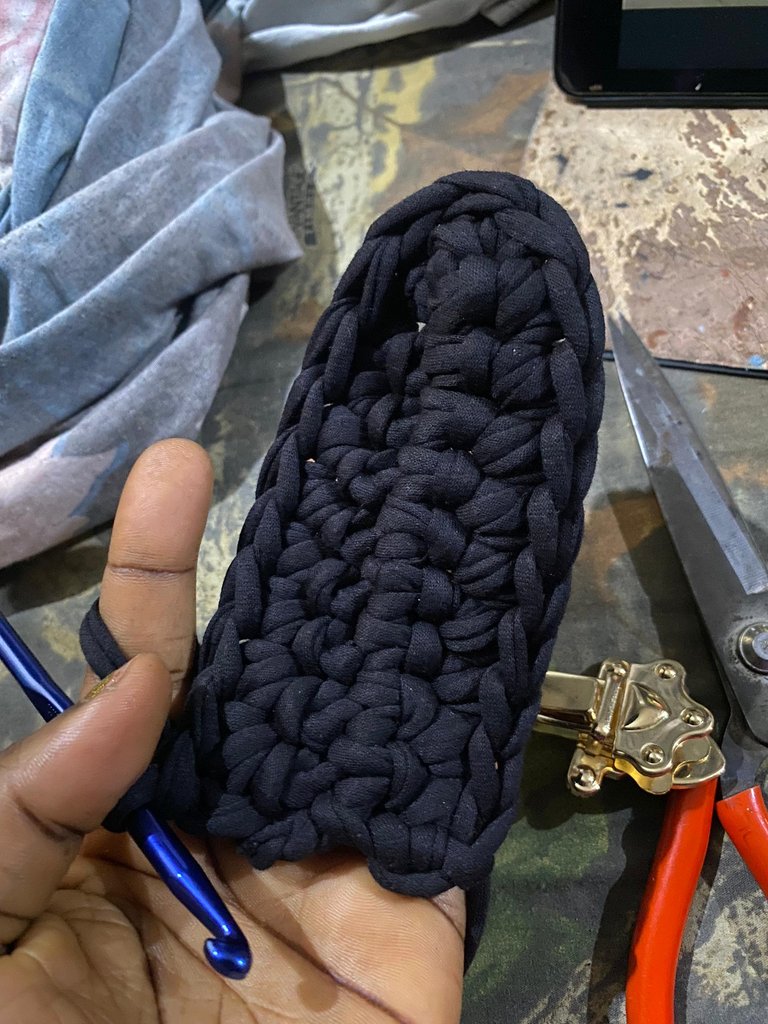
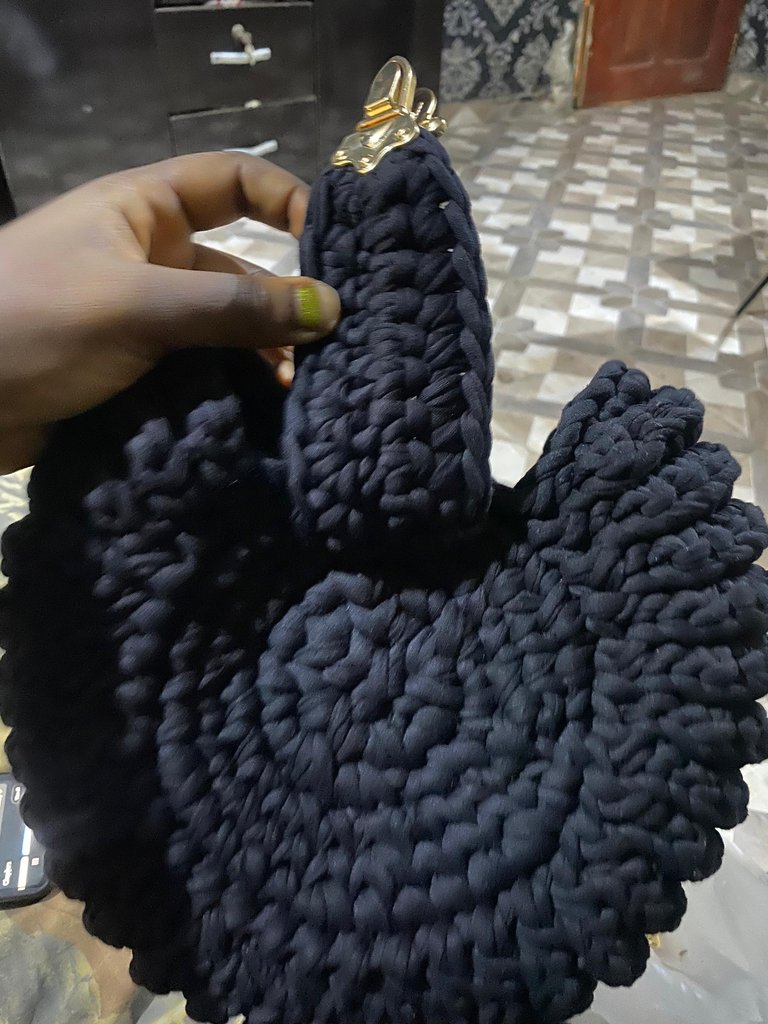
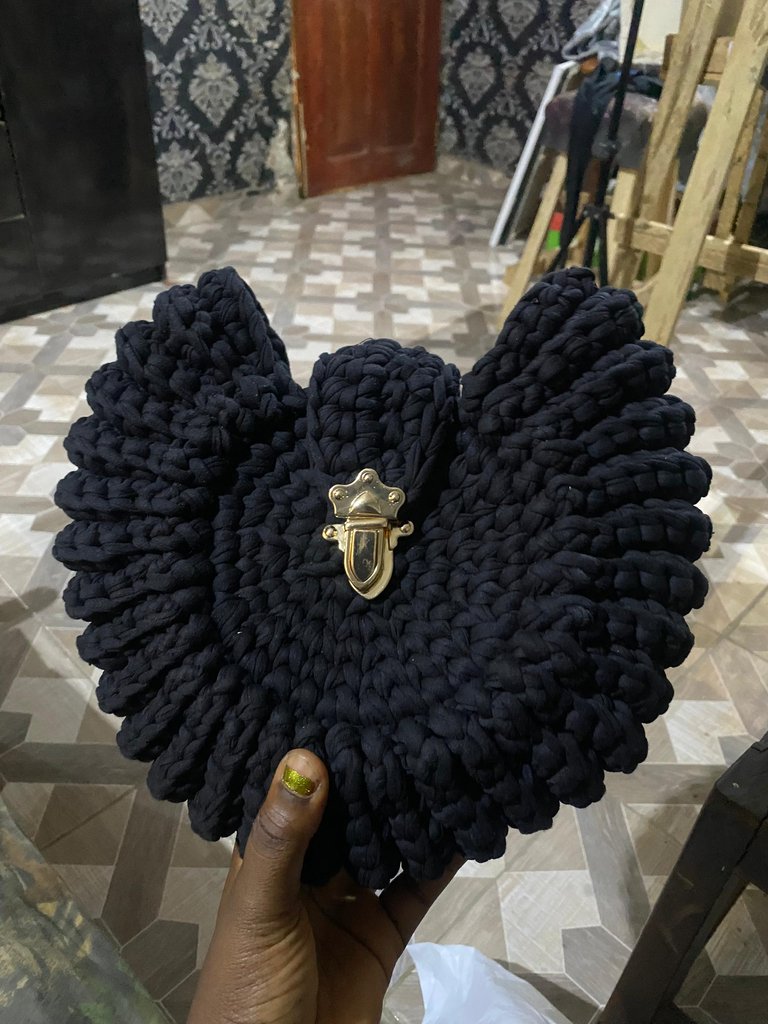
- Finishing Touches:
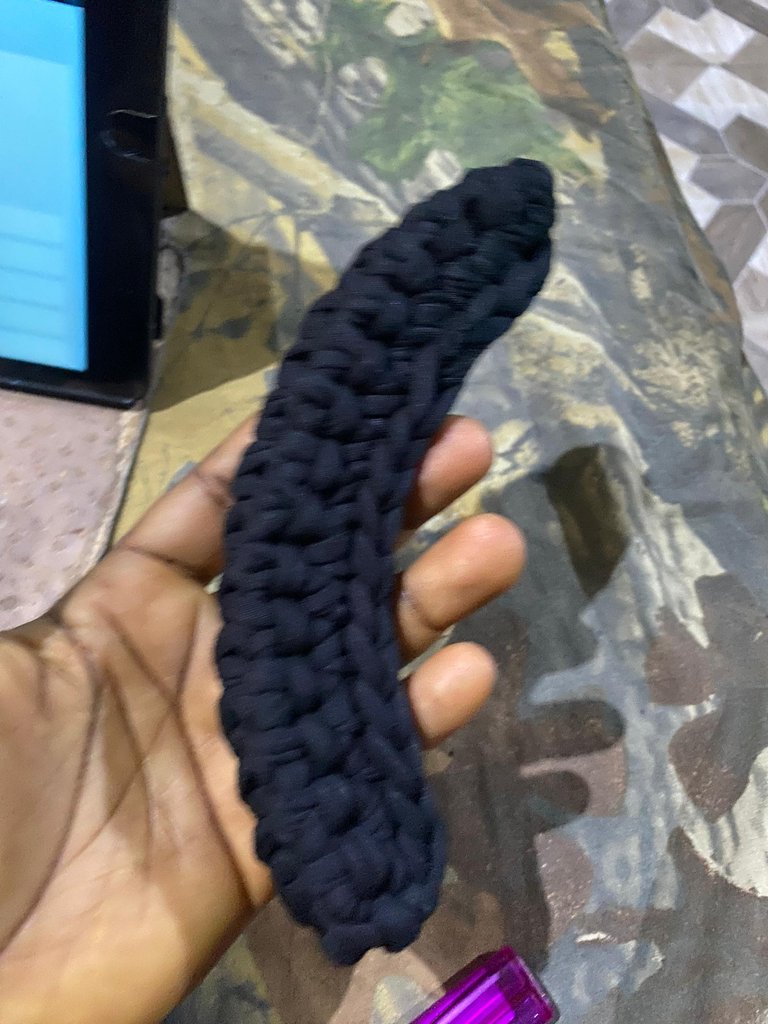
- The handle was crocheted separately and fixed securely to the bag.
- Finally, I attached the chain, completing the design.
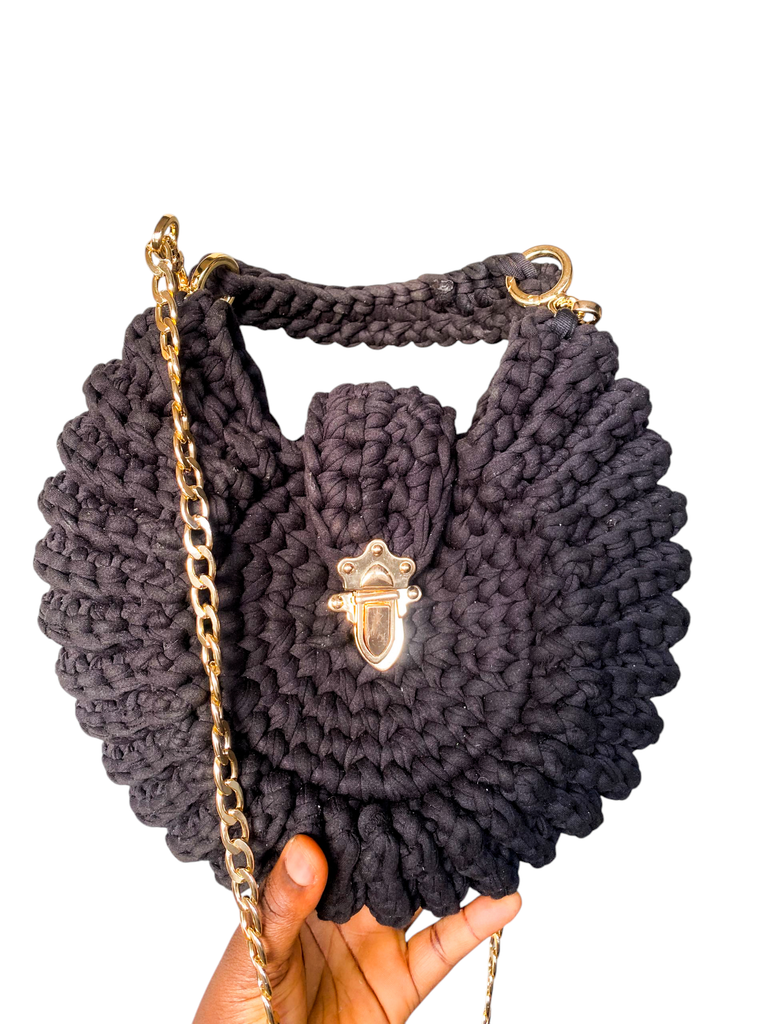
FINAL LOOK


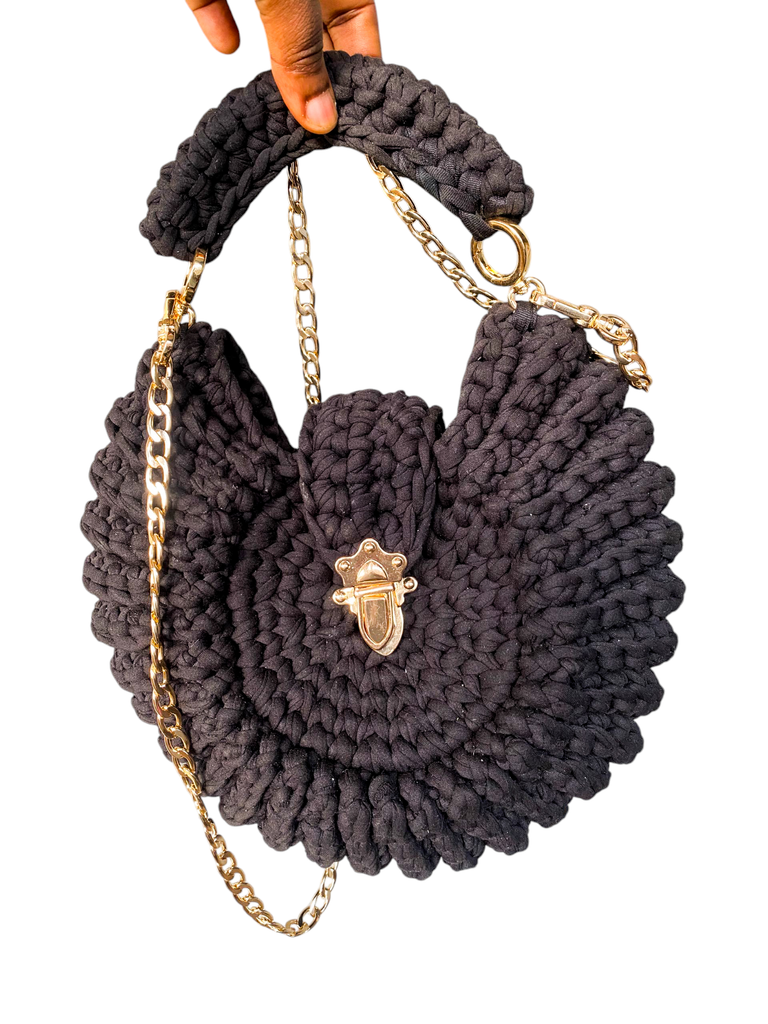
This journey has been deeply fulfilling, and despite the challenges, I’m so proud of this creation. Crafting has a way of bringing joy and purpose, even in moments of struggle. This bag is a testament to resilience, learning, and the endless possibilities of creativity.
Wow, this is very lovely ❤️
Thank you so much
You're welcome
Wow you got a beautiful result, congratulations, happy start of the week.
Thank you so much
Great that you used the time to learn something new, l hope you are feeling okay by now.
That bag ls superb, lf you were to sell it, l am sure it will worth so much money.
l have not seen a bag like it, but with the one you created, l have seen how crochet bag are so beautiful.
Are you planning on giving it to someone, or lt's for personal use.
Thank you so so much. This particular one is for personal use beacuse I've wanted to own a crotchet bag for the longest time. If people likes it and want one, then I'd be open to create one for them but this is for me.😂😂
You are welcome.
The bag is so cute, l suggest you used it, cheers to more creativity 😊
This is sooooo beautiful 🤩🤩, the color is perfect, it's creative, really looks like oreo. ✨
THANK YOU SO MUCH🥰😂
It is so beautiful, charming, and stylish. Its design stands out. Good to see how you made this. Thank you for sharing this.
Thank you so so much. I appreciate this comment🙏.