Greetings dear needleworkers, hope you all are having a great day, it's almost getting to the weekend, and I know some of us will be putting the finishing touches to our creative project or even probably starting a new one, as for me, I just completed the second clothing out of the 3 in 1 outfit I'm currently making for my mum, last week, I shared about the making process of the skirt, and today, I just finished maker her a tube blouse, we experienced the first rain of the year today, which just puts me in the right mood to sew, who else also gets that unexplainable kinda euphoria feeling, getting creative, doing something you love while it rains outside, for me it's sewing.
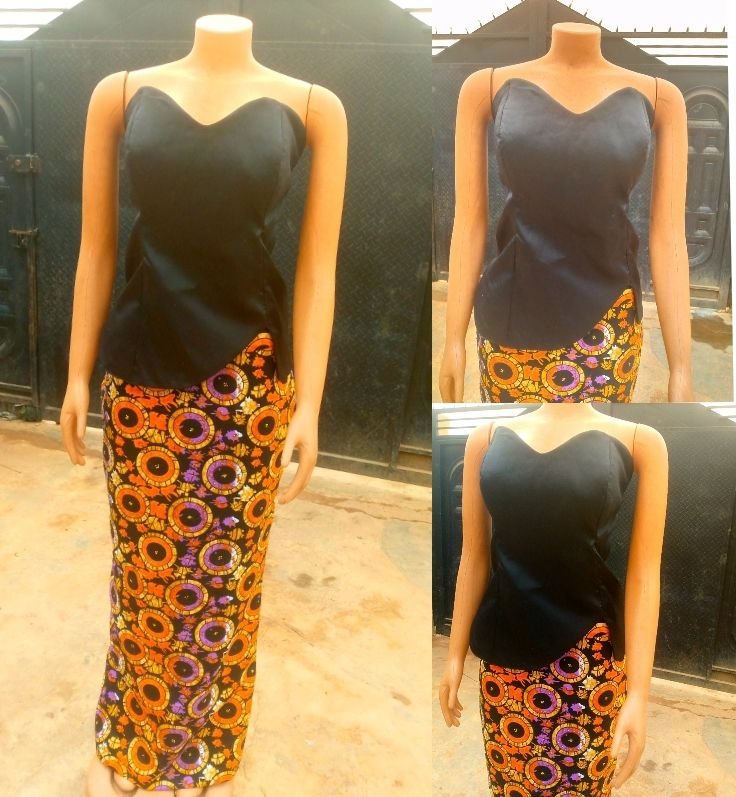
You probably wondering what completes this outfit to make it 3-in-1, since I'm yet to start the third piece of clothing, I'll leave you to guess that and the right guess gets a price from me, when I unfold the mystery third piece of clothing, for now, let's focus on this beautiful black tube blouse.
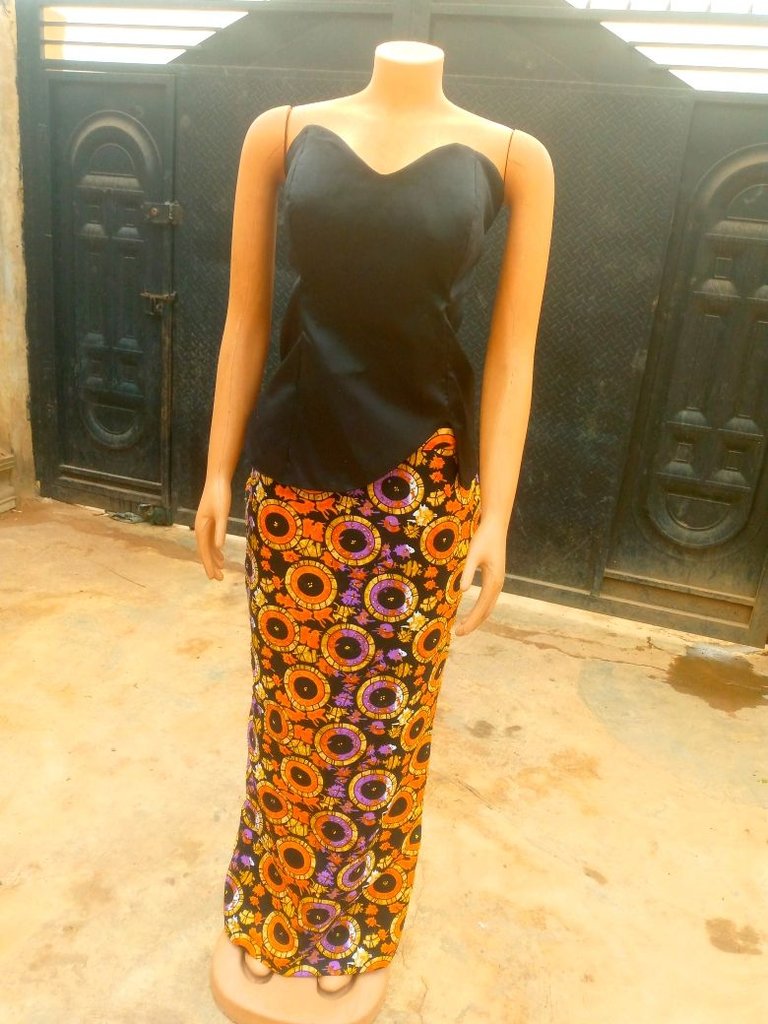
Right from the moment I got this beautifully patterned ankara fabric, I knew I would be combining it with a plain black fabric even though I wasn't sure of what to make then aside from the skirt, my mum has asked that I make her a skirt, but I couldn't resist adding a beautiful blouse alongside and yes, black is regal, the way it contrasts from the skirt beautiful pattern, and I'm sure my mum would be so happy when she receives her new 3-in-1 outfit.
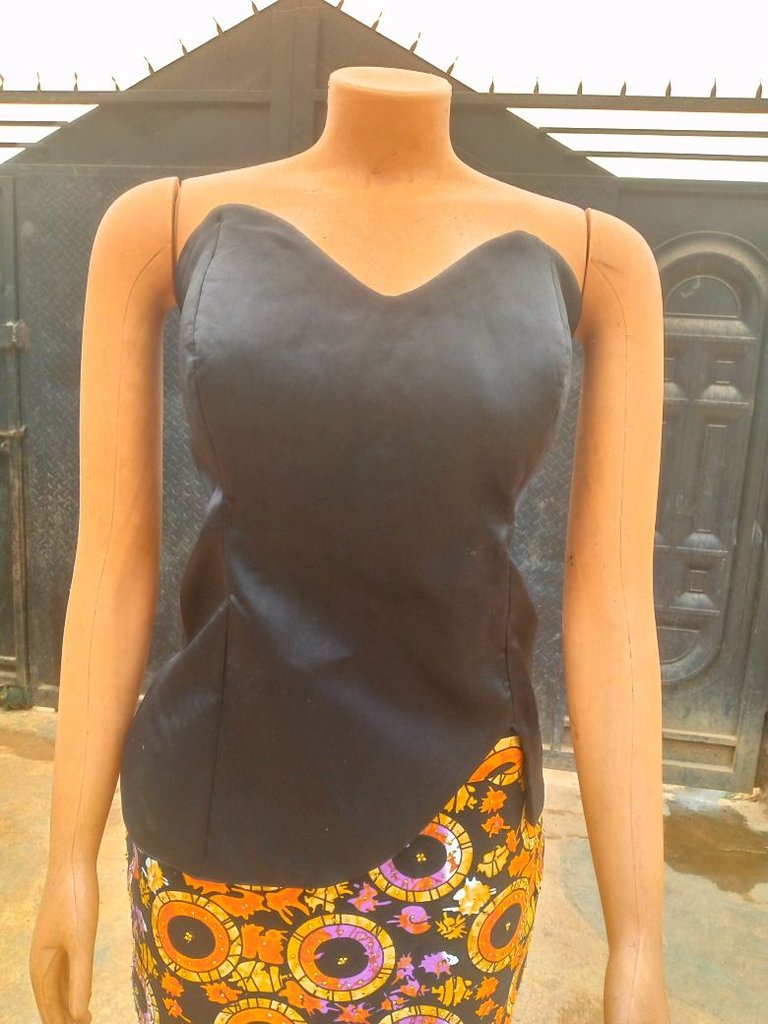
Materials used in making the tube blouse include;
- plain black Mikado fabric
- black lining fabric
- black thread
- zipper
Cutting And Sewing Process
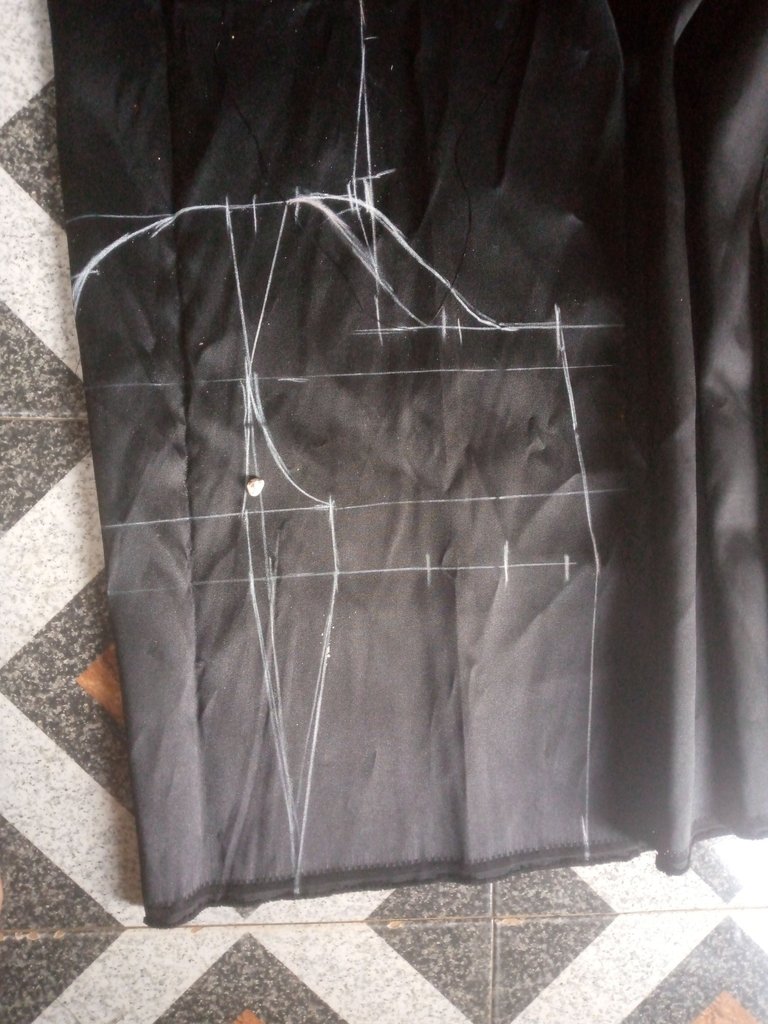
- I started by drafting the front and back pattern pieces on paper using a busier tube pattern which I transferred to the main milkado fabric and the lining.
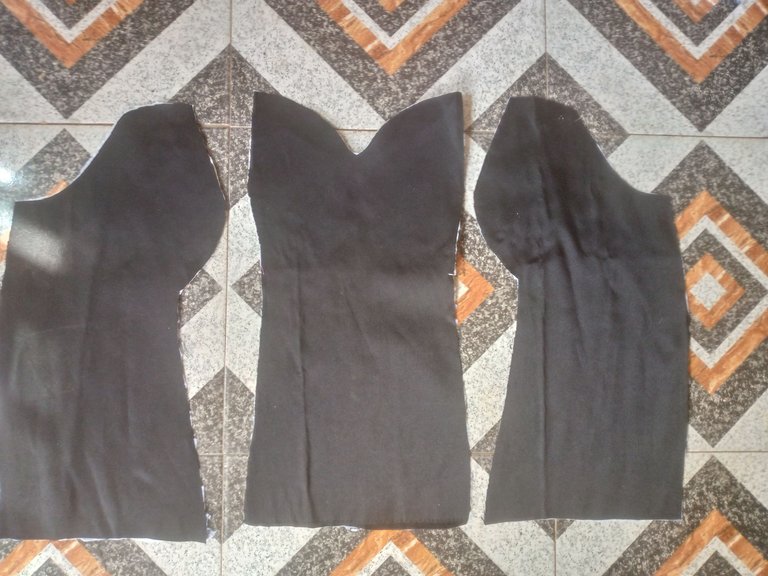
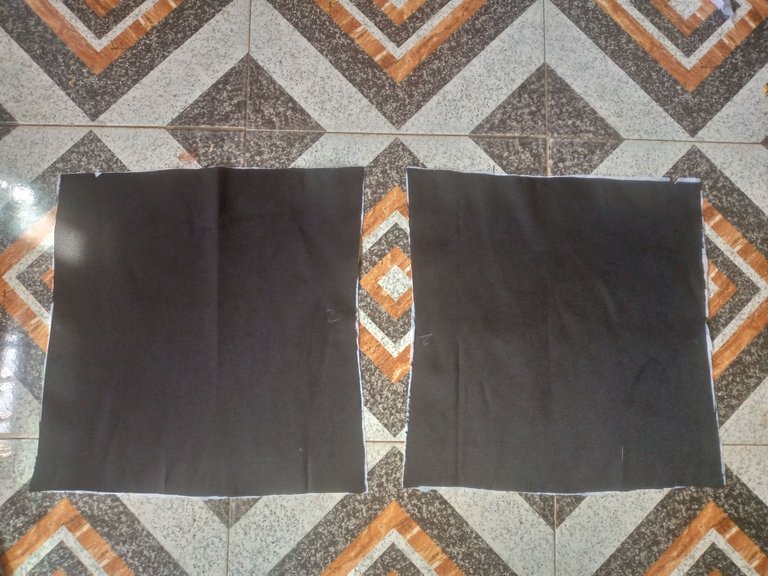
- Next I joined the pattern pieces together for the front and and held in the back dart back separately at first.
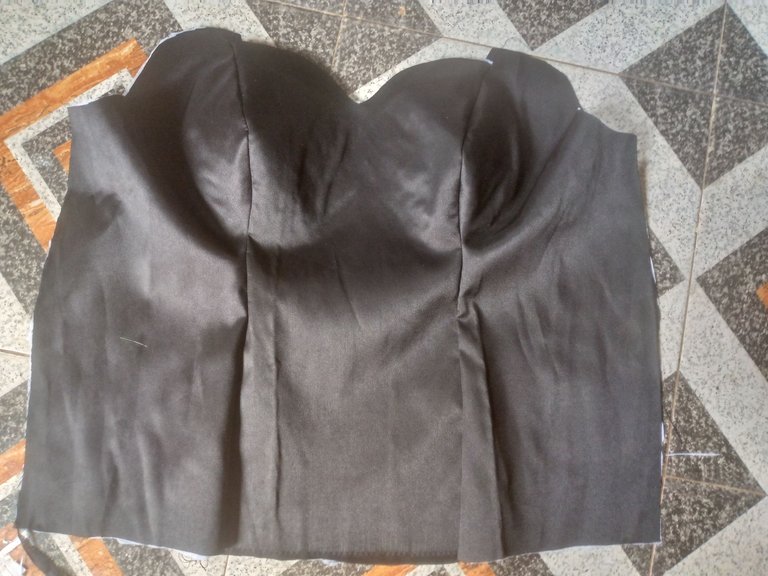
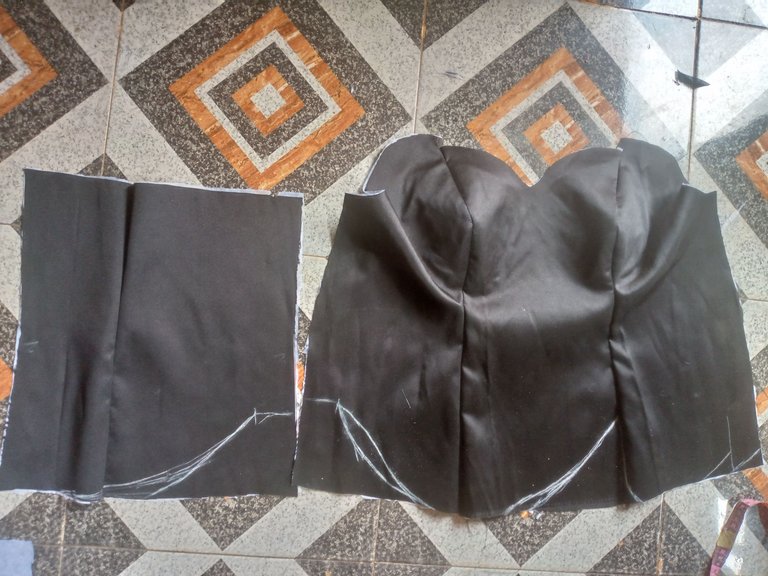
- I didn't want the front of the blouse to have a regular blouse look, trust me to make something unique, so I drew out the shape at the hem of the blouse, also rhyming it to one side of the back pattern before cutting it out
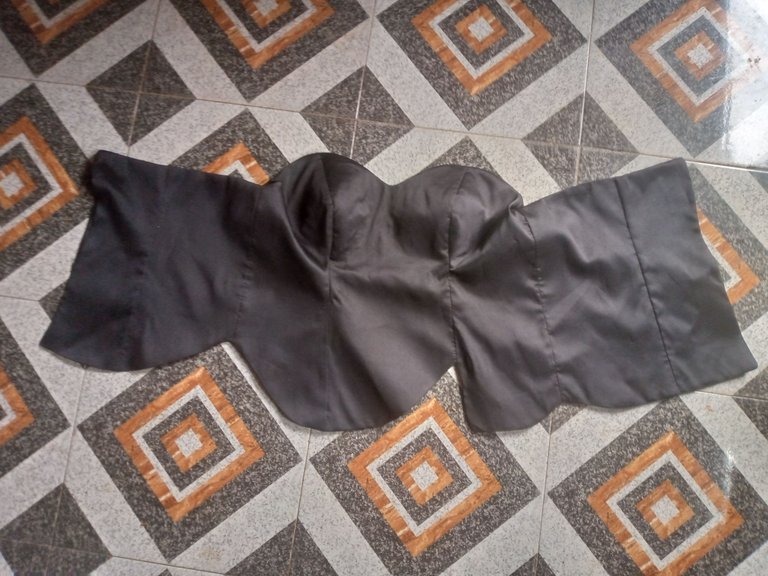
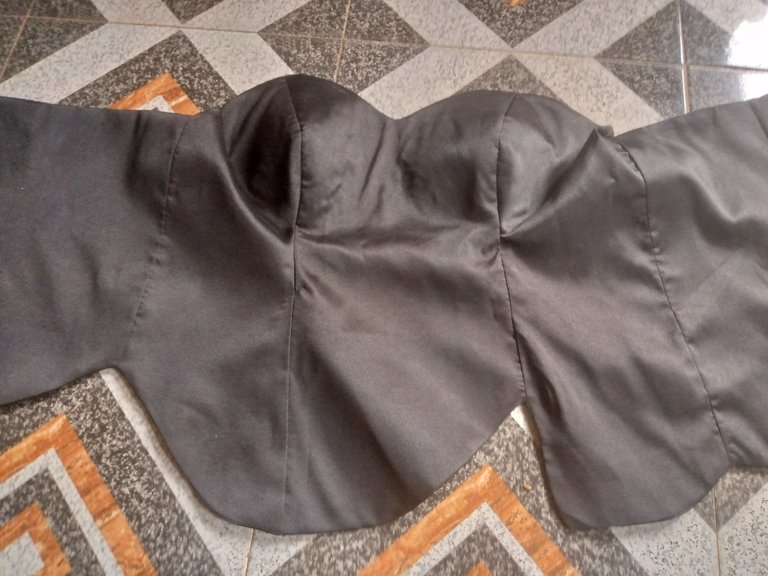
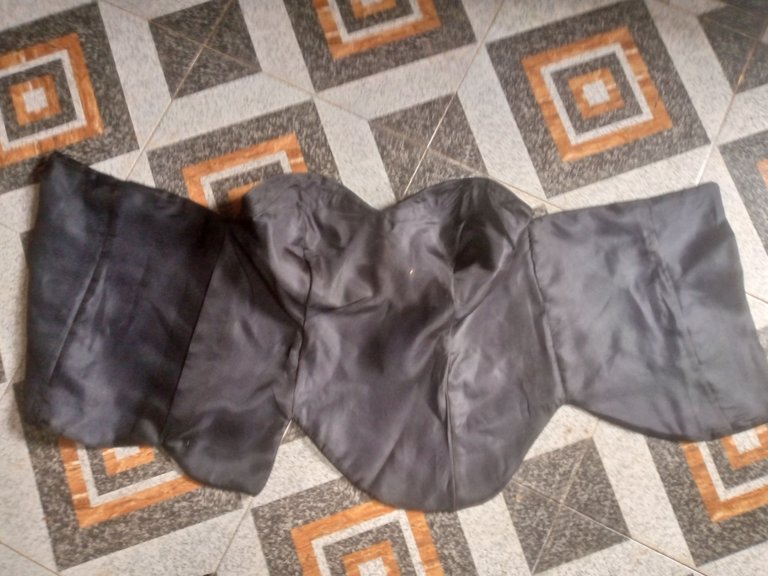
- I repeated the above process on the lining before joining and turning the main fabric with it., pressing it neatly to law flat while the bust area is well contoured, The reason I love using a bustier pattern as it gives the bust a nice lift.
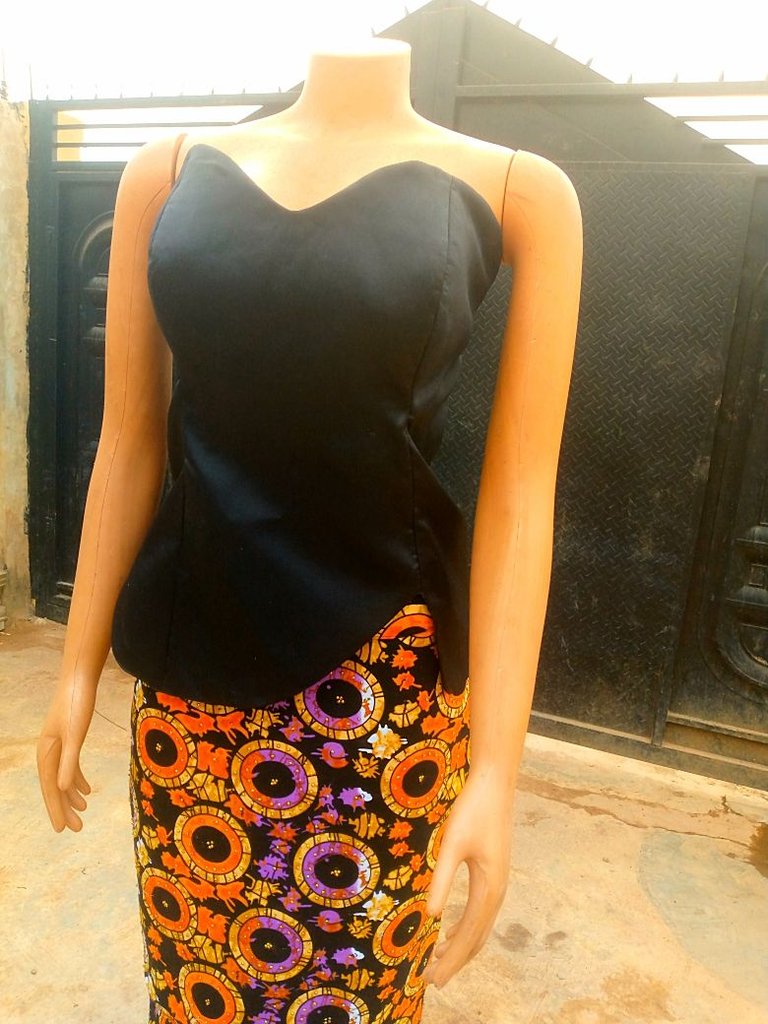
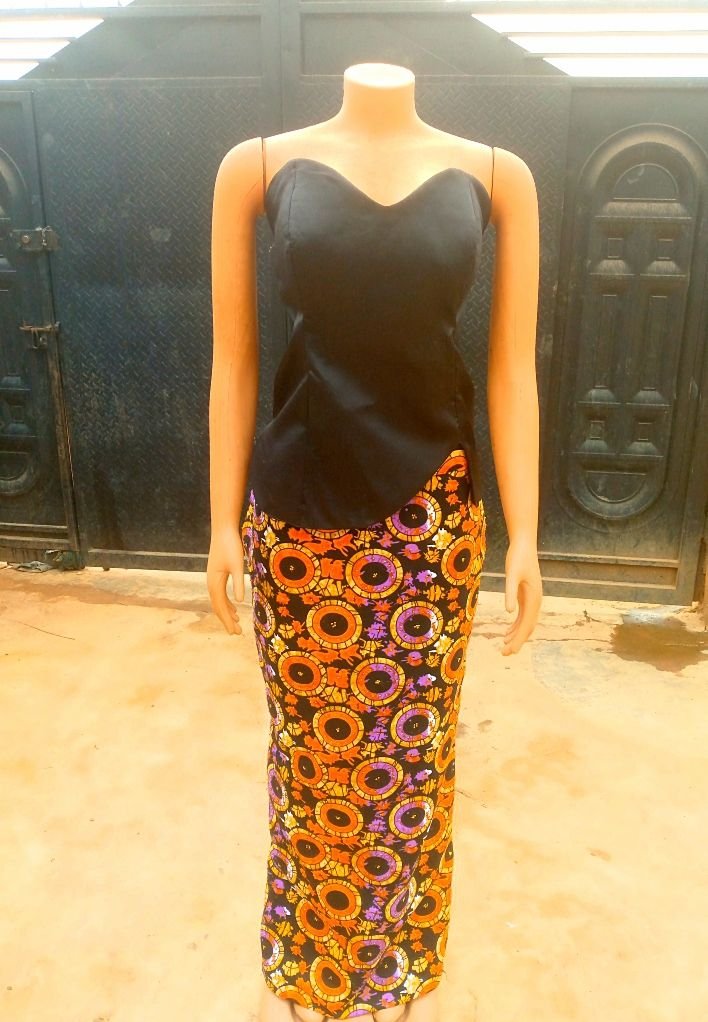
- Finally, I sewed in a zipper to the back side of the blouse, and here is my blouse sitting pretty and nicely on my mannequin, though my mannequin is a small size compared to me min, I still had to hold it in place so you can have a proper view, and may get a tip of what is coming next.
I can't wait to hop on my next sewing project, till then, do enjoy the rest of your day, wishing you a lovely weekend ahead.
All images used in this post are mine.
Thank you for reading❤❤
Posted Using INLEO
This is beautiful and stylish 😍😘
Thank you Mary🥰
You are welcome dear
that is so beautiful, thanks for sharing.The black color looks beautiful with the dress,
Thank you❤, yes it does.
Beautiful designe, thanks for sharing with the community.
Thank you very much, it is my pleasure to ❤❤❤
Thank you for sharing this beautiful design with us.