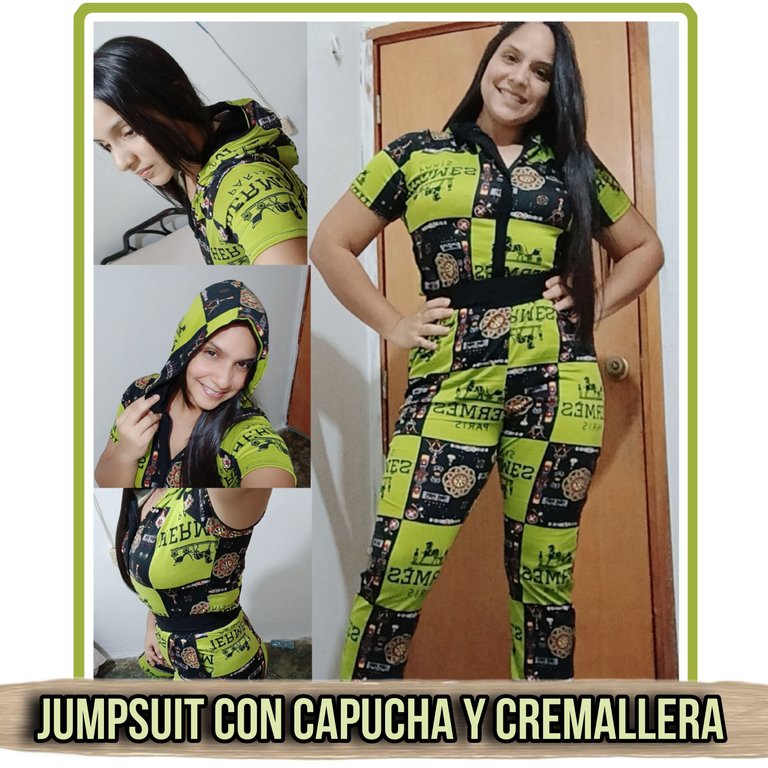
"Jumpsuit con Capucha y Cremallera en Frente" fabricado en una tela de microdurazno, que nos brinda comodidad y suavidad. Aquí te muestro cómo lo hice.Qué tal mi apreciada colmena #Needleworkmonday, les saluda una vez más su amiga de Hive, @kathelopez77, deseo que estén pasando un grandioso día. Como les he comentado en otras publicaciones unas de mis prendas favoritas son los enterizos o jumpsuit, creo que no deben faltar en nuestro closed como una opción rápida y versátil al momemto de tener algún tipo de salida, al aire libre, o en una reunión con familiares o amigas, por eso el tutorial que hoy les traigo es la confección de un
"Jumpsuit with hood and zipper in front " made of a microdurazno fabric, which gives us comfort and softness. Here I show you how I made it.How are you my dear #Needleworkmonday hive, greetings once again from your friend from Hive, @kathelopez77, I hope you are having a great day. As I have told you in other publications one of my favorite garments are the jumpsuits, I think they should not be missing in our closed as a quick and versatile option at the time of having some kind of output, outdoors, or at a meeting with family or friends, so the tutorial that I bring you today is the making of a

- 2 metros de tela microdurazno estampada y 1/2 metro negra.
- Camisa y pantalón de preferencia qué sirva de guía para sacar las piezas.
- Cremallera de 15 cm de largo plástica.
- Elástico de 4 cm de ancho.
- Cinta métrica.
- Tijeras.
- Máquina de coser.
- 2 meters of printed microdurazno fabric and 1/2 meter black.
- Shirt and pants preferably to serve as a guide to remove the pieces.
- 15 cm long plastic zipper.
- 4 cm wide elastic.
- Measuring tape.
- Scissors.
- Sewing machine.
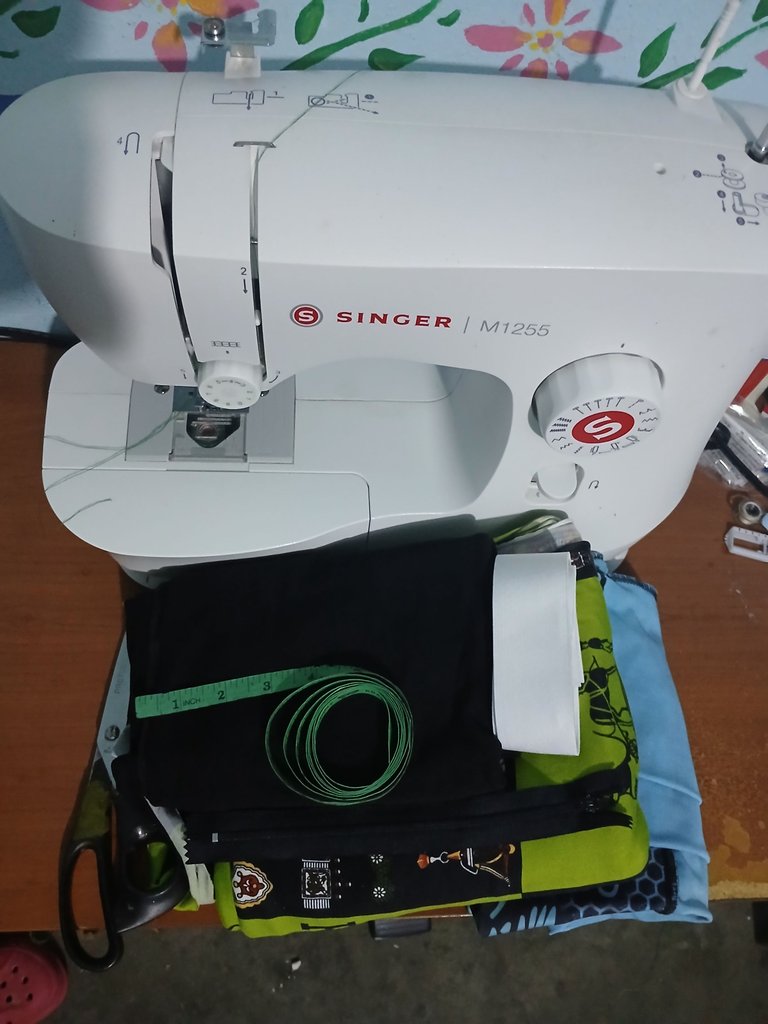

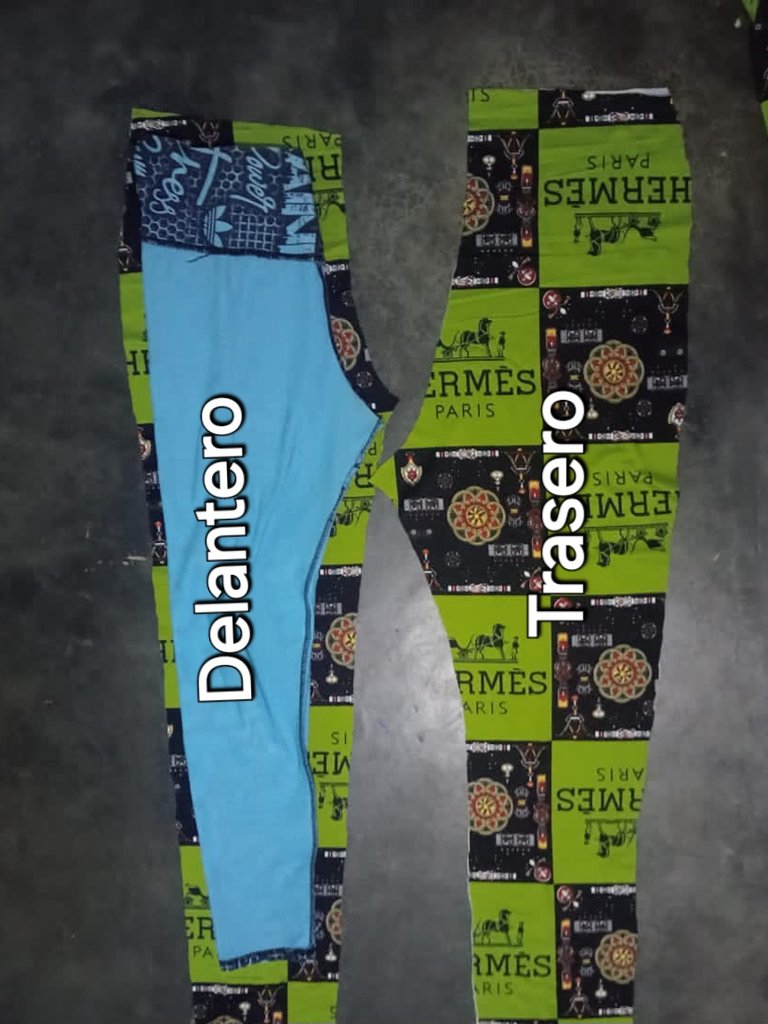
Para empezar con la confección de éste enterizo, tomé mi licra favorita, la coloqué sobre la tela doblada en dos y saqué las piezas delanteras y traseras.
To start with the making of this bodysuit, I took my favorite lycra, placed it on the fabric folded in two and took out the front and back pieces.
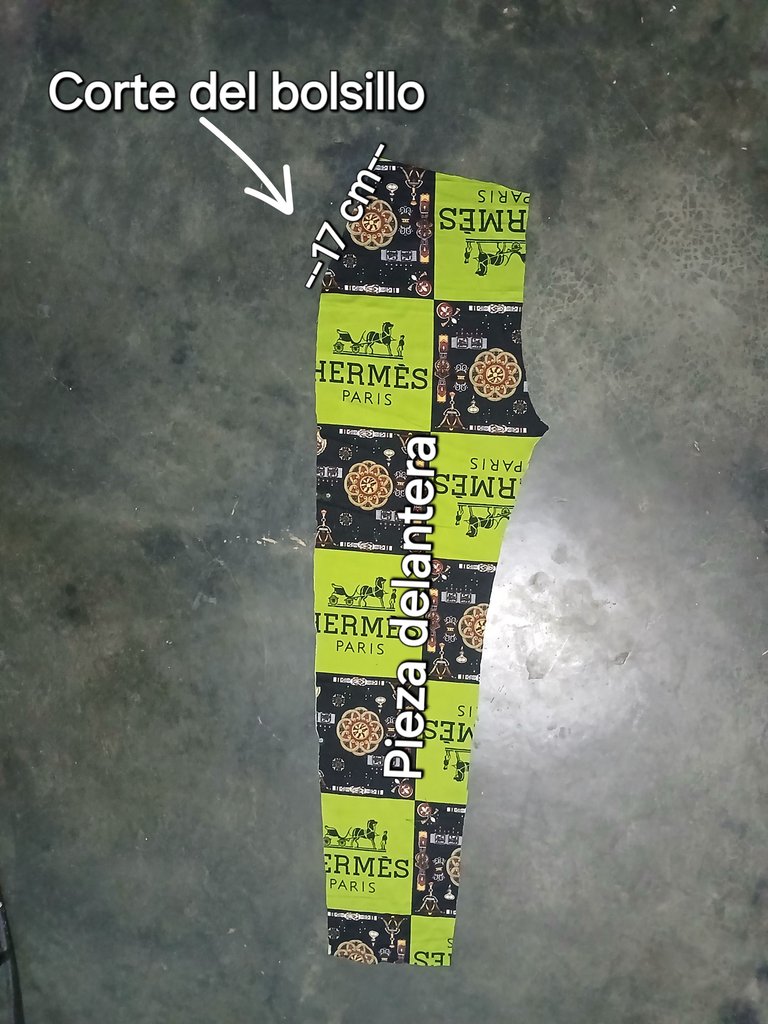
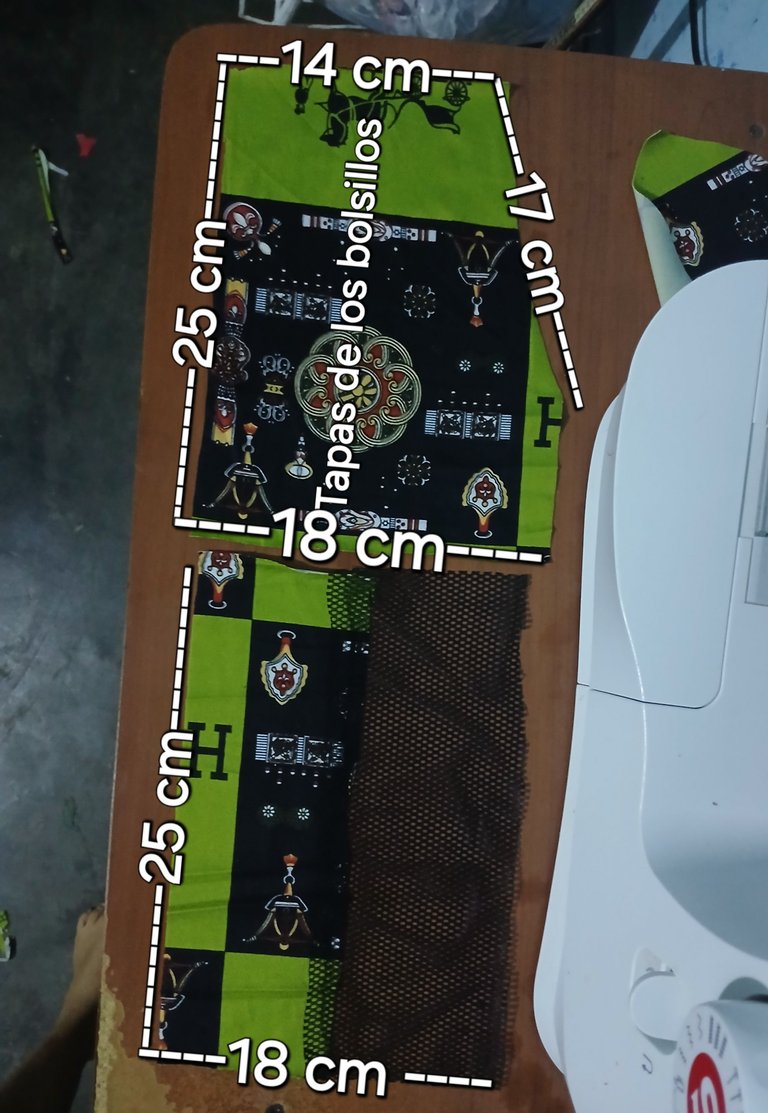
Después realicé el corte en diagonal para los bolsillo en las piezas delanteras, cuyas medidas son de 17 cm de largo y 4 cm en la parte superior de la orilla hacia dentro.
Then I made the diagonal cut for the pockets on the front pieces, which measures 17 cm long and 4 cm at the top from the edge inwards.
Después saqué las tapas delanteras y traseras de los bolsillos, en el caso de las tapas traseras las combiné con una tela de malla. Las medidas fueron de 18 cm de ancho y 25 cm de largo.
Then I took the front and back covers out of the pockets, in the case of the back covers I combined them with a mesh fabric. The measurements were 18 cm wide and 25 cm long.
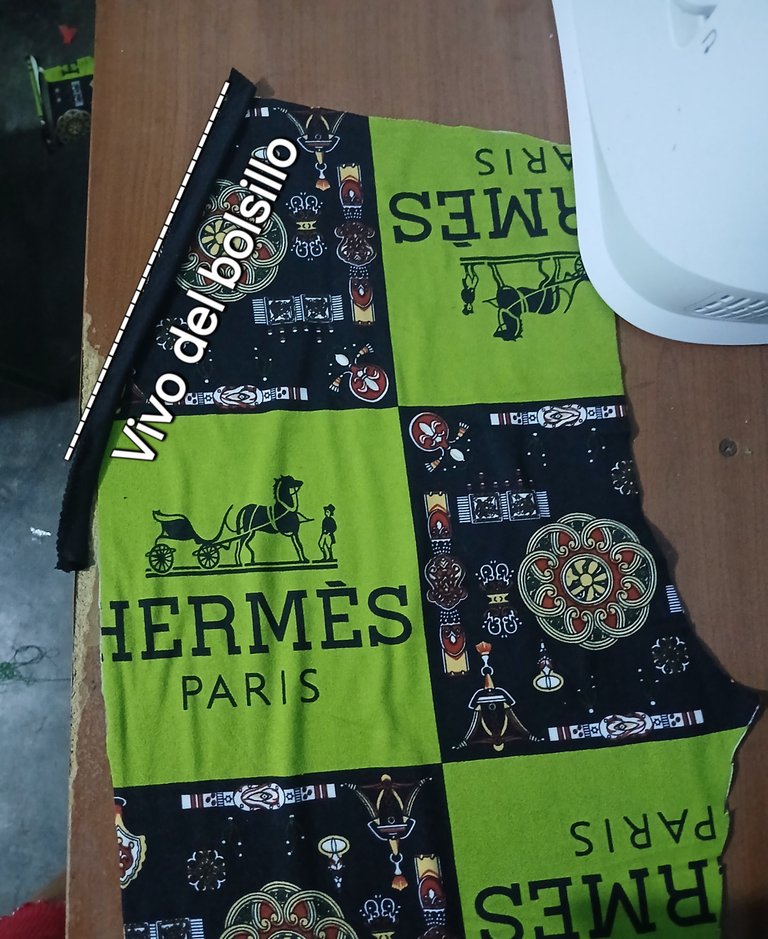
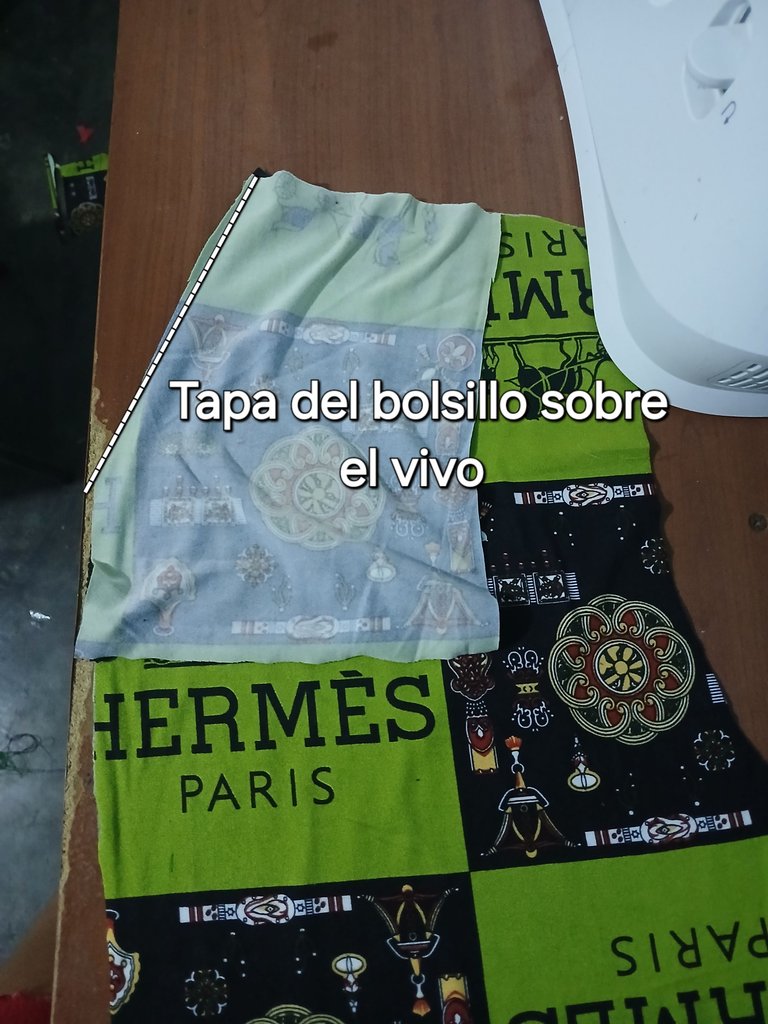
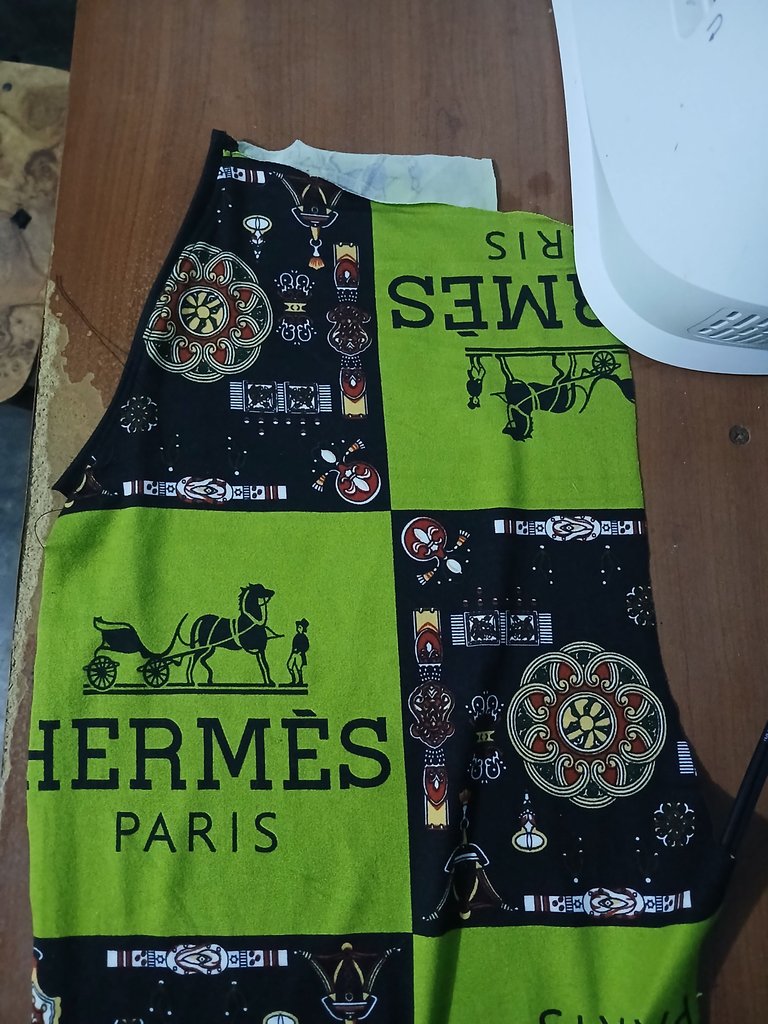
Posteriormente, saqué dos tiras de 2,5 cm de ancho y 19 cm de largo, las cuales doblé a la mitad y las coloqué, cada una sobre la orilla de la tapa delantera del bolsillo, por el derecho.
Next, I removed two strips 2.5 cm wide and 19 cm long, folded them in half and placed them, each one on the edge of the front cover of the pocket, on the right side.
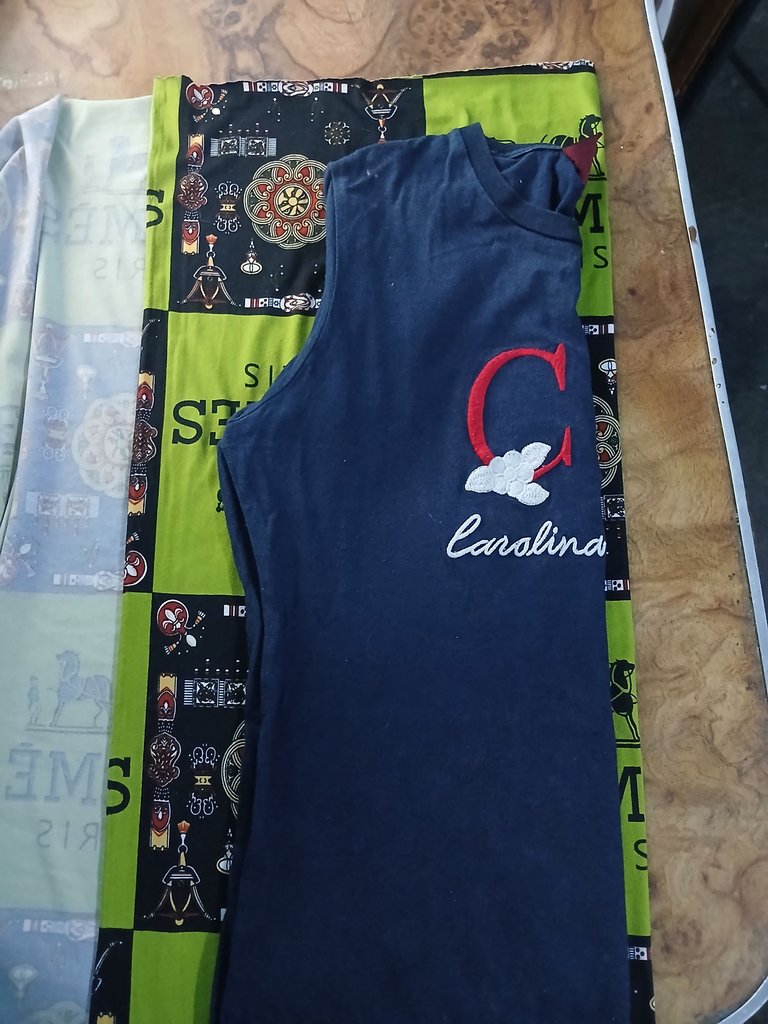
Luego utilicé una camisa básica de mi talla, y la coloqué sobre la tela doblada en dos, para sacar las piezas delanteras y traseras.
I then used a basic shirt in my size, and placed it over the fabric folded in two, to remove the front and back pieces.
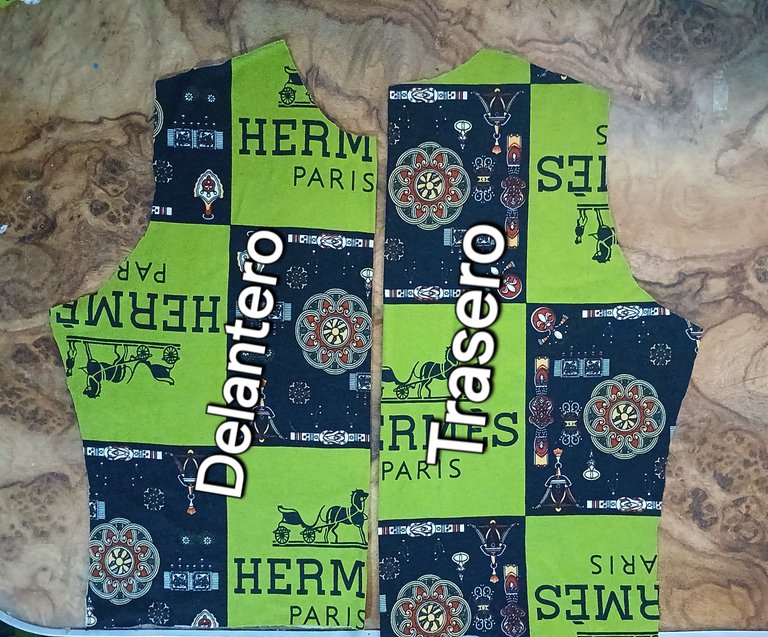
La pieza delantera de la camisa la corté por la mitad, para colocarle una tapeta de 2 cm de ancho y del largo de la camisa.
I cut the front piece of the shirt in half, to place a 2 cm wide placket the length of the shirt.
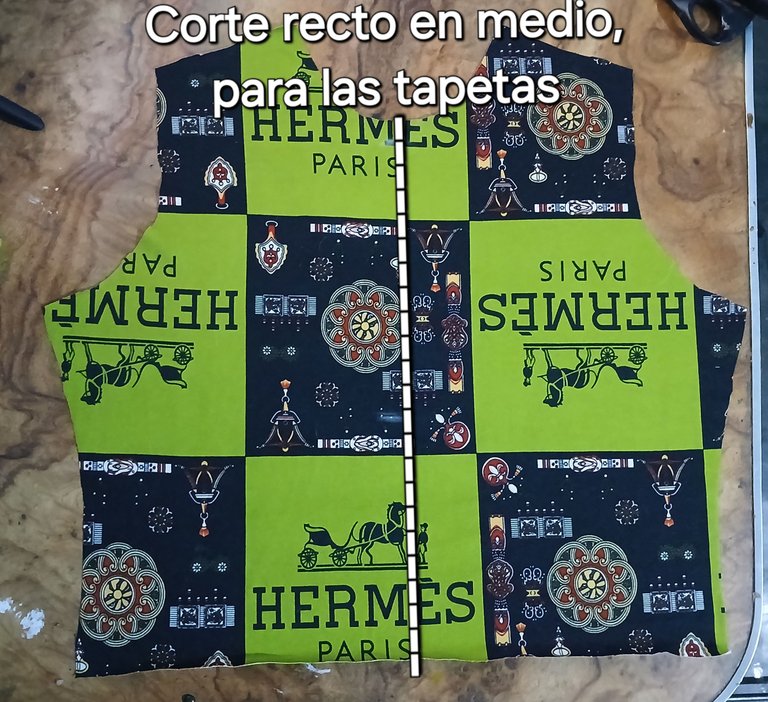
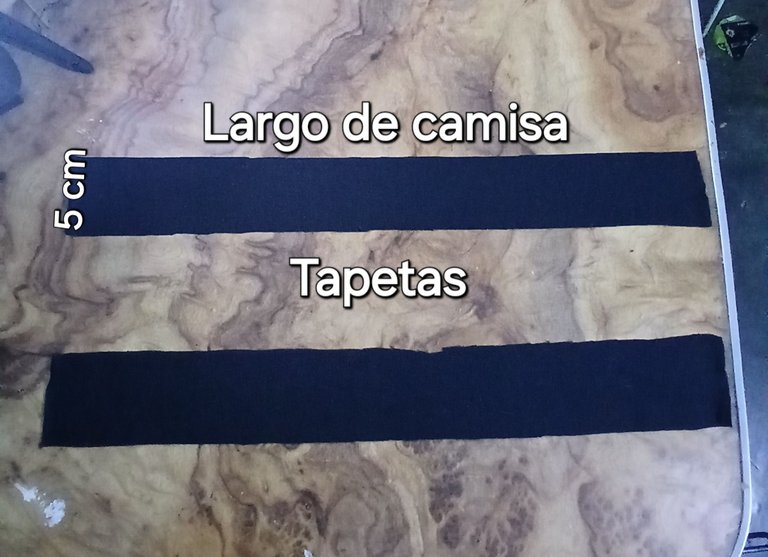
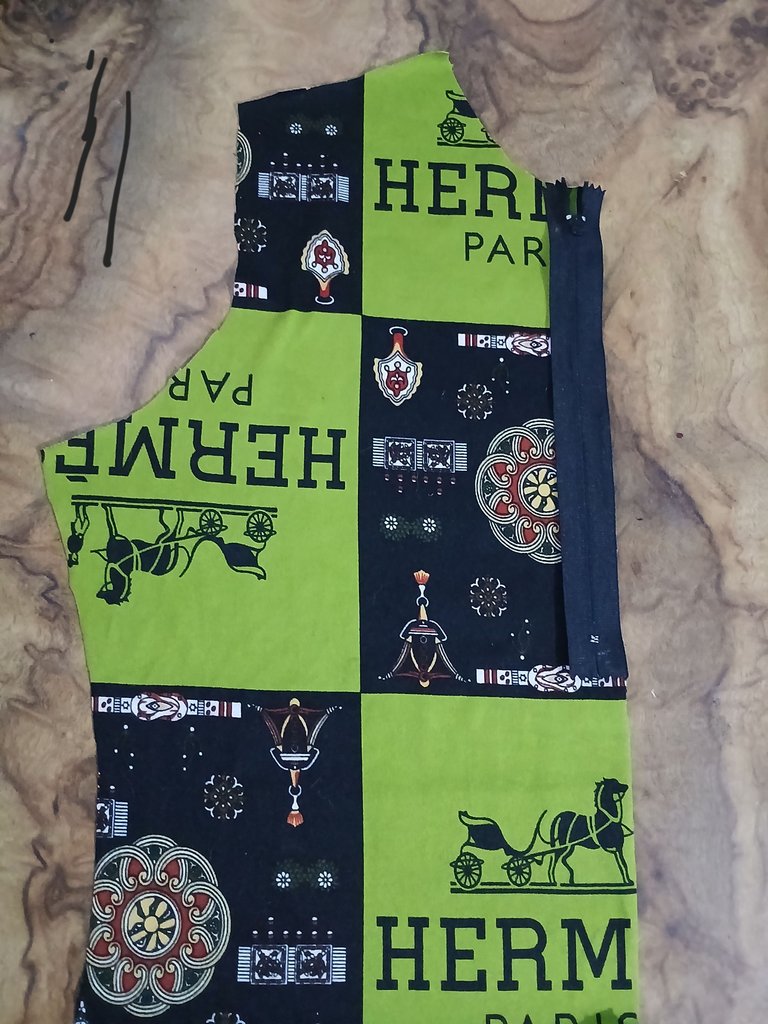
Antes de coser las tapetas en las orillas de la camisa, coloqué primero la cremallera con el cursor sobre la orilla derecha de la pieza delantera y sobre ésta, puse la tapeta haciendo coincidir orilla con orilla.
Before sewing the covers on the edges of the shirt, I first placed the zipper with the slider on the right edge of the front piece and on this one, I placed the placket matching edge to edge.
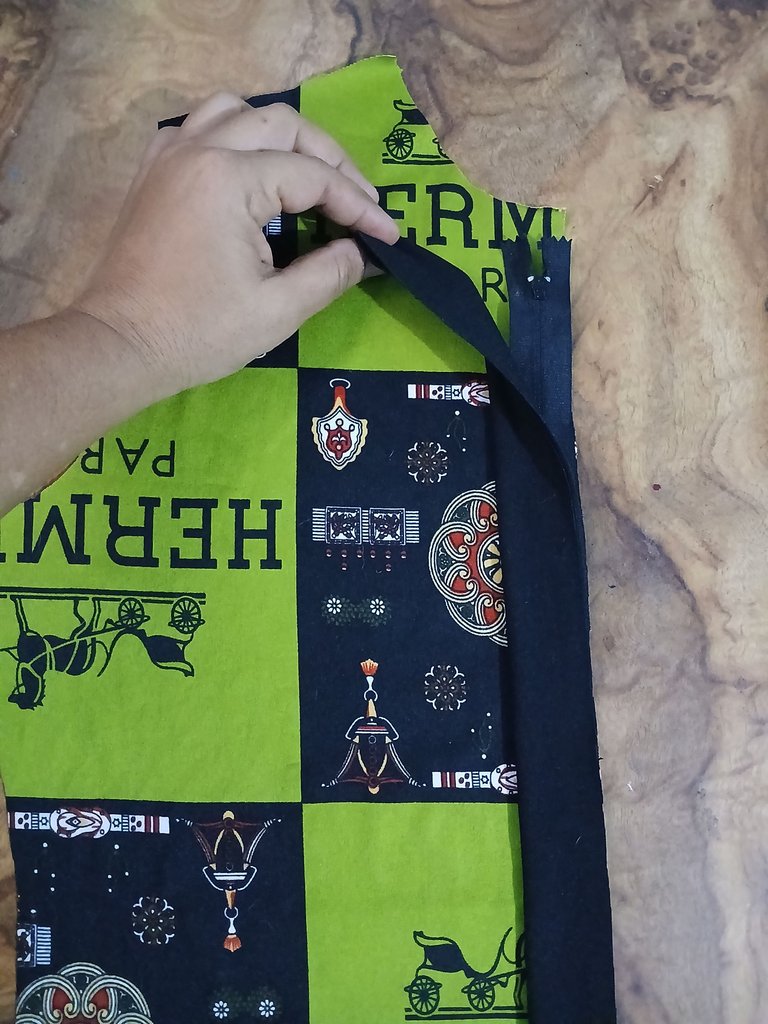
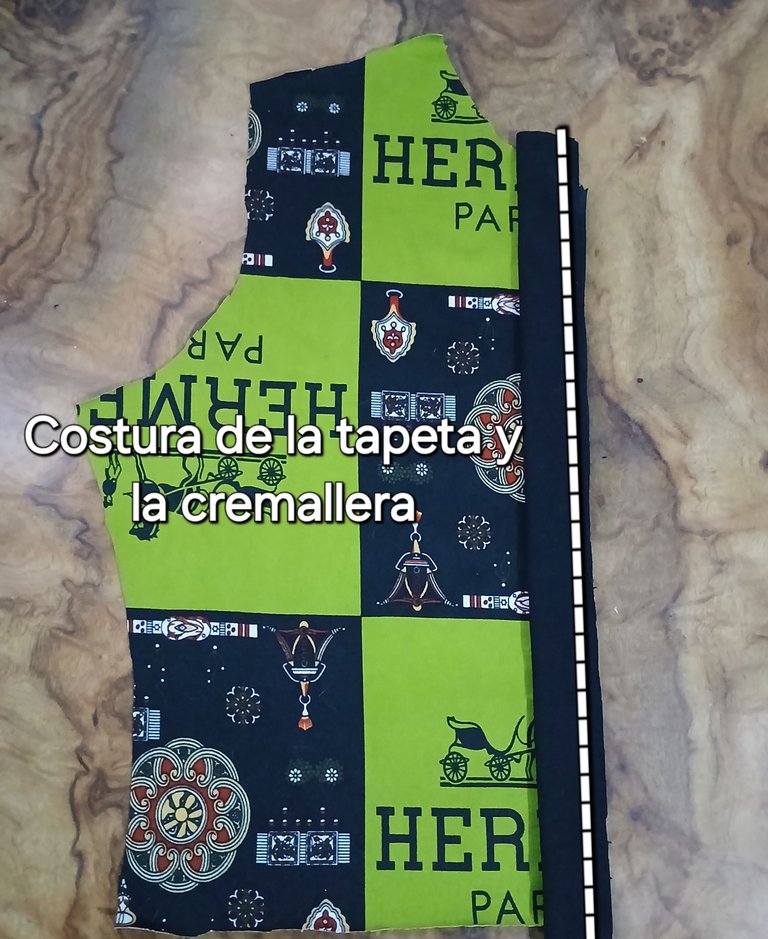
Para colocar la tapeta izquierda, primero lleve hacia dentro de la camisa, la tapeta derecha y coloqué la tapeta izquierda sobre la orilla del cierre con el cursor de frente y sobre la orilla de labtapeta puse la orilla de pieza de lantera izquierda.
To place the left placket, I first pulled the right placket inside the shirt and placed the left placket over the edge of the zipper with the slider facing and on the edge of the placket I placed the edge of the left piping piece.
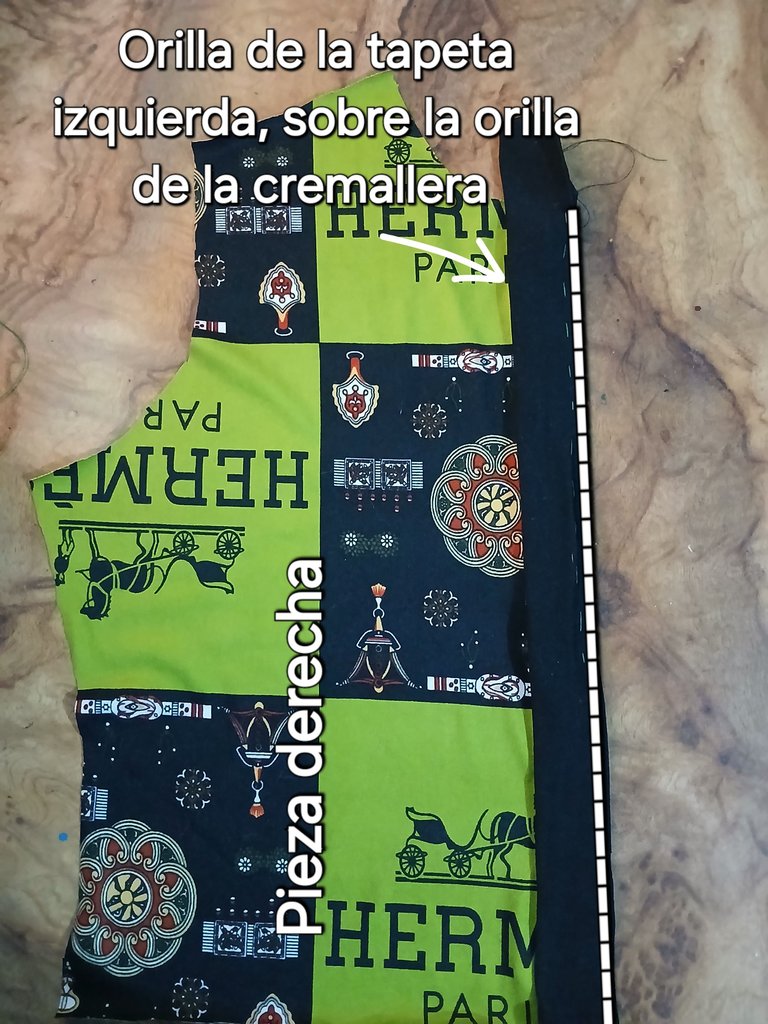
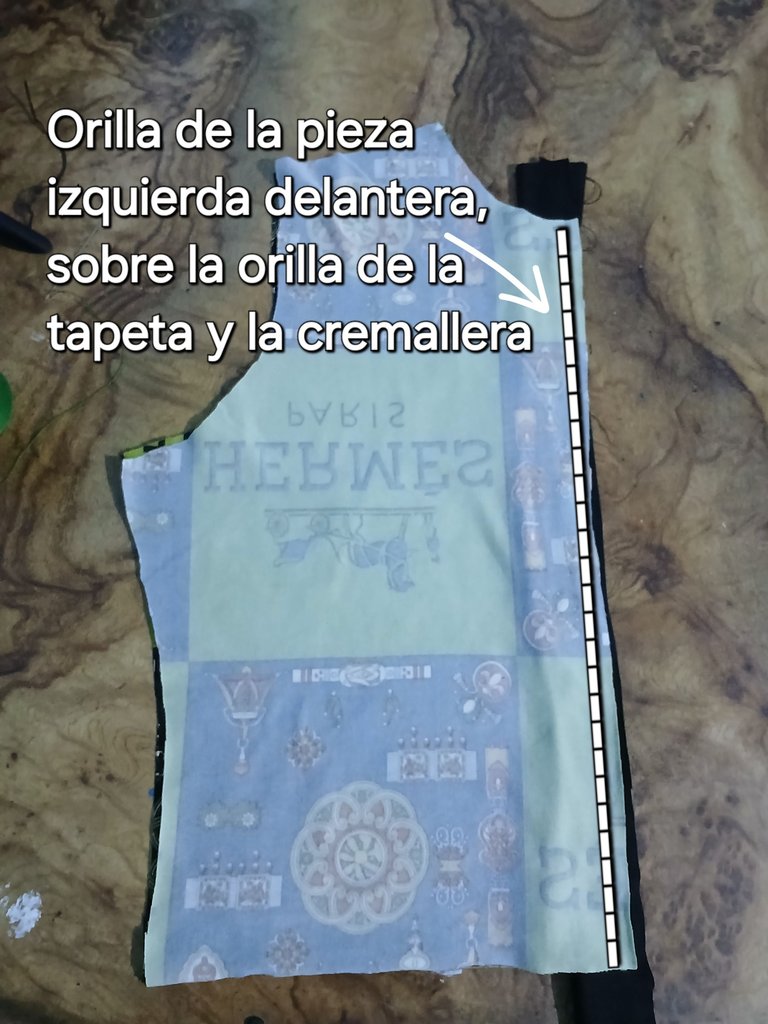
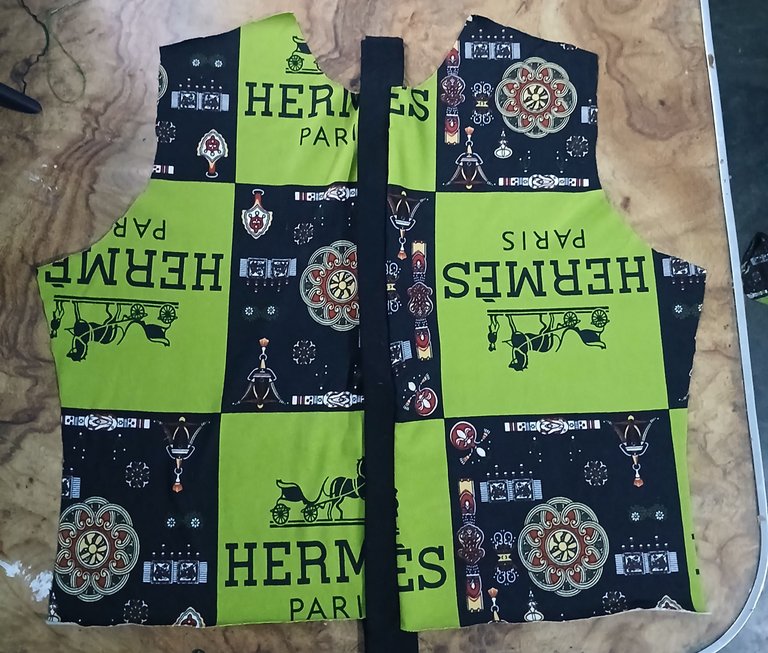
Cuando terminé las tapetas y la cremallera, procedí a unir los hombros de la camisa para pegar las mangas.
When I finished the caps and zipper, I proceeded to join the shoulders of the shirt to attach the sleeves.
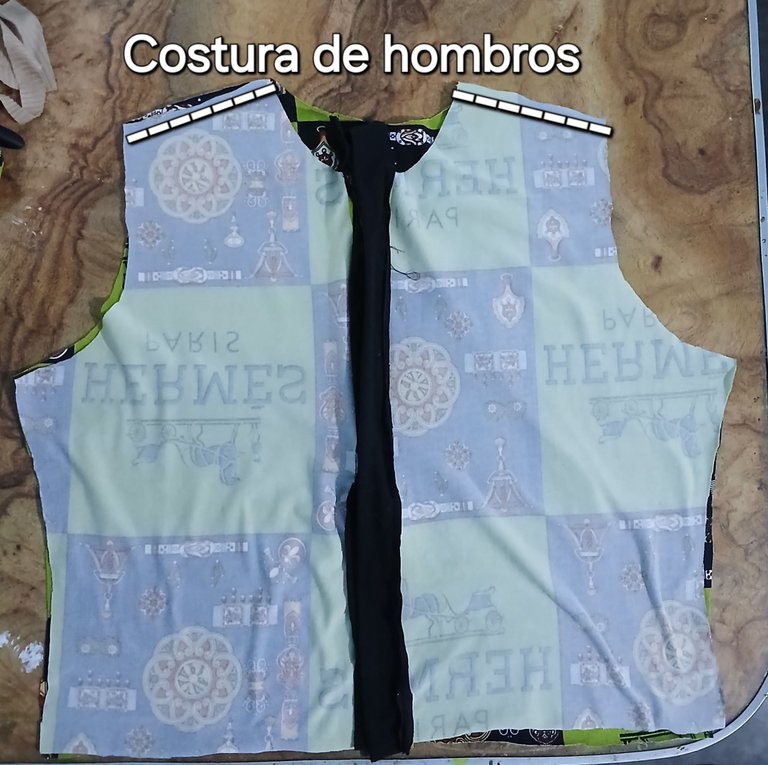
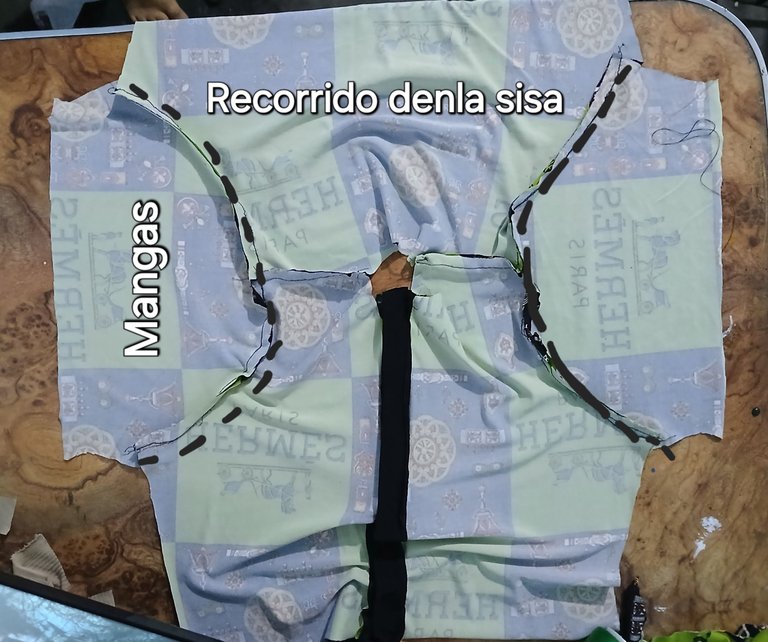
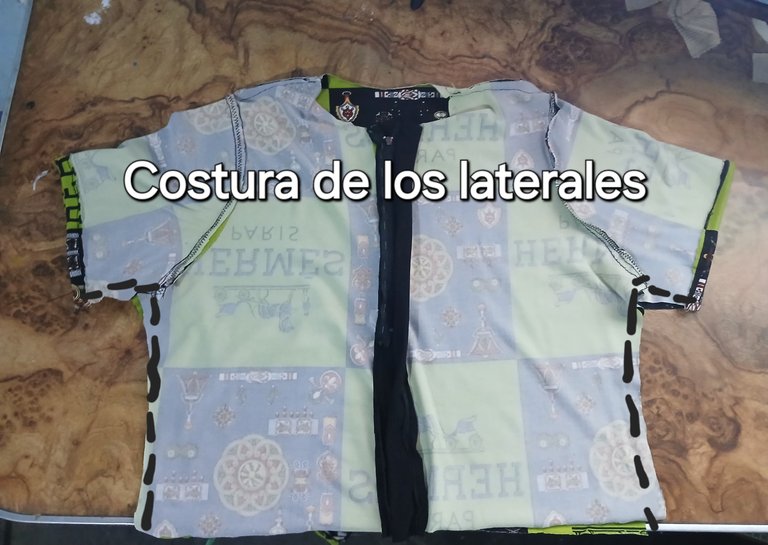
Después de haber pegado las mangas, pasé costura por los laterales la camisa, desde la manga hasta el contorno de cintura para cerrar.
After gluing the sleeves, I stitched the sides of the shirt, from the sleeve to the waist to close it.
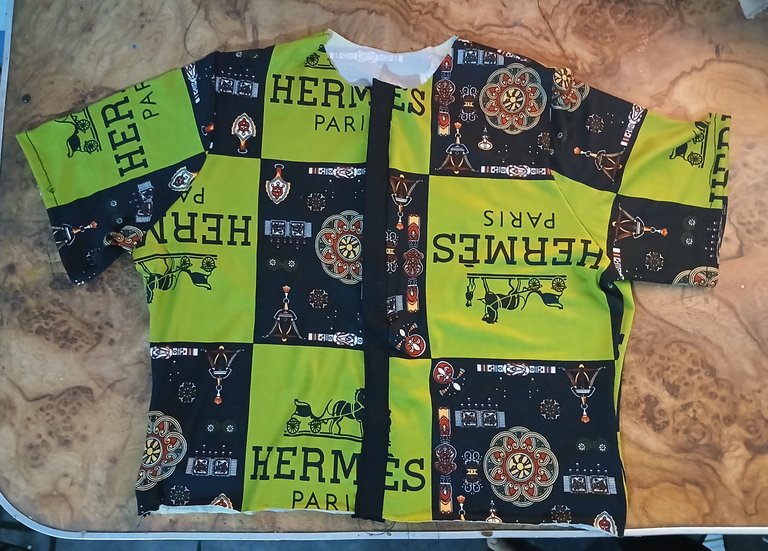
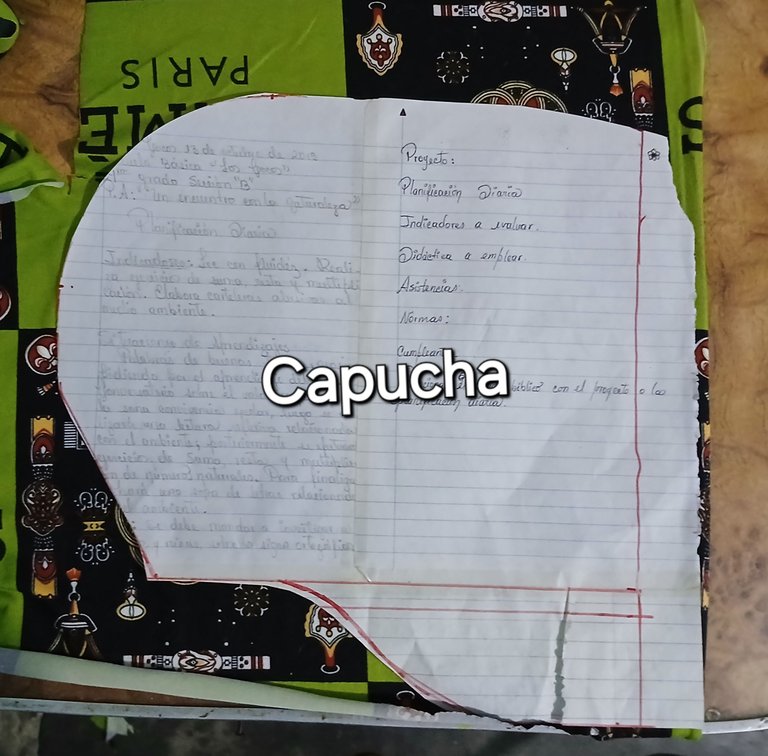
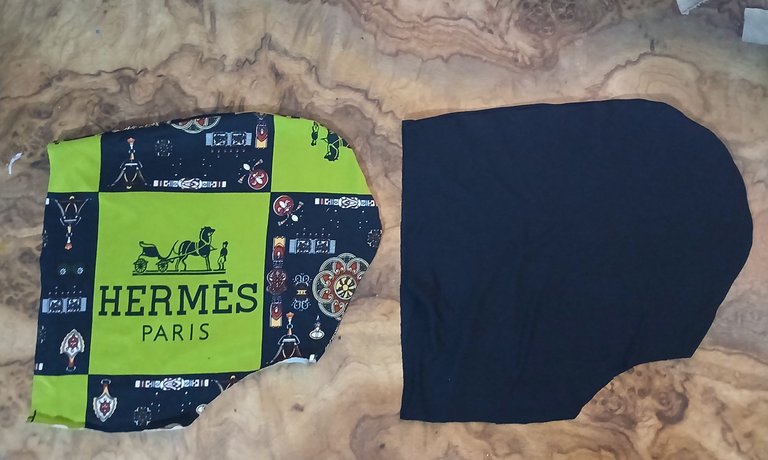
Para terminar la camisa, saqué con un patrón, la capucha una capucha estampada y otra capucha negra, cosí cada una por todo el recorrido de la cabeza e introduje la capucha estampada dentro de la negra y las uní por la orilla del frente, que abarca la cara y la cabeza.
To finish off the shirt, I stenciled out the hood, one printed hood and one black hood, sewed each one all the way around the head and inserted the printed hood inside the black one and joined them at the front edge, which spans the face and head.
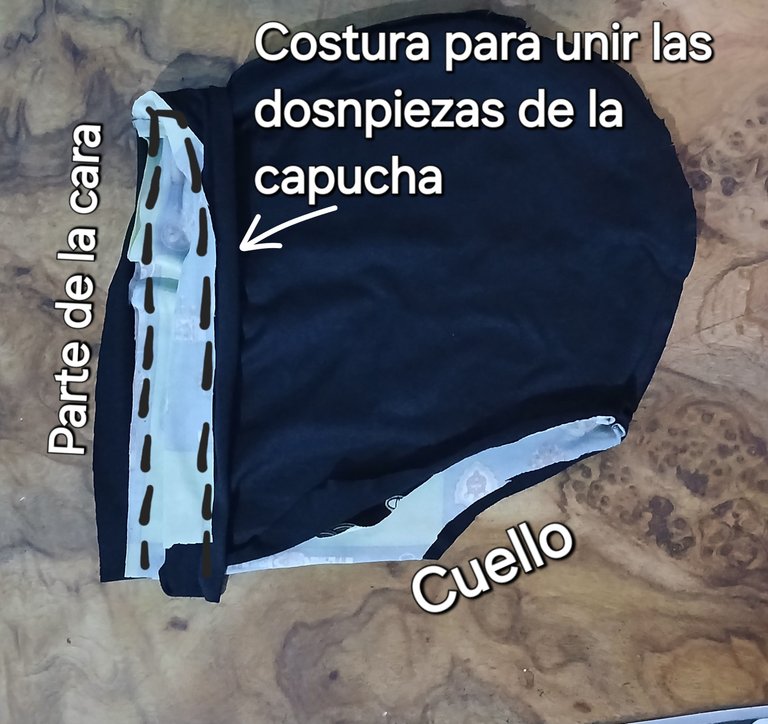
Ya terminada la capucha, procedí a coserla por todo el contorno del cuello.
Once the hood was finished, I proceeded to sew it all around the neck.
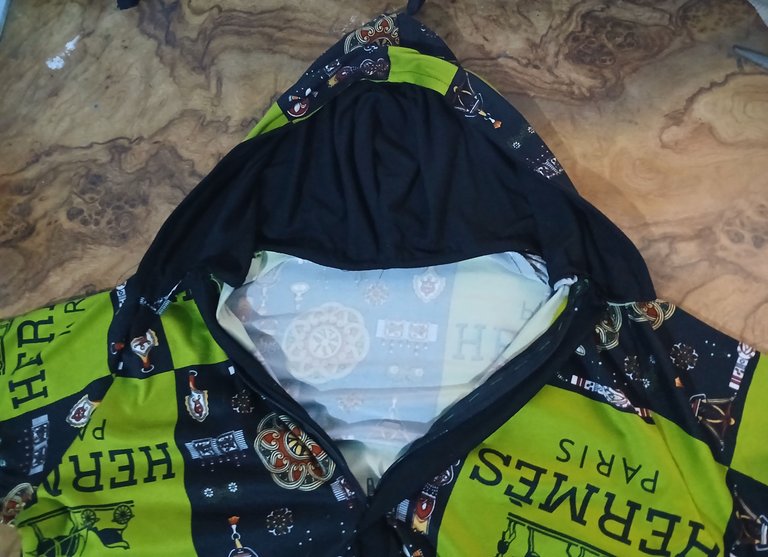
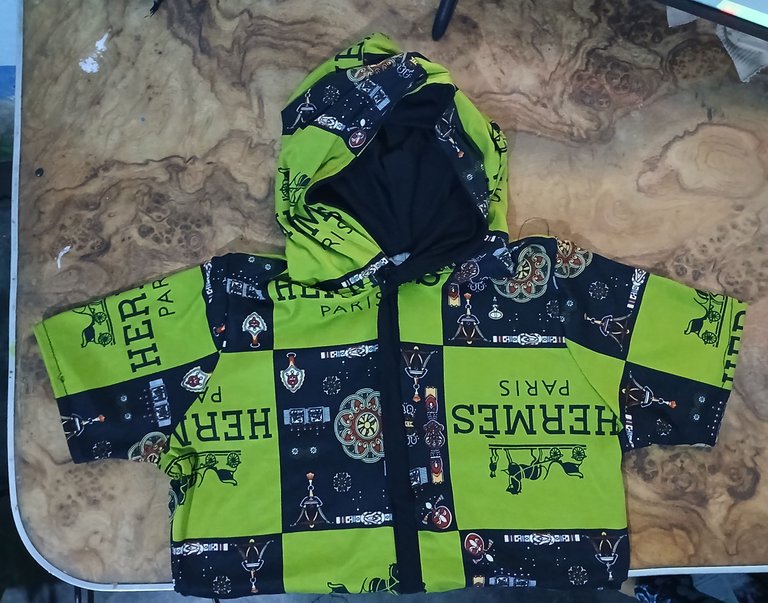
Corté una tira de 10 cm de ancho y 86 cm de largo para realizar la pretina, para ésto doblé en dos el largo de la tira, pasé costura por las orillas e introduje un elástico.
I cut a strip 10 cm wide and 86 cm long to make the waistband, for this I folded the length of the strip in two, sewed along the edges and inserted an elastic.
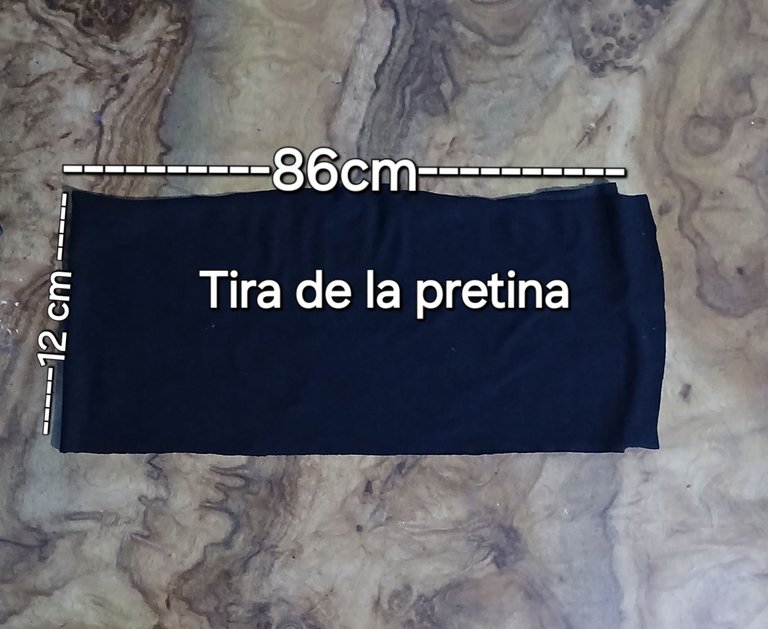
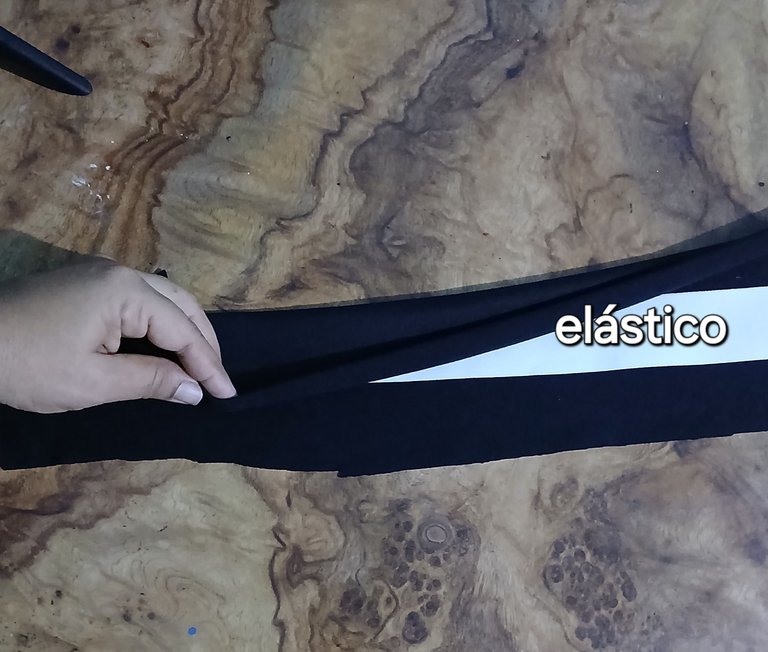
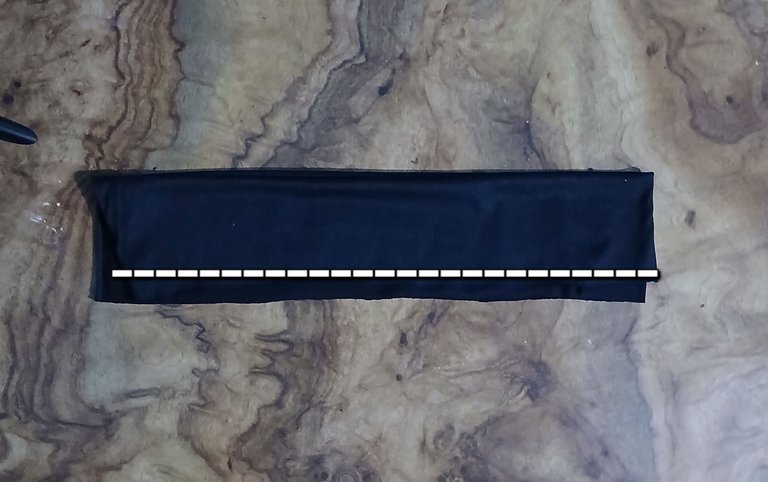
Uní la pretina al contorno de cintura de camisa y al contorno de cintura del pantalón.
I attached the waistband to the waist circumference of the shirt and to the waist circumference of the pants.
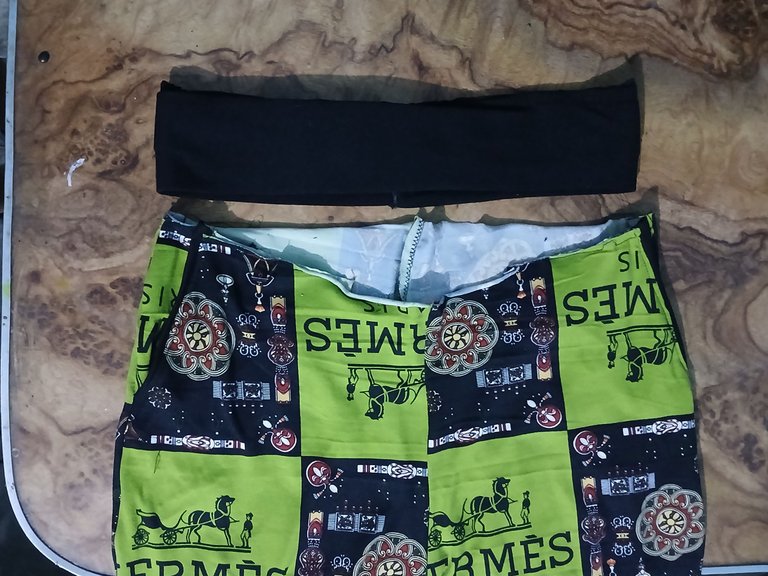
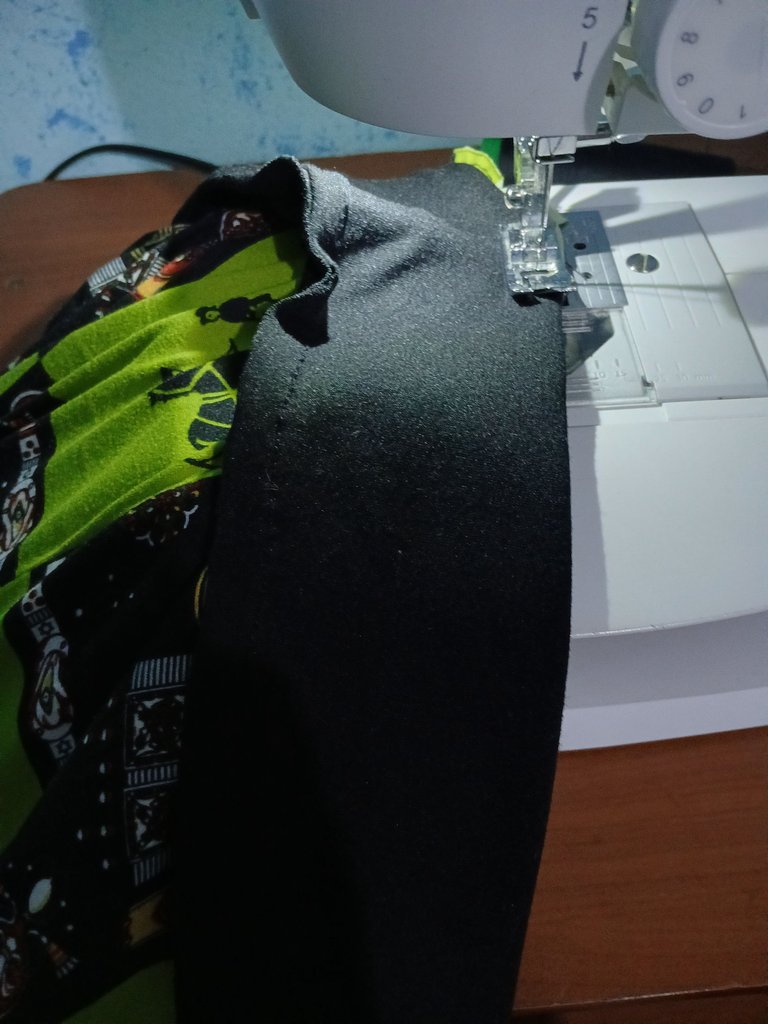
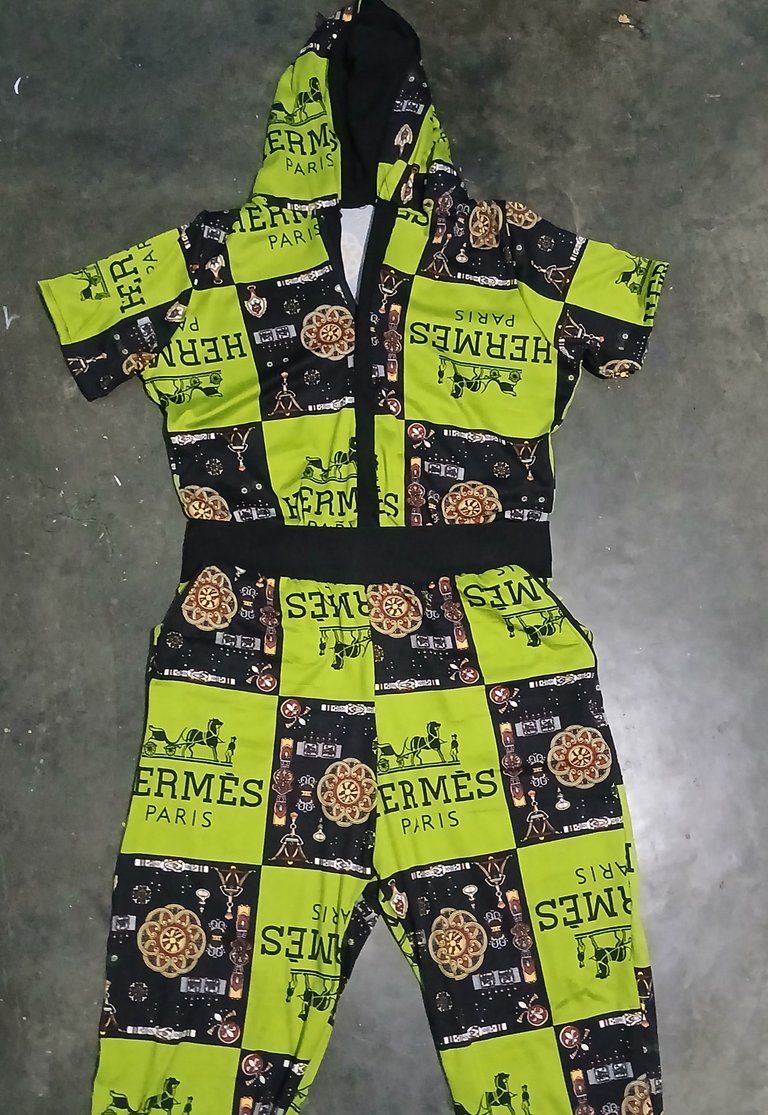
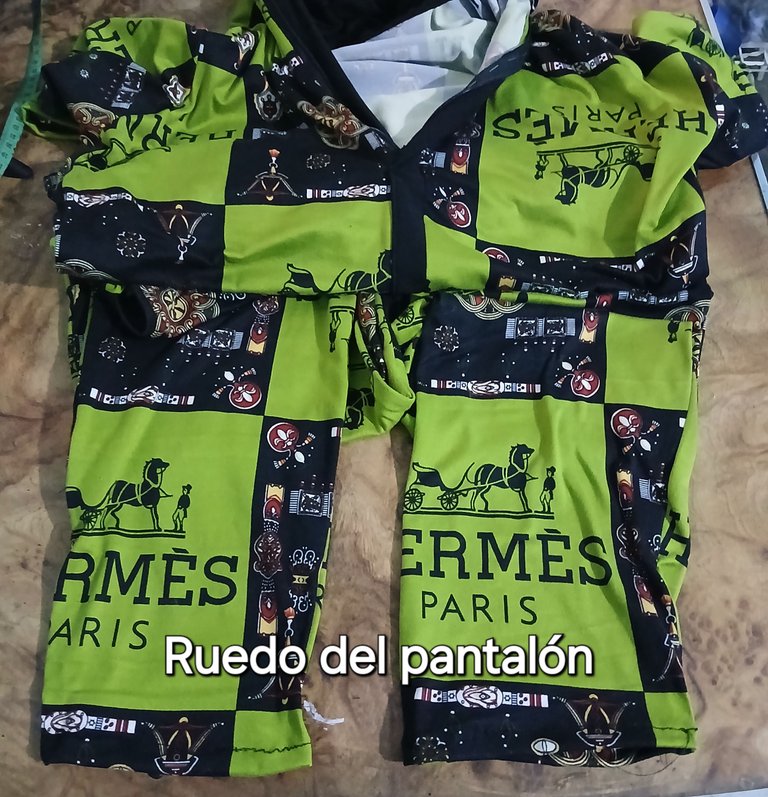
Finalmente hice un pequeño ruedo en la bota del pantalón.
Finally I made a small roll in the boot of the pants.

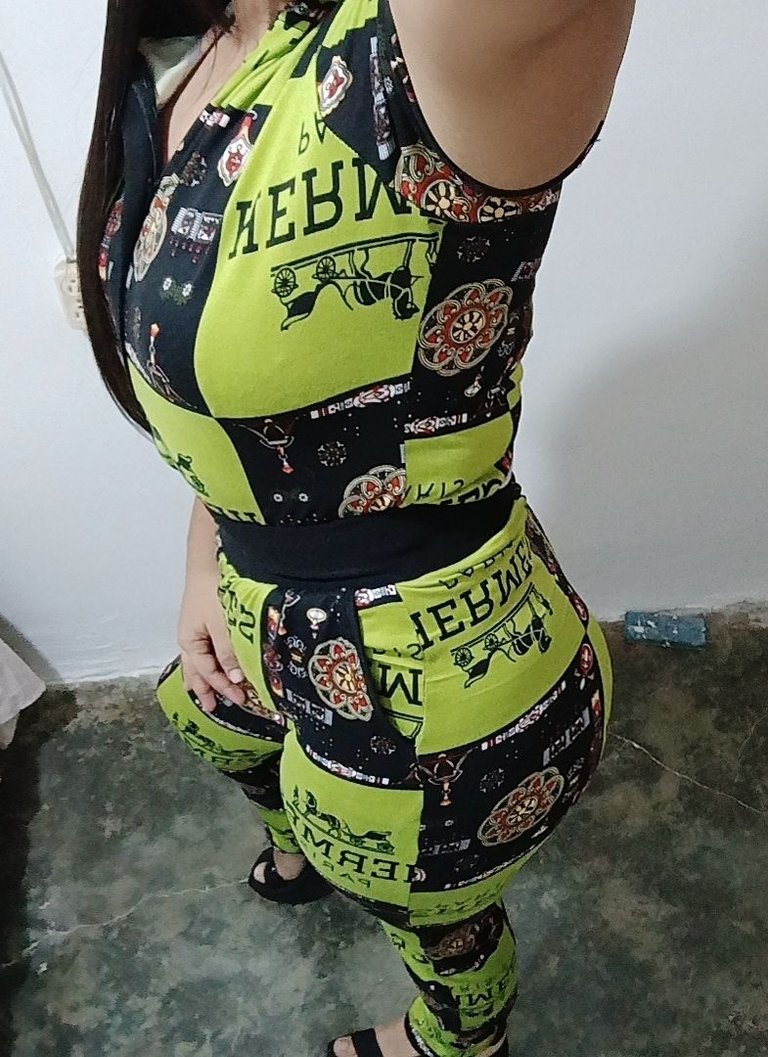
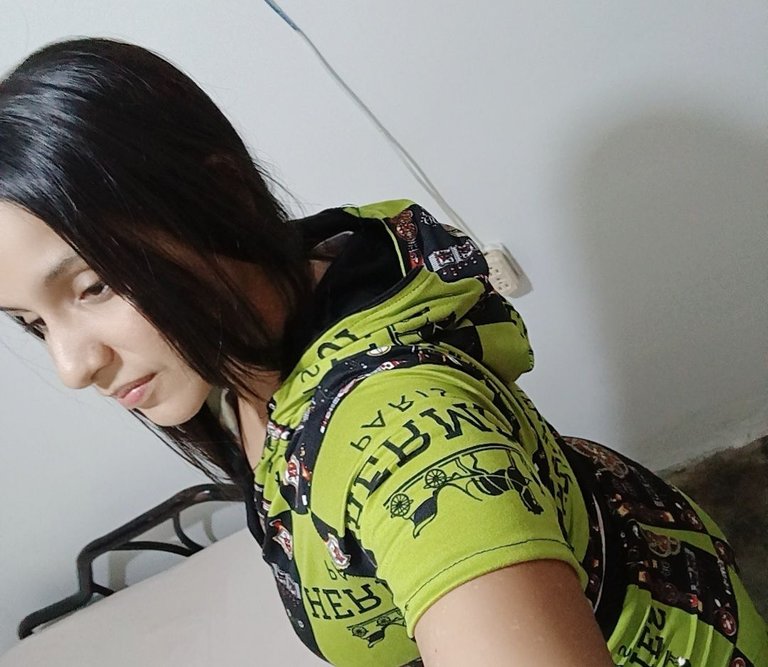

Espero te haya gustado el resultado de éste tutorial, un Jumpsuit con Capucha y Cremallera, una prenda cómoda y versátil, y se ajusta a la figura. Muchas bendiciones apreciada colmena 🙏🏻🤗.
I hope you liked the result of this tutorial, a Jumpsuit with Hood and Zipper, a comfortable and versatile garment, and it fits the figure. Many blessings dear beehive 🙏🏻🤗.
What a cute and well fitted jumpsuit. The Hermes material takes the highlight. Nice work
Gracias amigos de @diyhub por su grato comentario y su valioso apoyo. Dios los bendiga mucho 🙏🏻🤗.
Luce muy cómodo, Tal como lo describes. La capucha le aporta personalidad y el estampado es juvenil. Todo muy bonito.
Hola amiga @karen.art, gracias por tu comentario tan agradable, es un gusto conocer tu opinión acerca de éste tutorial. Muchas bendiciones amiga 🙏🏻 🙂