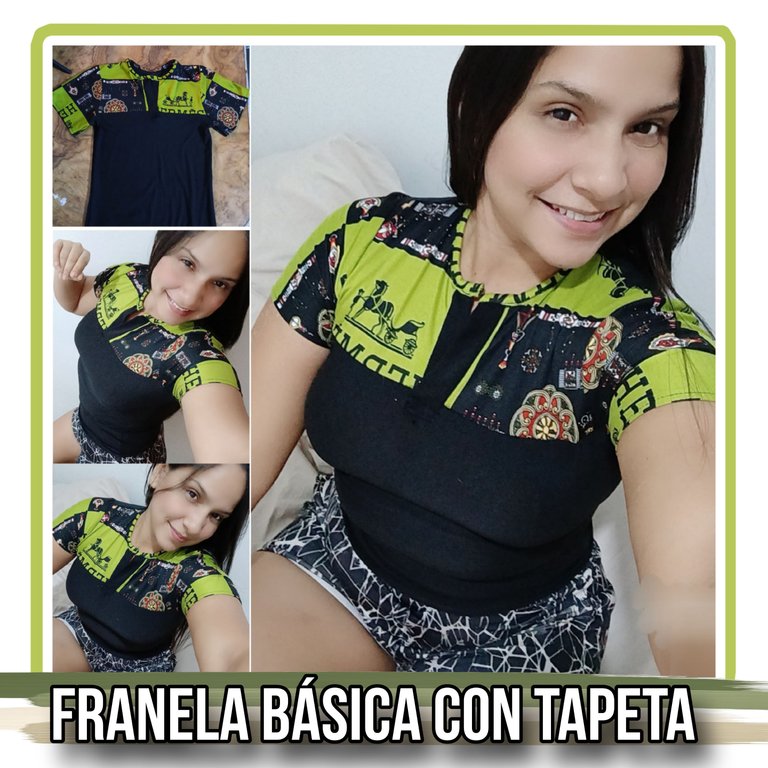
"Camisa Básica con Tapeta" bastante fresca para salir a hacer las compras, estar dentro de la casa o para ir al gym, aquí te muestro cómo aproveché cada retazo de tela para crear esta camisa.Hola apreciada colmena de ##Needleworkmonday, les saluda como siempre su amiga @kathelopez77; deseándoles un día lleno de buena salud, bendiciones y éxitos. Hace un día, compartí con ustedes la confección de un Jumpsuit fabricado en tela microdurazno estampada y negra, de esa confección me quedaron varios retazos y quise darle un buen uso, así que tomé una de mis blusas más pequeñas y la tomé de patrón para confeccionar una
"Basic Shirt with Placket " fresh enough to go shopping, to be inside the house or to go to the gym, here I show you how I took advantage of each piece of fabric to create this shirt.Hello dear ##Needleworkmonday hive, greetings as always from your friend @kathelopez77; wishing you a day full of good health, blessings and success. A day ago, I shared with you the confection of a Jumpsuit made in black and printed microdurazno fabric, from that confection I had several scraps left and I wanted to give it a good use, so I took one of my smaller blouses and I took it as a pattern to make a

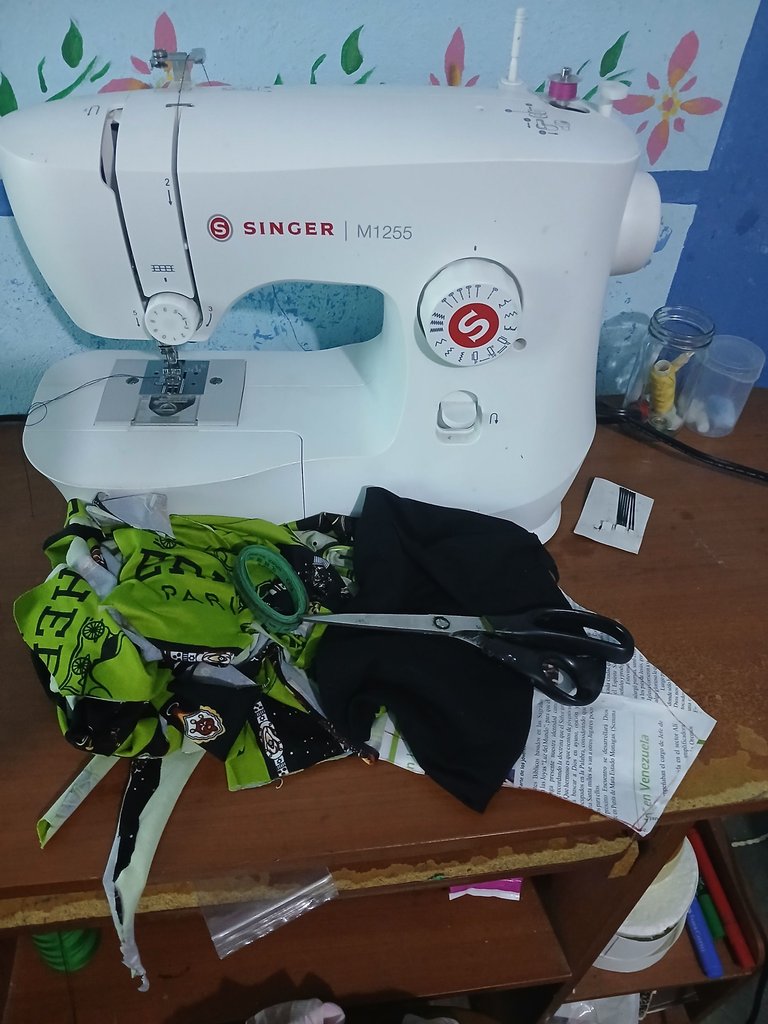
- Retazos de tela microdurazno estampado y negro.
- Blusa para sacar los patrones.
- Patrón de manga corta.
- Tijeras.
- Cinta métrica.
- Máquina de coser.
- Patches of black and printed microdurazno fabric.
- Blouse to take out the patterns.
- Short sleeve pattern.
- Scissors.
- Tape measure.
- Sewing machine.

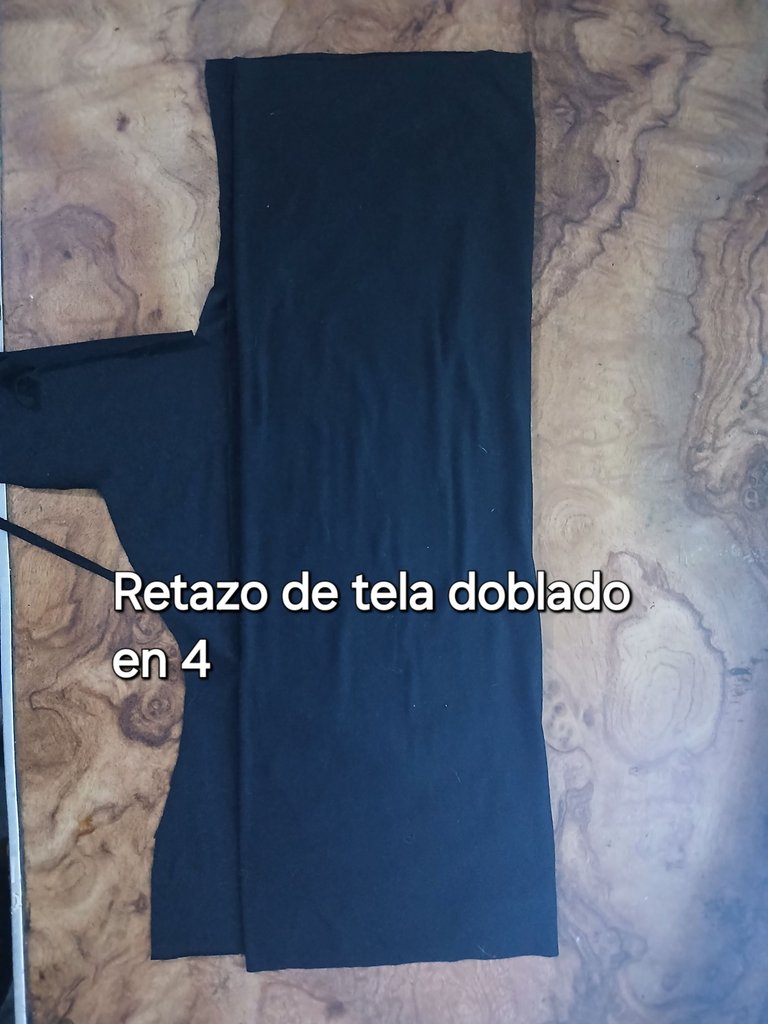
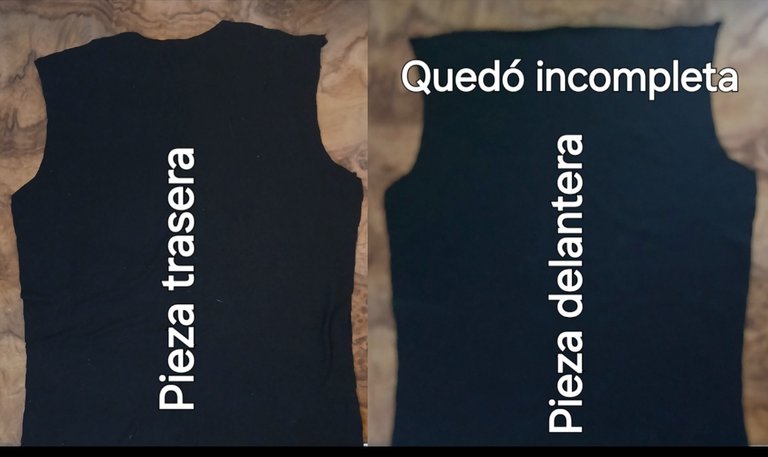
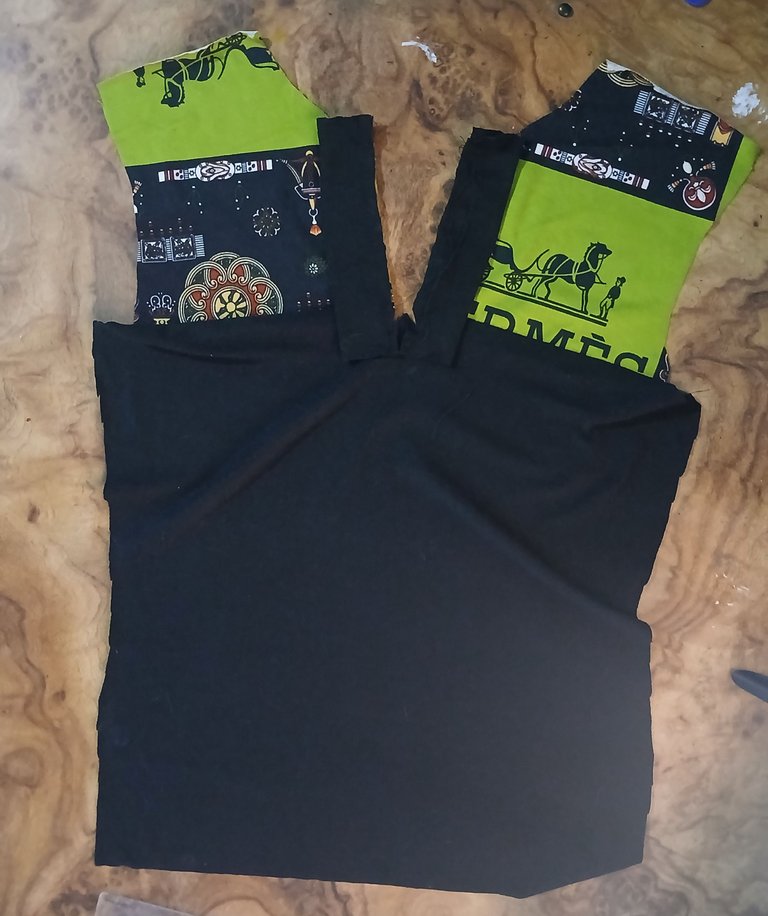
Para comenzar la confección de ésta camisa, tomé el retazo de tela más grande, qué es la tela negra y la doblé en 4, para sacar las dos piezas, la delantera y la trasera, pero como el trabajo lo hice con retazo, una de las piezas quedó incompleta en la parte superior, por eso improvisé un diseño para esa parte, como tenía varios retazos de la tela estampada, completé con ella la parte superior desde los hombros hasta más de la mitad de la sisa.
To start the making of this shirt, I took the largest piece of fabric, which is the black fabric and folded it in 4, to get the two pieces, the front and the back, but as I did the work with scraps, one of the pieces was incomplete at the top, so I improvised a design for that part, as I had several scraps of printed fabric, I completed with it the top from the shoulders to more than half of the armhole.
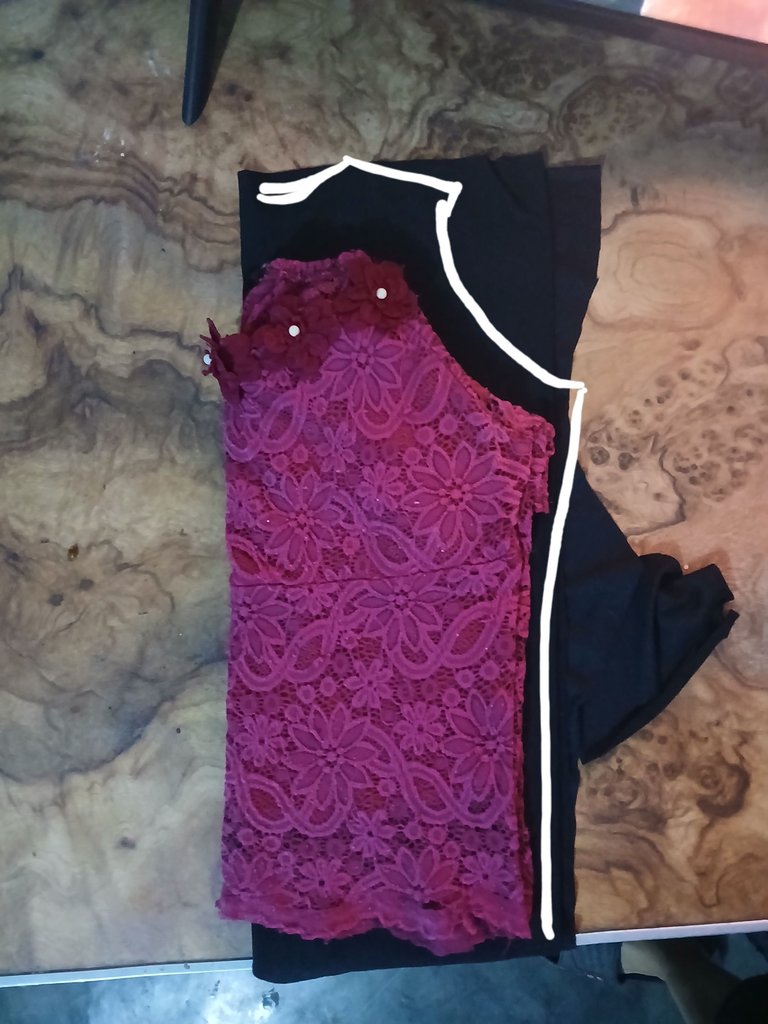
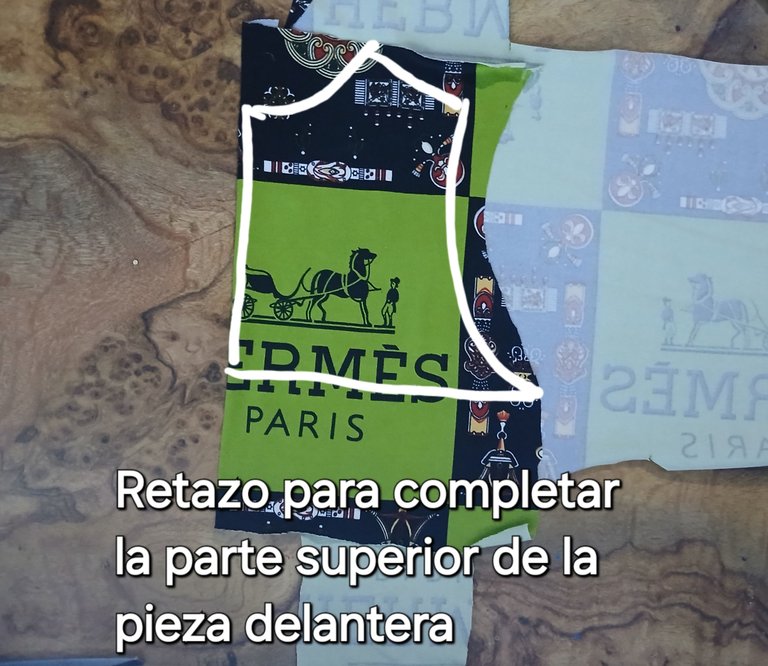
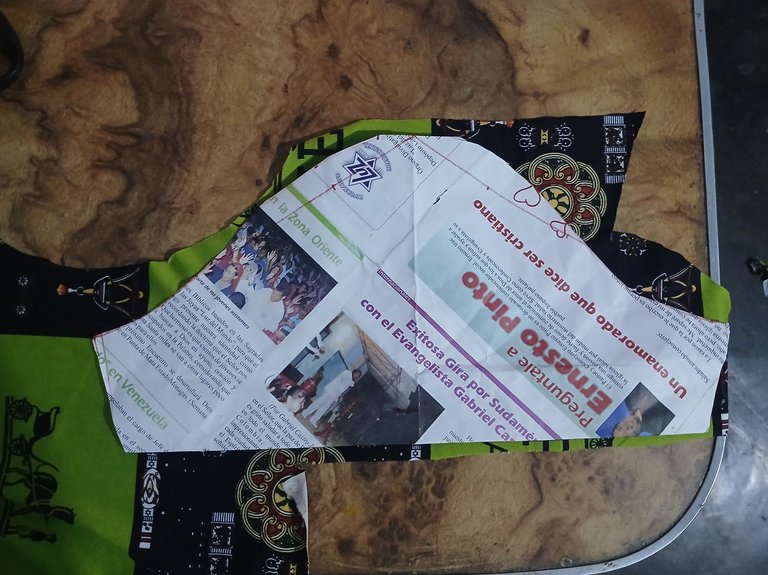
Cómo lo escribí en el Paso anterior, tuve que utilizar un retazo de la tela estampada para sacar la parte superior que faltó en la pieza delantera.
As I wrote in the previous step, I had to use a scrap of the printed fabric to remove the missing top from the front piece.
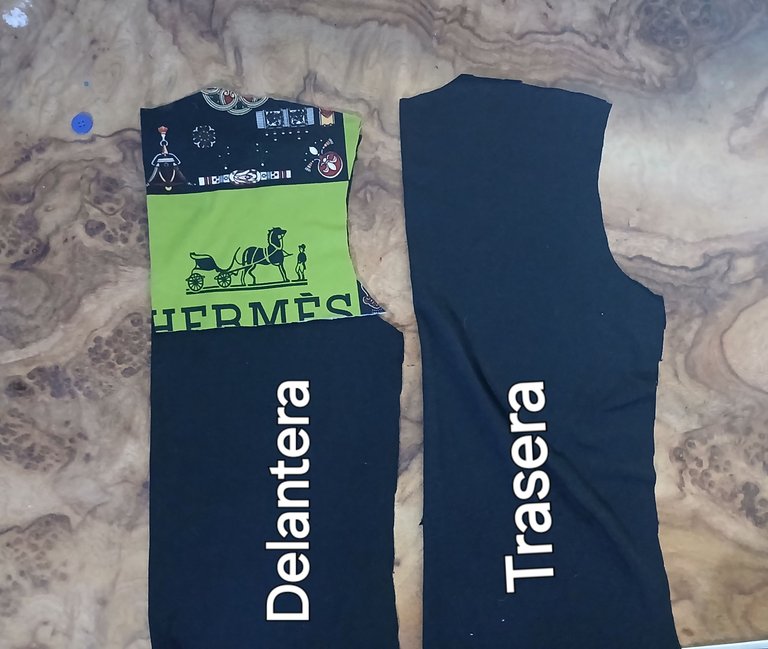
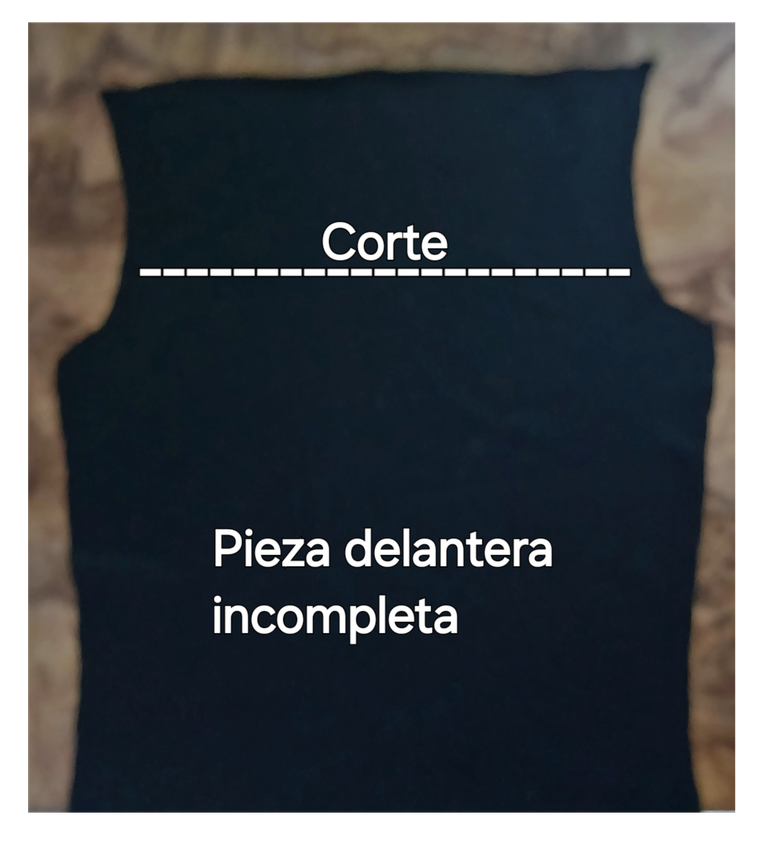
Corté un poco más abajo, la parte superior de la pieza delantera para unirla con la pieza estampada que corté.
I cut a little lower, the top of the front piece to join it with the stamped piece I cut.
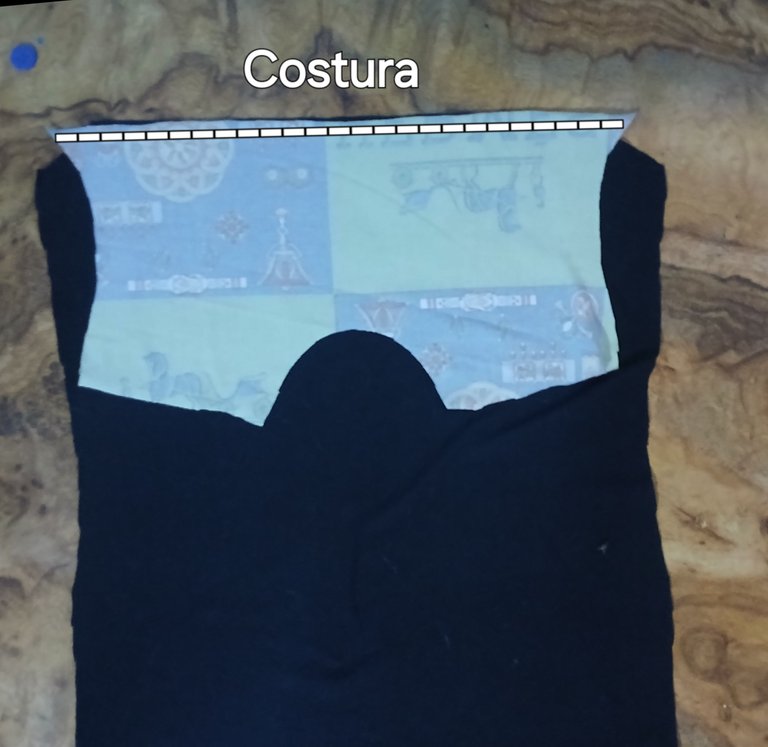
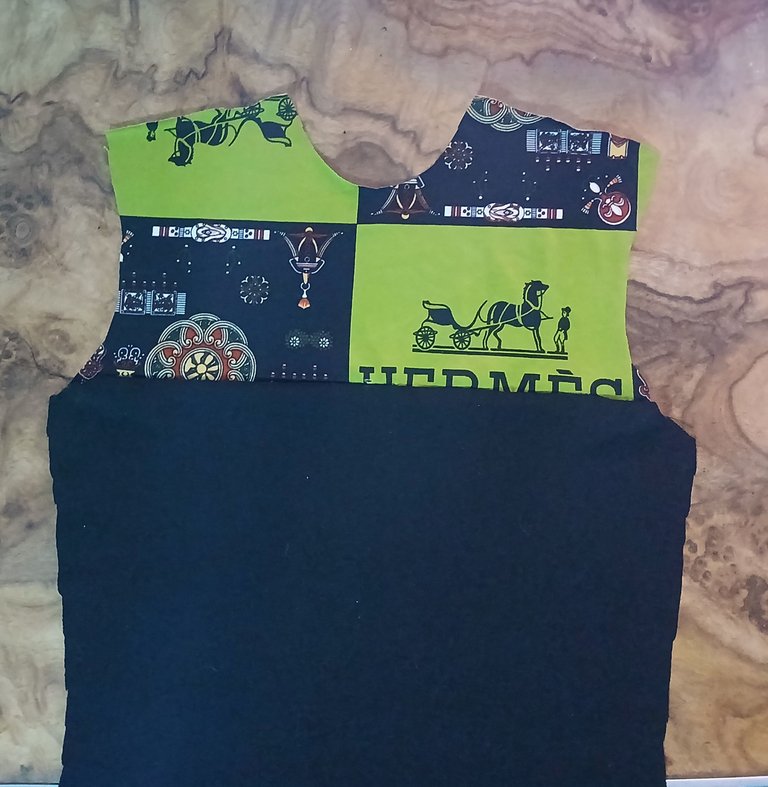
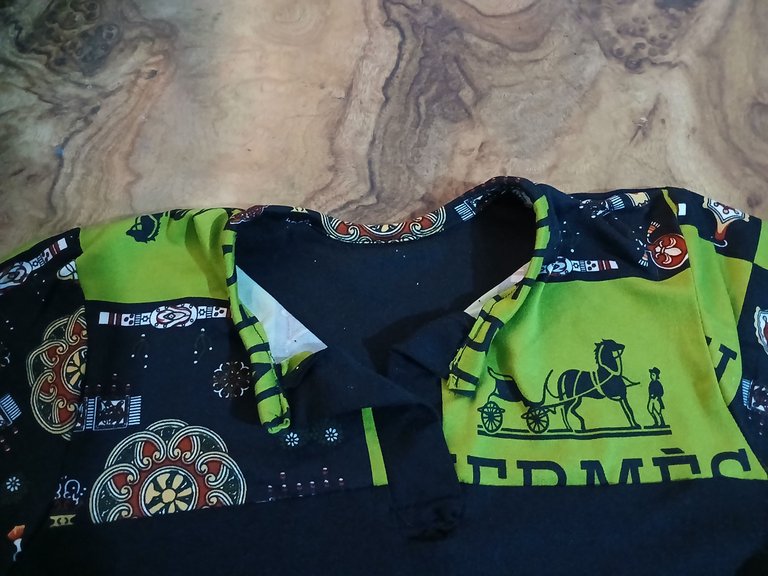
Después saqué las tapetas de 5 cm de ancho y 11 cm de largo y las coloqué doblada en dos en el centro de la parte superior de la pieza delantera.
I then removed the 5 cm wide and 11 cm long caps and placed them folded in two in the center of the top of the front piece.
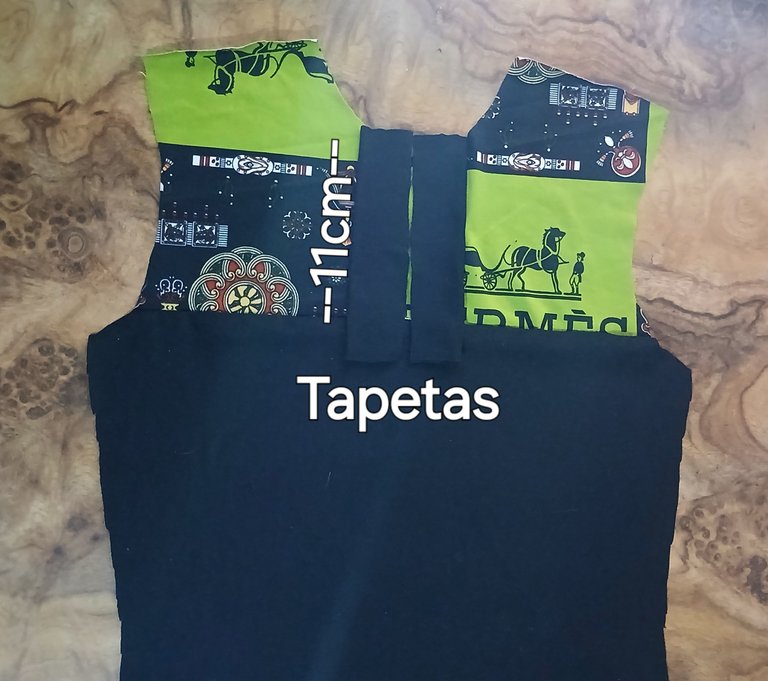
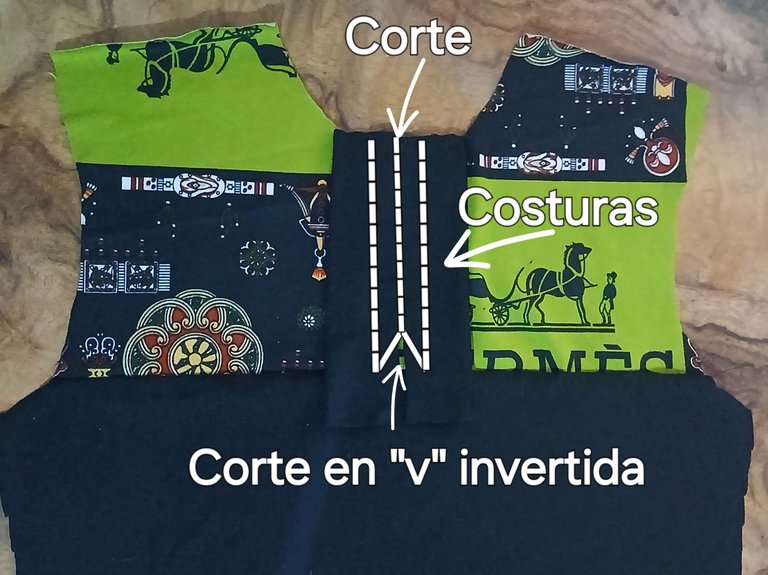
Luego pasé costura en las orillas de las tapetas, que dan hacia en centro de la camisa y realicé un corte recto en el centro y otro corte en "V" invertida al final, dejando 1cm de de tapeta sin costura.
Then I stitched the edges of the plackets, which face the center of the shirt, and made a straight cut in the center and another cut in an inverted "V" at the end, leaving 1 cm of placket without stitching.
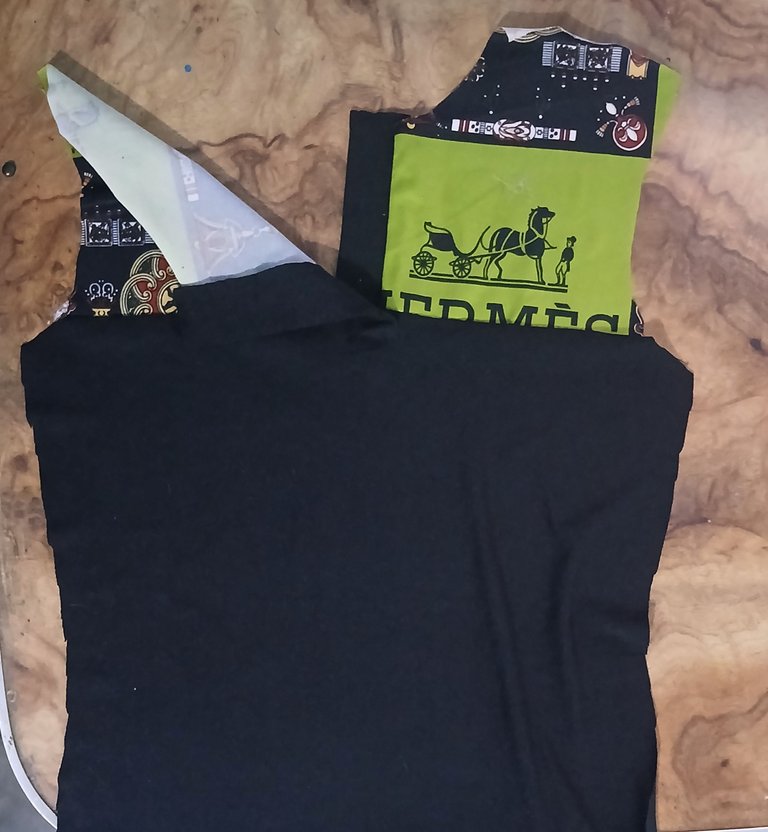
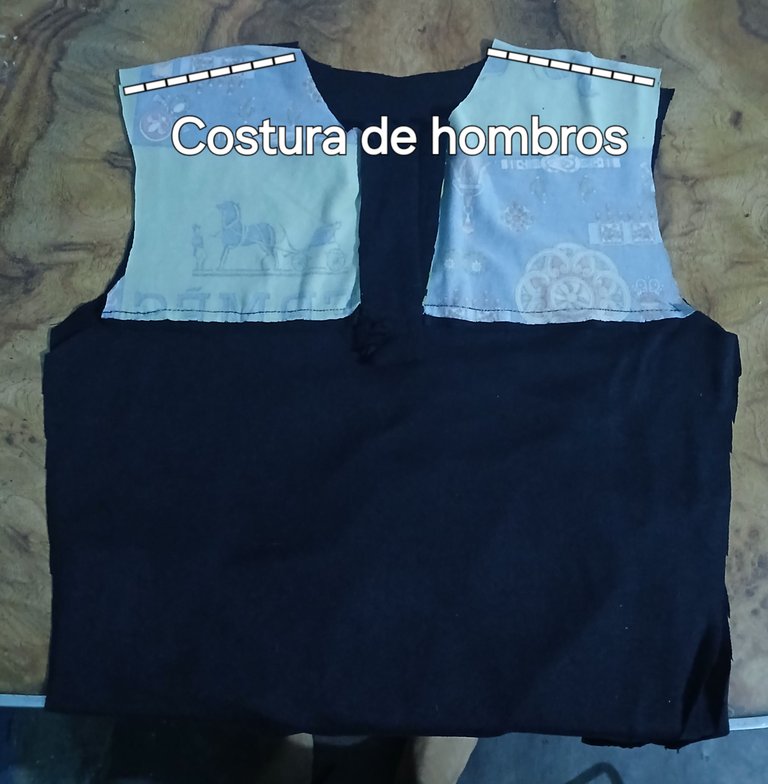
Posteriormente coloqué las dos piezas una encima de la otra con sus derechos enfrentados y pasé costura por los hombros.
Then I placed the two pieces on top of each other with their rights sides facing each other and sewed the shoulders.
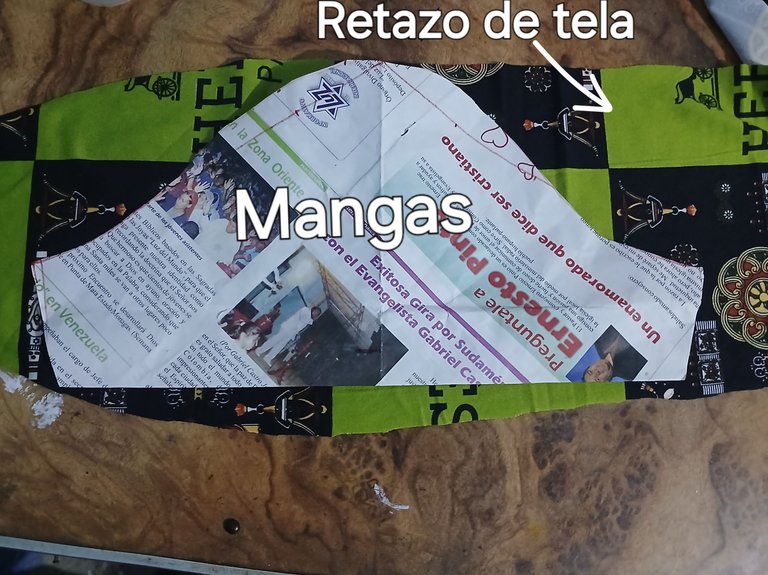
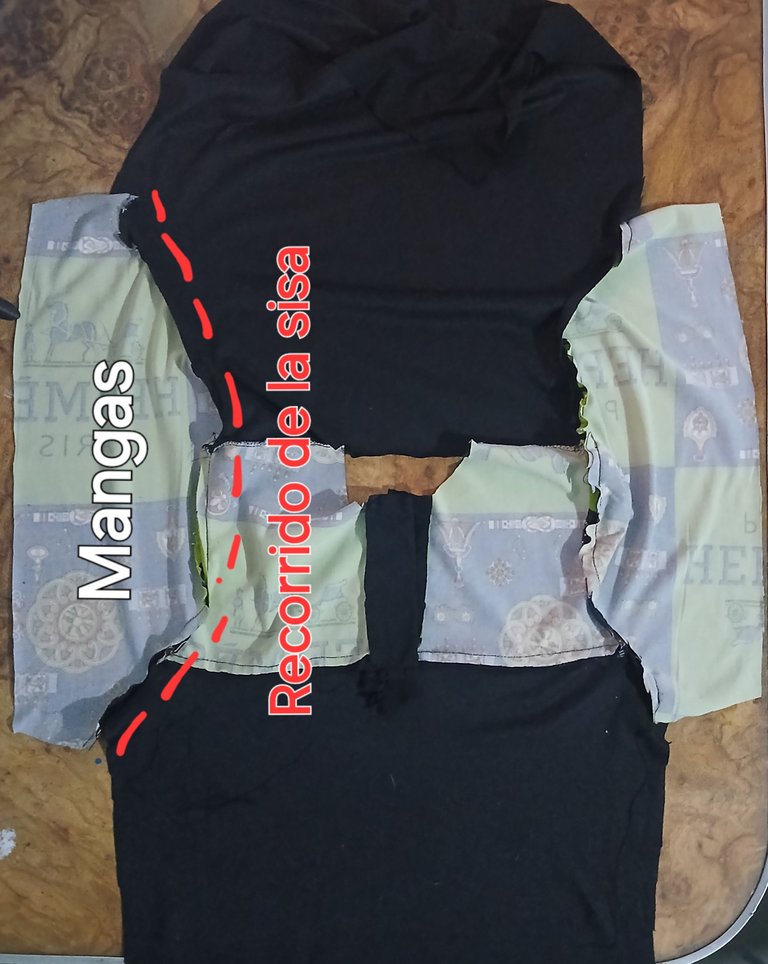
Saqué el patrón de las mangas, aprovechando cada retazo de tela y luego las pegué por todo el recorrido denla sisa.
I made the pattern for the sleeves, taking advantage of every scrap of fabric and then glued them all the way up the armhole.
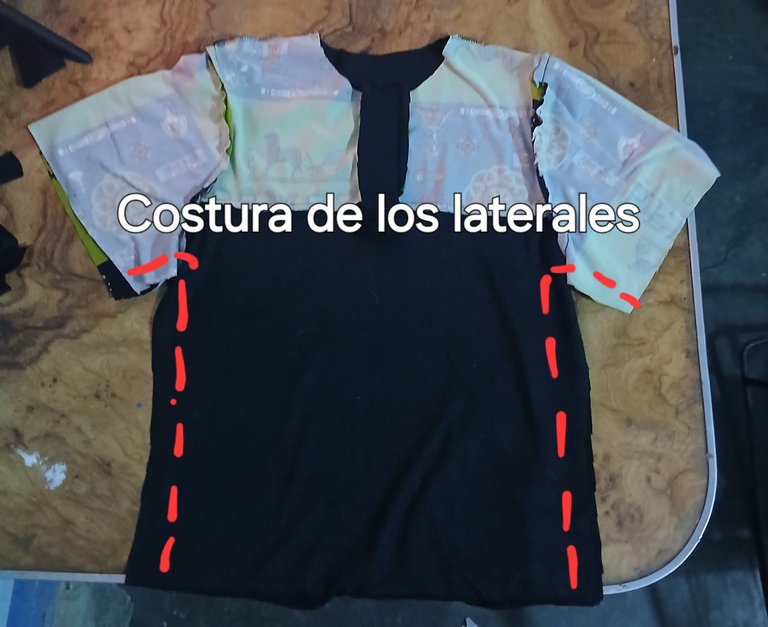
Después pasé costura por los laterales de la camisa para cerrar.
Then I stitched the sides of the shirt to close it.
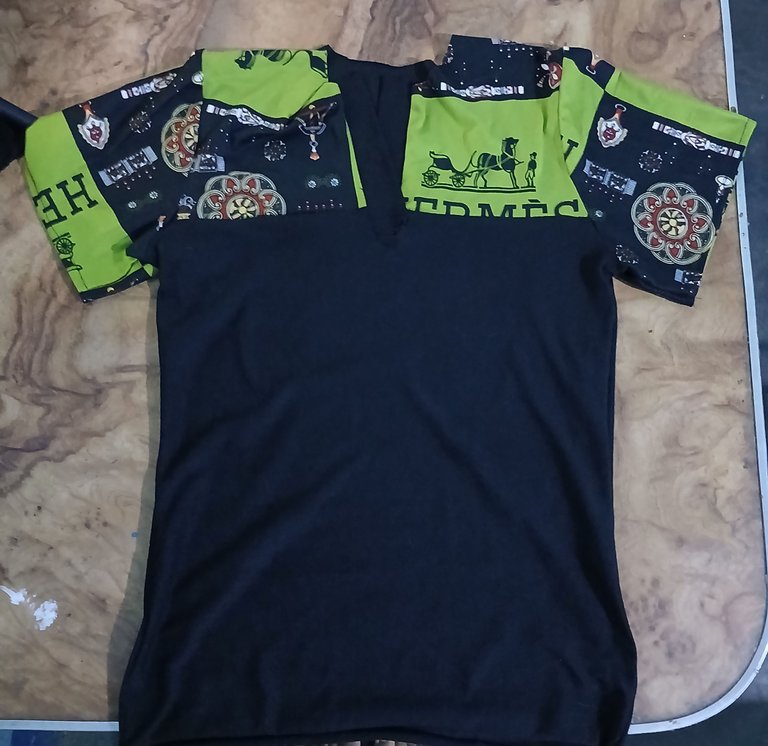
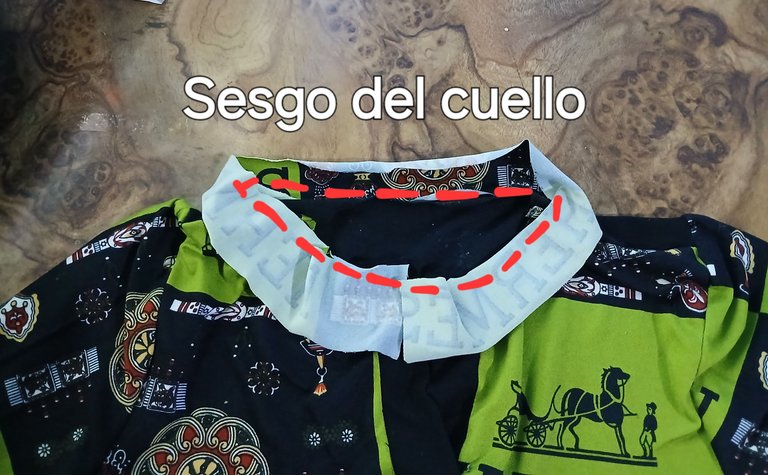
Para finalizar, le coloqué un sesgo al cuello con la tela estampada.
To finish, I attached a bias binding to the collar with the printed fabric.

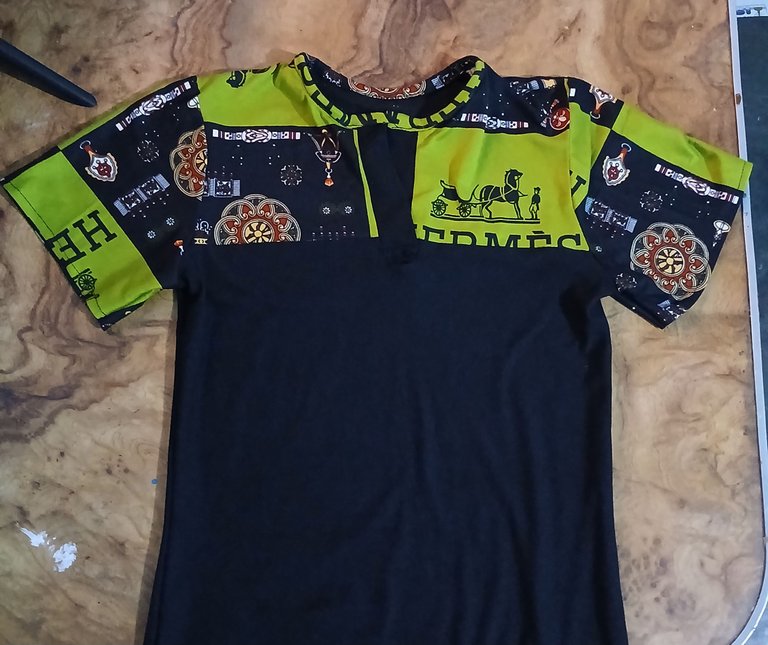

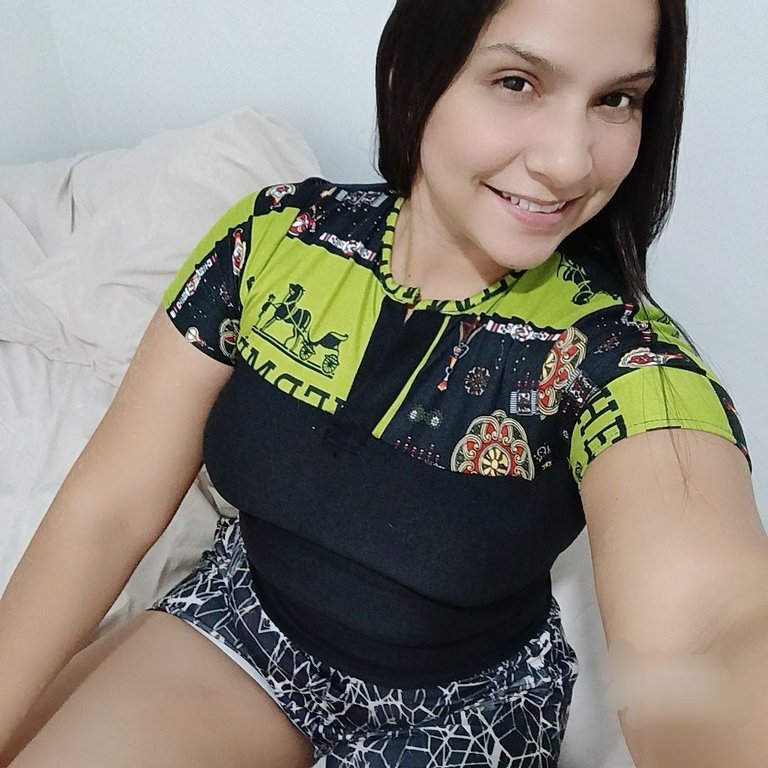
Con tan solo unos cuantos retazos de tela lograremosnobtener una prenda de vestir tan linda y cómoda como ésta. Espero te haya gustado el resultado y el tutorial sea de gran utilidad. Muchas bendiciones mi apreciada colmena.
With just a few scraps of fabric we can obtain a garment as cute and comfortable as this one. I hope you liked the result and the tutorial will be very useful. Many blessings my appreciated hive.
Me encantó esta franela, que la hayas hecho con retazos de otros proyectos es genial ese aprovechamiento.
Debo confesar que soy tu fan, porque amo tu proceso, tu paso a paso, cómo marcas todas las imágenes para que se entienda bien, el uso de palabras técnicas de costura me parece que es un buen aporte porque las principiantes se pueden ir familiarizando con estos términos.
Te quedó preciosa y te felicito.
Wao, gracias querida amiga @yennysferm71, muy gratas tus palabras, me llena de satisfacción y orgullo saber que tengo una fan de mis costuras, tus palabras realmente me motivan a seguir creando contenidos, que sean lo más claro posible para su mayor provecho. Gracias querida, Dios derrame sobre ti y tu familia muchas bendiciones 🙏🏻💗
This is so beautiful and unique
Gracias amiga @marylove1 por comentar, saludos y bendiciones 🙏🏻 😊