

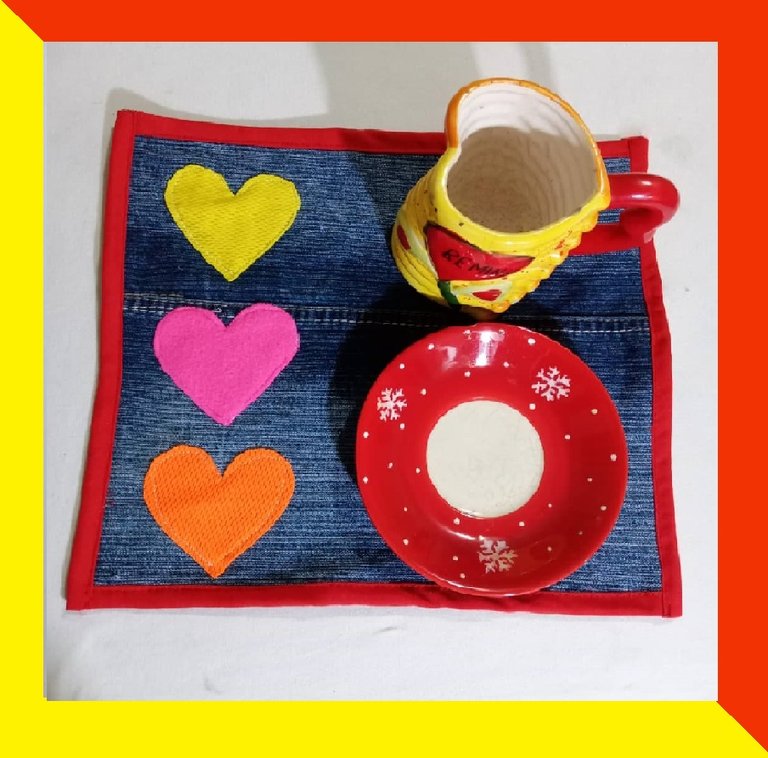
Hello my dear readers, I hope you are well and that you are having or have had an excellent and wonderful day. I have a 5 year old girl who is studying early childhood education and her teacher has asked me to bring her a placemat for her to use at snack time.
I don't know what they call it in other countries, but a placemat is a tablecloth, so to speak, that is used to place the plate and glass at mealtime. Apart from being decorative, its function is not to dirty the main tablecloth of the table, in case you have one, or not to dirty the table as such.
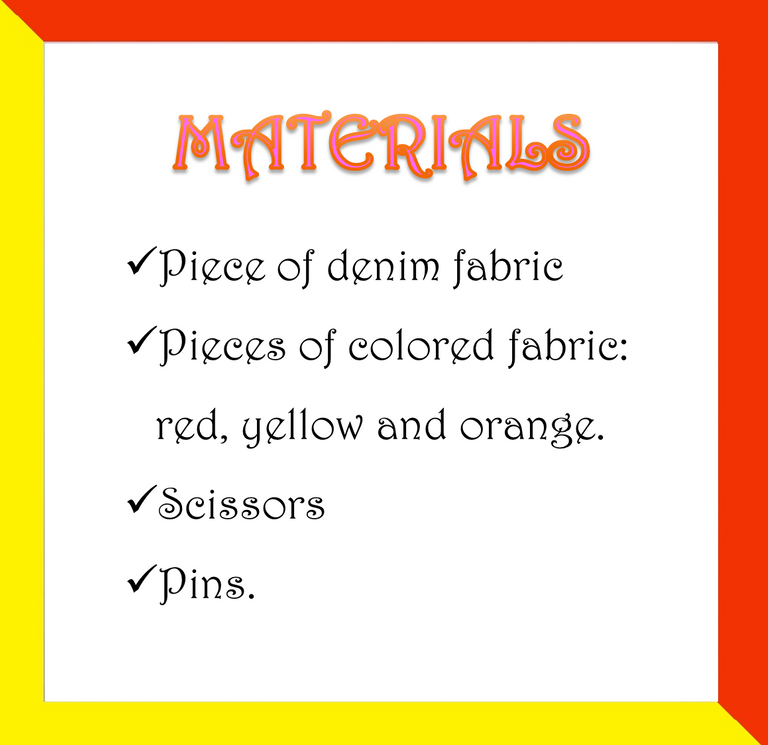
In the market today there are many models of placemats, both economical and expensive, but in this case, I wanted to do it myself and to my taste, or at least, as my daughter would like. So I looked for material from previous works and that will serve me very well to give it a new use. Without further ado, I will explain the step by step and you will see how easy it is to do it.
STEP BY STEP:
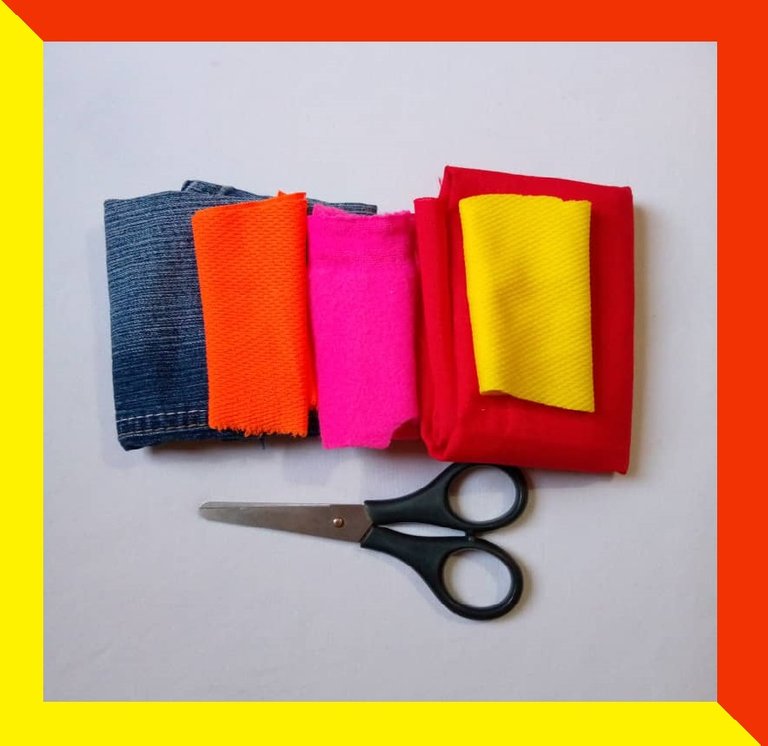
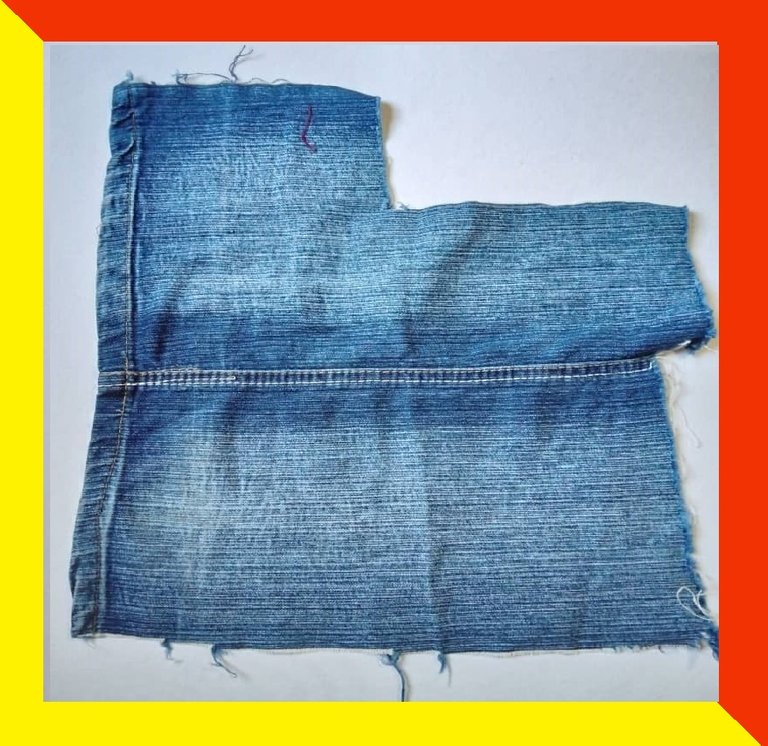
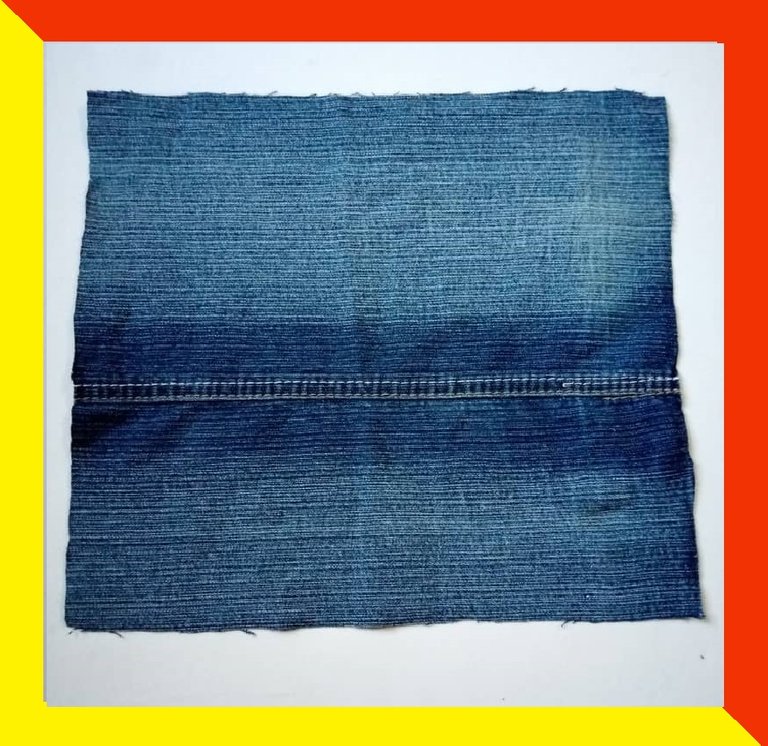
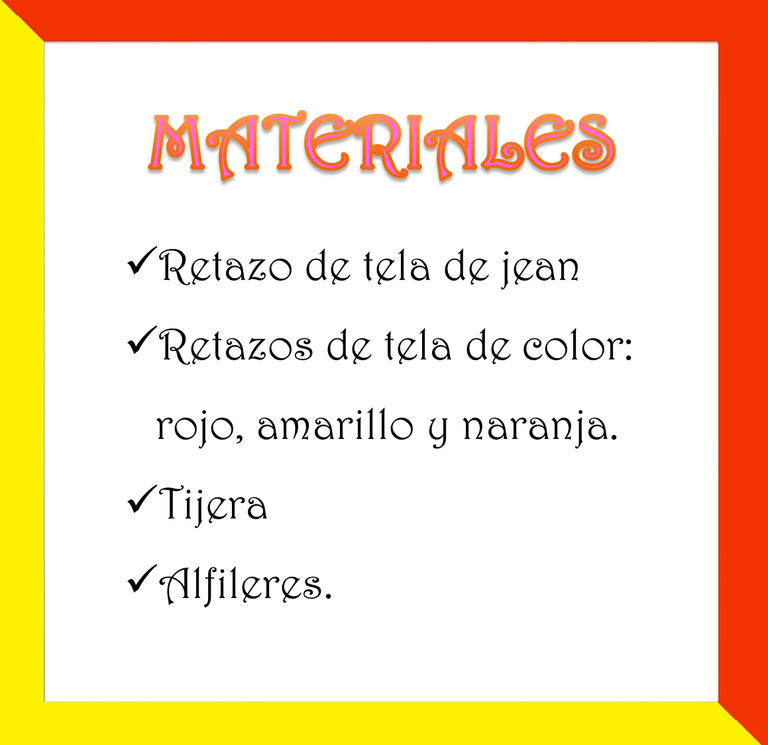
As I mentioned in the previous part, the materials I used are recycled material, in the case of the jean fabric, it was the leg of a pair of pants that I no longer used and that I have been using little by little. So I took the fabric, as you can see in the image, it already has some pieces removed, what I did was to match it and try to make a rectangle to the size that I gave me, it was about 25 x 30 cm.
With the red fabric, I cut some strips of about 4 cm.
I took pictures of the red fabric and the strips when I cut them, but I didn't get the pictures later on my phone, they were not saved or I don't know what happened and the truth is that I didn't notice them at the moment, but when I was editing them and making the publication, so excuse me for that. But they were like this in this image.
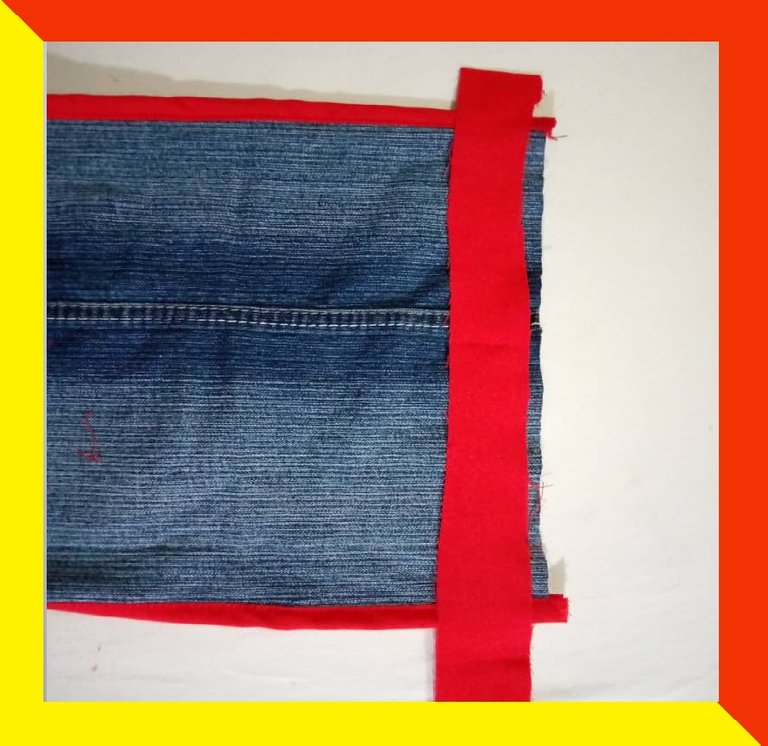
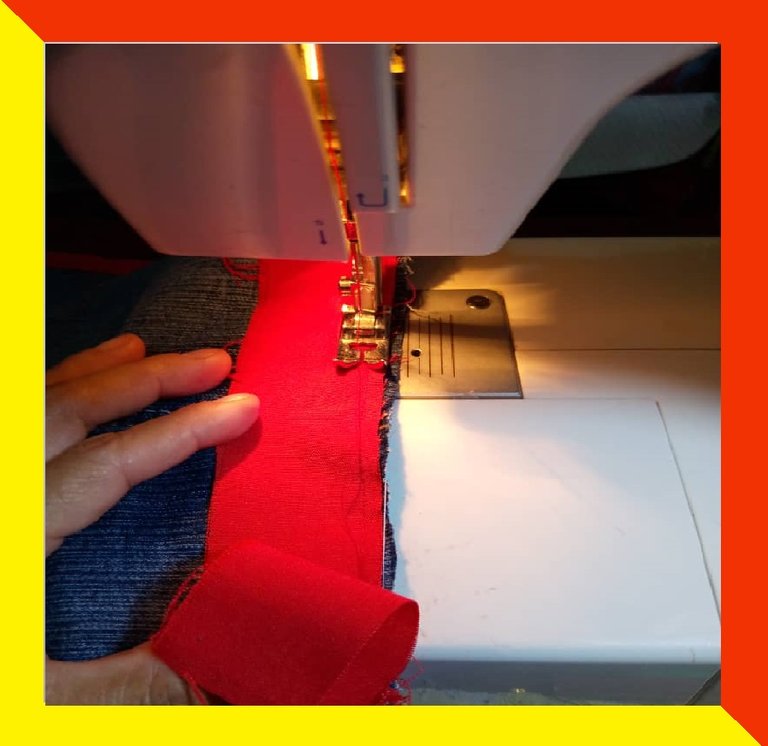
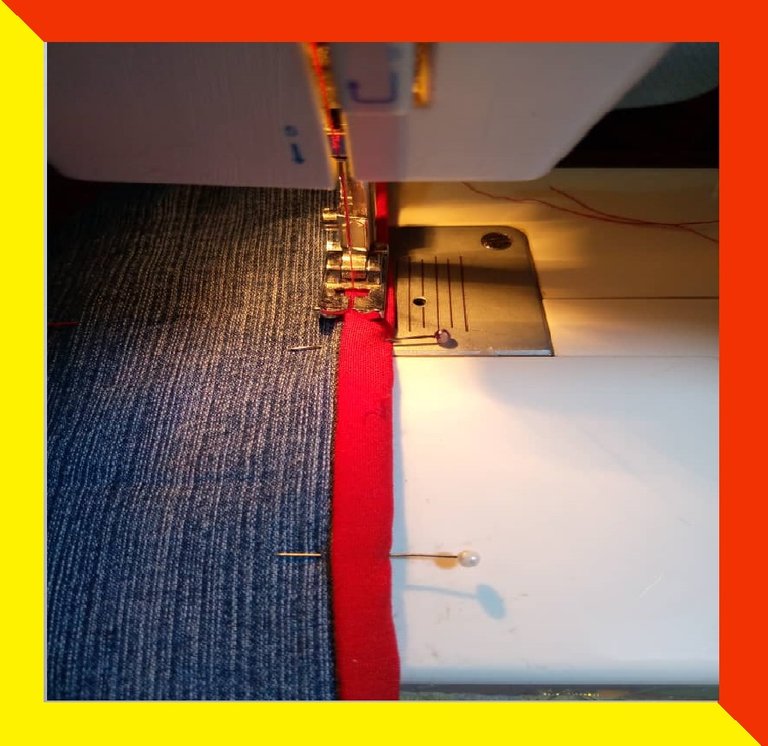
Once I cut the red strips, which are the ones that will serve as bias binding, I placed it flush with the jean fabric and sewed with a straight seam. Then with the help of the pins, I will make the fold towards the back, as shown in the picture. And sew a straight seam on the other side.
 |  |  |
|---|
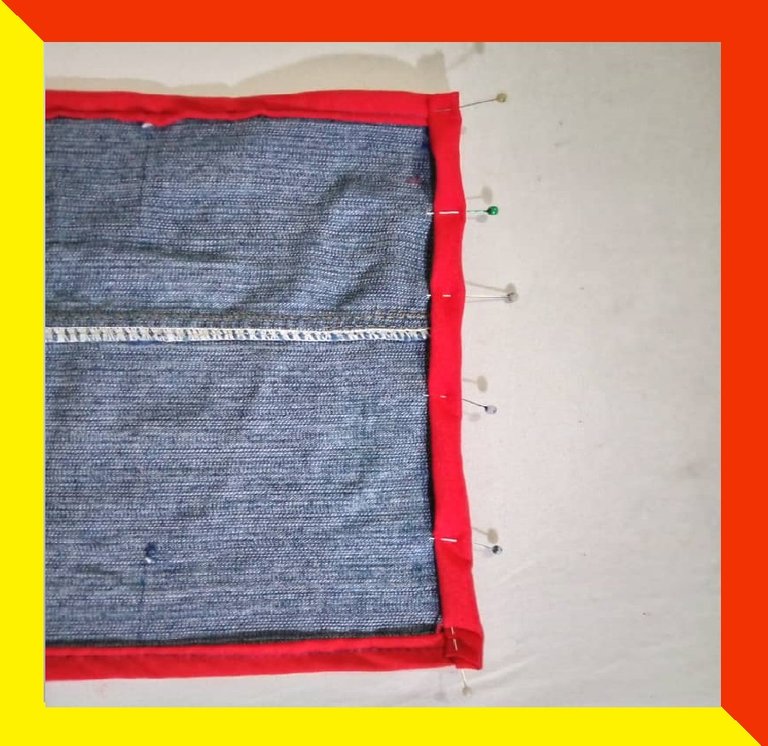
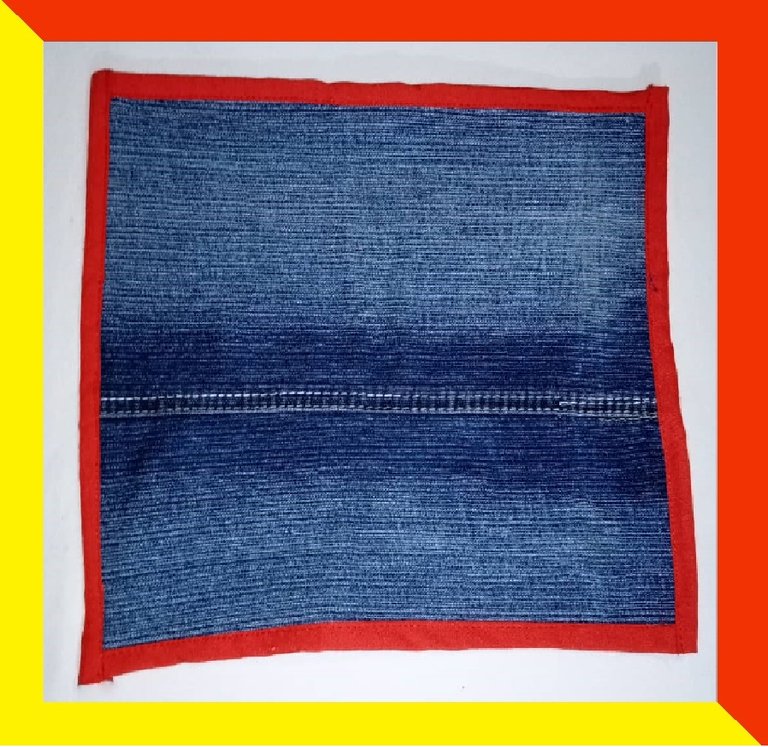
I did the same procedure on all four sides and it looks like this. I confess that I am not an expert at sewing, so I don't know the tricks to glue the bias binding on all 4 sides, without cutting the bias binding and making the folds at the corners. I spent about a week without internet so I could not investigate how to do it, so I sewed it as it was easier for me, little by little I will learn all those little tricks.
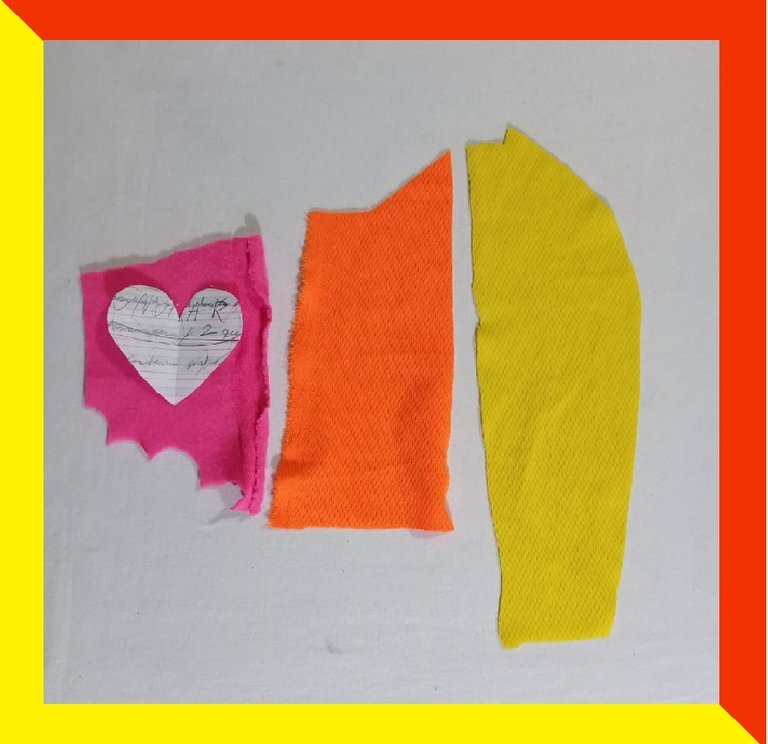
Now with the scraps of the other fabrics, as you will see they are small pieces, I will cut out a heart of each color.
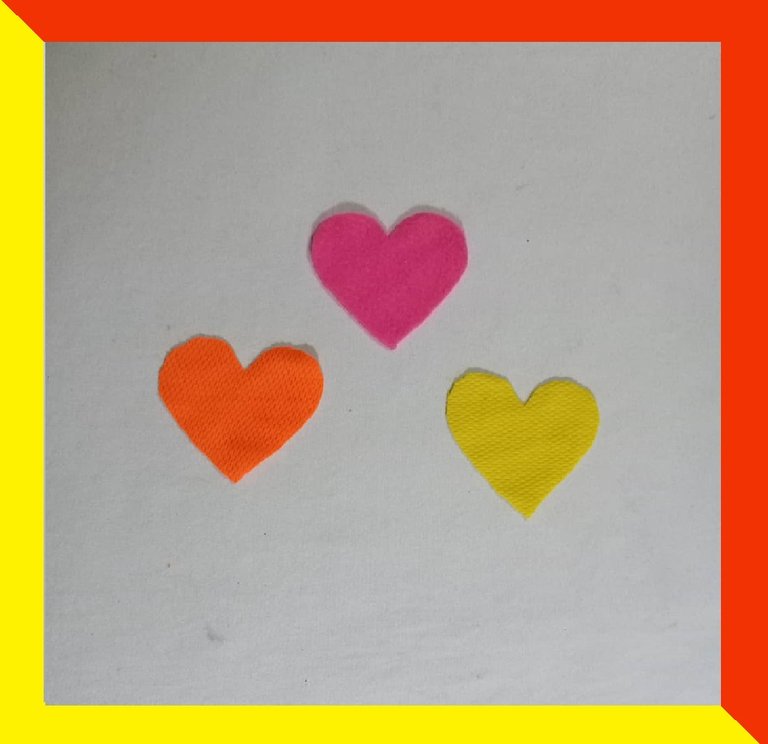
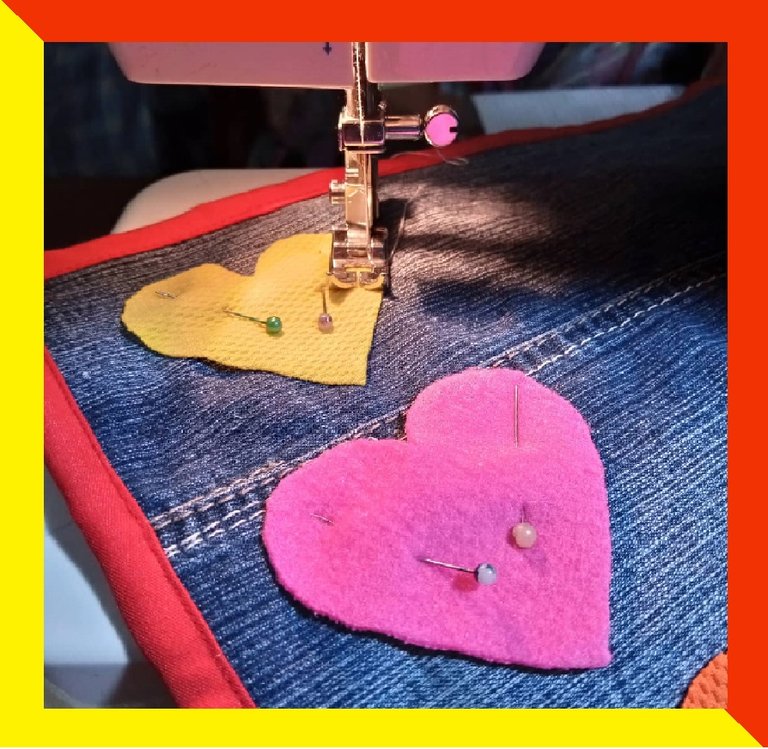
Once the hearts are cut out, which are approximately 5x5 cm in size, I will fix them with the help of the pins to the left side of the individual, leaving about one centimeter of separation between them. And then I sewed a straight seam all around the hearts, trying to leave the seam well to the edge.
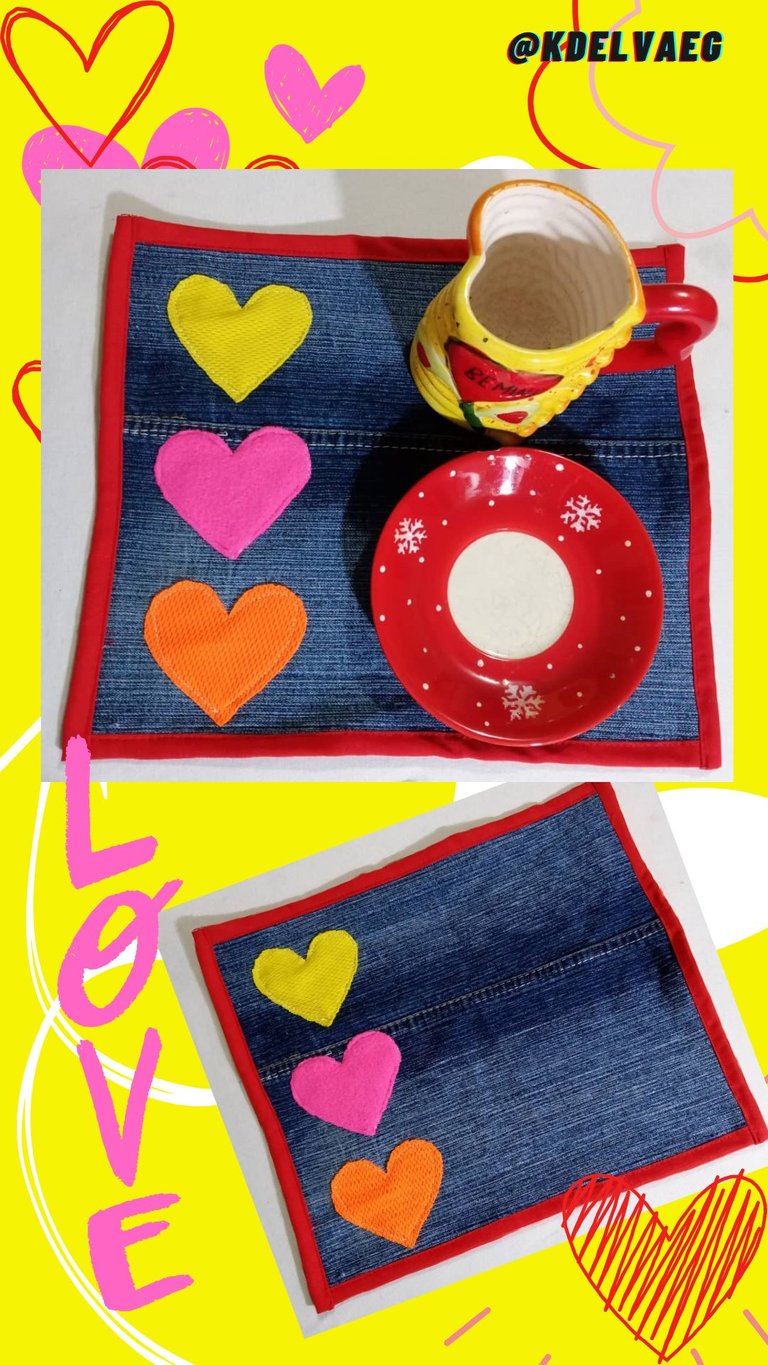
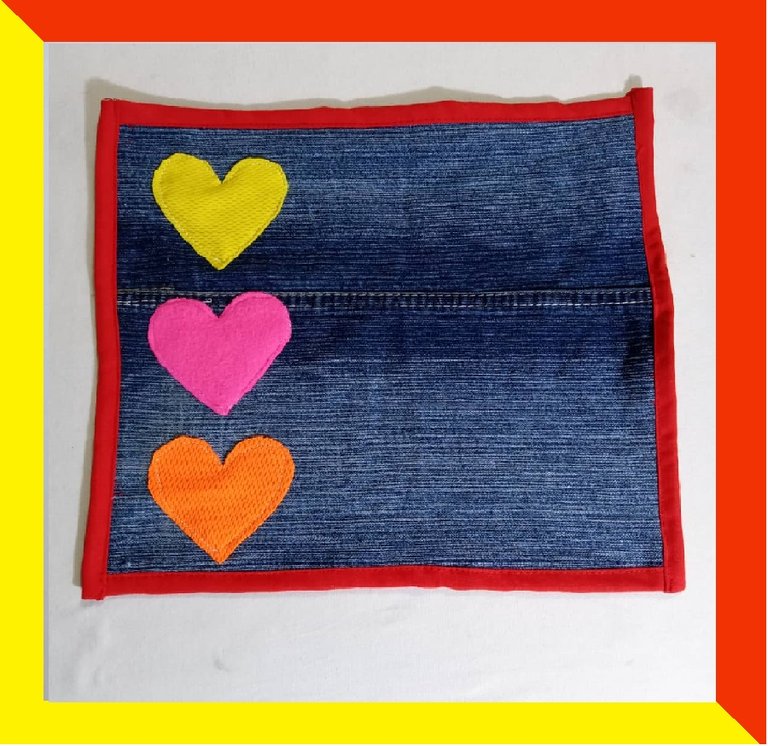
Once I sewed the 3 hearts, I have my individual ready. The truth is that I was very satisfied with the result. What did you think? Let me know your verdict.
I hope you liked it and that you can make it too, because as I said, it is something easy to do, super fast and best of all, is that it is made with recycled materials.
I say goodbye as always, but not before thanking you for giving me a little bit of your valuable time. I'll be waiting for you in my next publication, be good and take care of yourselves.
Original creation content:
✴ All photos are my property taken and edited with my Alcatel cell phone.
✴ Cover image was made with Canva application and edited by me.
✴ The divider images were taken from the Canva page and edited by me in Paint.
✴ The English translation was done with the help of DeepL.
✴ The letters indicating the languages, were taken from the Cooltext page.

Hola mis queridos lectores, espero que se encuentren bien y que tengan o hayan tenido un excelente y maravilloso día. Tengo una niña de 5 años que está estudiando educación inicial y la maestra me ha pedido que le lleve un individual para que lo use a la hora de la merienda.
No sé cómo le llaman en otros países, pero un individual es, un mantel, por así decirlo, que se usa para colocar el plato y vaso a la hora de comer. A parte de ser decorativo, su función es, que no se ensucie el mantel principal de la mesa, en caso de que lo tenga, o que no ensucie la mesa como tal.
En el mercado actualmente hay muchos modelos de individuales, tanto económicos como caros, pero en este caso, quise hacerlo yo misma y a mi gusto, o por lo menos, como le gustaría a mi hija. Así que busque material de provecho de trabajos anteriores y que me servirán muy bien para darle una nueva utilidad. Sin más preámbulos les explico el paso a paso y verán lo fácil que es hacerlo.
PASO A PASO:
Como les comente en la parte anterior, los materiales que use son material reciclado, en el caso de la tela de jean, era la pata de un pantalón que ya no usaba y que he ido utilizando poco a poco. Así que tome la tela, como pueden ver en la imagen, ya tiene una pedazos quitados, lo que hice fue emparejarla y tratar de hacer un rectángulo al tamaño que me diera, quedo de 25 x 30 cm aproximadamente.
Con el retazo de la tela roja, recortare unas tiras de 4 cm aproximadamente.
Le tome las fotos a la tela roja y a las tiras cuando las corte, pero no que paso que las fotos después no las conseguí en mi teléfono, no se guardaron o no sé qué paso y la verdad es que no me fije al momento, sino cuando las estaba editando y hacer la publicación así que me disculpan por eso. Pero eran así como esta en esta imagen.
Una vez cortada las tiras rojas, que son las que me servirán como sesgo, la coloque al ras con la tela de jean y cosí con una costura recta. Luego con la ayuda de los alfileres, hare el doblez hacia la parte de atrás, quedando de la manera como se muestra en la imagen. Y le pase una costura recta por el otro lado.
| | |
|---|
Realice el mismo procedimientos en los cuatros lados y me quedo de esta manera. Les confieso que no soy experta cosiendo, así que no se me los trucos para pegar el sesgo corrido, por los 4 lados, sin necesidad de cortar el sesgo y hacer los dobleces en las esquinas. Dure como una semana sin internet por lo tanto no pude investigar cómo se hacía, así que lo cosí como se me hizo más fácil, poco a poco iré aprendiendo todos esos truquitos.
Ahora con los retazos de las demás telas, como verán son pedazos pequeños, recortare un corazón de cada color.
Ya con los corazones recortados, que me quedaron de un tamaño de 5x5 cm aproximadamente, los fijare con la ayuda de los alfileres al lado izquierdo del individual, dejando como un centímetro de separación entre ellos. Y luego cosí con una costura recta por todo el alrededor de los corazones, tratando de que quede la costura bien a la orilla.
Una vez que cosí los 3 corazones, ya tengo listo mi individual. La verdad es que quede muy satisfecha con el resultado ¿Y a ustedes que les pareció? Ya me darán su veredicto.
Espero que les haya gustado y que lo puedan realizar también, pues como les dije, es algo fácil de hacer, súper rápido y lo mejor de todo, es que se realiza con materiales reciclados.
Me despido como siempre, no sin antes agradecerles, por dedicarme un poquito de su valioso tiempo. Los espero en mi próxima publicación, pórtense bien y cuídense mucho.
Contenido de creación original:
✴ Todas las fotos son de mi propiedad tomada y editadas con mi celular Alcatel.
✴ La imagen de portada fue realizada con la aplicación Canva y editada por mi.
✴ Las imágenes del separador fueron tomadas de la página Canva y editado por mí en Paint.
✴ La traducción al idioma inglés fue realizada con ayuda de DeepL.
✴ Las letras de indicación de los idiomas, fueron tomadas de la página Cooltext.
Quedó muy bonito el individual. Saludos.
Gracias por tu apoyo amiga, saludos! ☺️
Amiga te quedó muy lindo, es una idea increíble, no se me hubiera ocurrido, gracias por compartir.
Me alegra que te haya gustado. Gracias! ☺️
Thank you for your witness vote!
Have a !BEER on me!
To Opt-Out of my witness beer program just comment STOP below
View or trade
BEER.BEERHey @yannet80, here is a little bit of from @isnochys for you. Enjoy it!Learn how to earn FREE BEER each day by staking your
BEER.Thank you for your witness vote!
Have a !BEER on me!
To Opt-Out of my witness beer program just comment STOP below
View or trade
BEER.BEERHey @yannet80, here is a little bit of from @isnochys for you. Enjoy it!Learn how to earn FREE BEER each day by staking your
BEER.hello my friend, how cute was the individual
This is so cute! I would have also chose bright colors for my little girl. This will be functional and fun for her to use at school. It’s nice you were able to use recycled materials, that’s always a plus ~ 😊
Thanks for sharing!
Thank you for you support and visit.
You're welcome!
So great, but I have a color to choose, weldone