

Hello my dear readers, I hope you are having or have had an excellent day. Today we realize that we have learned to make the most of anything. If we have a worn out pair of jeans, we go and make it into a bag, a rug or something that is of greater use to us. And that has made us more creative, to the point that we don't want to throw anything away, without first knowing if we can apply the rule of the three Rs (Reduce, Recycle and Reuse).
In my country, when the school year starts, the government sometimes gives school supplies to children, such as a bag, notebooks, pencils, among other things. Last year they gave my daughter a bag, unfortunately when the government decided to give that to the children, it was already weeks after school had started and obviously most of the parents had already bought everything they needed to start classes.
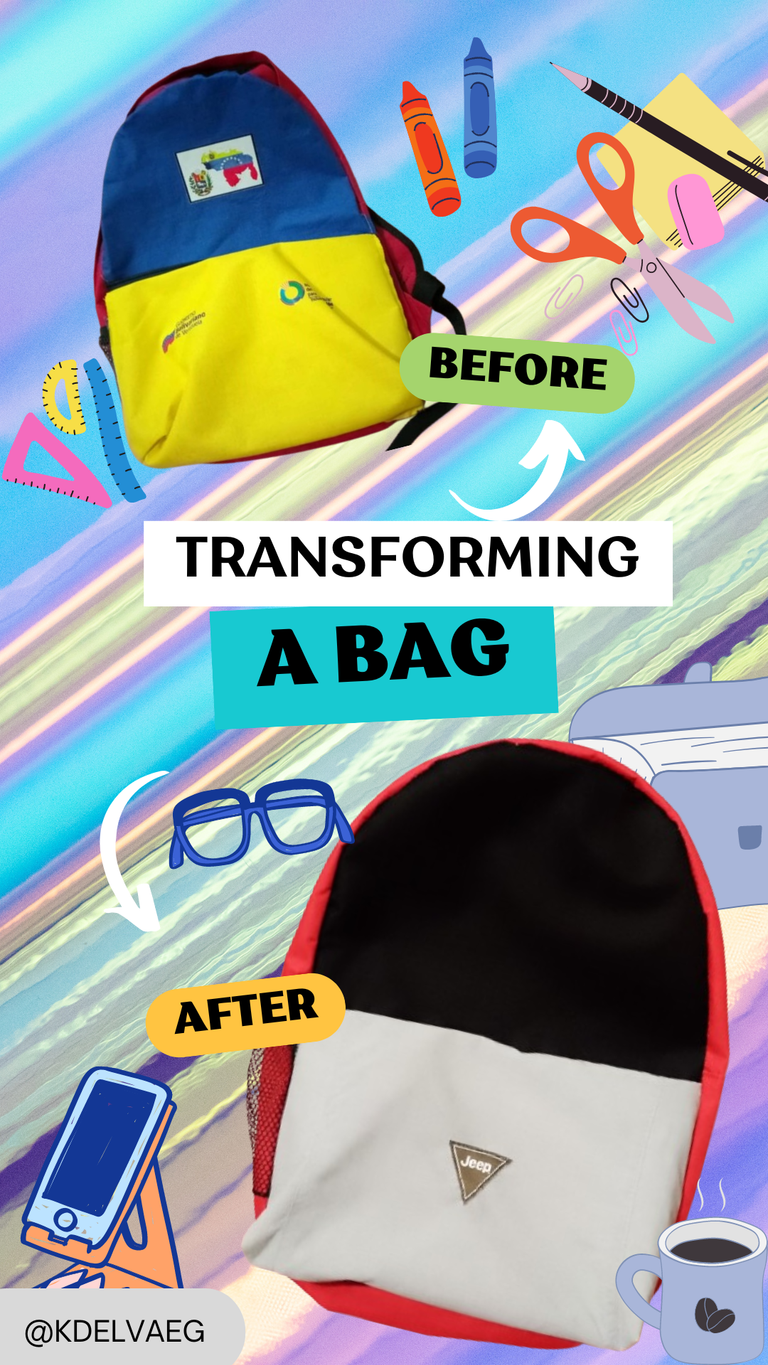
So the bag they gave my daughter didn't get to use it and my husband was in need of a bag for work, but since they are a bit expensive we couldn't buy it, so I remembered the bag I had in storage and decided to make some modifications, since the bag is quite striking, I just wanted it to look more presentable for her work and a bit more stately.
STEP BY STEP:
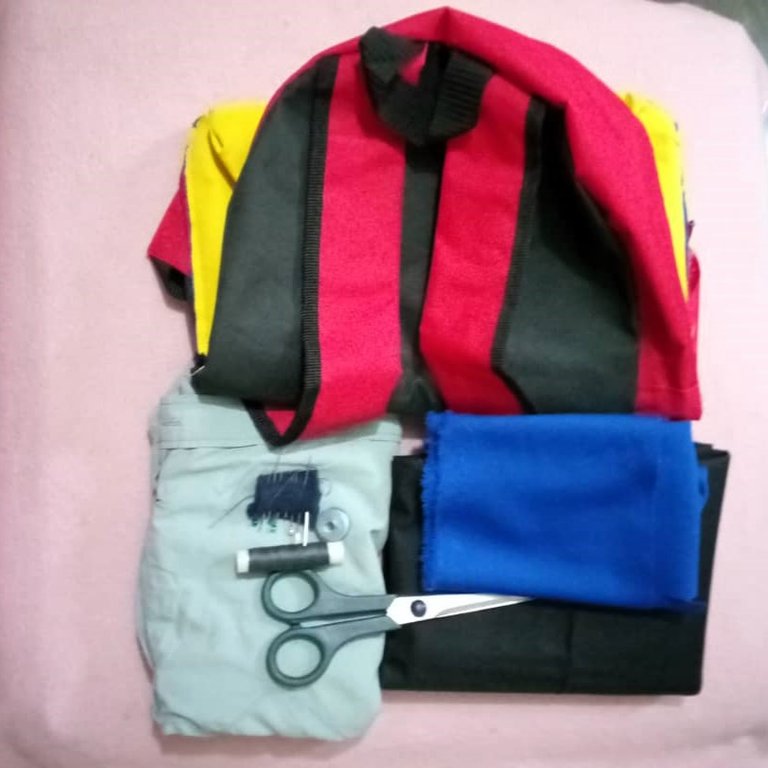
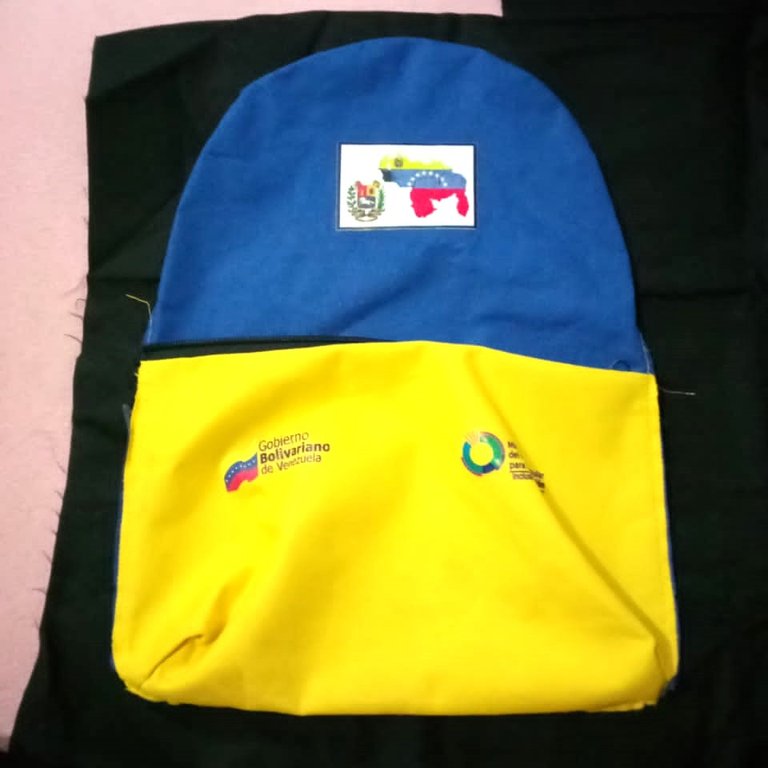
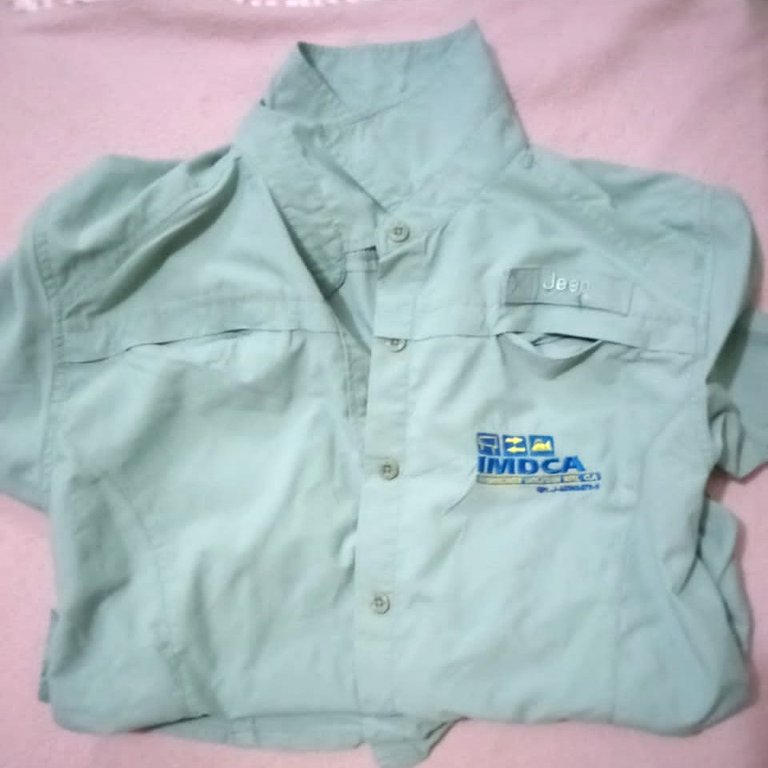
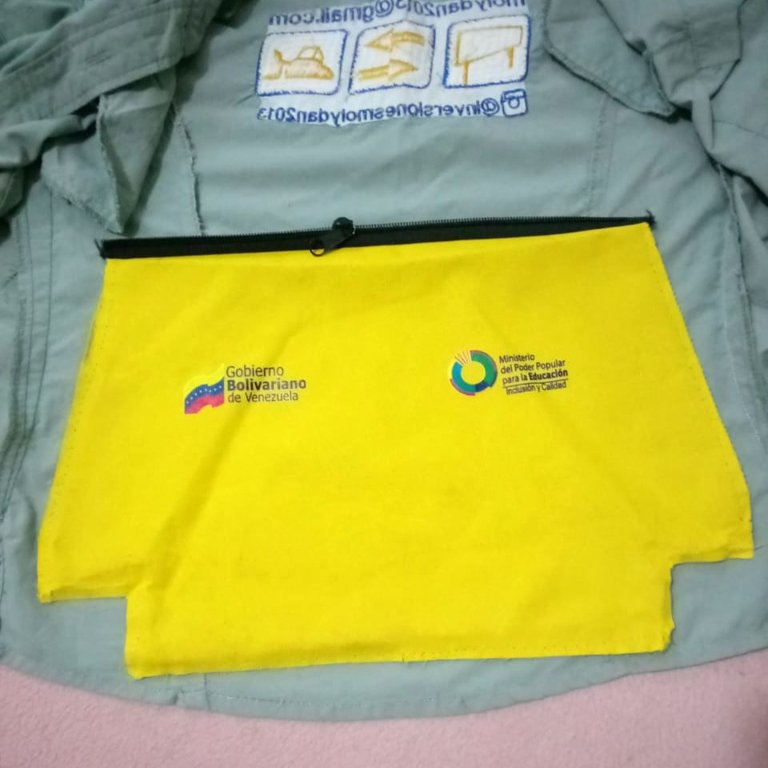
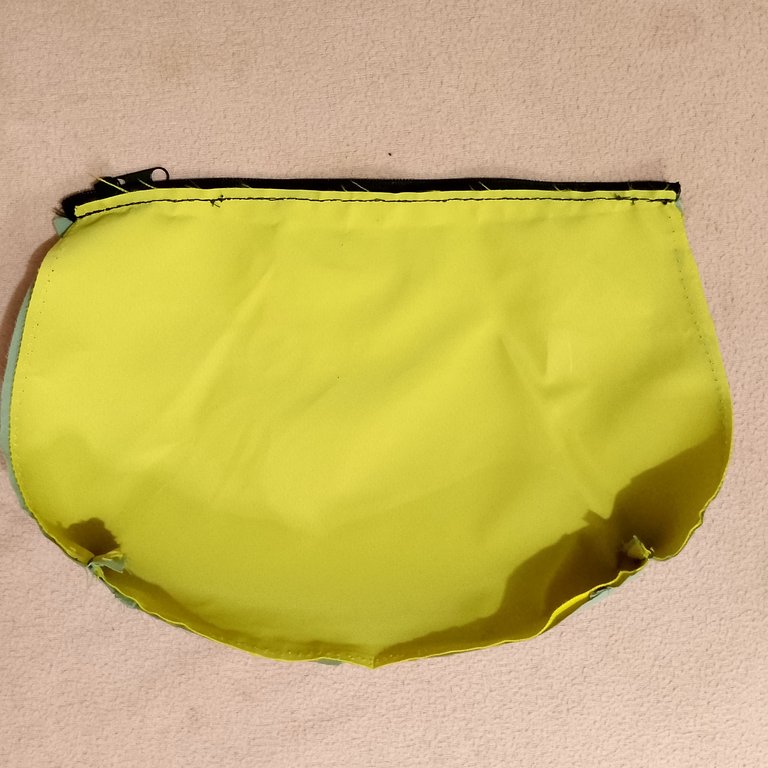
This is the bag, as you can see, it is quite striking with the colors alluding to the national flag. I will only modify the front part, everything else will remain the same. For this I will use recycled material, I had a shirt that I used once in a company where I worked and I kept the uniform, as I did not use it, I decided to give it another use and this was ideal for this work.

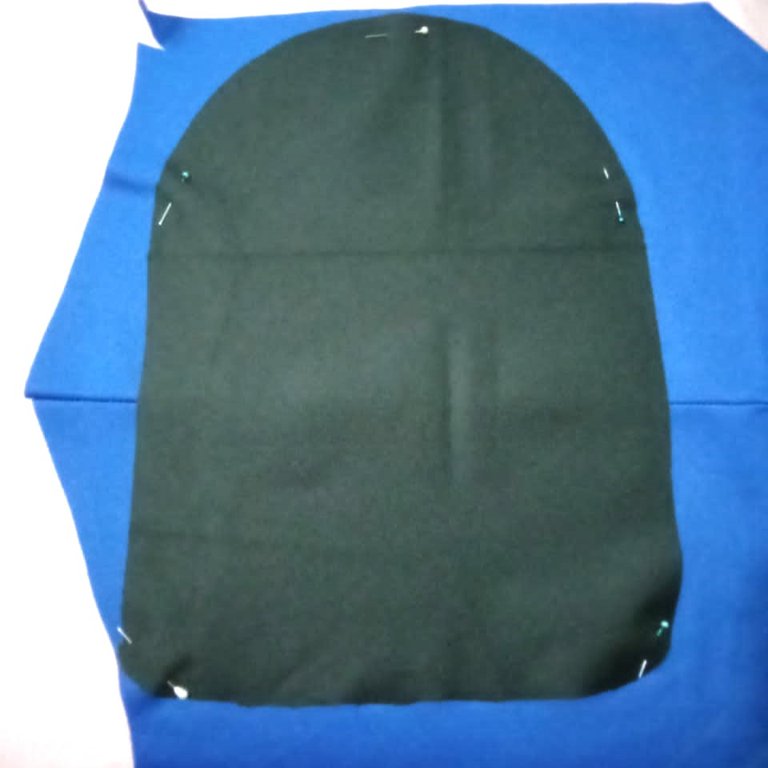
As I told you, I will only work with the front part, so I only completely unpicked the whole front part. You can see in the photo that there is a black bias binding that I had to cover the seams, I tried to remove it very carefully, because it is intact and will serve me later.
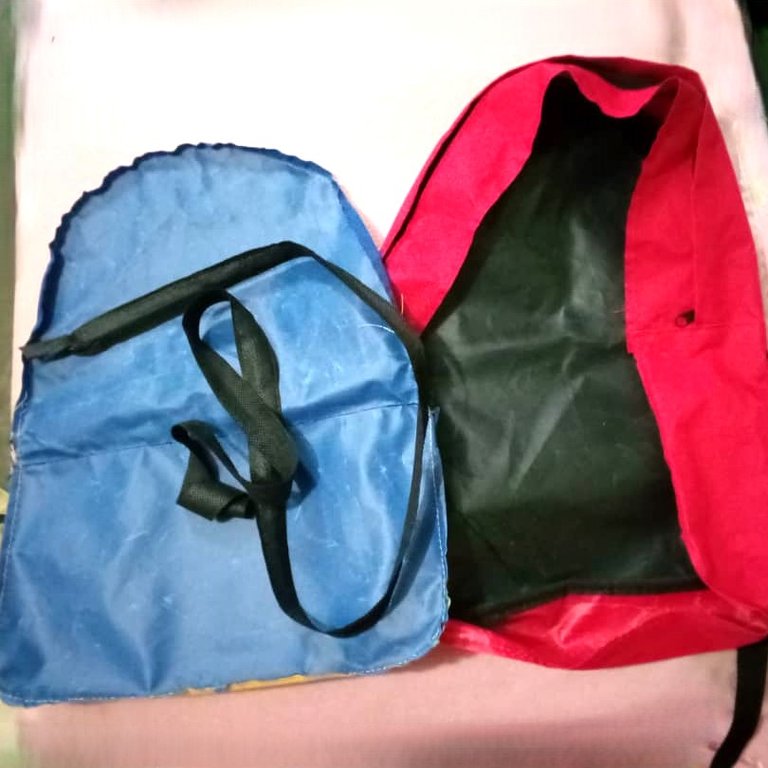
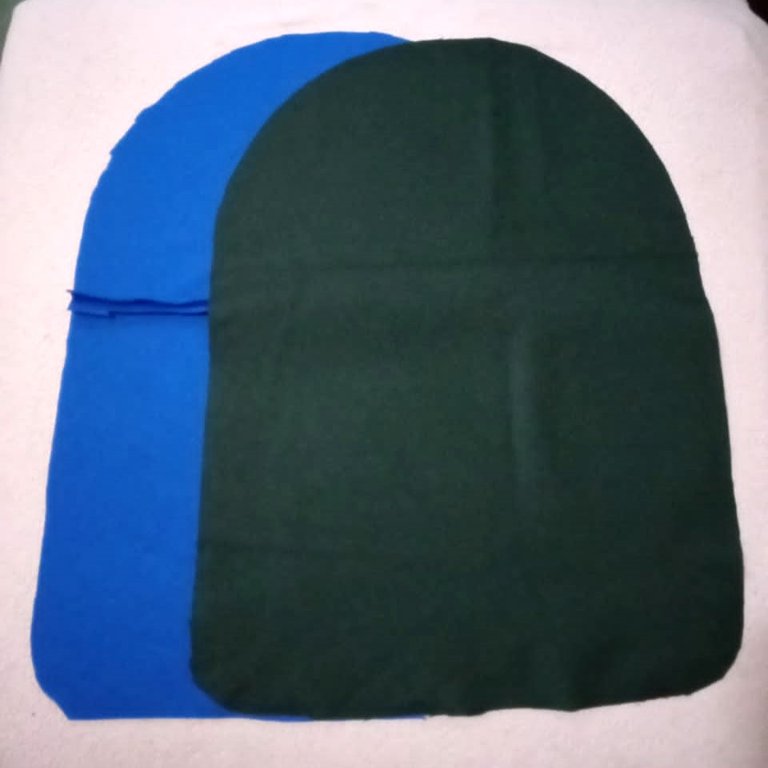
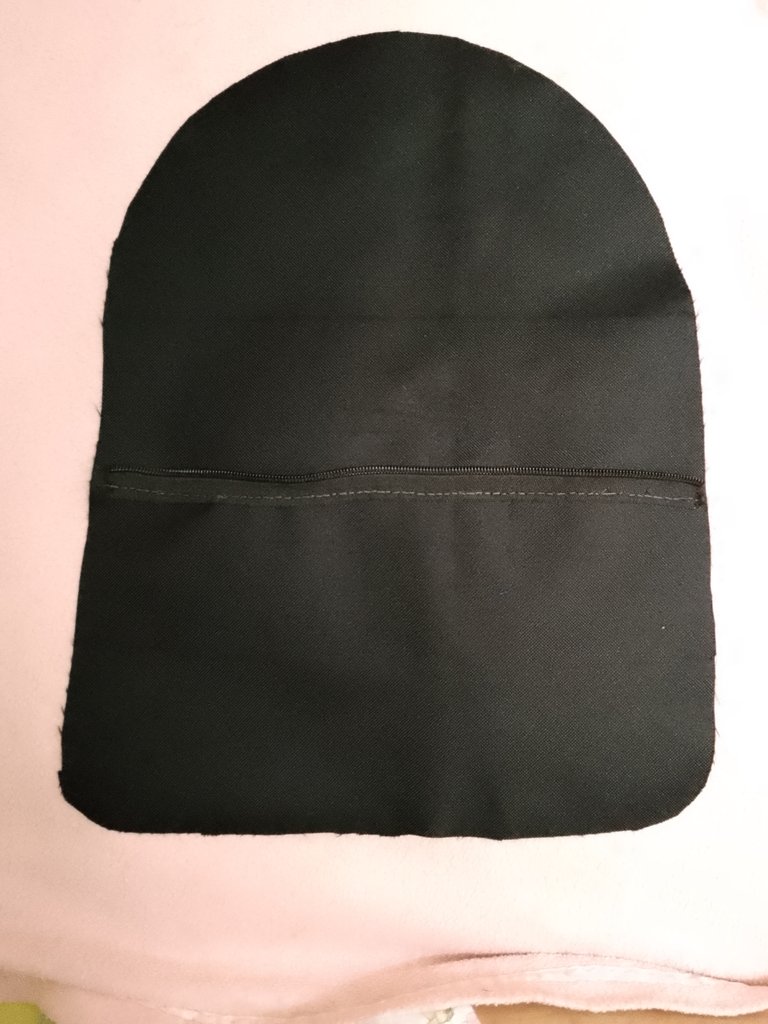
I had a black fabric that is the same material as the bag, it was a fabric that I had used to make a seat cover for a motorcycle and I had a good piece left over. So I dusted it off 🤭 and used it to remove the front cover of the bag. I'm going to cut a piece just like the one I removed, the same size, because it already has the seam allowance.
I do not know if they have used this type of fabric as the black, this fabric has a plastic protector on the back, but with the use, rubbing, bending and the same weight, makes the plastic cracks, leaving the fabric very fragile and that is where it starts to break the bags.
So to avoid that, with a fabric I had from some shores I made for my daughter, it is a flexible fabric, I cut a piece of the same size as the black one, which will serve as a lining.
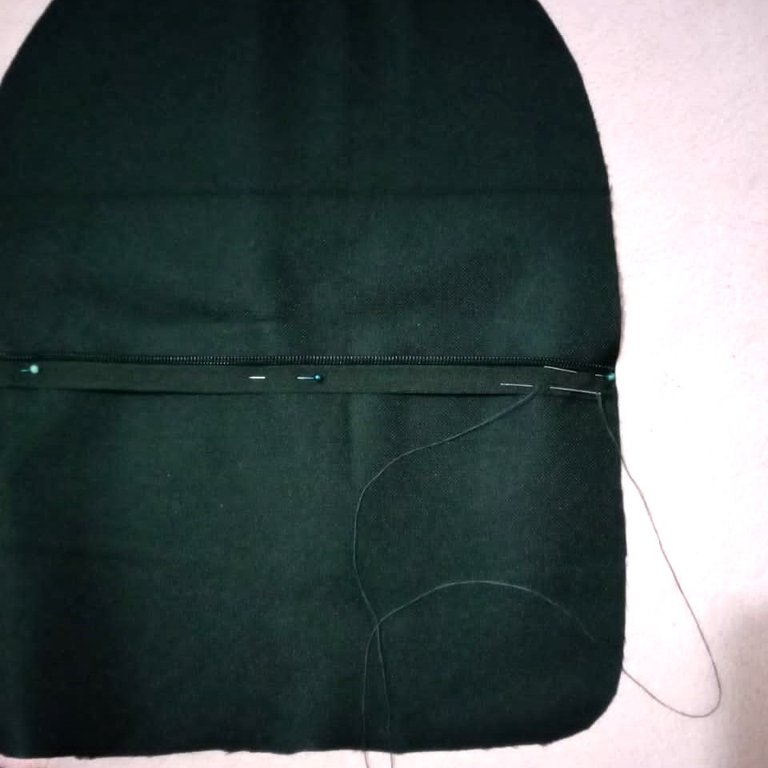
I peeled off a part of the zipper that I had on the previous cover and sewed it with thread and needle, unfortunately I don't have a sewing machine, so I had to do it by hand. I put the thread in two to make the seam more secure and sew a back stitch or straight stitch, which is the most common stitch for sewing. The result is as shown in the picture.

To make the front pocket, I used a shirt I had from a uniform of a company I had worked for many years ago. I had kept it because I thought that someday I would use it and indeed its day had come.
The material is a resistant fabric and the color is ideal for the bag, so I placed the piece I took off the bag on the back of the shirt and took out the pattern.

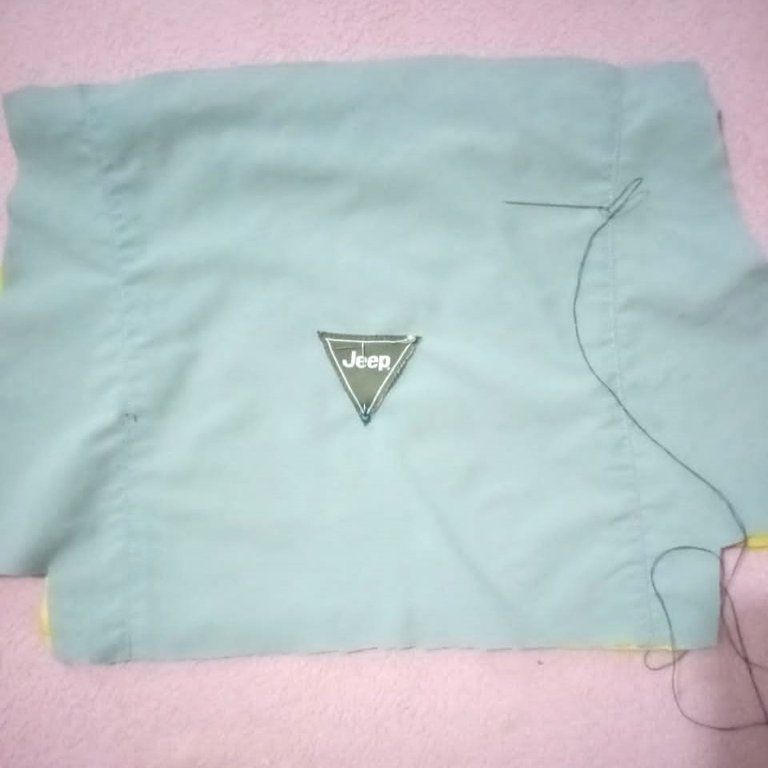
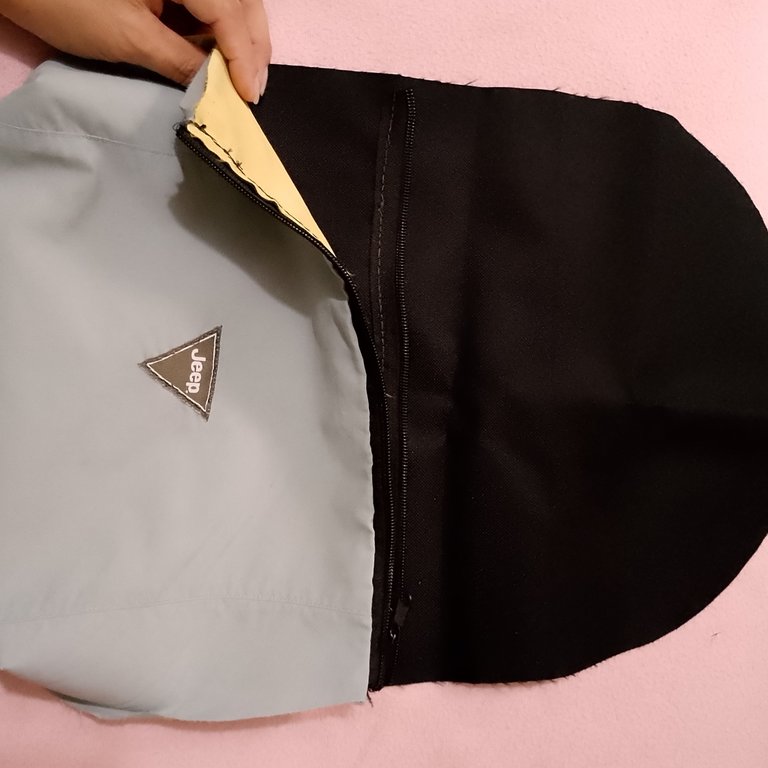
After cutting out the pattern, I will use the same mold of the pocket, as a lining for the gray fabric, as the yellow fabric is hard, it will give it more firmness and it will look better. I also removed a tag from the gray shirt and sewed it in the center of the pocket, just for decoration.
I joined the two pieces with the help of the other part of the zipper, as shown in the picture.
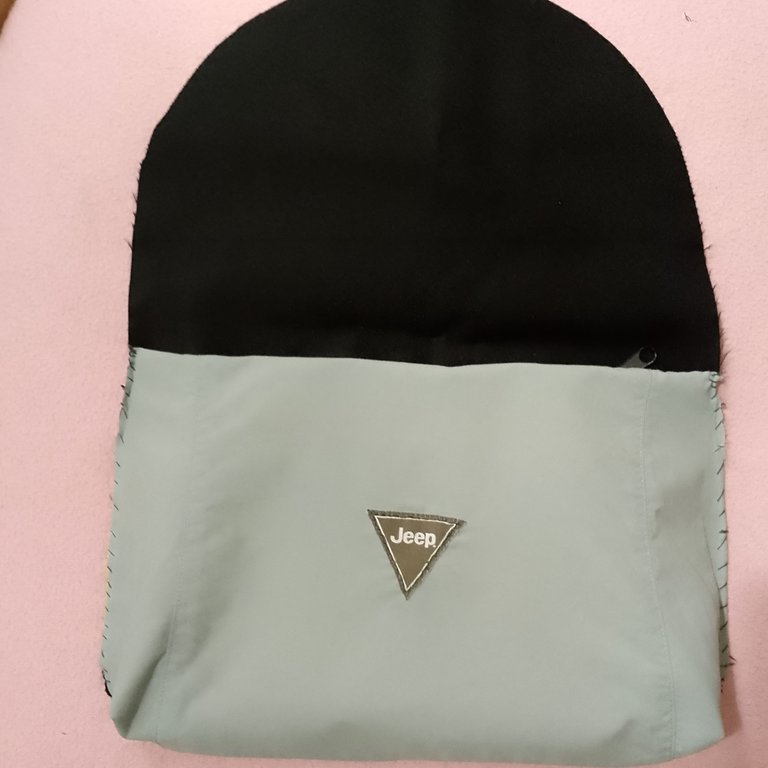
And then I sewed the joints at the bottom of the pocket, so that the shape of the pocket is as such.


Now I place the slider (I don't know how it is called in other countries), it is the piece used to open and close the zipper. I place it to attach the pocket to the bag.
And I sew on the sides so that when it is time to close it, it doesn't move and it stays on its side.
Now I place what will be the lining of the bag and I baste it for a better fit when sewing it. If I sewed it on a machine I wouldn't need to baste it, I would just press it with pins and that's it, but since I'm doing it by hand, when sewing it, the thread would get tangled between so many pins and it will be more cumbersome, at least I saw it that way.
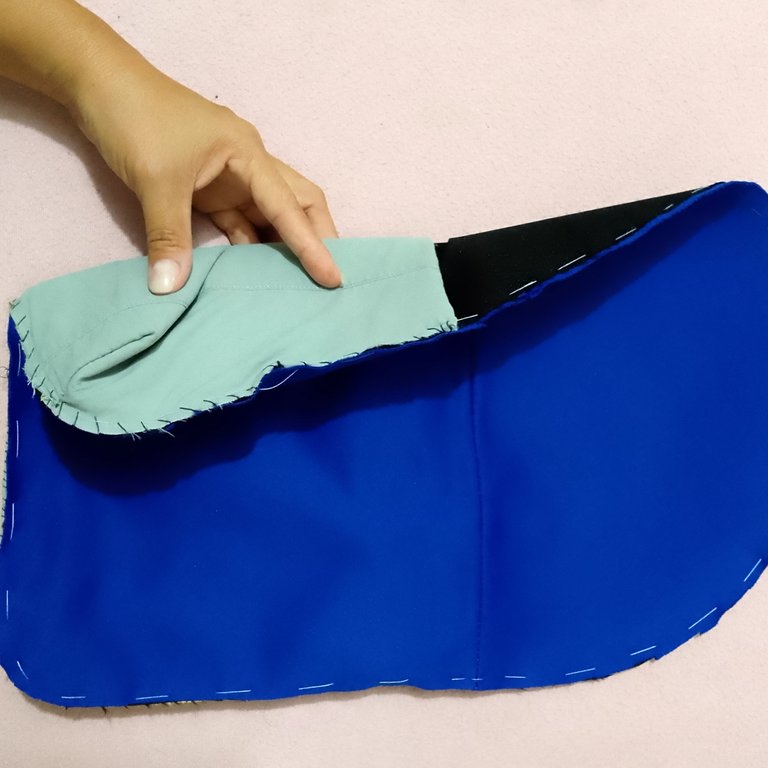
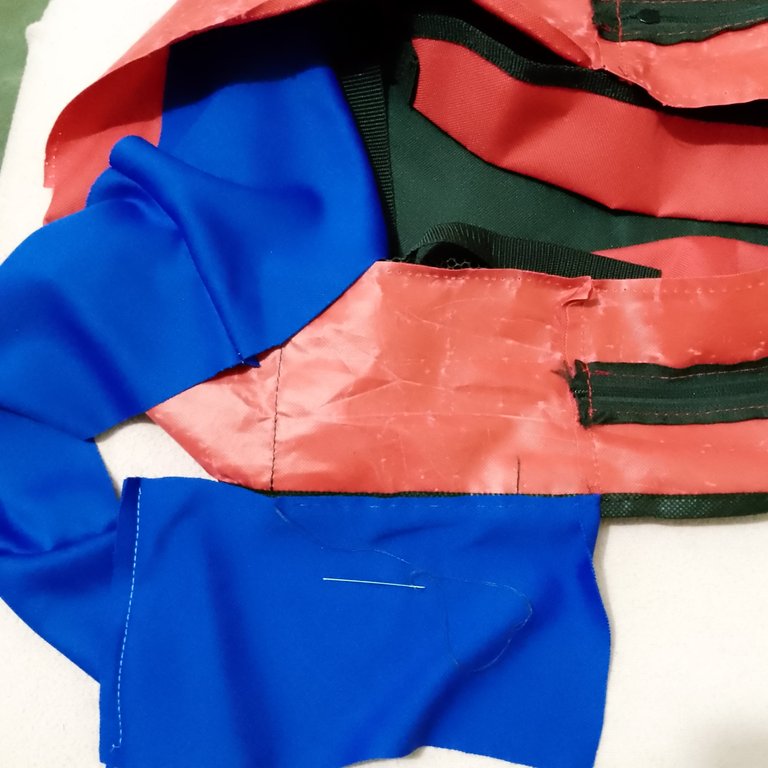
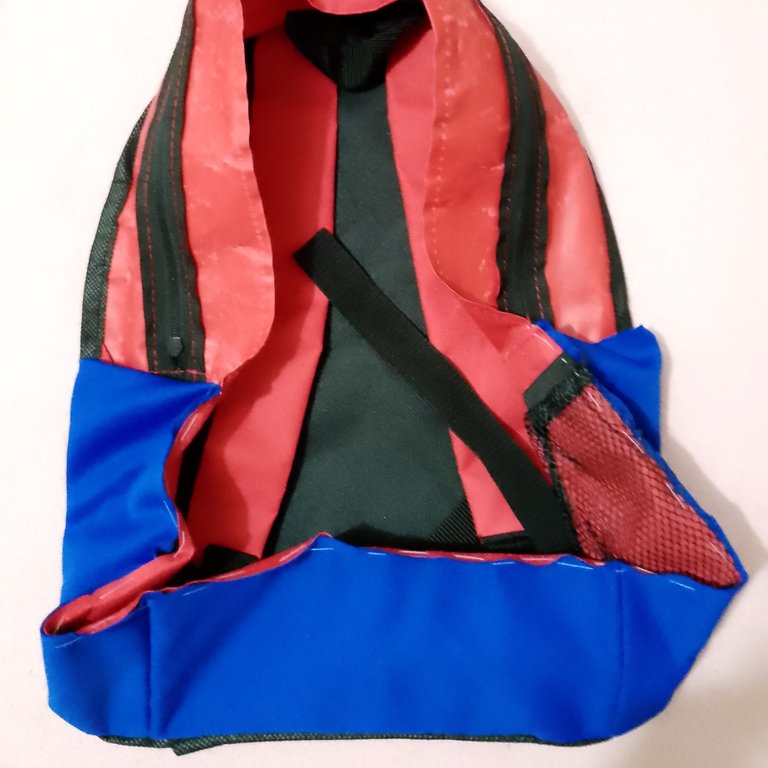
With the blue fabric I had left, I cut a strip of the same width as the edge of the bag. As you can see, the bag didn't have a lining, so I will reinforce that part to make it more durable. And I sewed it along the edge of the bias binding, as you can see in the picture.

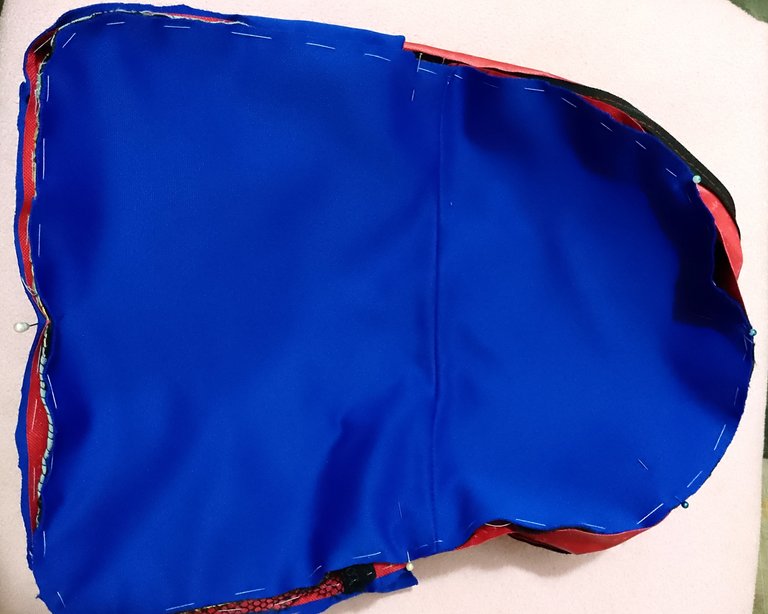
Once I have all the parts lined, I baste the front part of the bag, making sure that all the fabrics are well pressed. I sew all around the edge, and finally I sew the bias binding that I had previously removed, so that the seams do not show.

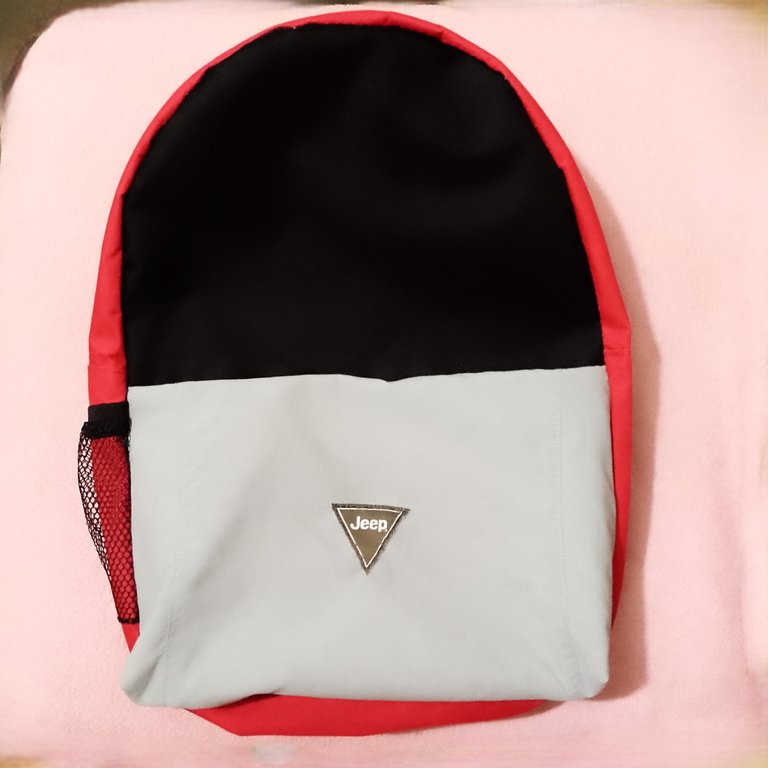
And that's how the bag is ready, now totally renovated. The truth is that it looks quite different, I like the result, what do you think?
I hope you liked this tutorial that I gladly prepared for you. I say goodbye as always, but not before thanking you for taking a little of your valuable time to visit my blog and support me. And as the saying goes: “Do good, without looking at whom”.
Original creation content:
📌 All photos are mine, taken and edited with my Infinix SMART 8 phone.
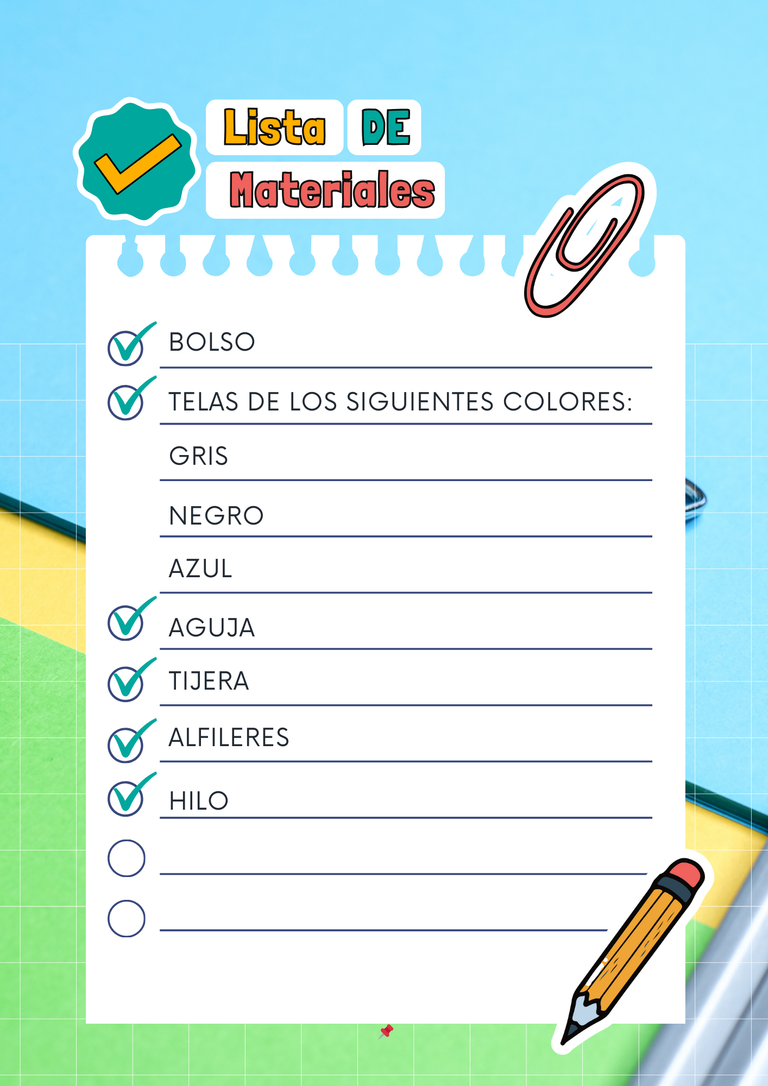
📌 📌 The cover image and materials were made with the Canva app and edited by me.
📌 The English translation was made with the help of deepl.com/translator.
📌 The images of the separators and the letters indicating the languages were taken from: en.bloggif.com.


Hola mis queridos lectores, espero que tengan o hayan tenido un excelente día. Hoy en día nos damos cuenta de que hemos aprendido a sacarle el mayor provecho a cualquier cosa. Si tenemos unos jeans desgastados, vamos y lo hacemos un bolso, un tapete o algo que sea de mayor utilidad para nosotros. Y eso nos ha puesto más creativos, al punto de que no queremos desechar nada, sin antes saber si podemos aplicar la regla de las tres R (Reducir, reciclar y reutilizar).
En mi país, cuando inicia el año escolar, el gobierno algunas veces les regala los útiles escolares a los niños, como el bolso, cuadernos, lápices, entre otras cosas. El año pasado le dieron a mi hija un bolso, lamentablemente cuando el gobierno decidió darle eso a los niños, ya habían pasado semanas de haber iniciado las clases y obviamente la mayoría de los padres ya habían comprado todo lo necesario para empezar las clases.
Así que el bolso que le dieron a mi hija no lo llego a utilizar y mi esposo estaba necesitando un bolso para trabajar, pero como son un poco costosos no lo podíamos comprar, así que me acuerde del bolso que tenía guardado y decidí hacerle unas modificaciones, ya que el bolso es bastante llamativo, solo quería que se viera más presentable para su trabajo y un poco más señorial.
PASO A PASO:
Este es el bolso, como pueden observar, es bastante llamativo con los colores alusivos a la bandera nacional. Solo modificaré la parte delantera, todo lo demás quedará igual. Para ello usaré material reciclado, tenía una camisa que use una vez en una empresa en la que trabaje y me quedo el uniforme, como no lo usaba, decidí darle otro uso y esta fue ideal para este trabajo.
Como les comente, solo trabajaré con la parte delantera, así que solo descosí por completo toda la parte delantera. Pueden observar en la foto que hay un sesgo negro que tenía para tapar las costuras, este trate de quitarlo con mucho cuidado, porque está intacto y me servirá más adelante.
Tenía una tela negra que es del mismo material que el bolso, era una tela que había usado para hacer un forro al asiento de una moto y me quedo un buen pedazo. Así que lo desempolve 🤭 y lo utilice para sacar la tapa delantera del bolso. Voy a cortar una pieza tal cual como la que quite, del mismo tamaño, pues ya tiene el aumento de lo que sería la costura.
No sé si han utilizado este tipo de tela como la negra, esta tela tiene por la parte de atrás como un protector de plástico, pero que con el uso, el roce, el doblarlo y el mismo peso, hace que el plástico se cuartee, dejando la tela muy frágil y es por allí donde empieza a romperse los bolsos. .
Así que para evitar eso, con una tela que tenía de unos shores que le hice a mi hija, es una tela flexible, corte una pieza del mismo tamaño que la negra, que me servirá de forro.
Despegue una parte del cierre que tenía en la tapa anterior y la cosí con hilo y aguja, lamentablemente no tengo una máquina de coser, así que me toco hacerlo a mano. Coloco el hilo en dos para que la costura quede más segura y hago una costura punto atrás o puntada recta, que es la puntada más común para coser. Quedando de la manera como se muestra en la imagen.
Para hacer el bolsillo delantero, use una camisa que tenía de un uniforme de una empresa en la cual había trabajado muchos años atrás. Le había guardado porque pensé que algún día le daría uso y efectivamente le llego su día.
El material es una tela resistente y el color es ideal para el bolso, así que coloque la pieza que le quite al bolso, en la parte de atrás de la camisa y saque el patrón.
Después de recortar el patrón, usaré el mismo molde del bolsillo, como forro de la tela gris, como la tela amarilla es dura, le dará más firmeza y quedará mejor. También le quité una etiqueta que tenía la camisa gris y lo cosí en el centro del bolsillo, solo para adornar.
Uni las dos piezas con la ayuda de la otra parte del cierre, tal como se muestra en la imagen.
Y luego cosí las uniones en la parte de abajo del bolsillo, para así quedar con la forma del bolsillo como tal.
Ahora coloco el deslizador o corredera (no sé cómo se le llama en otros países), es la pieza que se usa para abrir y cerrar el cierre. La coloco para unir el bolsillo al bolso.
Y coso por los lados para que a la hora de cerrar todo no se mueva y quede de lado.
Ahora coloco lo que será el forro del bolso y los basteo para queda mejor a la hora de coserlo. Si cosiera en una máquina no haría falta bastearlo, solo lo prensaría con alfileres y ya, pero como es a mano que lo estoy haciendo, a la hora de coserlo se me enredaría el hilo entre tantos alfileres y va a hacer más engorroso, al menos yo lo vi de esa manera.
Con la tela azul que me quedo, recorte una tira del mismo ancho que el borde del bolso. Como pueden ver, el bolso no traía un forro, lo que haré será reforzar esa parte, para que sea más duradera. Y la fui cociendo por el borde del sesgo que traía el bolso, como se aprecia en la imagen.
Una vez que ya tengo todas las partes forradas, basteo la parte delantera del bolso, tratando de que quede bien prensadas todas las telas. Coso, por todo el borde y por último cosí el sesgo que había quitado anteriormente, para que no se noten las costuras.
Y así quedo listo el bolso, ya totalmente renovado. La verdad es que se ve bastante diferente, a mí me gusto el resultado. ¿Ustedes qué opinan?
Espero que les haya gustado este tutorial que con mucho gusto les preparé. Me despido como siempre, no sin antes agradecerles por tomarse un poco de su valioso tiempo para visitar mi blog y apoyarme. Y como dice el dicho: “Hagan el bien, sin mirar a quién”.
Original creation content:
📌 Todas las fotos son mías, tomadas y editadas con mi teléfono Infinix SMART 8.
📌 La imagen de portada y de los materiales, fueron hechas con la app Canva y editada por mí.
📌 La traducción al inglés se hizo con la ayuda de deepl.com/translator
📌 Las imágenes de los separadores y las letras que indican los idiomas fueron tomadas de: es.bloggif.com.
Wow. Amazing 😍
We love the result. Now your husband doesn't have to worry too much about a bag to use for his work. You are a great wife/partner. Well done ❤️
Thank you very much for your words. My husband was delighted with his new bag, I am happy to help him in any way I can and if I learn a little more, I am even more enthusiastic about it. I am grateful for your support.
That is such a massive transformation of the bag and now it can be put to a better use.
Thanks for sharing
Yes, the change is quite noticeable. When my husband comments on what the bag looked like before, people are amazed. Thanks for your visit and support.
Amazing work
Thank you very much. And thank you for your support and visit.
We lcome