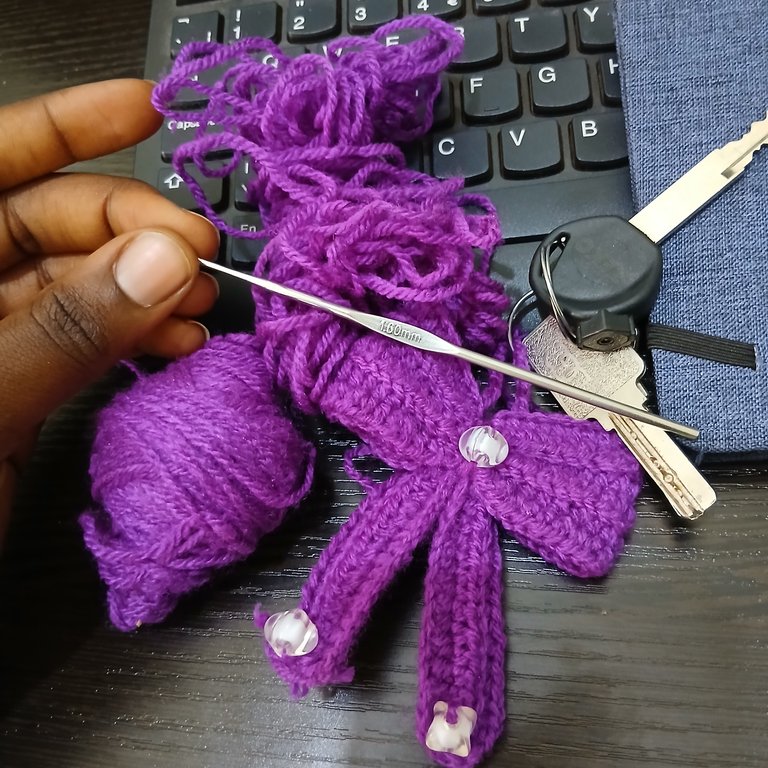
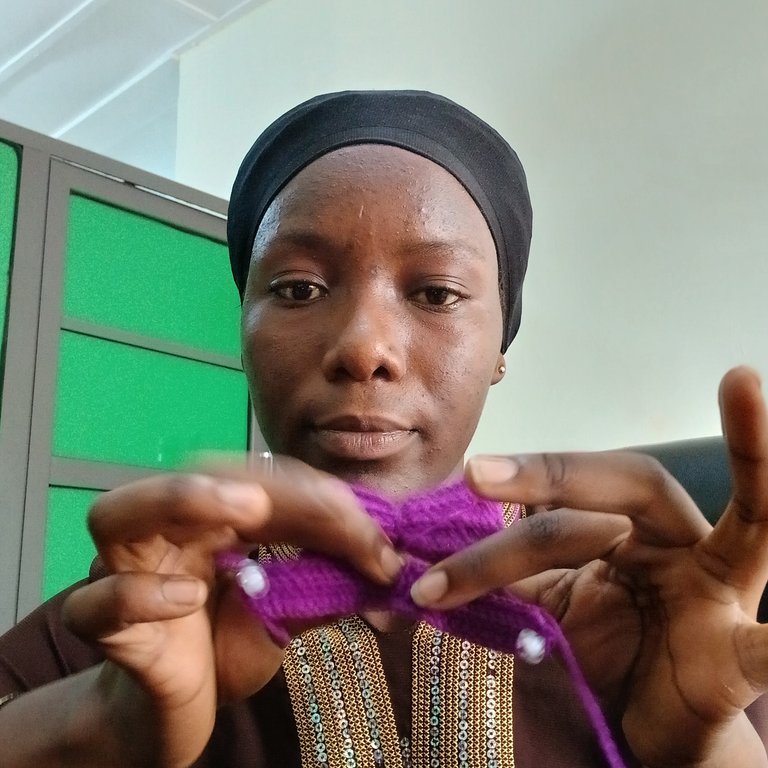
I didnt realise how long it had been since I held a crochet 🧶 pin or yarn till i needed a keychain. Normally i would just buy a new one but this time round I decided to do otherwise. This idea of making myself a key holder from yarn popped up when i saw my kid sisters yarn which was very tangled and I had to untangle it. I would have preferred to use a different colour but the only available yarn was my sister's purple yarn
I got to know about crochet in my basic school years. I love handwork so I picked it up so fast especially the basics and general crochet skills
When i started the ribbon i got bored so fast and everything seemed to move slowly but eventually when my work started looking like an actual ribbon i decided to proceed and it started becoming more fun. I forgot how crochet could be so fun and oh also time consuming 😄 especially if you not fast.
I have an interesting question dear reader is keychain same a key holder. Bec
Now brace yourself as I take you through the process below.
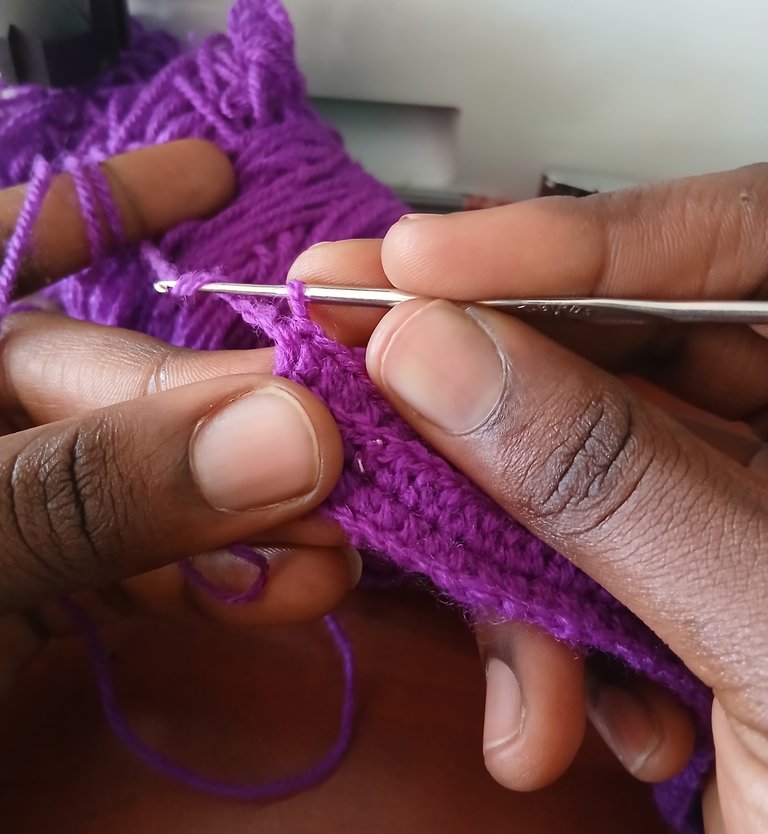
I used a 1.6mm pin and a purple yarn .
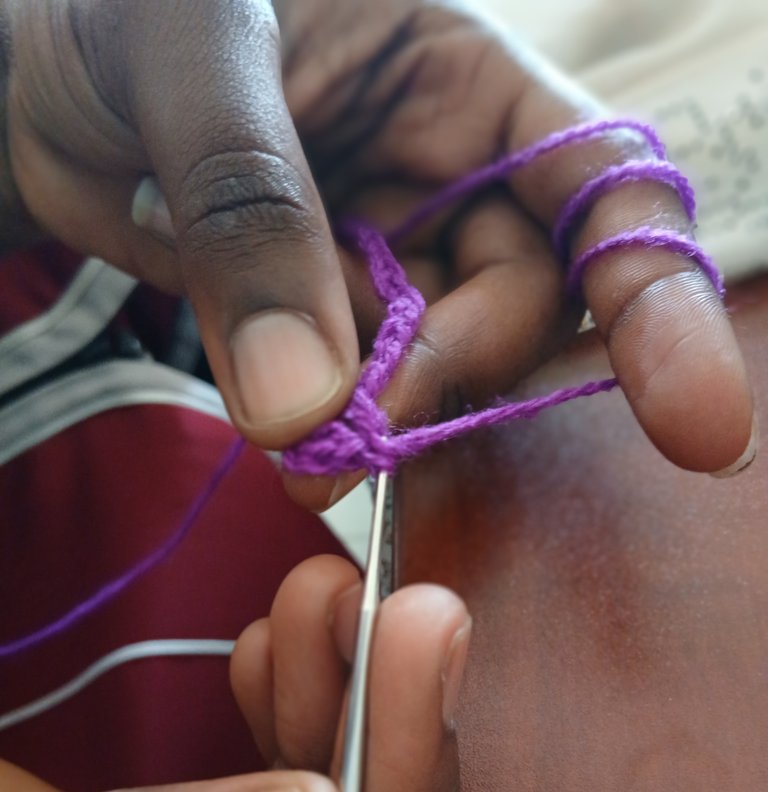
The ribbon is in two parts the top and the bottom which you would have to crochet separately. Throughout I used half double crochet stitch
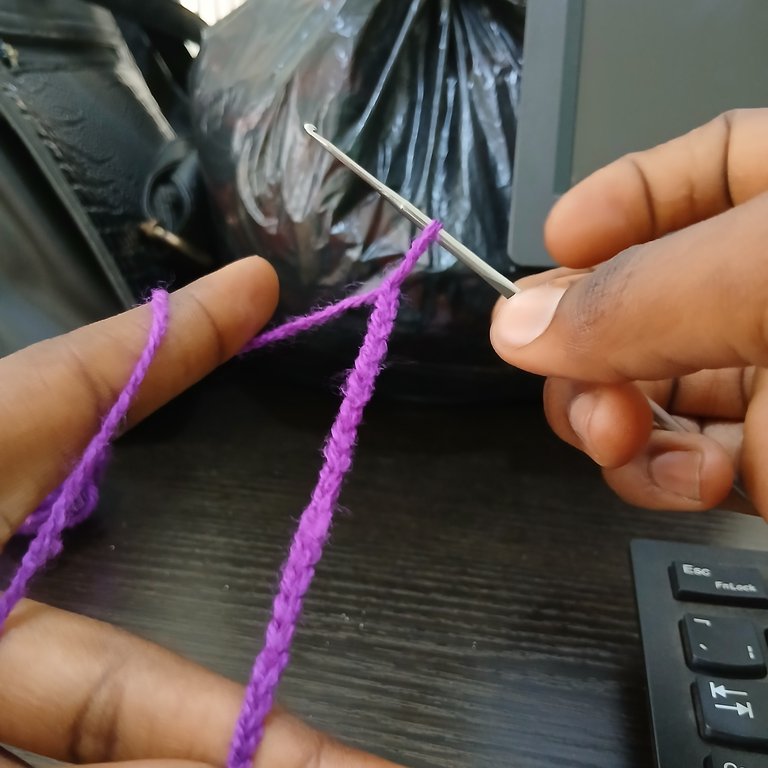
I started chain stitches and I made 42 chains.
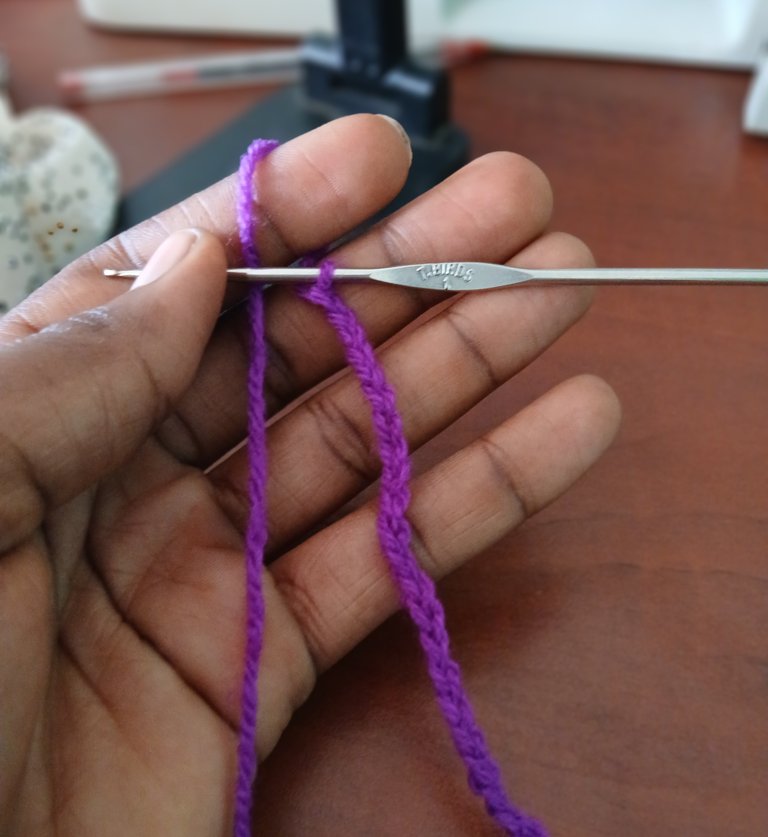
Afterwards I made a turn and started with my first row .
Here I was and my third row. It took me two days to finish because I had other things to attend to so I did it halfway a day before and finished it up today
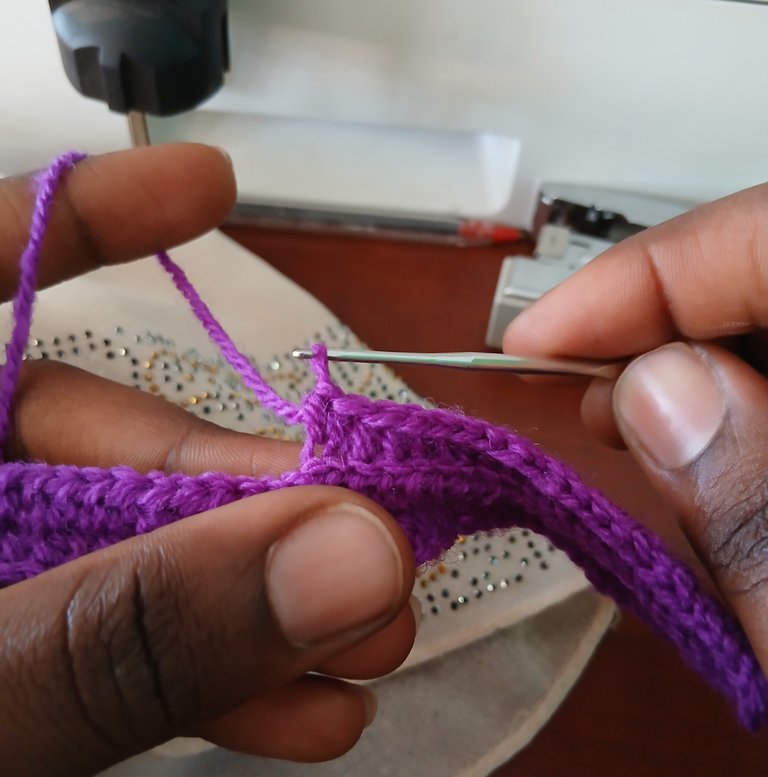
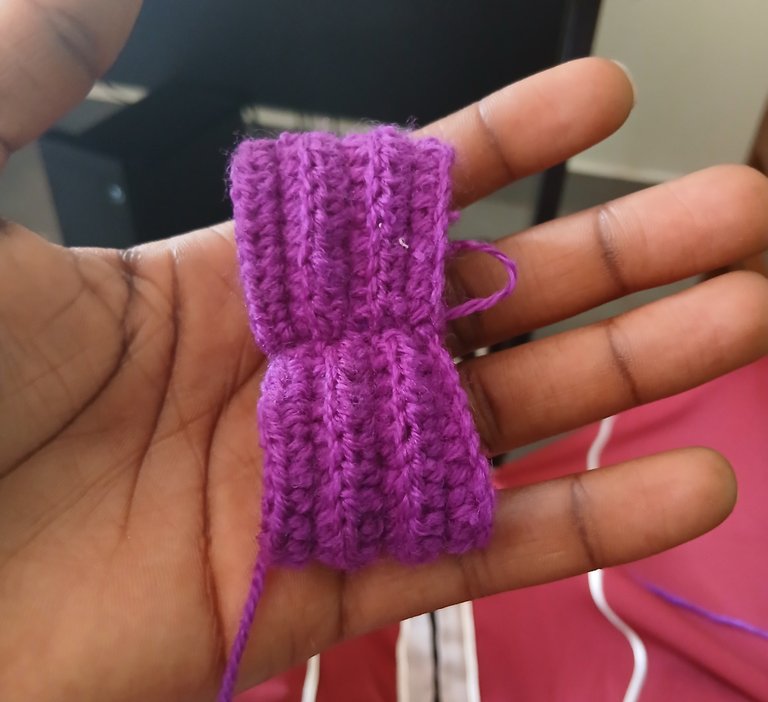
At this point I forgot to take images of my progress and I had already done more rows on top. And even stitched it together as seen below. I got so involved with it I forgot to track my progress 😄

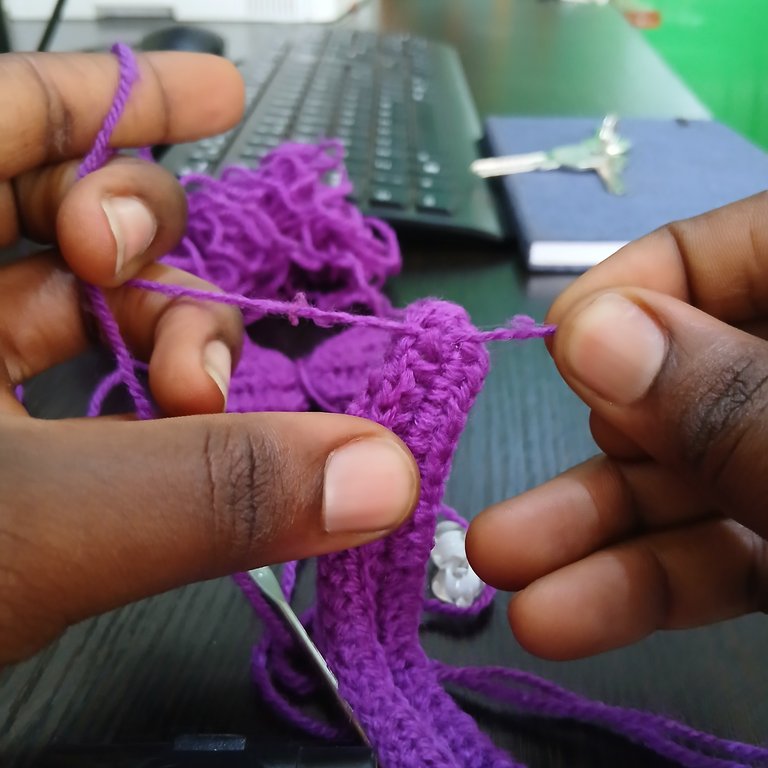
I didn't have a needle to stitch the two ends together. I improvised with my crochet pin.
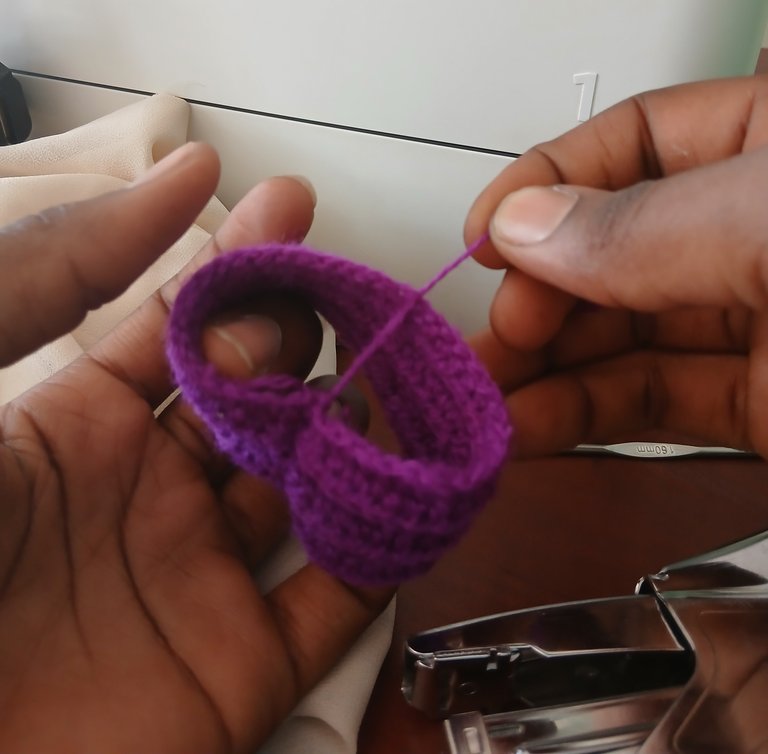
The next thing was tie the yarn rope around my work to make the head of the ribbon
Now the pics below were taken today. And it includes me finishing up the second part of the ribbon and the putting it together
I started with the same process as the first part but rather did only 3 rows

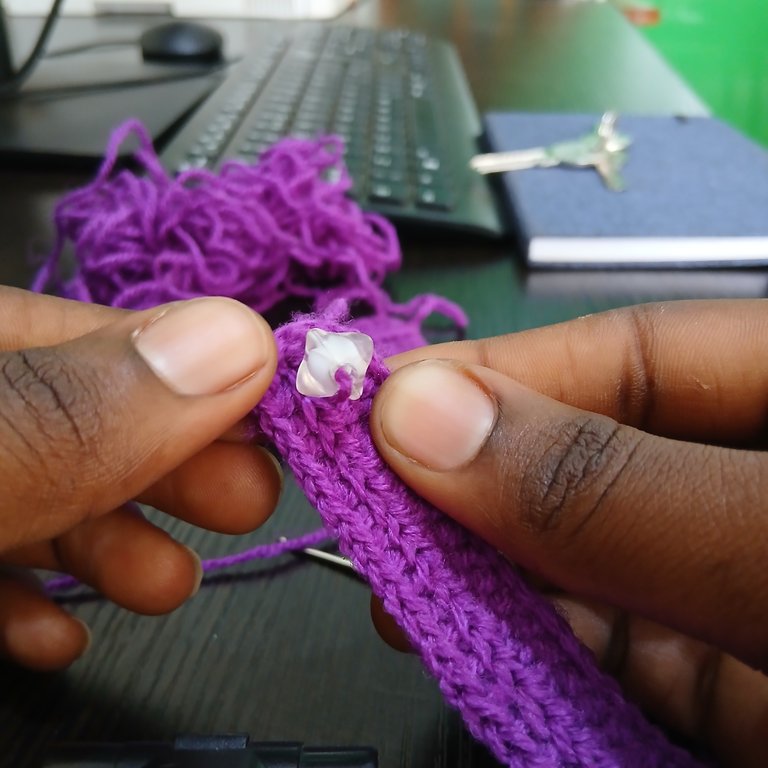
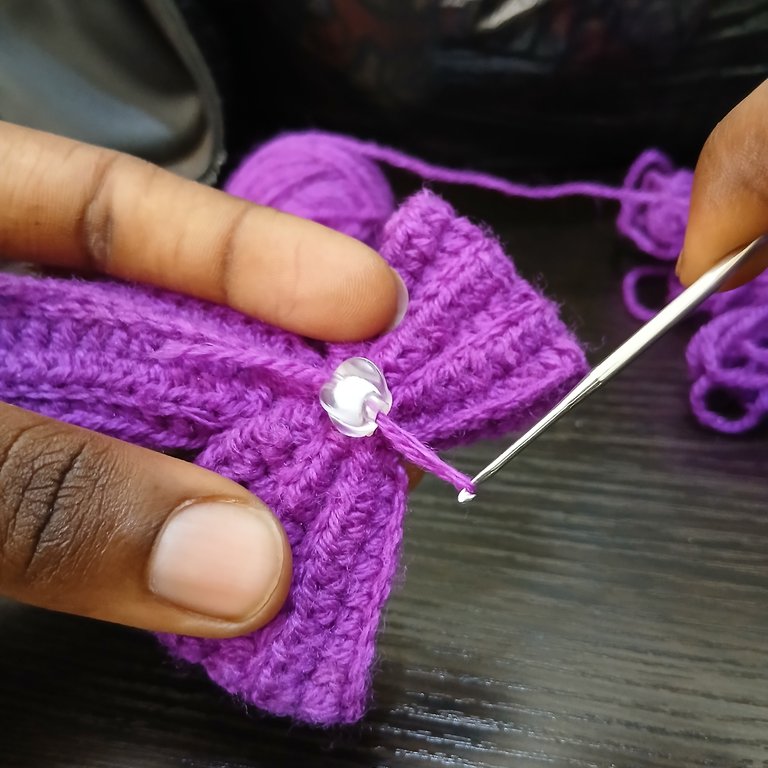
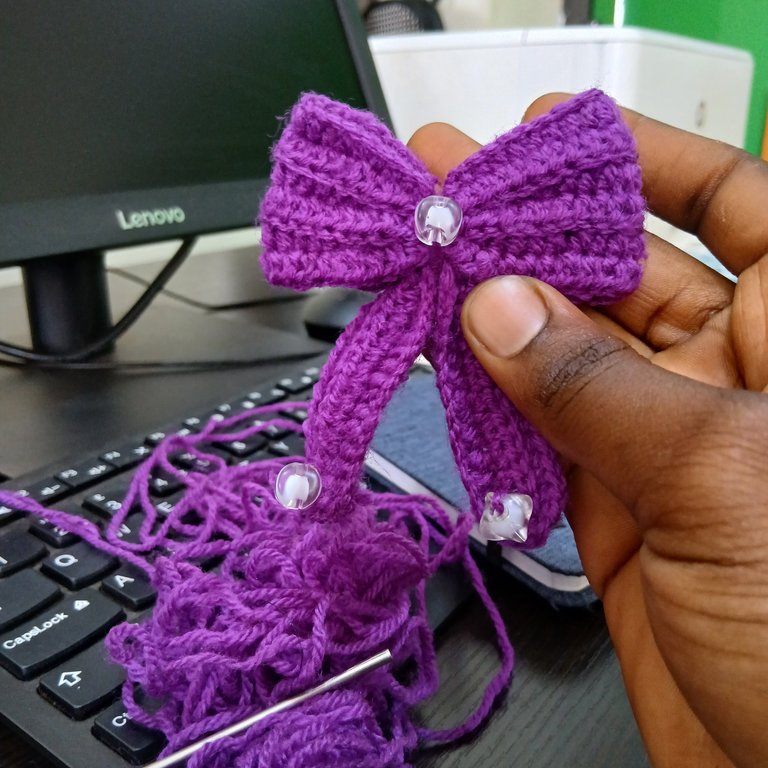
I decided to add beads to make my ribbon look nicer
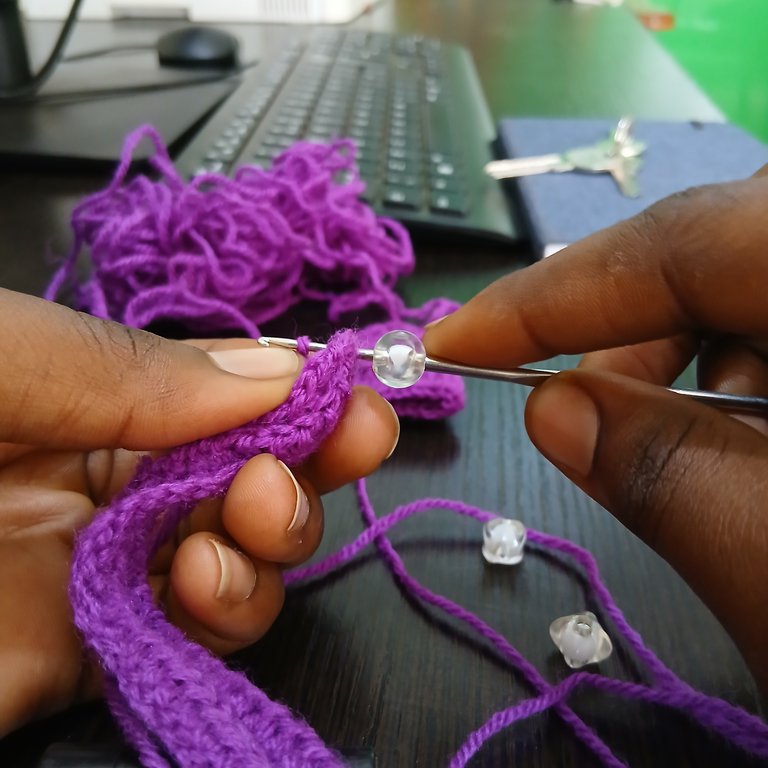
I added the beads to the two ends of the second part of the ribbon as shown in the Images
(
Here's the two parts of the ribbon which I joined together
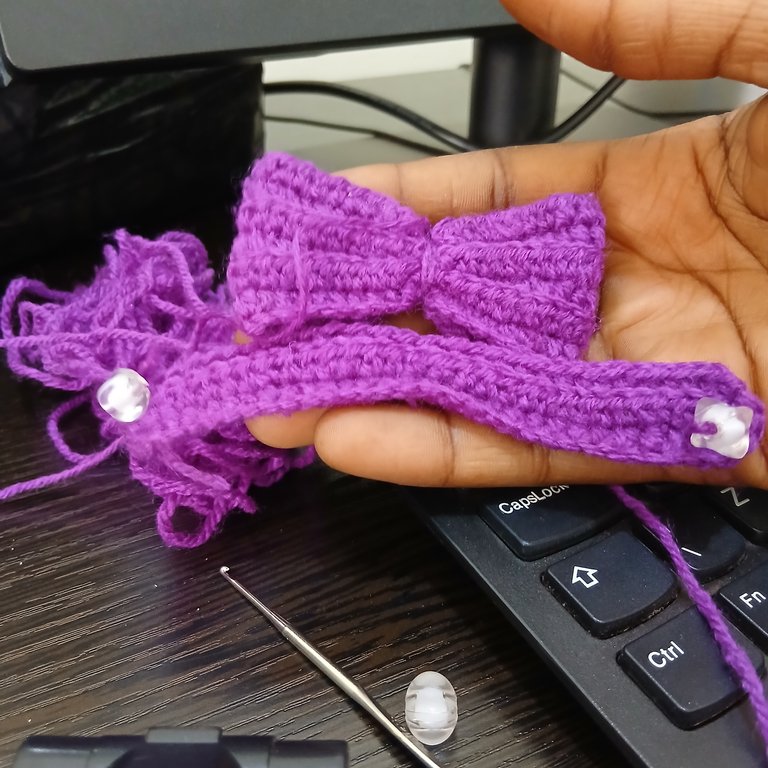
I tied the two parts together to form the ribbon.
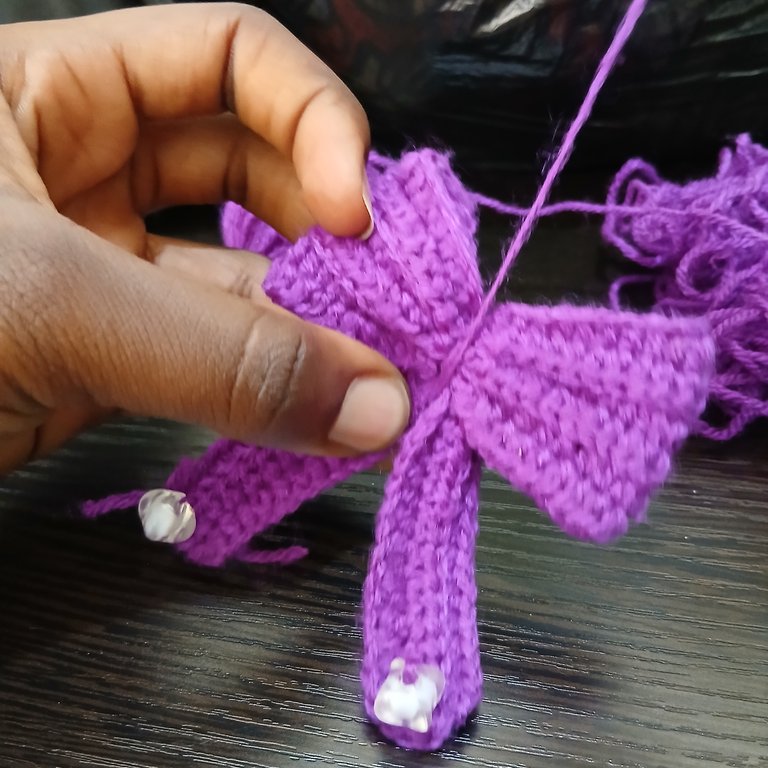
I another another bead to it 😄

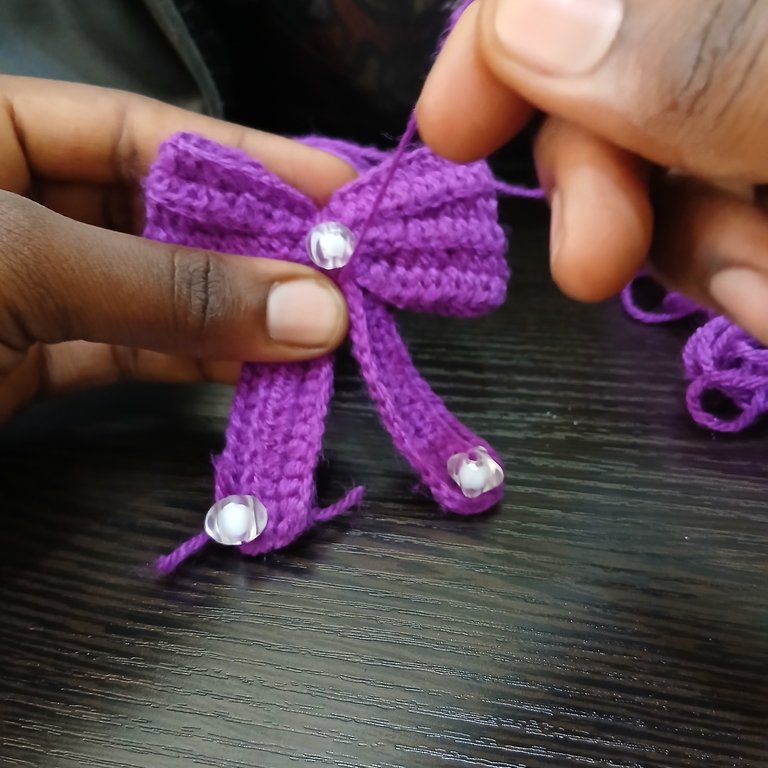
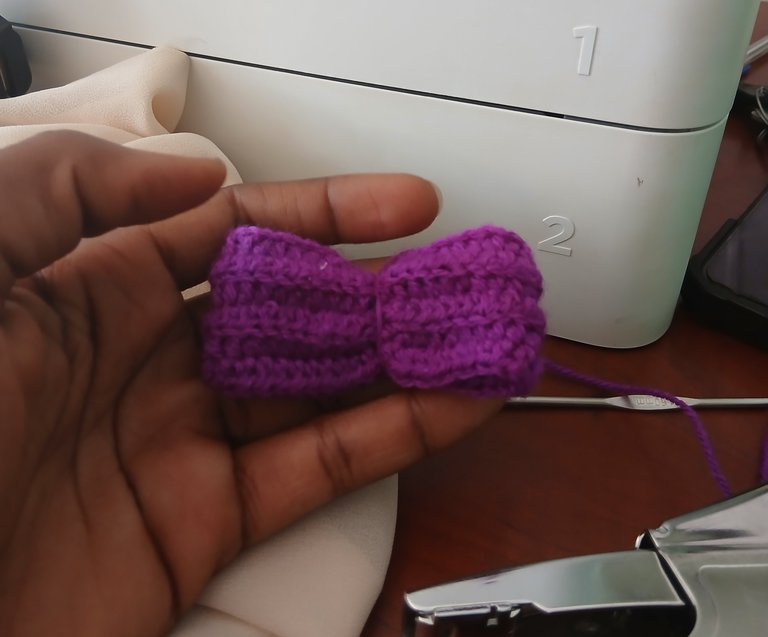
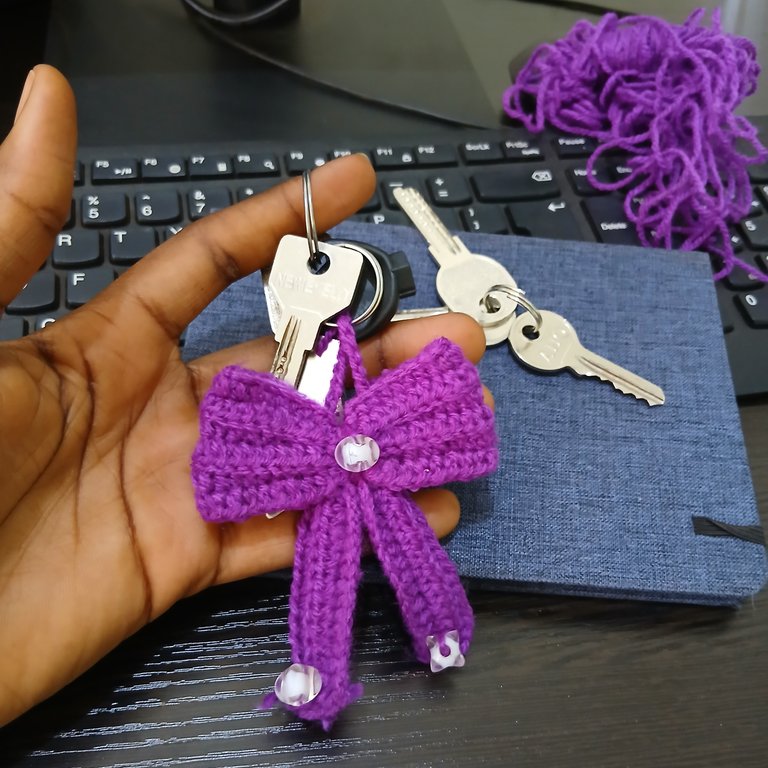
And here's my final piece
This here is the backside of the ribbon 🎀
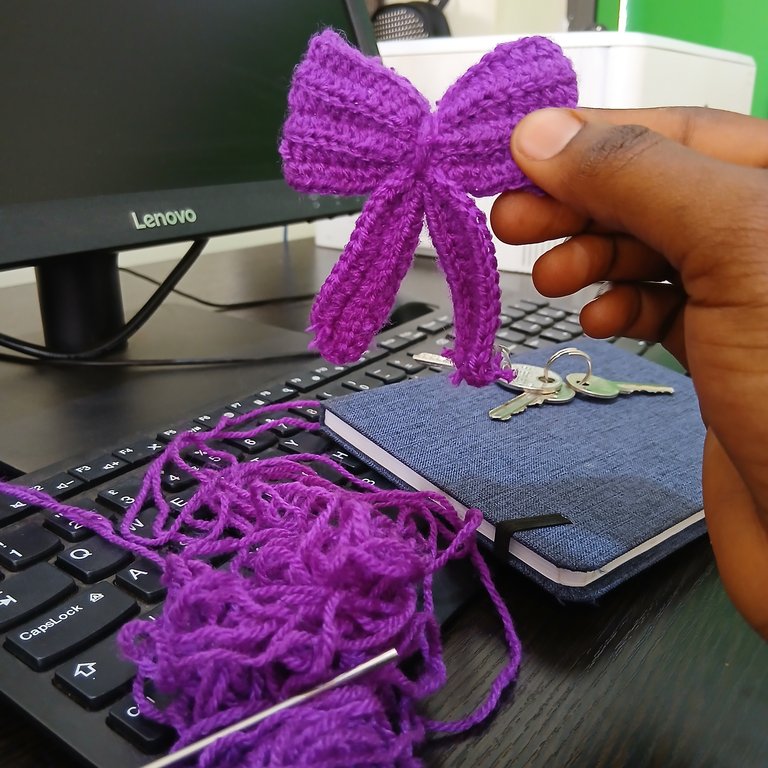
I made a chain again so I can hang my keys onto it

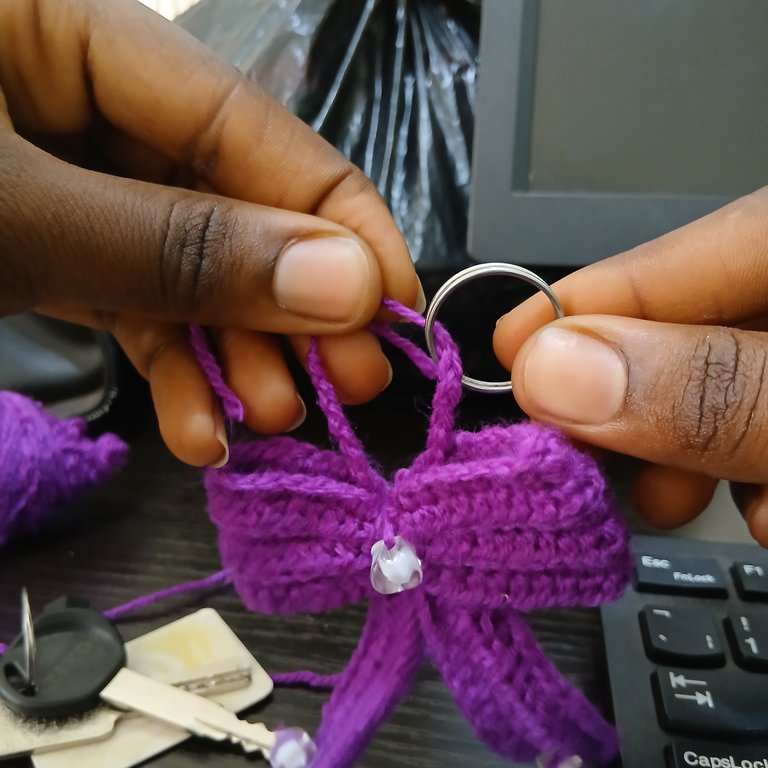
Tadaa ladies and gents my cute little ribbon 🎀 was done . And I have a new key holder for my keys
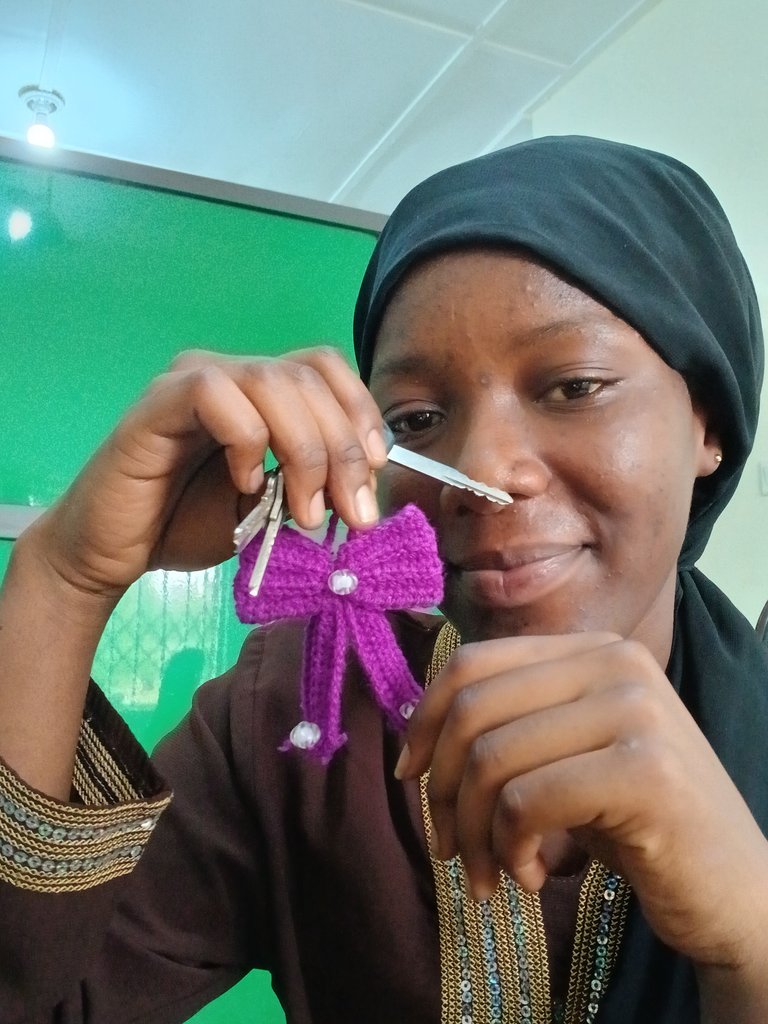
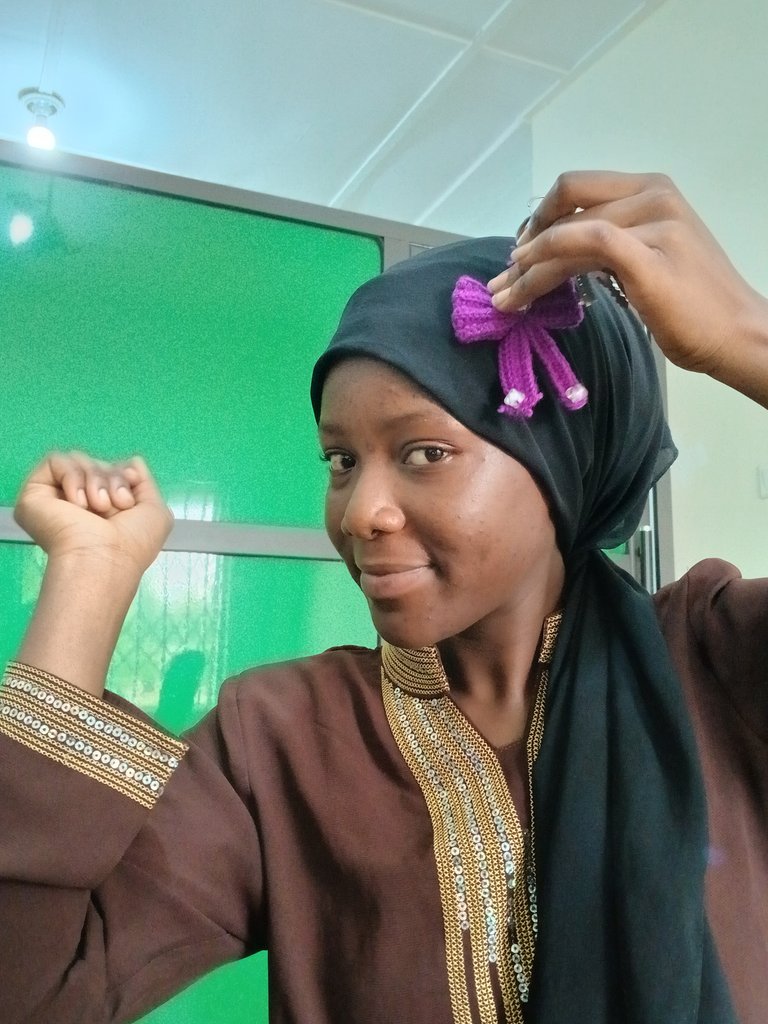
this ribbon can also be made into a hair accessory
Thanks for reading and see you in my next post
Congratulations @khadijaaya! You have completed the following achievement on the Hive blockchain And have been rewarded with New badge(s)
Your next target is to reach 2000 upvotes.
You can view your badges on your board and compare yourself to others in the Ranking
If you no longer want to receive notifications, reply to this comment with the word
STOP