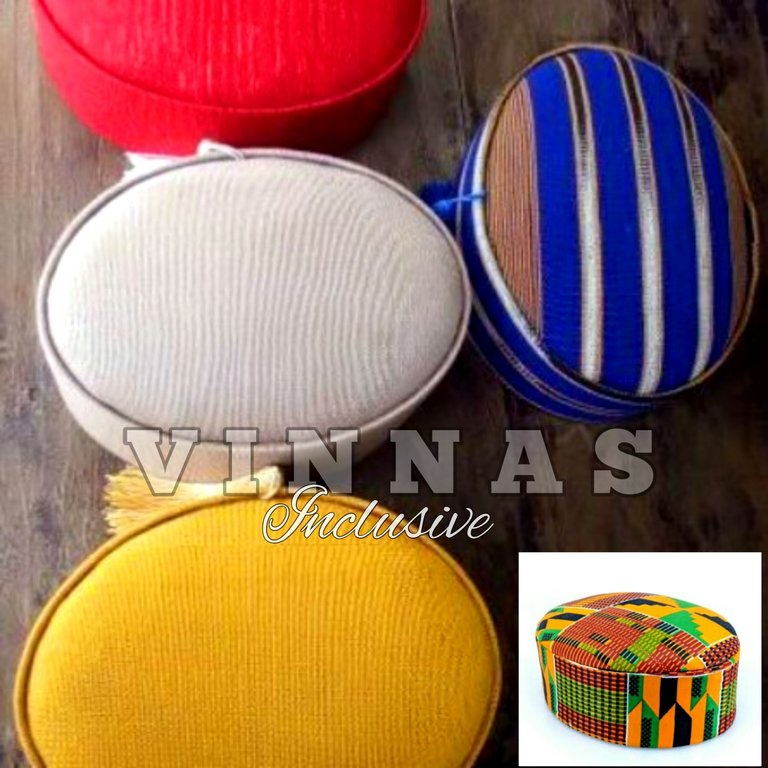
Good afternoon hivians, it actually Afternoon in where I base, Nigeria precisely and beautiful Monday it is ,the weather is just like the colour of a television, Okay, its been long time I made a Post, so I woke up this Morning with an intention to give an illustrations of a well known Cap in Nigeria Called the awolowo Cap,also known as Ebuka Cap. My recent work
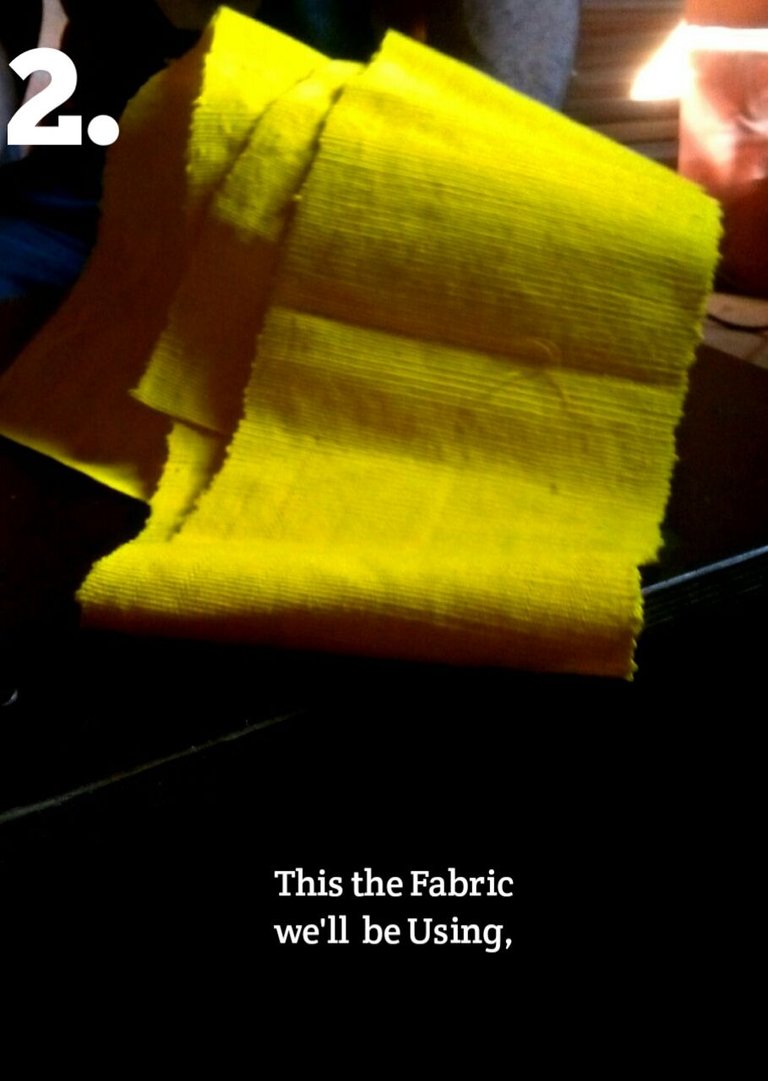
This is the Fabric we 'd be making use of, its called ashioke,
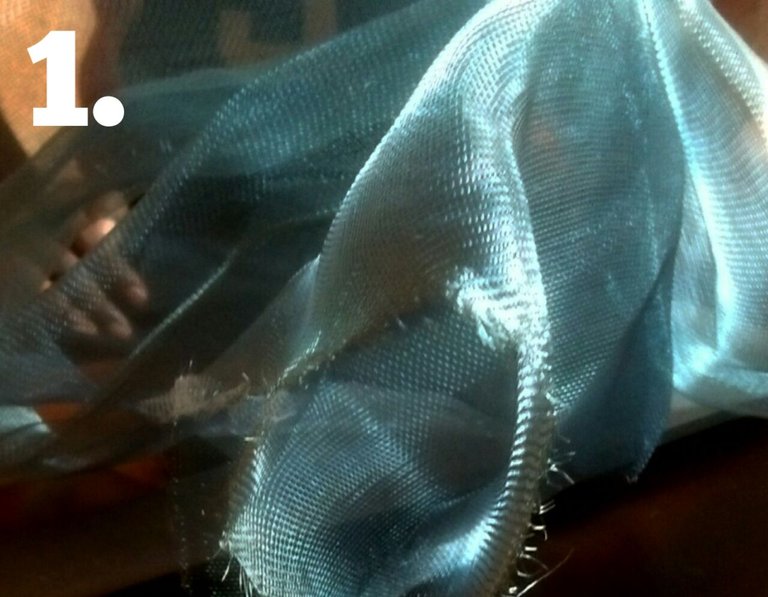
And this is the net we'd be making use of,the strong one is Advisable not the soft one, Only then you can achieved an Impeccable finishing.
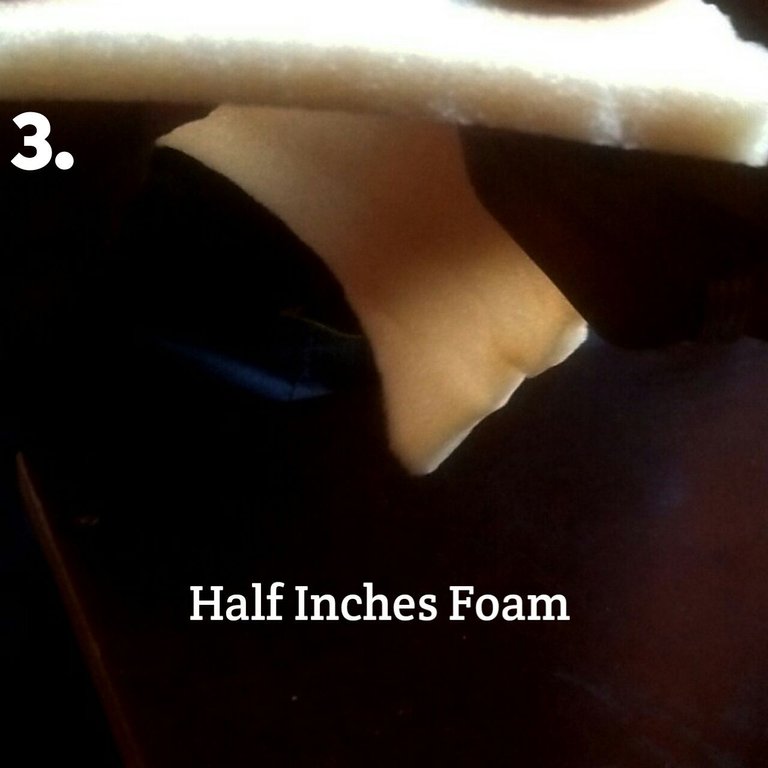
The foam is haftinch and haft inch it most be .
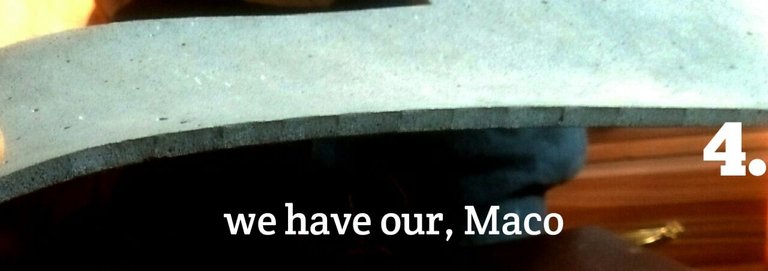
And here's the Lagos Mako we will be Using, at times I make use of Fiber,all base on what you want To Achieve, I go with the flow cause I need something Different this time .
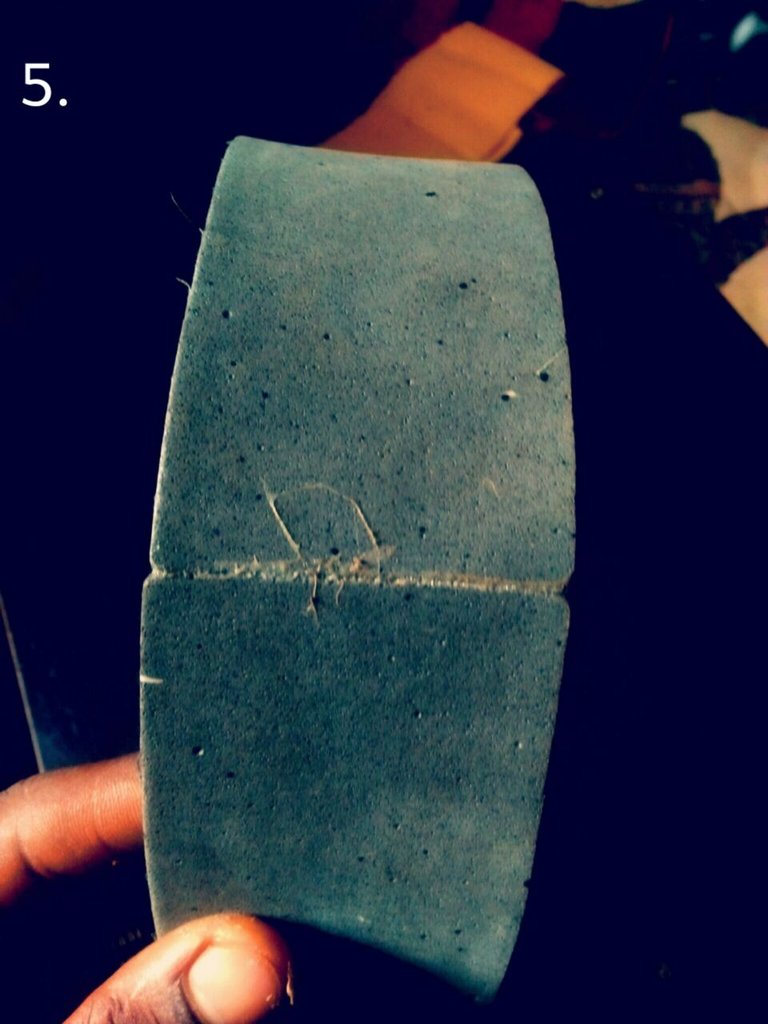
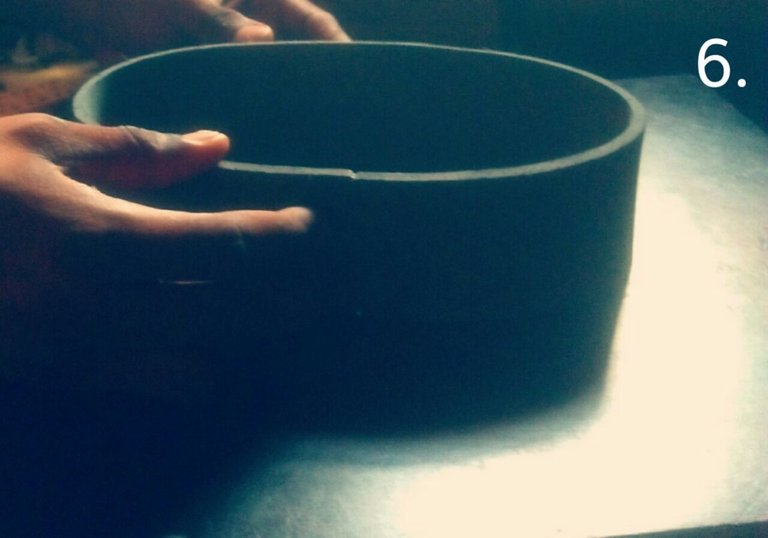
the Depth am making use of is 22 so I added half inch for the gumming allowance, and the width in Awolowo cap is 2.5 inch fixed, unless you're masking for kids, you use 2inch .
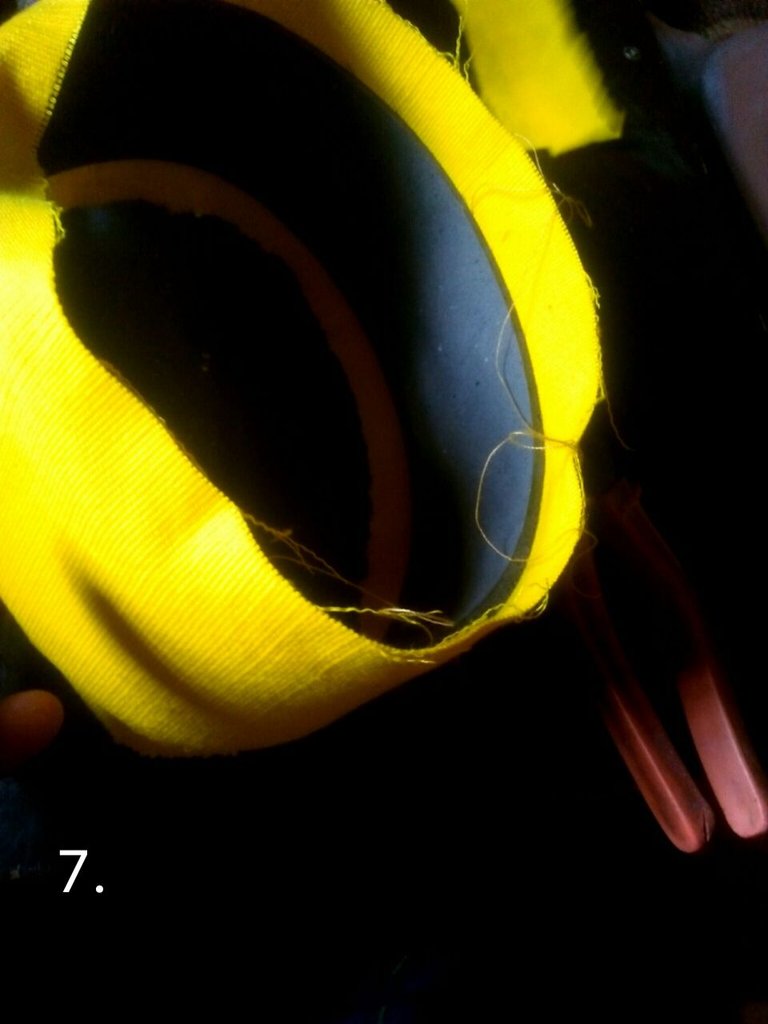
use the same method applied on the Mako on your fabric ,but the width should exceed with 3inches,then you apply glue
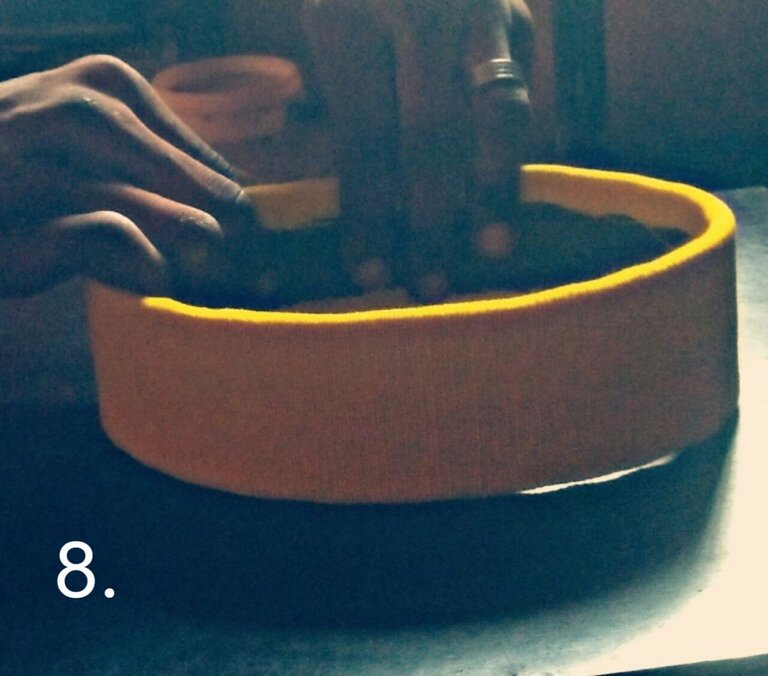
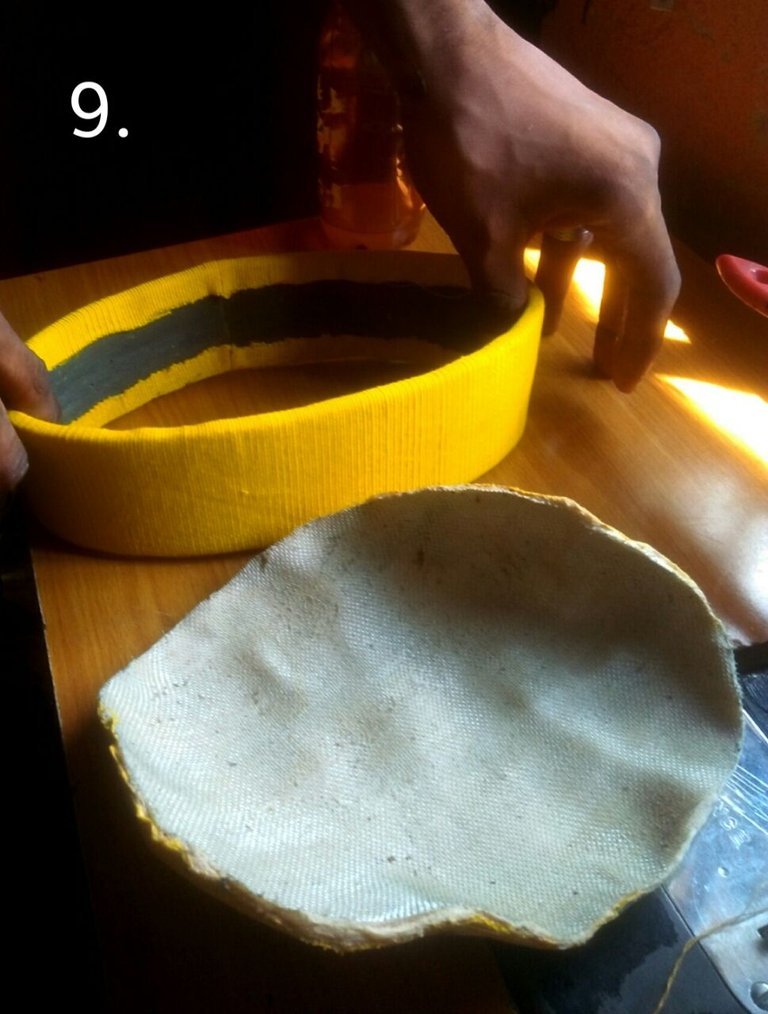
I miss some part of the illustration, Once you're done Encasing the Mako, place it on top of you Foam and Add haft inches round then you Cut it Off ,apply the same method on the Fabric as well, once you done, apply glue on the Fabric and Foam and leave it for a minute to dry, once it dearth you Gum it together,
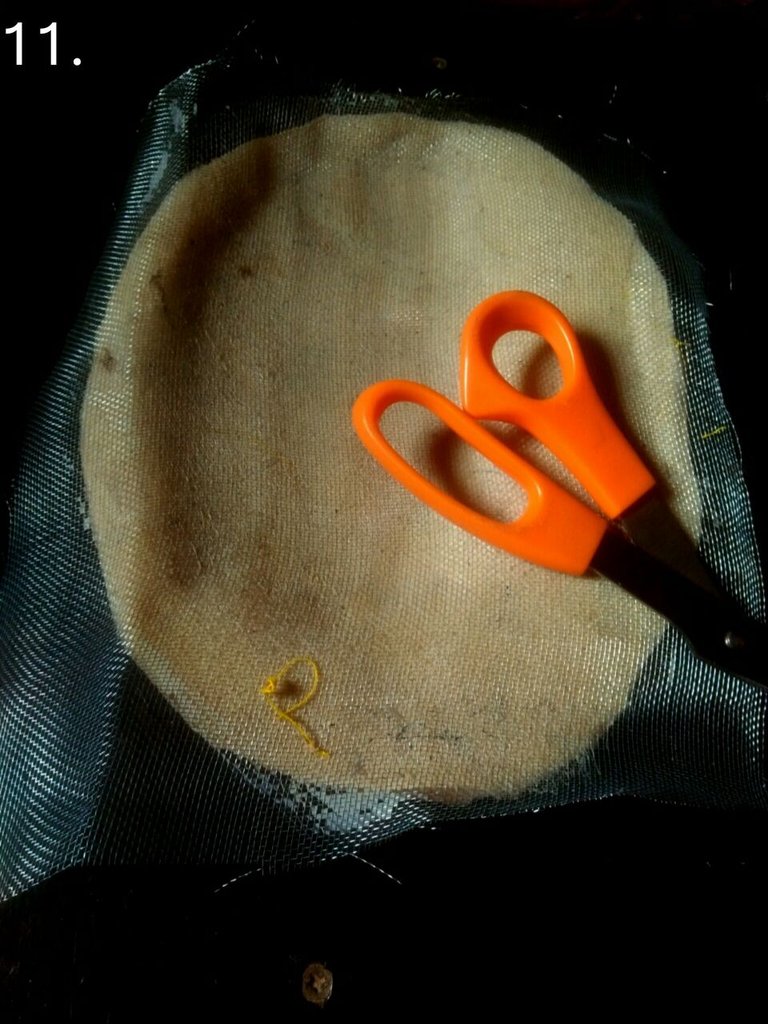
place your Net on the wrong side ,then apply Glue on top of the Net as shown in the image below


Use the back of your scissors to scrub it till it Get puffy as shown in the image, the process meant as well Help the net Gummed well on the surface
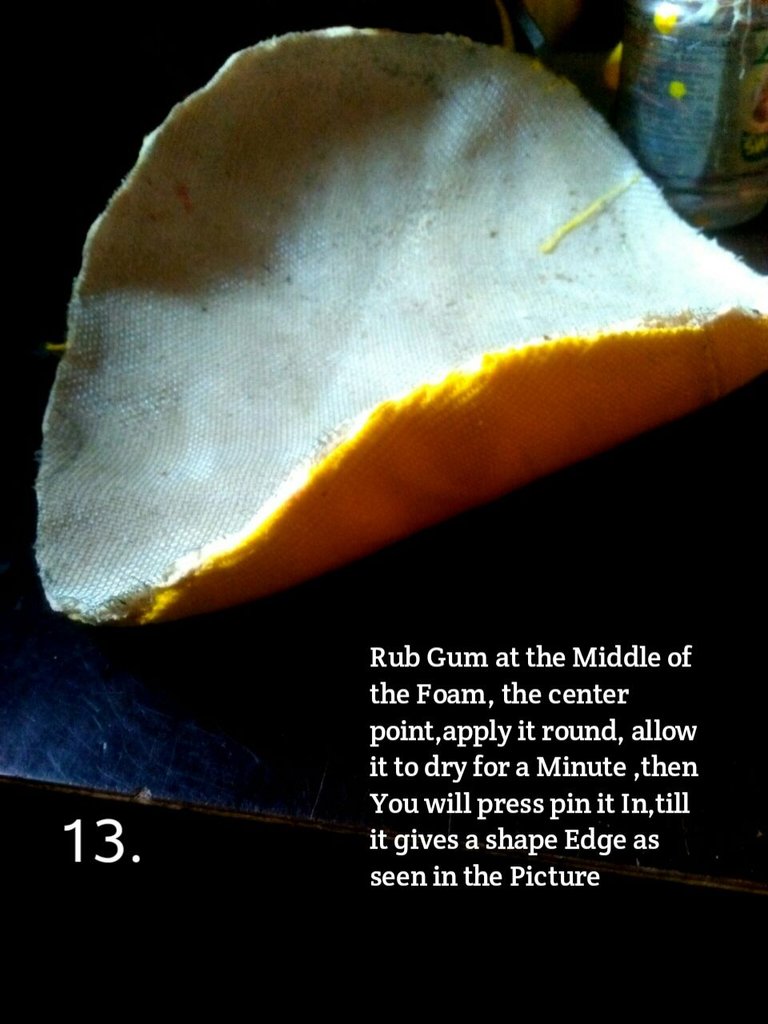
Trim the net offcut off then apply Glue at the Edge,let it dry then pin point it in to get a shape edge as seeen on the image
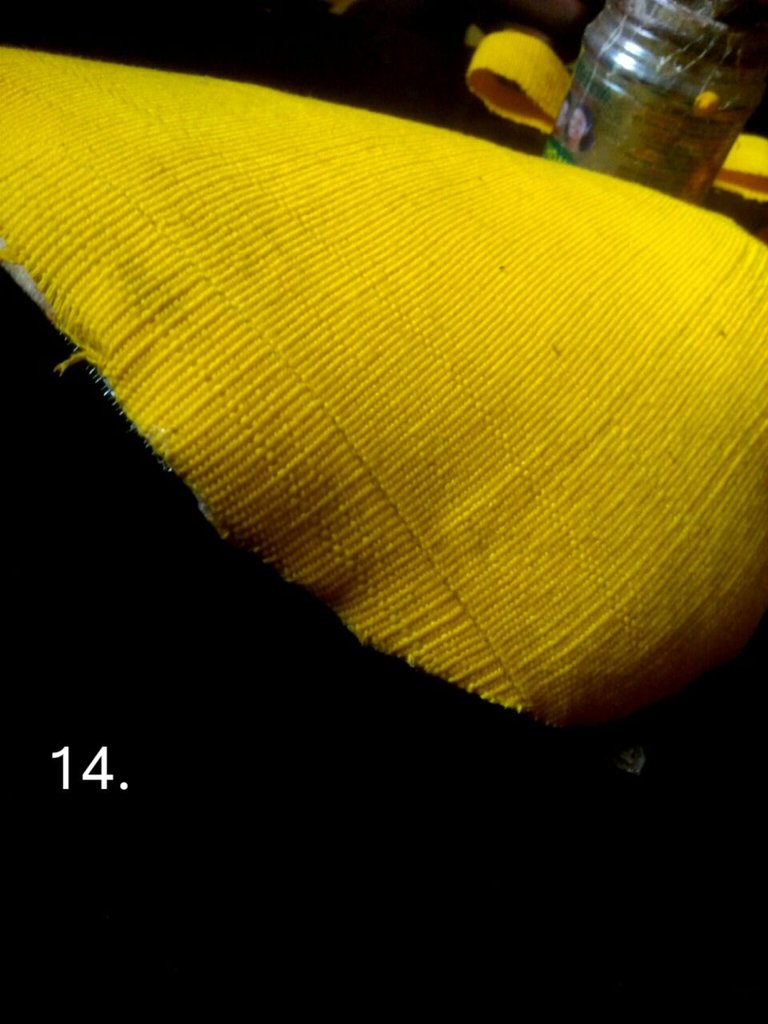
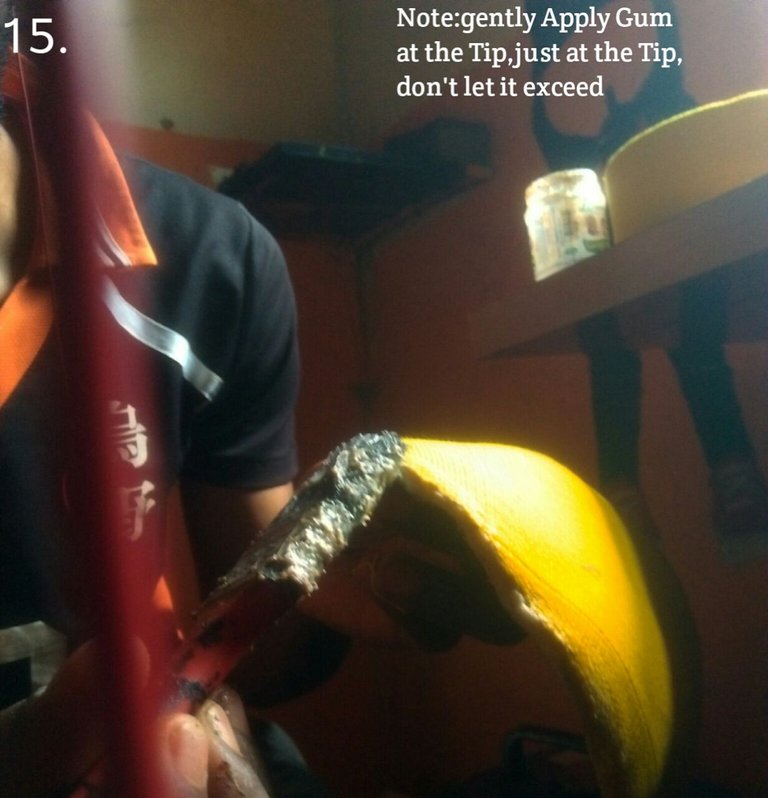
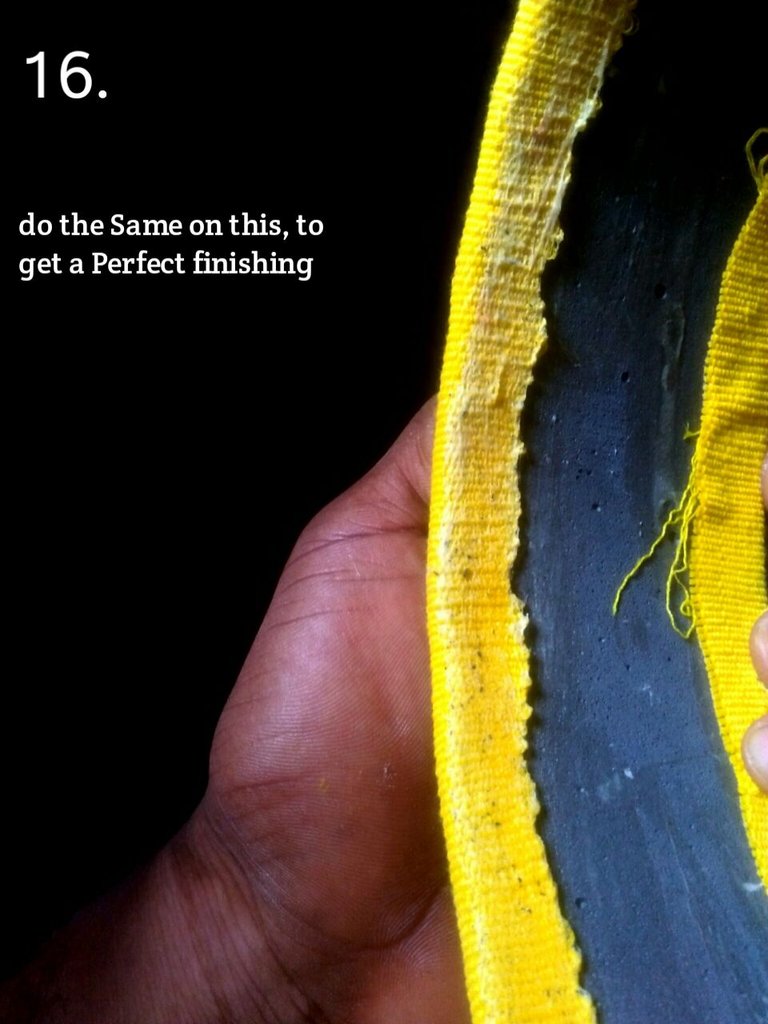
Place it onto of its Rim
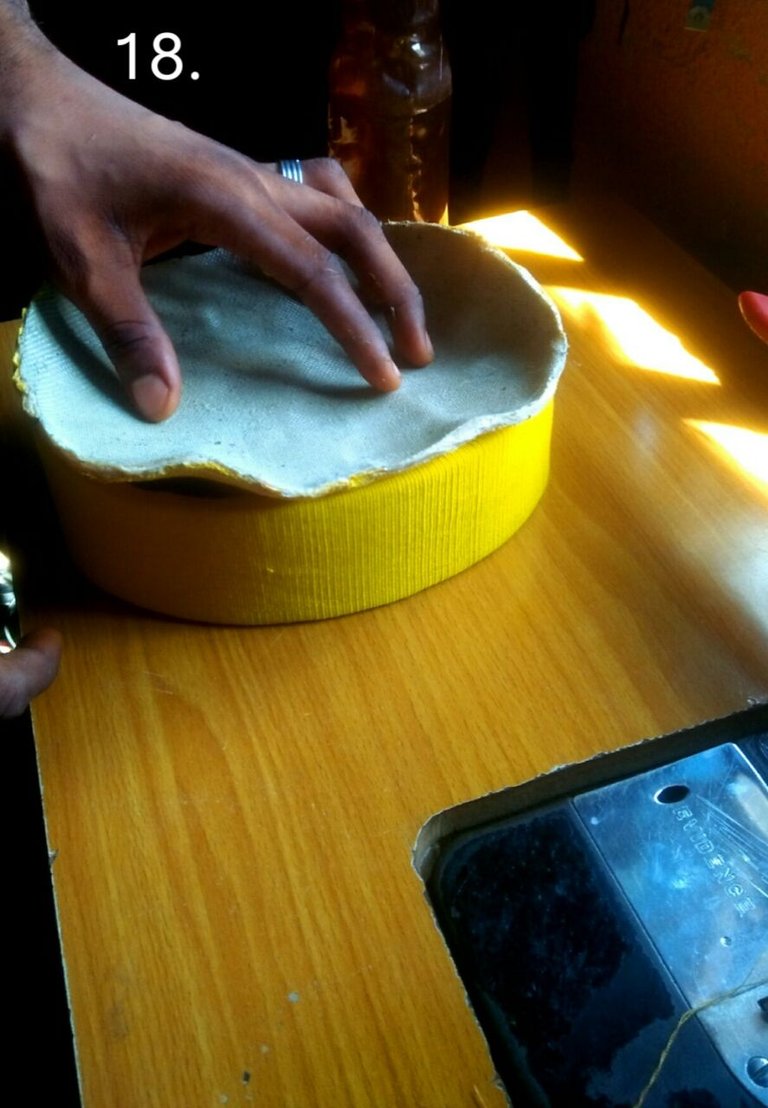
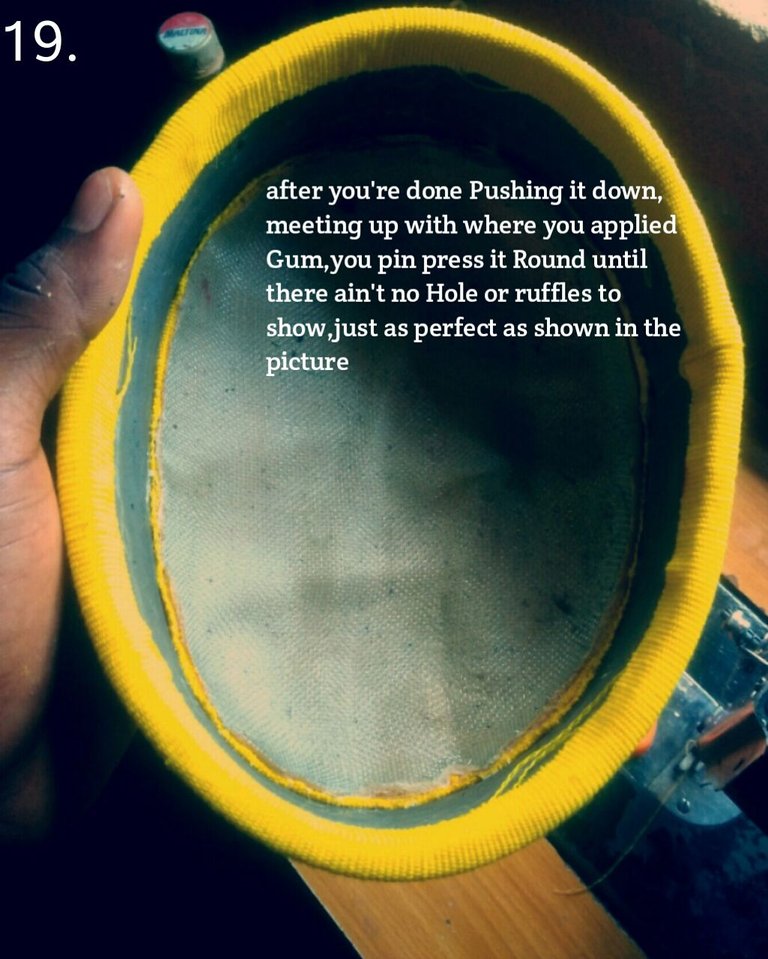
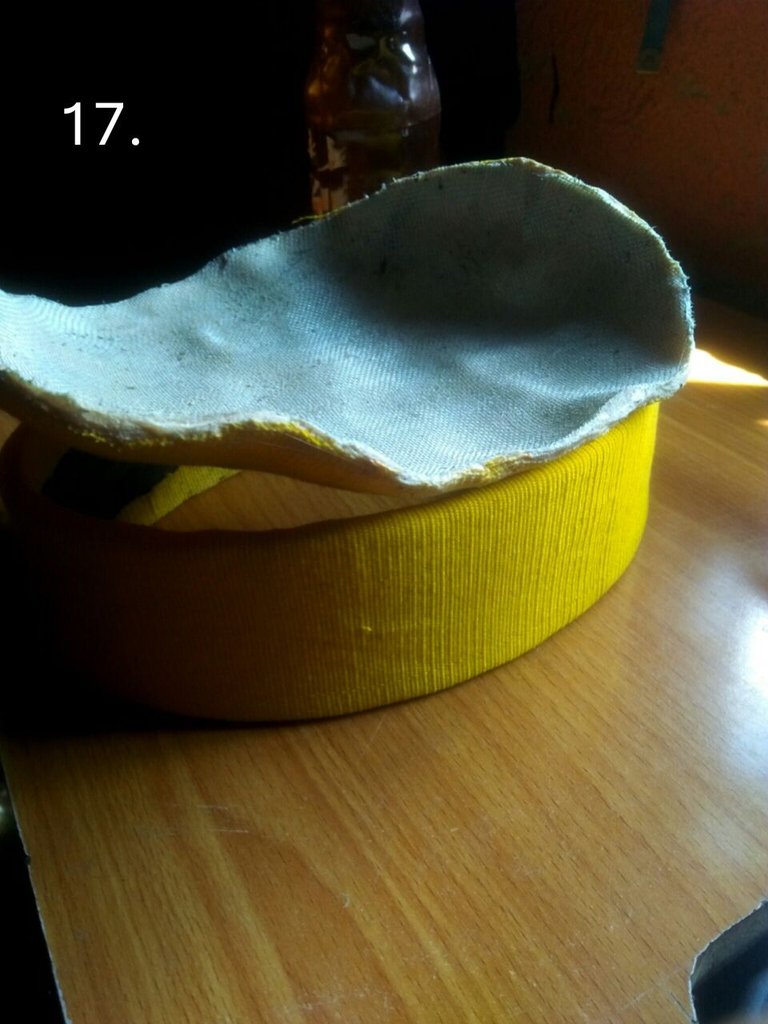
Place it downward on a piece of linen and add 1inches round ,then cut it,when youre true cutting off, Apply your Elbostic inside the rim of your Cap gently, when you're through paste your Linen In,and pin press it till you get the result shown in the image below
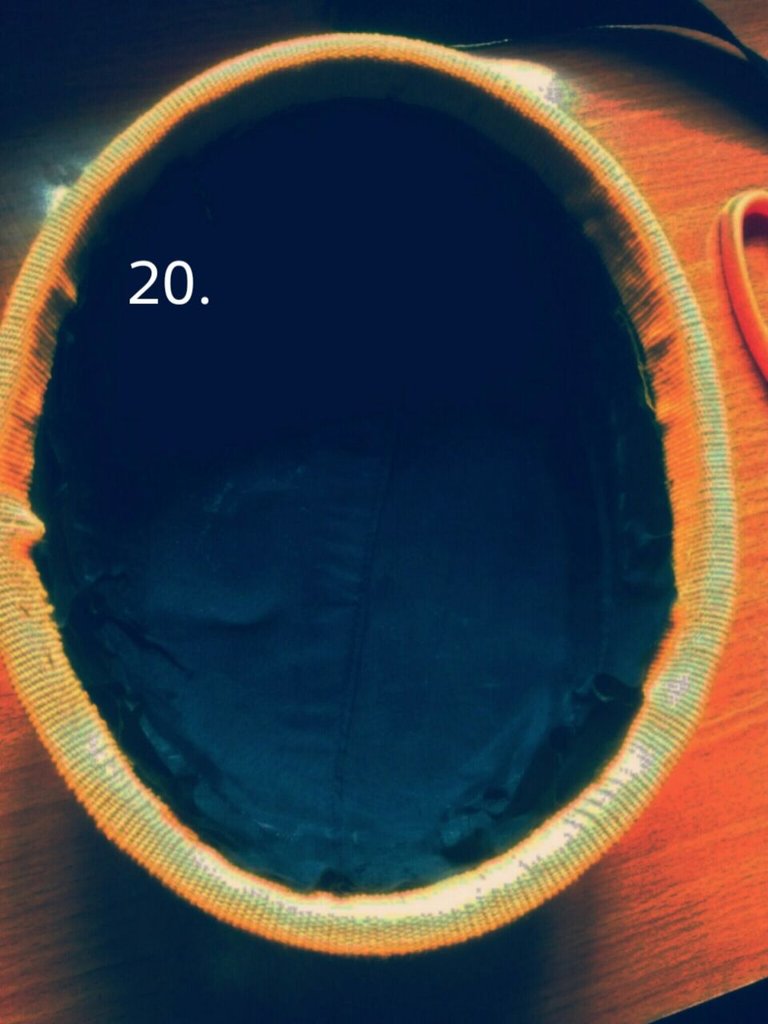
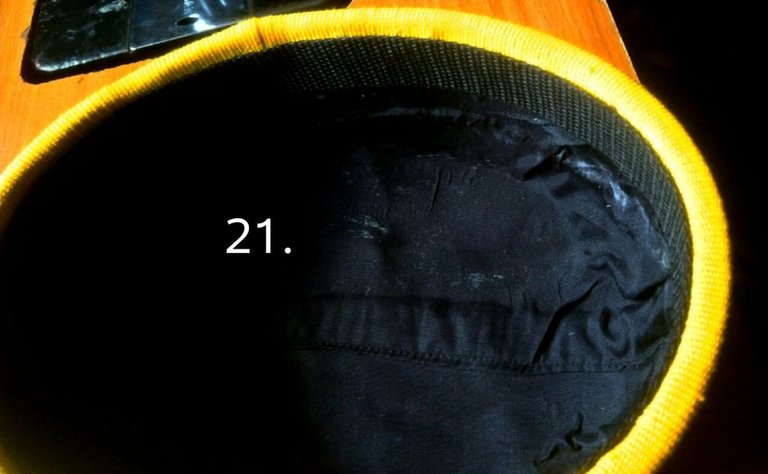
Also apply Glue on your Elastic, the Measurement should be exactly your head Meeasurement ,then Add 1inches for the over lapping of the Elastic just as seen on the image. If you're Lost let me know on the Comment.
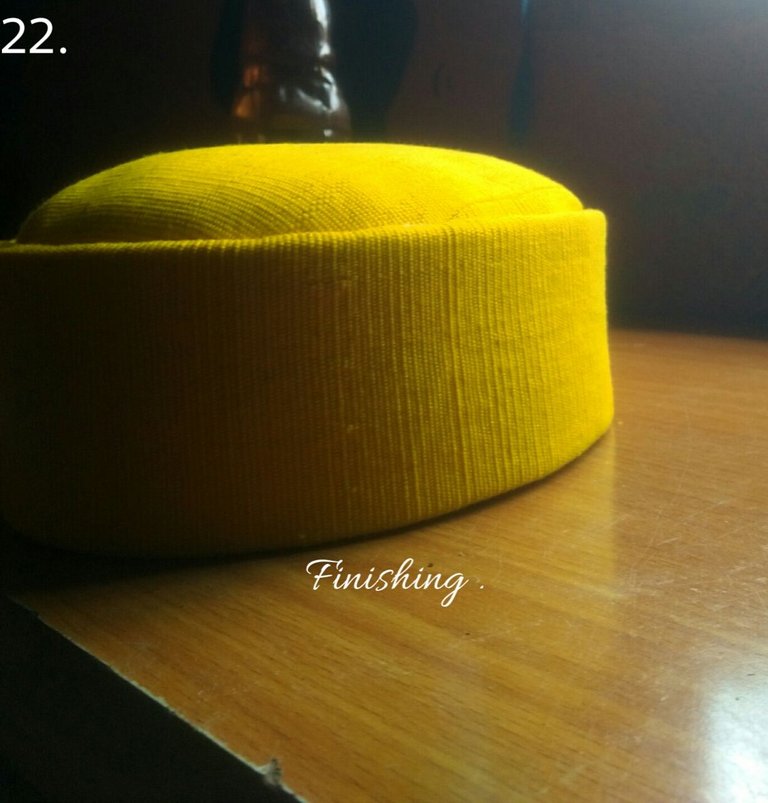
The Finishing. #Needleworkmonday
https://leofinance.io/threads/merit.ahama/re-leothreads-prtlppn6
https://leofinance.io/threads/glorydee/re-leothreads-gxxkulpq
https://leofinance.io/threads/adetemi/re-leothreads-89gqcynj
The rewards earned on this comment will go directly to the people ( merit.ahama, glorydee, adetemi ) sharing the post on LeoThreads,LikeTu,dBuzz.
Wow! You must be a professional fashion designer as this tutorial is so well detailed and your finishing is top-notch😍, maybe I will stop running away from Awolowo cap now ha ha
I see you are a newbie, well done on a good job, hoping to see more of you in the needleworkmonday community.
#dreemerforlife #teamflash
I appreciate that,I'll be consistent from now On😃 So many tutorials coming
Wow this is really impressive but I'm wondering, how long will it take you to make one of the cap?
And I'd also like to ask if you own all the images, you should state somewhere that they are yours.
Nice and creative, I hope you stay active and engage with others to grow... From #teamflash #dreemerforlife
Approximately 20minutes or even less, it depends on the Kind of Glue you're working with though,and yeah miss merit I own all the Images, they're all my work
Oh the glue!
Thanks for the response hehe 🙂
Oh wow this is nice and a very good tutorial on how to make this. It’s nice to see that after a long time you are making posts again. With more consistency you could even start uploading videos on how to make these Ebuka caps. It’s never easy when you’re new but ask the questions and you’ll be answered. Keep up the good work.
#dreemerforlife #teamflash
It's a nice hat and let me congratulate you, it looks beautiful on you, I really like learning about their cultures and their outfits because they are very pretty, I hope you have a great week 😊
Thanks you 😃
Hey there @leodavid! It’s great to see you around again. 👋🏽😉
Wow what a process. I enjoyed going through the steps with you. I really loved the photo presentation.
Even though when doing a tutorial this is obvious it would still be a wise thing to do if you would state some where in your post that your photos belong to you. It’s imperative on Hive that photos are sourced if they don’t belong to you. So to take the guesswork out it would be nice if you confirm these are your photos.
This truly is a job well done and I thank you for sharing again in the community. Your work is very professional ~
thank you
You’re welcome ~
Congratulations @leodavid! You have completed the following achievement on the Hive blockchain And have been rewarded with New badge(s)
Your next target is to reach 50 upvotes.
You can view your badges on your board and compare yourself to others in the Ranking
If you no longer want to receive notifications, reply to this comment with the word
STOPTo support your work, I also upvoted your post!
Check out our last posts:
Wow! What we could have used plenty of money to learn outside is what you gave us in full detail. I will encourage you to do more of this don’t relent. Keep it going. #dreemerforlife, #dreemport, #teamflash
Thank you, I'm glad y'all like it,there's more coming