Hello my dear friends and enthusiastic and enterprising bloggers, I hope you are very well and every day full of health and lots of creativity, today I bring the second part of the pajamas that I made a few days ago, I get excited every time I can carry out a new project and even more to finish it, it fills me with satisfaction to learn new things every day.
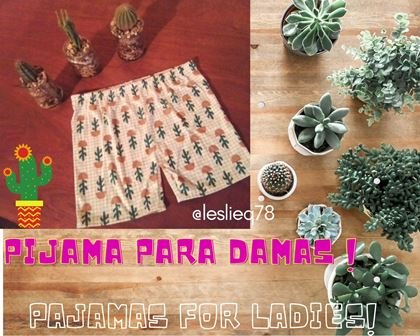
Y súper activa con el Concurso comunitario que tenemos en puerta en nuestra comunidad, se vienen cosas nuevas y hermosas, si no te has unido aquí tienes el LINK para participar.
And super active with the Community Contest we have coming up in our community, new and beautiful things are coming, if you haven't joined here you have the LINK to participate.
A continuación les muestro el paso a paso de esta segunda parte y el resultado final de un Conjunto de Pijama que realice para mi hija cactuslover´s.
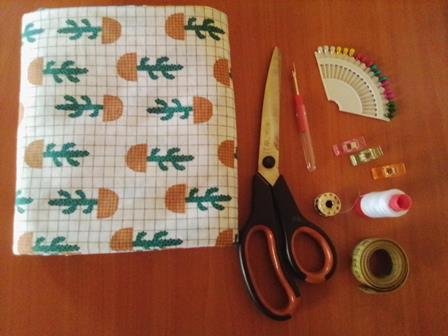
Ubiqué mis materiales, todo lo necesario para realizar un buen trabajo:
- Tijera
- Hilo
- Hilo overlock (especial)
- Alfileres
- Tela de algodón estampada
- Elásticas
- Máquina de coser
Here I show you the step by step of this second part and the final result of a Pajama Set that I made for my daughter cactuslover's.
I located my materials, everything I need to do a good job:
- Scissors
- Thread
- Overlock thread (special)
- Pins
- Printed cotton fabric
- Elastic
- Sewing machine
Realice mi patrón utilizando un short, directo sobre la tela y corte con mucho cuidado
Listo el corte de mis piezas, procedí a unir con la máquina
I made my pattern using a short, directly on the fabric and cut very carefully.
Once my pieces were cut, I proceeded to join them with the machine.
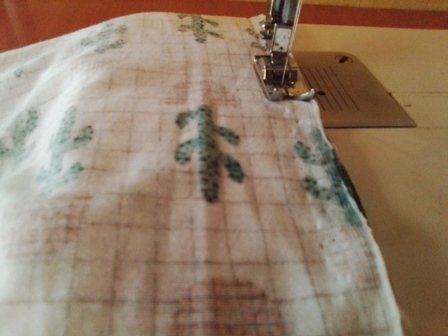
A medida que voy cosiendo retiro mis alfileres con mucho cuidado
As I sew, I carefully remove my pins.
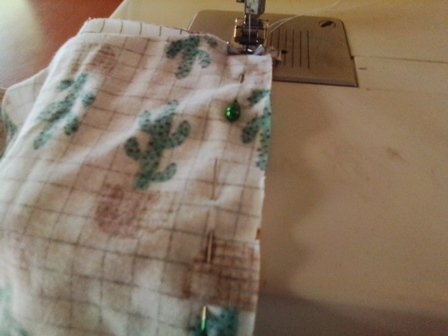
Para el ruedito cosí hacia adentro 2 cm aproximadamente
I sewed inward about 2 cm for the wheel.
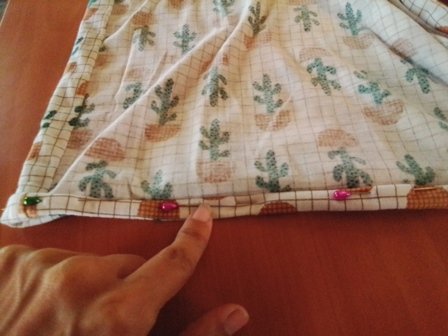
Llego el momento de colocar la elástica
The time has come to place the elastic
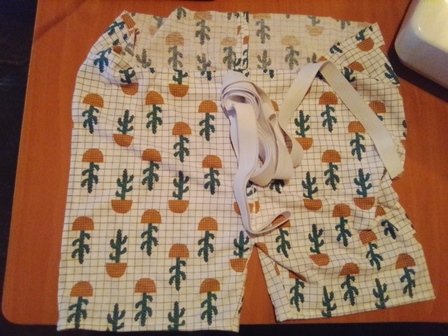
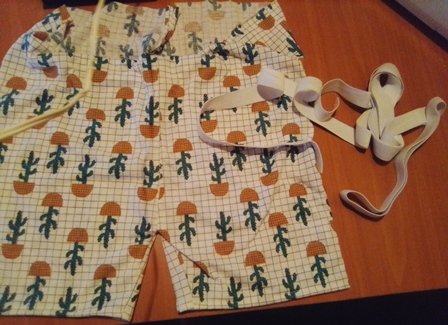
Para colocar la elástica a mi pieza, primero cosí ambos extremos
To attach the elastic to my piece, I first sewed the two ends together.
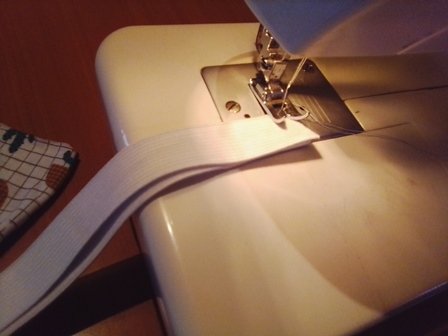
Luego, dividí en 4 partes iguales, la elástica y la pieza y marqué con alfileres
Then, I divided the elastic and the piece into 4 equal parts and marked with pins.
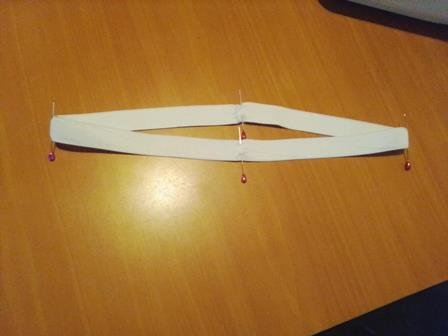
Al momento de coser la elástica a la pieza, cosemos el primer punto y al llegar al segundo estiramos, asi con todos los puntos marcados, para que quede prolijo
At the moment of sewing the elastic to the piece, we sew the first stitch and when we reach the second one we stretch it, like this with all the marked stitches, so that it is neat.
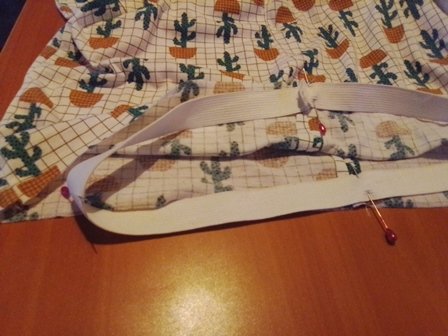
Así quedó terminado la segunda parte de mi trabajo y quedo hermoso, jejeje
This is how the second part of my work was finished and it was beautiful, hehehehe
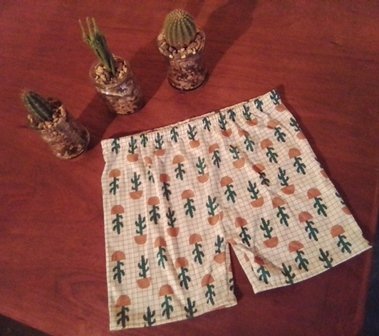
Y este es el resultado final, que te parece?
A mi hija le encantó, pronto haré nuevas combinaciones
And this is the final result, what do you think?
My daughter loved it, soon I will make new combinations.
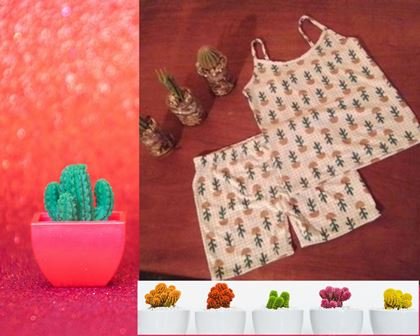
Hasta aquí mi publicación por el día de hoy, espero sea de tu agrado, inmensamente agradecida por la oportunidad de interactuar cada día con personas tan maravillosas como tú, bendiciones.
So far my publication for today, I hope you like it, immensely grateful for the opportunity to interact every day with people as wonderful as you, blessings.
- Todas las fotografías aquí presentadas son de mi autoría, tomadas con mi teléfono Blu Studio X10
- El collage y el banner lo realice en Canva
- Mi idioma natal es el español, realice la traducción con ayuda de Deepl.com
- All the photographs presented here are my own, taken with my Blu Studio X10 phone.
- The collage and the banner were made in Canva
- My native language is Spanish, I made the translation with the help of Deepl.com
Hello, God bless you, I really liked your work, especially the step by step, as it serves as a guide to other entrepreneurs.
Thank you very much for stopping by, God bless you, that is the idea, to try to learn every day and this space has brought me good things. Greetings
Lovely short thanks