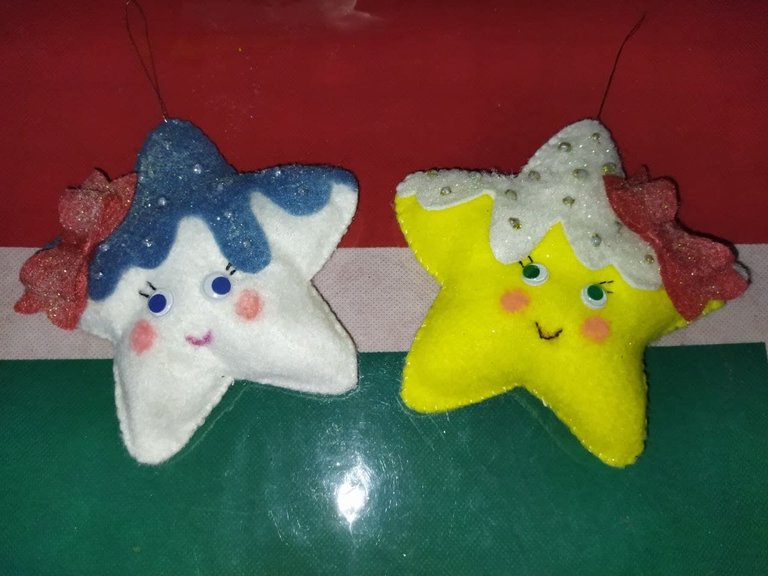
¡Holaaaaaaaaaaaa, mis queridísimos amigos de NeedleWorkMonday!
Ya estamos muy cerca de la celebración más emotiva del año, donde las familias se reúnen en armonía para celebrar la Navidad. Entre los preparativos para este magno acontecimiento y que emociona a todos los integrantes de la familia está la decoración del arbolito. En casa no tenemos, pero donde vamos a celebrar la cena navideña tienen uno hermoso. Mi prima me comentó que quería colocarle adornitos nuevos pero que ella no tenía tiempo para hacerlos y yo me ofrecí a hacerle unos cuantos. Así que de allí la idea de elaborar algunos adornos para su arbolito. En esta ocasión los elaboré con fieltro, pero tengo muchas ideas que iré realizando y compartiendo con todos.
Sin más comencemos.
Helloooooo, my dear NeedleWorkMonday friends!
We are now very close to the most emotional celebration of the year, where families come together in harmony to celebrate Christmas. Among the preparations for this great event and that excites all the members of the family is the decoration of the little tree. At home we do not have, but where we are going to celebrate Christmas dinner they have a beautiful one. My cousin told me that she wanted to put new ornaments on it but that she didn't have time to make them and I offered to make a few for her. So hence the idea of making some ornaments for her little tree. This time I made them with felt, but I have many ideas that I will carry out and share with everyone.
Without further ado let's get started.
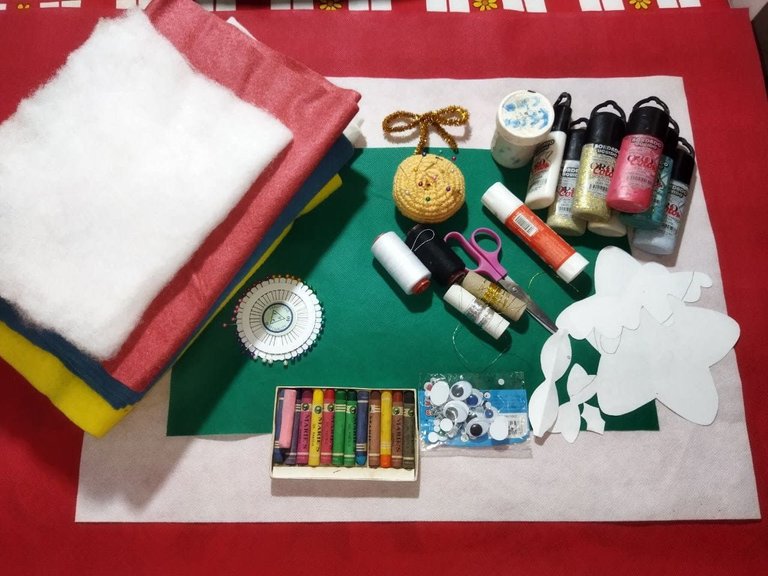
MATERIALES
- Fieltro en variados colores
- Guata para rellenar
- Hilos de coser
- Hilos dorado y plateado
- Aguja
- Alfileres de costura
- Tijera
- Bordado líquido
- Pega en barra
- Silicón líquido
- Escarcha
- Patrones de estrella y lazo
- Tiza pastel
- Ojos locos
MATERIALES
- Felt in various colors
- Wadding to fill
- Sewing threads
- Gold and silver threads
- Needle
- Sewing pins
- Scissor
- Liquid embroidery
- Stick on stick
- Liquid silicone
- Frost
- Star and bow patterns
- Pastel chalk
- Crazy eyes
PROCEDIMIENTO
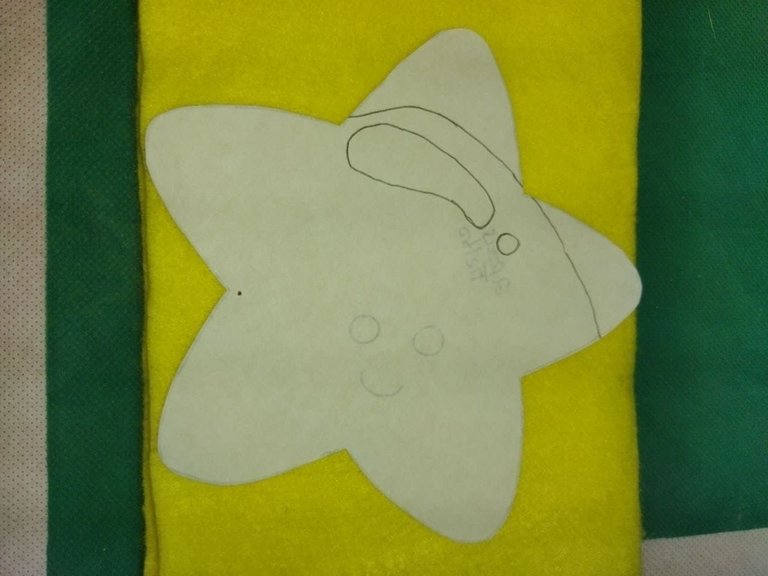
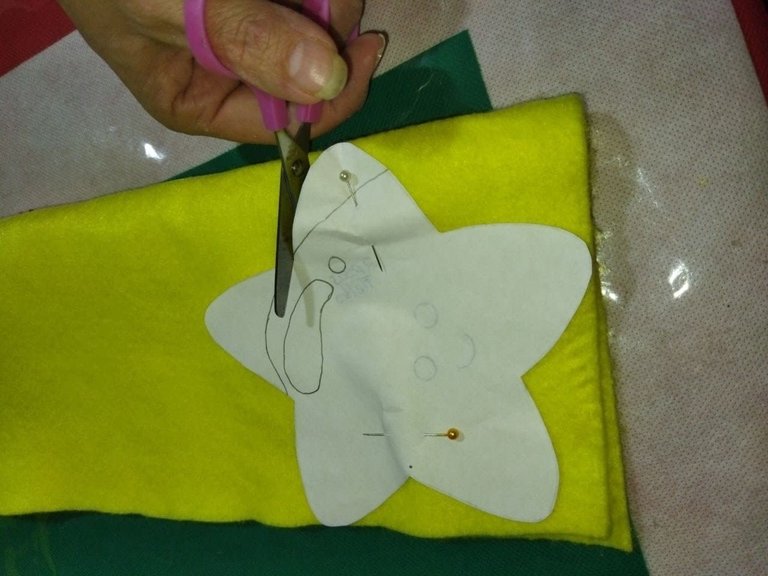
- Seleccionamos el fieltro del color deseado y colocamos el patrón de la estrella. Sujetamos con los alfileres de costura y procedemos a cortar. Necesitaremos dos piezas iguales para la estrella. y una pieza para la decoración.
PROCESS
- We select the felt of the desired color and place the star pattern. We hold with the sewing pins and proceed to cut. We will need two equal pieces for the star. and a piece for decoration.
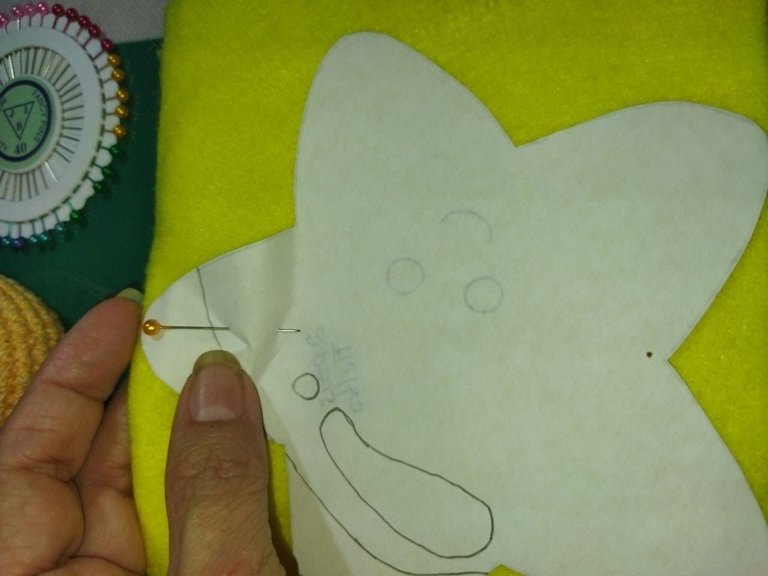
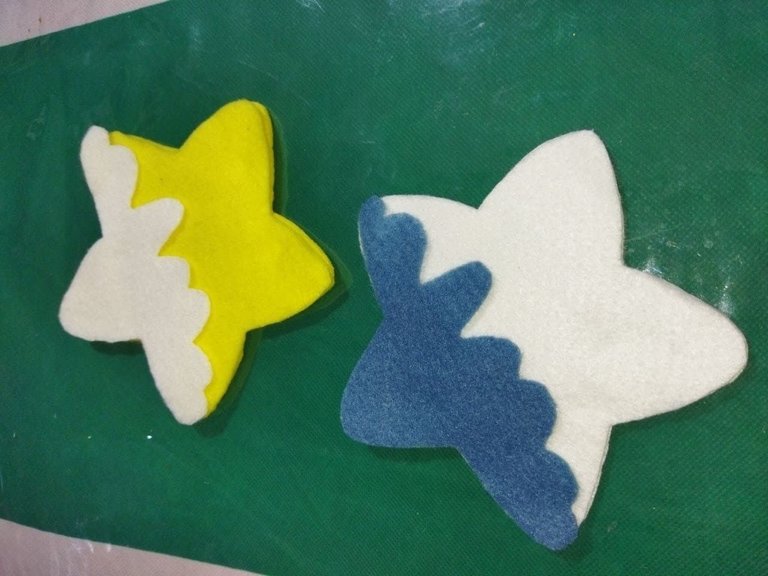
- El siguiente paso consiste en sellar las tres piezas de la estrella, dejando una pequeña abertura para realizar el relleno. Realicé la costura de ojal para mejor sellado y acabado.
- The next step is to seal the three pieces of the star, leaving a small opening to make the filling. I did the buttonhole seam for a better seal and finish.
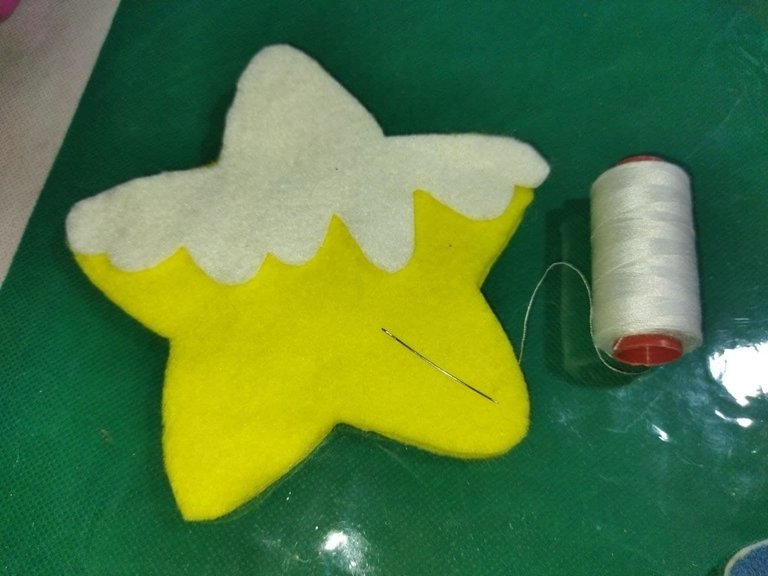
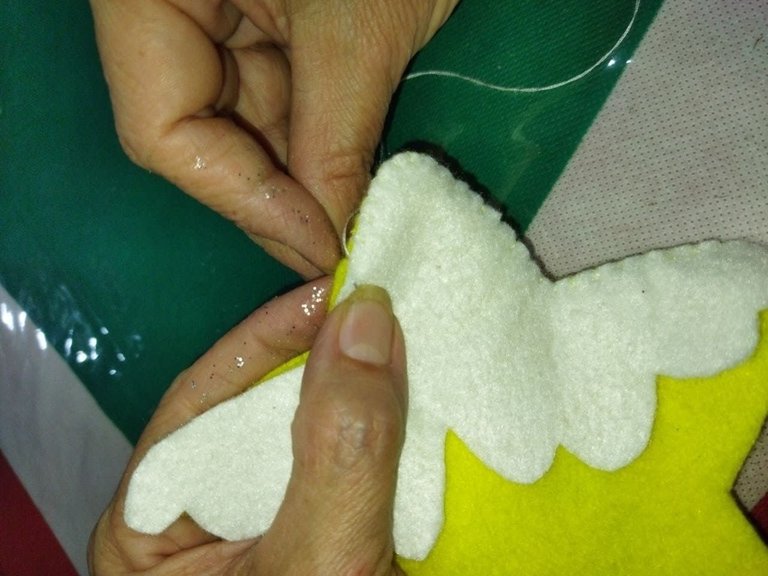
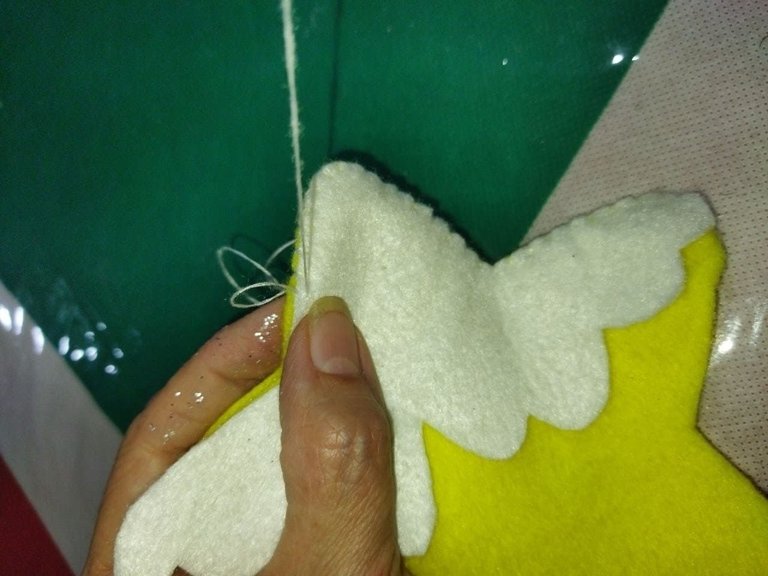
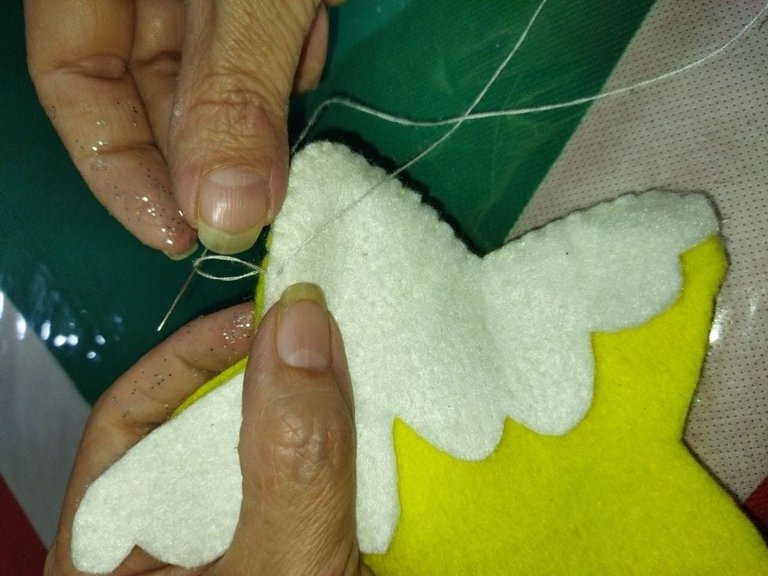
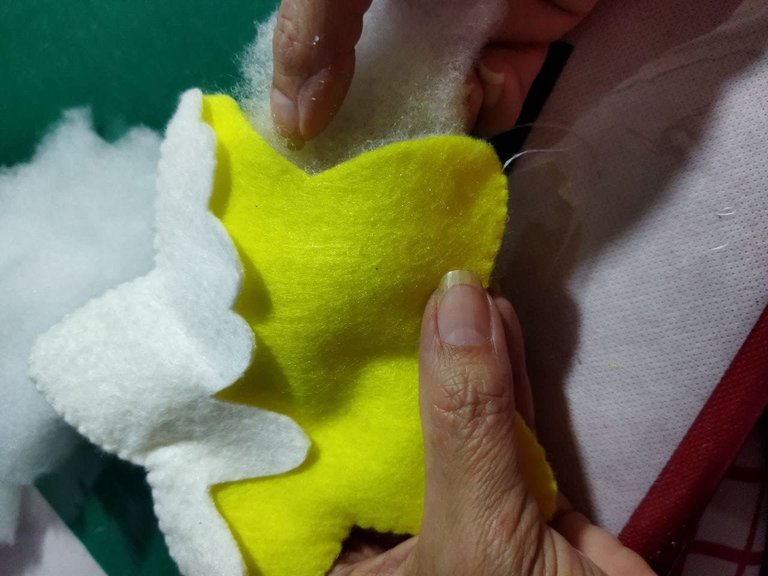
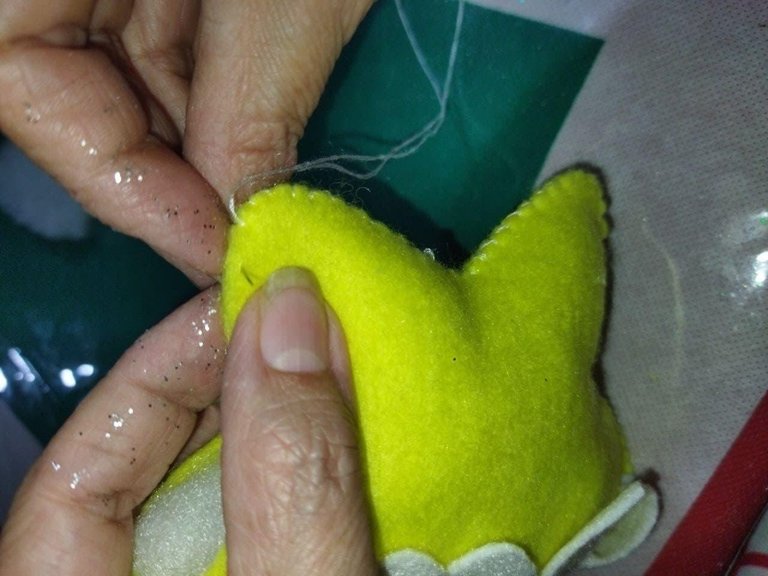
- Cortamos trozos de guata y vamos introduciendo hasta conseguir el relleno deseado. Una vez rellenado procedemos a coser el resto de la estrella y rematamos.
- We cut pieces of wadding and we introduce until we get the desired filling. Once filled we proceed to sew the rest of the star and finish.
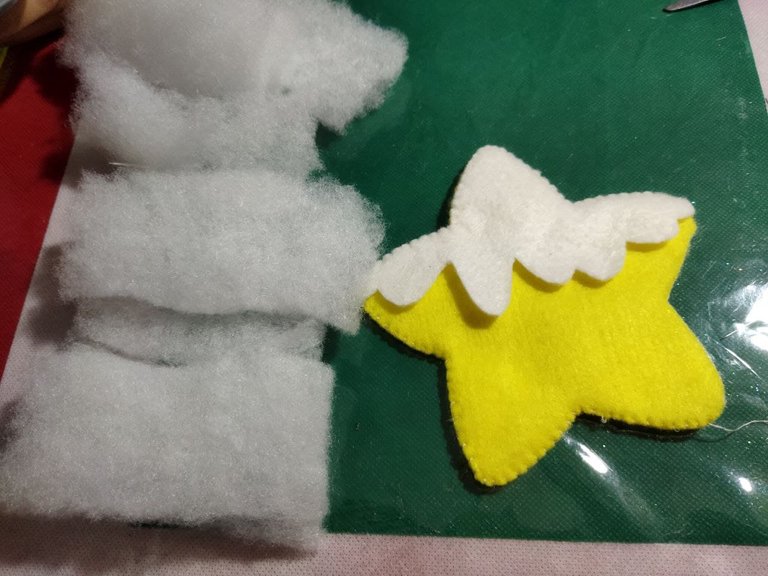
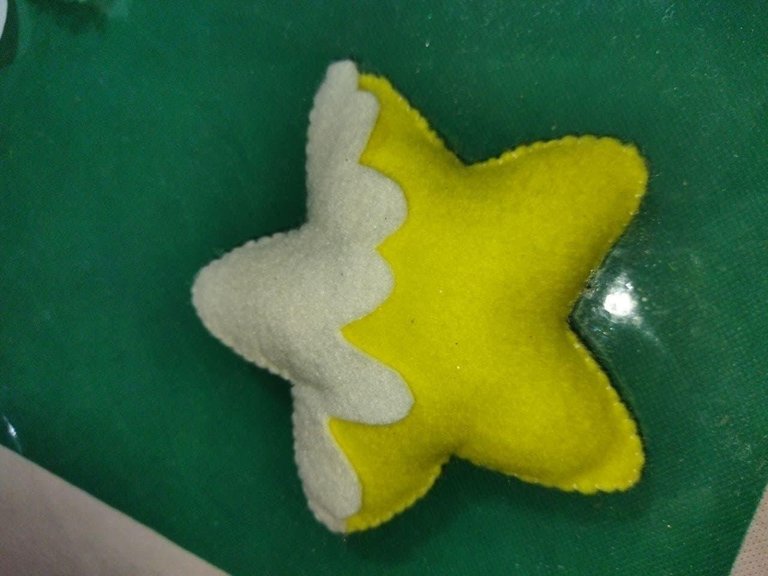
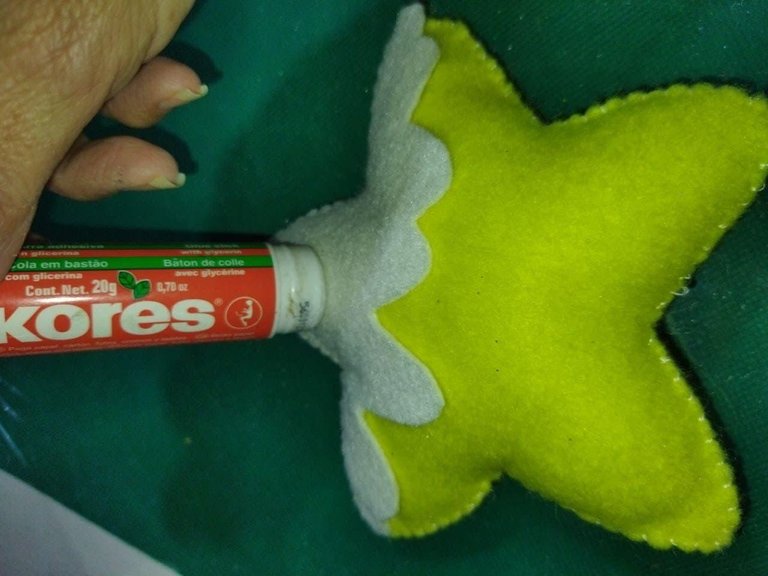
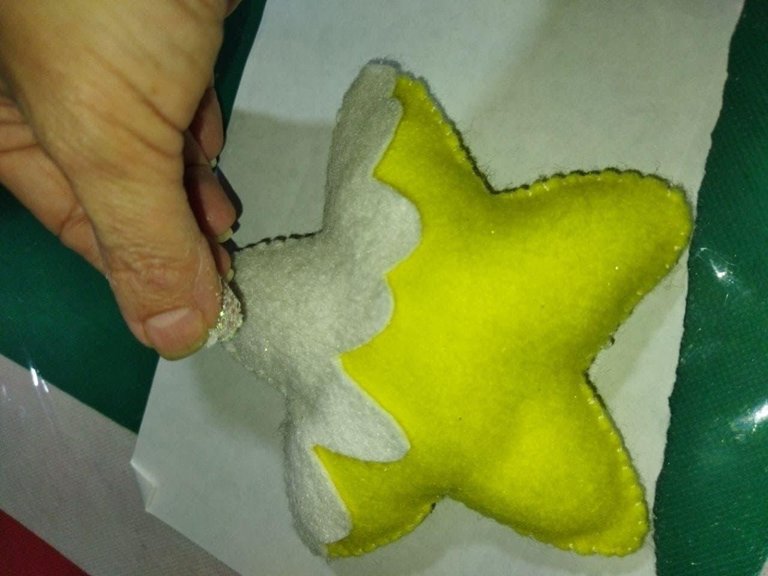
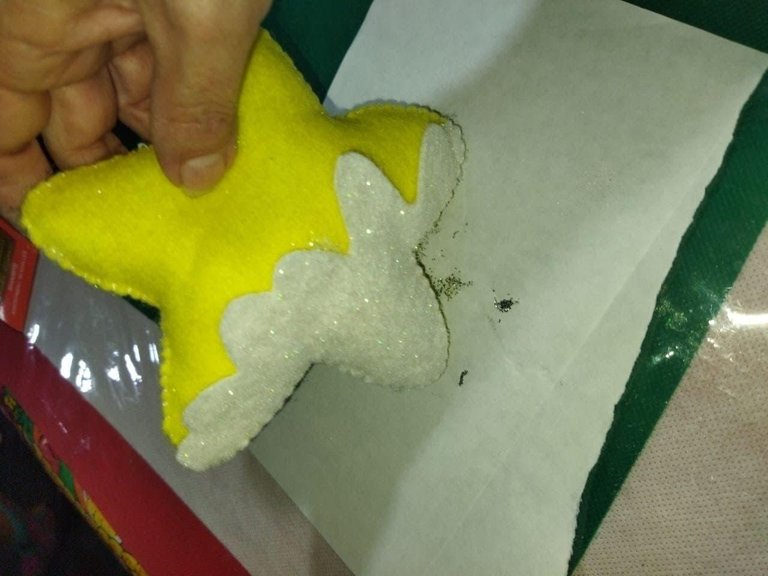
- Ahora procedemos a realizar los detalles para darle alegría a la estrella. Con la pega en barra esparcimos en la pieza superior y rociamos con escarcha. Retiramos el exceso y dejamos secar.
- Now we proceed to carry out the details to give joy to the star. With the glue stick we spread on the top piece and sprinkle with frost. We remove the excess and let it dry.
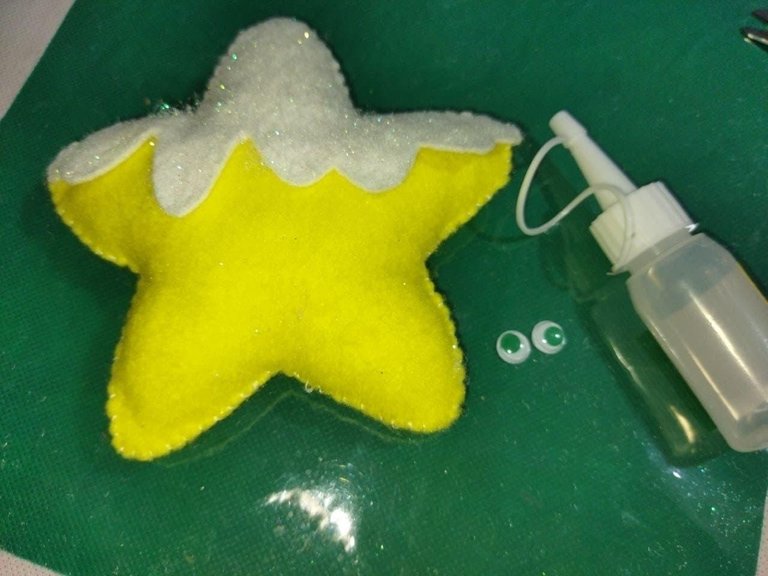
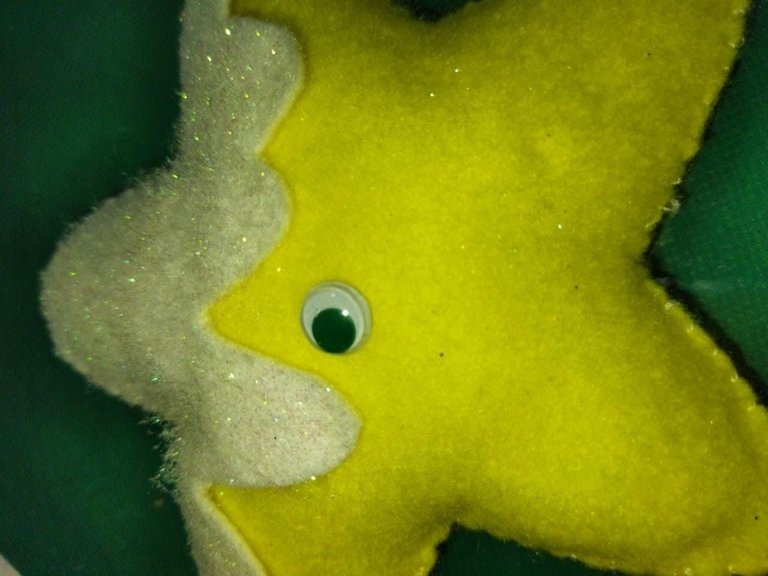
- Pegamos los ojitos locos con la pega de silicón y con el hilo dorado hacemos el colgante.
- We glue the crazy eyes with the silicone glue and with the golden thread we make the pendant.
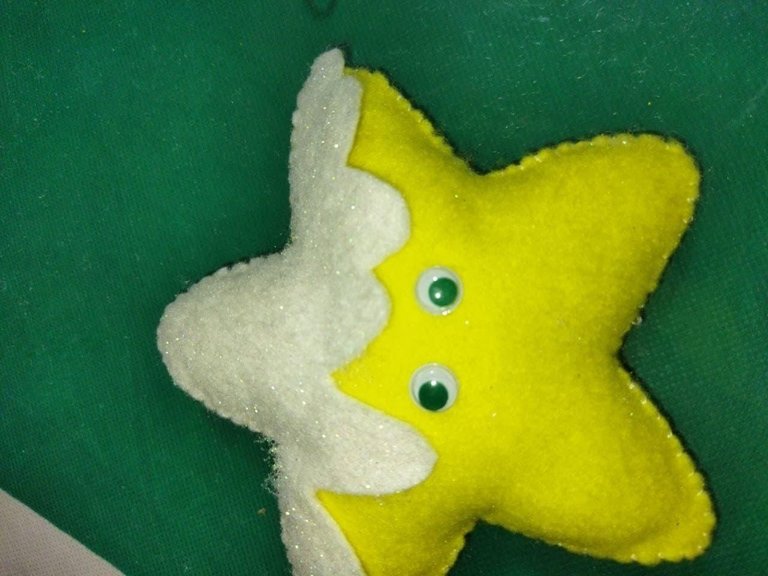
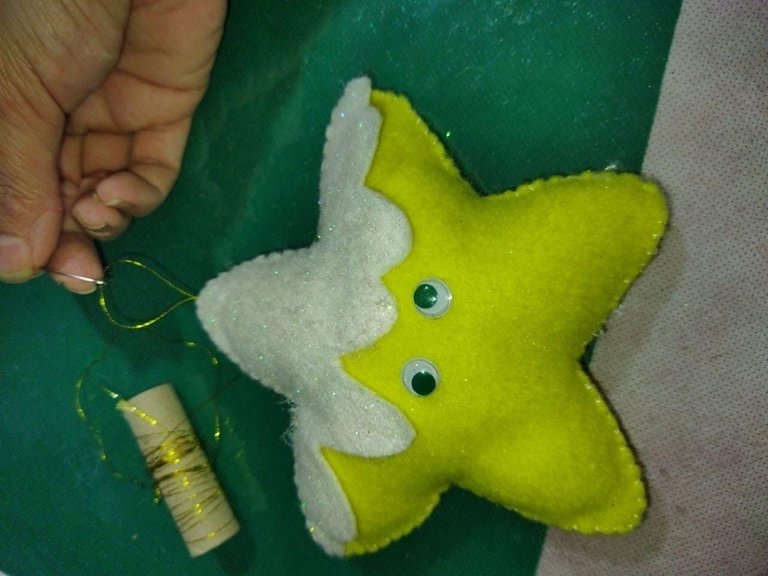
- Con un lápiz trazamos la cejas y la boca y con hilo y aguja realizamos el pespunte para darle forma.
- Y con la tiza pastel realizamos el rubor a cada lado de la boca.
- With a pencil we trace the eyebrows and the mouth and with a needle and thread we make the stitching to give it shape.
- And with the pastel chalk we make the blush on each side of the mouth.
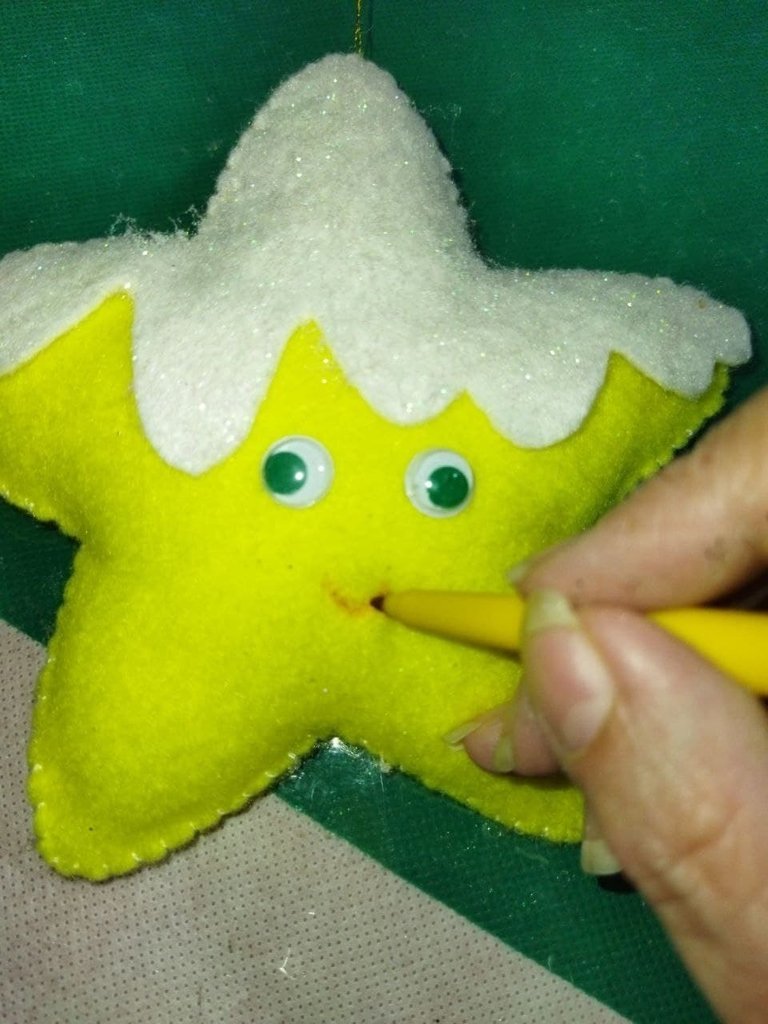
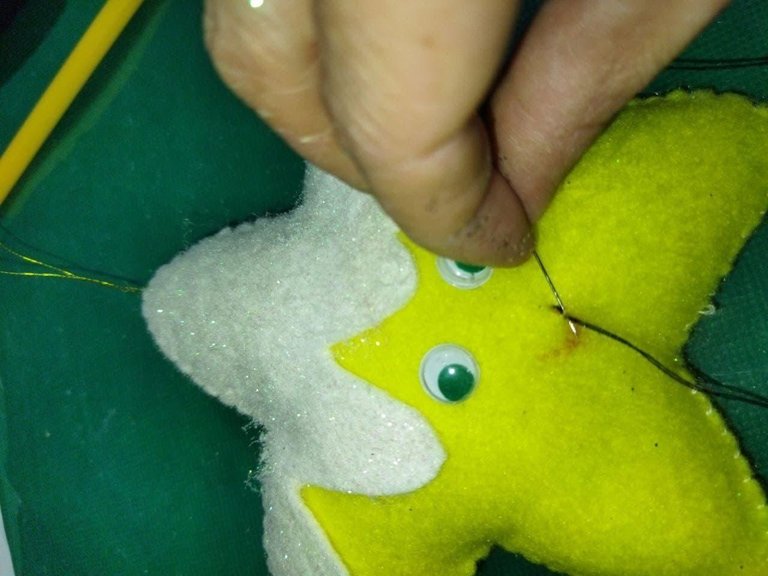
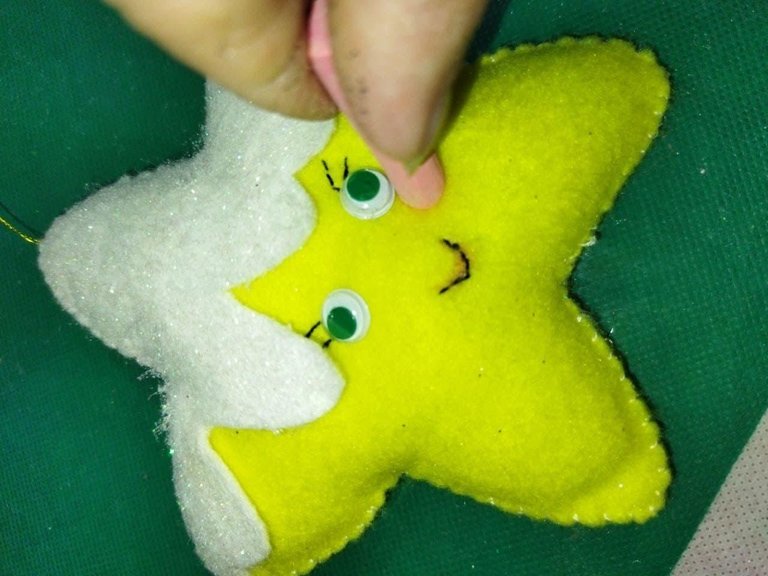
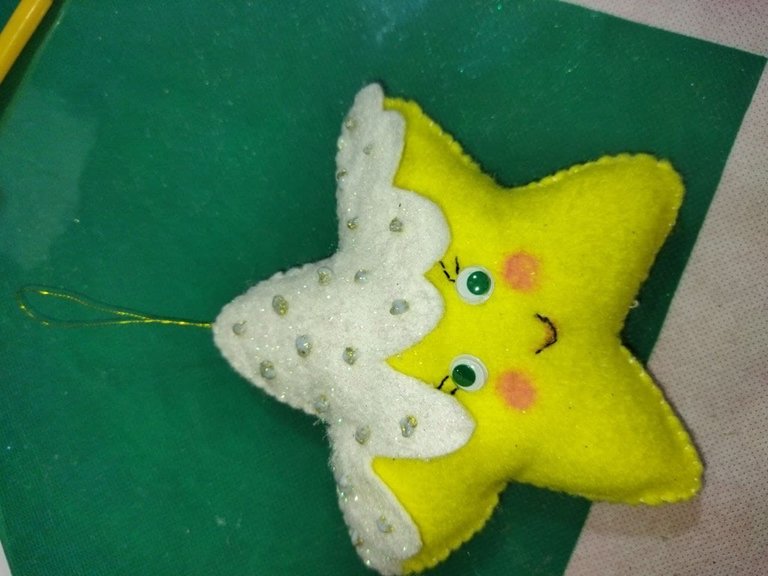
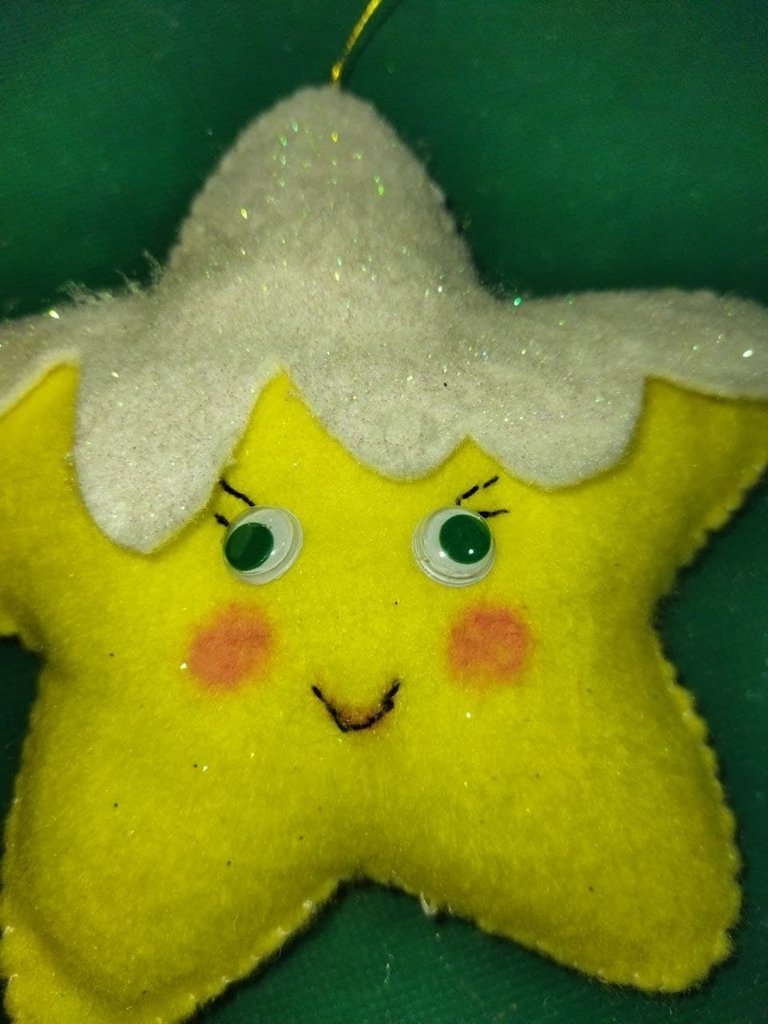
- Hacemos puntos alrededor de la corona de estrella con el bordado líquido o la forma que desees y dejamos secar bien.
- We make stitches around the star crown with the liquid embroidery or the shape you want and let it dry well.
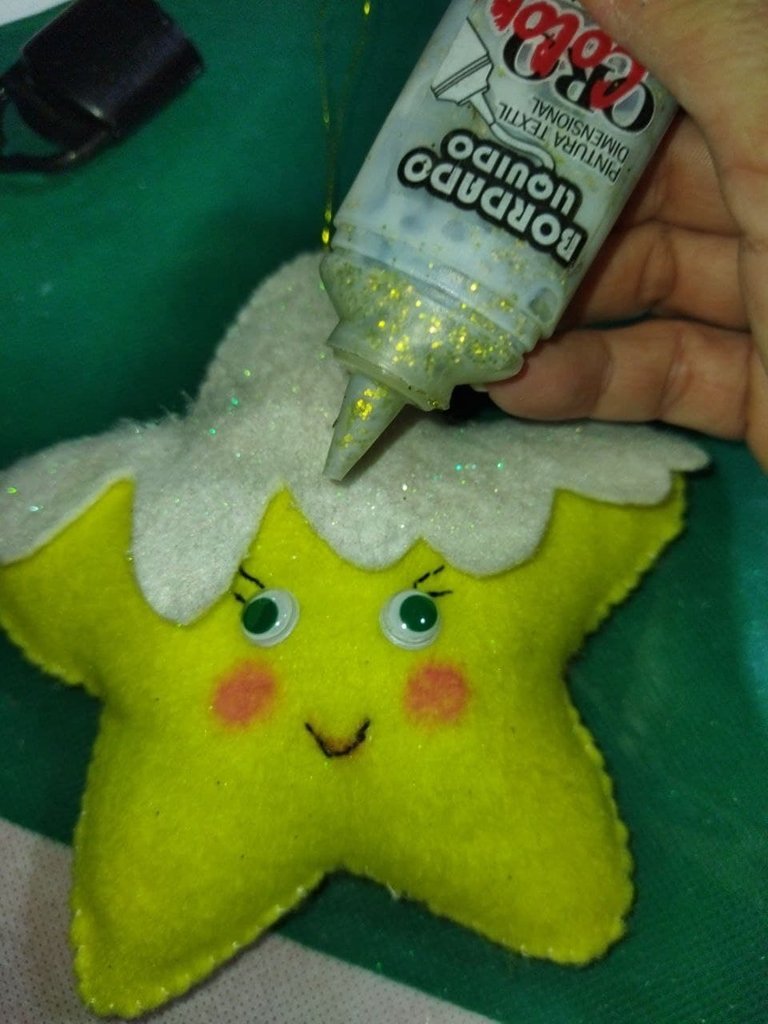

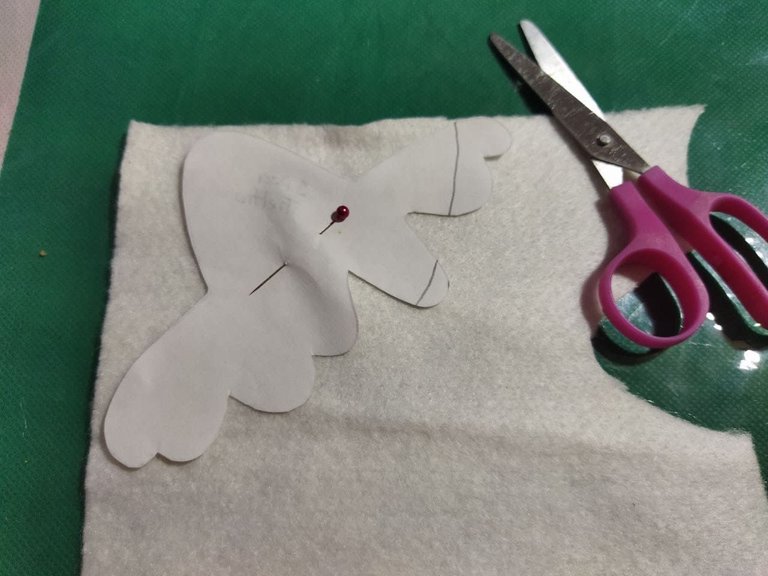
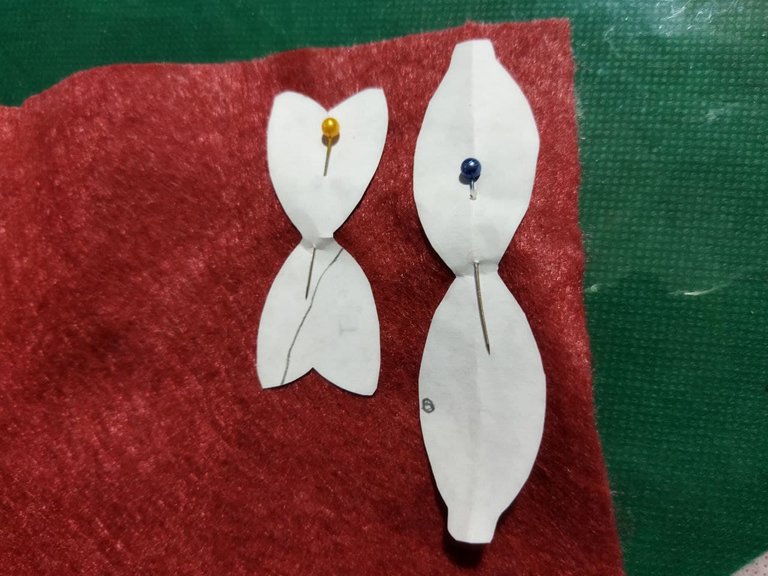
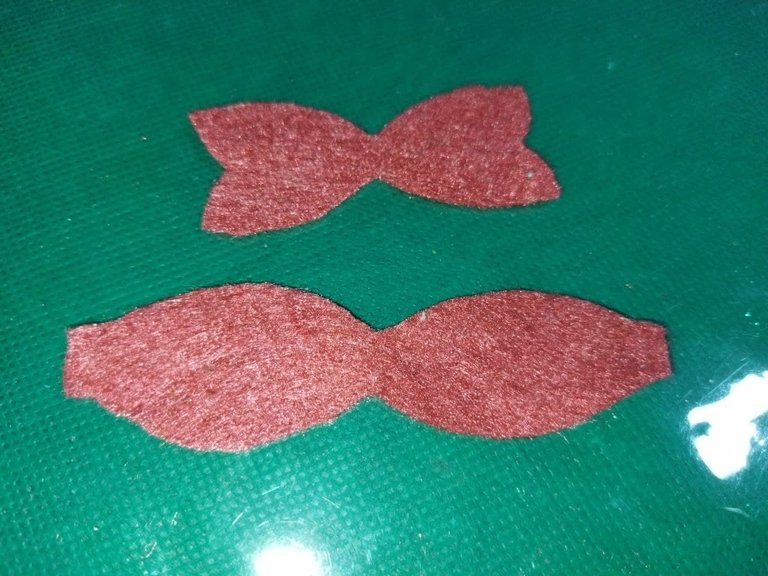
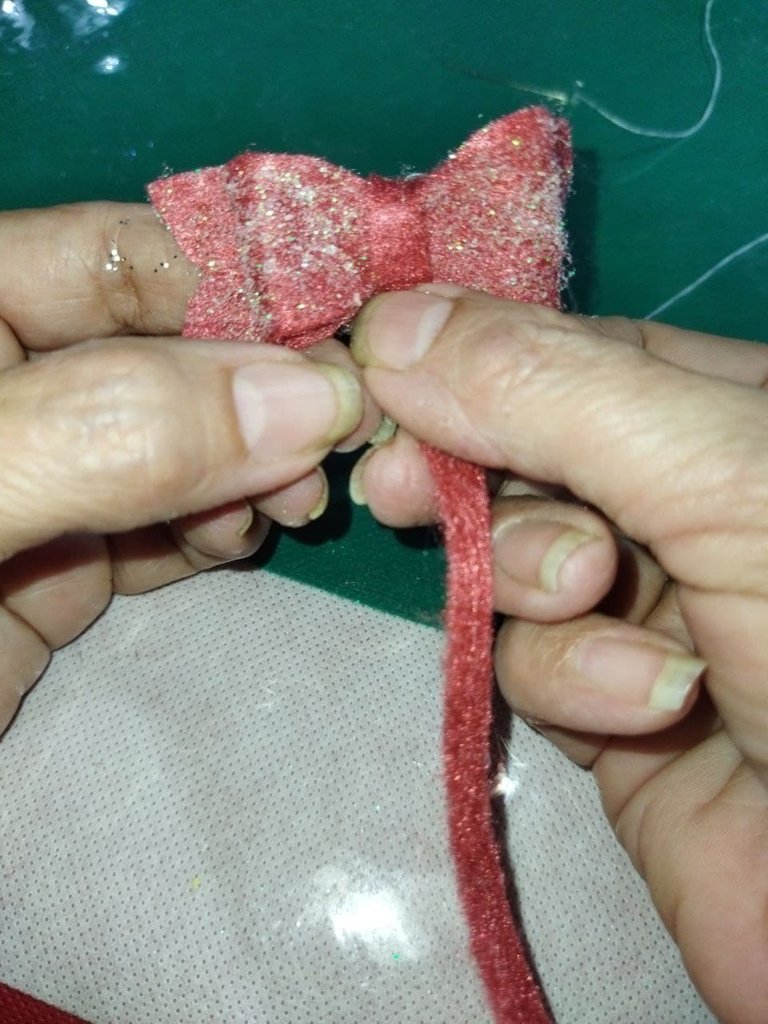
- Mientras se seca el bordado hacemos un lazo para darle ese toque coqueto a nuestras estrellitas. Para ello colocamos las piezas del patrón en el fieltro y picamos.
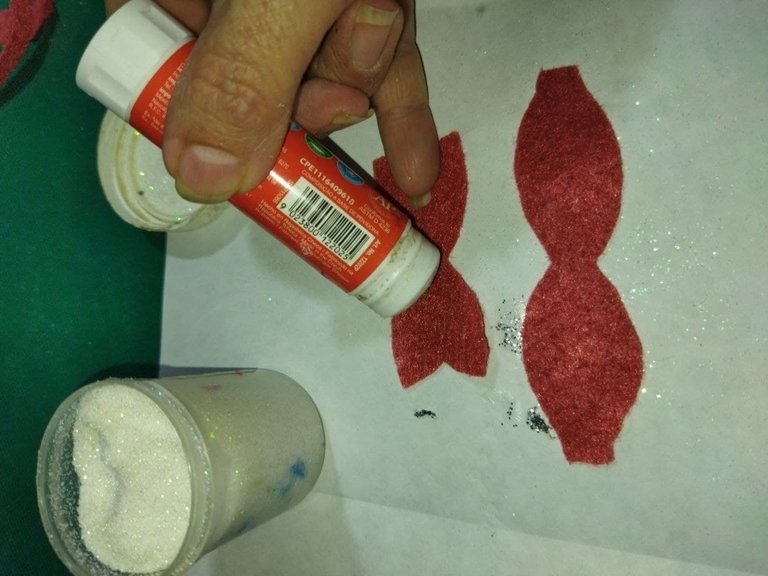
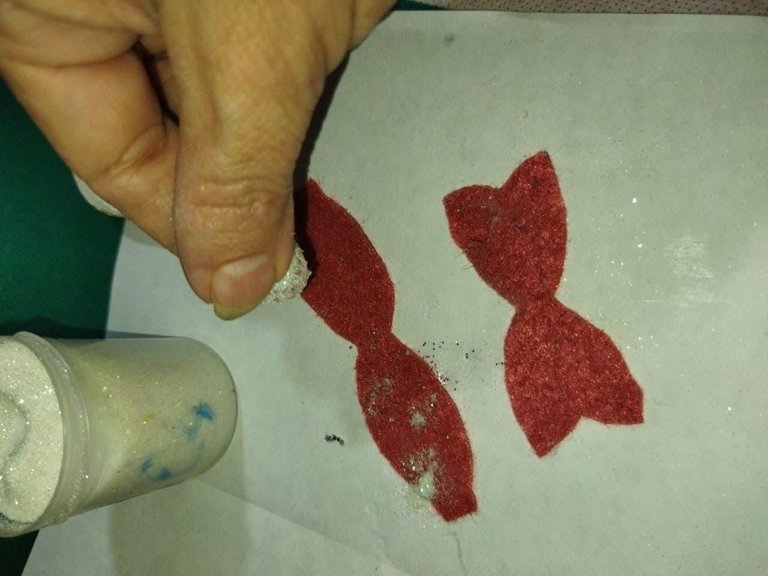
- Luego esparcimos un poco de pega en barra y rociamos con escarcha. Dejamos secar.
- Una vez seco, formamos el lazo y colocamos en la estrella.
- While the embroidery dries, we make a bow to give that flirtatious touch to our little stars. To do this, we place the pieces of the pattern on the felt and chop.
- Then we spread a little stick of glue and sprinkle with frost. We let it dry.
- Once dry, we form the loop and place it on the star.
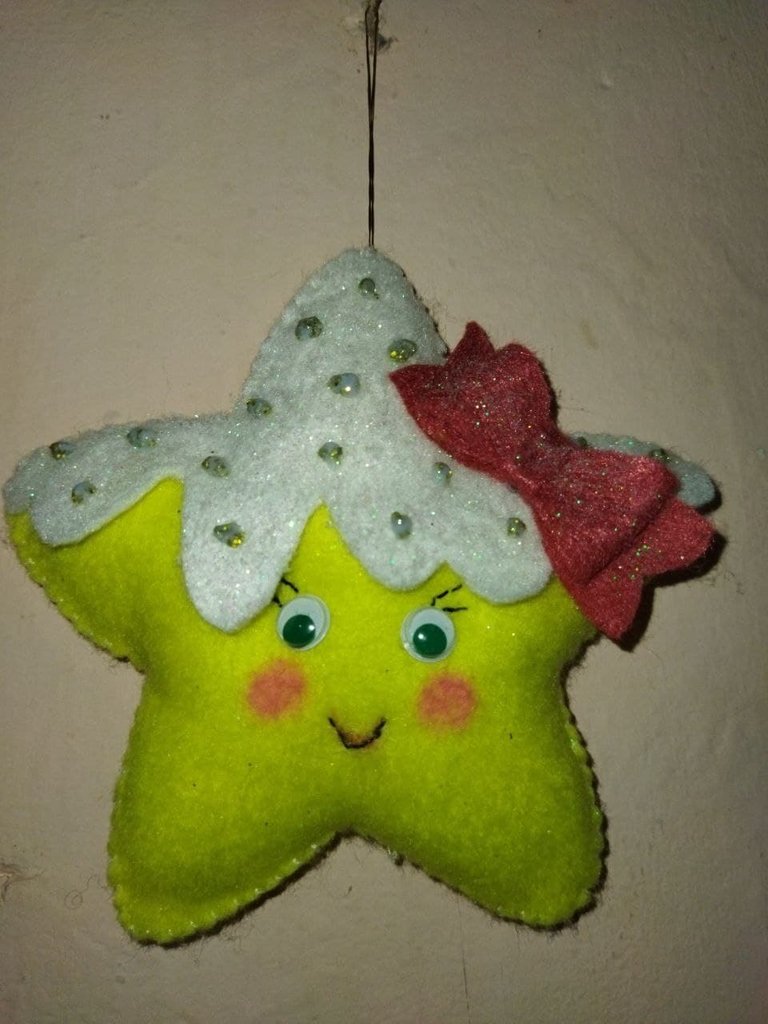
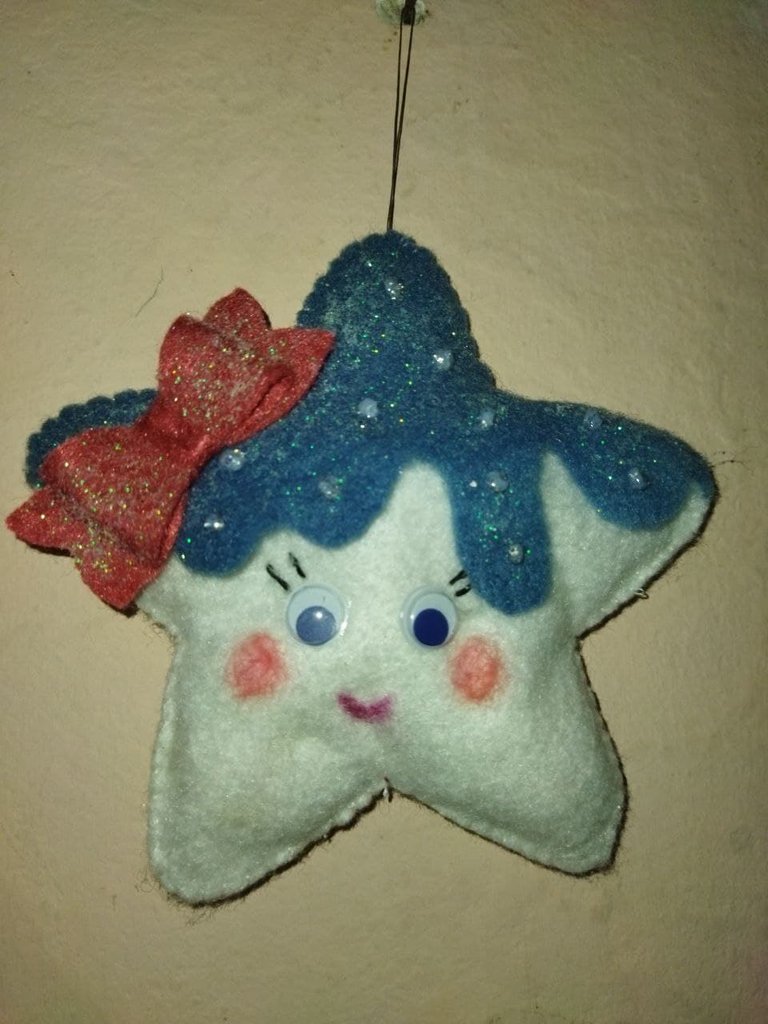
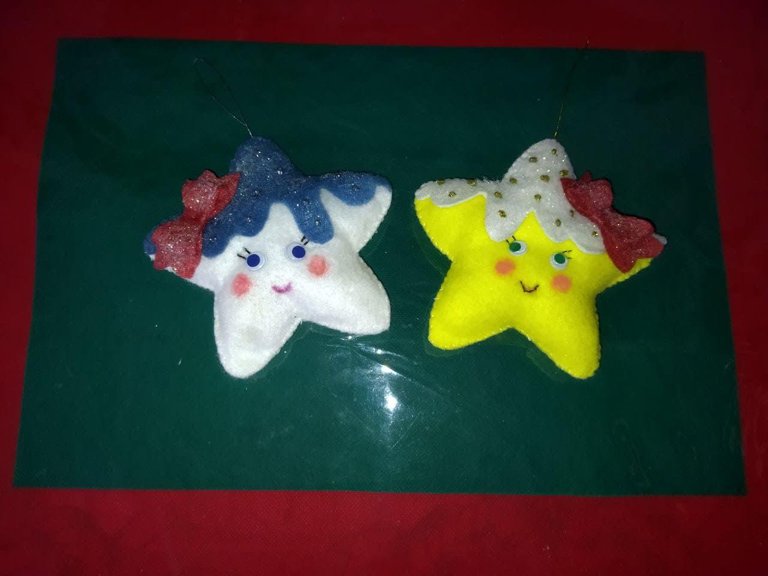
De esta forma realizamos un adorno que no sólo sirve para decorar el árbol de navidad, también podemos decorar cualquier espacio y variamos el tamaño. Espero que les guste y les sirva de idea para su decoración navideña.
Nos vemos en la próxima.
In this way we make an ornament that not only serves to decorate the Christmas tree, we can also decorate any space and vary the size. I hope you like it and it serves as an idea for your Christmas decoration.
See you next time.
Todas las fotos son de mi autoría, tomadas con mi teléfono POCO M3
Utilicé https://translate.google.com para la traducción

Utilicé https://translate.google.com para la traducción

Es demasiado adorable, muy lindo! Yo aún no he trabajado con fieltro, se ve genial el acabado de las figuras. Lo voy a intentar 👀
Es sencillo amiga, sólo con tener conocimiento básico de costura. No requiere gran cosa. Te lo digo que yo que soy aprendiz 😁
Te quedó muy lindo este detalle para la decoración navideña. Muy buena opción 🎄 El paso a paso totalmente comprensible y me fascinaron todas las fotografías. ¡Very good! 🐋
Me encantaron tus estrellas @linita, el árbol quedara hermoso.
Wow que hermosas tus estrellas @linita, a mis sobrinitas les gustaron y aunque no soy diestra en el fieltro me pusieron el reto de hacerlas juntas para su árbol, espero salgan bells como las tuyas, saludos.
Muchas gracias amiga, son muy sencillas. Ya tampoco me considero diestra para la costura, sin embargo pude, asi que ese reto ya es pan comido.
jajaja así veo, gracias por la confianza.
Oh my, another cute decor (^_^)
Thank you for sharing this amazing post on HIVE!
non-profit curation initiative!Your content got selected by our fellow curator @kaerpediem & you just received a little thank you via an upvote from our
You will be featured in one of our recurring curation compilations and on our pinterest boards! Both are aiming to offer you a stage to widen your audience within and outside of the DIY scene of hive.
Join the official DIYHub community on HIVE and show us more of your amazing work and feel free to connect with us and other DIYers via our discord server: https://discord.gg/mY5uCfQ !
If you want to support our goal to motivate other DIY/art/music/homesteading/... creators just delegate to us and earn 100% of your curation rewards!
Stay creative & hive on!
Beautifully made thanks for sharing