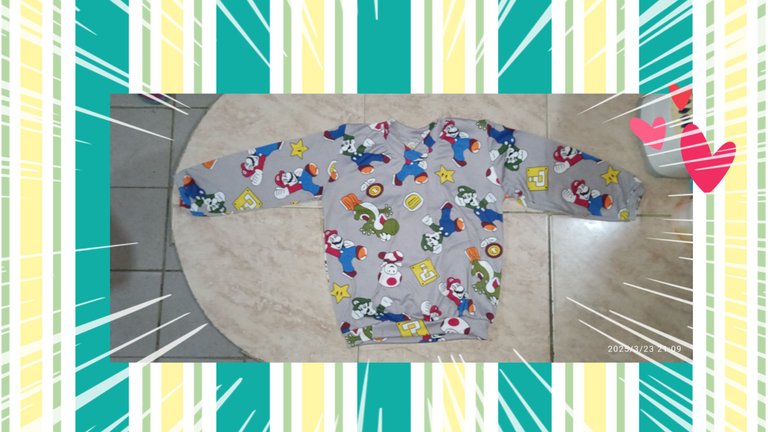
Hola a todos los miembros de esta linda comunidad, amantes de las agujas e hilos. Les saludo con mucho cariño, esperando que estén muy bien y disfrutando de las bendiciones del Dios Todopoderoso. Como les comenté anteriormente, recién adquirí mi primera máquina de coser, y aún no he hecho curso de costura, pero ayudándome de las queridas amigas que muy amablemente suben por las distintas plataformas digitales tutoriales bastante detallados para principiantes, me animé a confeccionar una hermosa franela de pijama para niños talla 2, no les negaré que hubo varias partes en las que batallé bastantes, pero quedé satisfecha y muy emocionada con el resultado, mi primer proyecto de costura finalizado.
Así que, queridos amigos les compartiré los materiales y el proceso de confección.
Hello to all the members of this beautiful community, needle and thread lovers. As I told you before, I just acquired my first sewing machine, and I have not yet taken a sewing course, but with the help of my dear friends who very kindly upload on different digital platforms quite detailed tutorials for beginners, I was encouraged to make a beautiful pajama flannel for children size 2, I will not deny that there were several parts in which I struggled a lot, but I was satisfied and very excited with the result, my first sewing project finished.
So, dear friends, I will share with you the materials and the process of making it.

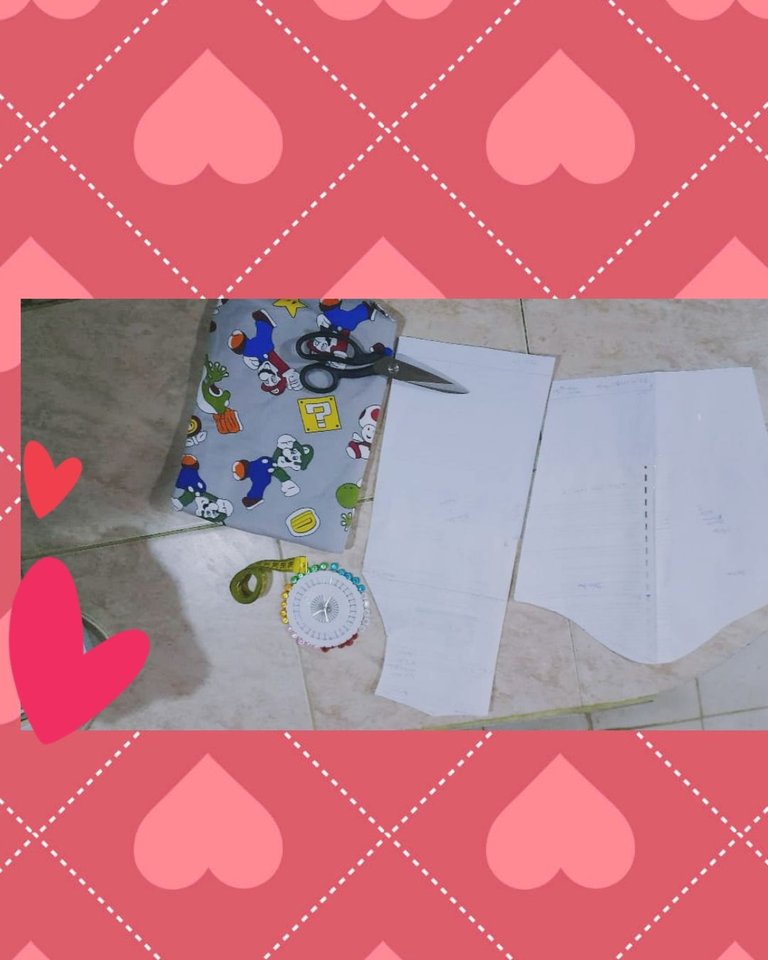
MATERIALES
Patrones en papel.
Tela pijamera
Alfileres
Tijera
Marcadores de tela.
Cinta métrica
Máquina de coser.
MATERIALS.
Patterns on paper.
Pajama fabric
PinsScissors
Fabric markers.
Tape measure
Sewing machine.
CONFECCIÓN
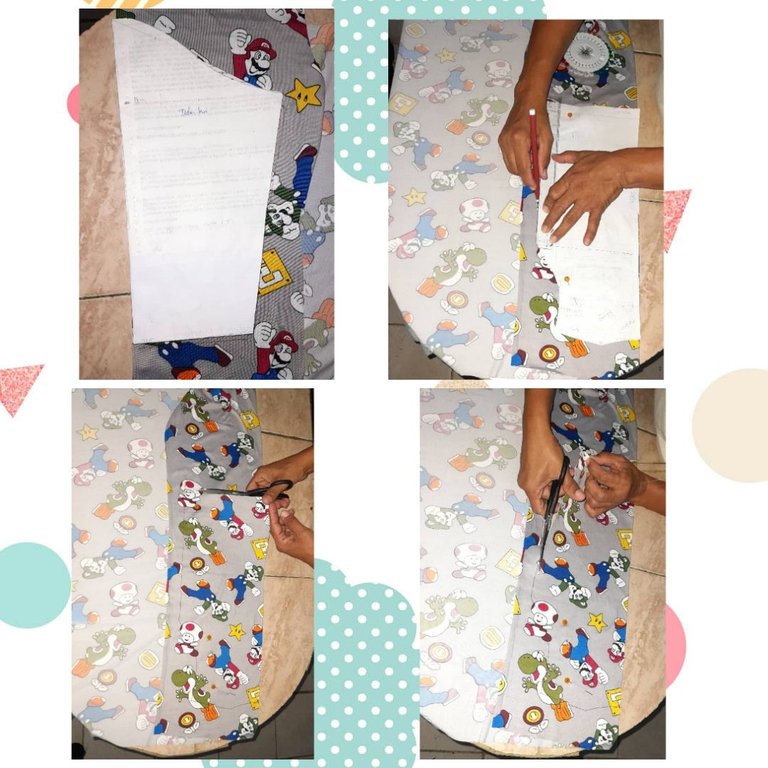
En esta oportunidad les mostraré solo la confección de la prenda partiendo desde el patrón ya elaborado. Yo misma elaboré los patrones, el del cuerpo de la franela y el de las mangas.
Con los patrones ya elaborados, los fijamos sobre la tela, como soy principiante, yo me ayudé bastante con alfileres y marcadores de tela,para evitar cometer errores en los cortes. Inicié cortando la parte delantera de la franela, luego la trasera.
A la pieza delantera se le baja 1.5cm que es la abertura del cuello.
CONFECTION.
In this opportunity I will show you only the making of the garment starting from the pattern already made. I made the patterns myself, the body of the flannel and the sleeves.
With the patterns already made, we fixed them on the fabric, as I am a beginner, I helped myself a lot with pins and fabric markers, to avoid making mistakes in the cuts. I started by cutting the front of the flannel, then the back.
The front piece is lowered by 1.5cm, which is the neck opening.
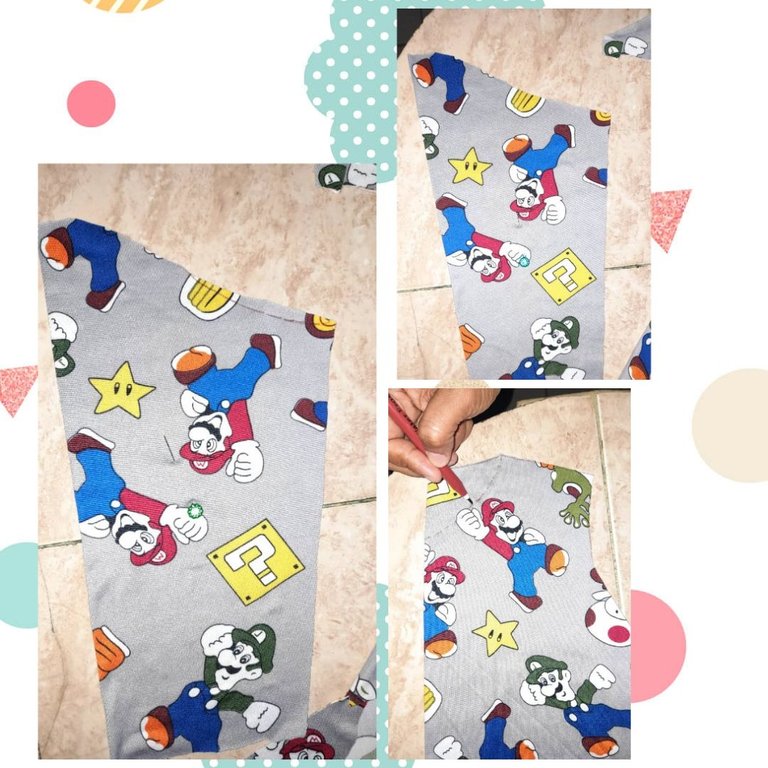
Con las 2 piezas cortadas las colocamos derecho contra derecho y fijamos con alfileres. Vamos a la máquina, donde lo primero en coser será los hombro. Luego procedemos a coser el cuello, que es más fácil hacerlo antes de cerrar la franela por los laterales, seguidamente cosemos las mangas también antes de cerrar la franela.
Colocamos la manga derecho contra derecho, fijamos desde la altura del hombro, luego cosemos de derecha a izquierda en forma de C, teniendo siempre hacia arriba la pieza que estamos fijando, en este caso,la manga, y vamos amoldando a la sisa.
With the 2 pieces cut we place them right sides together and fix them with pins. We go to the machine, where the first thing to sew will be the shoulders. Then we proceed to sew the collar, which is easier to do before closing the flannel on the sides, then we sew the sleeves also before closing the flannel.
We place the sleeve right side against right side, we fix it from the shoulder height, then we sew from right to left in a C shape, always having the piece we are fixing upwards, in this case, the sleeve, and we are molding it to the armhole.
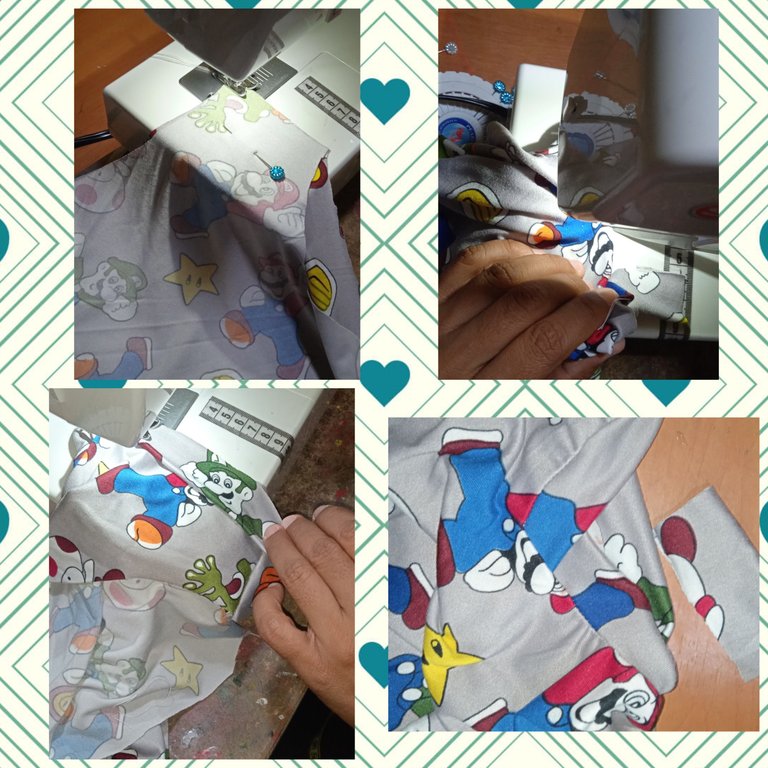
Then to close the flannel, we sew from the distal end of the sleeve down to the side of the flannel and close it completely.
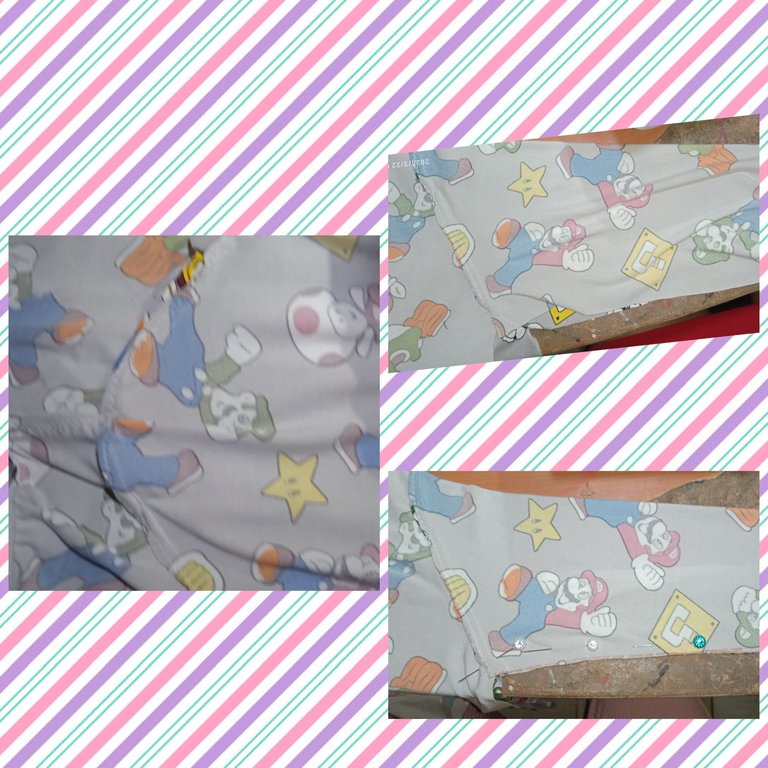
Finally we sew the springs on the cuffs on the sleeves, I did it with the same fabric, cut a strip of fabric that is narrower than the circumference of the cuff, this is to fit, in the same way is done in the lower spring of the body of the flannel. And now our flannel is ready.
I confess that it gave me quite a struggle, but it is my first confection and in spite of the details, I am happy with the result. I hope to continue learning, improving and perfecting.

Esto ha sido todo por hoy.
Les deseo muchas bendiciones
Los leo en los comentarios.
I wish you many blessings
I read you in the comments.
<
     Todas las imágenes son de mi autoría

      All the images are of my authorship
Congratulations @llovizna28! You have completed the following achievement on the Hive blockchain And have been rewarded with New badge(s)
Your next target is to reach 600 comments.
You can view your badges on your board and compare yourself to others in the Ranking
If you no longer want to receive notifications, reply to this comment with the word
STOPGracias por el apoyo!
It is my pleasure!
!INDEED