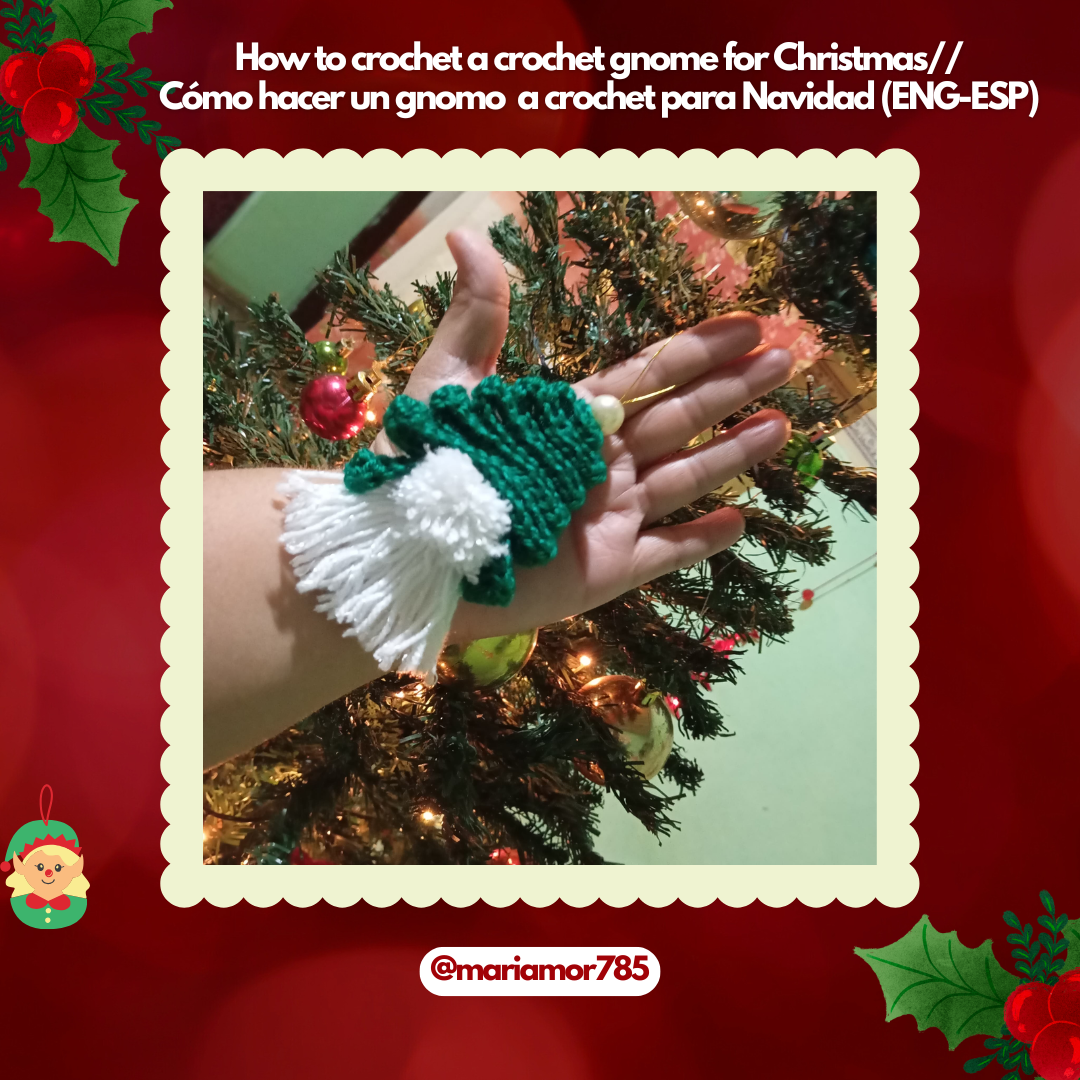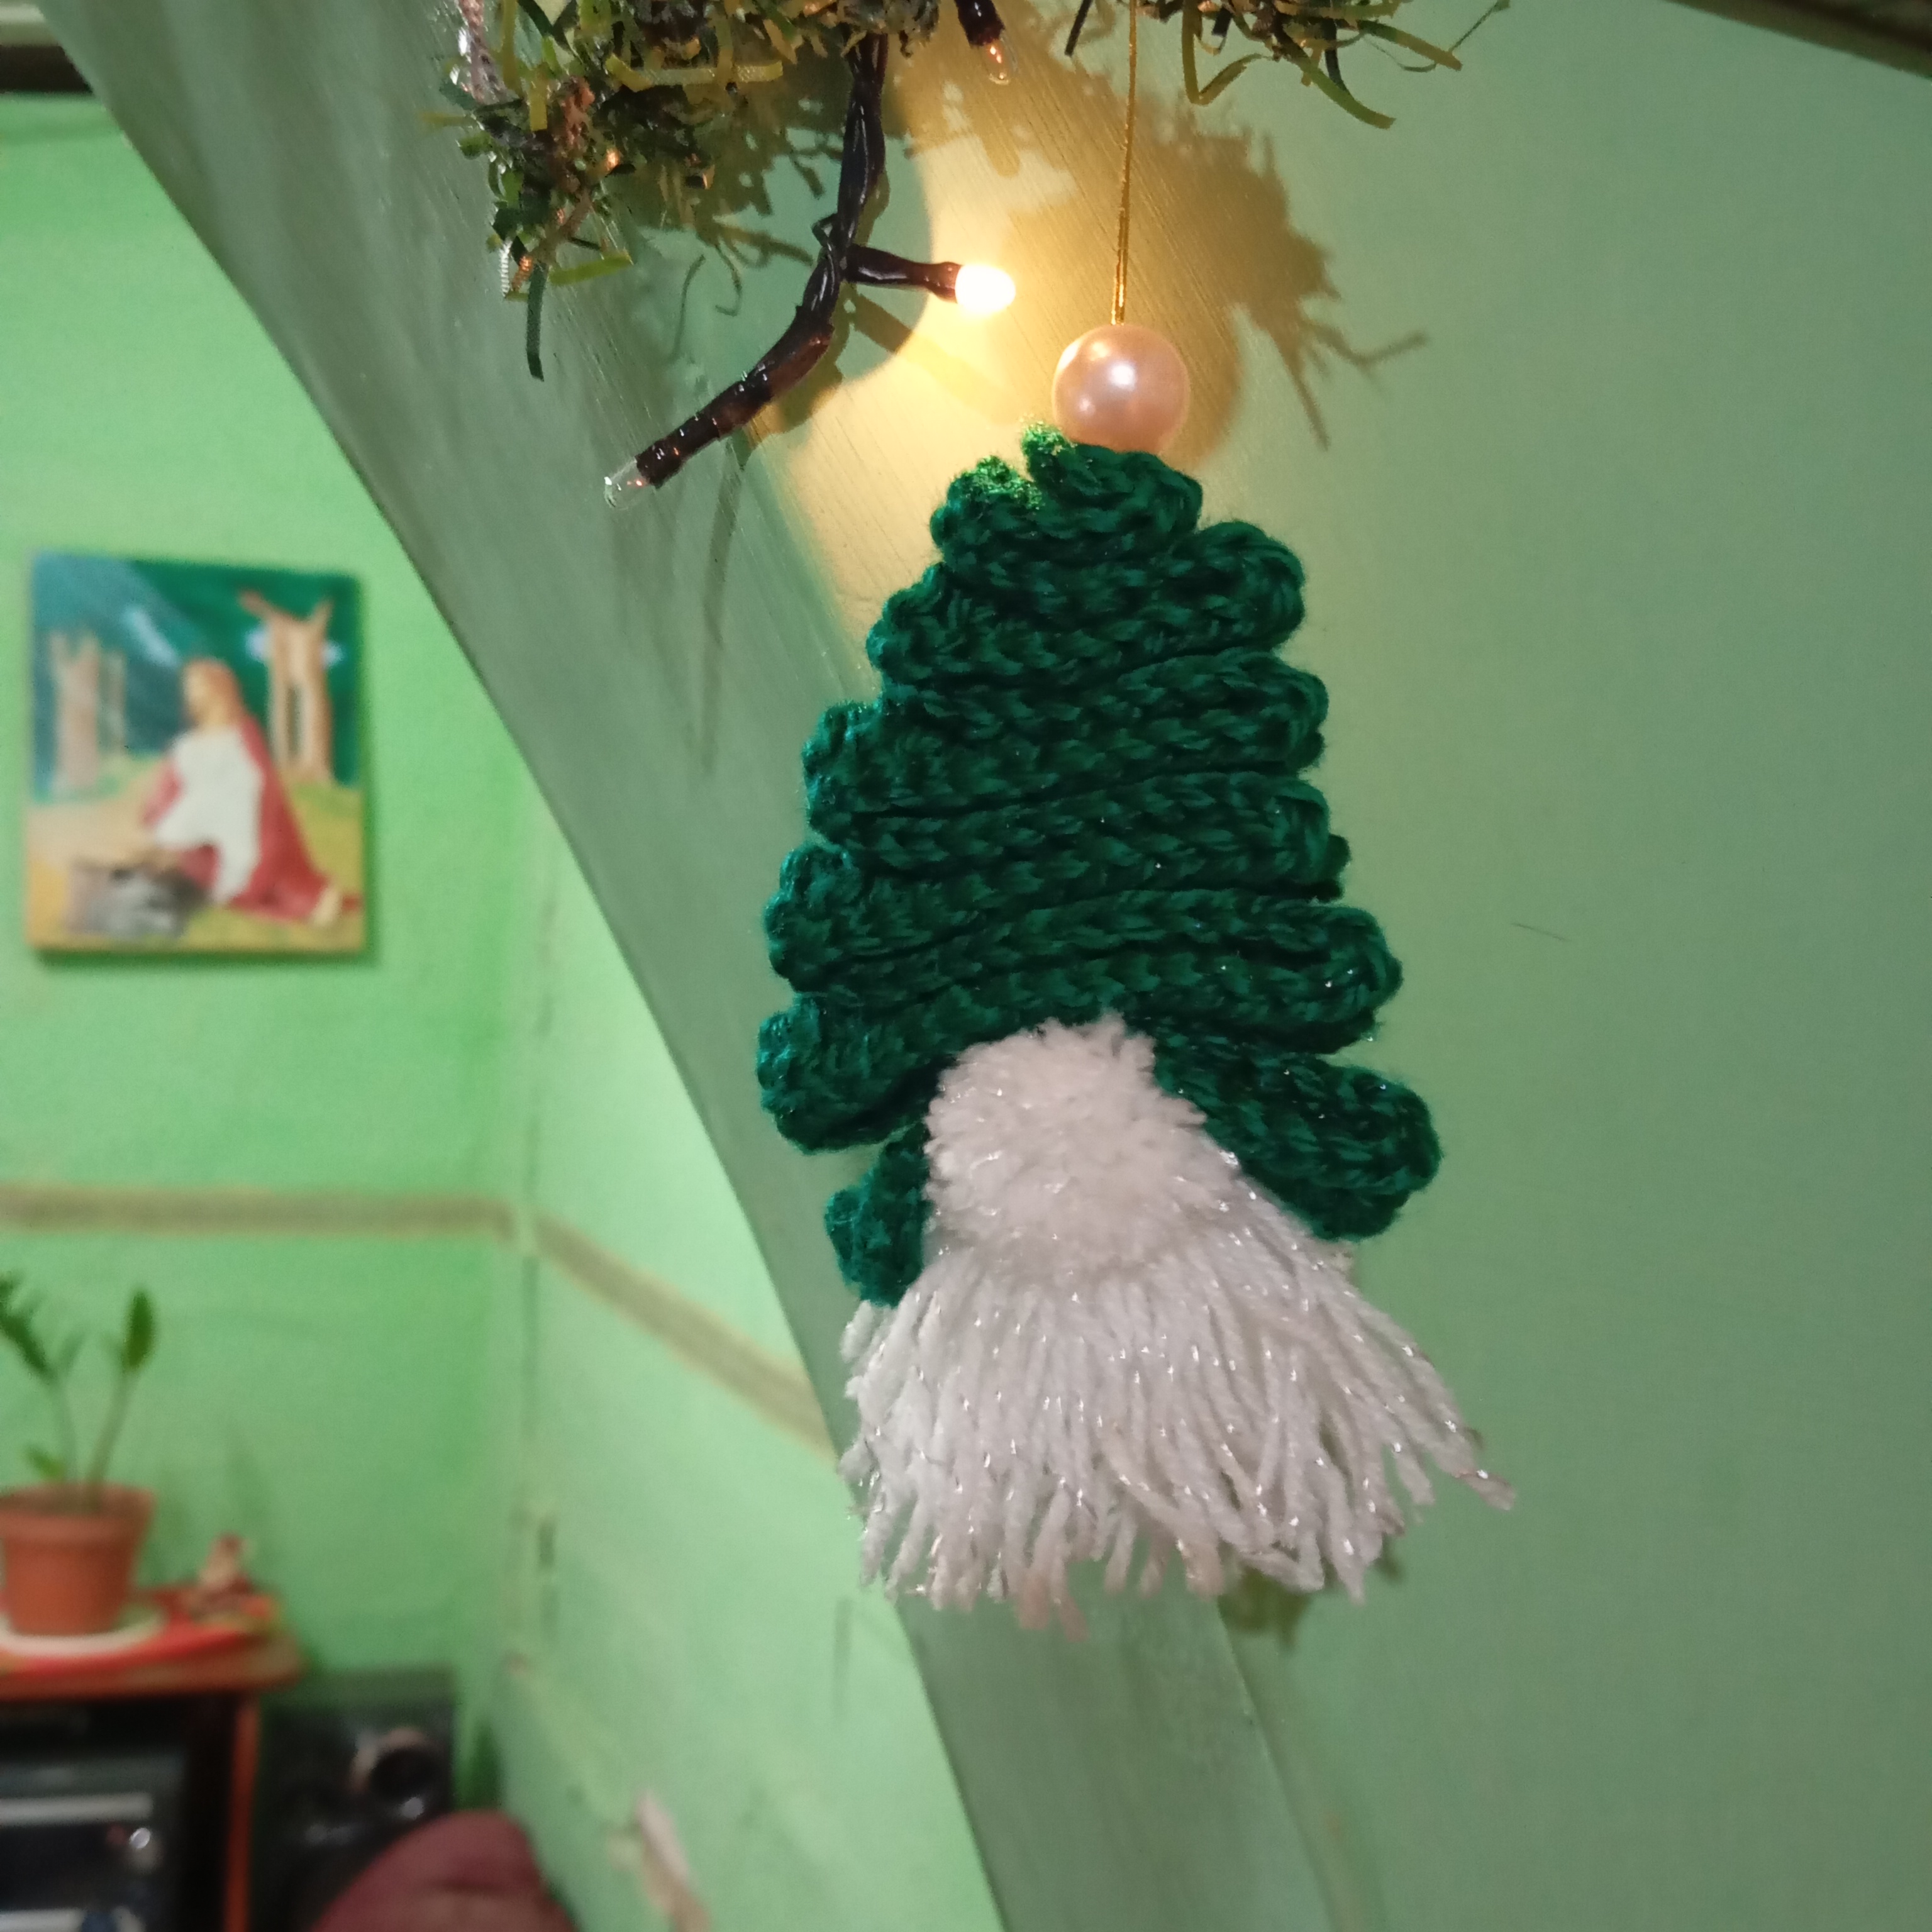
As you can see I love the most beautiful time of the year, Christmas, because I get to give free rein to my imagination, creativity and execute beautiful crochet knitted pieces. In these days of holidays, everything is a little more difficult to acquire, because of the constant rise of the dollar in the country, but if you think about how to decorate your home in these holidays with some nice and inexpensive rugs, ornaments that we can make ourselves at home.
These cute gnomes you can place in any detail, space. They are so easy to weave and we need little yarn materials or the yarn of your preference, that you can weave in your moments of nativity festivities.
¡¡Hola Comunidad!!
Como podrán ver me fascina la época más bella del año, la navidad, porque logro dar rienda a mi imaginación, creatividad y ejecutar bellas piezas tejidas en crochet. En estos días de fiestas, todo está un poco más difícil de adquirir, por la constante alza del dólar en el país, pero si piensas cómo adornar tu casa en estas festividades con unos bonitos y económicas tapetes, adornos que nosotros mismos podemos realizar en el hogar.
Estos lindos gnomos que puedes colocar en cualquier detalle, espacio. Son tan fáciles de tejer y necesitamos poco materiales de estambre o el hilo de tu preferencia, que podrás tejer en tus momentos de festividades de natividad.

MATERIALS.//MATERIALES.
01 green worsted yarn.
01 white worsted yarn.
01 needle N° 3.00
01 wool needle.
01 scissors.
01 golden thread.
01 silicone gun.
01 measuring tape.
01 hilo de estambre color verde.
01 hilo de estambre color blanco.
01 aguja N° 3.00
01 aguja lanera.
01 tijera.
01 hilo dorado.
01 pistola de silicón.
01 cinta métrica.
STEP BY STEP//PASO A PASO
1.- The gnome's hat.
We will make a base of one hundred and thirty chains.
1.- El gorro del gnomo.
Elaboraremos una base de ciento treinta cadenas.

Knit three chains in the air, count the four stitches and we will place the first high stitch, continue working with high stitches and introduce the back side of the base chains, so until the base is completely finished, close with a slipped stitch and cut the yarn, and hide well so that we have a perfect work.
Tejer tres cadenas al aire, contar el cuatro punto y colocaremos el primer punto alto, proseguir trabajando con puntos altos e introducir po el lado de atrás de las cadenas bases, así hasta terminar completamente la base, cerrar con un punto deslizado y cortar el hilo, y esconder bien para que nos quede un trabajo perfecto.

After having the base finished, we will take the measuring tape and measure 7.5 cm and we will make a fold that will be our guide, to go trying to assemble the hat, and in each turn decreasing giving the shape of the elf hat, remaining well centered, that we are going to be in a pine shape. With the wool needle, already with the golden thread, you are going to take carefully the hat, from the upper part of the same one.
Luego de tener la base acabada, tomaremos la cinta métrica y medir 7.5 cm y haremos un doblez que será nuestra guía, de ir tratando de armar el gorro, y en cada vuelta disminuyendo dando la forma de gorro de duende, quedando bien centrado, que nos vaya quedando de una forma de pino. Con la aguja lanera, ya con el hilo dorado, vas a tomar con cuidado el gorro, desde la parte superior del mismo.

Introduce the needle through the center of the bead, when it comes out at the bottom we will make a knot, we have left the excess thread that will be used to place the big bead, and an end of thread to hang it.
Introducir a aguja por todo el centro al salir al parte inferior haremos un nudo, hemos dejado el hilo sobrante que se usará para colocar la perla grande, y un extremo de hilo para poderlo colgar.

2.- BEARD AND NOSE.
The white color I will use to make the beard is a kind of tassel, they are very easy and quick to make, we will pass the white thread about fifty times by our hand, we already have a thread that we will use to tie the tassel, a little above the middle of it, well knotted, cut the top and gradually give it the shape of cutting and leaving everything well even that would be the nose of the gnome.
2.- BARBA Y NARIZ.
El color blanco lo usaré para realizar la barba es una especie de borla, son muy fáciles y rápidas de hacer, pasaremos el hilo color blanco alrededor de cincuenta veces por nuestra mano, ya tenemos un hilo que usaremos para amarrar la borla, un poco más arriba de la mitad de la misma, bien anudada, cortar la parte superior y poco a poco darle la forma de cortando y dejando todo bien parejo que seria la nariz del gnomo.

With the lower part we are going to cut the ends, leaving them all flush and a good volume.
Con la parte inferior vamos a cortar las puntas, dejándolas todas al ras y un buen volumen.
.png)
To glue the beard to the cap with a little silicone, continue giving the ideal shape to the beard with the scissors.
Para pegar la barba al gorro con un poco de silicón, continuar dándole la forma ideal a la barba con las tijeras.

Trim the tips of the nose and beard, place the pearl and hang.
Cortar bien las puntas de la nariz y barba, colocar la perla y colgar.
.png)


It is beautiful and charming. It looks pretty good. It shows your creativity. Nice work! Keep it up!
Este diseño de gnomo es tan lindo y práctico, ya que le haces la nariz al mismo tiempo con el otro extremo de la borla. esto es fantástico. Buena idea.
Gracias por compartirlo.
Tuve un poco de dificultad mi tijera se me daño, no quedo tan perfecto, pero en verdad el resultado fue ideal, gracias @karen.arts saludos.