.png)
I was a bit annoyed today, I stood in front of my work table, I distracted myself for a while choosing the color of yarn I would use, the hook and thinking about what I would use it for. Then I cheered up and started knitting.
¡Hola! Feliz noche toda mi comunidad #hive. Hoy quiero intentar hacer un punto que nunca había ejecutado, ustedes me dirán si quedo bien o no, así que tejamos juntos, solo quiero que compartamos unos minutos de relax que nos provee el arte del tejido a crochet, si te encanta tejer e intentarás hacer junto a mi este magnífico tapete redondo, fácil multicolor, y rápido de tejer.
Estaba algo fastidiada el día de hoy me coloqué frente a mi mesita de trabajo, me distraje un rato eligiendo el color de hilos usaría, el gancho y pensando que uso le daría. Luego me animé y comencé a tejer.
MATERIALS//MATERIALES
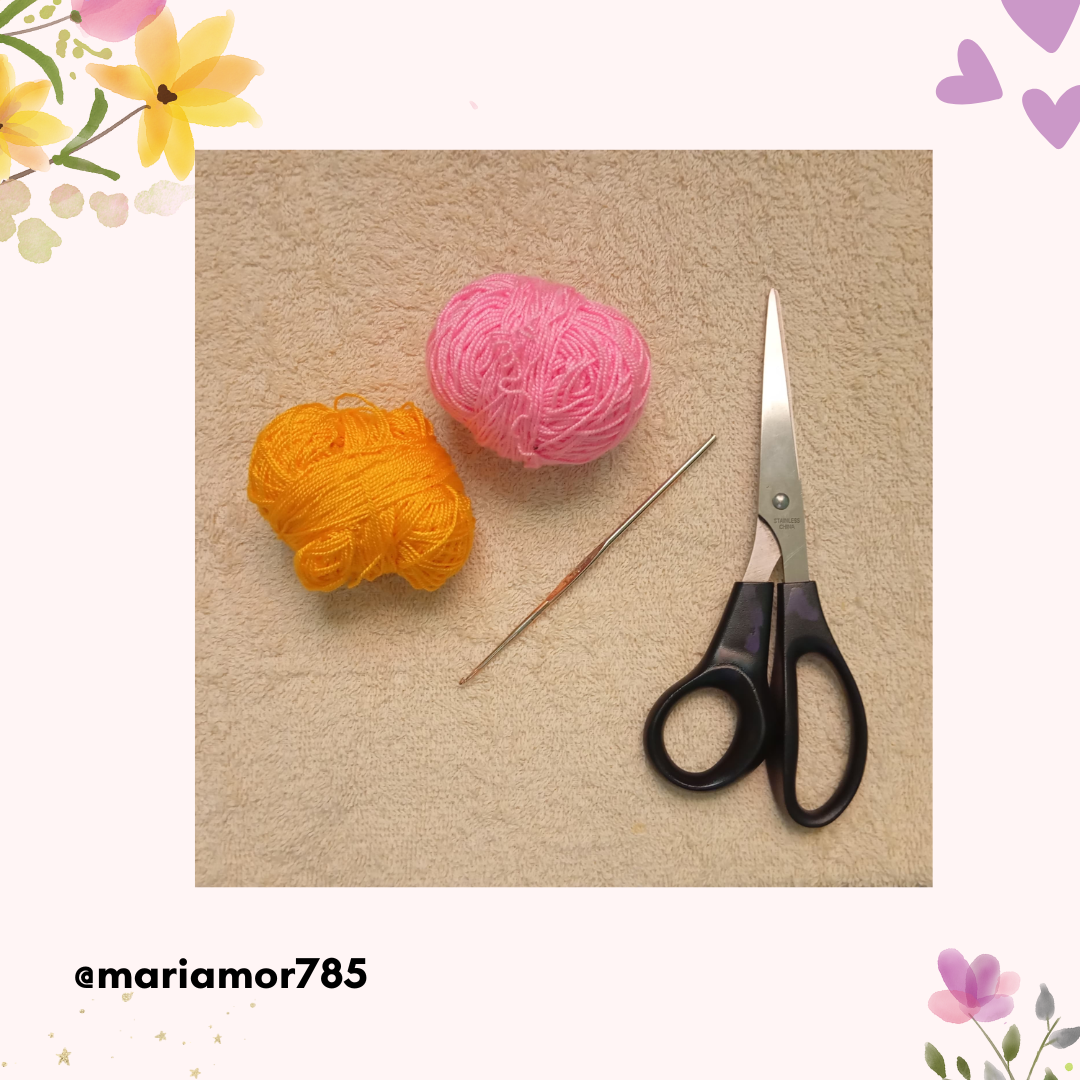
01 Pink crochet thread.
01 Yellow crochet thread.
01 Scissors.
01 Needle N 1.70 mm.
01 Hilo crochet color rosado.
01 Hilo crochet color amarillo.
01 Tijera.
01 Aguja N 1.70 mm.
.png)
STEP BY STEP.//PASO A PASO.
1.- Start with the yellow yarn as a base, the first round with a magic ring, three chain stitches in the air, which are counted as high stitch, and we will work in this way a base of eleven high stitches, stretch the yarn, so we close the magic ring and finish by closing with a slipped stitch, which would be our first round
1.- Comenzar con el hilo amarillo como base, la primera vuelta con un anillo mágico, tres cadenetas al aire, los cuales se cuentan como punto alto, y trabajaremos así una base de once puntos altos, estirar el hilo, así cerramos el aro mágico y finalizar al cerrando con un punto deslizado, que sería nuestra primera vuelta.

2.- Second row, make three chains, in the same stitch we are going to make two double crochet stitches, and this row is of increases, make 24 double crochet stitches, (VVVVVV), and repeat until the end of the row, closing with a slip stitch.
3.- Third row, make three chains, in the same stitch we are going to cast on two double crochet stitches, and this row is of increases and double crochet stitches, (VIVIV), and repeat until the end of the row, closing with a slip stitch.
2.- Segunda vuelta, hacer realizar tres cadenas, en ese mismo punto vamos a realizar dos puntos altos, y esta vuelta es de aumentos, se realizan 24 puntos altos dobles, (VVVV), y repetir hasta terminar la vuelta, cerrando con un punto deslizado.
3.- Tercera vuelta, hacer tres cadenas, en ese mismo punto vamos a realizar dos puntos altos, y esta vuelta es de aumentos y puntos altos, (VIVIV), y repetir hasta terminar la vuelta, cerrando con un punto deslizado.

4.- Fourth row, make three chains, in the same stitch we will knit two double crochet and two double crochet, (VIIVIIVII) and repeat until the end of the row, closing with a slip stitch.
5.- Fifth row, after closing, make three chains, in the same stitch we will knit two double crochet and three double crochet, (VIIIVIIIVIII), and repeat until the end of the row, closing with a slip stitch.
6.- Sixth row, change the yarn to the pink color and proceed to knit three stitches in the air, and we are going to make the caterpillar stitch, well I will try to do it in this stitch and I will try to achieve it, make a high stitch and make 5 turns of yarn and pull, to make the caterpillar stitch.
4.- Cuarta vuelta, hacer tres cadenas, en ese mismo punto vamos a realizar dos puntos altos, y dos puntos altos, (VIIVIIVII) y repetir hasta terminar la vuelta, cerrando con un punto deslizado.
5.- Quinta vuelta, luego de cerrar, hacer tres cadenas, en ese mismo punto vamos a realizar dos puntos altos, y tres puntos altos, (VIIIVIIIVIII), y repetir hasta terminar la vuelta, cerrando con un punto deslizado.
6.- Sexta vuelta, se hace el cambio de hilo al color rosado y se procede a tejer tres puntos al aire, y vamos a realizar el punto oruga, bueno tratare de hacerlo vi ese punto e intentare de lograrlo, hacer un punto alto y hacer 5 giros de hilos y halar, para hacer el punto oruga.

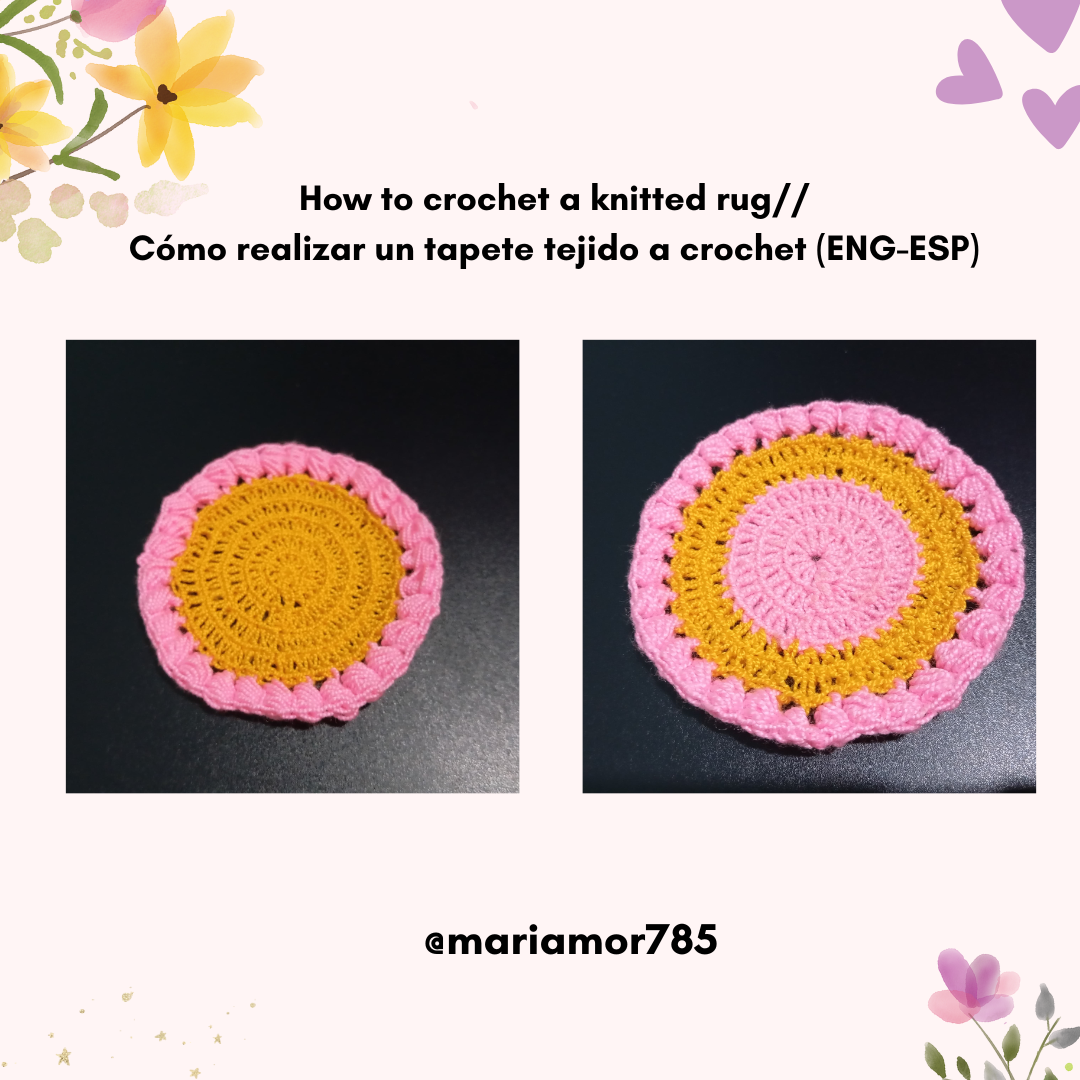
7.- I made two models. They are very nice, I hope you like them.
7.- Hice dos modelos. Me quedaron muy lindos, espero que les gusten.

It can be used as mats, coasters, very multifunctional.
Lo podemos usar como tapetes, posavasos, muy multifuncional.


It is beautiful, charming, and lovely. Love its color combination and that makes it more attractive. Good to see each step of making this. Nice work!
Believe me that you had a beautiful skill, nutting is not just and easy work, you did a nice work, the combination are nice, thanks so much for sharing.
Good morning! I enjoyed making that caterpillar stitch, it was a challenge and I did it, thank you dear @pepefashion.
Beautiful colors and nicely done. Thanks for sharing
happy afternoon!!! thanks for the comment, it gives me more encouragement to continue with my crochet work,@nathalie-s, saludos.
You are very welcome 🤗
Hola @mariamor785,que lindo tapete,los colores están geniales, gracias por compartir.
Feliz fin de semana!