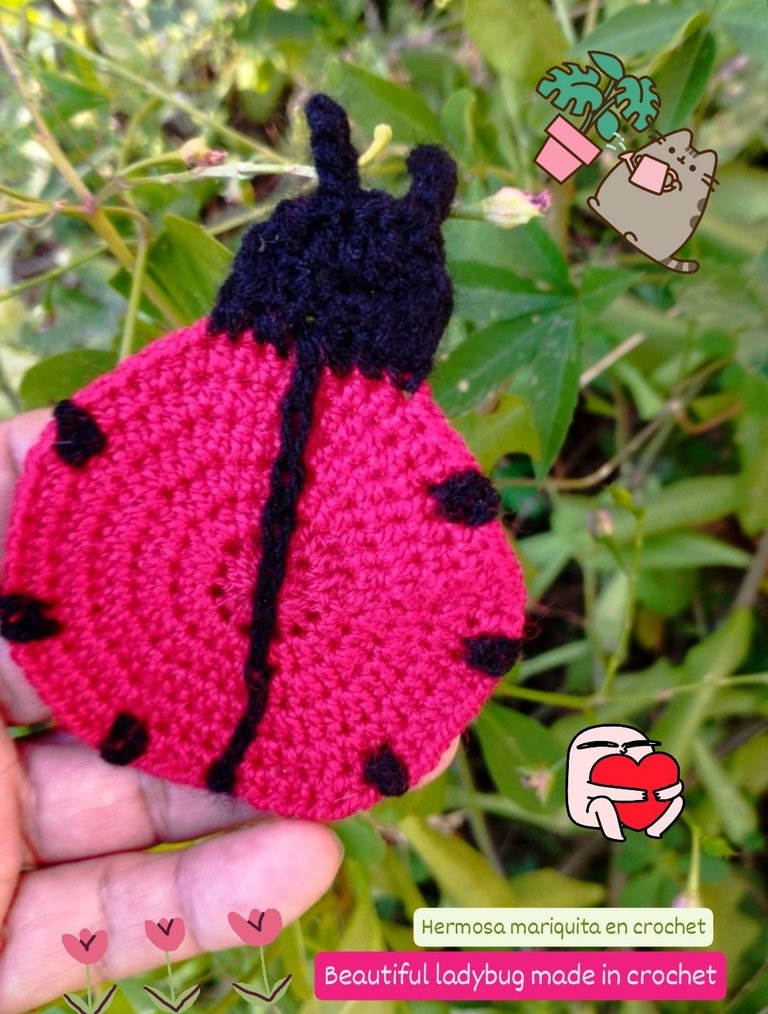
Hello my crochet friends, happy day, happy Tuesday, I hope you are well, the day here was sunny so I was encouraged and I had the idea of making something very nice so I am sharing with you a beautiful ladybug made entirely in crochet.🧶🐞
Hola mis amigos crocheteros feliz día, feliz martes, espero estén muy bien, el dia aqui fue soleado por lo que me anime y tuve la idea de elaborar algo muy lindo asi que les les estoy compartiendo una hermosa mariquita elaborada totalmente en crochet.🧶🐞
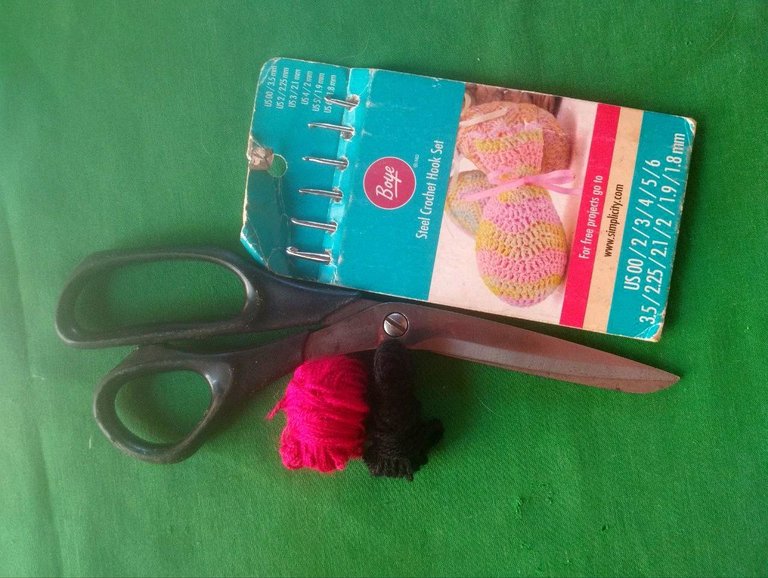
The materials used are: Crochet threads in red and black, number 4 crochet needle and scissors, for the stitches those used were: Half-high stitches and slipped stitches.
Los materiales utilizados son: Hilos de crochet en los colores rojo y negro, aguja de crochet número 4 y tijeras, para los puntos los que se usaron fueron: Puntos medios altos y puntos deslizados.
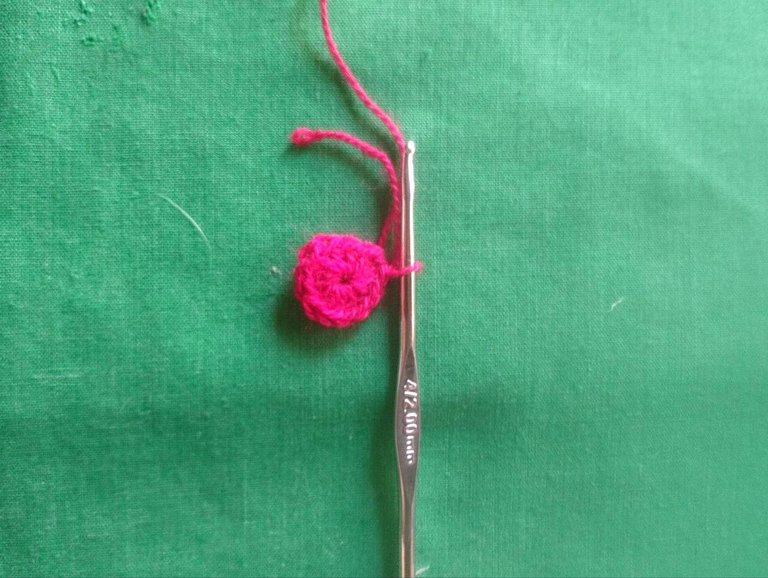
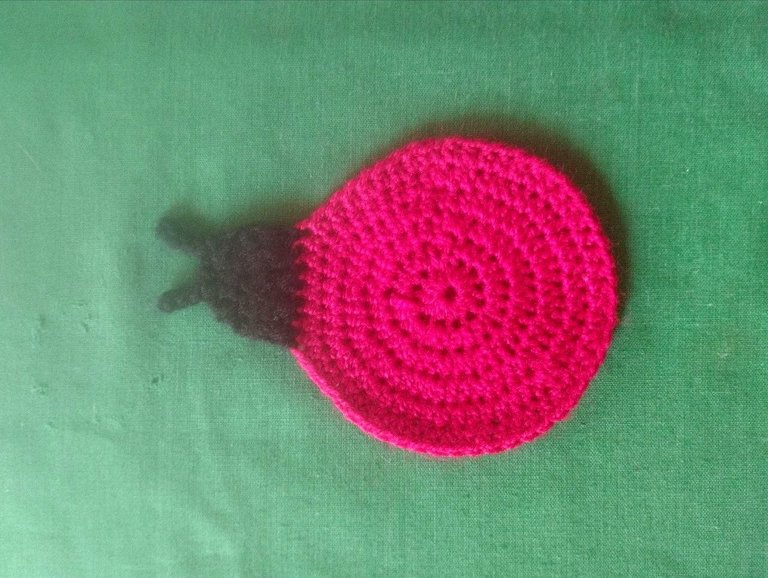
We start with the red thread making a magic ring and within it 12 half-high stitches, in this row we make pure increases, in the third row we make 1 half-high stitch followed by 1 increase, we calculate the sides and make 3 increases in a row.
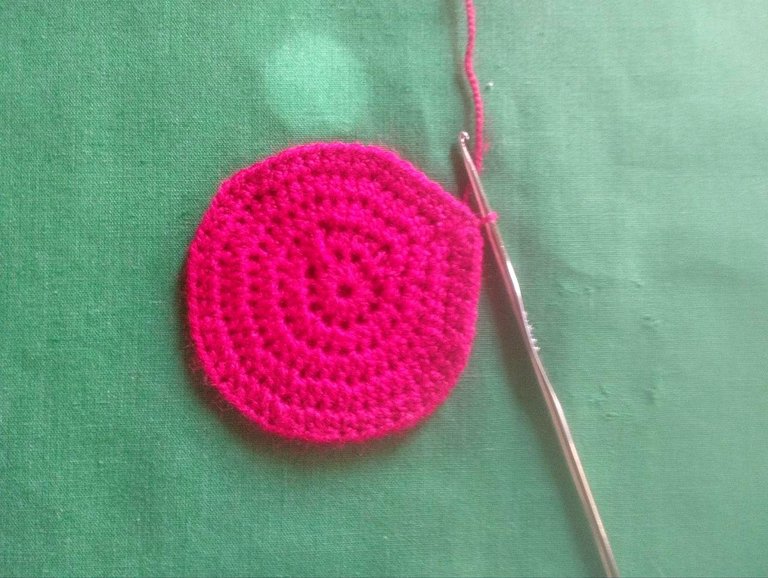
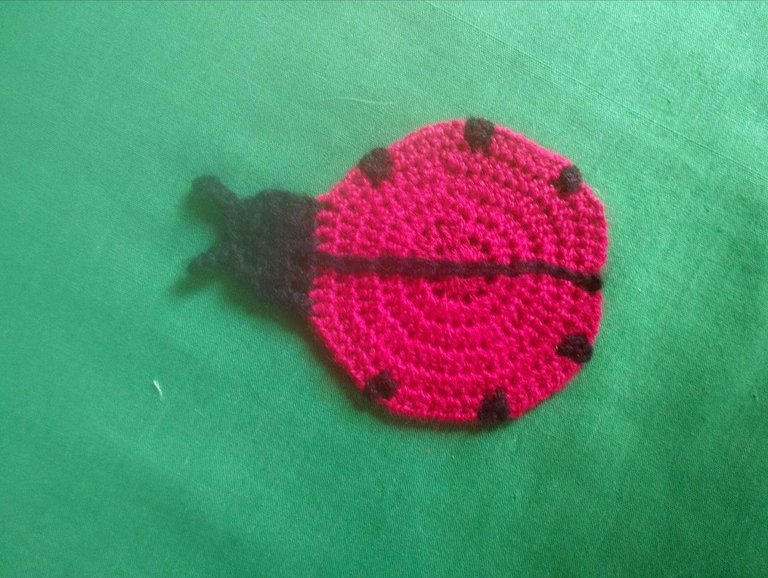
Rows 4, 5 and 6 we will make 12 increases in all the rows, we place the black thread and we proceed to make the head that consists of 6 points and 3 rows, thus making increases and decreases to give it the shape, also in the upper part we make the antennas, we locate the center of the piece and make a row of slipped stitches, later on both sides of the piece we embroider some black dots.
Comenzamos con el hilo rojo haciendo un anillo mágico y dentro del mismo 12 puntos medios altos, en esta fila hacemos puros aumentos, en la tercera fila hacemos 1 punto medio alto seguido de 1 aumento, calculamos los laterales y hacemos 3 aumentos seguidos.
Las filas 4, 5 y 6 haremos 12 aumentos en todas las filas colocamos el hilo negro y procedemos hacer la cabeza que consta de 6 puntos y 3 filas haciéndo asi aumentos y disminuciones para darle la forma, igualmente en la parte alta elaboramos las antenas, ubicamos el centro de la pieza y hacemos una fila de puntos deslizados, posteriormente a ambos lados de la pieza bordamos unos puntos negros.

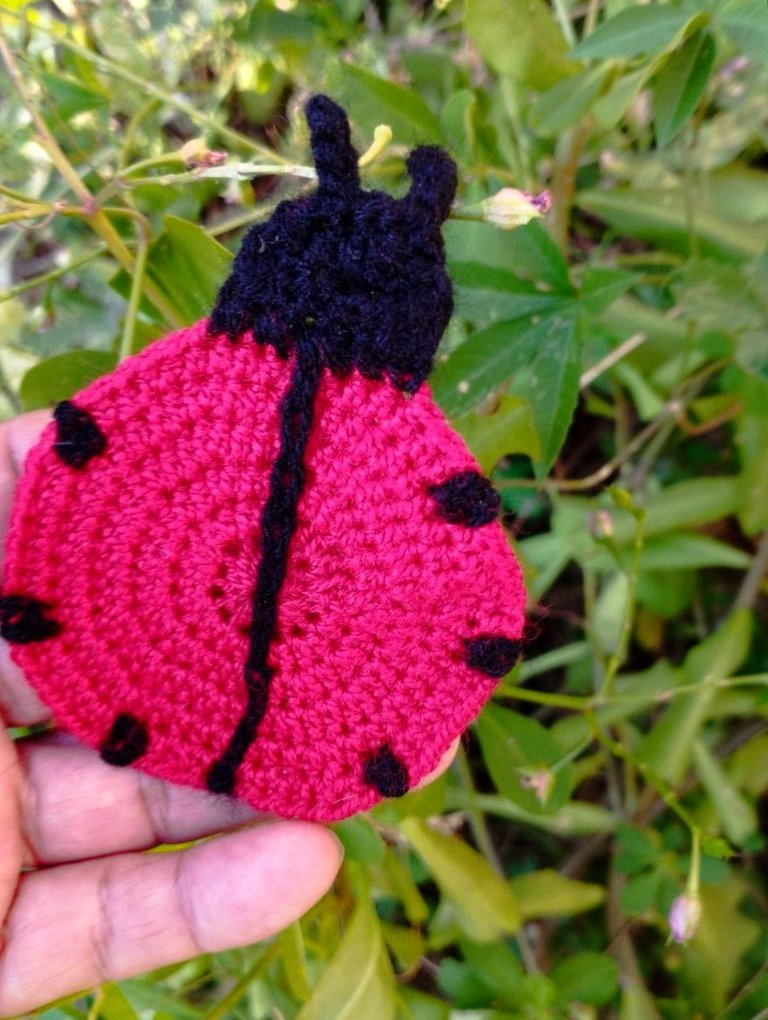
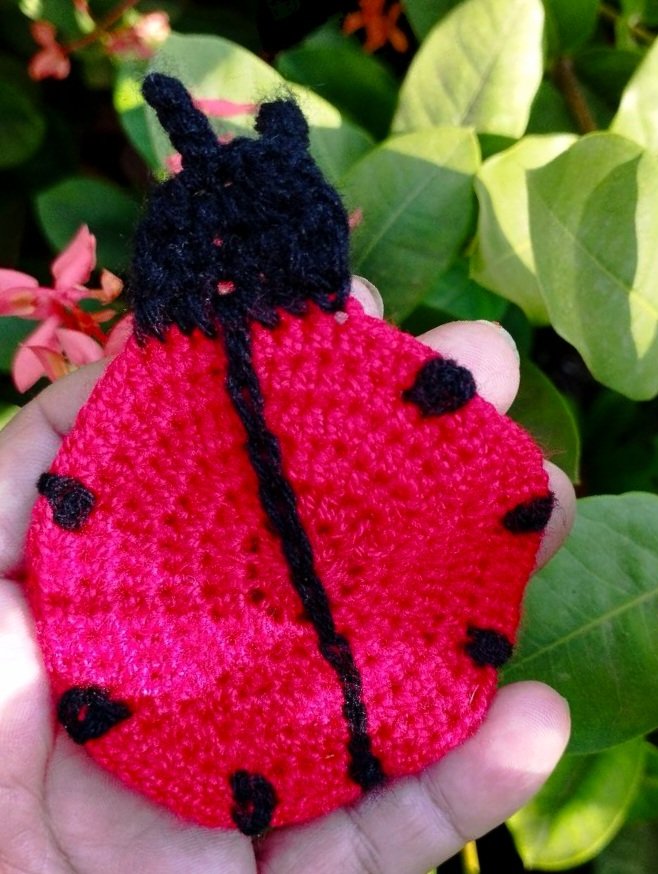
My friends who love crochet, today like every day I share with you my ideas reflected in crochet, this is a very cute and decorative project, it is a very beautiful and easy ladybug to make, I hope you accept it as always, thank you for your attention and we will see you in the next publication. 🙏❤️
Mis amigos amantes del crochet, hoy como todos los días les comparto mis ideas reflejadas en el crochet, este es un proyecto muy lindo y decorativo, es una mariquita muy hermosa y sencilla de realizar, espero sea de su aceptación como siempre, gracias por su atención y nos veremos en la próxima publicación. 🙏❤️
Que bonita te quedo. Te felicito amiga.
Saludos.
Gracias amiga 🫂
Que hermosa te quedó te felicito feliz noche
Gracias amiga igual para ti
Beautiful one, I love it with the color, well-done
Thanks You 🫂
Se ve preciosa, me encanto.💗
Gracias amiga 🫂
Saludos amiga, que ternurita, las mariquitas son hermosas, este proyecto te quedó lindo, gracias por compartir.
Feliz miércoles!