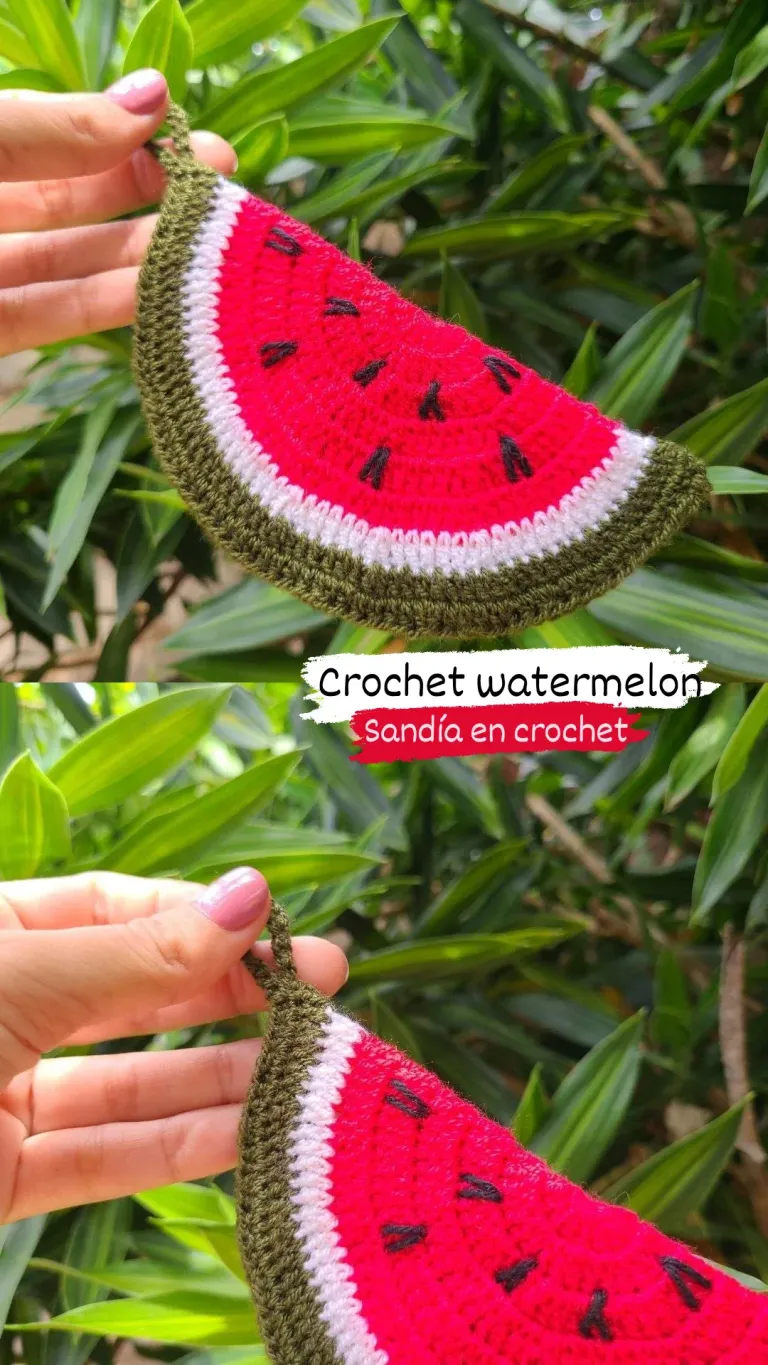
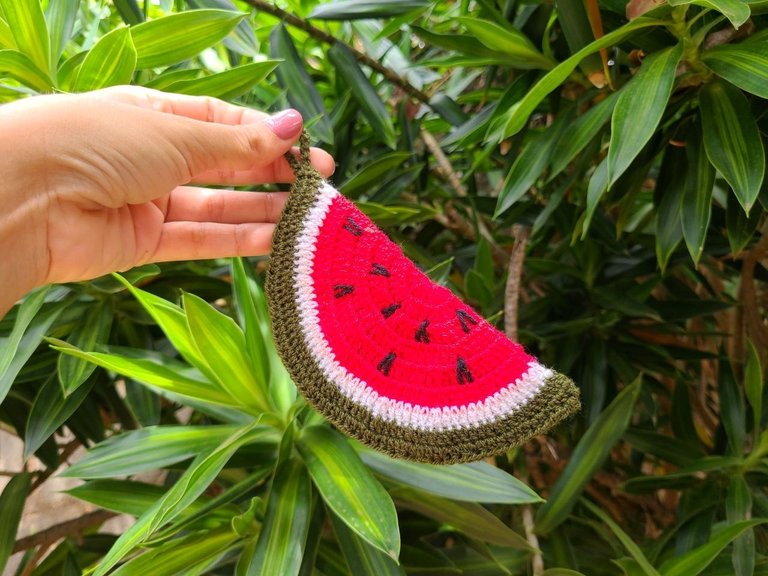
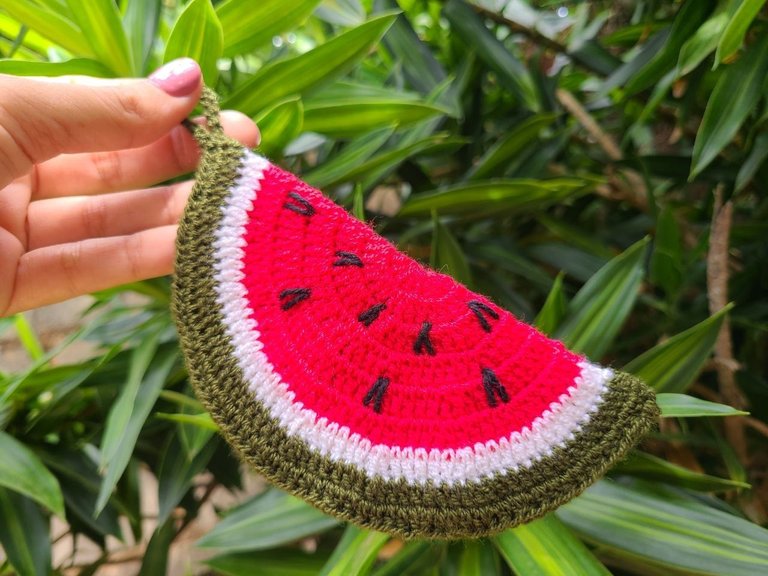
Hello, how are you all? Here I leave you a tutorial of a pot holder, made in crochet step by step.
Hola ¿cómo están todos? por acá les dejo un tutorial de un agarra ollas, elaborado en crochet paso a paso.
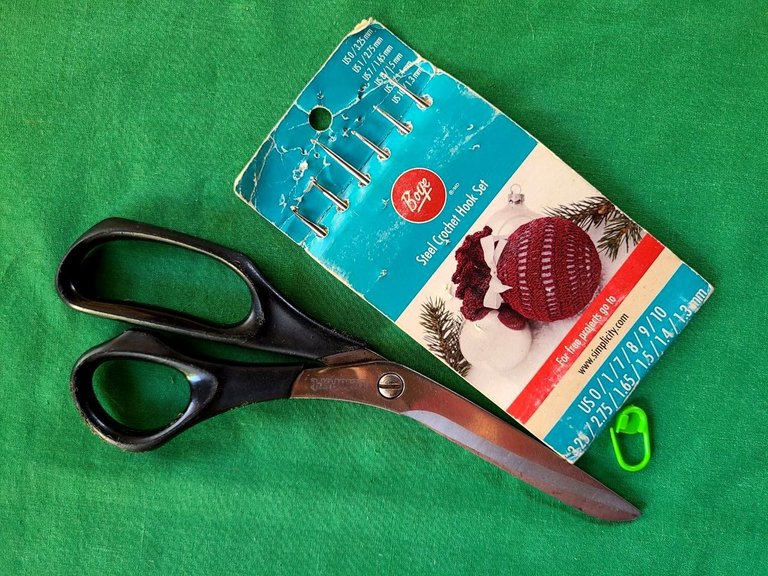
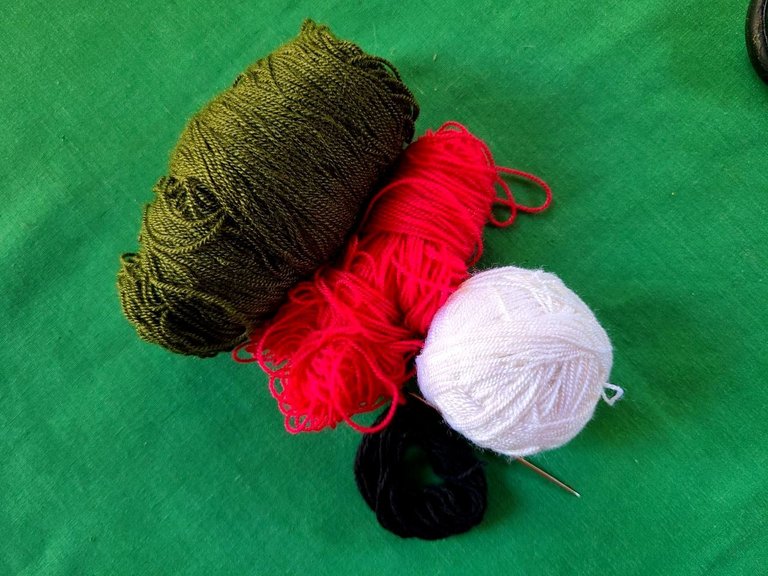
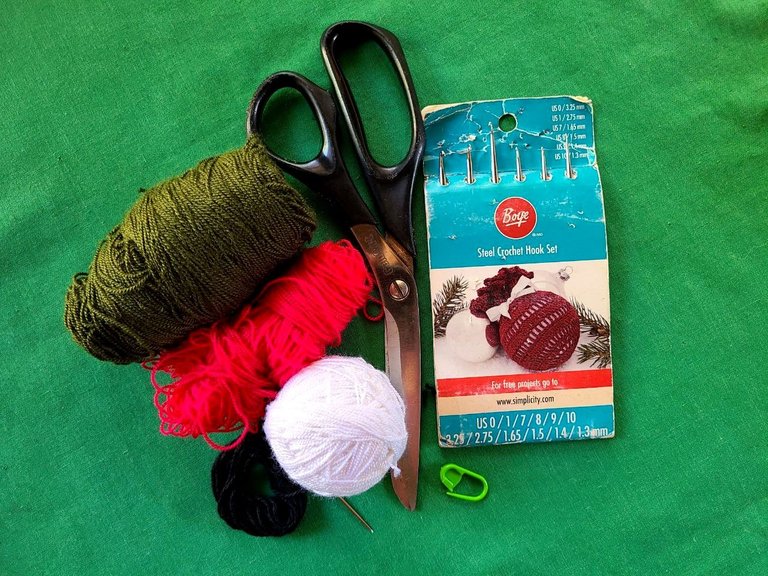
🧶 Material to use:
✓Crochet threads: red, white and green. ✓Crochet needle number 7.
✓Sewing needle.
✓Scissors.
🧶 Points to use:
✓Elongated high points.
✓High medium points.
🧶 Material a utilizar:
✓Hilos crochet: rojo, blanco y verde.
✓Aguja de crochet número 7.
✓Aguja de coser.
✓Tijeras.
🧶 Puntos a utilizar:
✓Puntos altos alargados.
✓Puntos medios altos.
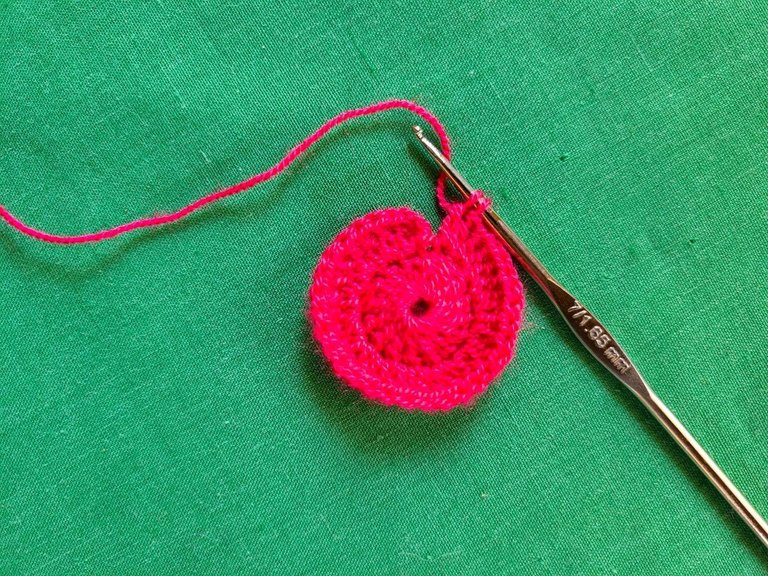
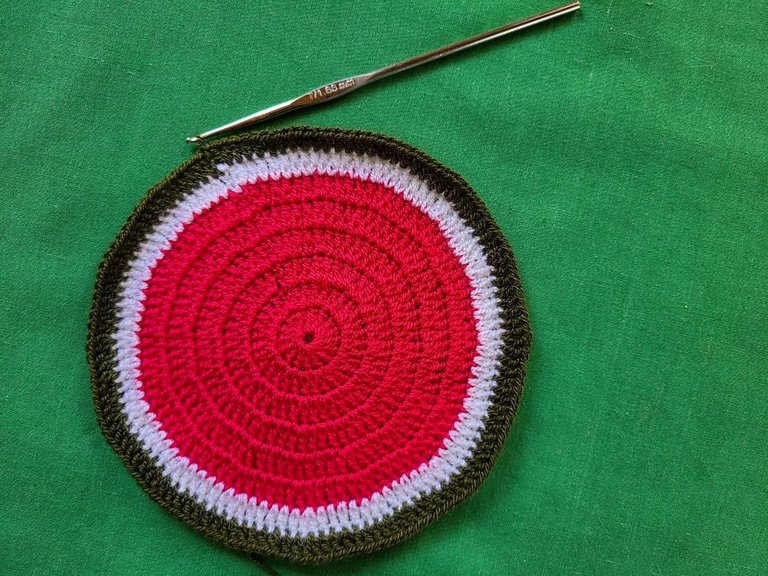
🧶 Step 1: We will start the work with the red thread.
Row 1: We start with a magic ring, and inside it we make 16 elongated double crochets.
Row 2: Entire row in increments (32).
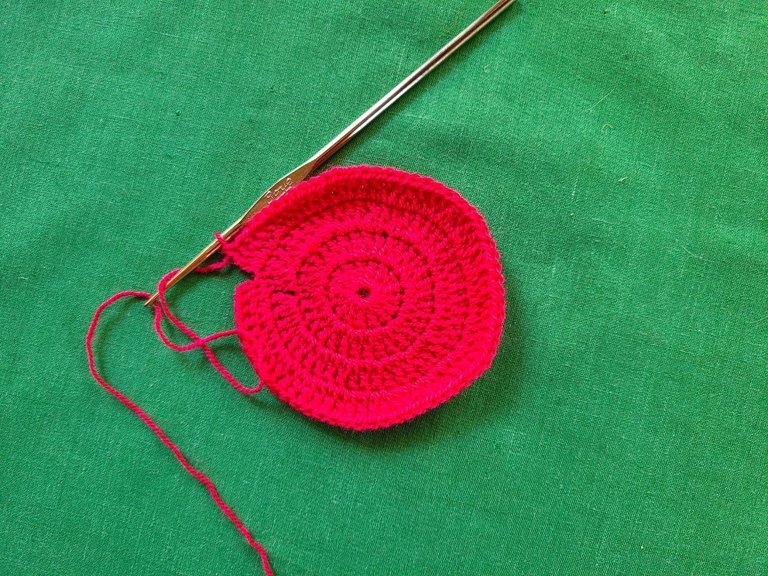
Row 3: 1 elongated double crochet, followed by an increase (48).
Row 4: 2 elongated double crochets, followed by an increase (60).
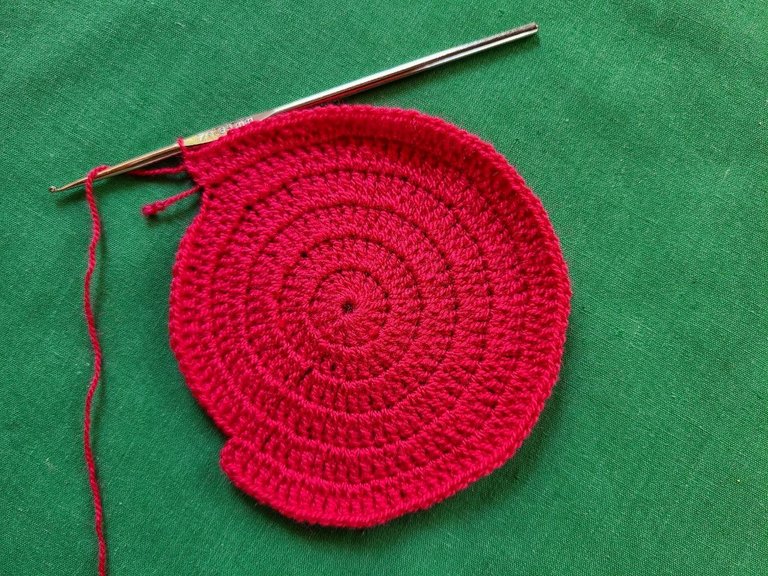
Row 5: 3 elongated double crochets, followed by an increase (76).
Row 6: 5 elongated double crochets, followed by an increase (94).
🧶 Paso 1: Empezaremos la labor con el hilo rojo.
Fila 1: Comenzamos con un anillo mágico, y dentro del mismo hacemos 16 puntos altos alargados.
Fila 2: Toda la fila en aumentos (32).
Fila 3: 1 punto alto alargado, seguido de un aumento (48).
Fila 4: 2 puntos altos alargados, seguido de un aumento (60).
Fila 5: 3 puntos altos alargados, seguido de un aumento (76).
Fila 6: 5 puntos altos alargados, seguido de un aumento (94).
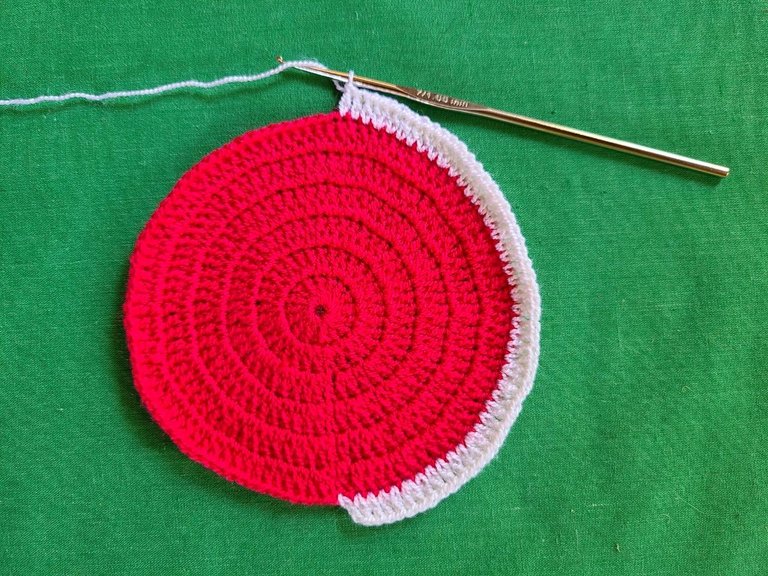
🧶 Step 2: Here we will be working with white thread.
Row 7: 6 normal double crochets, followed by an increase (110).
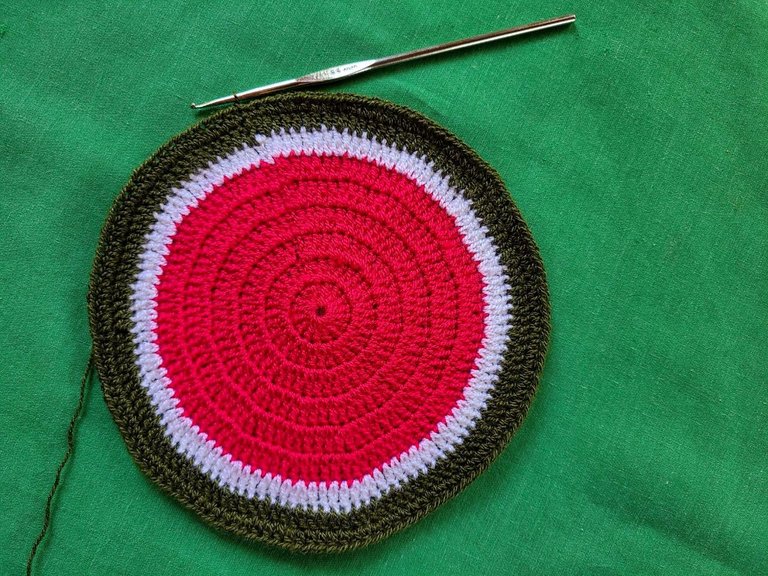
🧶 Step 3: Now we change the thread to green.
Row 8: 7 normal double crochets, followed by an increase (126).
Row 9: Half high crochets, without increases or decreases.
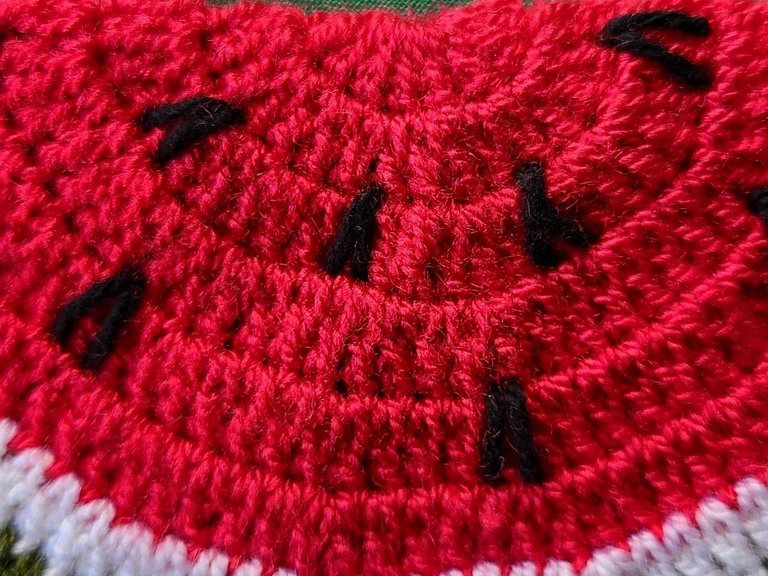
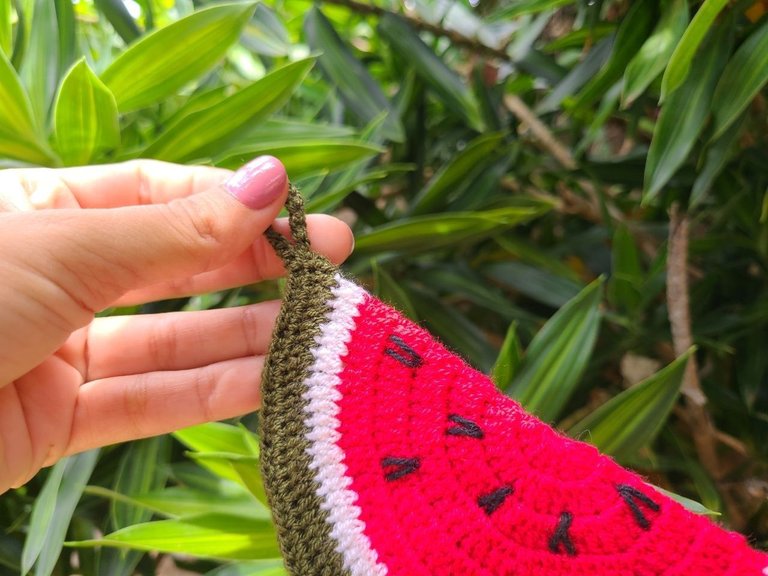
With the needle and black thread we embroider the seeds.
Later, we fold the circle or round and proceed to close it with slipped stitches. When we reach the end, we make a cord with single stitches and make the handle.
🧶 Paso 2: Acá estaremos trabajando con hilo blanco.
Fila 7: 6 puntos altos normales, seguido de un aumento (110).
🧶 Paso 3: Ahora cambiamos el hilo por color verde.
Fila 8: 7 puntos altos normales, seguido de un aumento (126).
Fila 9: Puntos medios altos,, sin aumento ni disminuciones.
Con la aguja y el hilo negro le bordamos las semillas.
Posteriormente doblamos el circulo o redondel y procedemos a cerrarlo con puntos deslizados al llegar al final elaboramos un cordón con puntos bajos y hacemos el asa.
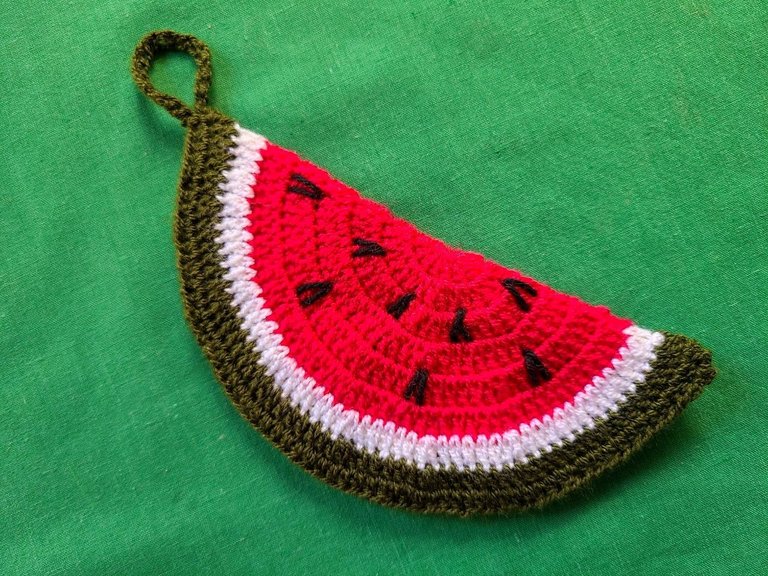
Once again I leave you the publication of a very useful project, this one is related to the kitchen, it is a pot holder, I also leave you the step-by-step tutorial. Thank you for taking your time watching and commenting on my posts, we will continue to share, a hug. 🫂🧶
Una vez más les dejo la publicación de un proyecto muy útil, este está relacionado con la cocina se trata de un agarra ollas, también les dejo el tutorial paso a paso. Gracias por tomarse su tiempo viendo y comentando mis publicaciones, seguiremos compartiendo, un abrazo. 🫂🧶
Congratulations @maricrochets! You have completed the following achievement on the Hive blockchain And have been rewarded with New badge(s)
Your next target is to reach 60 posts.
Your next target is to reach 500 replies.
You can view your badges on your board and compare yourself to others in the Ranking
If you no longer want to receive notifications, reply to this comment with the word
STOPThanks you
Wow, two badges in a row, that's awesome @maricrochets! 🎉
Precioso 😍 Un lindo adorno para la cocina.
Graciass
WOW! It looks impressive! It shows your creativity and skills. Great job! Thanks!
thank you so much
To think that this is a pot holder makes real sense. I love that fact that your very own explanations is very very simple and I am sure going to be able to use this explanation to make one. Most especially the fact that u have calculated the number in each rows. Thanks so much for this.
thank you so much
You are welcome
Your pot cover done using water melon is so sweet. I feel like it's the real water melon. It it really nice and the work is clean. Thanks for sharing dear
Thank you so much