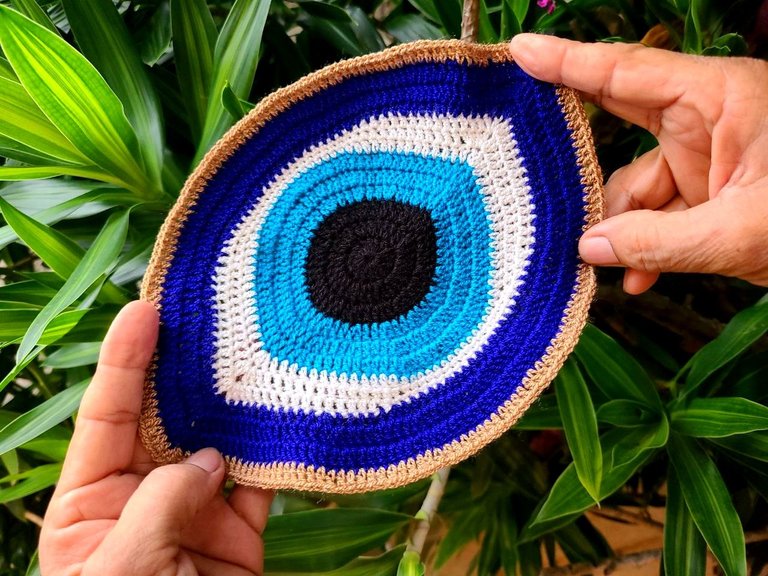
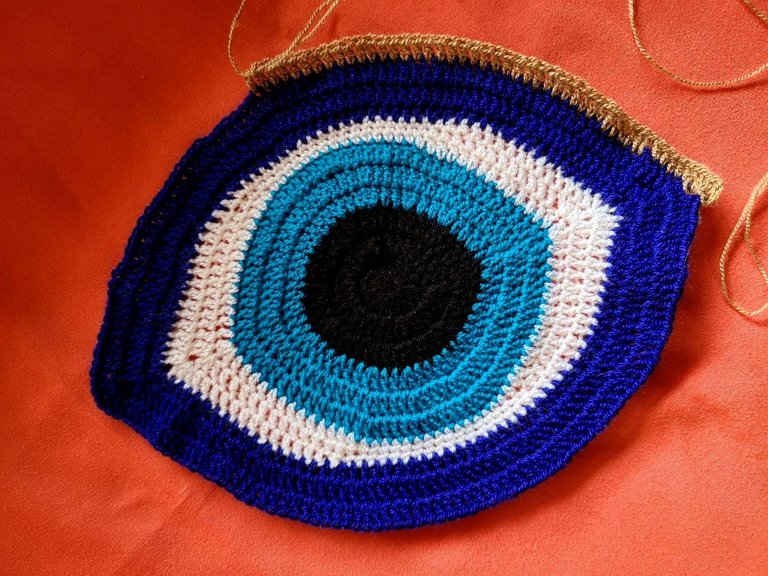
Happy day, I hope you had a great weekend, as usual I bring you a new project to share, this time, it is a rug with the appearance of a Greek eye, also known as a Turkish eye, its shape is the of one eye, that is why it receives that name, and the colors of this one in particular are very pretty, I hope you like it as always.
Feliz día, espero hayan pasado un excelente fin de semana, como de costumbre les traigo un nuevo proyecto para compartir, en esta oportunidad, se trata de un tapete con la apariencia de un ojo griego, también conocido como ojo turco, su forme es la de un ojo, es por eso que recibe ese nombre, y los colores de este en particular es muy lindo, espero les agrade como siempre.
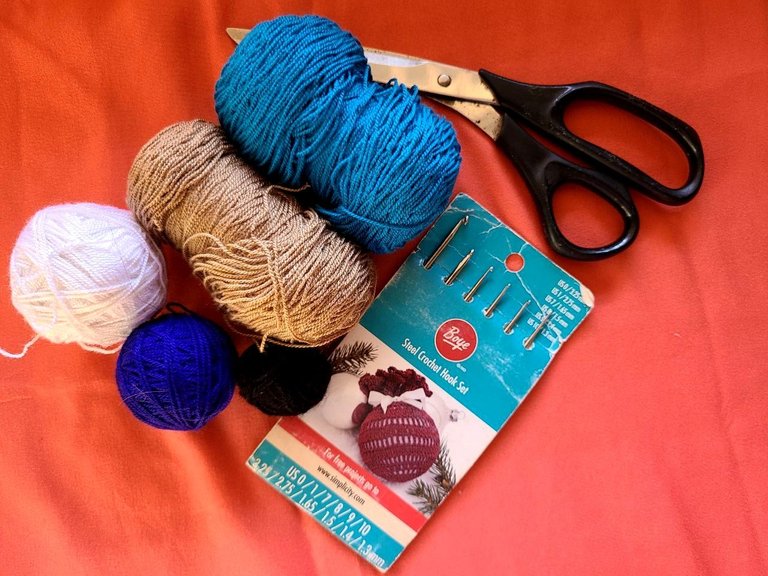
🧶 Materials to use:
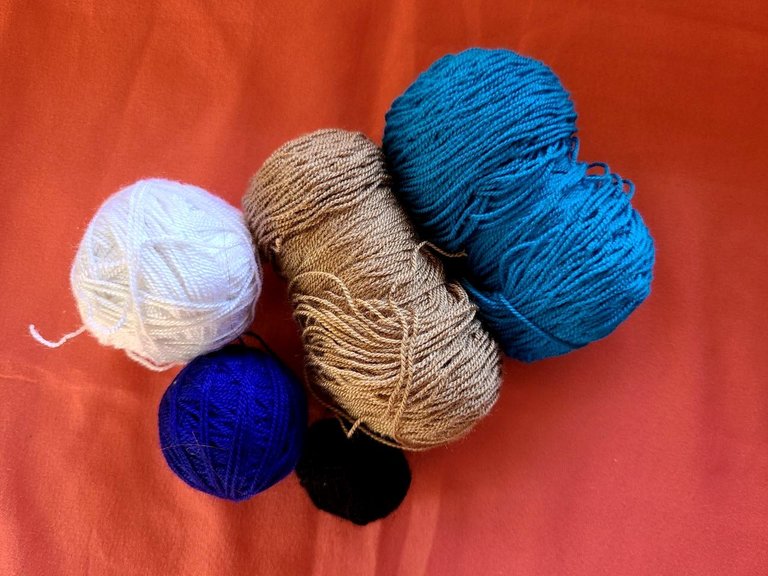
✓Crochet threads color: Black, turquoise, white, royal blue, and beige.
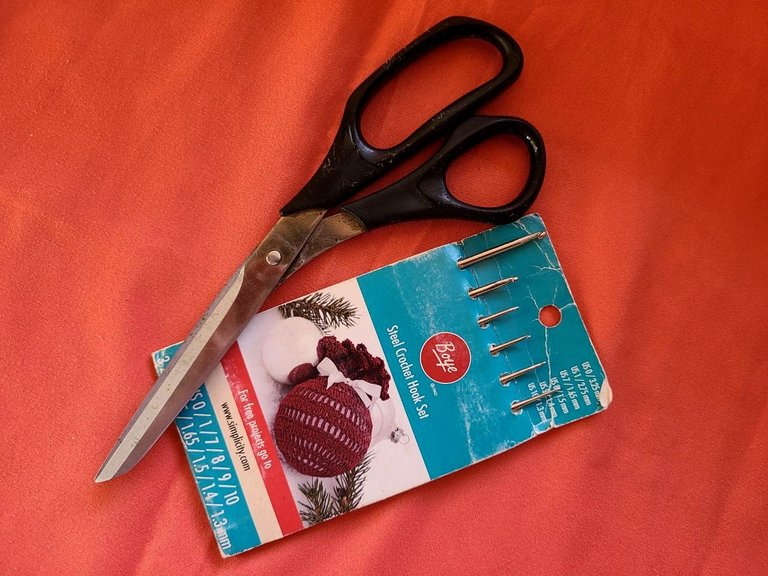
✓Crochet needle number 2.
✓Scissors.
🧶 Materiales a utilizar:
✓Hilos de crochet color: Negro, turquesa, blanco, azul rey, y beige.
✓Aguja crochet número 2.
✓Tijeras.
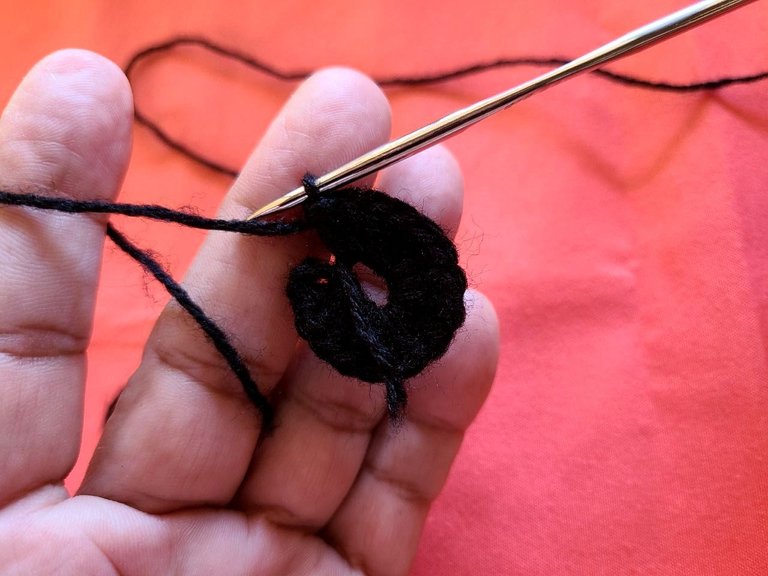
🧶Step 1: The entire project is made in normal high stitches, we start with the black thread:
Row 1: We start by making a magic ring, and inside we make 16 normal double crochets, closing with a slipped stitch.
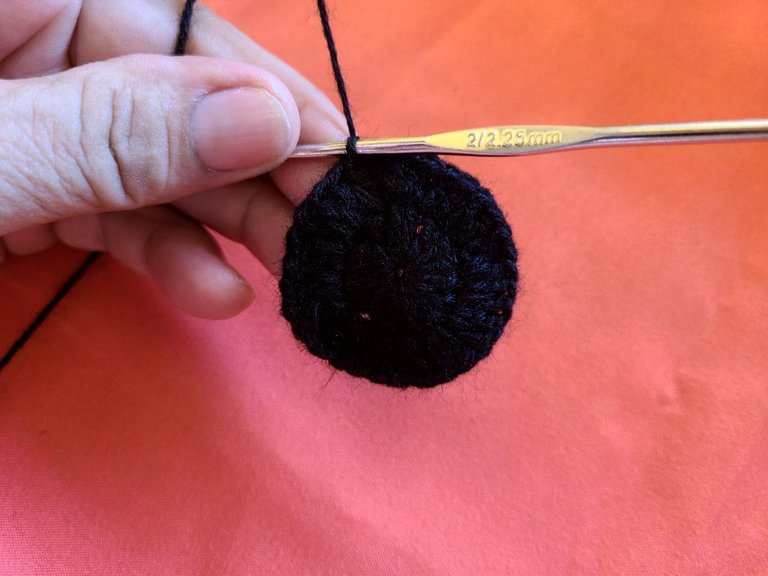
Row 2: In this row, we make an increase in each of the previous stitches, thus making 16 increases.
Row 3: We continue as follows: 1 normal double crochet and increase until the end of the row, closing with a slip stitch.
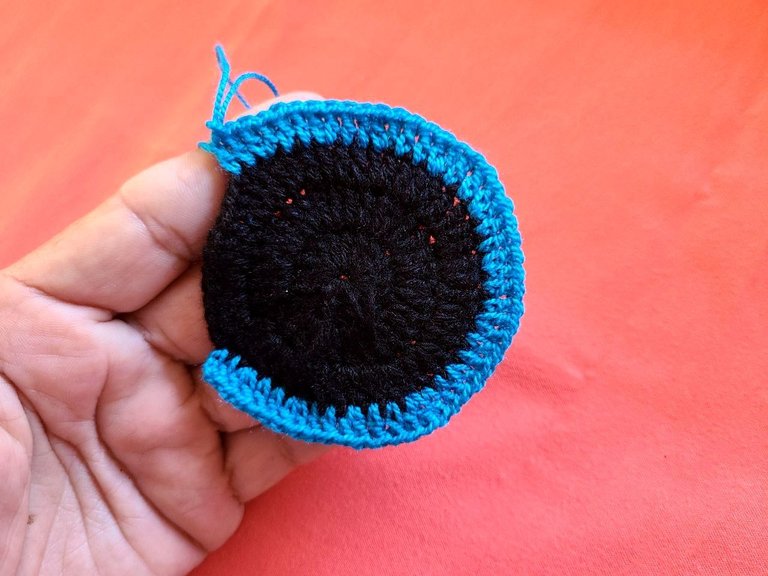
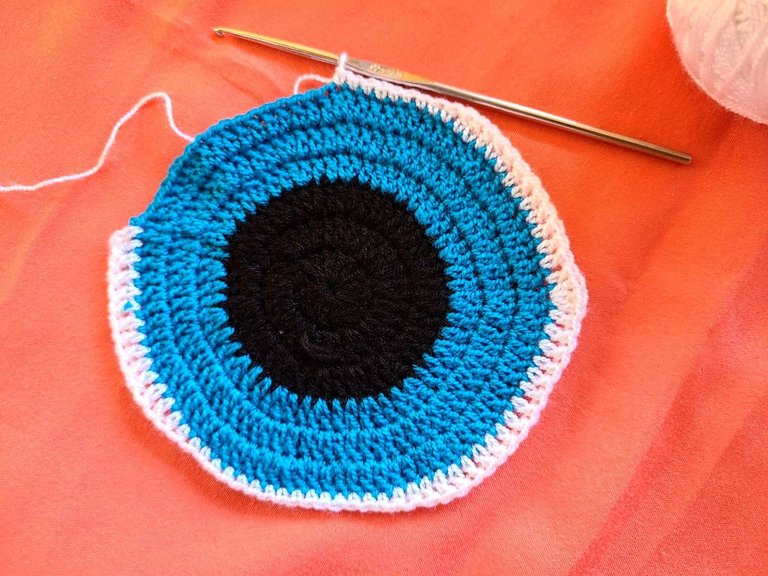
🧶Step 2: We continue with the turquoise thread:
Row 4: In this row, we make 2 normal double crochets, followed by 1 increase in normal double crochets, finally we close with a slip stitch.
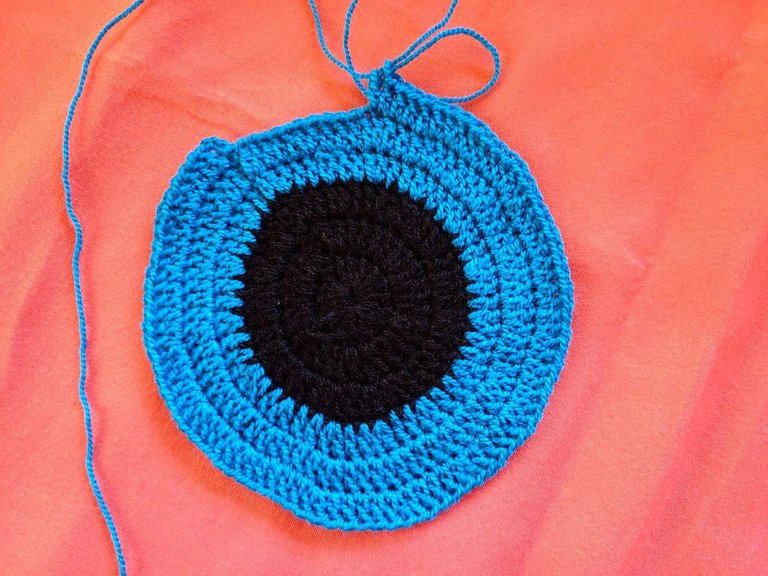
Row 5: We continue making 3 normal double crochets, and an increase in normal double crochets, closing with a slipped stitch.
Row 6: In this row there would be 3 normal double crochets, followed by an increase, of normal double crochets, to close with a slipped stitch.
🧶 Paso 1: Todo el proyecto está elaborado en puntos altos normales, comenzamos con el hilo negro:
Fila 1: Comenzamos haciendo un anillo mágico, y dentro elaboramos 16 puntos altos normales, cerrando con un punto deslizado.
Fila 2: En esta fila, hacemos un aumento en cada uno de los puntos anteriores, realizando así 16 aumentos.
Fila 3: Seguimos de la siguiente manera 1 punto alto normal y aumento hasta finalizar la fila, cerrando con punto deslizado.
🧶 Paso 2: Seguimos con el hilo turquesa:
Fila 4: En esta fila, hacemos 2 puntos altos normales, seguidos de 1 aumento de puntos altos normales, finalmente cerramos con punto deslizado.
Fila 5: Seguimos haciendo 3 puntos altos normales, y un aumento de puntos altos normales, cerrando con un punto deslizado.
Fila 6: En esta fila serían 3 puntos altos normales, seguidos de un aumento, de puntos altos normales, para cerrar con un punto deslizado.

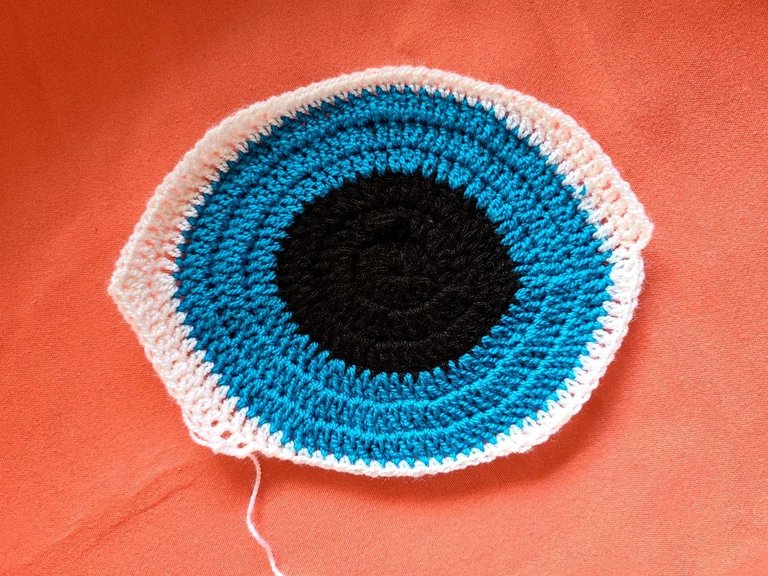
Step 3: Now we continue with the white thread:
Row 7: In this row we make 11 normal double crochets, followed by 2 half double crochets, 15 single crochets, 2 half double crochets, and 11 normal double crochets, when we reach the middle we make 3 double crochets together in the same hole, and we repeat again from the beginning to finish the row.
Row 8: The same sequence of stitches is worked, with the difference that when we reach the 3 stitches together in the second point of the increase we make a fan of 2 double crochets, 1 chain, 2 double crochets in the same place, we finish the line as at the beginning.
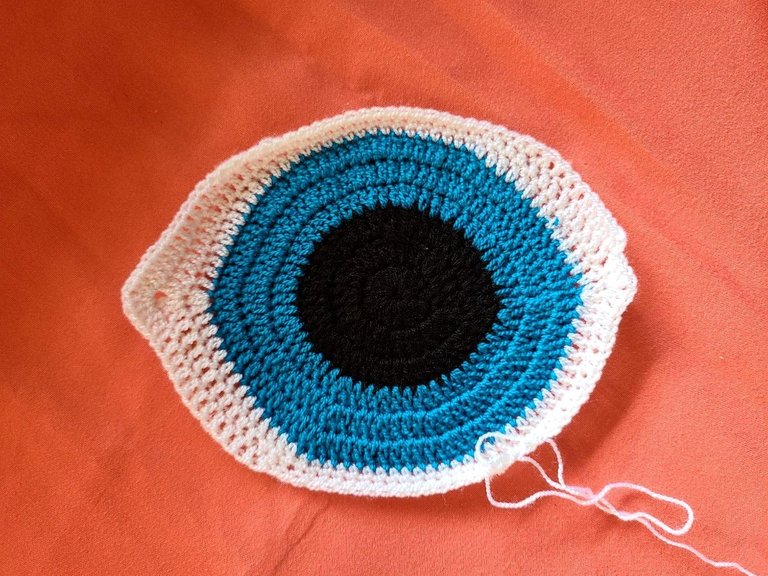
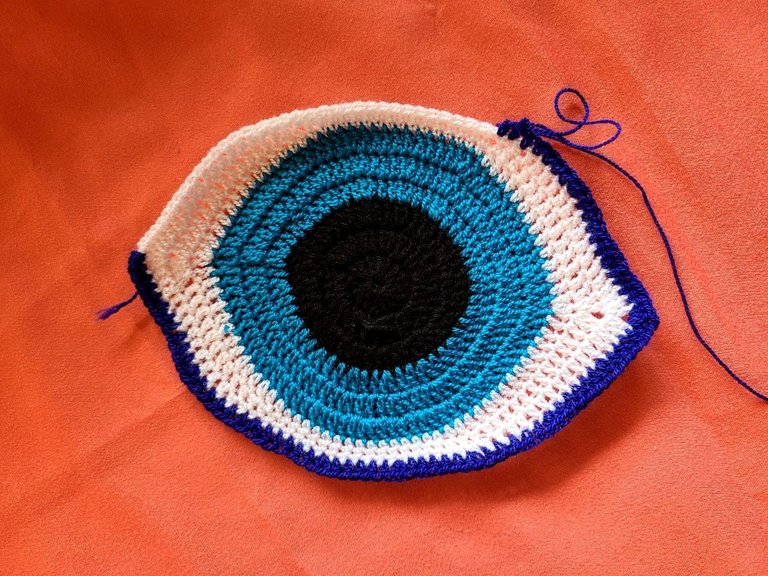
Row 9: We repeat the same sequence of the previous row. Corresponds to the royal blue thread.
Row 10: This row also increases every 9 stitches in which 20 would be the increase, and taking care of the fan at the ends, so that it does not lose its shape.
Row 11: Same as row 10.
Row 12: Here the increases after the 10 stitches, that is, in point 11, and so on. Here the thread is beige.
Row 13: This row has no increase, except for the increase of shells to maintain the shape.
🧶 Paso 3: Ahora seguimos con el hilo blanco:
Fila 7: En esta fila hacemos 11 puntos altos normales, seguido 2 medios puntos altos, 15 puntos bajos , 2 medios puntos altos, y 11 puntos altos normales, al llegar a la mitad hacemos 3 puntos altos juntos en el mismo orificio, y repetimos nuevamente desde el comienzo para finalizar la fila.
Fila 8: Se trabaja la misma secuencia de puntos, con la diferencia, que al llegar a los 3 puntos juntos en el segundo punto del aumento hacemos un abanico de 2 puntos altos, 1 cadena, 2 puntos altos en el mismo sitio, terminamos la fila como al comienzo.
Fila 9: Repetimos la misma secuencia de la fila anterior.
Corresponde al hilo azul rey.
Fila 10: Está fila al igual lleva los aumentos cada 9 puntos en el 20 sería el aumento, y cuidando el abanico de los extremos, para que no pierda la forma.
Fila 11: Igual a la fila 10.
Fila 12: Acá los aumentos después de los 10 puntos, o sea, en el punto 11, y así sucesivamente. Acá el hilo es de color beige.
Fila 13: Está fila no tiene ningún aumento, exceptuando el aumento de conchas para mantener la forma.
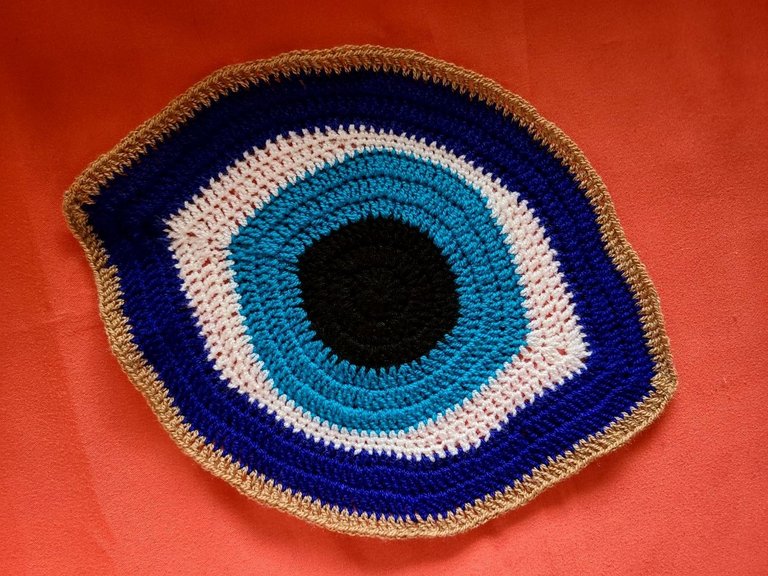
With these details I finish the project, hoping that once again it will be completely satisfactory, and thanking you in advance for the acceptance you can give to my publication. Thank you. Hugs greetings.
Con estos detalles doy por terminado el proyecto, esperando que una vez más sea de completo agrado, y agradeciendo de antemano la aceptación que puedan brindarle a mi publicación. Gracias. Saludos, abrazos.
Congratulations @maricrochets! You have completed the following achievement on the Hive blockchain And have been rewarded with New badge(s)
Your next target is to reach 200 replies.
You can view your badges on your board and compare yourself to others in the Ranking
If you no longer want to receive notifications, reply to this comment with the word
STOPthank you very much
You're on a quest for greatness @maricrochets, and we have no doubt that you'll reach your new target soon!
BTW, we noticed we miss your support for our proposal. Mays we ask you to check it out and consider supporting it?
Thank you!
Thank you, I will review and take your proposal into account.
our proposal 🙂⏳
Looks like a very intricate design. I wonder how big the face this eye goes to. LOL. I love the color combination mixing a bit of light and dark colors to show the different layers.
Thank you for your support, if the idea of that mat is the diversity of colors, and it is actually very simple.
Te quedó realmente hermoso, los colores son súper brillantes 😊👍
Gracias, saludos. 🙏🏻🙏🏻