Feliz comienzo de semana queridos amigos de NEEDLEWORKMONDAY 🪡🧵❤️
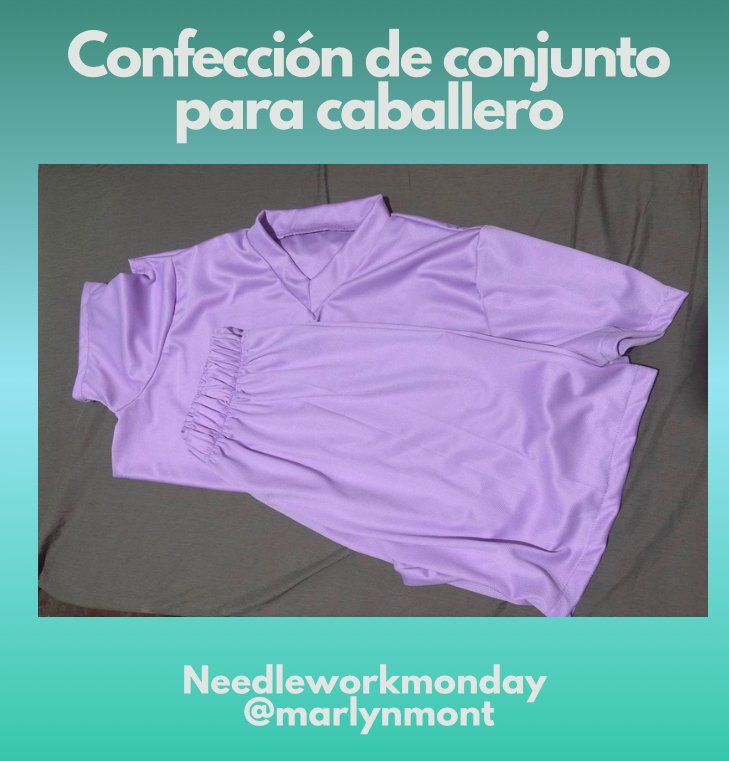
Hoy quiero mostrarles una idea para hacer un lindo Outfit para caballero , actualmente la moda en hombres ha variado demasiado tanto en formas como en colores y decir o pensar en hacer un conjunto para caballero era un poco extraño, mayormente este tipo de conjuntos deportivos y casuales es para los niños pero en la actualidad los hombres también los utilizan y en mi opinión personal los hace lucir igual de bien, ven y te muestro como confeccionar este lindo conjunto.
Happy start of the week dear friends of NEEDLEWORKMONDAY, 🪡🧵❤️
Today I want to show you an idea to make a nice outfit for a gentleman, currently men's fashion has varied too much in both shapes and colors and saying or thinking about making an outfit for a gentleman was a bit strange, mostly this type of sporty and casual outfits are for children but nowadays men also use them and in my personal opinion it makes them look just as good, come and I'll show you how to make this nice outfit.
MATERIALES
MATERIALS
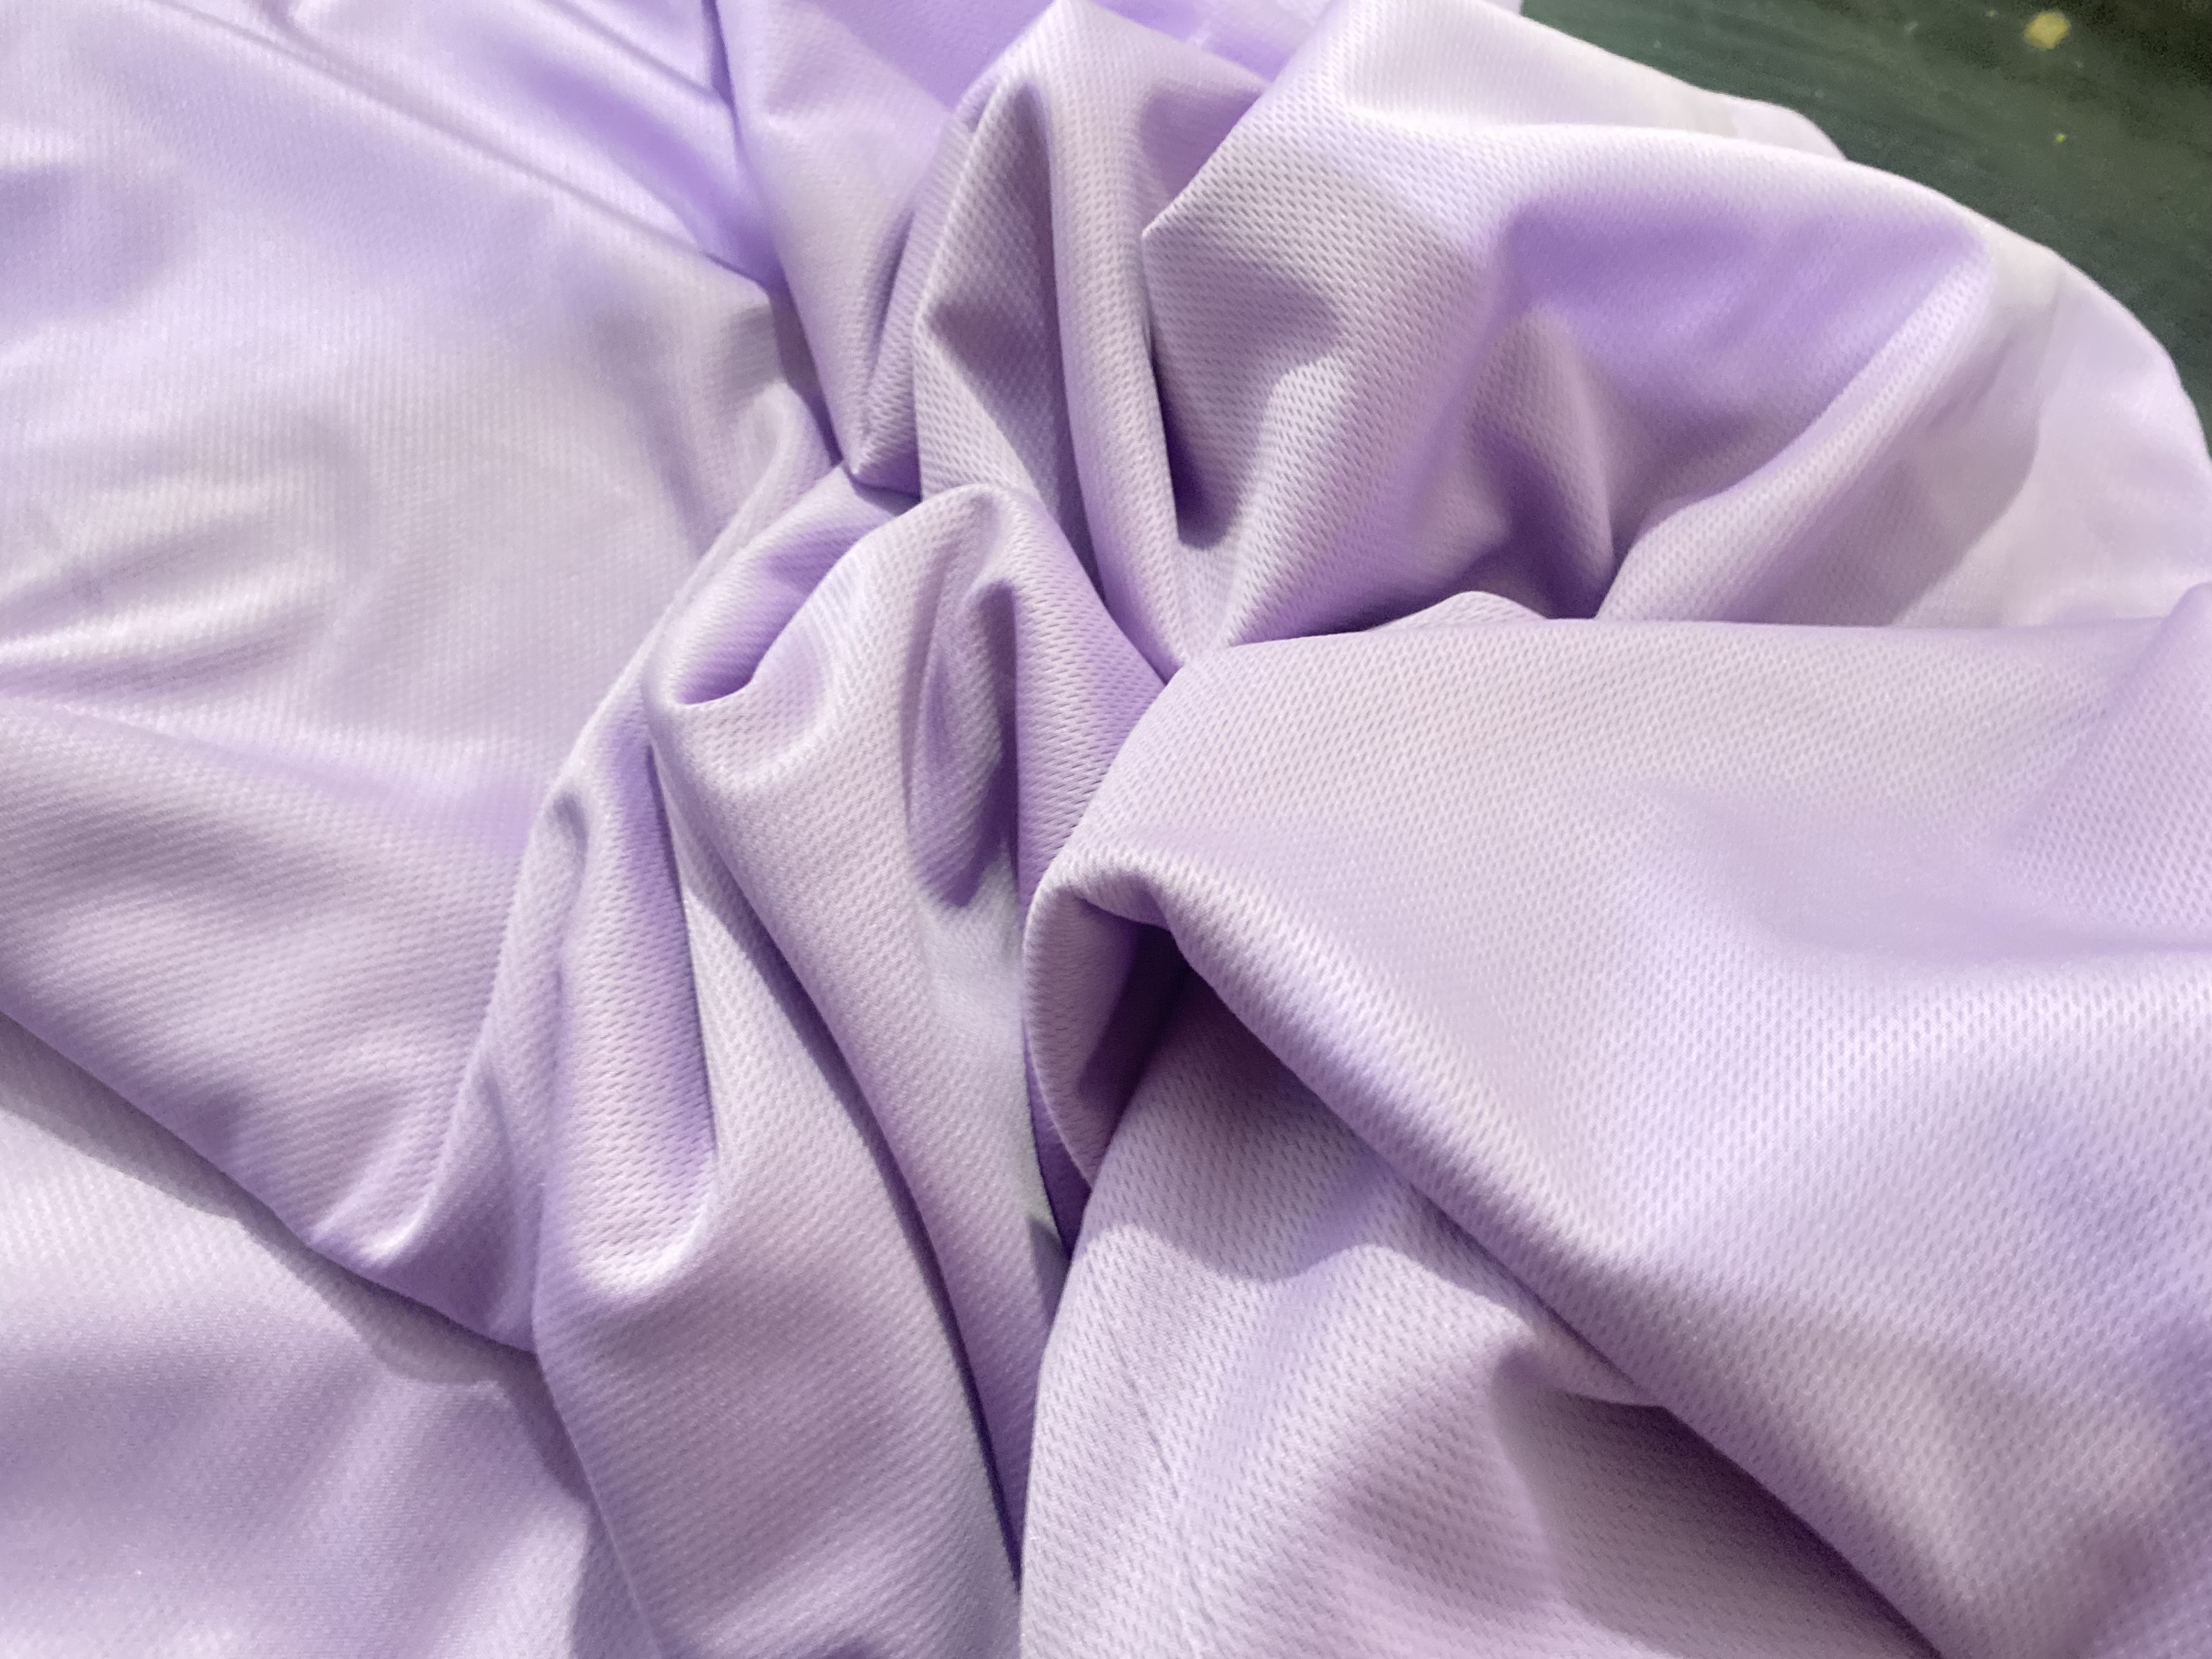
Aparte de la variedad de prendas que está de moda entre los hombres actualmente está mucho el estilo Over size, el cual consiste en utilizar las prendas que queden grandes, la tela que utilicé para este conjunto es una de las más económicas y que viene en colores muy bonitos en este caso voy a utilizar el color lila, esta tela es llamada atlética y es muy utilizada para diferentes tipos de prenda, aquí te dejo la lista de materiales que utilicé
- 2 m de tela atletica
- elástico de 5 cm de ancho
- Tijeras
- Cinta métrica
- Máquina de coser
Apart from the variety of clothes that are currently in fashion among men, there is a lot of the Oversize style, which consists of using clothes that are too big, the fabric that I used for this outfit is one of the most economical and that comes in very pretty colors in this case I am going to use the lilac color, this fabric is called athletic and is widely used for different types of clothing, here is the list of materials that I used
- 2 m of athletic fabric
- 5 cm wide elastic
- Scissors
- Measuring tape
- Sewing machine
PASO A PASO
STEP BY STEP
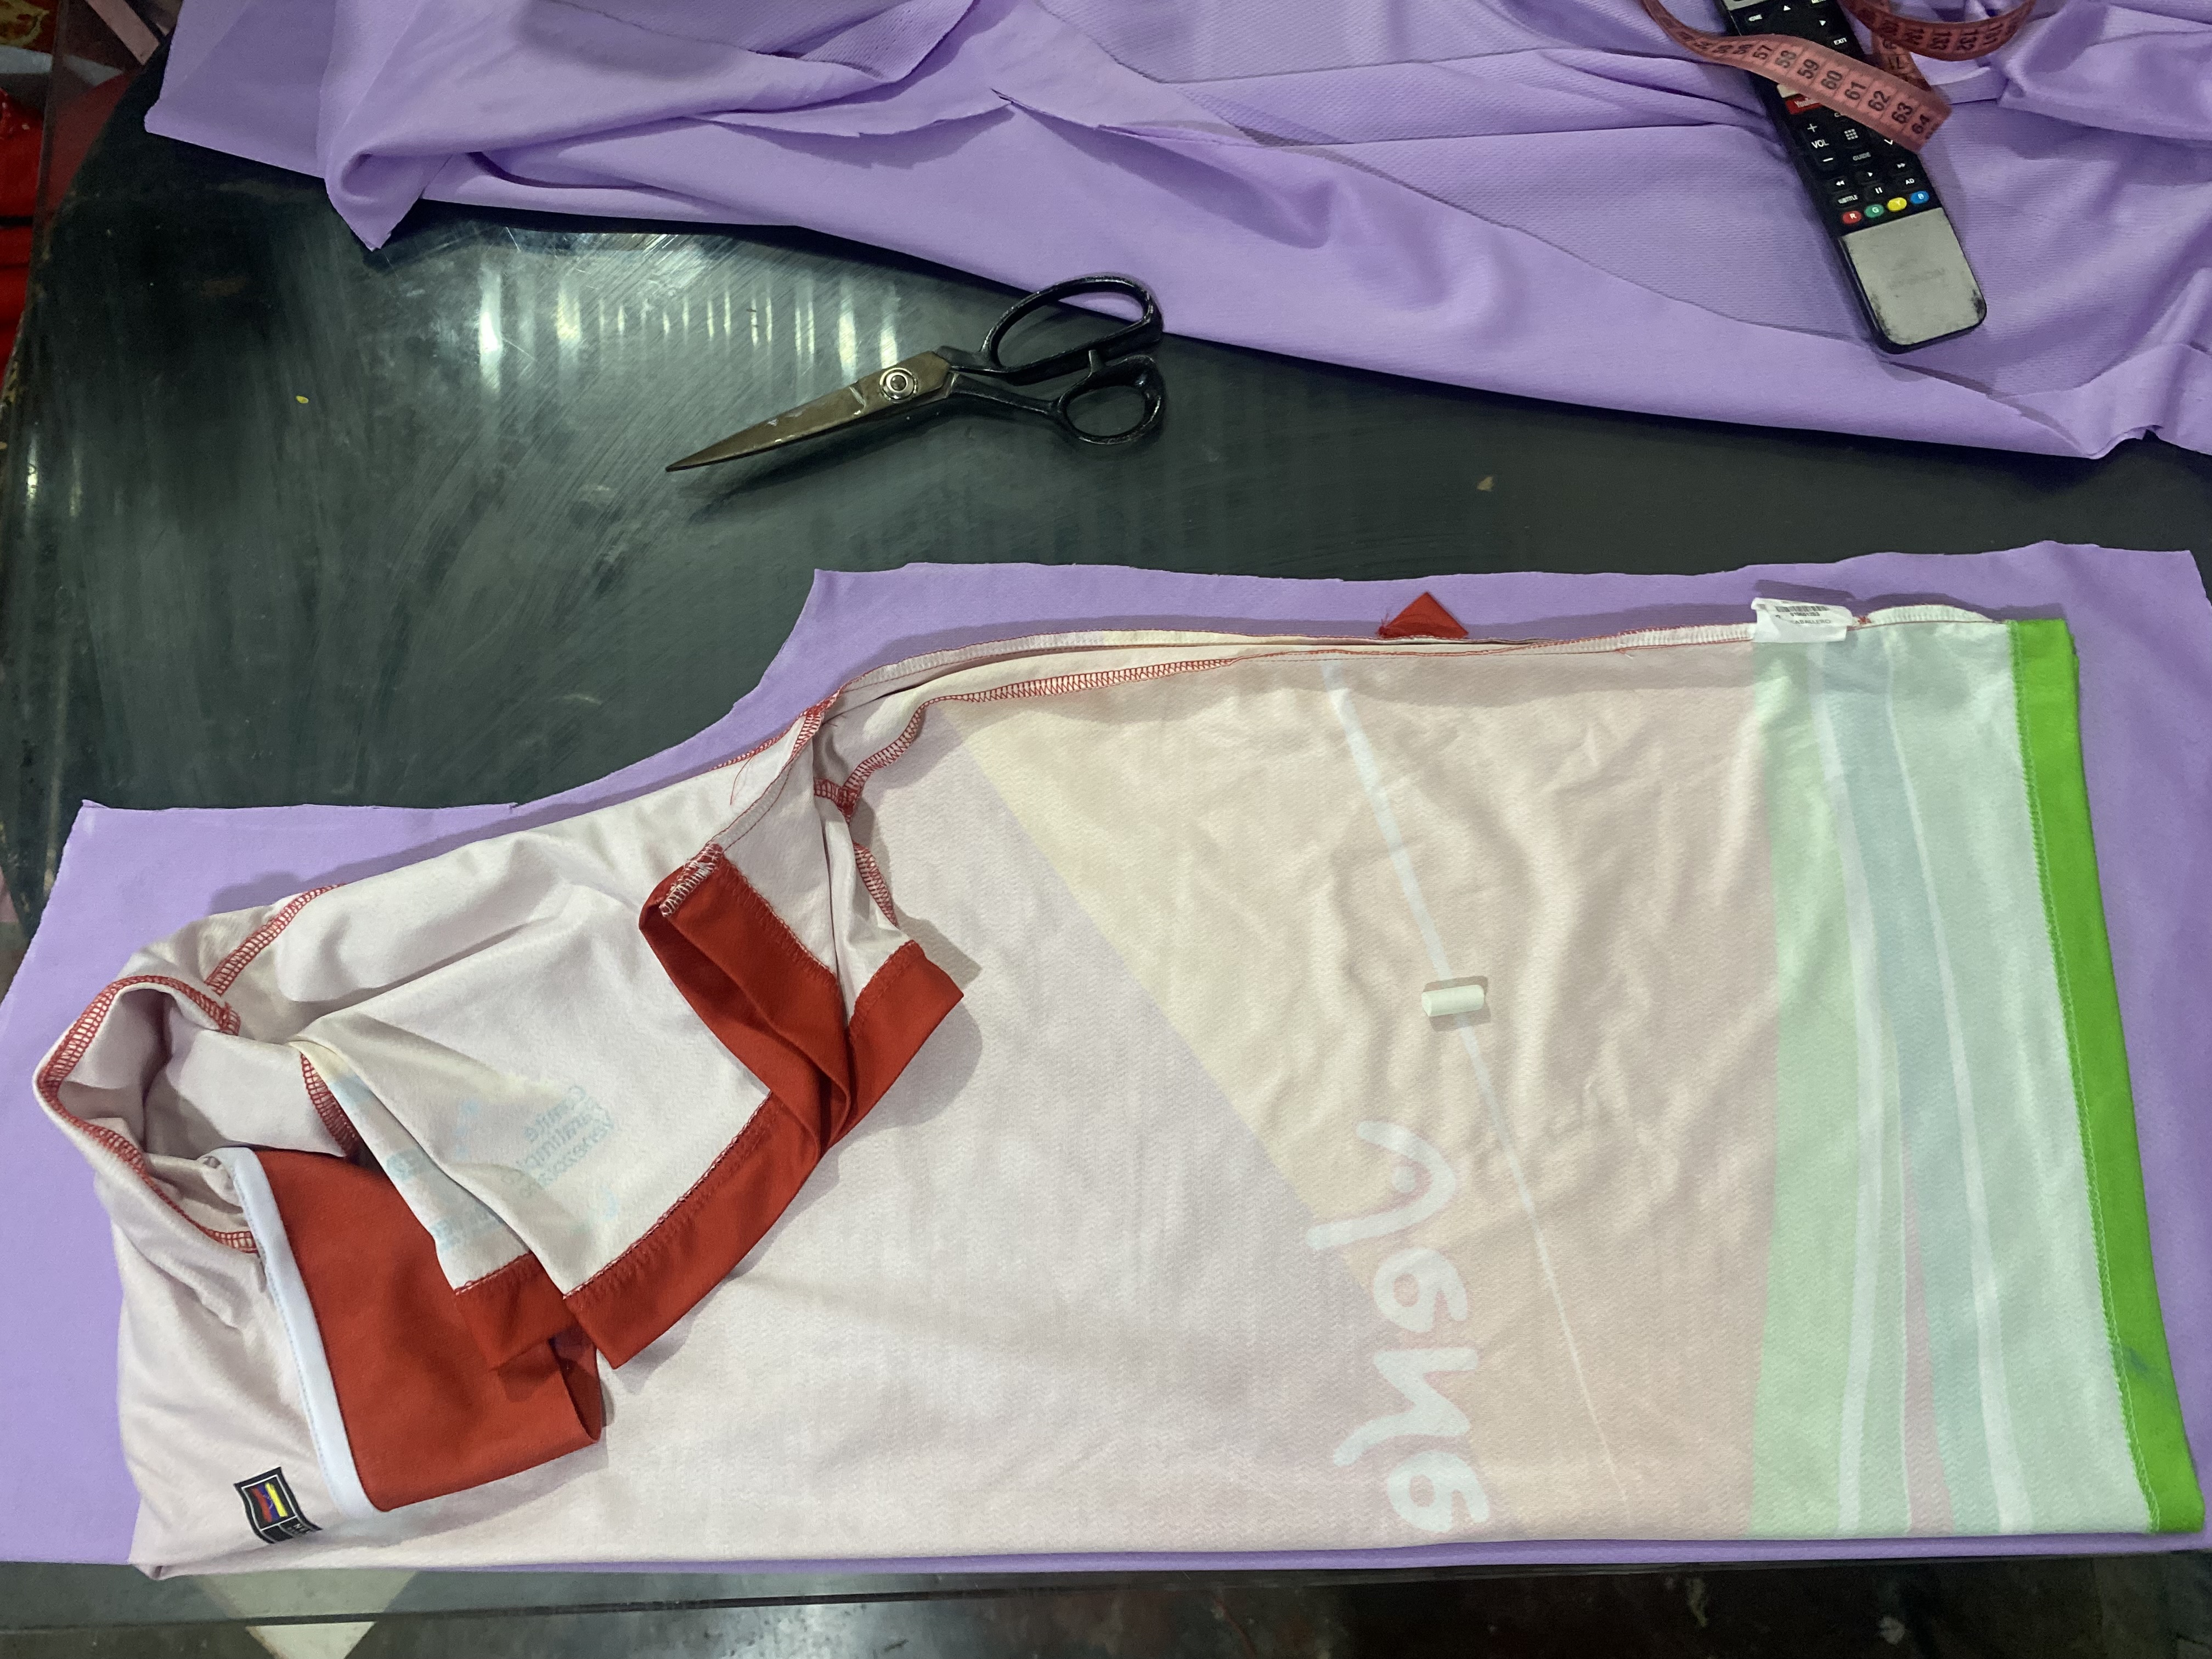
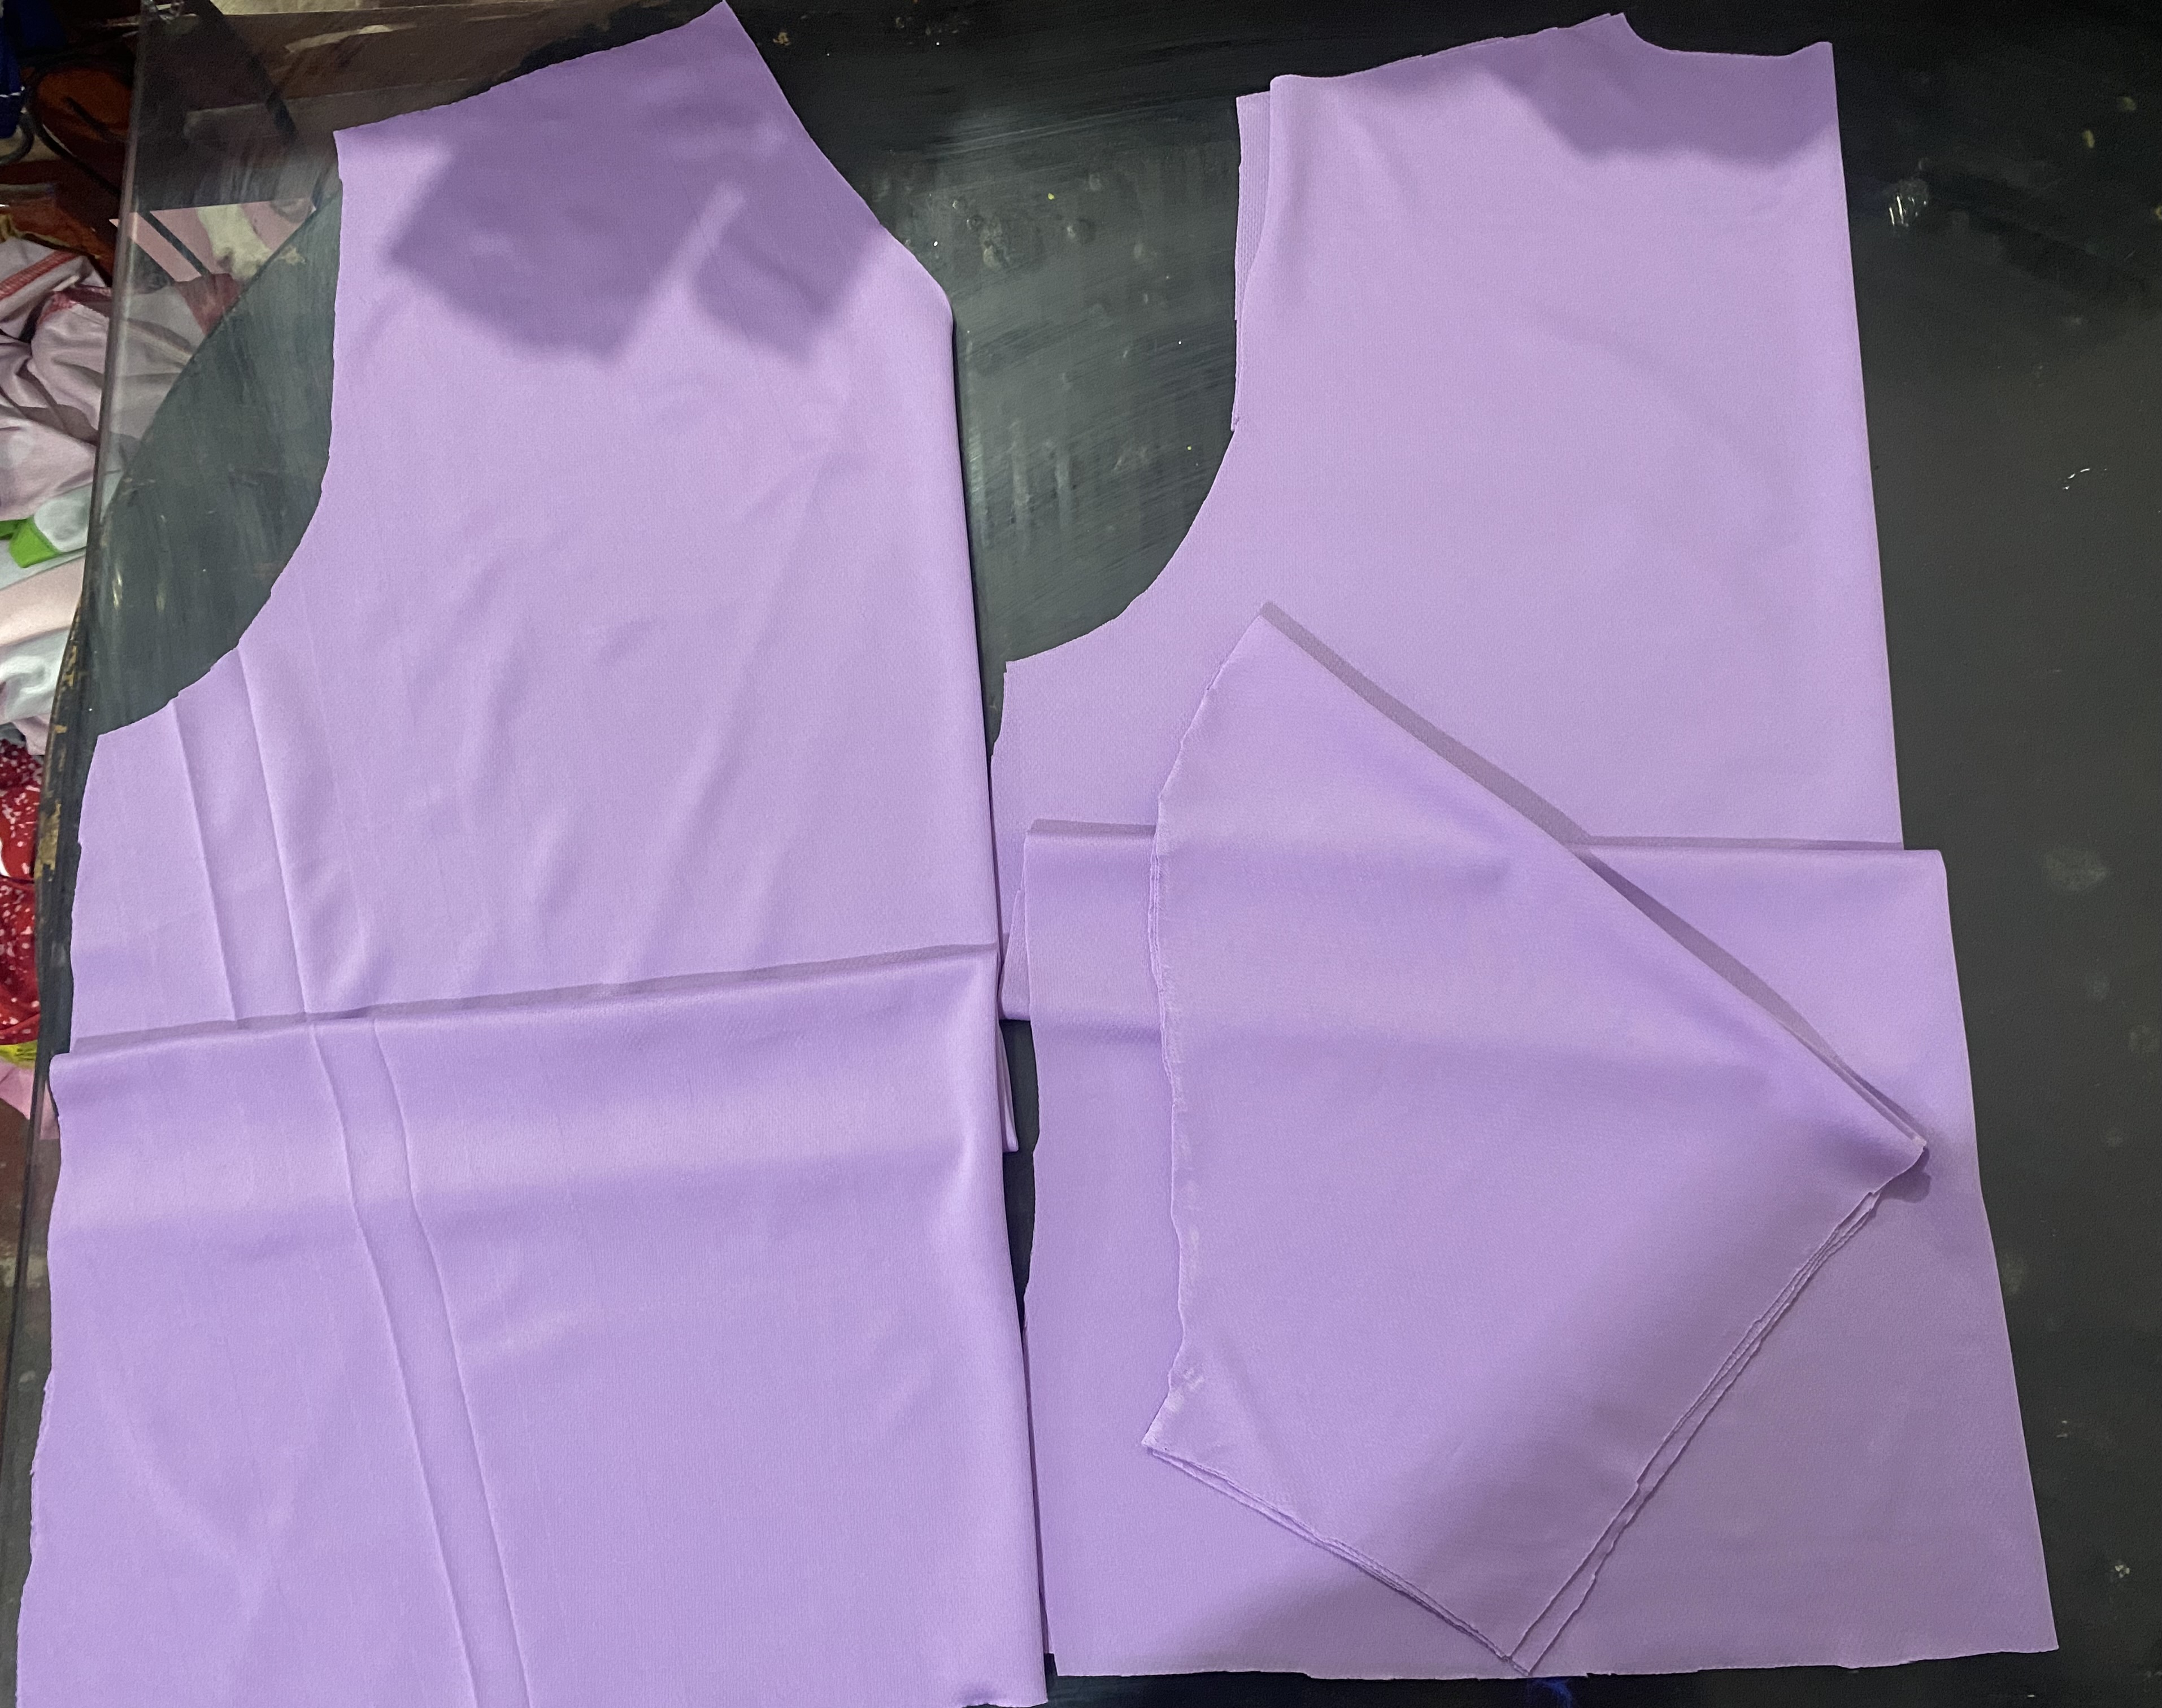
Comenzaremos con la confección de la franela de este conjunto, para esto voy a utilizar unas prendas de la persona para guiarme con las medidas, coloco la franela de lado del revés y pongo sobre mi tela doblada a la mitad, me guio también tomando medidas a la persona para confirmar el tamaño, en este caso mi cliente lo quiere que le quede bastante grande.
Primero dibujo la parte de atrás y luego la corto, luego vuelvo a doblar la tela a la mitad y coloco sobre ella para dibujar la parte delantera, la única modificación que se le hace es en el cuello, a la parte de atrás se le baja para el cuello 1, 5 cm y a la parte de adelante se le bajan 12 cm
Luego paso a hacer la manga, coloco la prenda que estoy utilizando sobre mi tela tratando de qué la parte que estira quede en sentido del ancho del brazo, voy dibujando y también tomo medidas al contorno de la manga para que me quede del mismo ancho luego corto mi tela
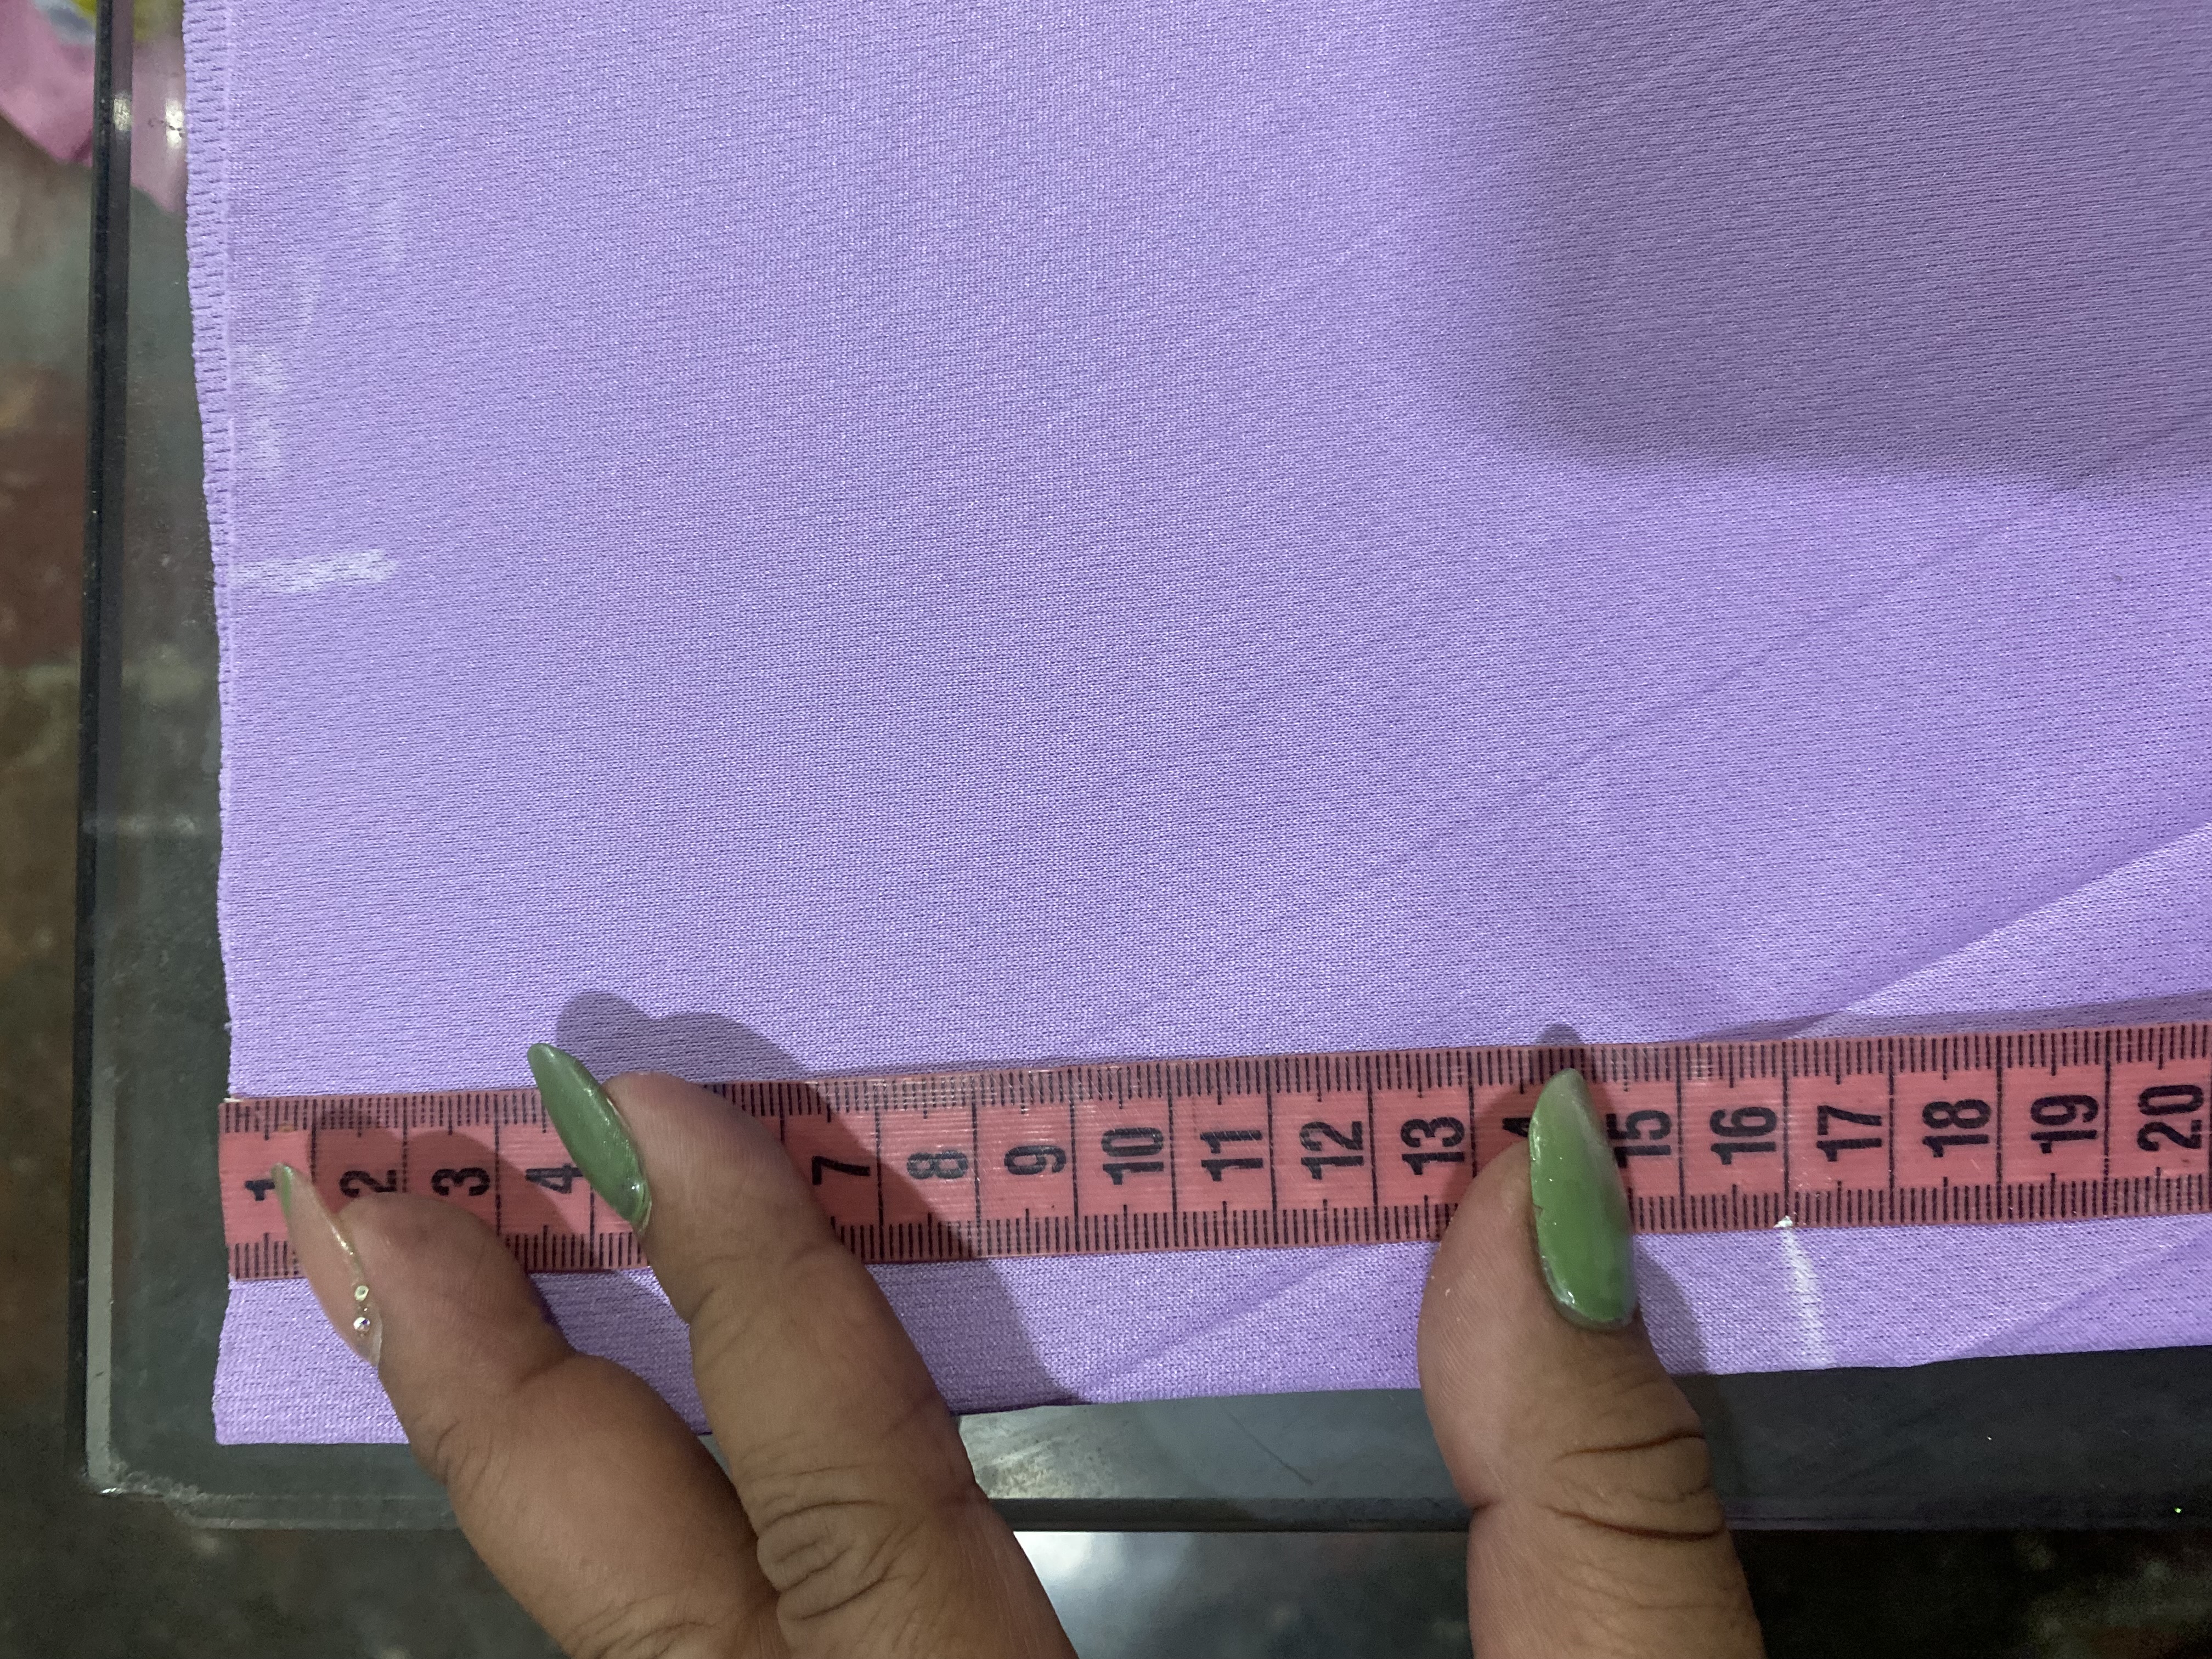
Las medidas de la franela son las siguientes: el ancho en la parte del hombro es de 49 cm, para el cuello mayormente se le dejan entre 7 a 9 cm de ancho, en mi caso le dejaré 9 cm, el largo de hombro bajamos en la esquina 4 cm y medimos 18 cm, el ancho de la franela es de 33 cm , trazamos una línea recta en el lateral hasta donde va el ruedo y igual a la misma distancia de 33 cm el largo desde la orilla del hombro hasta abajo son 75 cm dejamos 2 cm para el ruedo
We will begin with the making of the shirt for this set, for this I will use some of the person's clothes to guide me with the measurements, I place the shirt on its wrong side and put it on my fabric folded in half, I also guide myself by taking measurements from the person to confirm the size, in this case my client wants it to be quite large.
First I draw the back part and then I cut it, then I fold the fabric in half again and place it on top to draw the front part, the only modification that is made is in the neck, the back part is lowered for the neck 1.5 cm and the front part is lowered 12 cm
Then I move on to making the sleeve, I place the garment I am using on my fabric trying to make the part that stretches in the direction of the width of the arm, I draw and also take measurements of the outline of the sleeve so that it is the same width, then I cut my fabric.
The measurements of the flannel are as follows: the width at the shoulder is 49 cm, for the neck it is mostly left between 7 to 9 cm wide, in my case I will leave 9 cm, the shoulder length we go down in the corner 4 cm and measure 18 cm, the width of the flannel is 33 cm, we draw a straight line on the side up to where the hem goes and equal to the same distance of 33 cm the length from the edge of the shoulder down is 75 cm we leave 2 cm for the hem
 |  |
|---|---|
 |  |
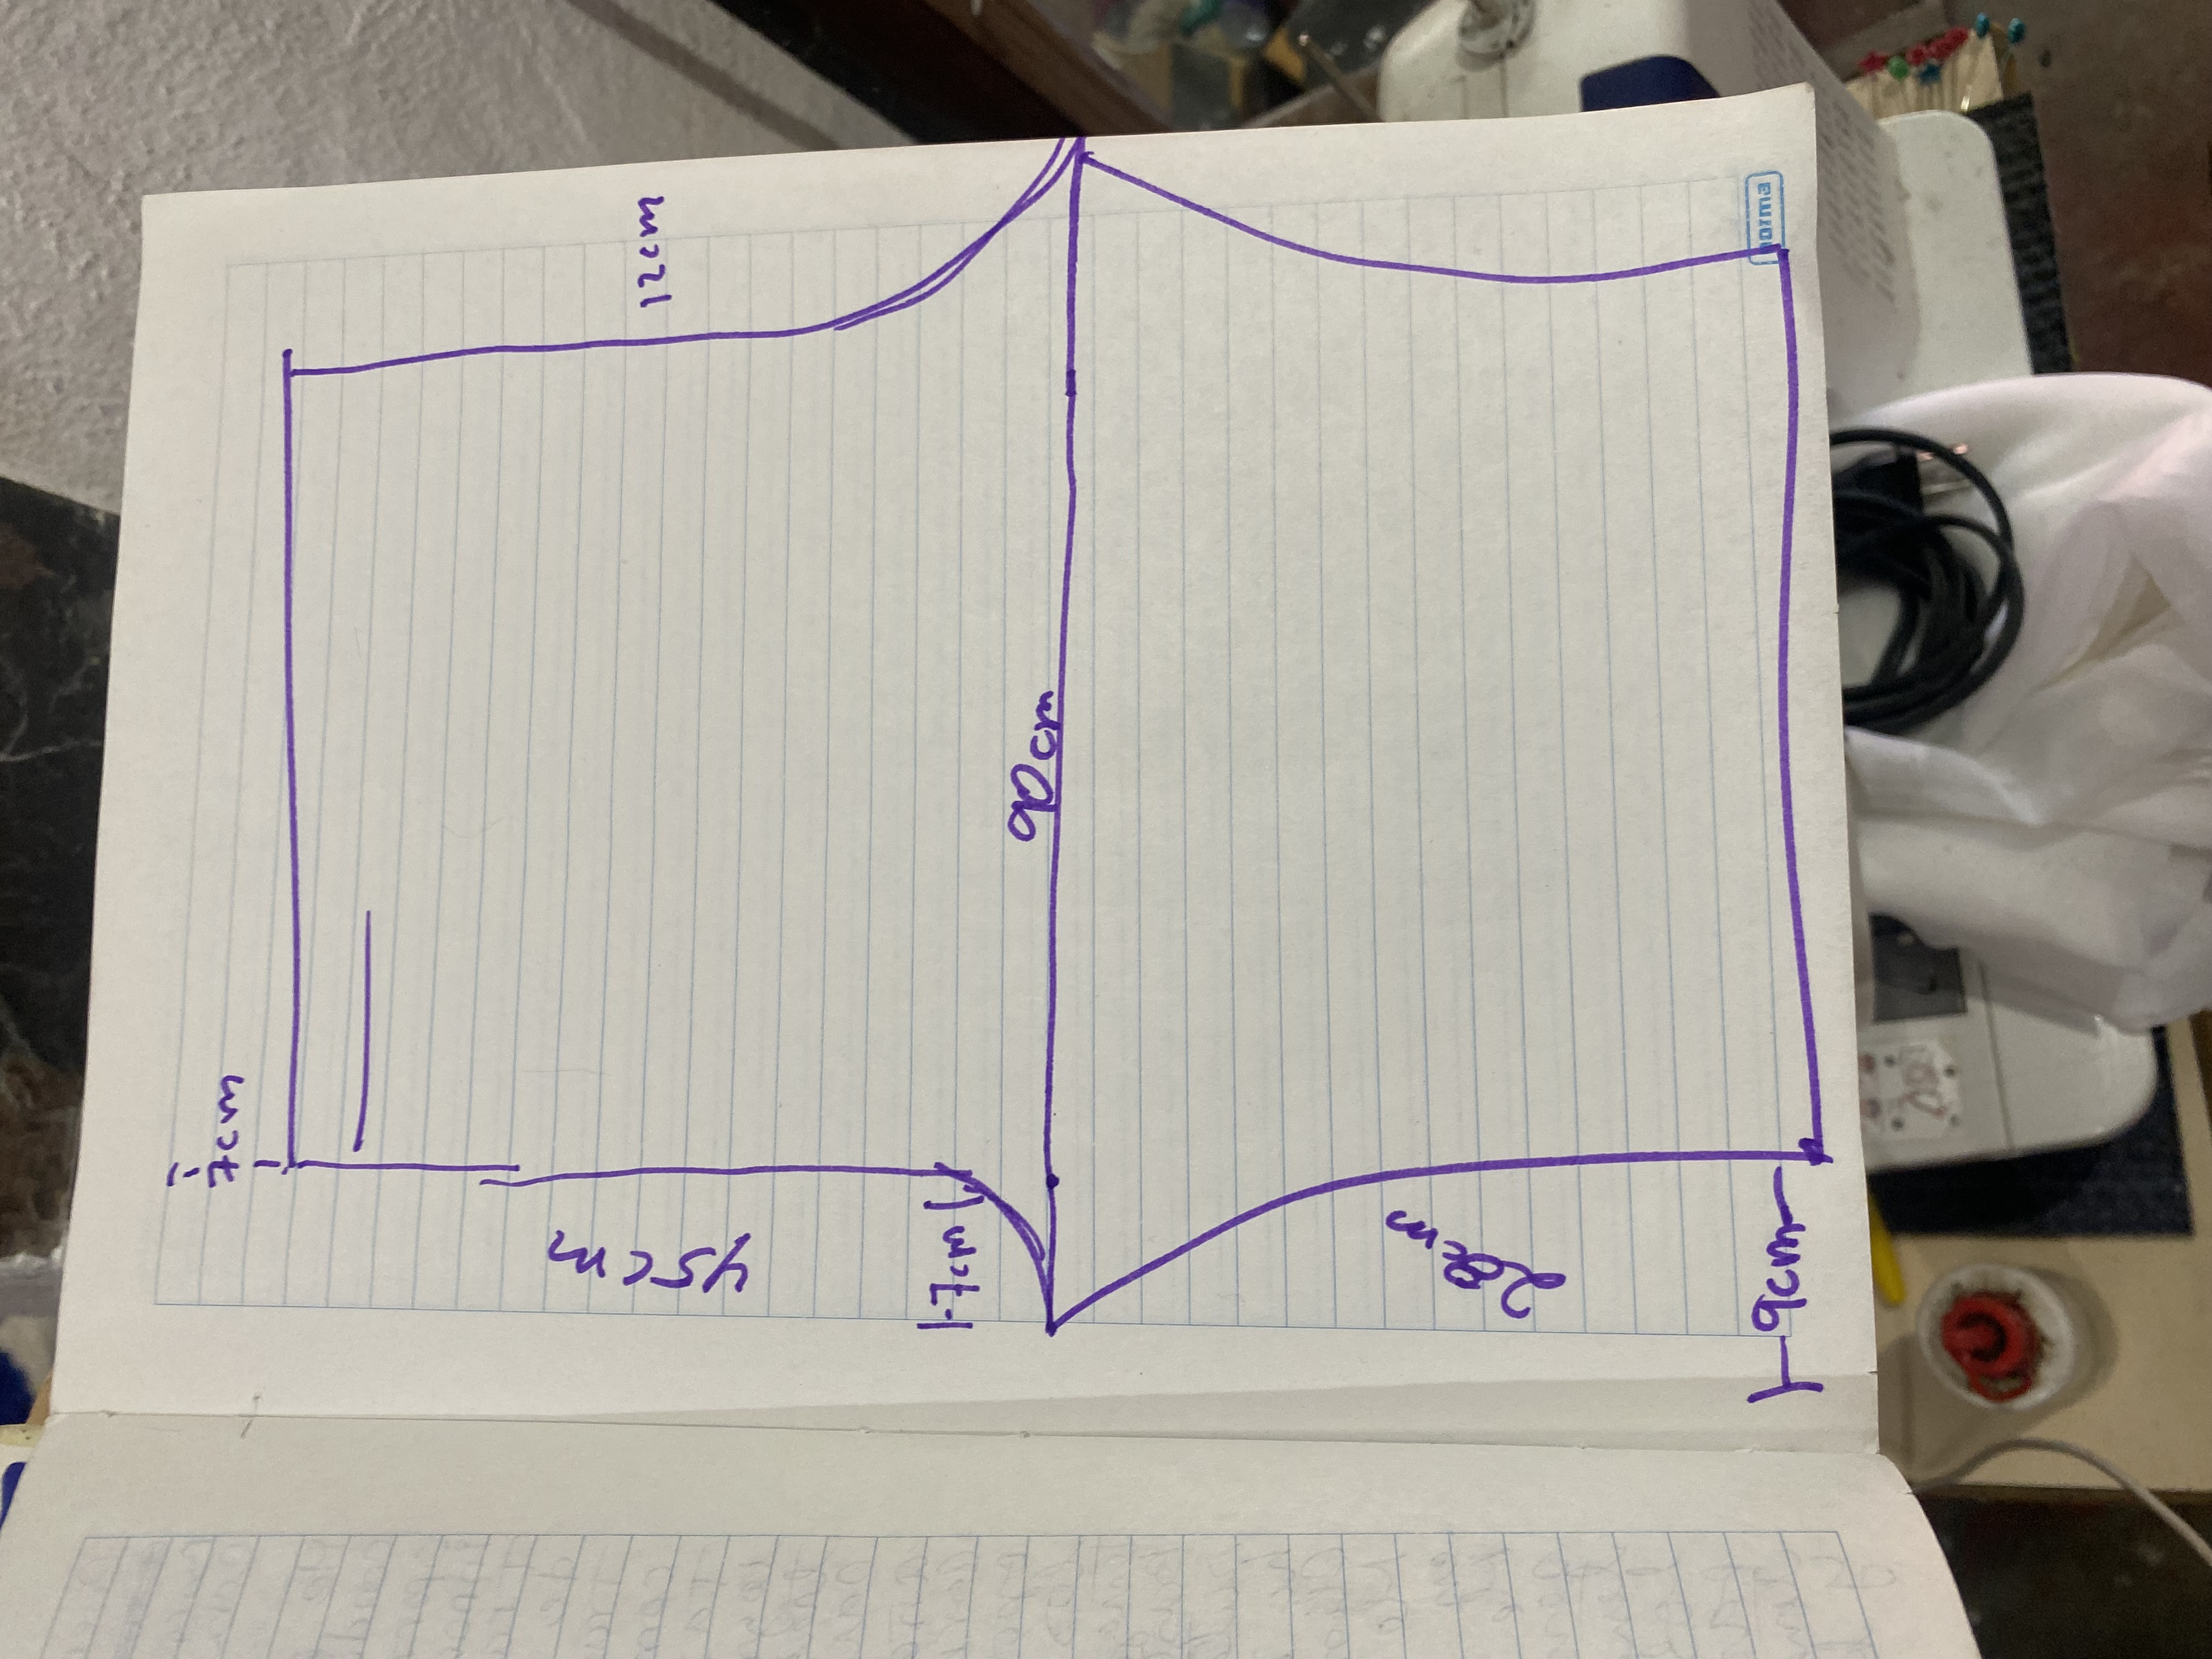
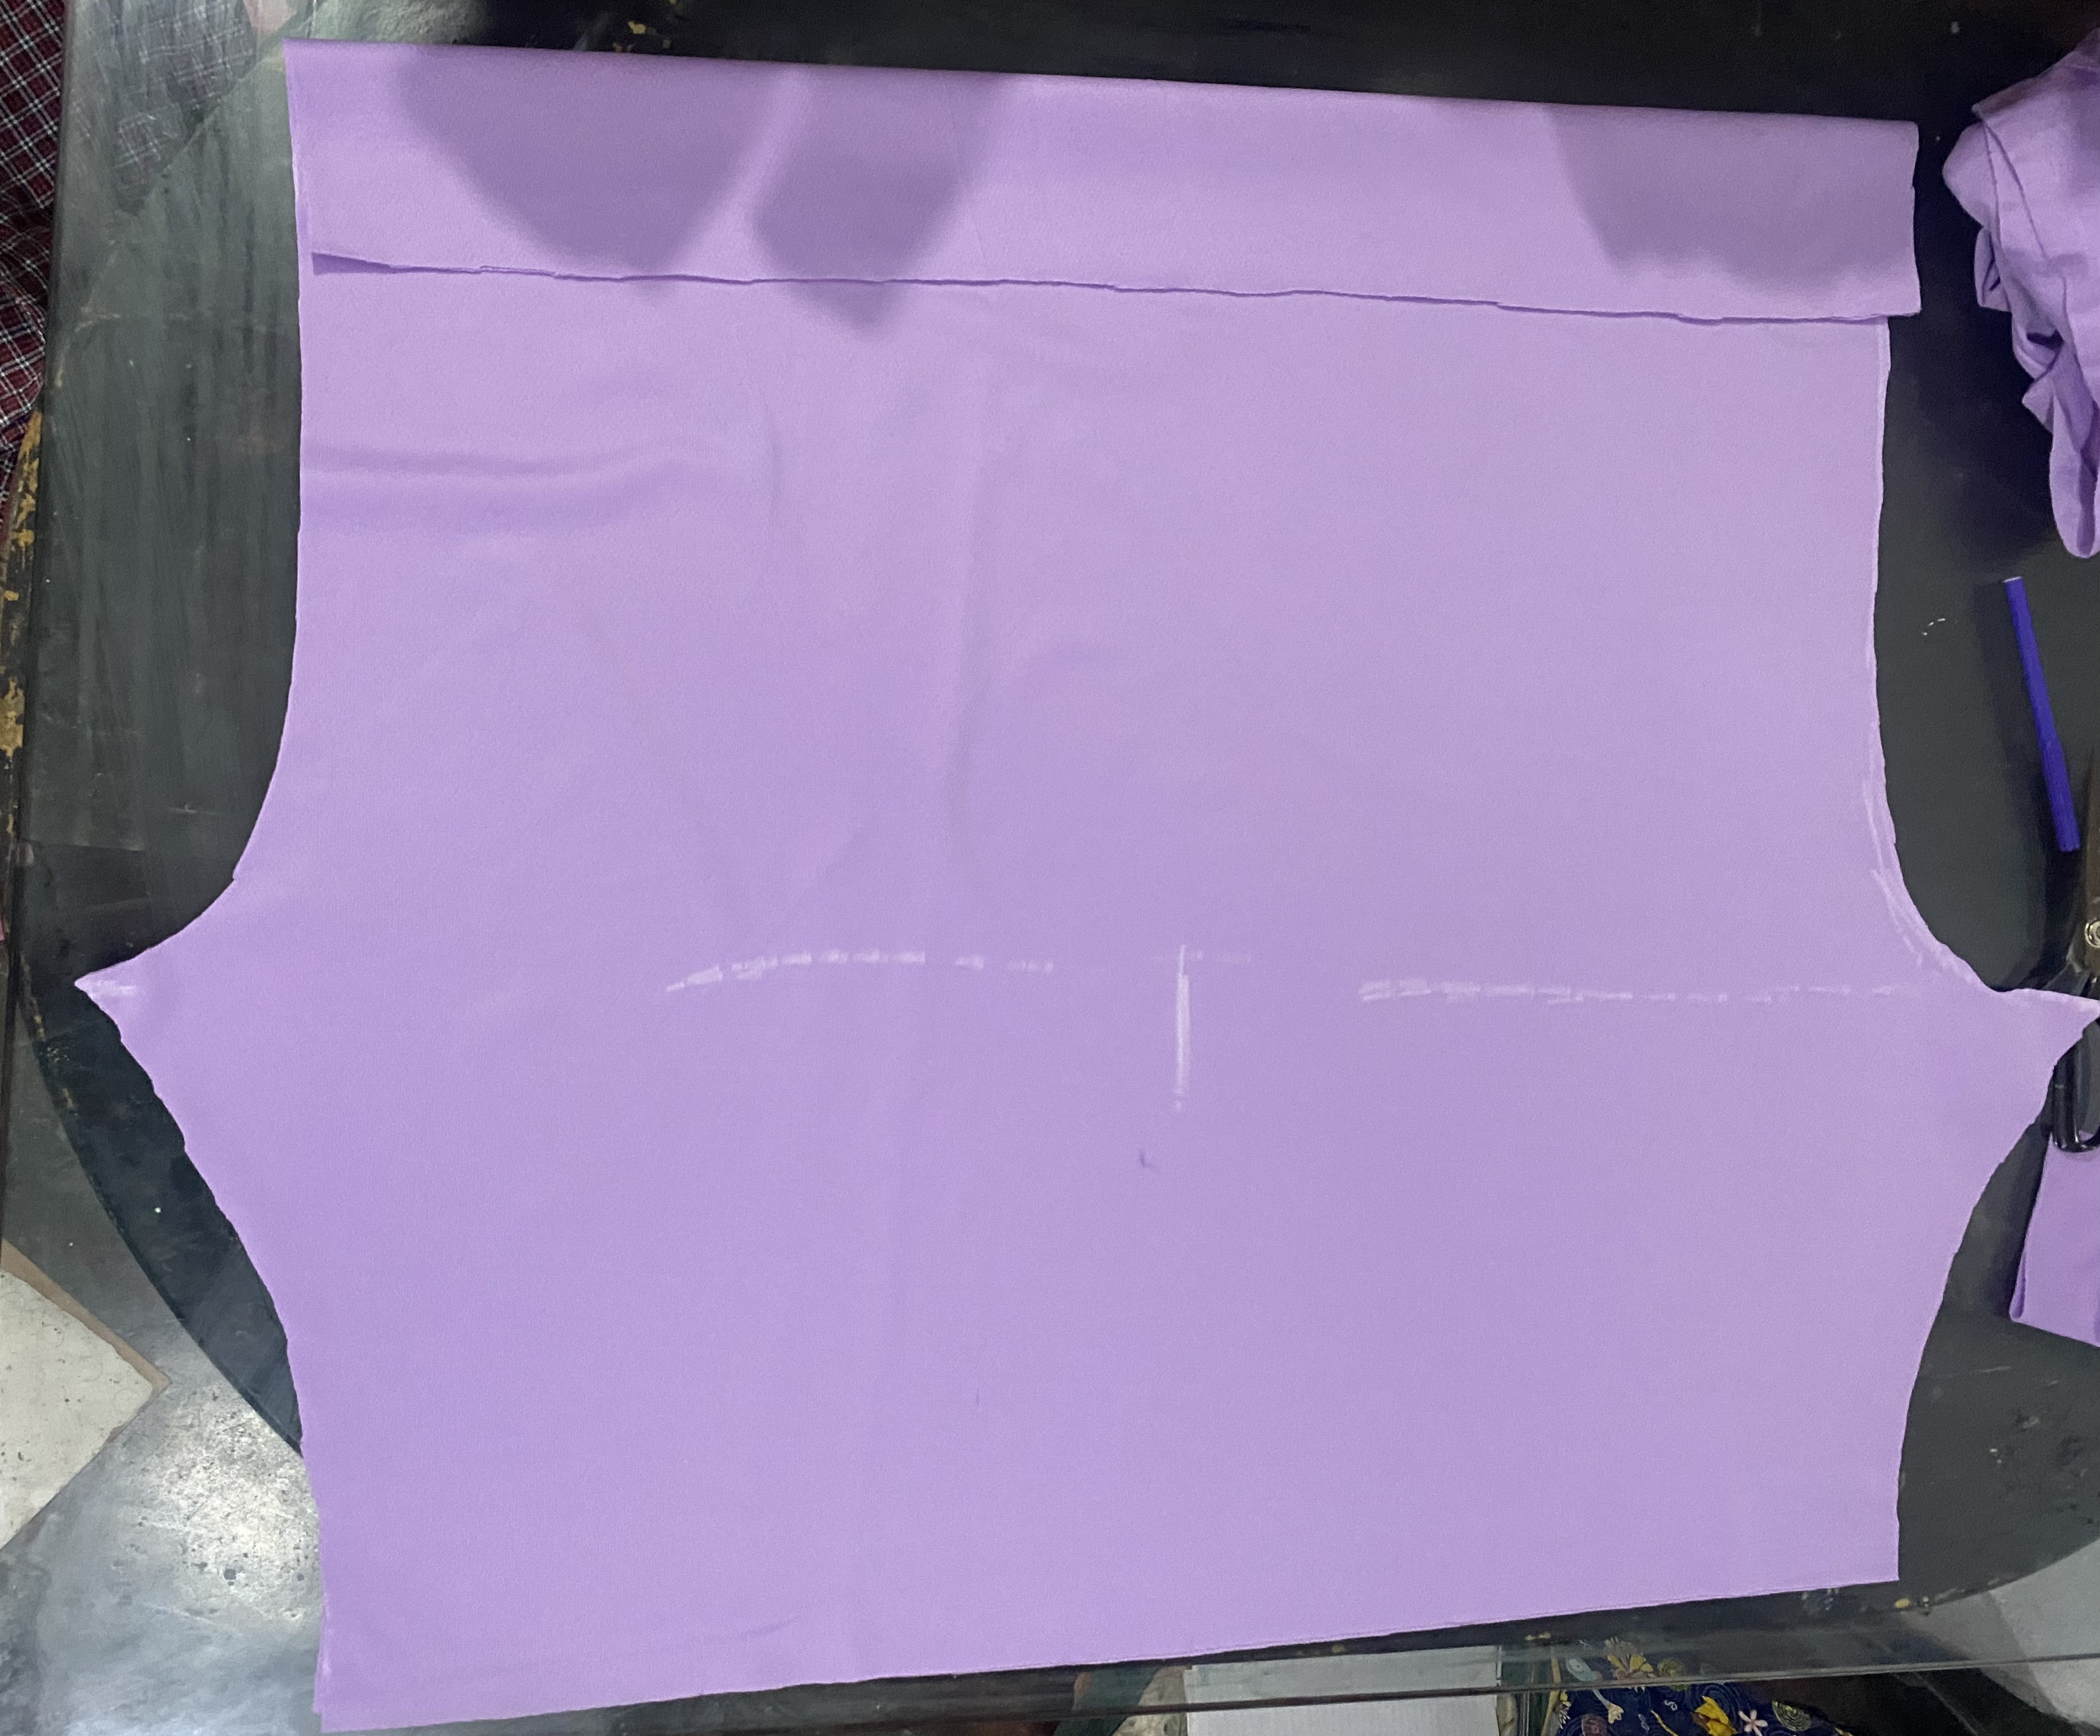
Para el siguiente paso vamos a cortar y confeccionar el Shorts, esta tela tiene de ancho 1,80 m y representa una gran ventaja ya que en este caso voy a poder utilizar el ancho de la tela para dibujar y cortar el Shorts, éste será en dos piezas, las medidas para este Shorts son las siguientes: de la pierna es de 70 cm en la parte de fundillo a fundillo 90 cm y en la cintura 70 cm el largo del Short es de 70 cm
For the next step we are going to cut and make the Shorts, this fabric is 1.80 m wide and represents a great advantage since in this case I will be able to use the width of the fabric to draw and cut the Shorts, this will be in two pieces, the measurements for these Shorts are the following: from the leg it is 70 cm in the part from the bottom to the bottom 90 cm and at the waist 70 cm the length of the Shorts is 70 cm
 |  |
|---|---|
 |
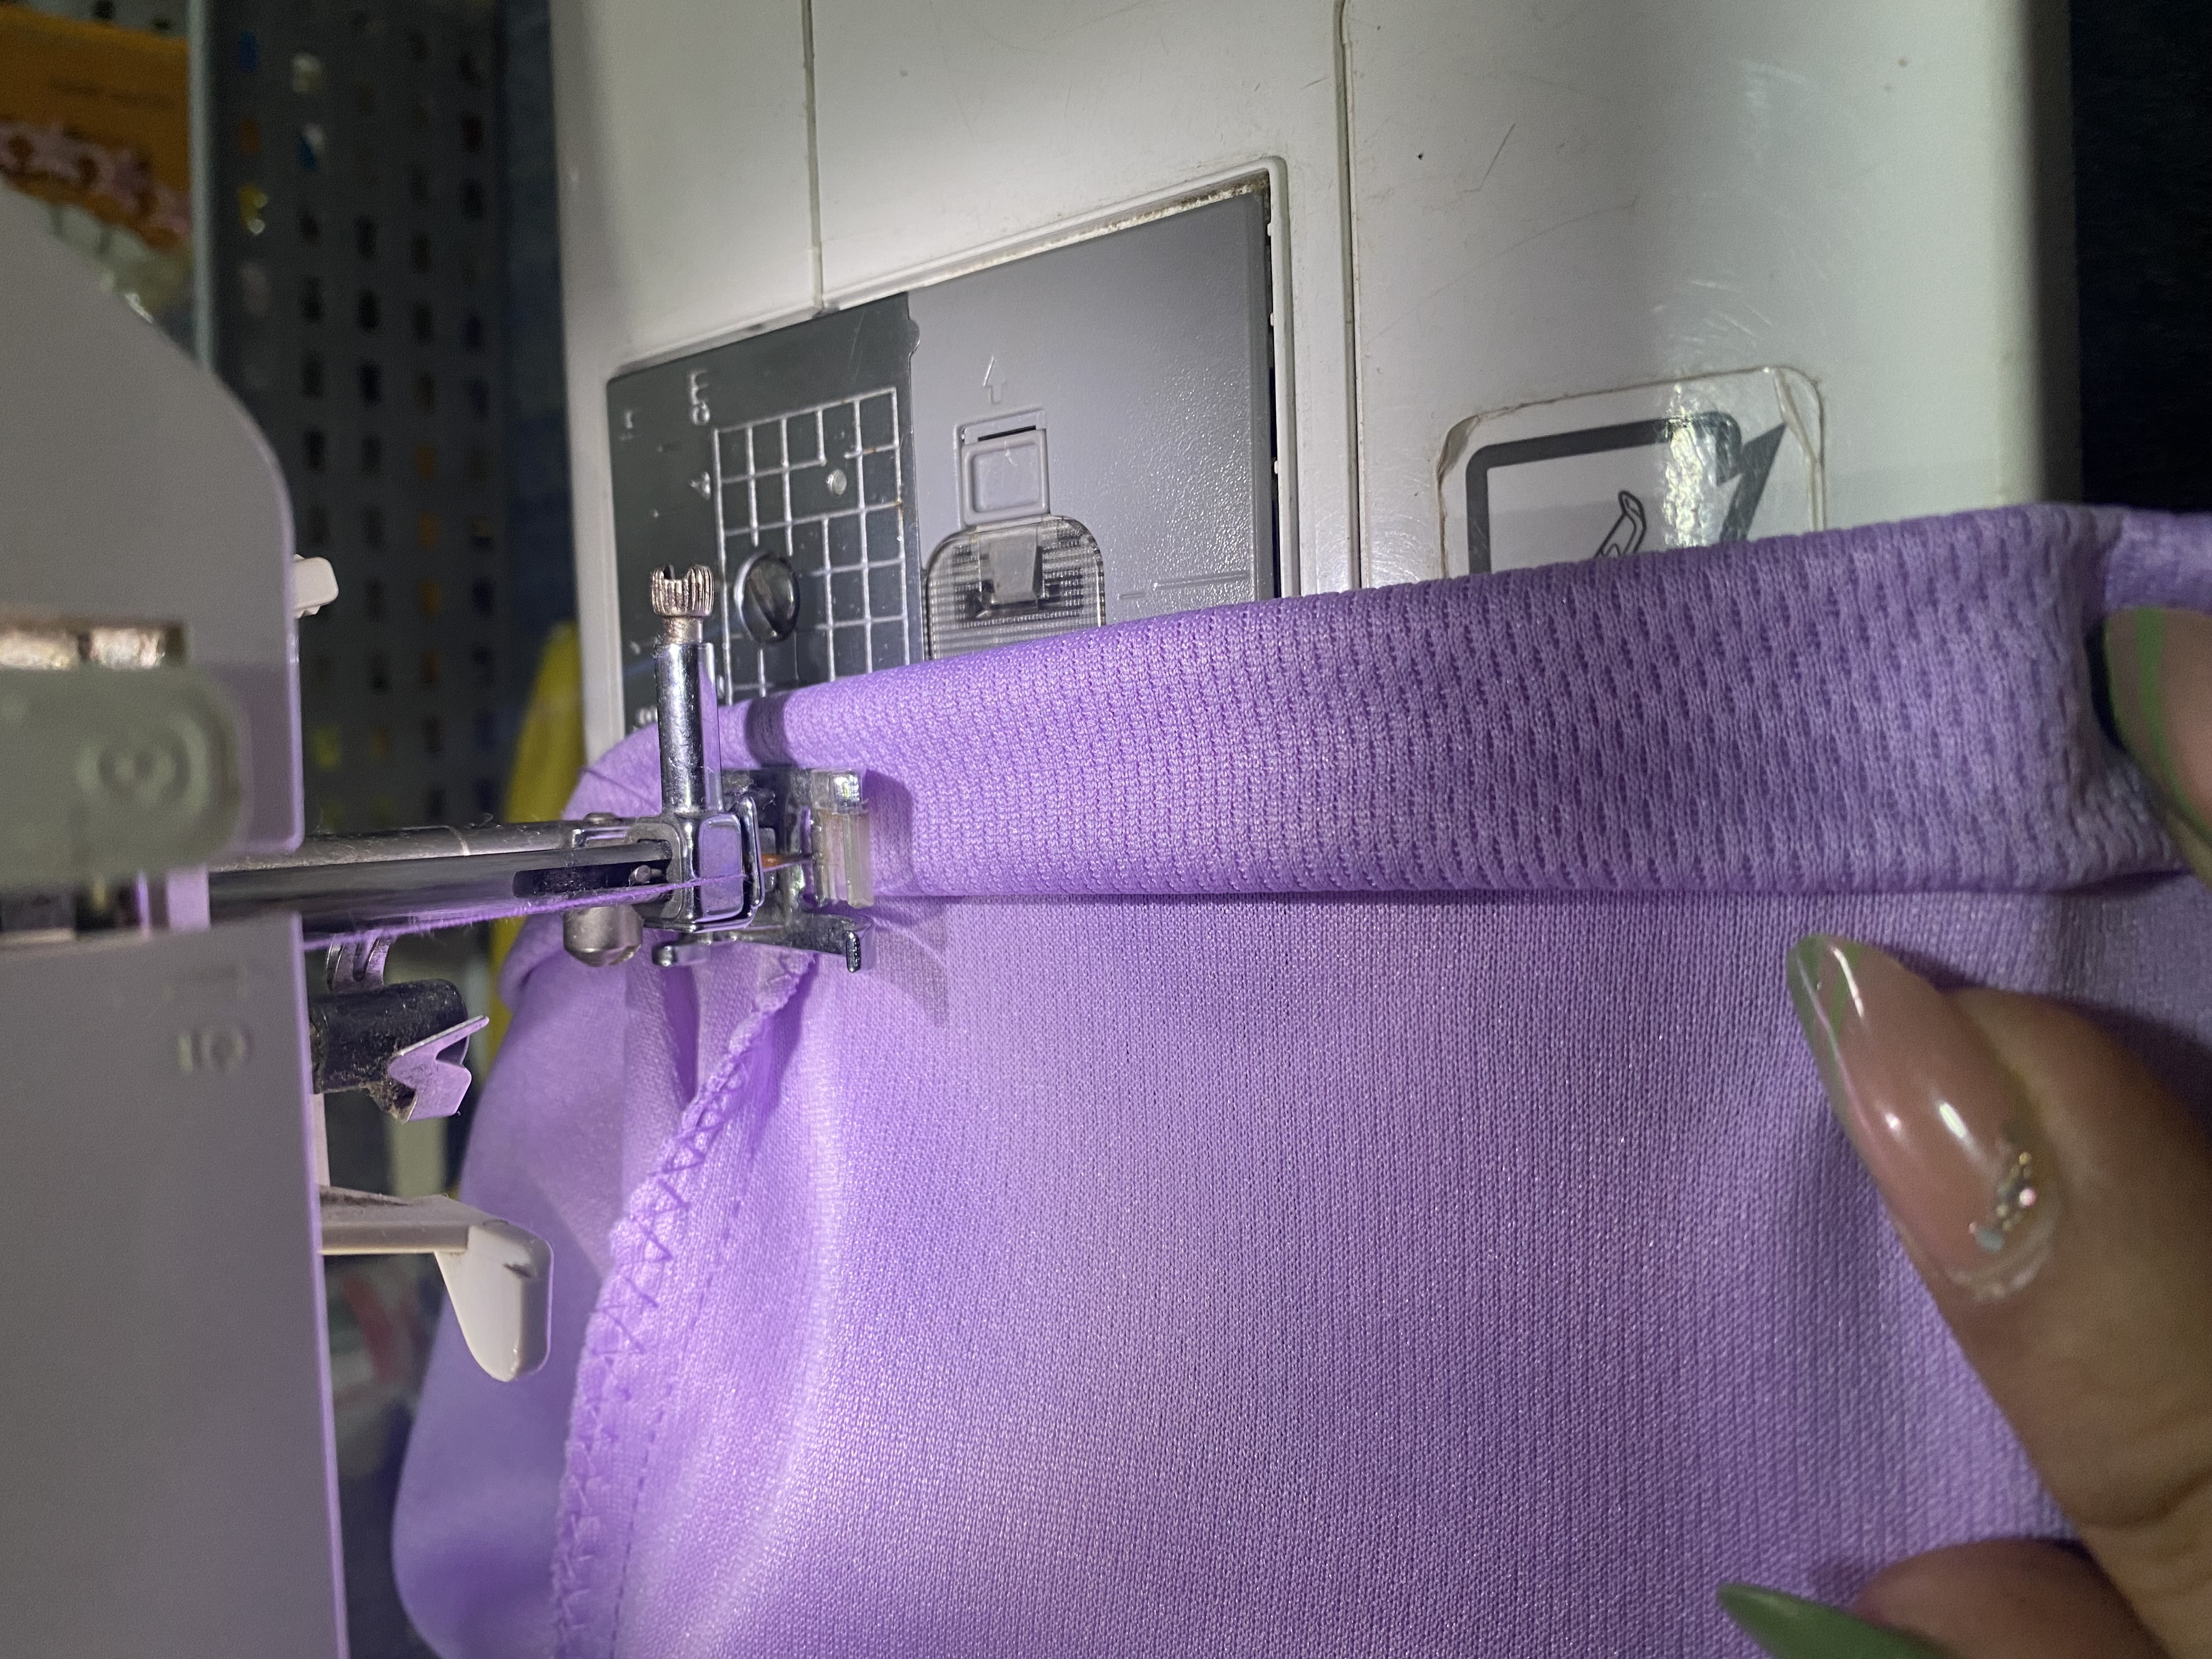
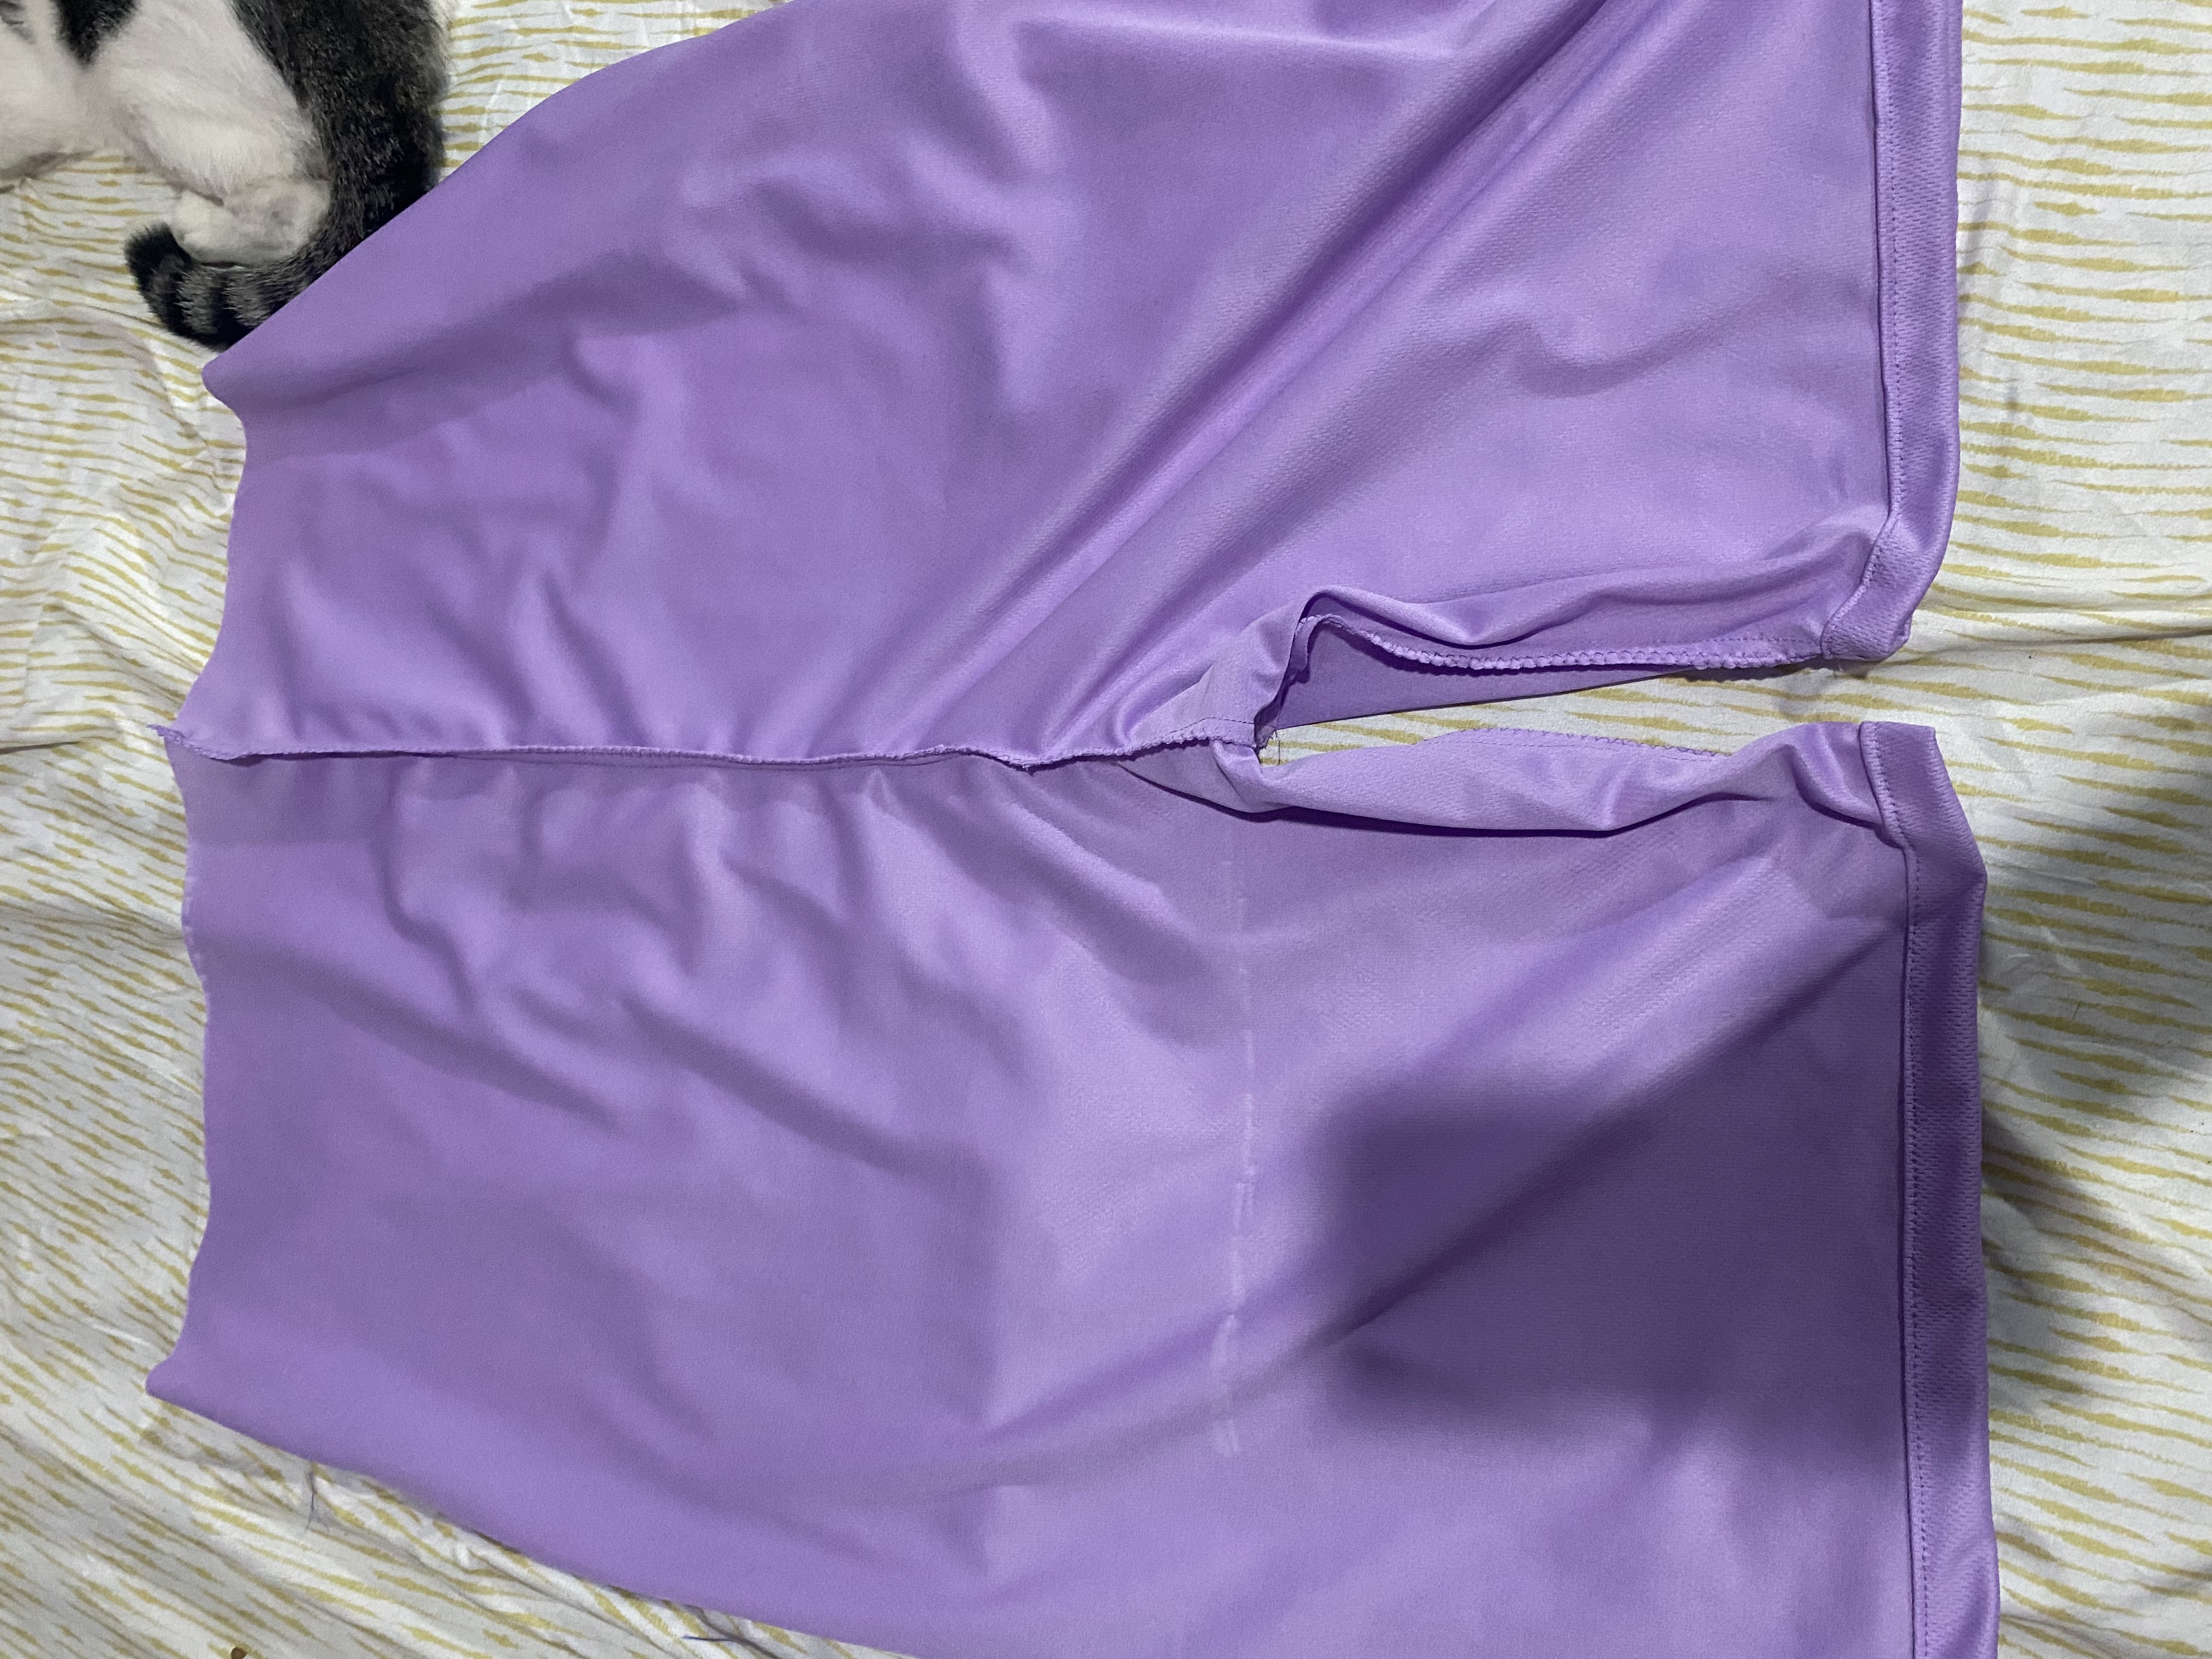
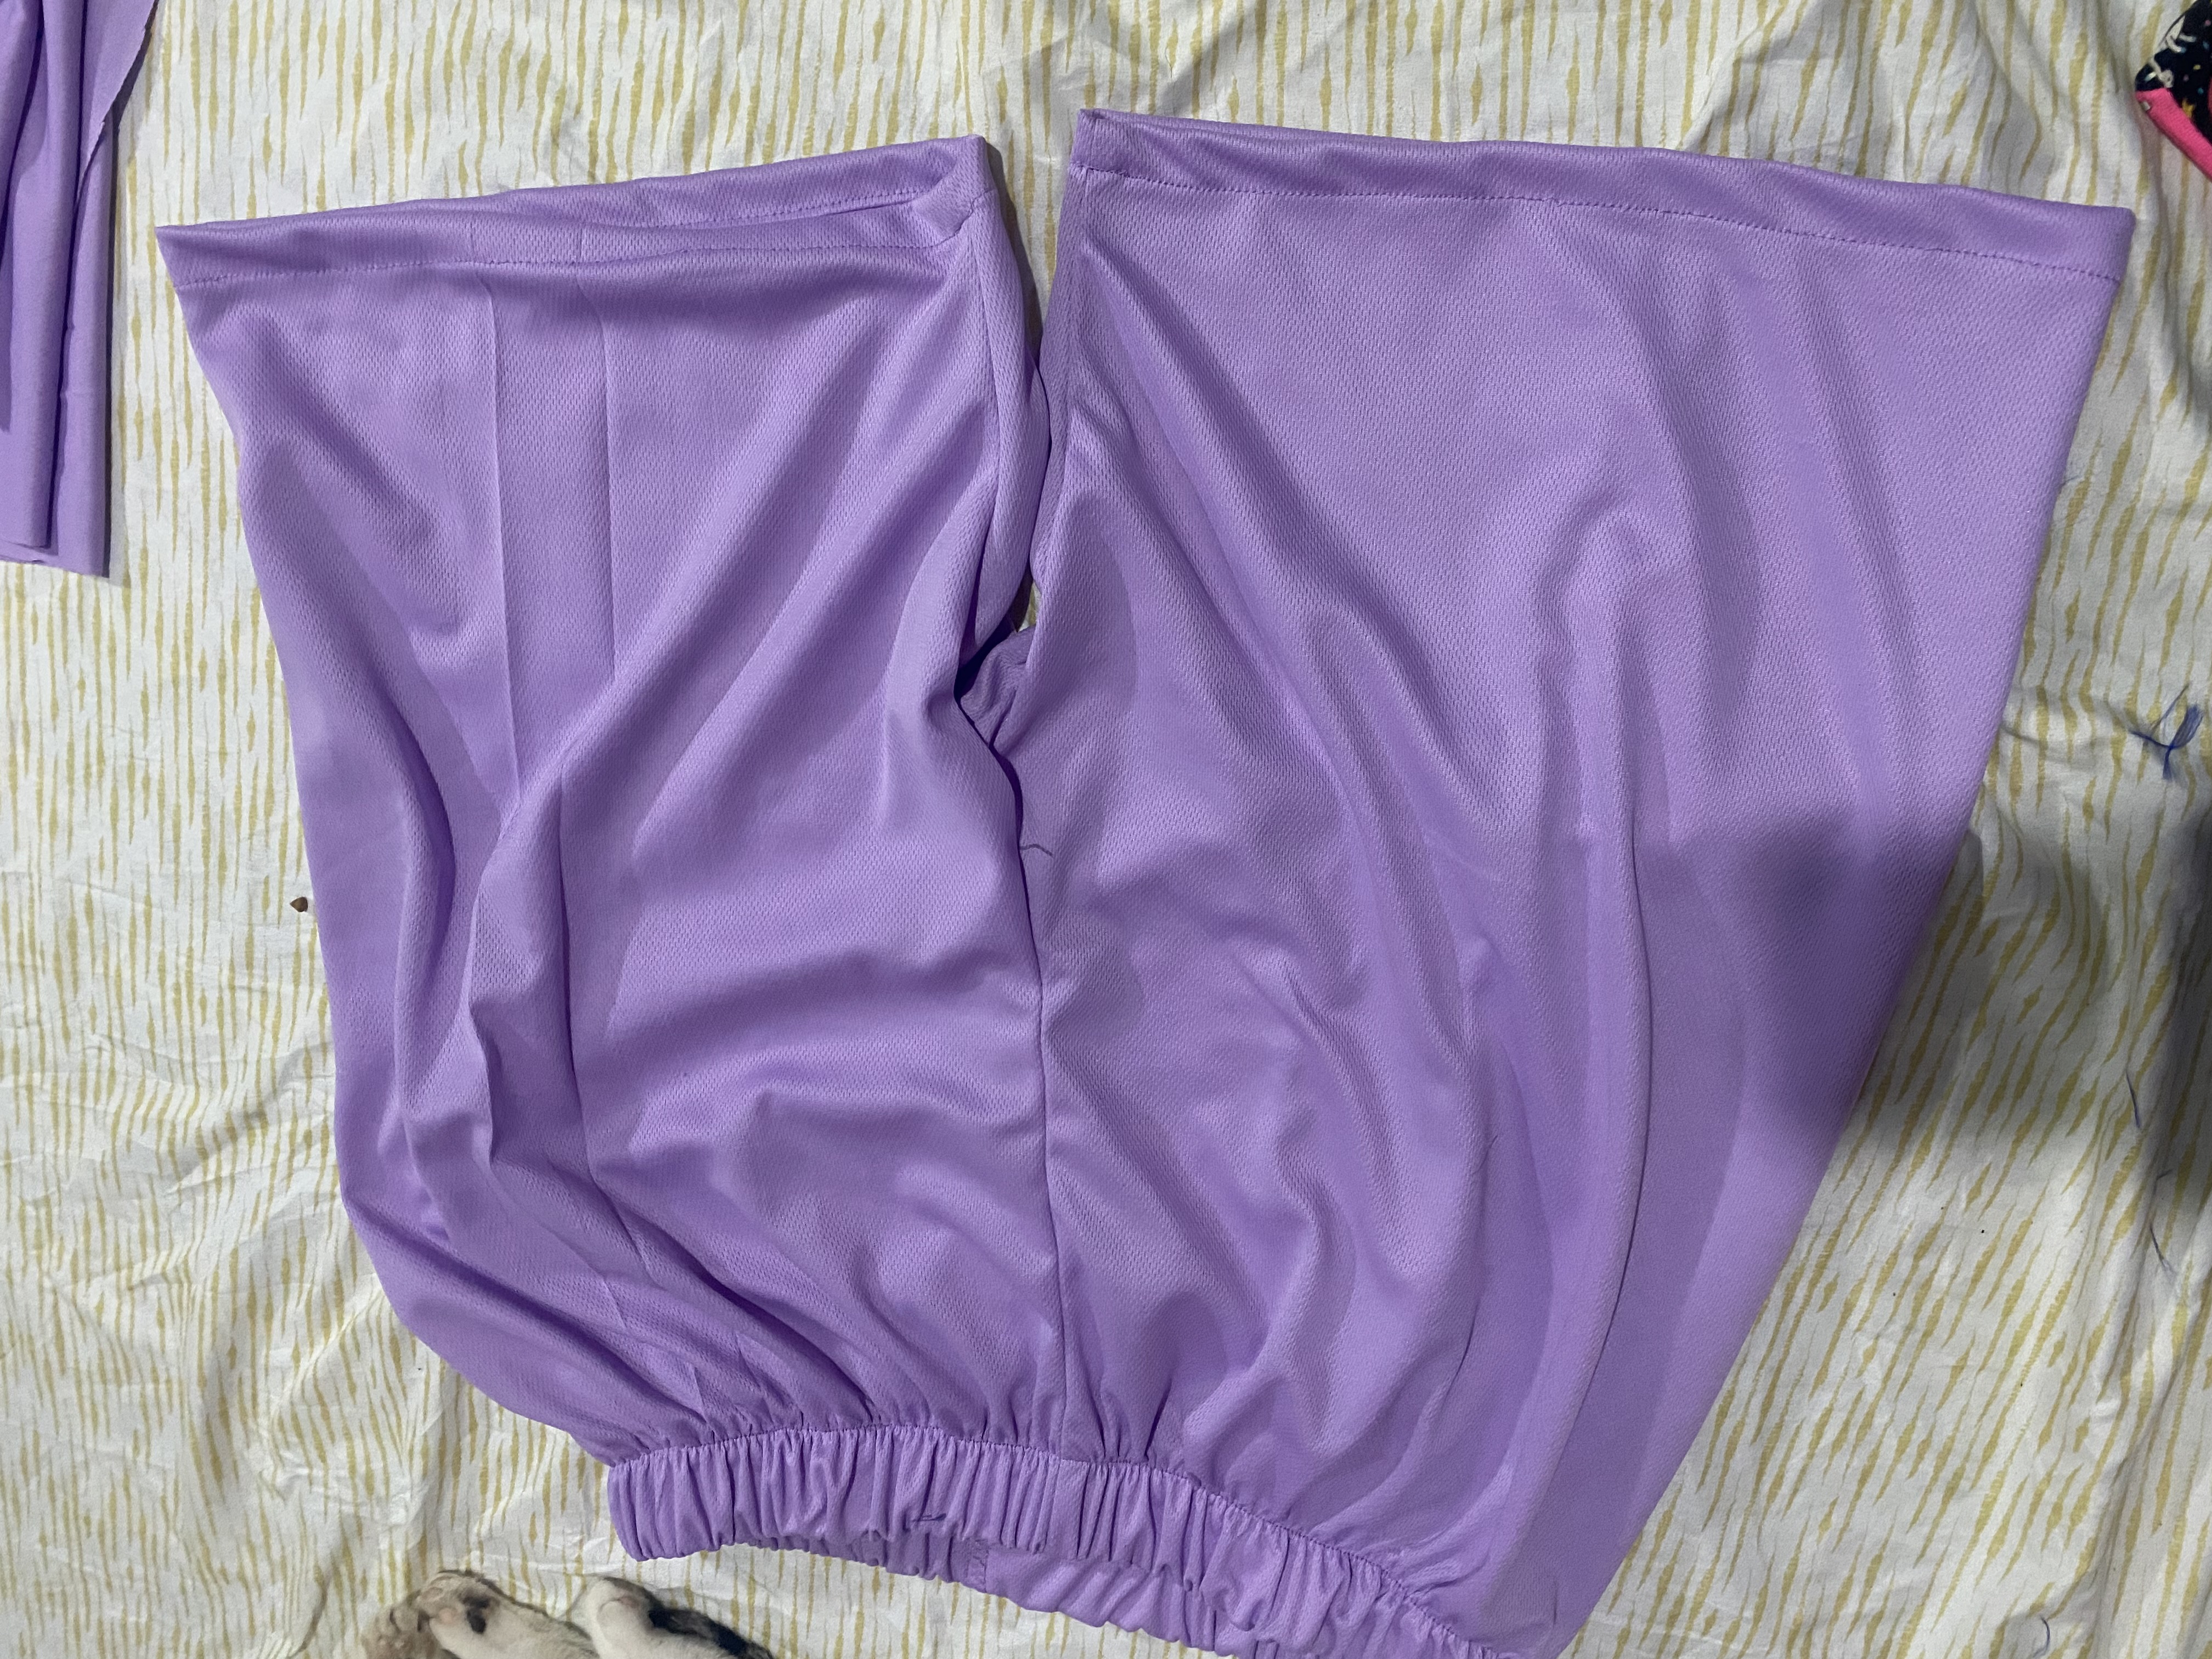
Para este paso vamos a comenzar con las costuras, comenzaré por el Shorts, éste lo considero más sencillo así que lo haré primero, uniremos con costura en el tiro delantero y en el tiro de atrás, luego unimos por el fundillo, seguimos con el ruedo, doblamos la orilla primero 1 cm y luego doblamos calculando aproximadamente 2 cm y pasamos una costura recta
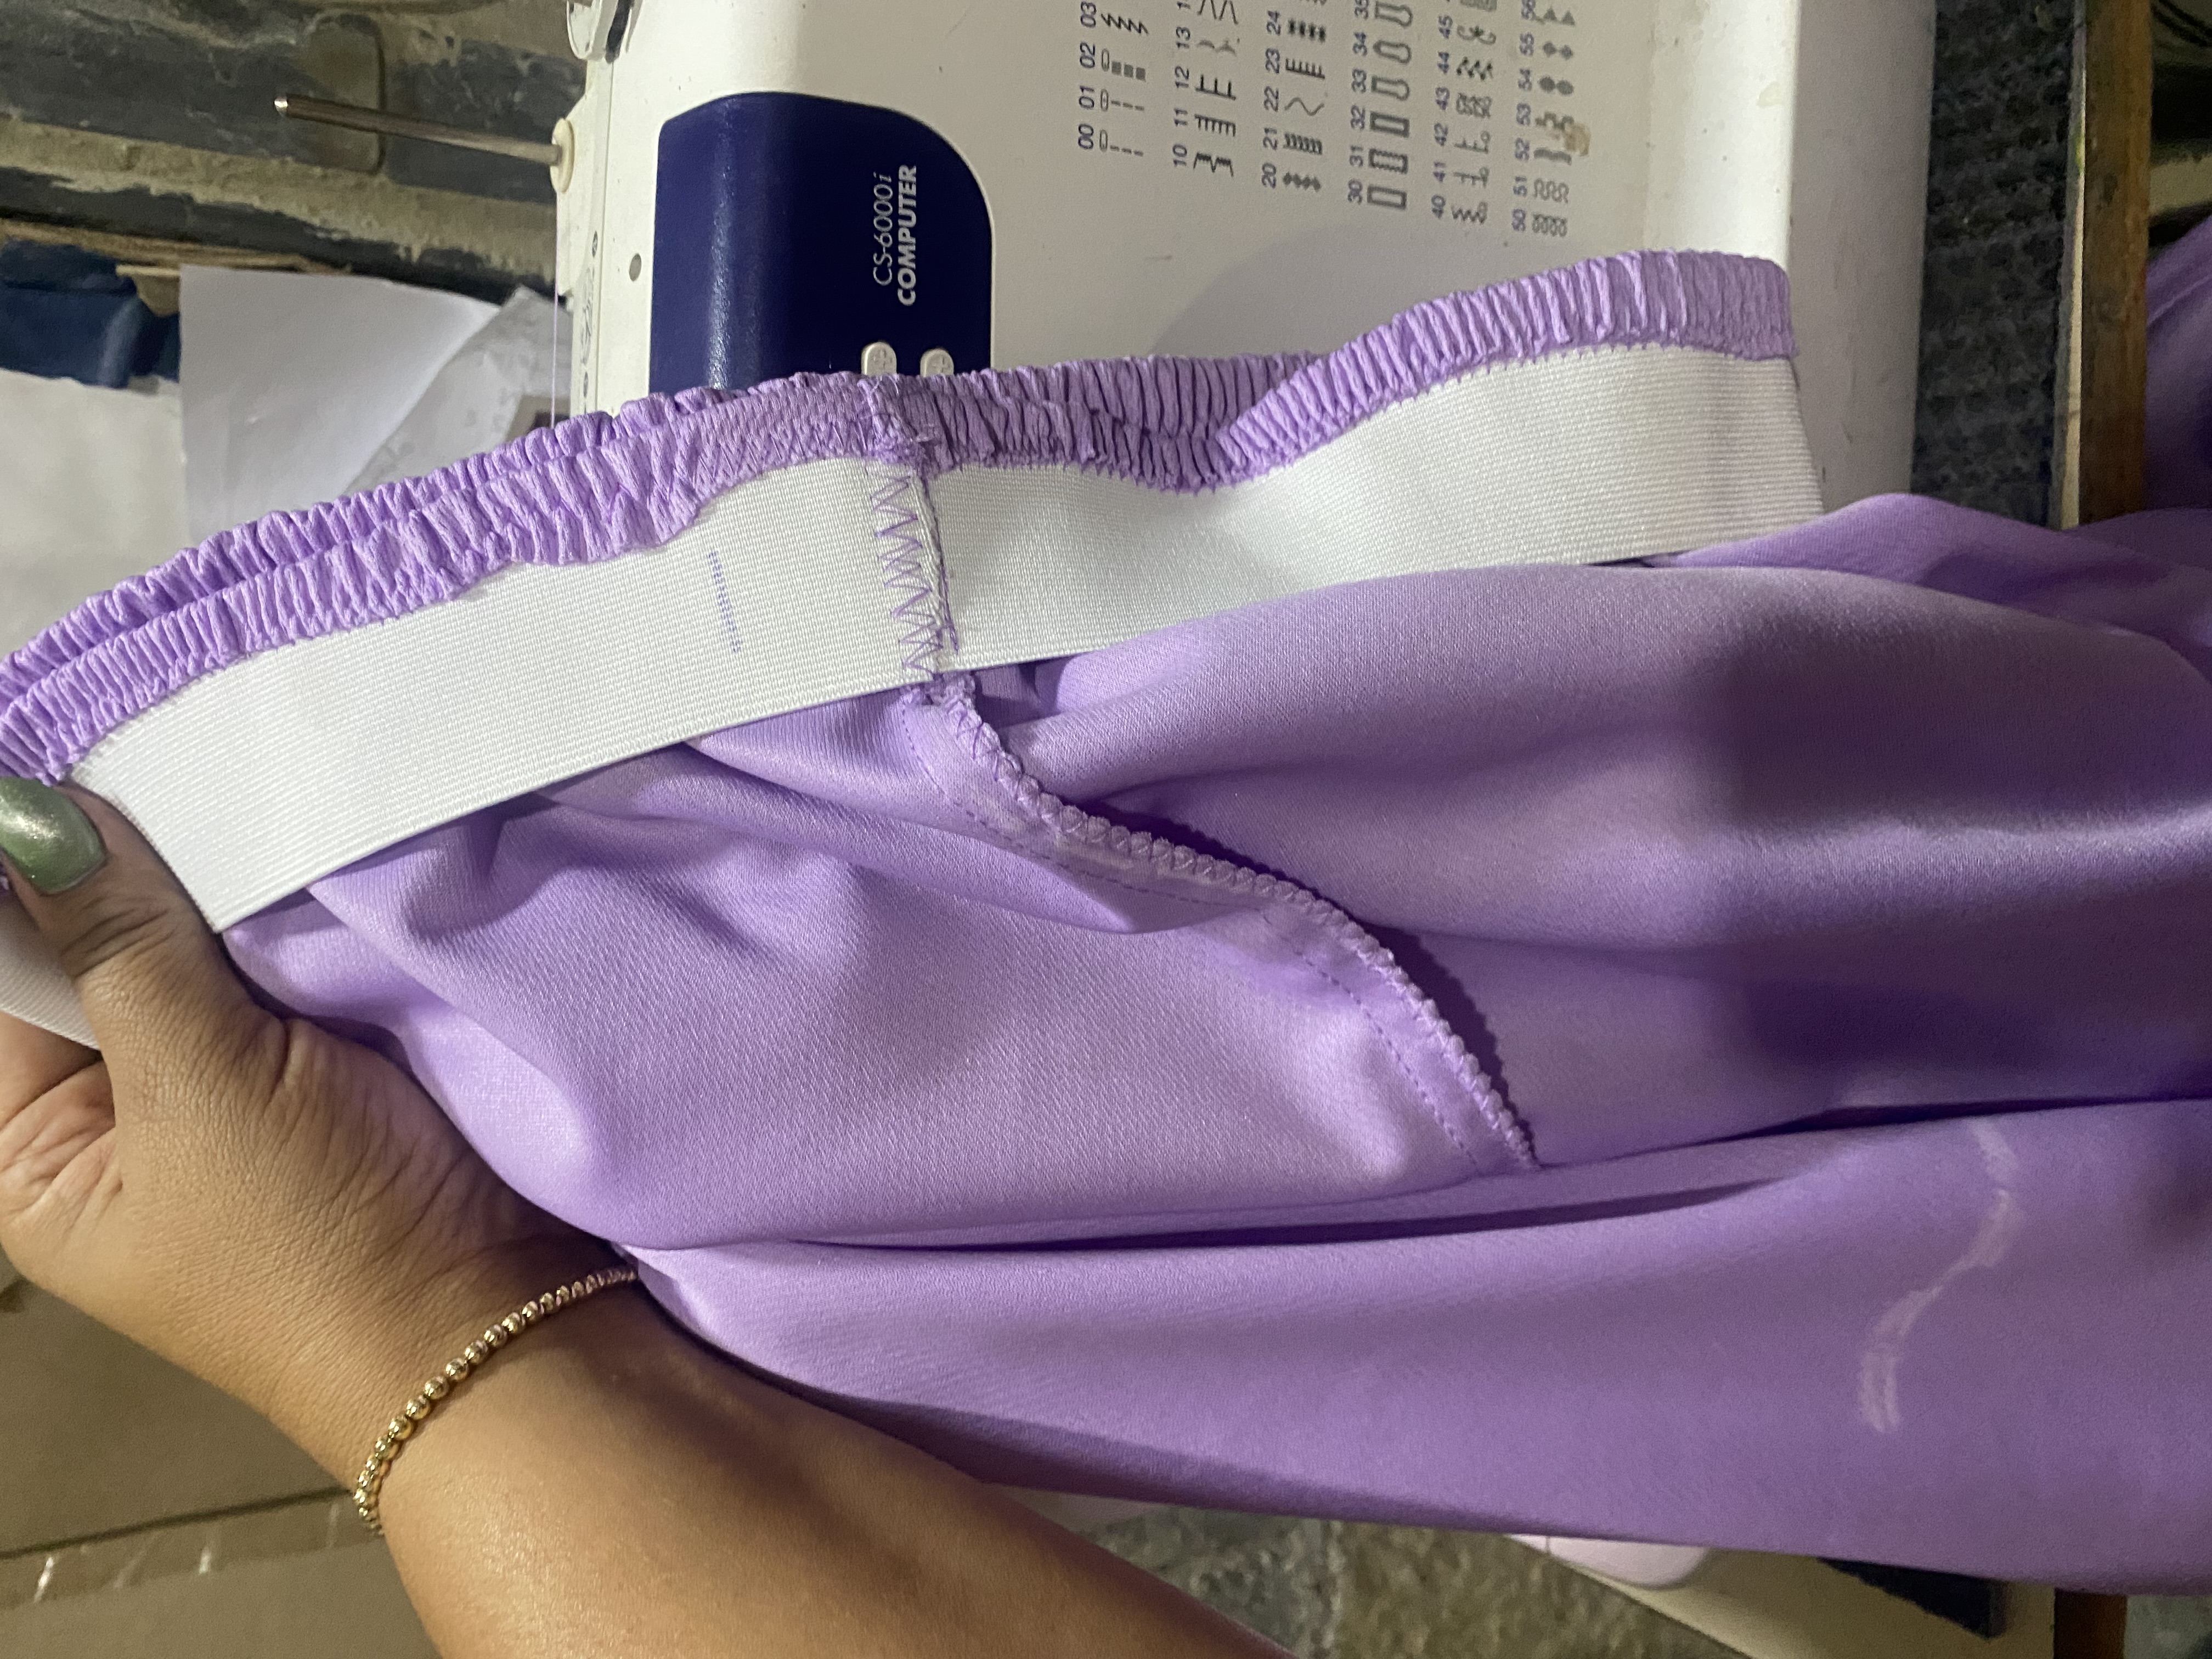
Luego vamos a coser el elástico, este lo voy a medir guiándome por el ancho del Short que me estoy guiando, el cual será de 76 cm, El elástico que estoy usando es de 5 cm de ancho, para pasarle costura, primero doblamos una pequeña pestaña de la tela y le pasamos una costura zig zag, luego volvemos a doblar y pasamos otra costura recta.
For this step we are going to start with the seams, I will start with the Shorts, I consider this one easier so I will do it first, we will sew the front and back hems, then we will sew the bottom hem, we will fold the edge first 1 cm and then we fold it calculating approximately 2 cm and we will sew a straight seam.
Then we are going to sew the elastic, I am going to measure this using the width of the Shorts that I am guiding myself with, which will be 76 cm. The elastic that I am using is 5 cm wide, to sew it, first we fold a small flap of the fabric and sew a zigzag seam, then we fold it again and sew another straight seam.
 |  |
|---|---|
 |  |
| --- | --- |
 |
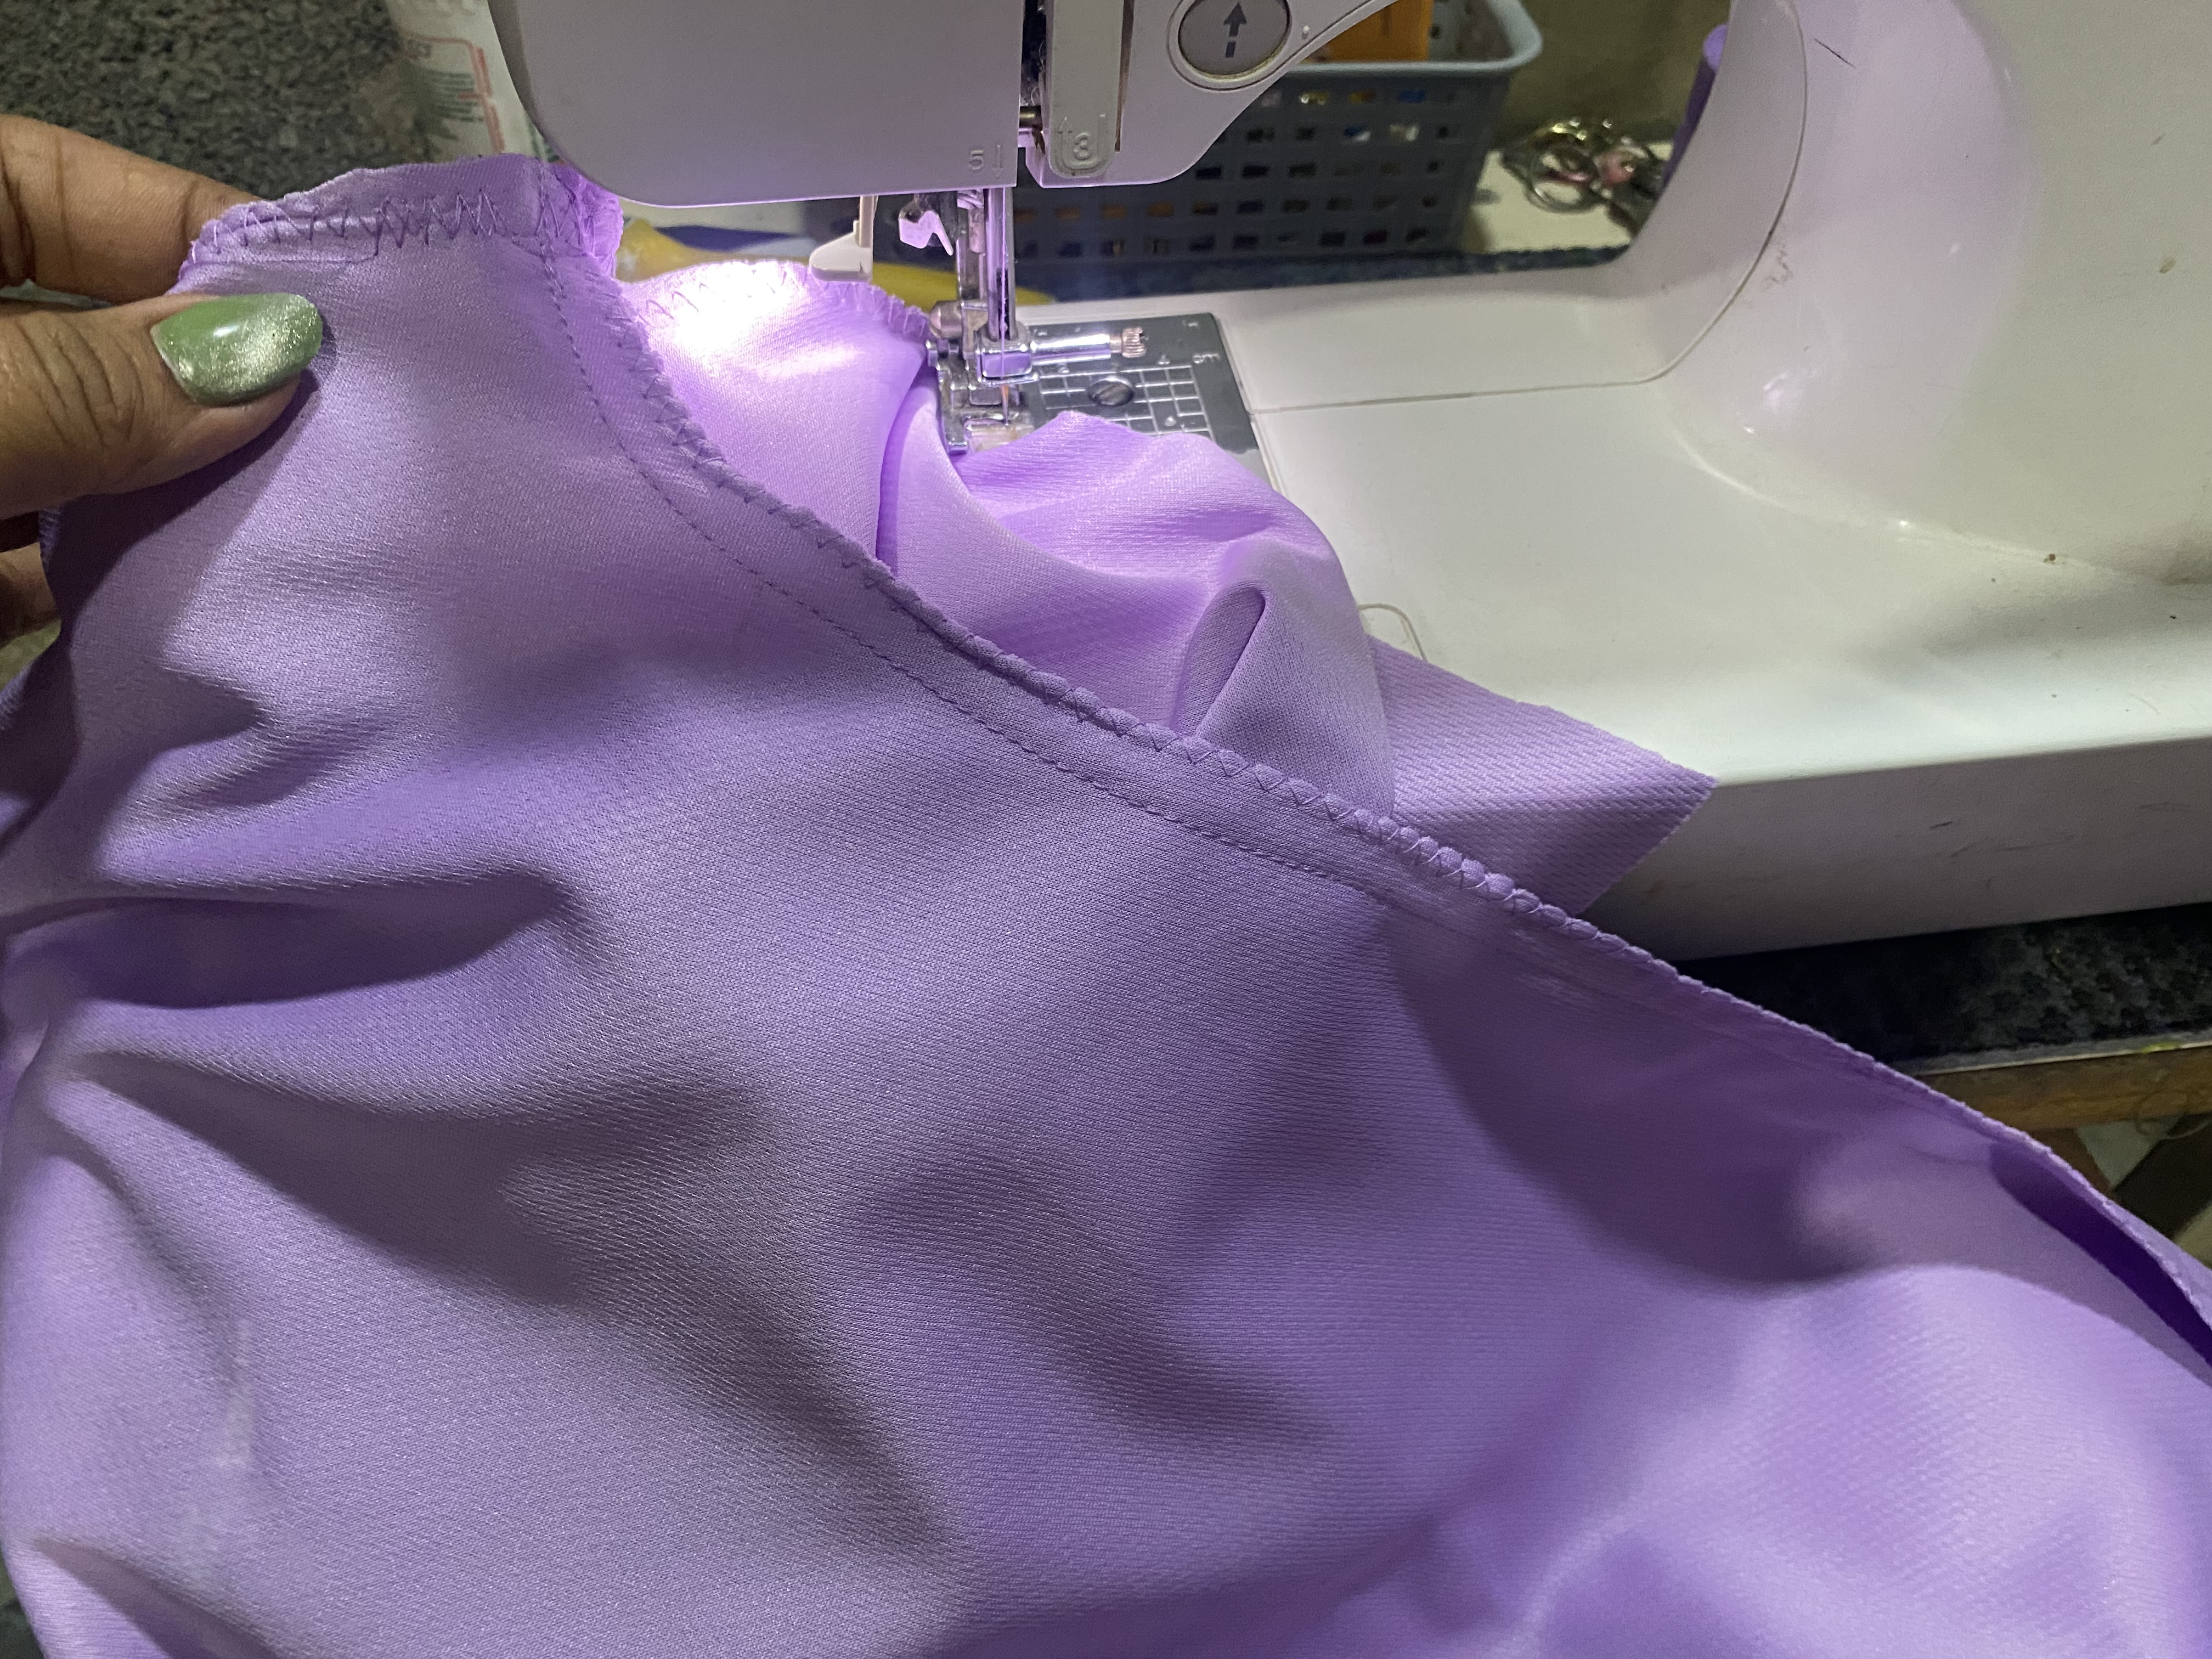
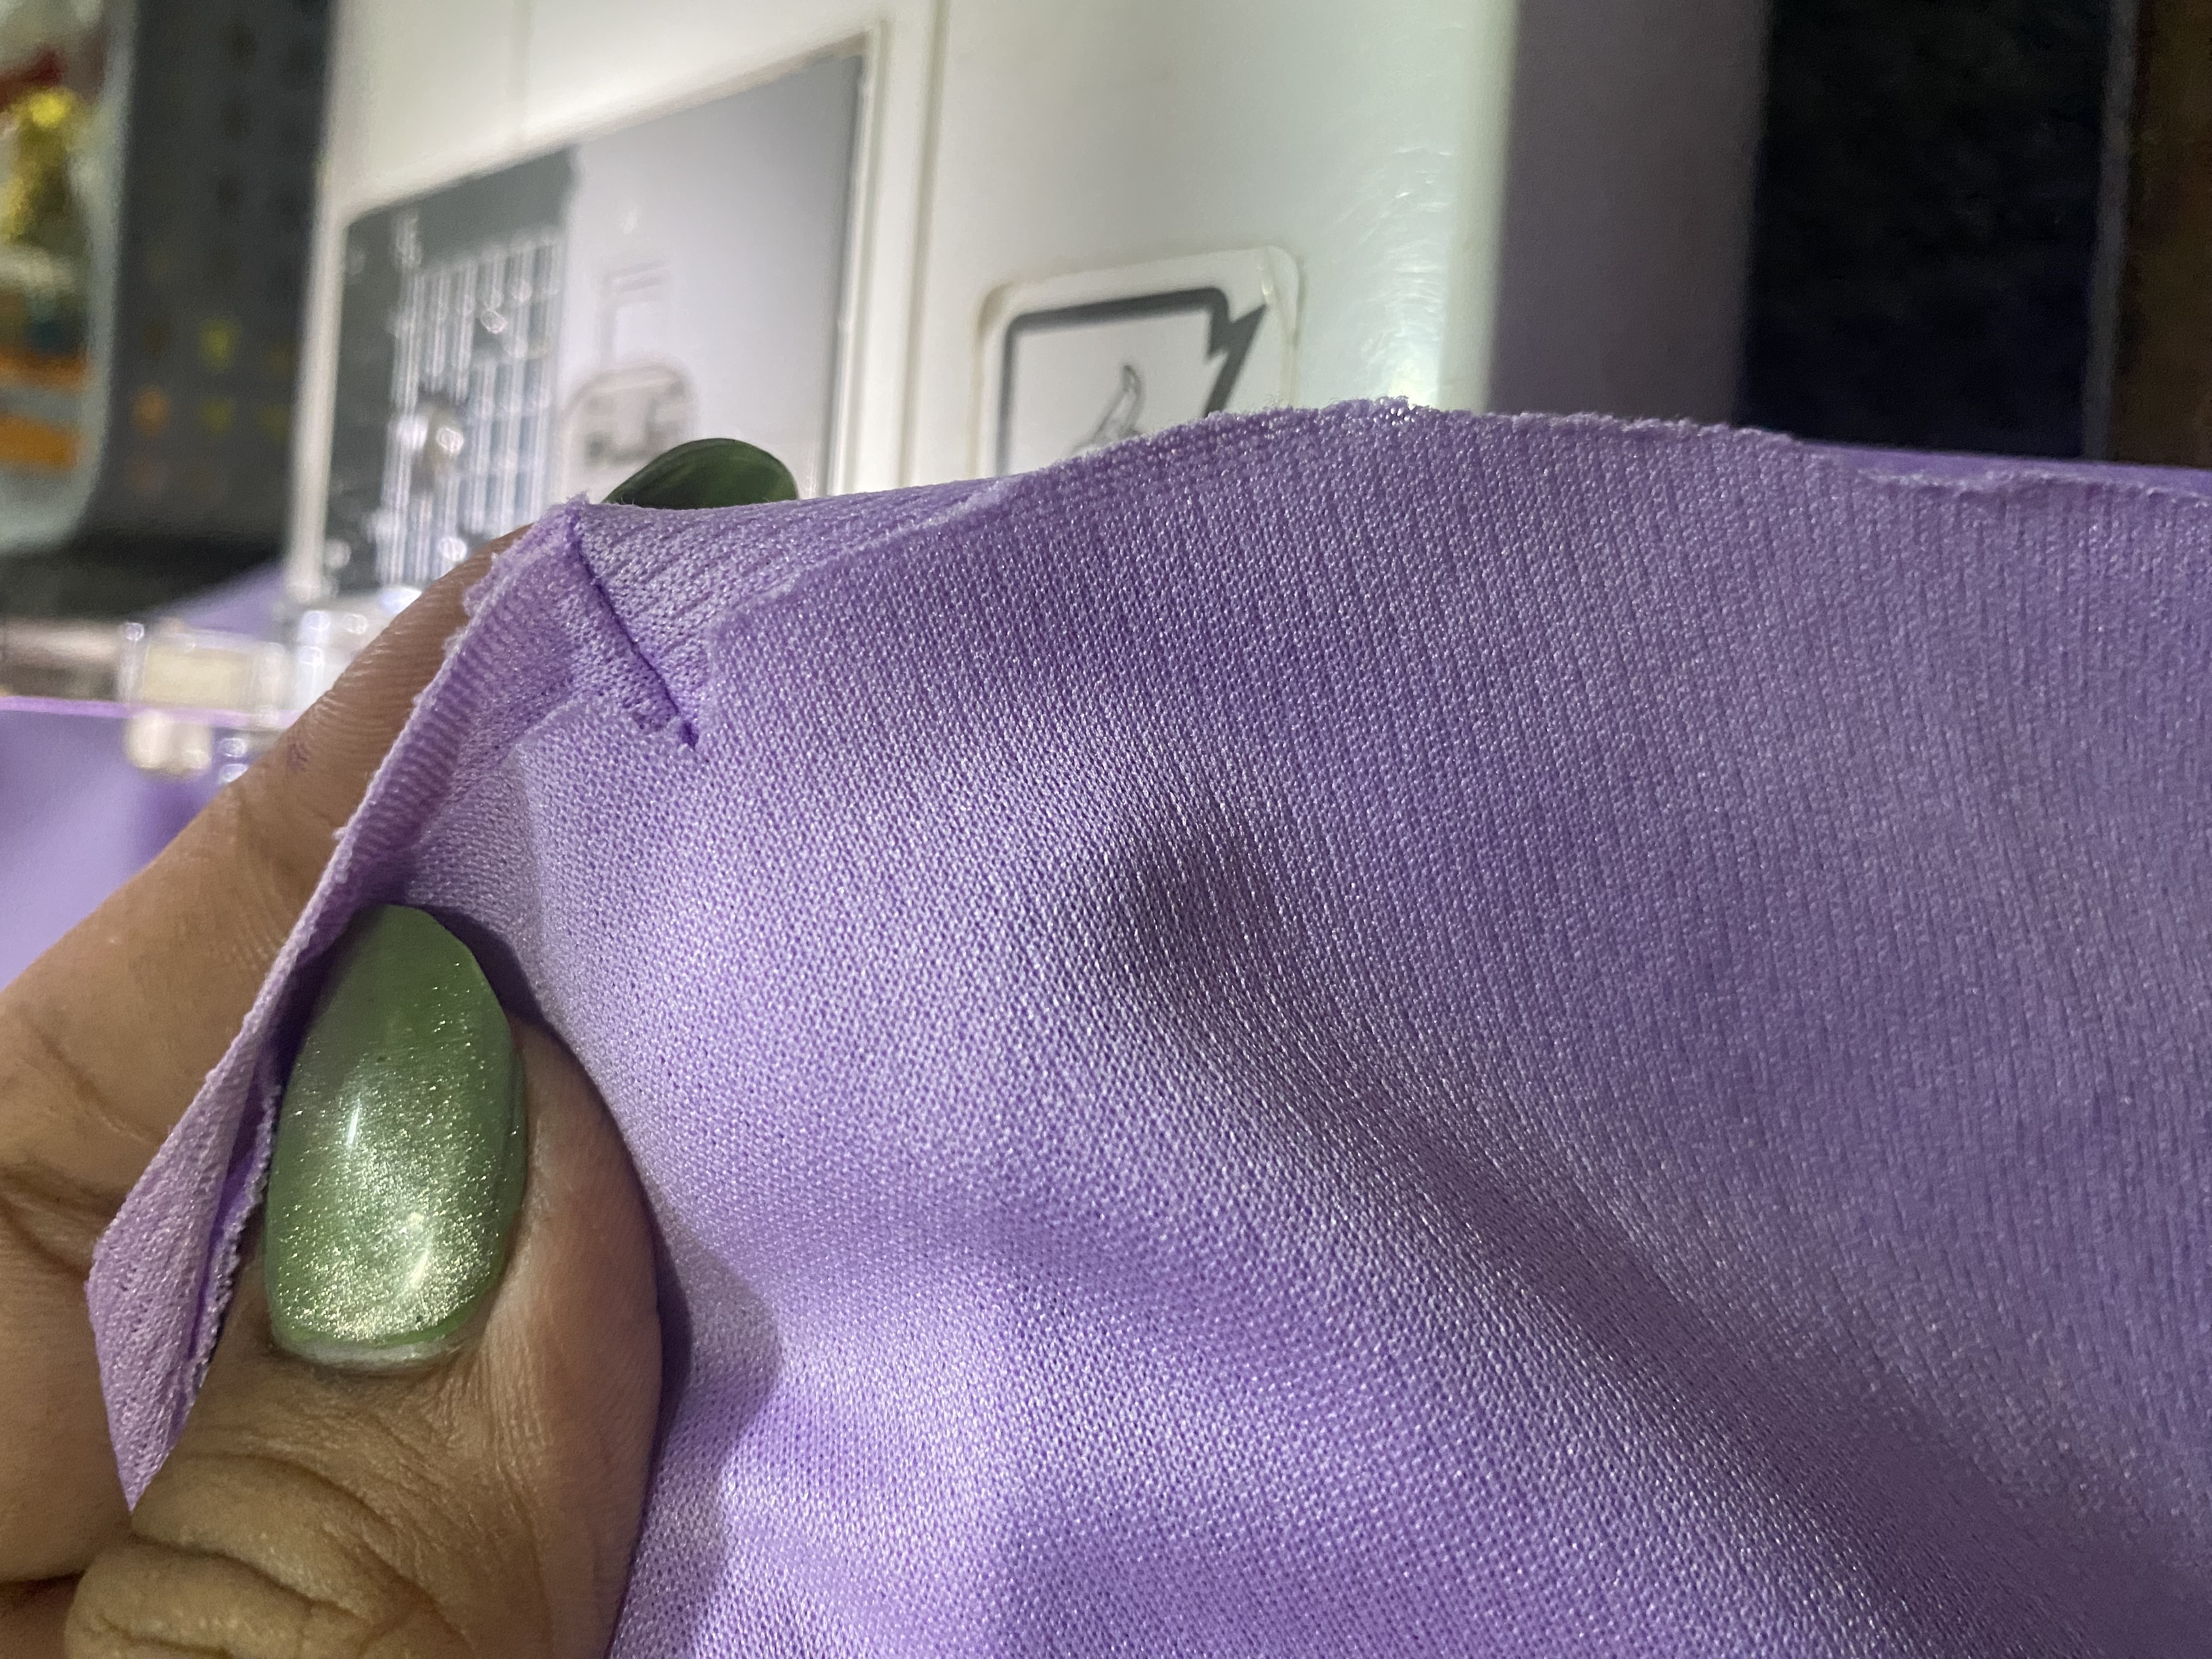
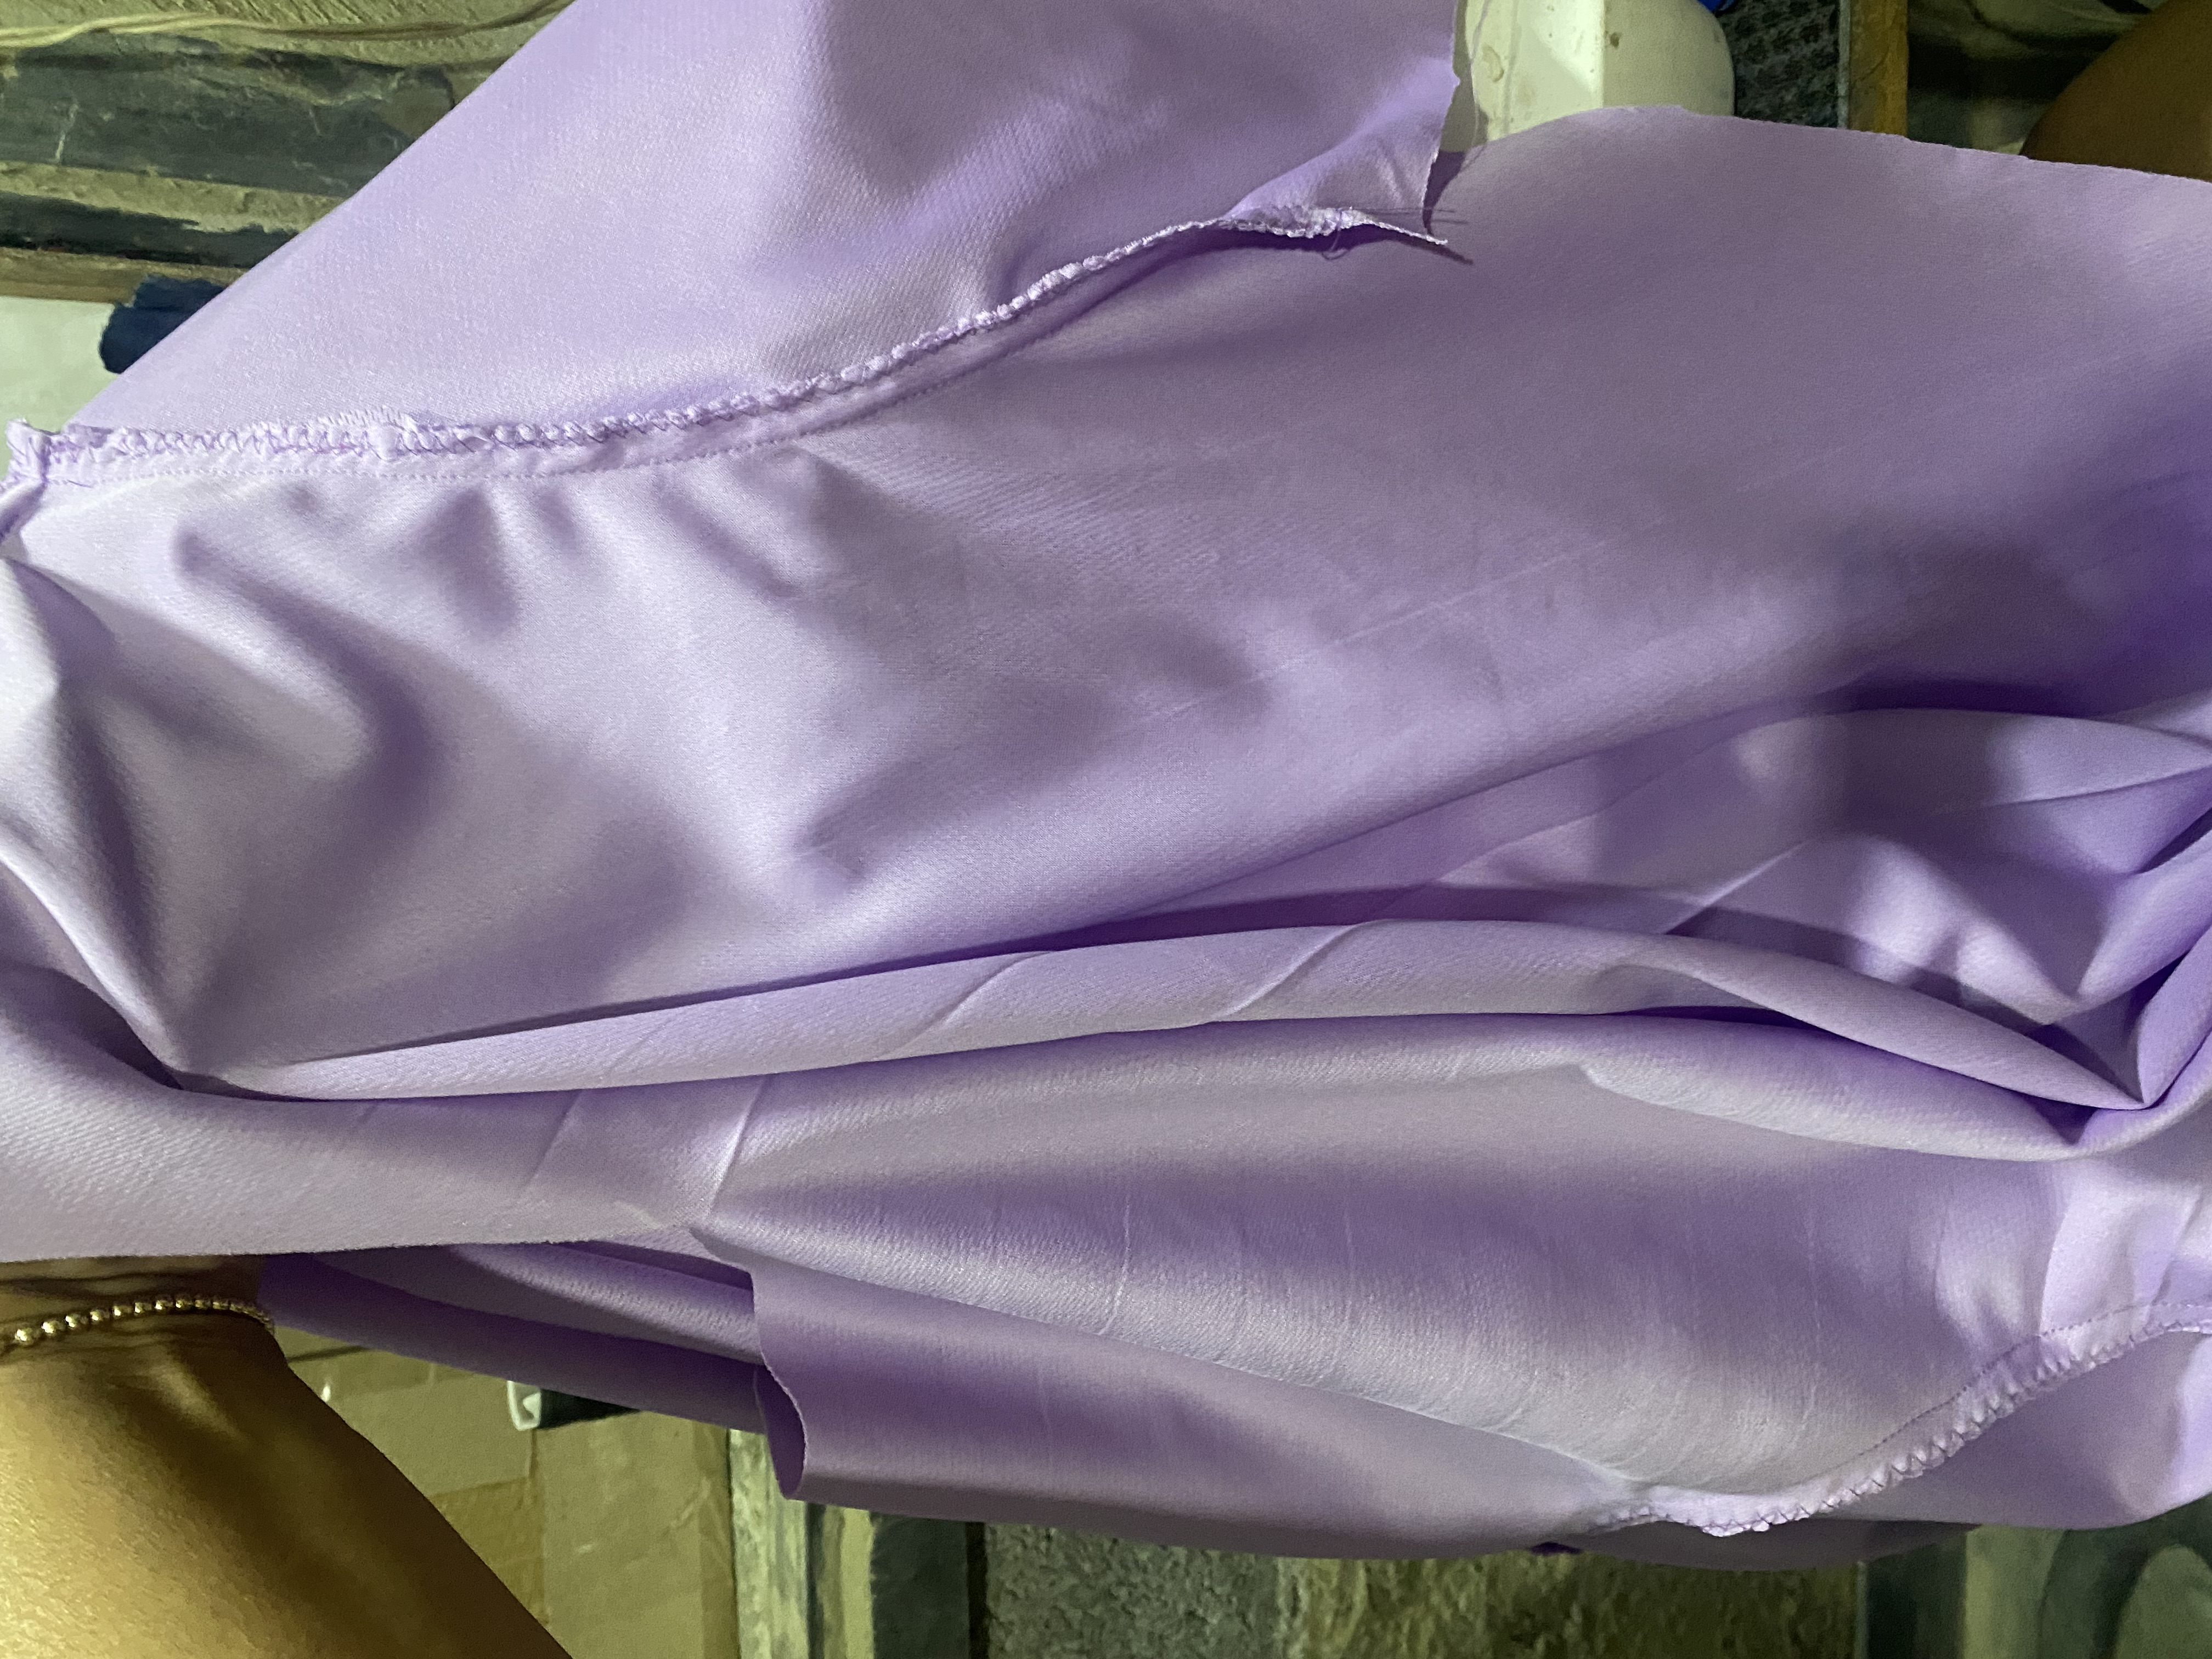
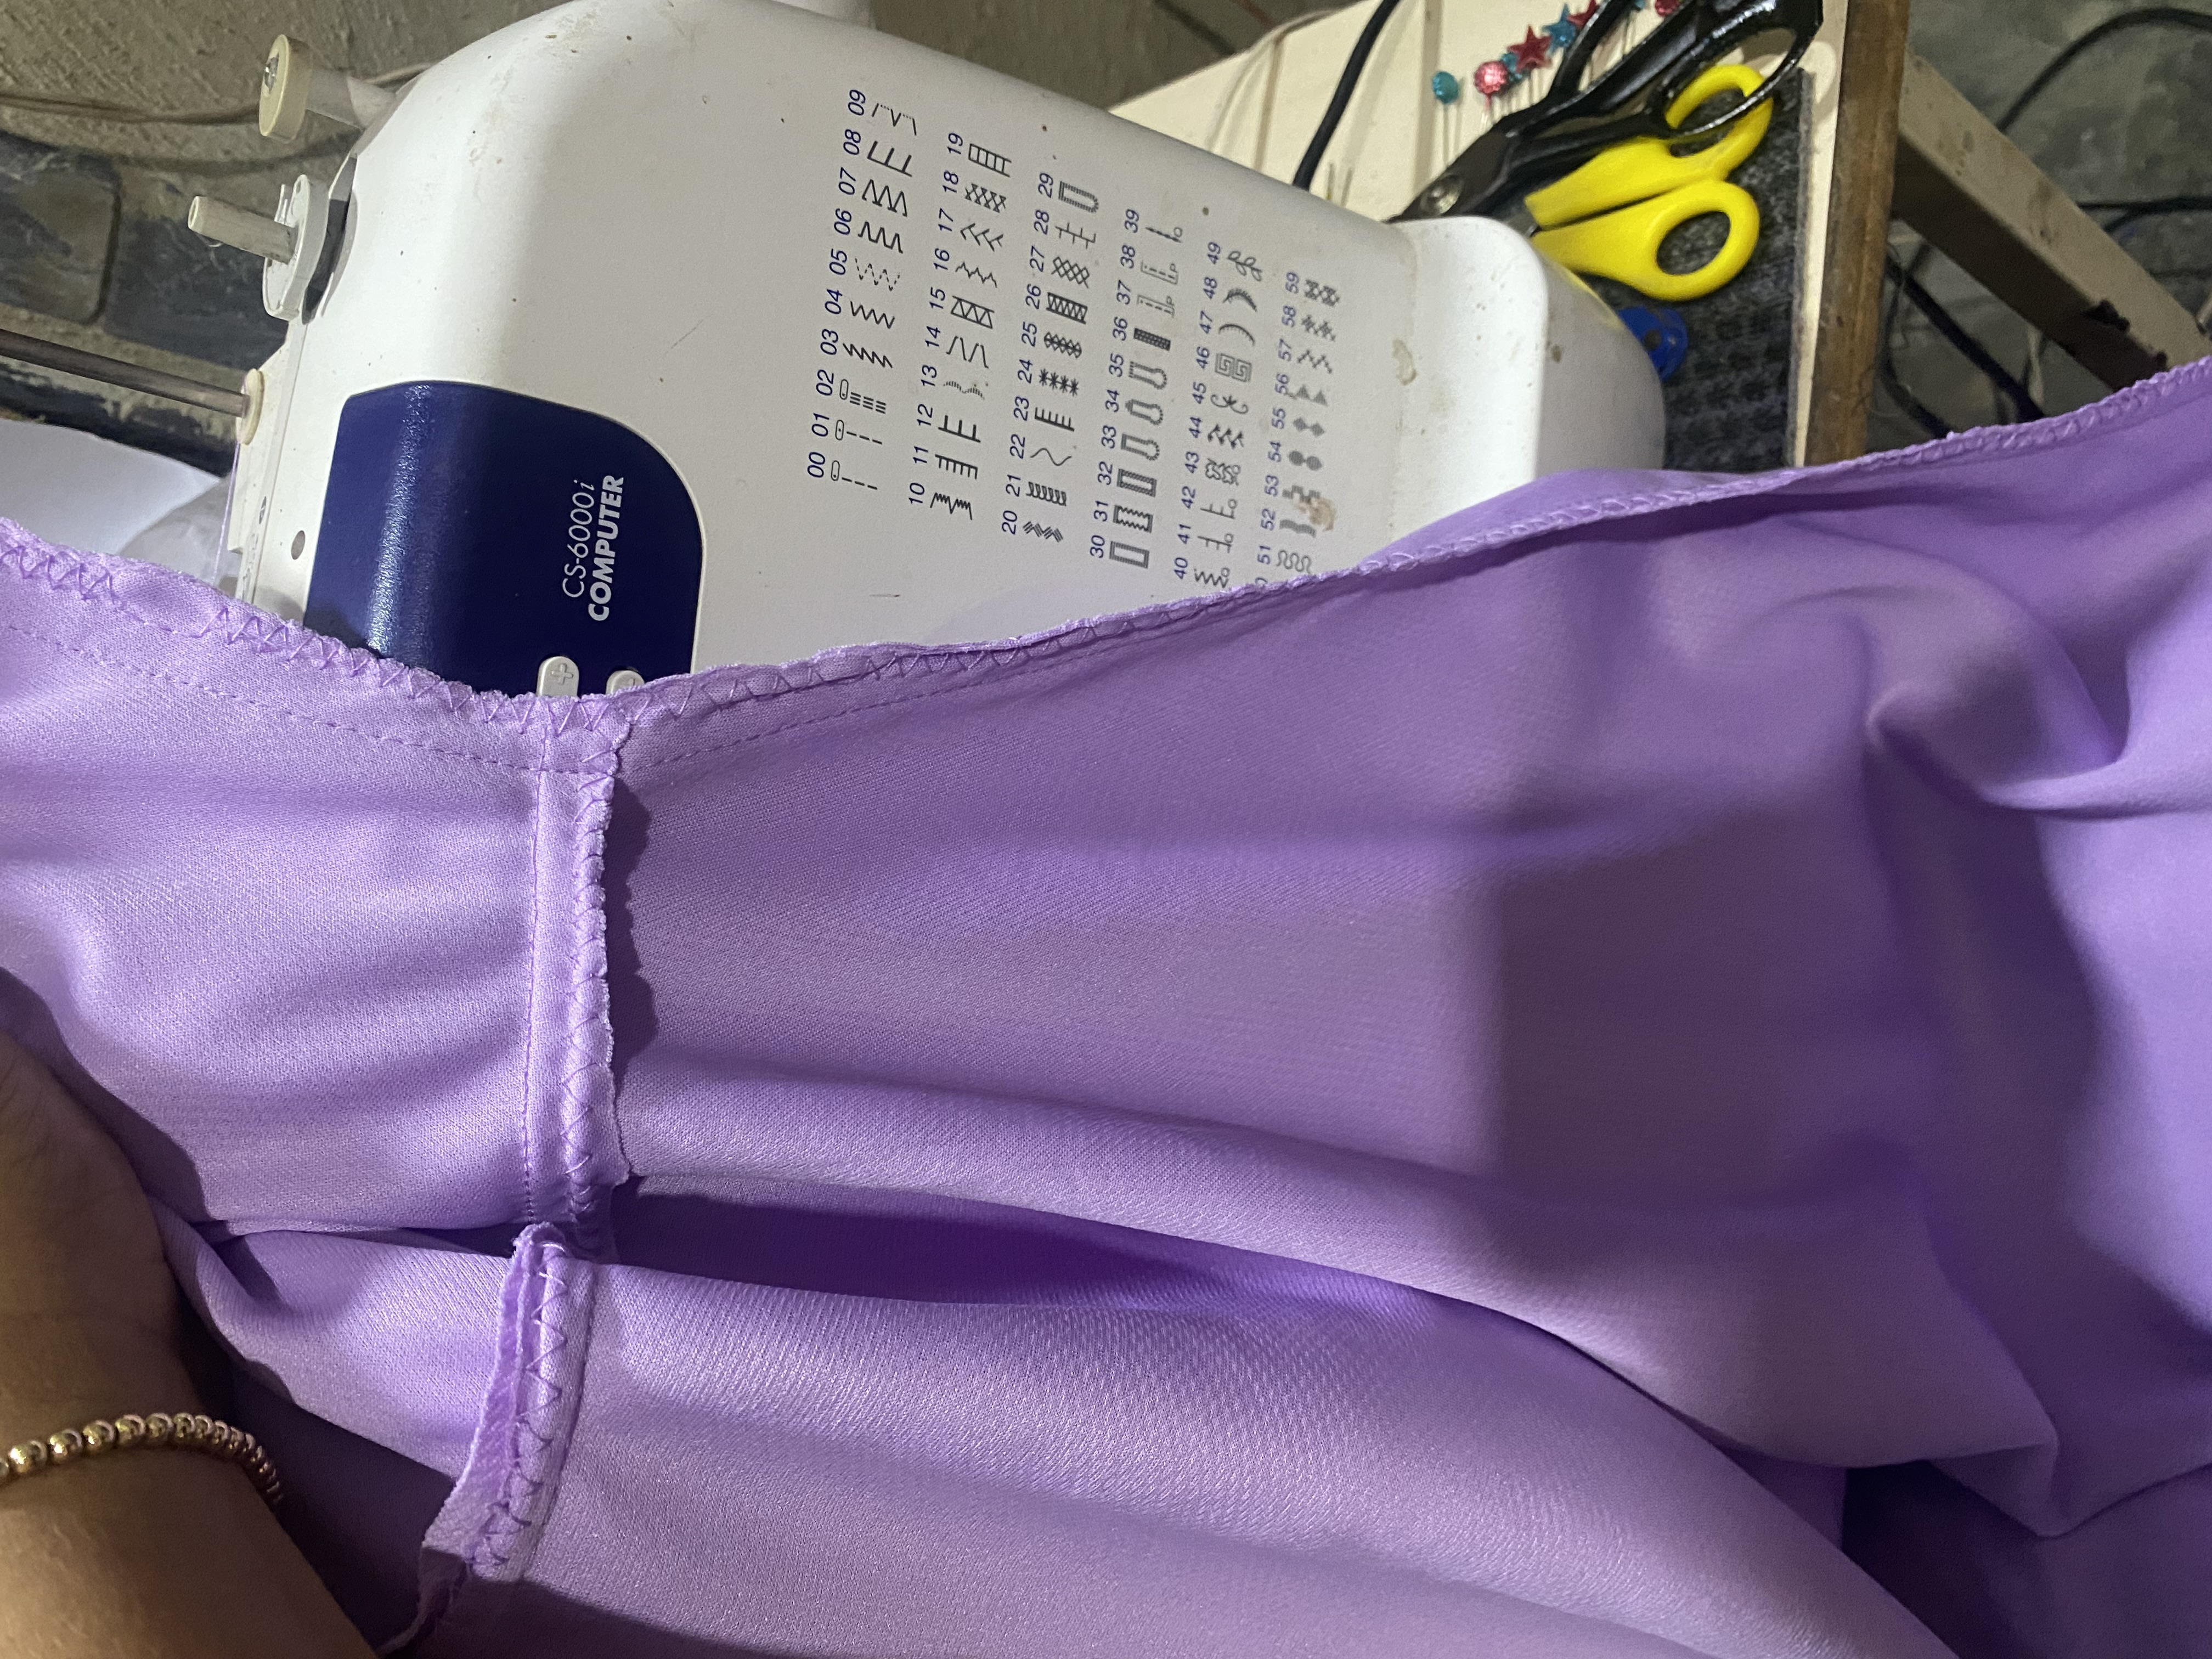
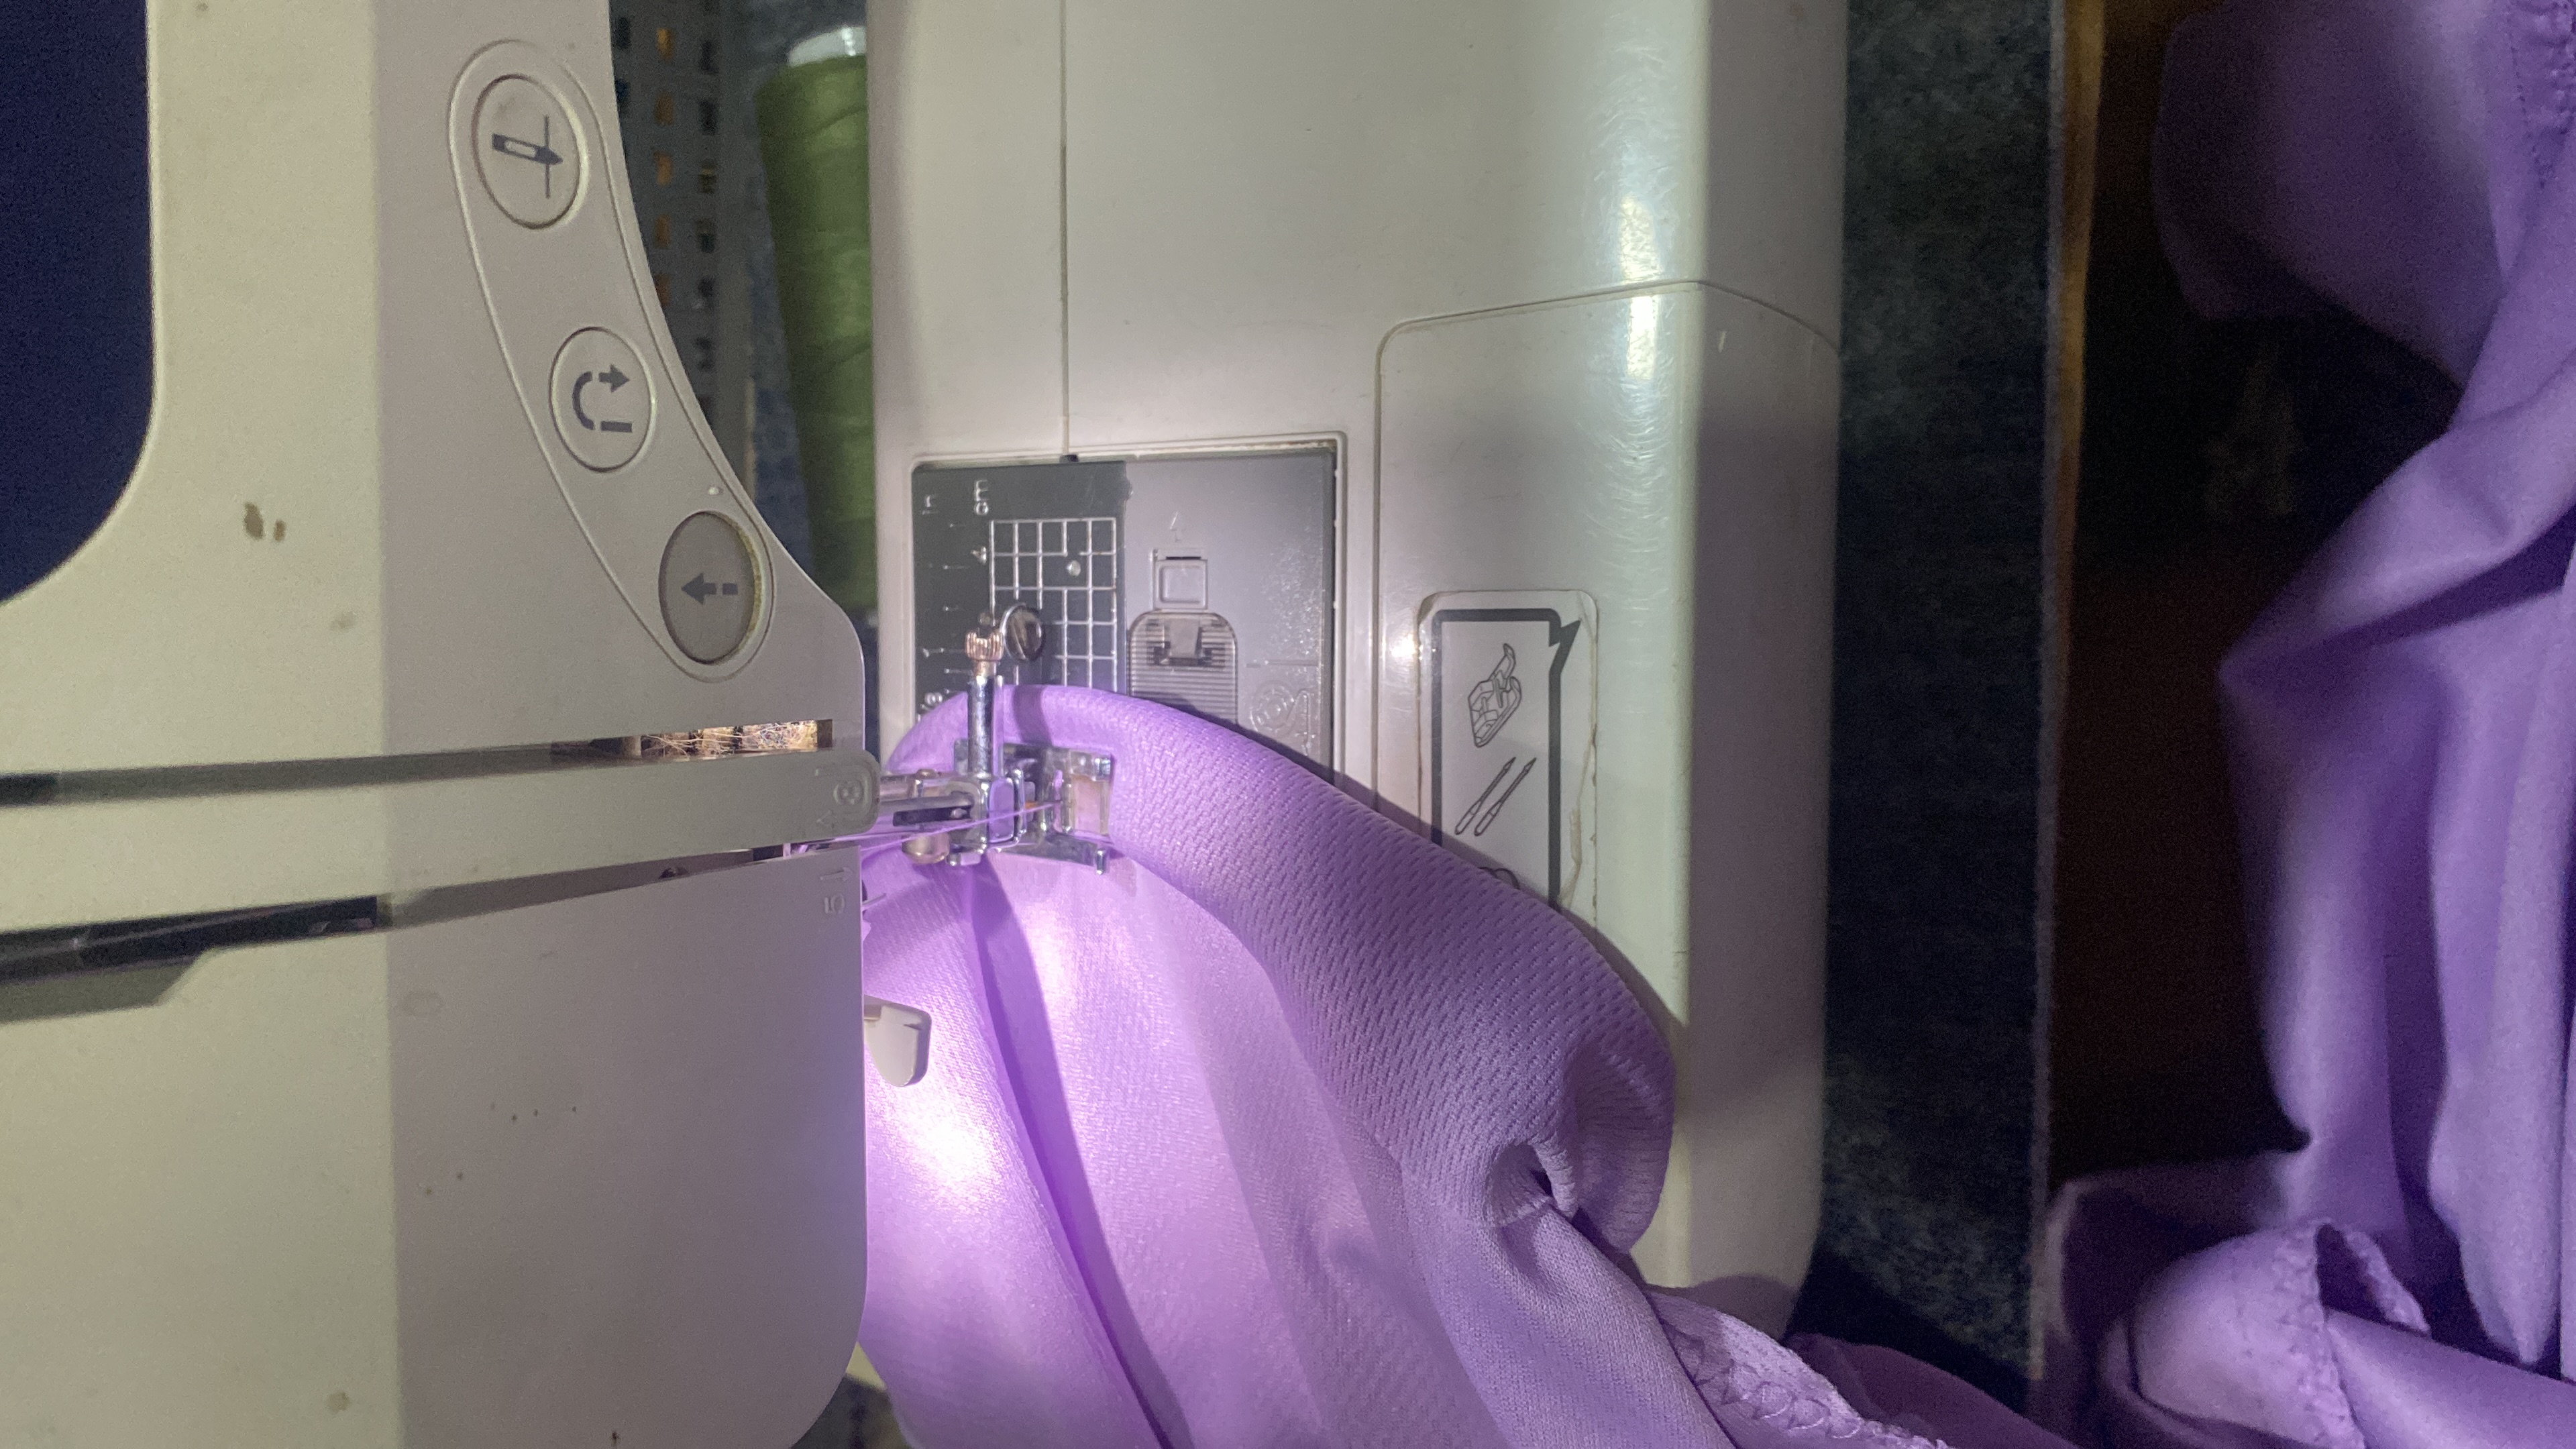
Luego vamos a continuar con las costuras de la franela, comenzamos pasando costura uniendo en los hombros, Luego le unimos las mangas, hacemos un pequeño piquete en la mitad de la manga luego ubicamos en la costura del hombro y pasamos costura recta y reforzamos con costura zig zag.
Luego pasamos costura uniendo los laterales, seguido le hacemos el ruedo tratando de qué nos quede del mismo ancho del ruedo del Shorts.
Next we will continue with the seams of the flannel, we begin by stitching together the shoulders, then we join the sleeves, we make a small notch in the middle of the sleeve then we locate it at the shoulder seam and we sew a straight stitch and reinforce it with a zigzag stitch.
Then we sew together the sides, then we make the hem trying to make it the same width as the hem of the Shorts.
 |  |
|---|---|
 |  |
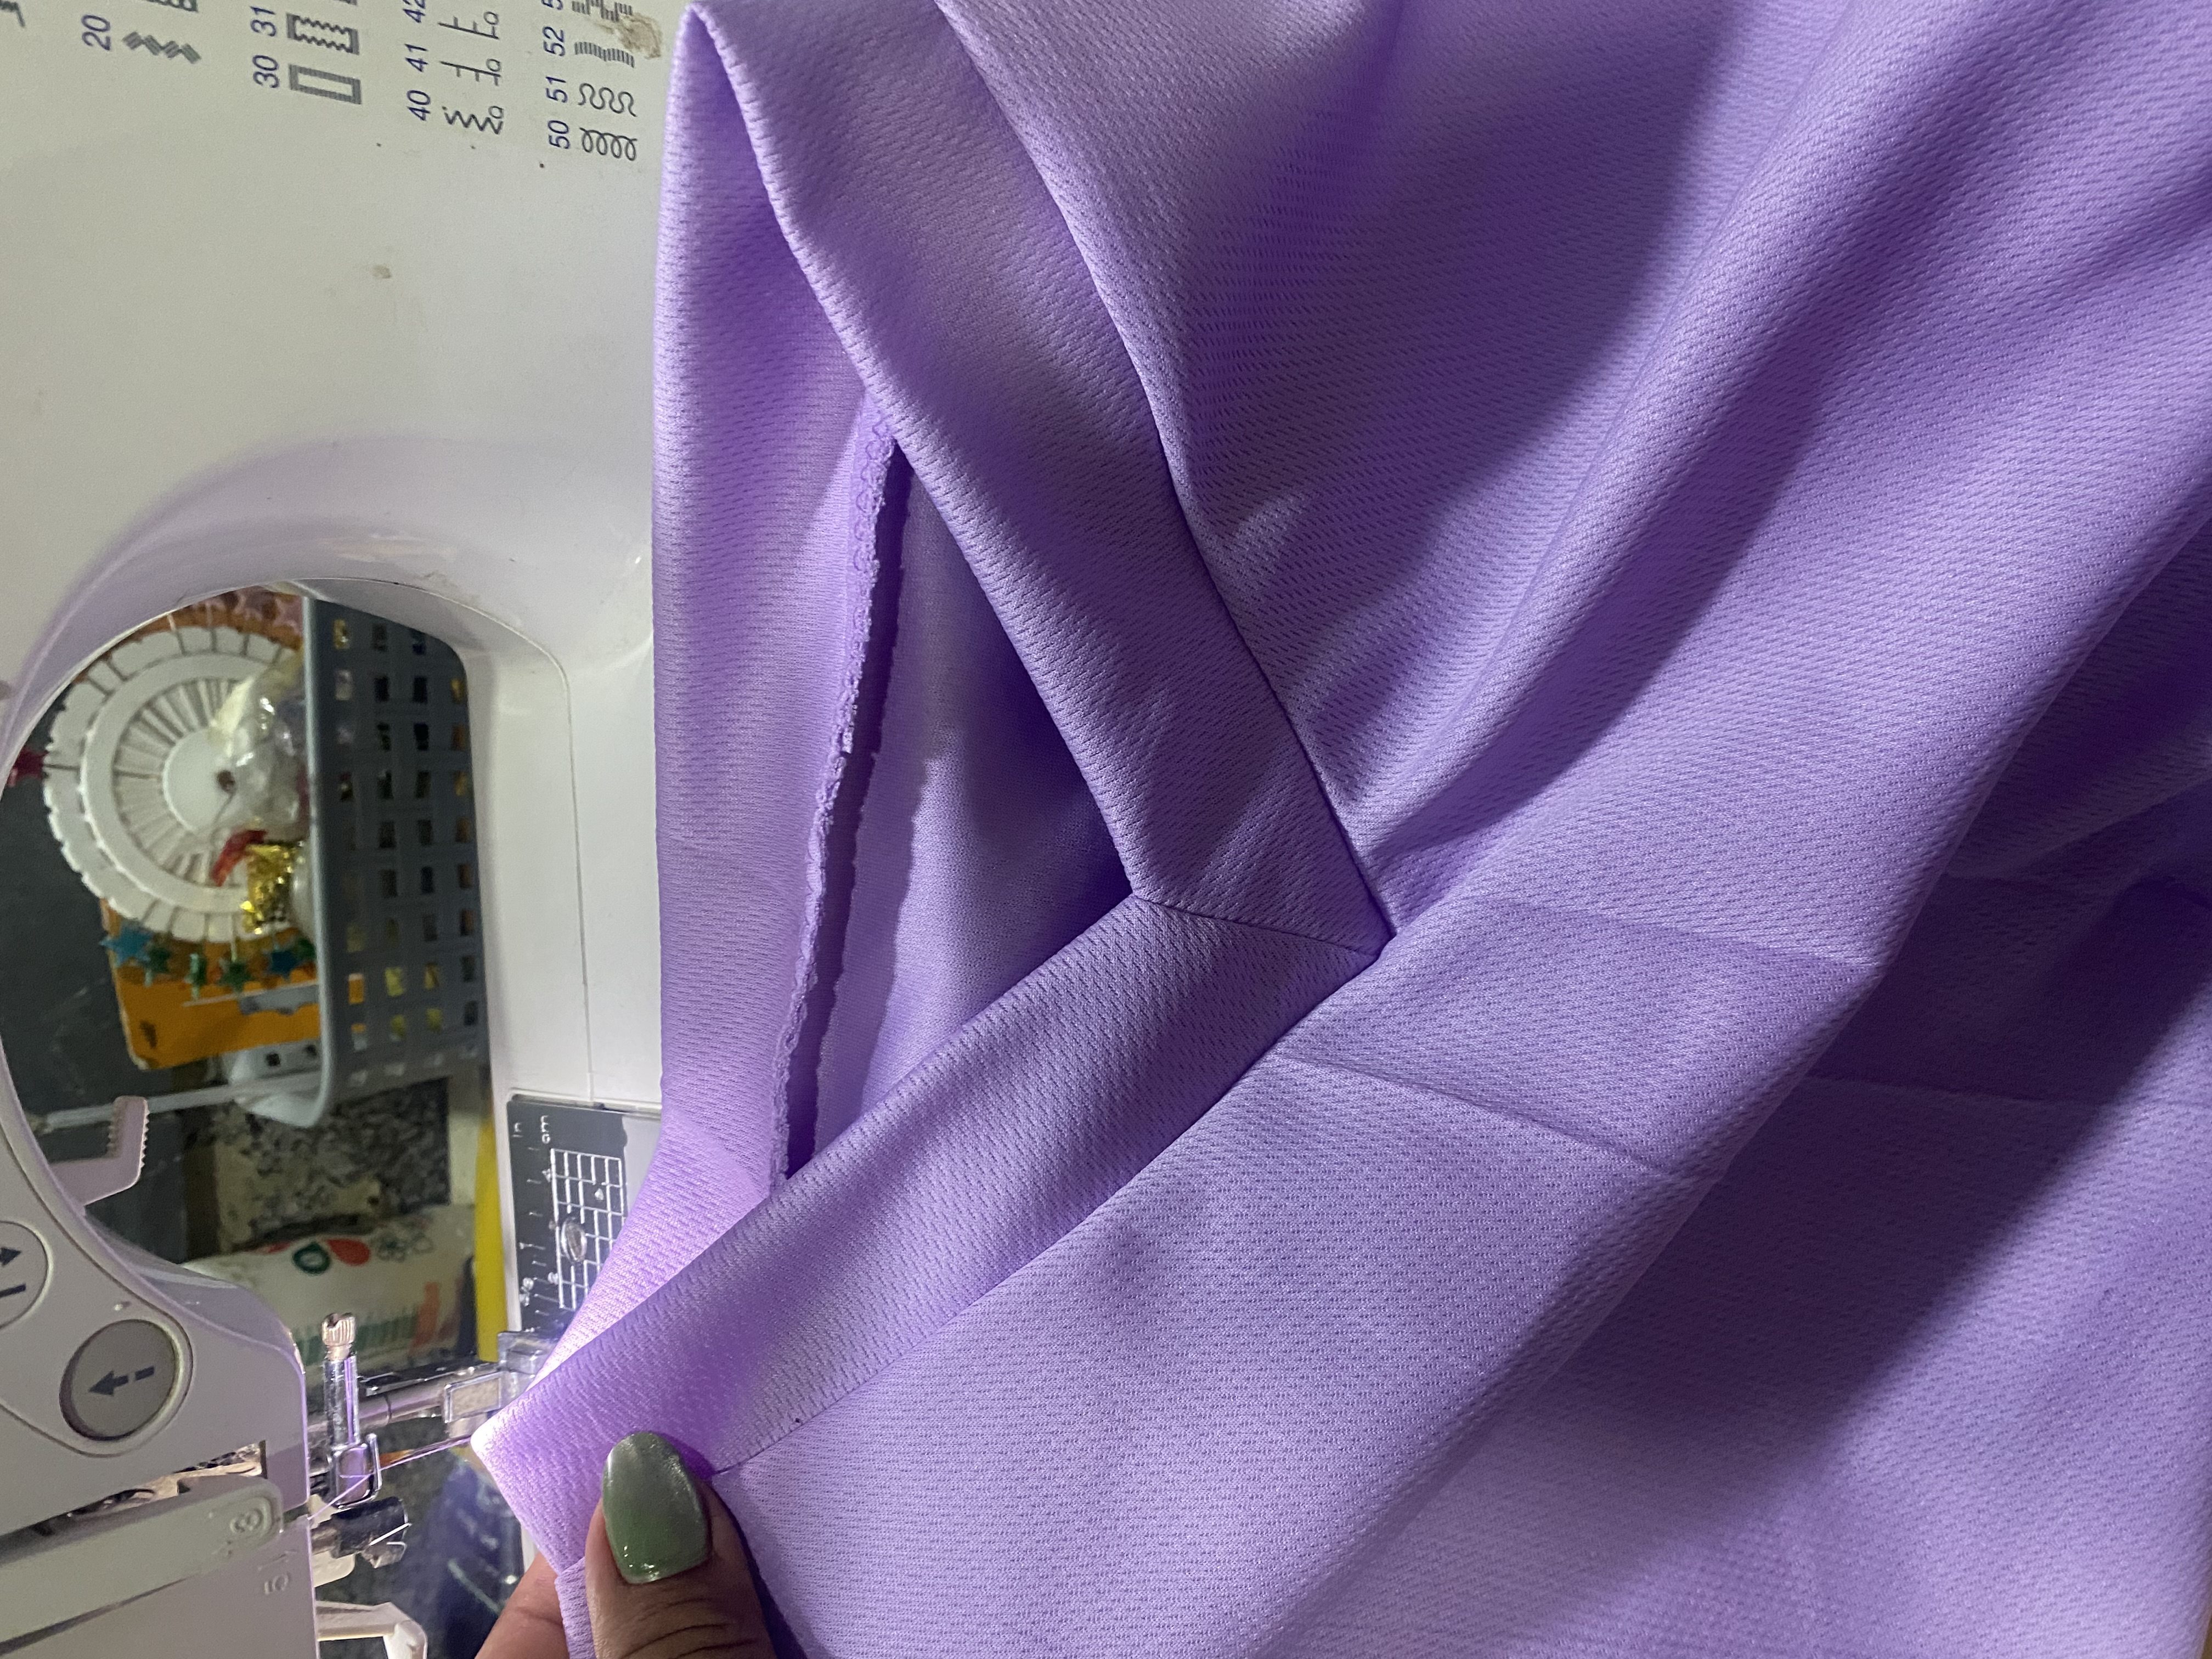
Con el paso anterior tenemos casi lista la franela, ahora viene la confección del cuello en V, doblamos a la mitad la franela en la parte del cuello y tomamos la medida, cortamos una tira de tela de aproximadamente 8 cm de ancho por el largo que tiene el cuello, este lo hice primero en un retazo de tela marcando para no equivocarme y confirmar que me quedase bien.
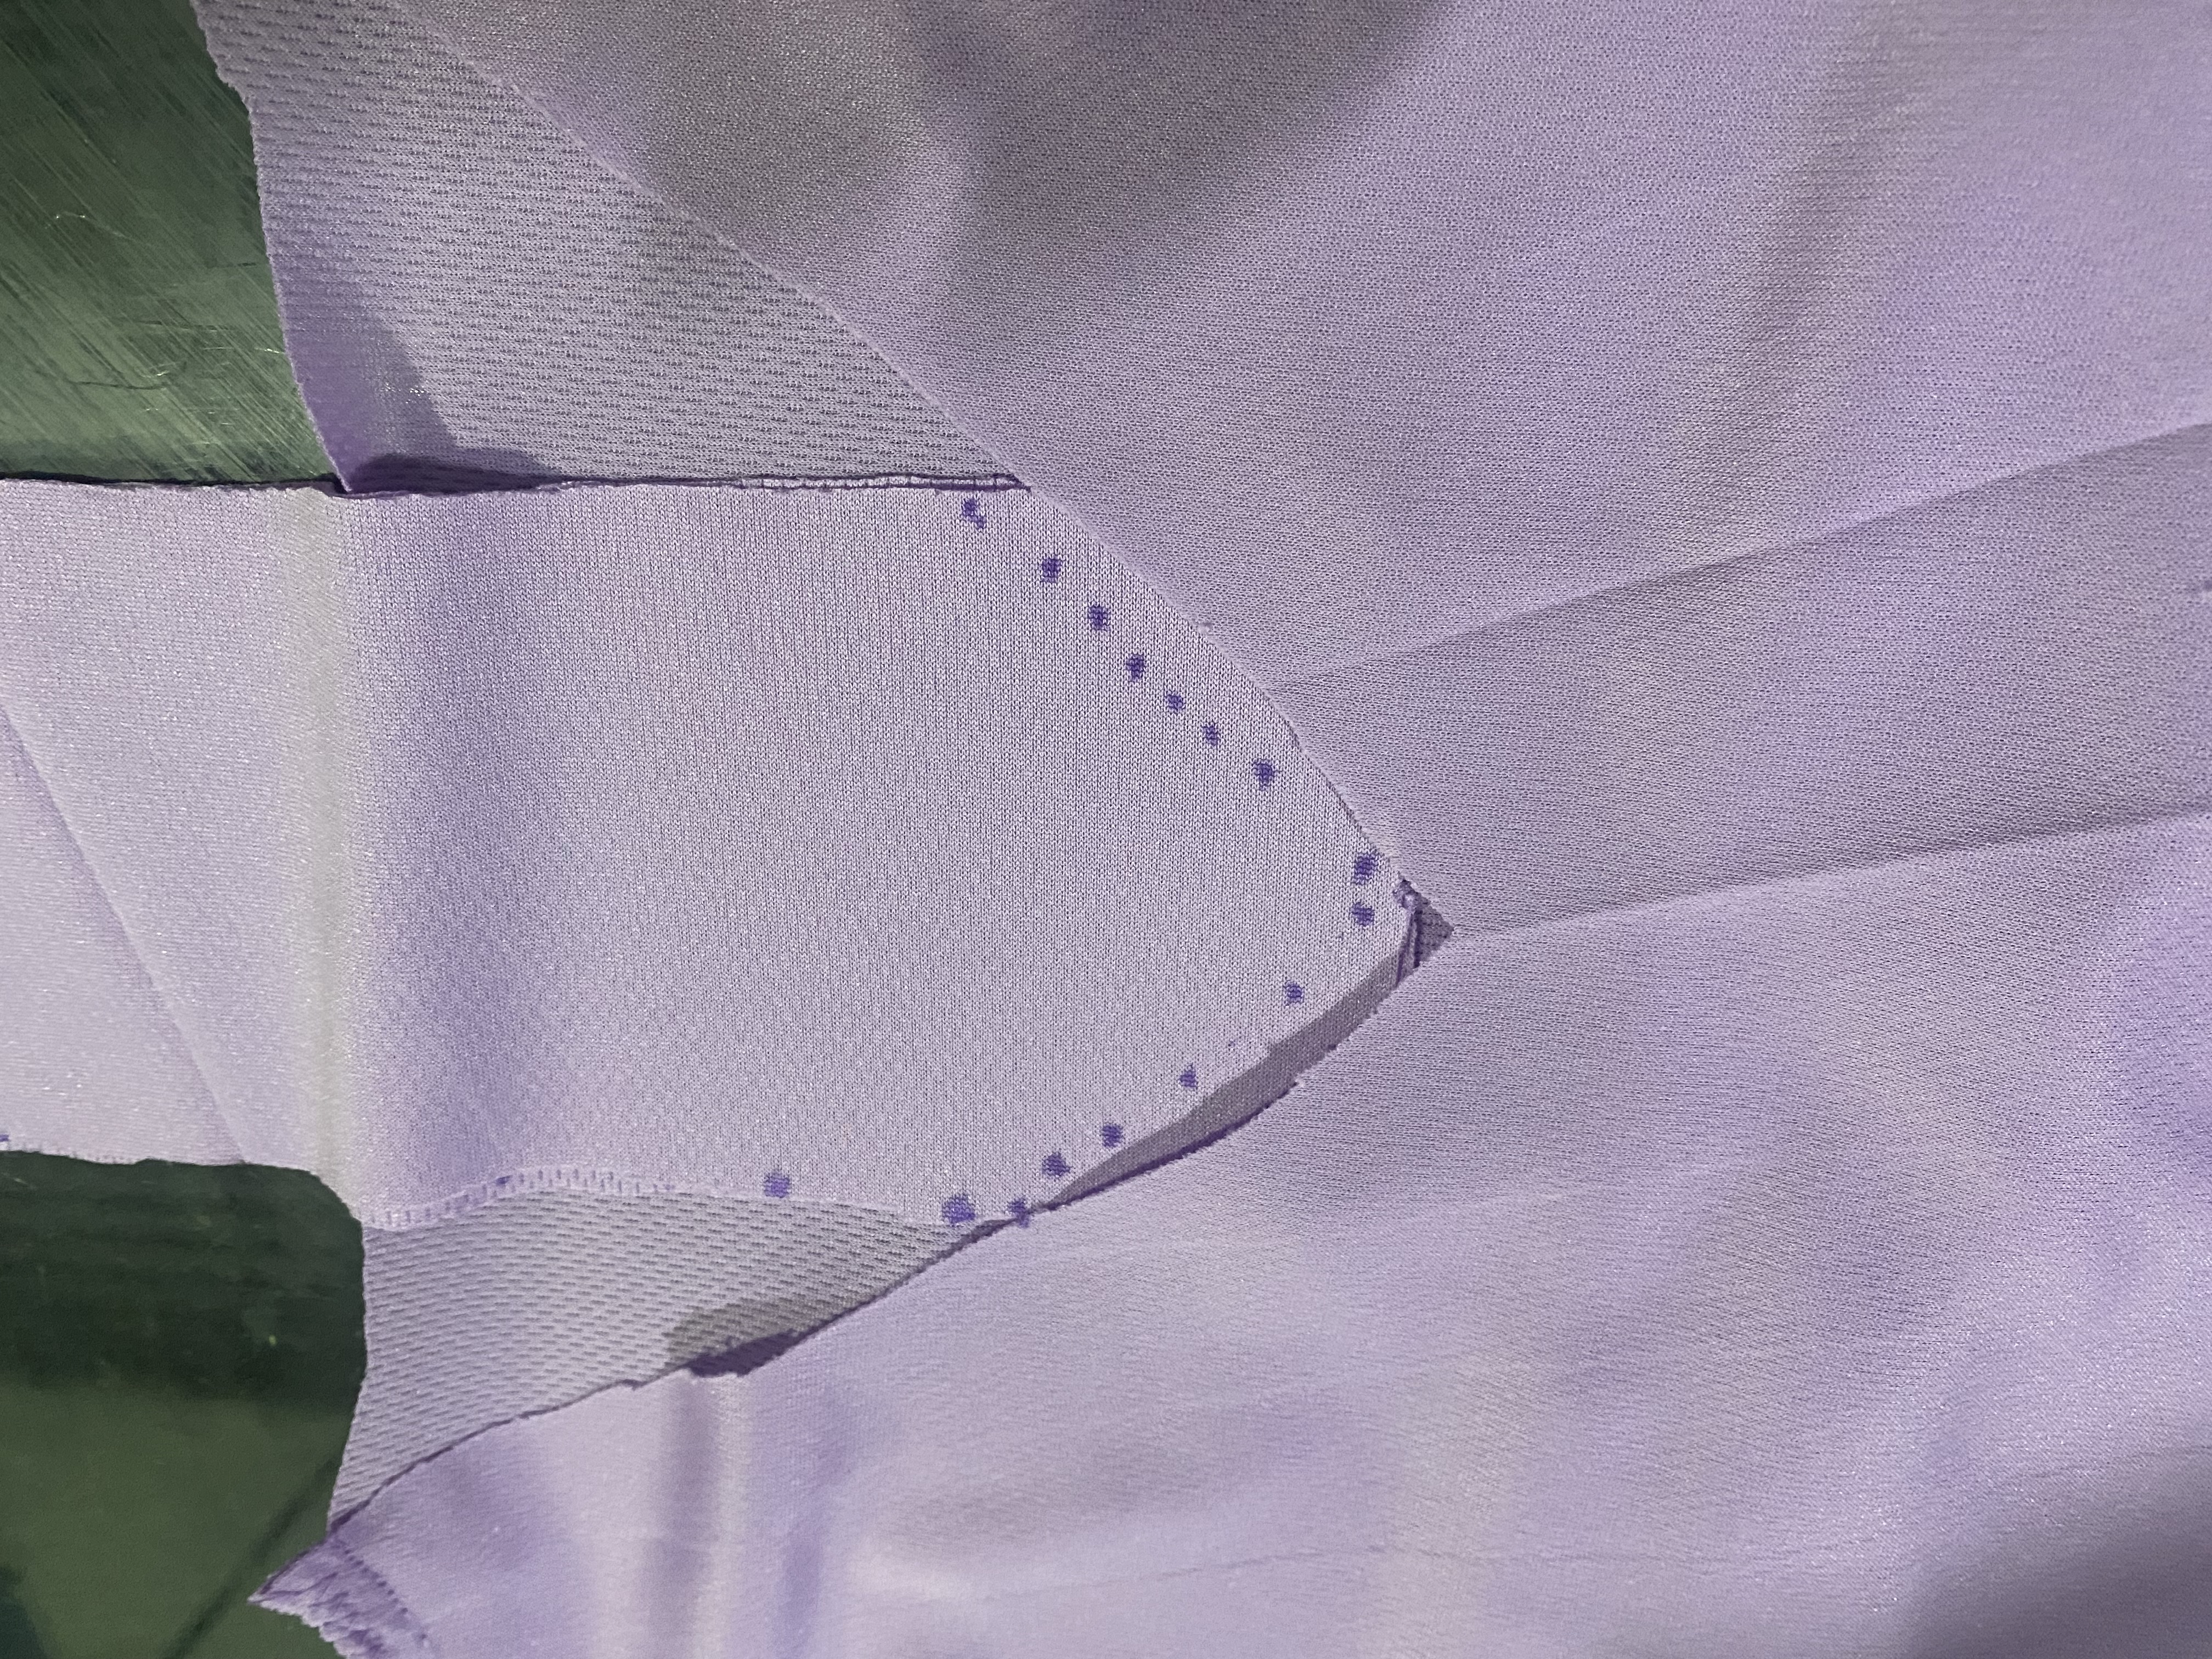
Colocamos la tira de tela doblada a la mitad por la parte interna de nuestra franela, dibujamos la V y luego doblamos y dibujamos en sentido contrario, en mis imágenes les muestro como debe quedar:
With the previous step we have the flannel almost ready, now comes the making of the V-neck, we fold the flannel in half at the neck and take the measurement, we cut a strip of fabric approximately 8 cm wide by the length of the neck, I did this first on a scrap of fabric marking so as not to make a mistake and to confirm that it would fit me well.
We place the strip of fabric folded in half on the inside of our flannel, draw the V and then fold and draw in the opposite direction, in my images I show you how it should look:
 |  |
|---|
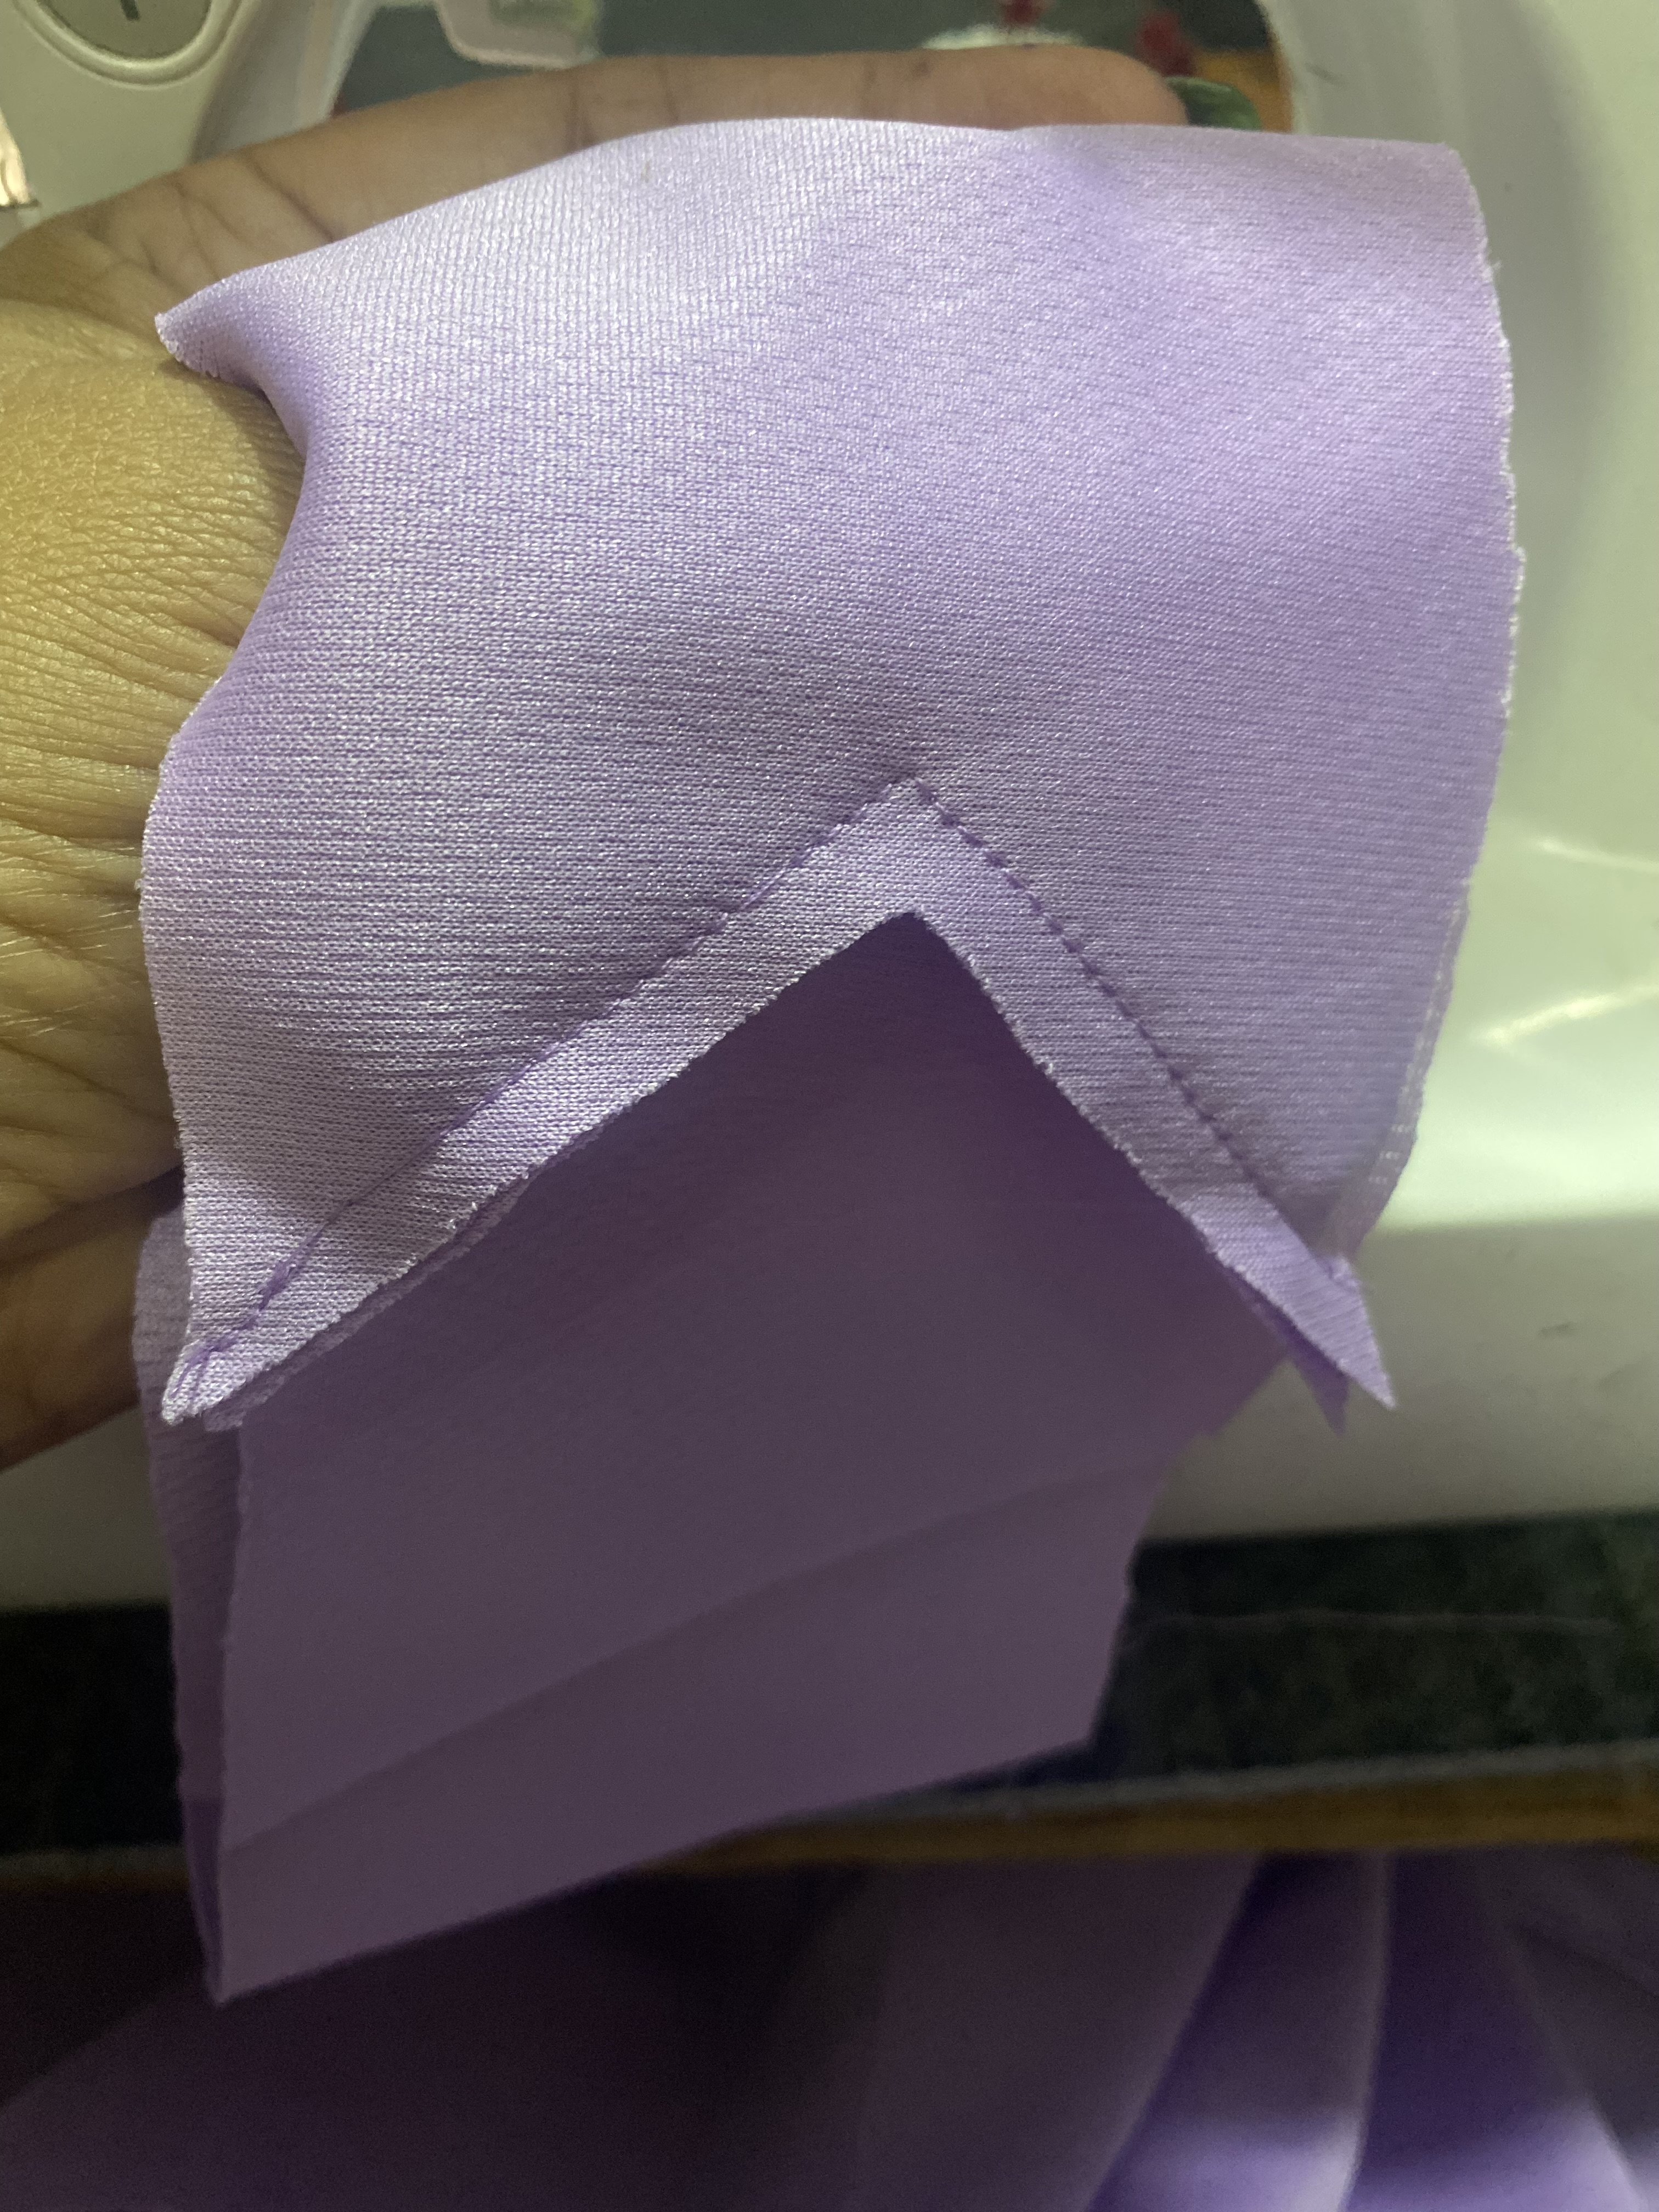
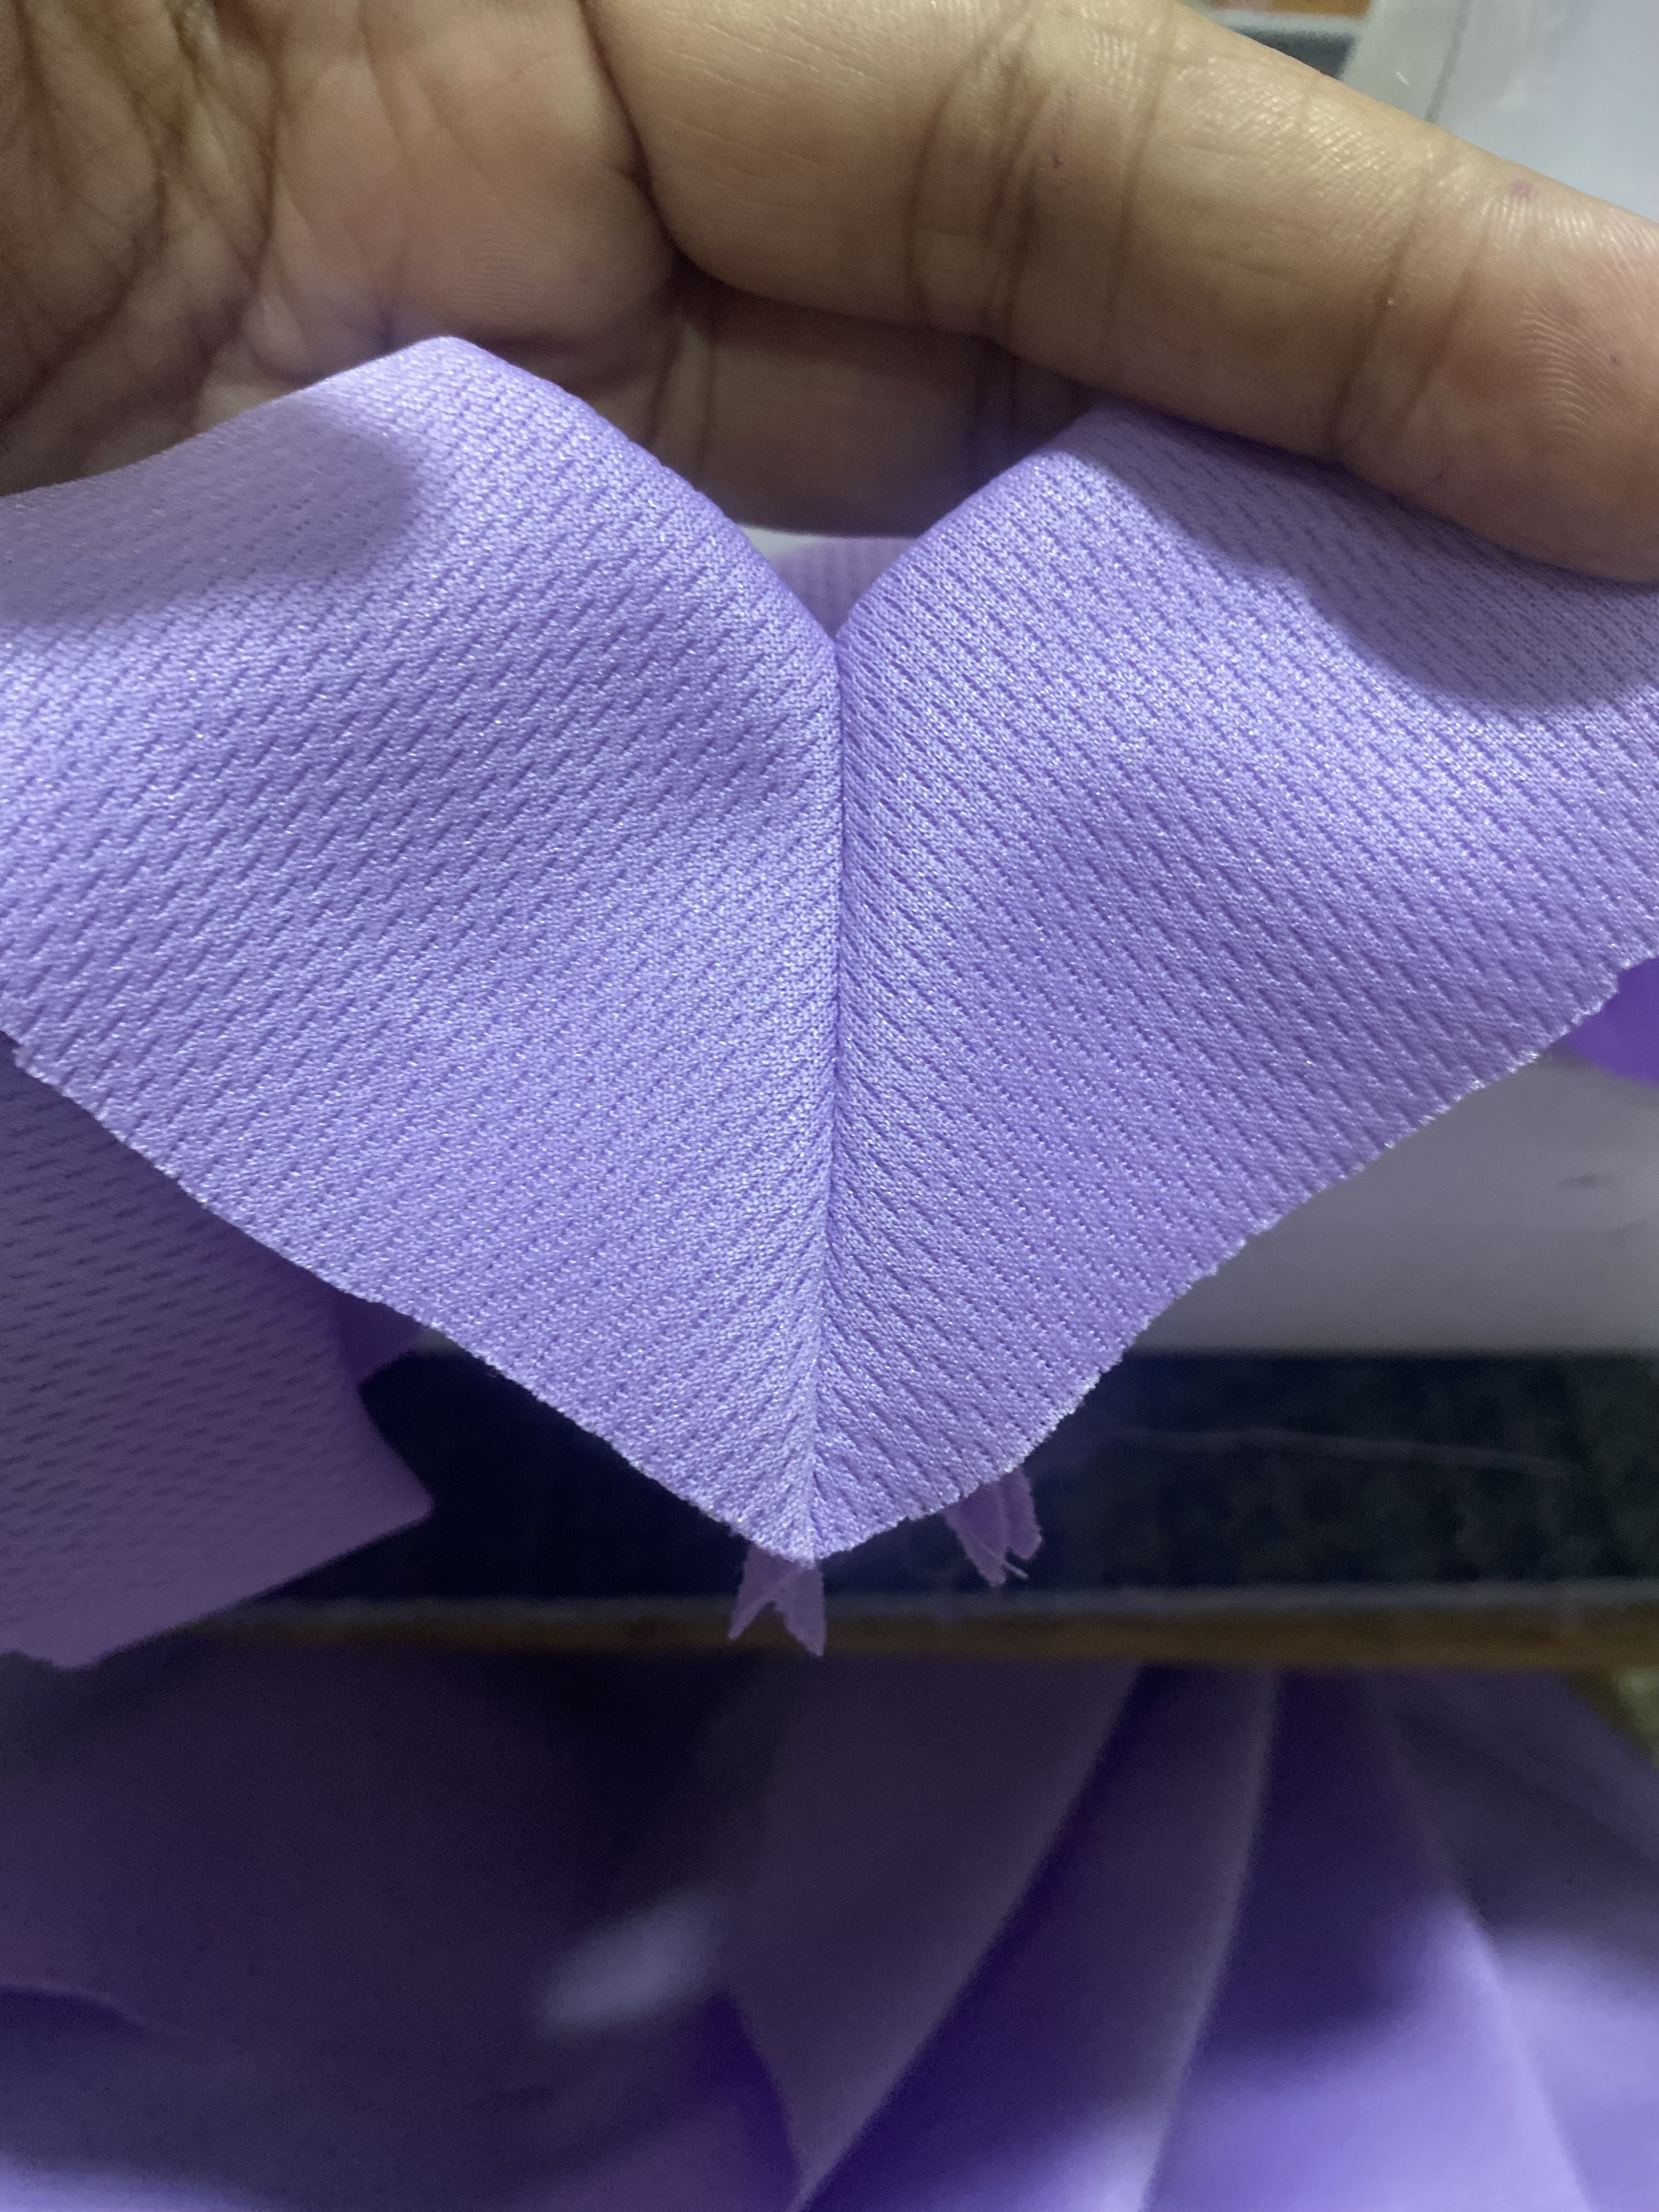
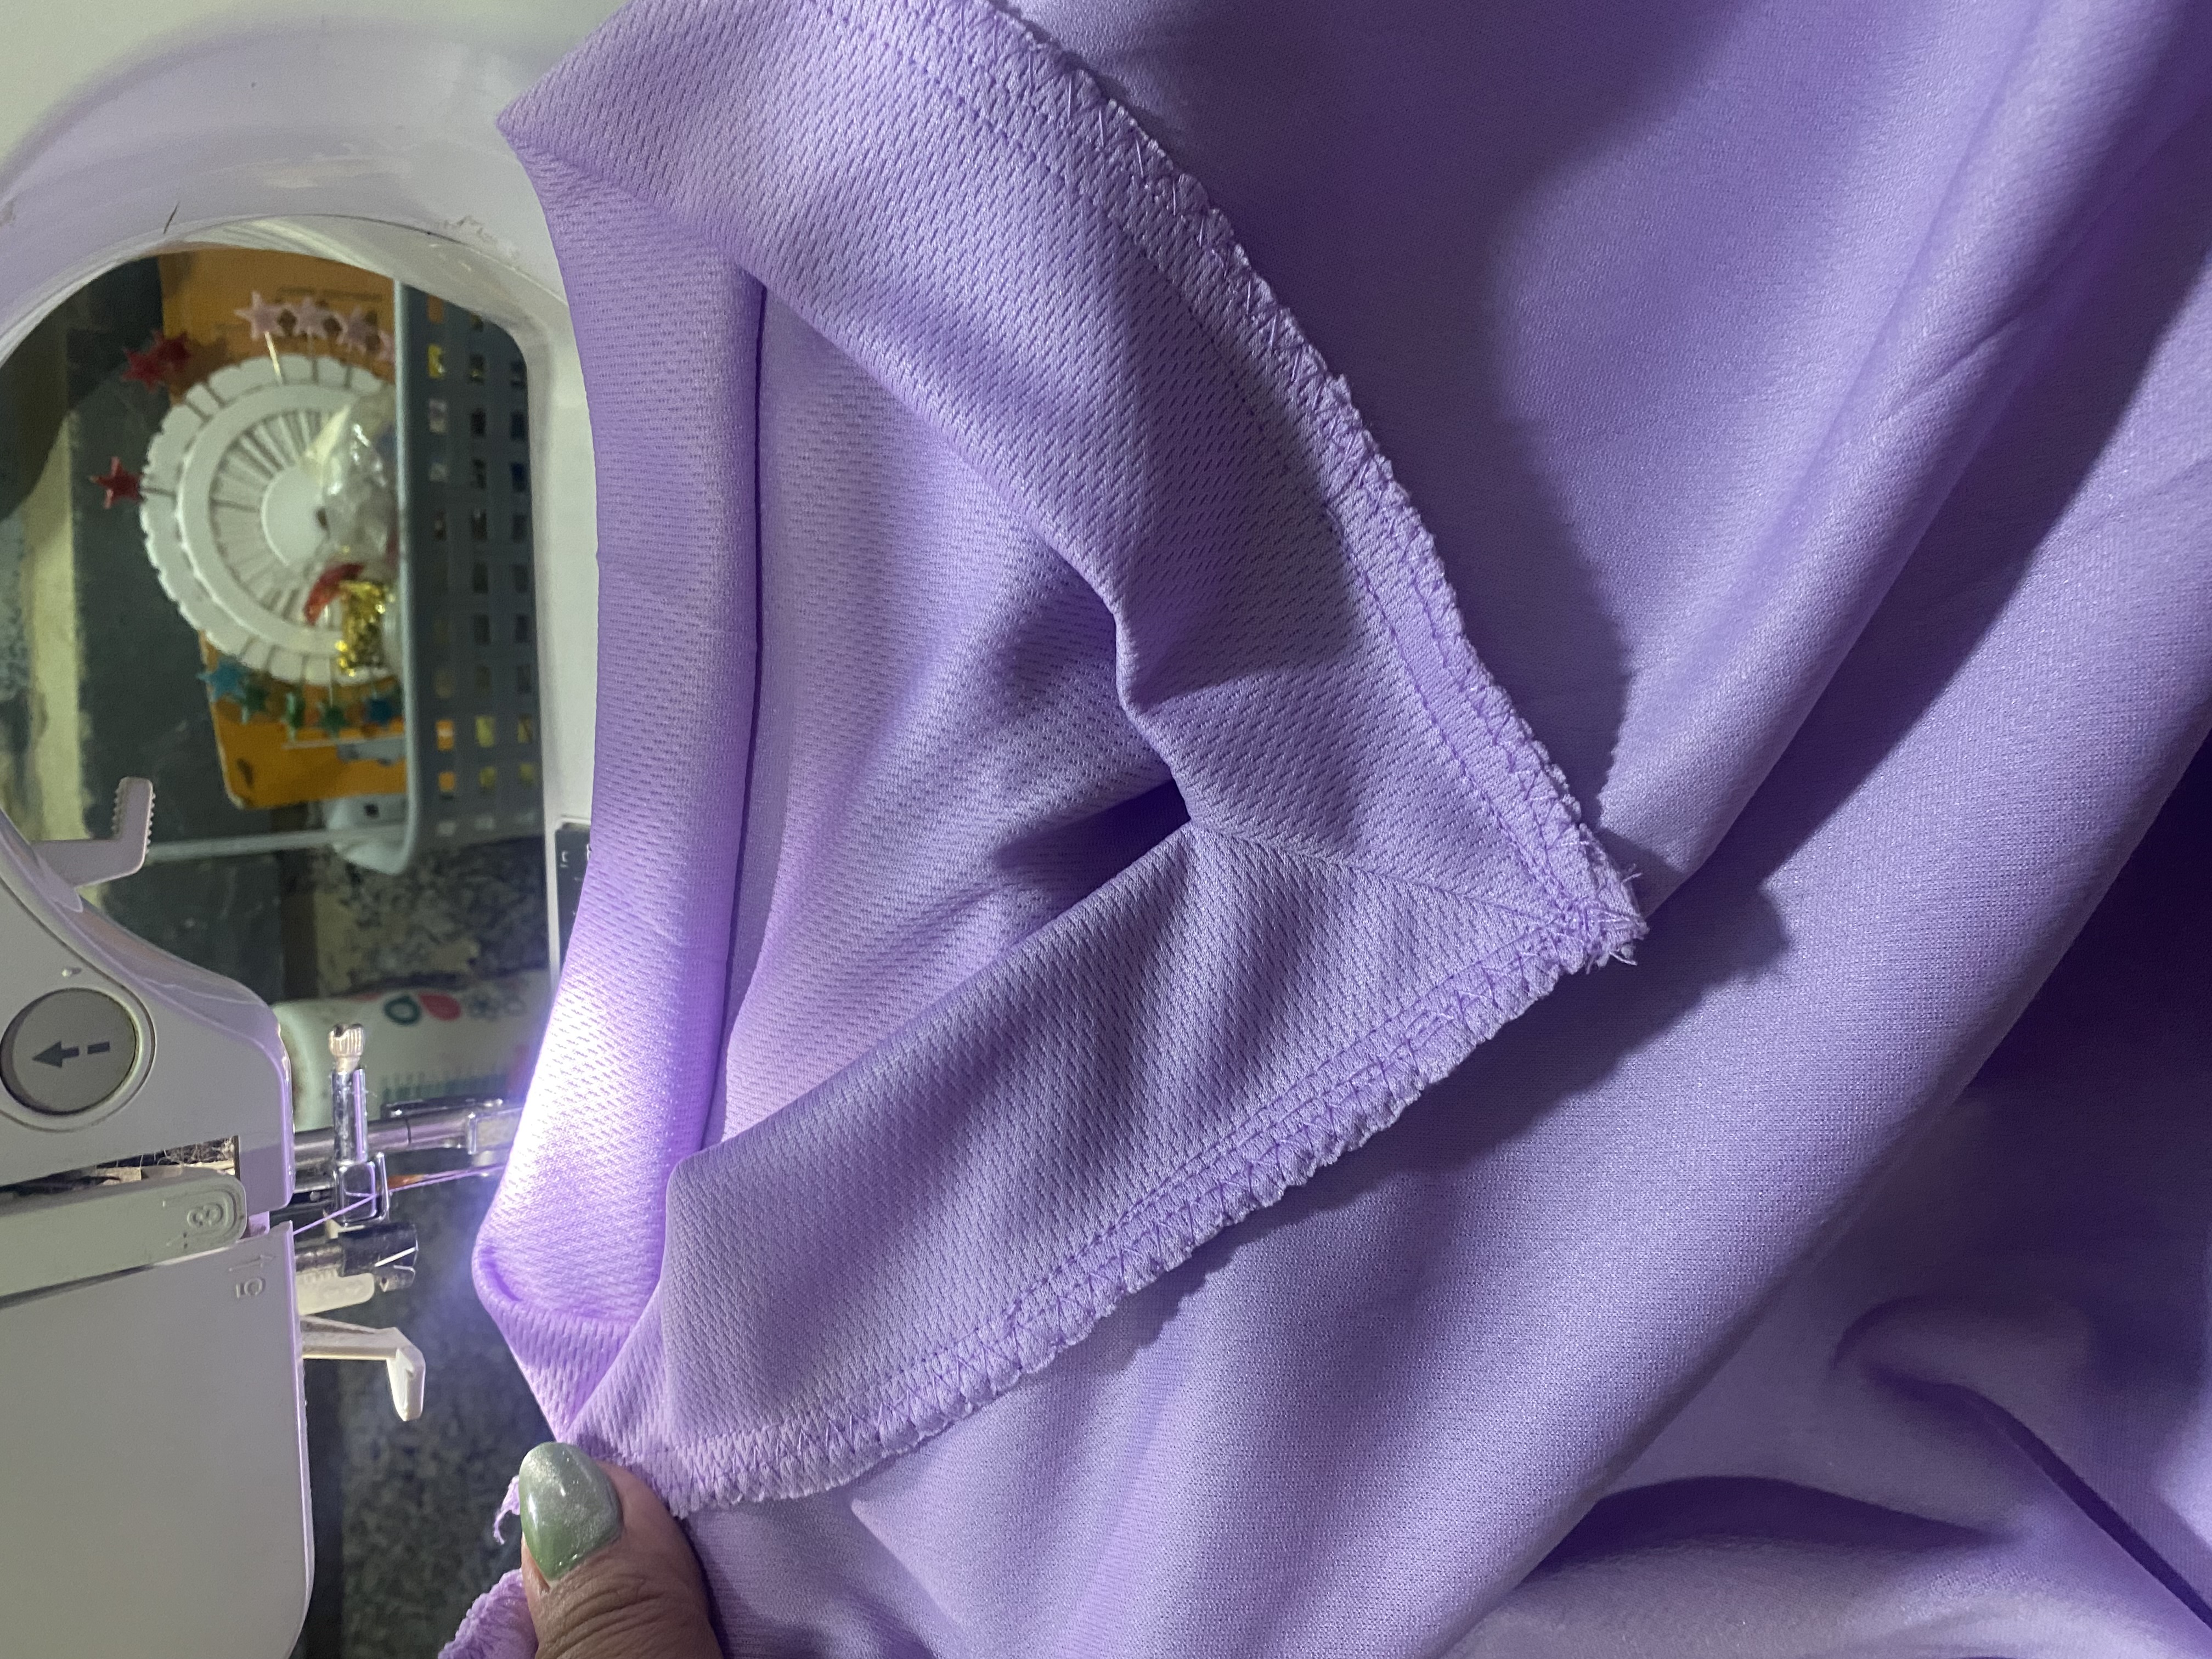
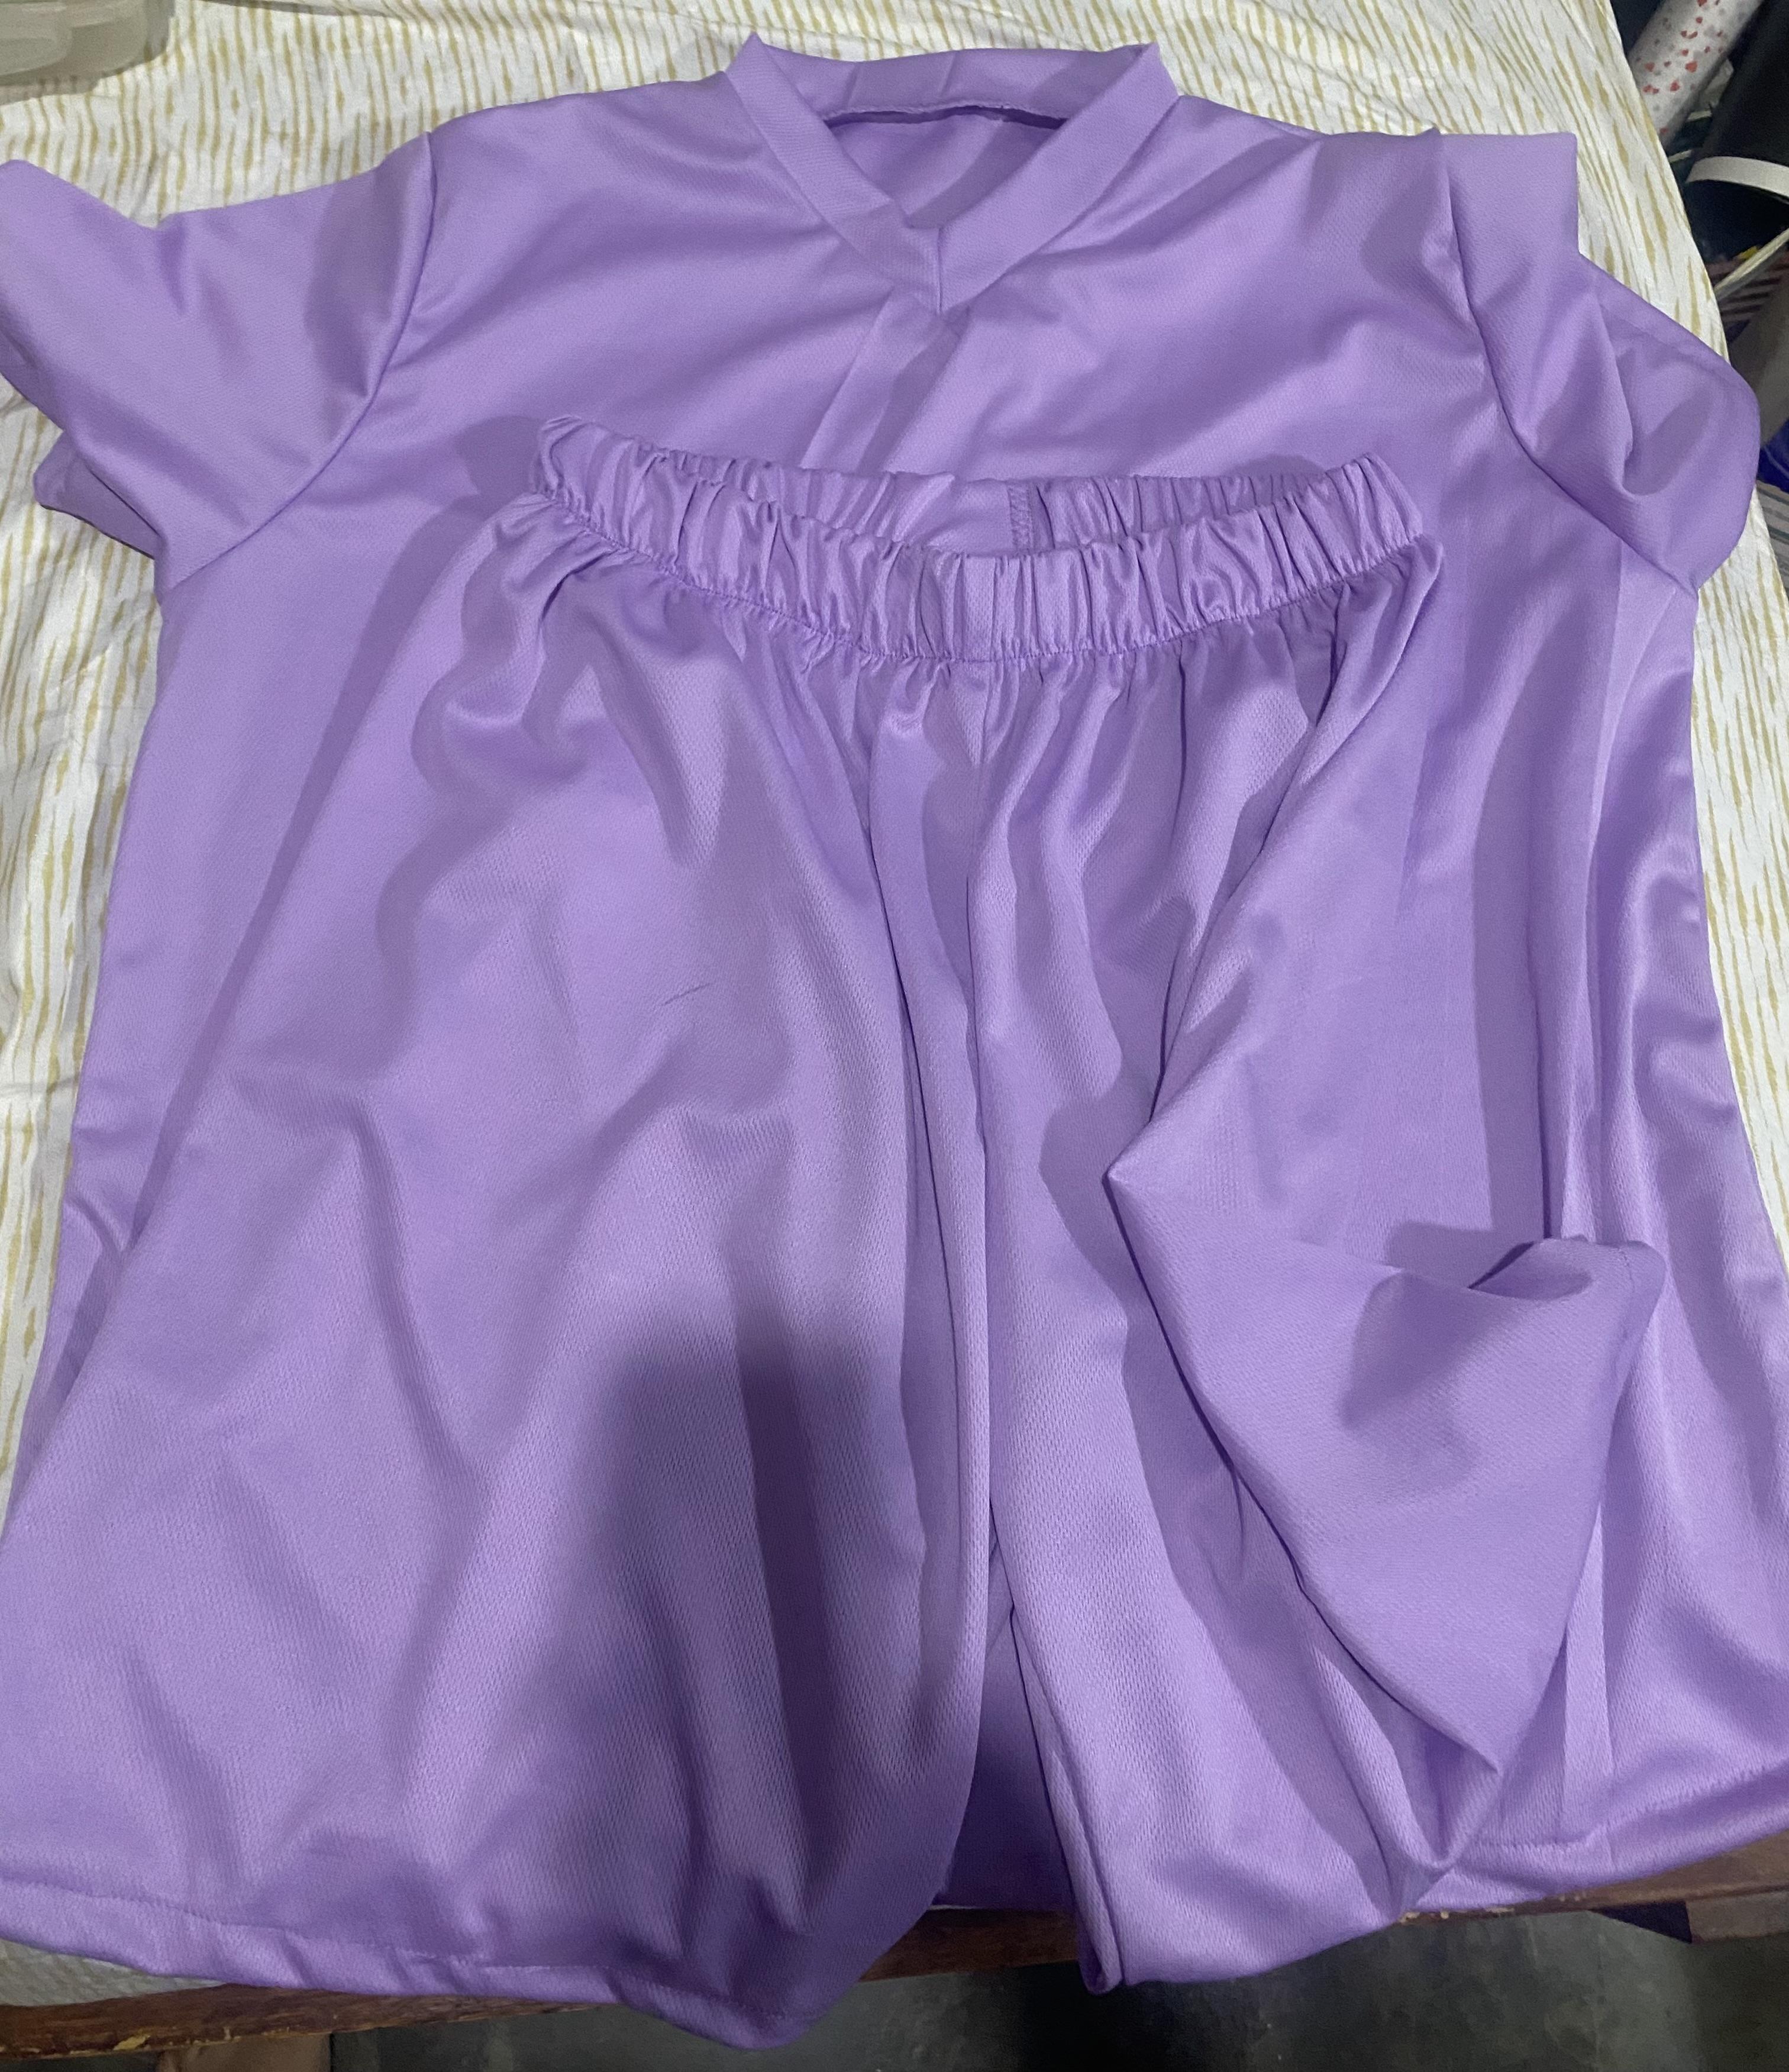
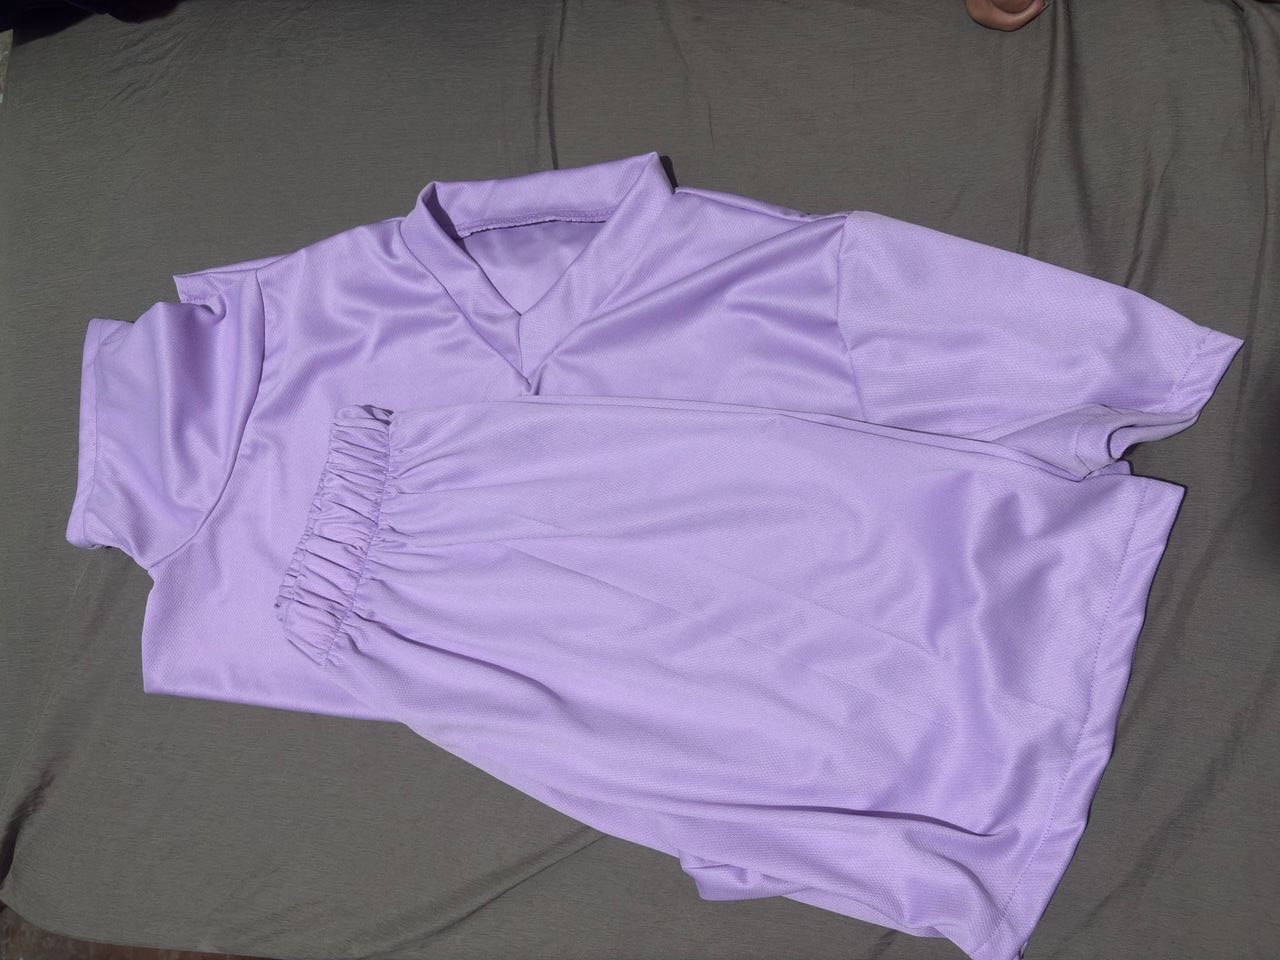
Al tener ya lista la figura en nuestra tira de tela le pasamos una costura y doblamos por el lado del derecho, luego unimos a nuestra franela desde el piquete de la V pasando costura por todo el contorno, si deseas puedes pasarle una costura por la parte de afuera en mi caso no se la quise hacer, y así ya tenemos lista la franela de nuestro conjunto, aquí les muestro el resultado, en lo personal me encantó como se ve, espero les guste también😊
Once we have the figure ready on our strip of fabric, we sew it and fold it on the right side, then we join it to our flannel from the V notch, sewing all around the contour. If you want, you can sew it on the outside, in my case I didn't want to do it, and so we have the flannel of our set ready. Here I show you the result. Personally, I loved how it looks, I hope you like it too.
 |  |
|---|---|
 |  |
| --- | --- |
Y quien dijo que los hombres no usan conjuntos, ja ja, si llegaste hasta aquí estoy muy agradecida de qué hayas visitado mi Publicación, me despido por hoy deseándoles una semana cargada de muchos éxitos y bendiciones
And who said that men don't wear outfits, ha ha, if you got this far I am very grateful that you visited my post, I say goodbye for today wishing you a week full of many successes and blessings.
Las fotos aquí compartidas son de mi propiedad tomadas con mi teléfono iPhone 11, la edición fue hecha en Canva, para la traducción del inglés utilice el traductor de Google

Excelente te felicito se ven muy bien
Gracias 😊
This looks so beautiful, you did a very neat job, I love the color, thanks for sharing.
Thank you very much 😊
It's really nice, and very detailed also.Thanks for sharing this knowledge with us
Thank you 😊